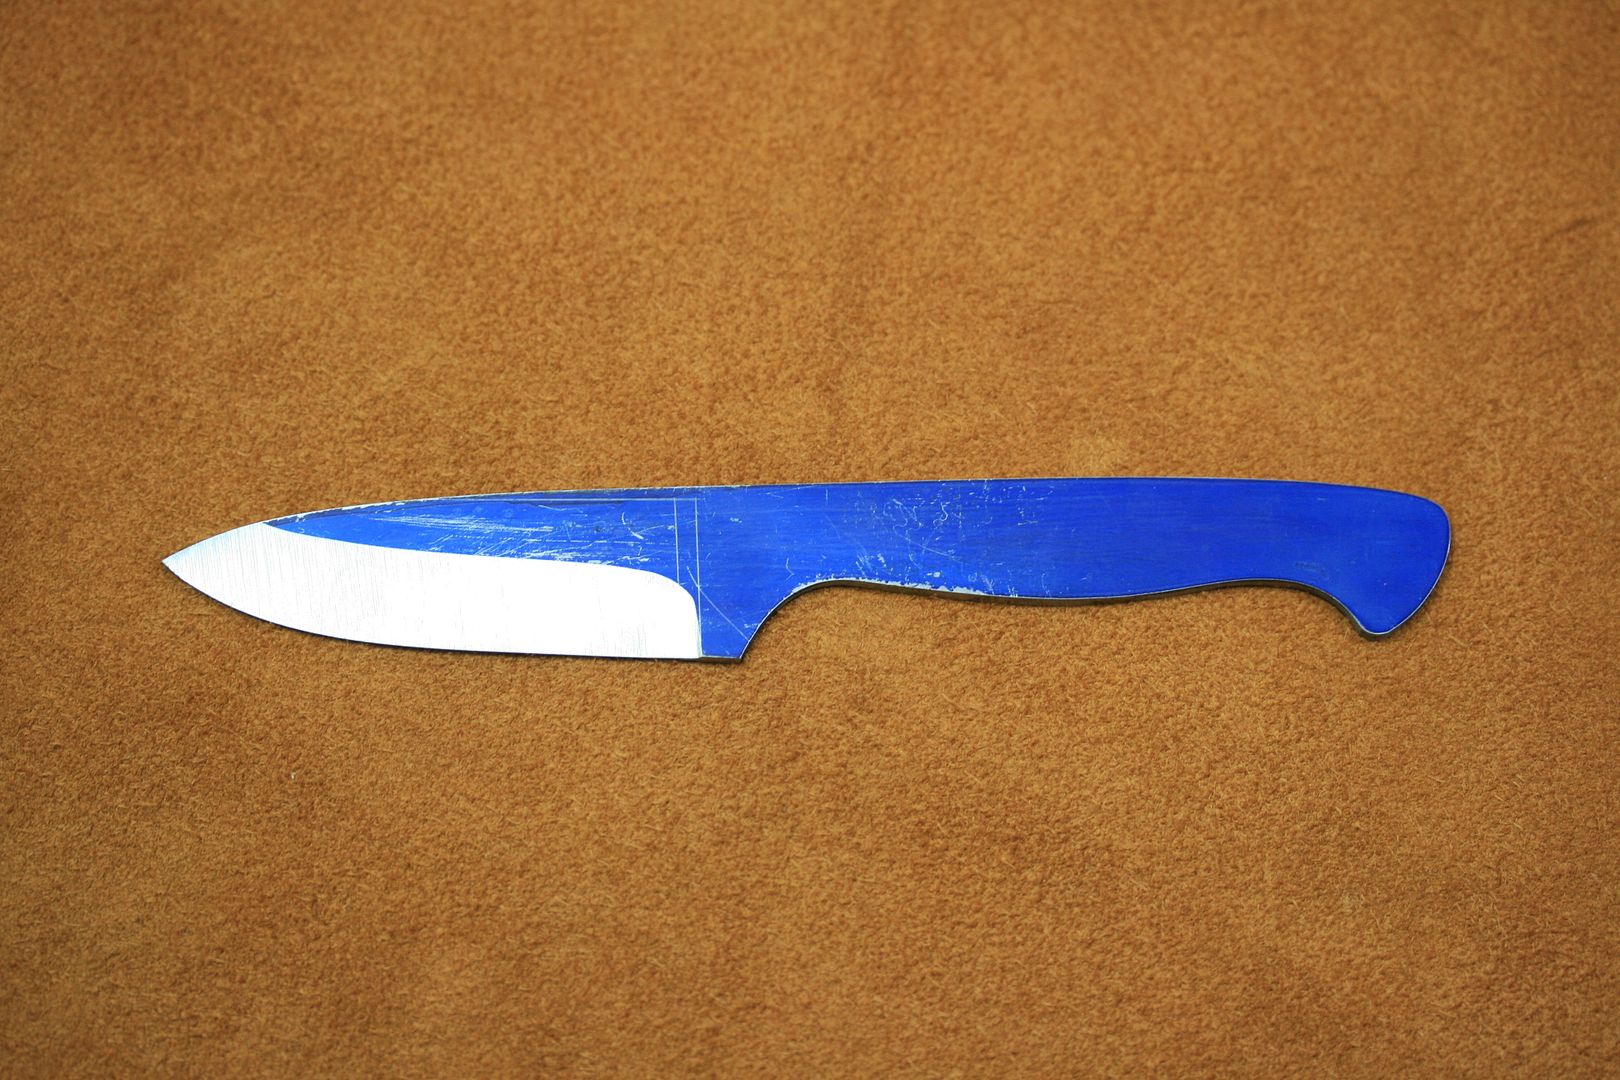
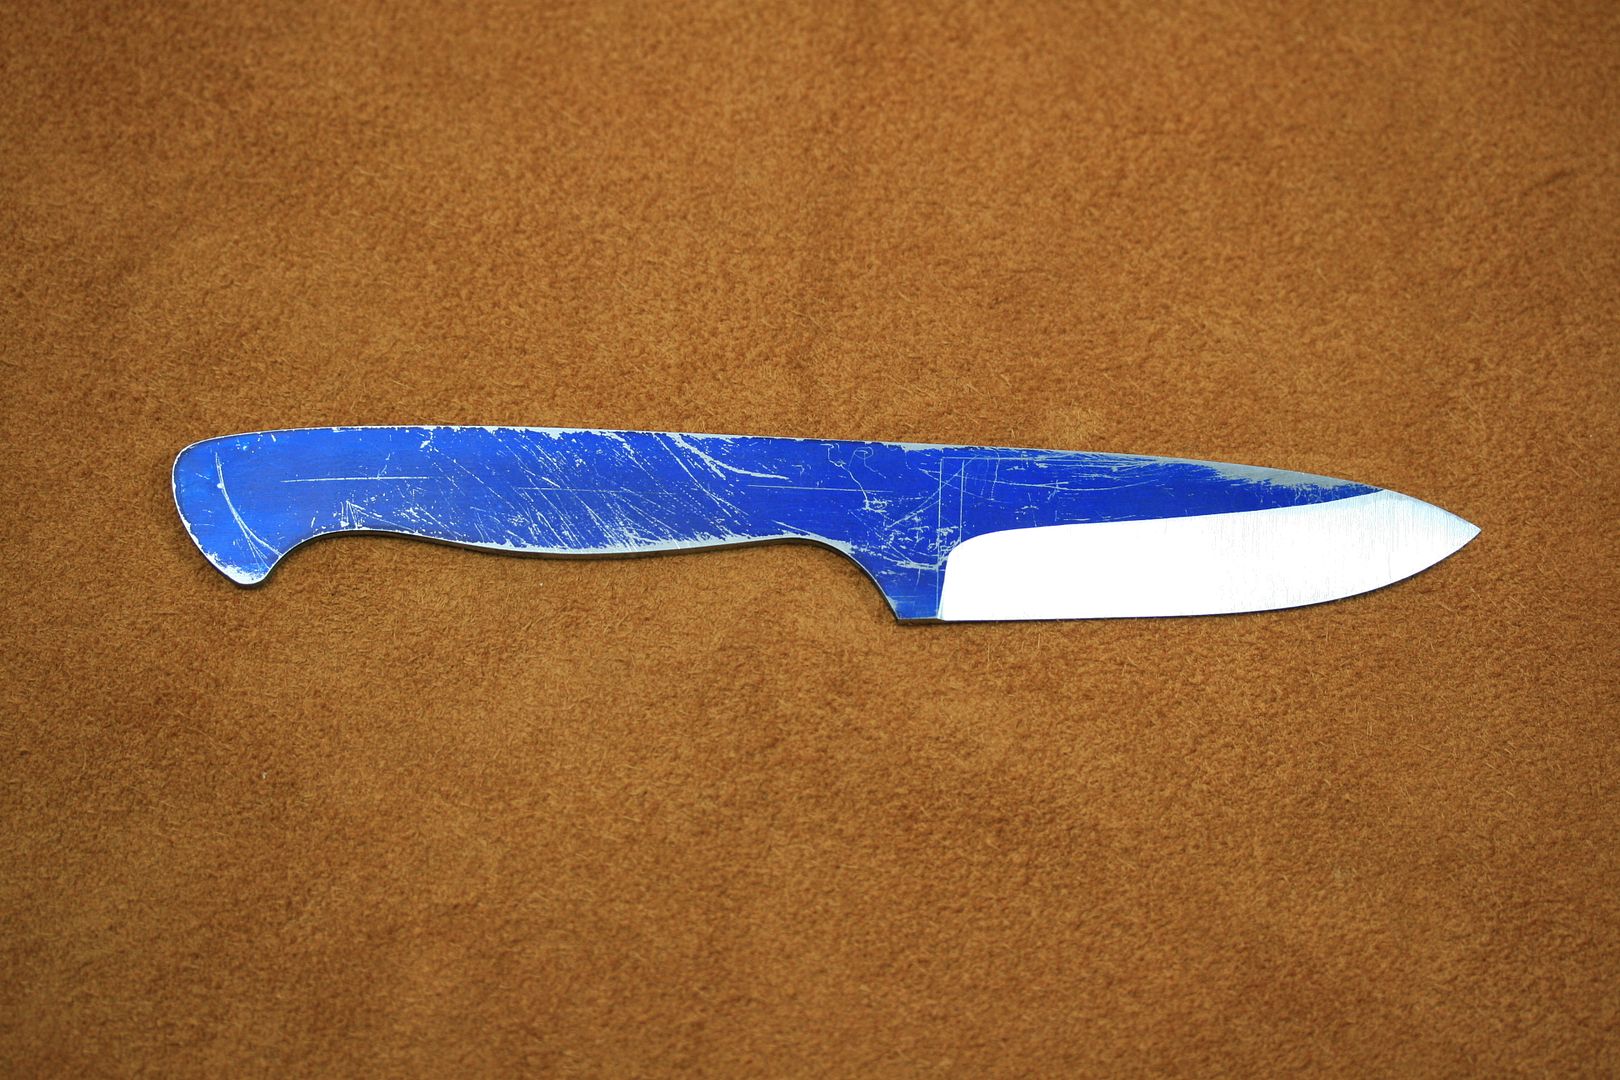
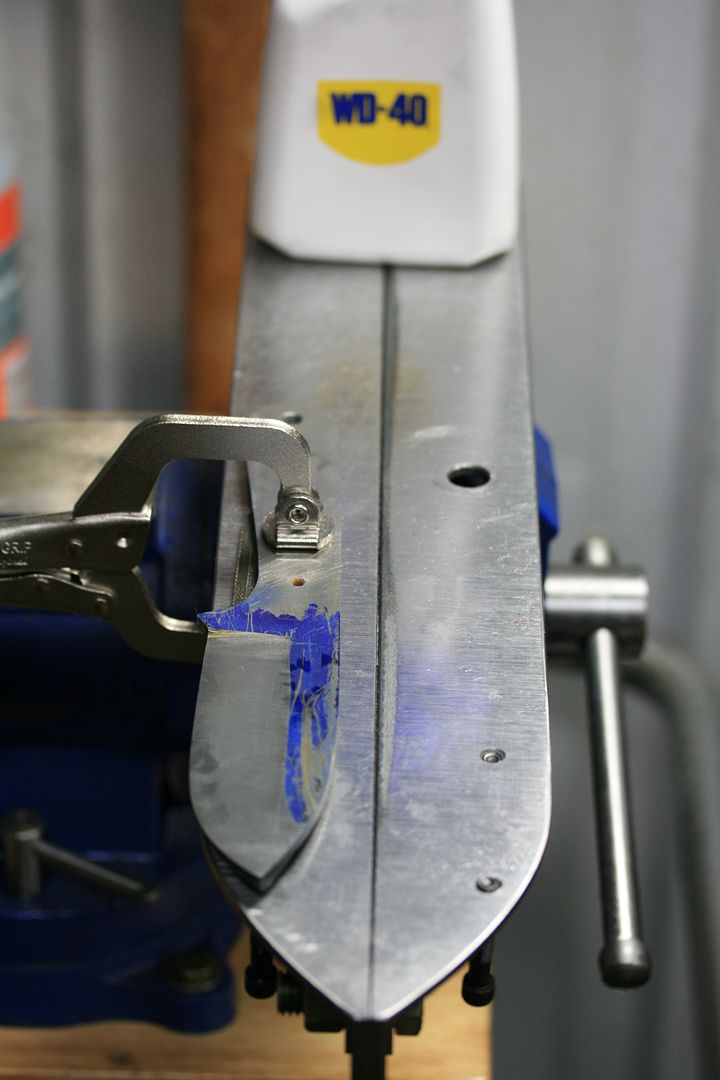
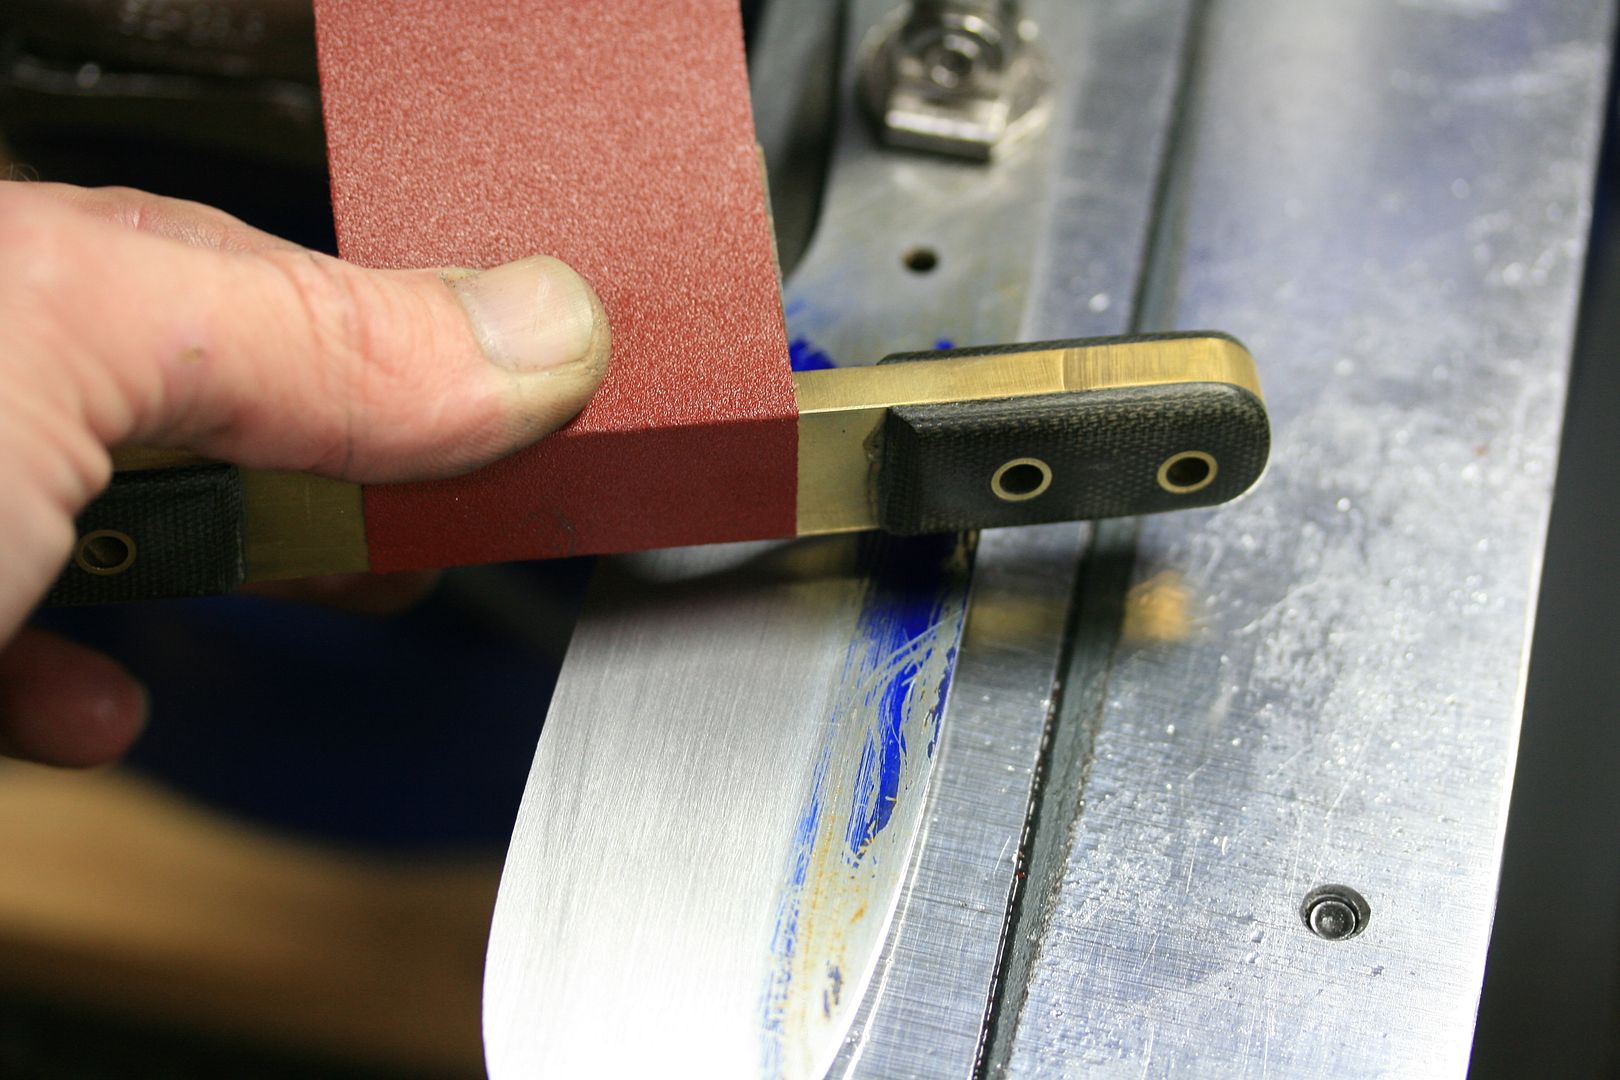
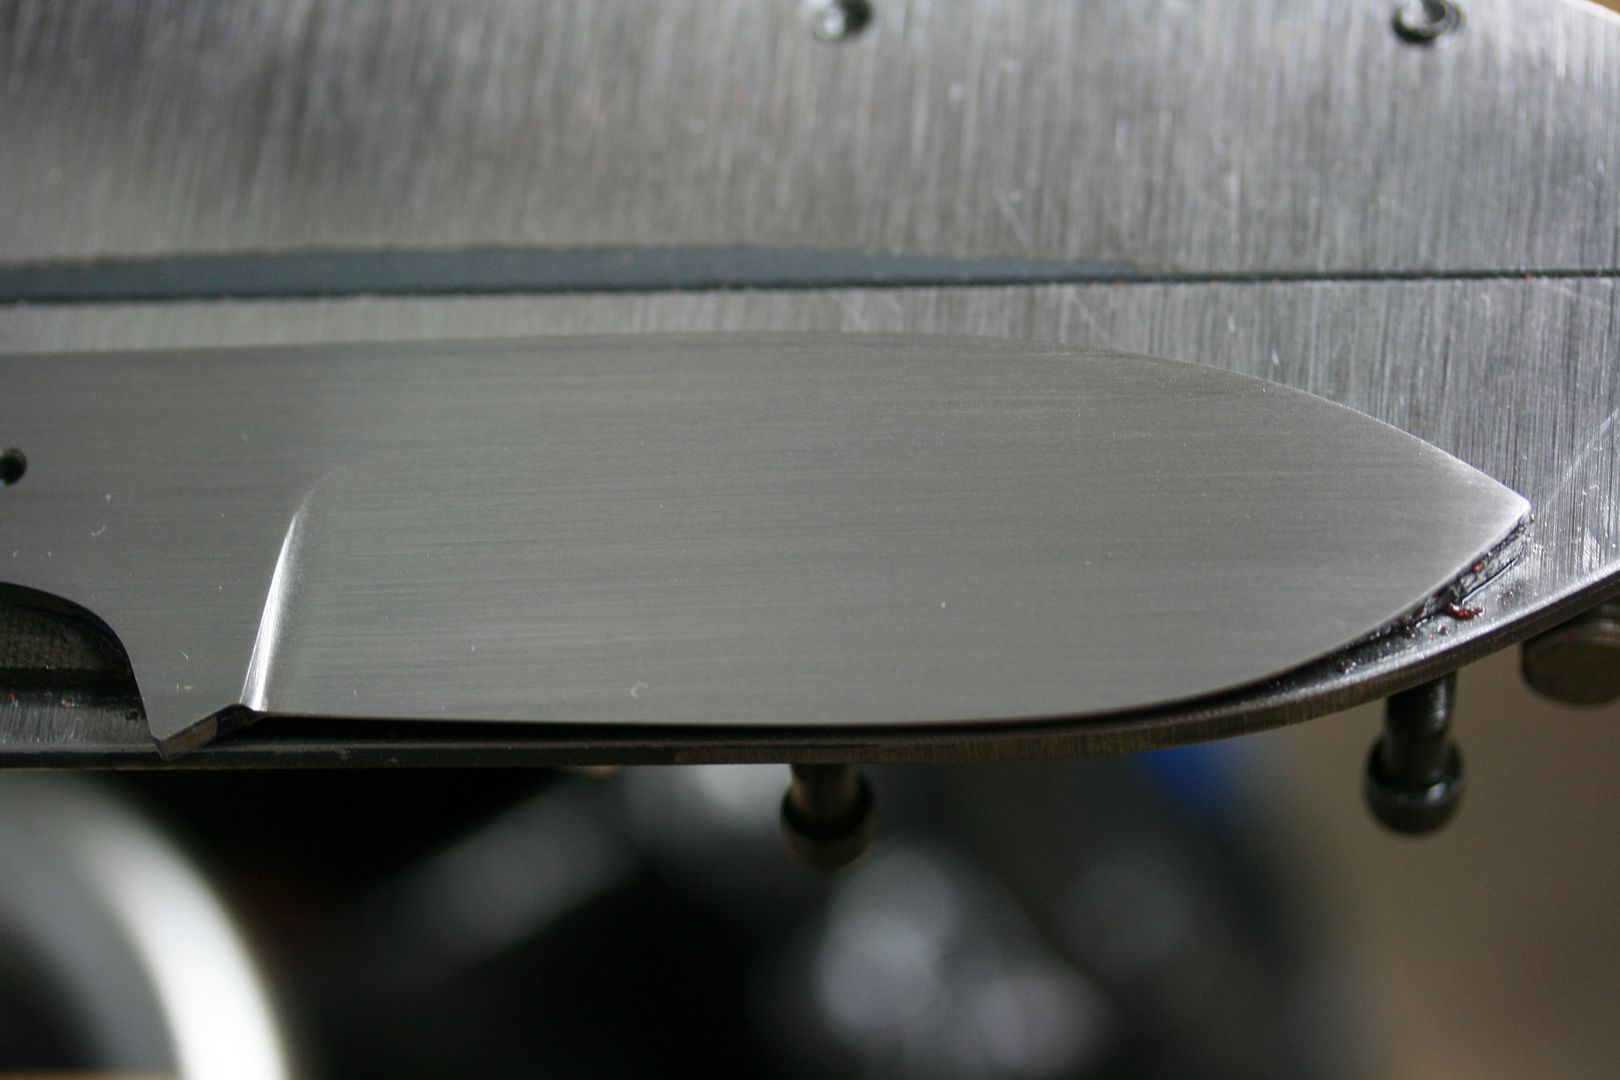
I have been having a big problem with not being able to keep the blade at the same thickness along the cutting edge (which is contributing to my other problems); the tip stays thick, the belly gets super thin and the area right at the plunge stays thick. This is obviously a pressure problem and I also suspect that as I drag the blade across the belt, it doesn't stay flush against the belt. I think I try to put too much pressure on the blade and end up "rocking" it back and forth during the process of dragging it across the belt.
I have/had that problem as well. For me, it's the whole pressure/guide thing. I can't stress enough to watch where the sparks are in relationship to your belt. You may think you're doing great and look at the spark pattern and see that all the sparks are on the right or left side of the belt, which means this is where all the metal is being removed. I try and keep it in the middle of the belt. I also want to see a wide pattern of sparks. This lets me know that I have most of the bevel on the belt. A thin line of sparks means you have a small area on the belt. After a while, you can also tell by the sound and feel of the blade.
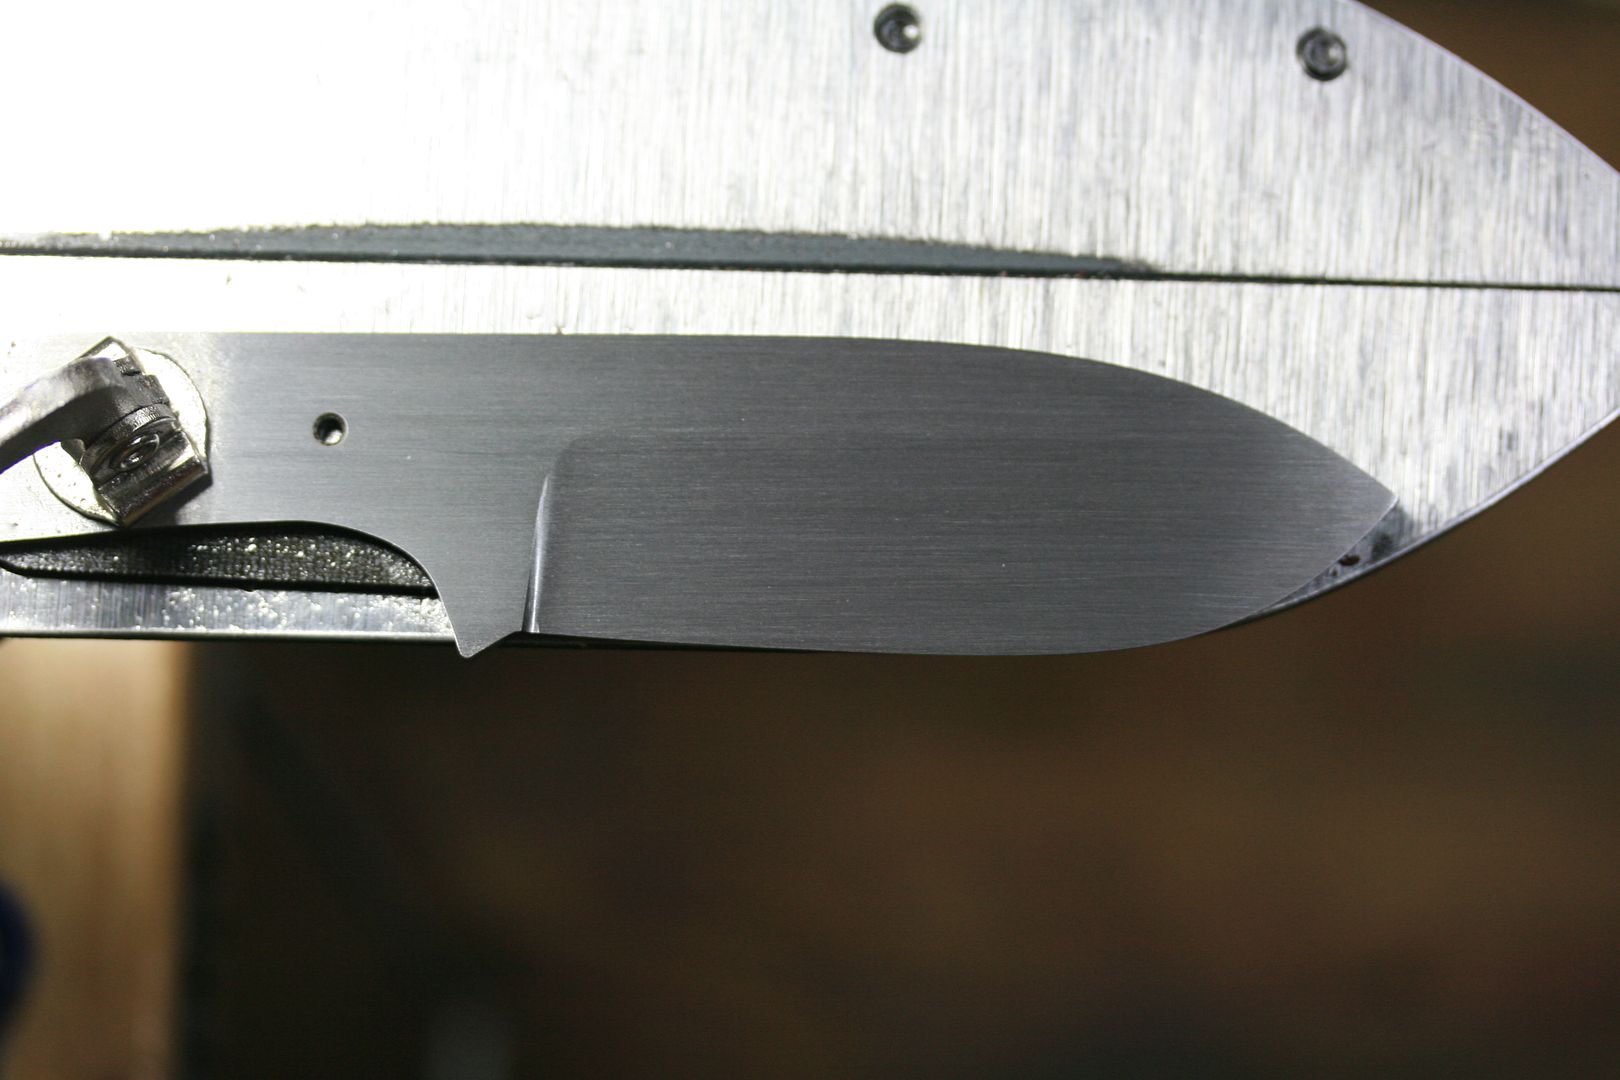
Now when either the ricasso area or tip is too thick, I can "cut in" at the middle of the blade and work my way out. I've also "cut in" at the tip and worked my way in, but in my experience, it can be harder to keep a flat angle. It's better for me when trying to thin the tip to start in the middle and work my way out, increasing pressure as I get toward the tip.
If I need to thin the area at the plunge, I start a little ways out and work back in. I don't like starting in the middle once it's thinner than the rest of the areas. Pay special attention and when you see these area getting thicker, take care of them at that time, don't wait until you're nearly finished. It will be much harder then!
Another thing I do is what you mentioned about the support / guide hand. So, my understanding is that you only use this hand for a guide and do not apply pressure with it. Say you are holding the tang in your left hand, your right hand should only be there to guide and not apply pressure? You put all of the pressure on the blade using the hand with the tang in it? This could be my main problem. I have been using the hand that holds the tang to guide and the other to put pressure on the blade.
Well....not exactly. Let's see if I can explain it better. I use my free hand, the hand on the blade itself, to keep a constant pressure on the blade. The hand on the tang is used to determine where the majority of the pressure goes. I may need to "twist" up a little to put pressure near the edge or I may need to pull out slightly to put more pressure near the tip. With the hand (actually "thumb") of my free hand, I just try and keep a constant pressure and let the hand on the tang guide the blade.
My grinder is on a little portable work stand, so I can't apply too much pressure. I think this has helped me.
Hmmm. I have a lot to think about now. Do you have anything attached to your platen or are you using it like how it came with the machine?.
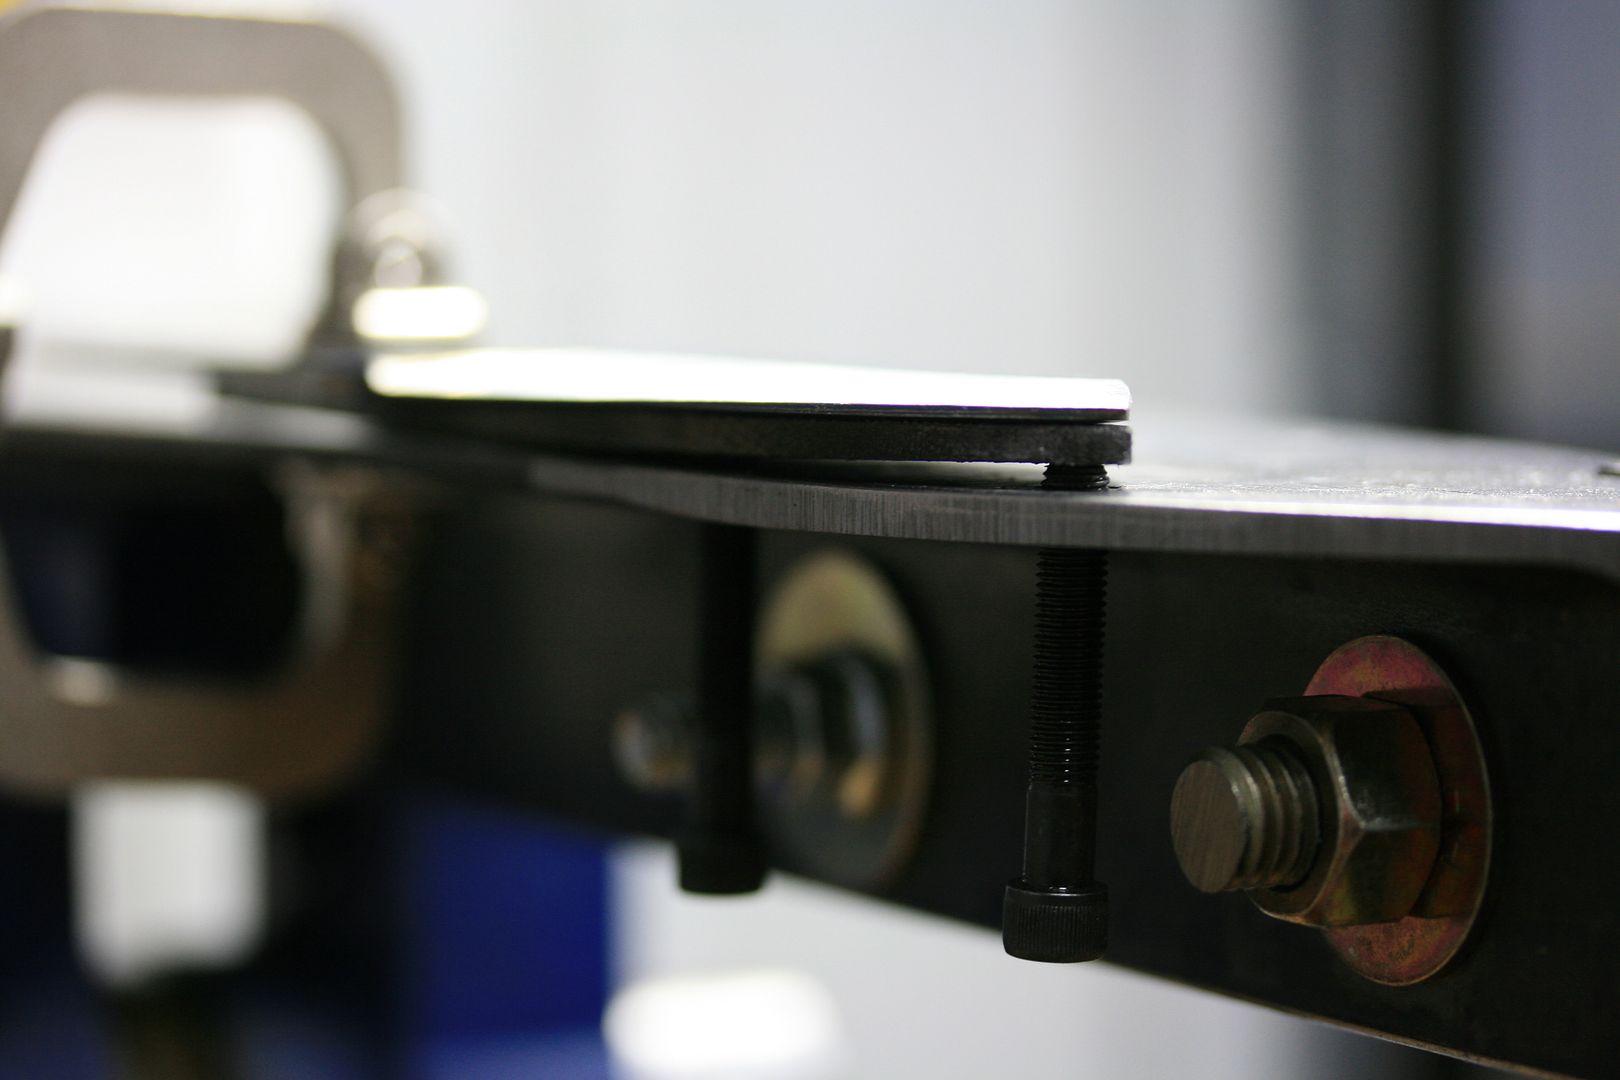
Yes, I have a piece of ceramic tile JB Welded epoxied to the platten. Go down to Lowes or Home Depot and buy you one or two ceramic tiles and have them cut them to the size you want. I think you need a 2x4 or 2x6 (I'm not at my grinder now to know exactly). Most home improvement places will cut them to size for you. Just make sure you get it square on the platen!
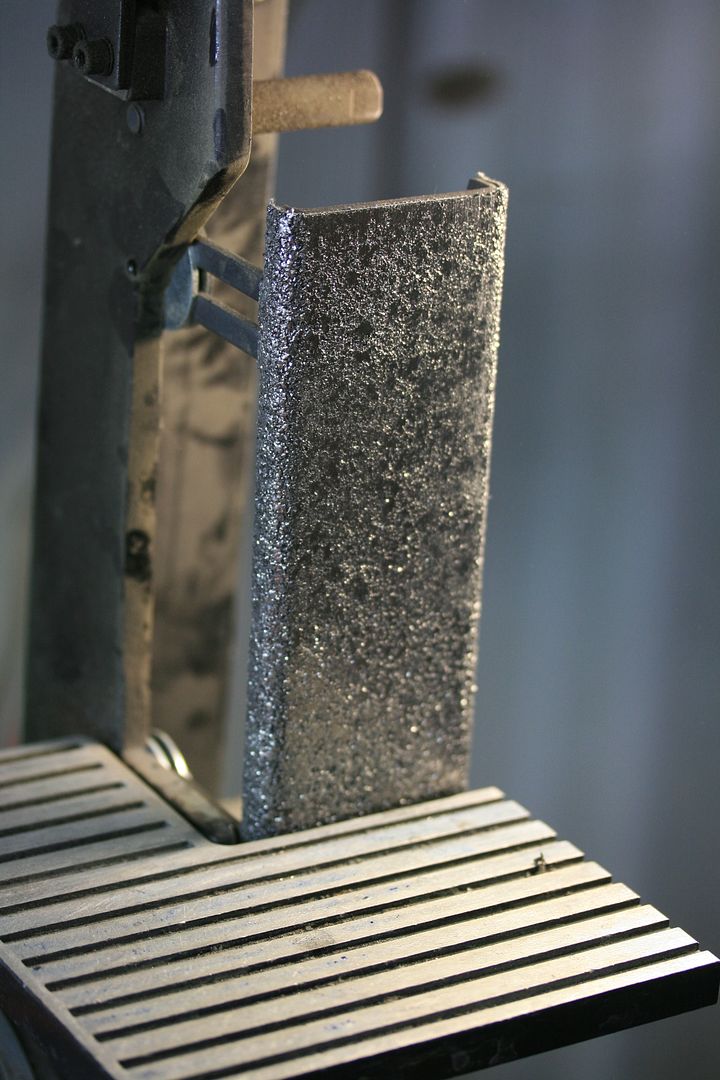
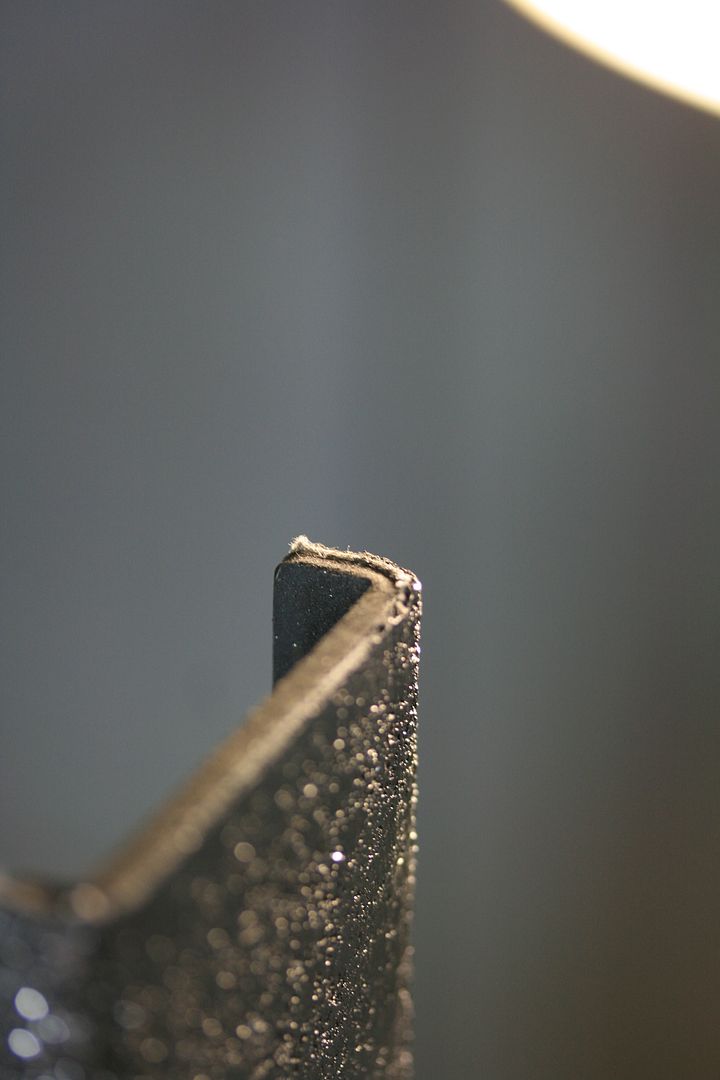
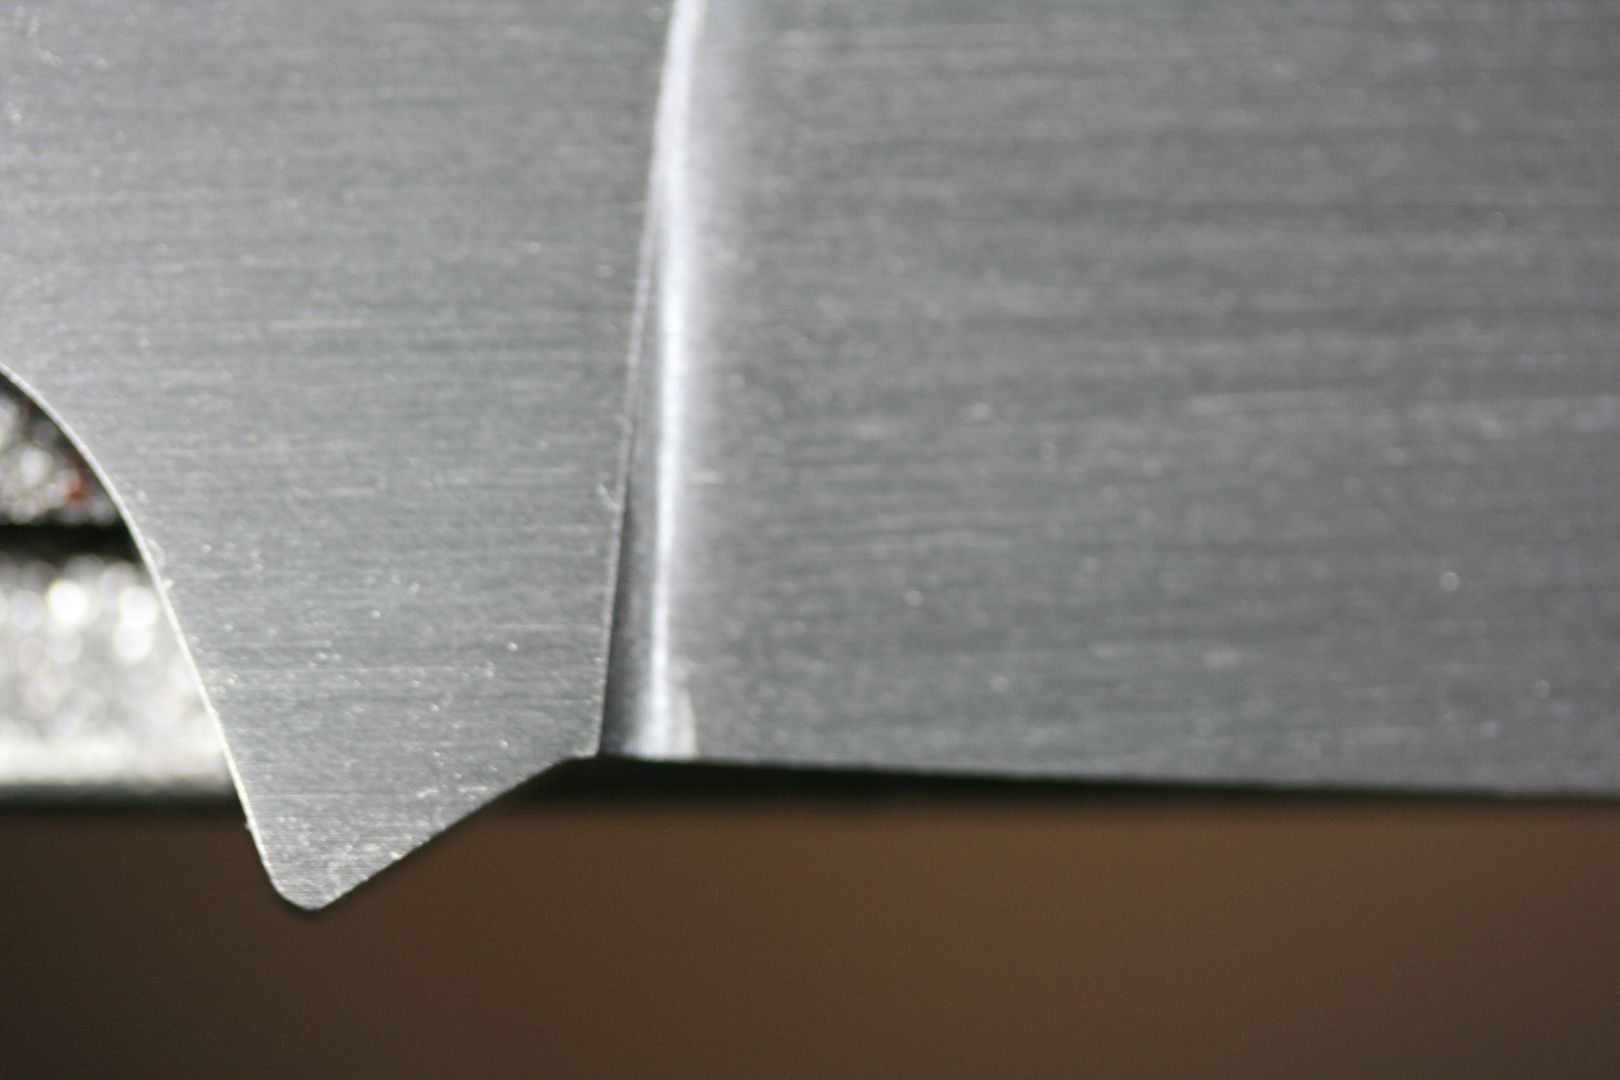
I do hang the belt off the side of the platen but something weird happens that really screws up my plunge. On the right side, the belt does not "give" any and slices into the plunge giving it a 90* angle instead of a nice smooth curve. The belt just moves with the knife until you reach the platen. It does not roll up into the plunge. On the other side, the belt seems to be more forgiving and actually slides into the plunge pretty good. So one side has a 90* angle for the plunge and the other side has a nice looking curve to it. Does your machine have this problem? I tried tightening the tension so the belt won't travel with the knife over to the edge of the platen but it just seems to be too loose, allowing the belt movement.
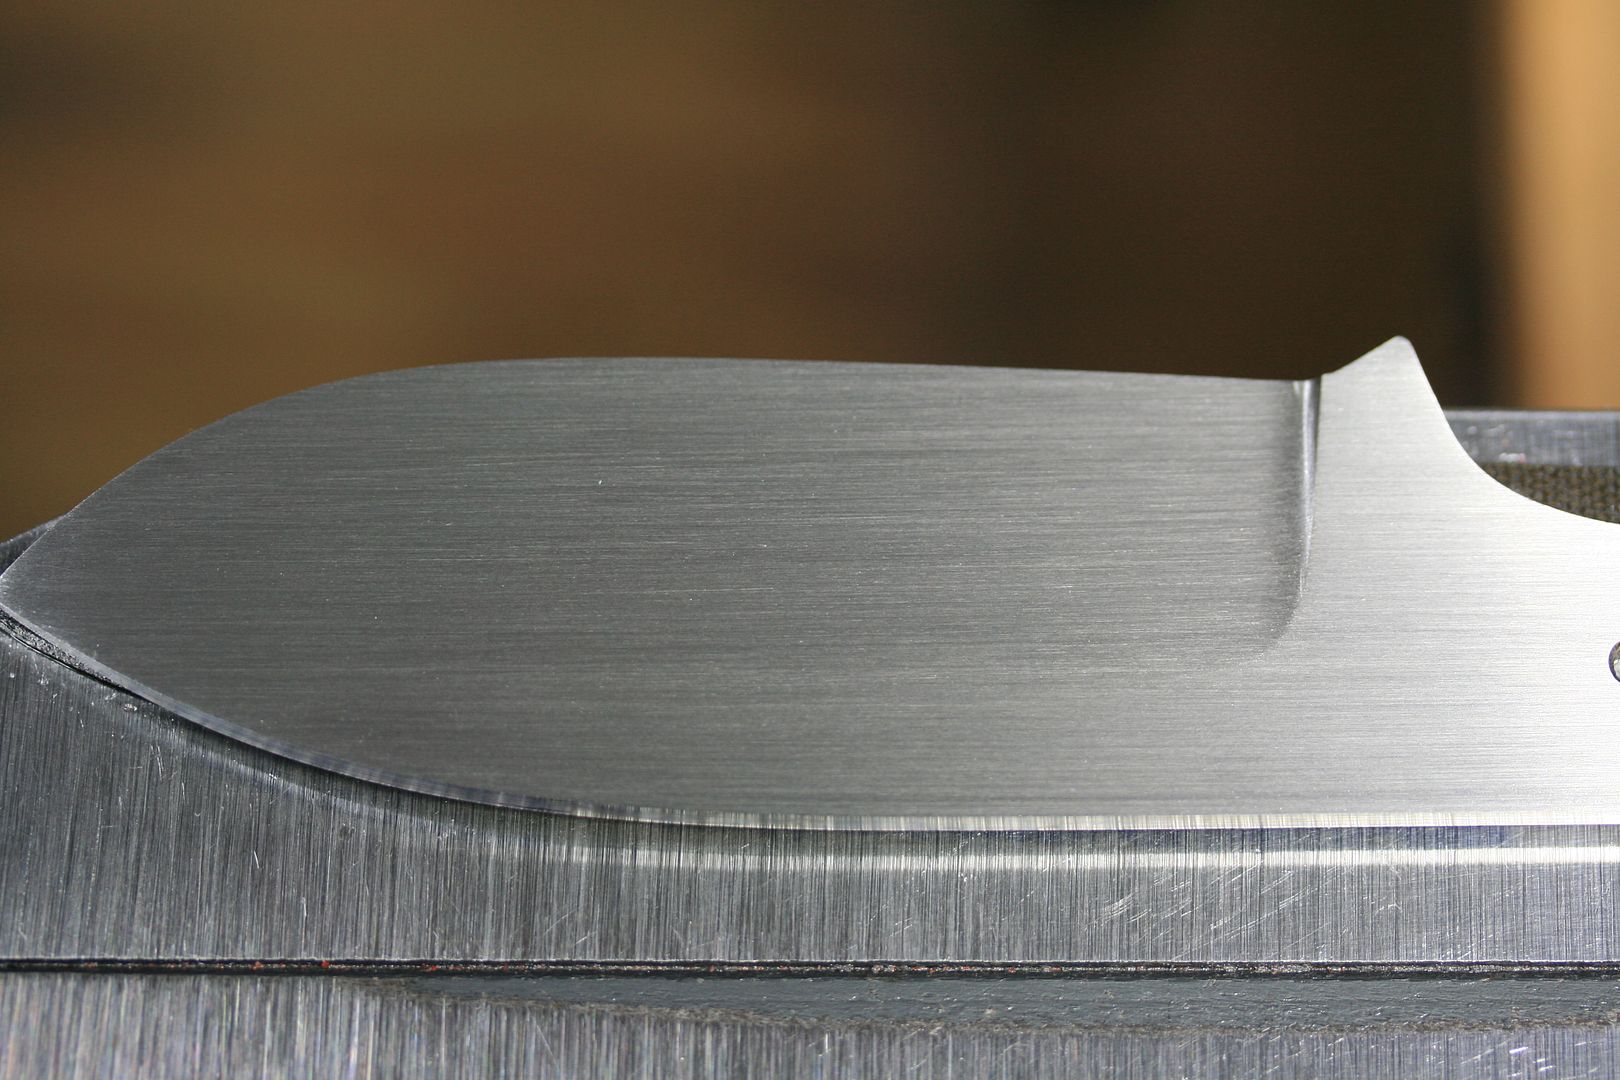
One thing you may want to do is wait until you're nearly finished to cut your plunge in. Just grind the blade like you normally would and then just wait until you're nearly finished and just kinda "push" the plunge back where you want it. It takes a little practice, but for myself, it helped me quite a bit.
Yeah, I have the problem with the plunges also. With my ceramic plate, I adjust the belt until it's just barely over the edge. The stock platen may be allowing one side of the belt to flex more. But I believe my biggest problem here is also the location of where my hand pressure is.
Don't know if you've seen this, but this guy has several video's on the 2x42. Just look up "The $500 Knife Shop" on youtube. I've done nearly all these mods and a couple more to my 2x42. Here's one where he attaches a piece of ceramic to his platen.
2x42 Craftsman Mod - Adding a Ceramic Tile Platen
I am also trying to figure out a way to compensate for the slight angle of the belt. My wheels are off a little and the belt runs at a slight angle, causing different angles at the top of my grind. At least I think that is whats causing it.
I can't help you here. Mine isn't perfect either and I've just tried the best I can. I can certainly tell you that my first knives didn't look near as good as your first ones, so you're obviously handling the 2x42 better than I did.
I get confused easy so correct me if I'm wrong here...
- Pressure is key.
- Watch for sparks coming off of the whole area where the blade touches the belt. Making sure it is flat against the platen.
- Keep the pressure towards the edge and not the spine on both sides.
- Track the belt just past the platen to roll up in the plunge, keeping pressure toward the edge.
- The hand holding the tang applies the pressure and the other hand is used to guide the blade.
That's pretty much it except the last one as I explained it above. That hand...err thumb in my case...applies constant pressure and the hand on the tang guides where that pressure goes.
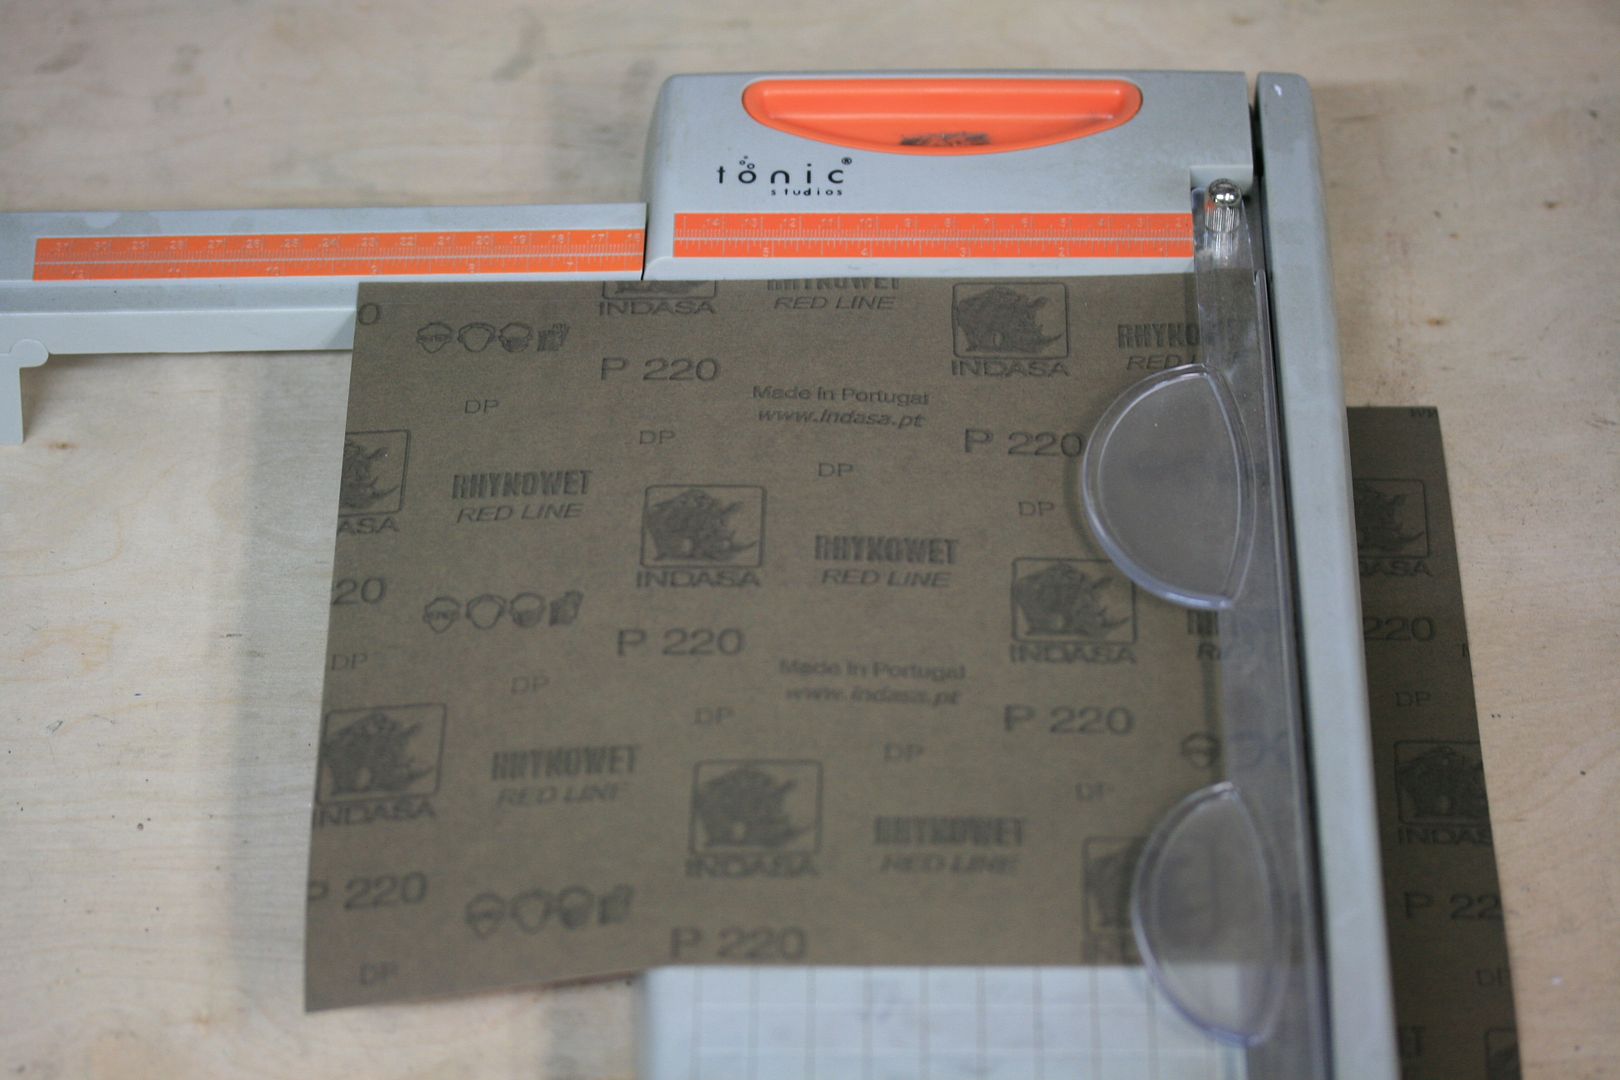
Have you had any problems using the finer grit belts on the Craftsman? I get "speed bumps" and other problems at 220 and finer. I would love to be able to spend more time grinding than hand sanding. I usually only use a 120 then go to hand sanding, starting at 220. My fingers are constantly cramped these days :les:...
Yeah, I get those "speed" bumps too. It's caused by the joint in the belt running over the platen. You feel it more on finer grits. It's one reason I switch over to Gator belts after a 120 grit Norton Blaze. I don't feel them as much on the Gators or the Scotchbrite belts.
One more question, do you use the grinder to sharpen any or do you use stones for the whole process. I am a little stumped here. I just got done reading "The Razor Edge Book of Sharpening" and learned a lot but it didn't really give the maker of knives a starting point.
I don't even try to sharpen on my 2x42. Like you, that makes me a little nervous. Years ago, before I started making knives, I picked up one of these at a gun show. It's been my best purchase for sharpening knives! They're a whole lot more expensive now, but still worth it in my opinion.
The Sharp Machine
I really appreciate you taking the time to read through my thread and post such an elaborate response. Your advice is greatly appreciated Don! I hope all of this makes sense...
Not a problem. Lots of good folks here helped me when I was getting started. Just remember, grinding is all about muscle memory. I still mess up quite a bit, but with every knife, I'm getting better and better. You're off to a great start, don't fret the small stuff because you're not going to turn out a perfect knife!