Simple Foldover Sheath

With certain colors or techniques for coloring leather you need to use finesse. With black it is all about just getting it darkened.

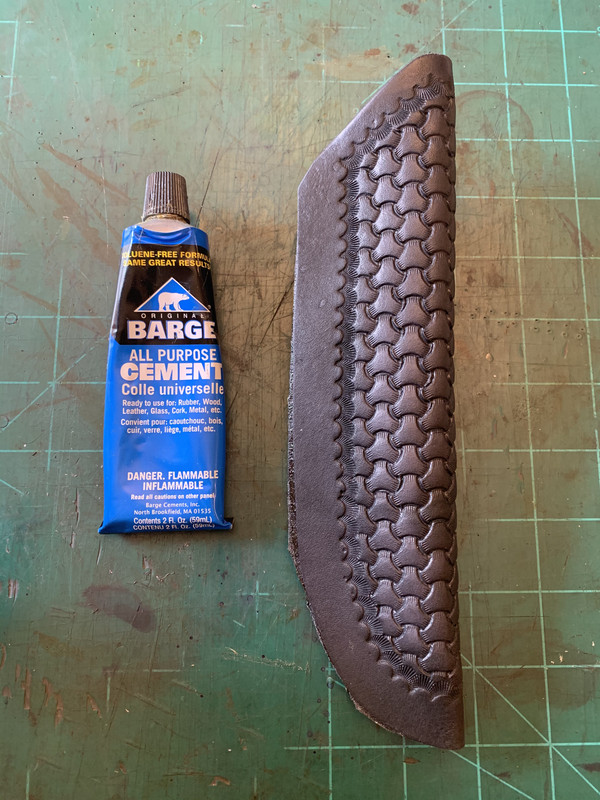
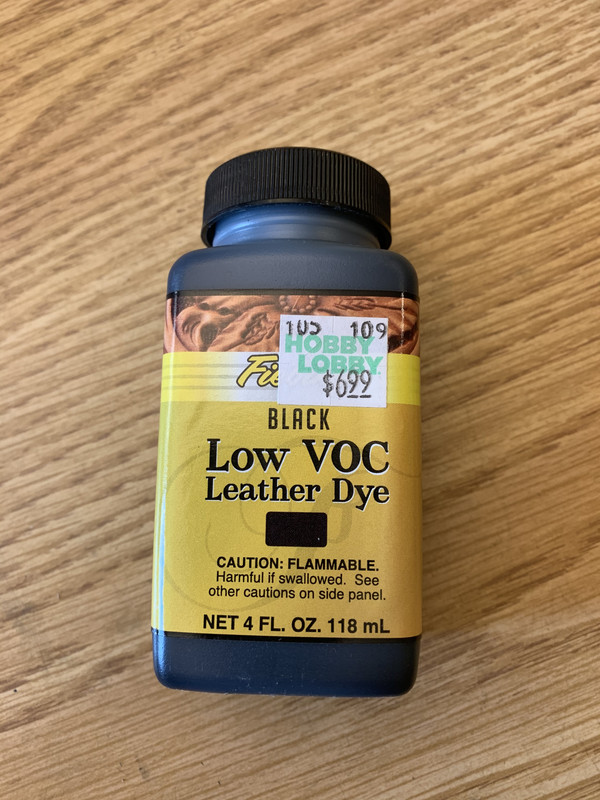
I am a big fan of Fiebings dyed. I will be using this color. The reason, I could buy it from my local Hobby Lobby. I live 2.5 hours from Tandy Leather in Omaha. It has been closed and I have not had time to get there recently.

Sometimes you use what you have available to you.

49-E46-A94-DEC3-4340-B8-C3-E476282950-D4.jpg
 
I start the on the flesh side. I color the whole thing. Some makers do not color the inside. Some just color the top. Which type are you??

FD585-A0-A-A9-CA-46-C5-AA5-E-3-F59-BB42-A873.jpg


Then flip it over and do the grain side. Just make sure you get all the nooks and crannies in the stamping.

6-B840693-0-D11-4-A0-C-B202-C457-ECF7-E1-B3.jpg


It is a hot sunny day. so I will just set these outside for a bit of time to let the dye fully absorb into the leather and dry.
 
While I wait for the dye to dry, I will show some of the tools/materials that are going to be used.

Gold braided cord and stitching needles.

102797-B9-682-A-4-B93-B096-24-B307321-E87.jpg


A groover. This will create the trench for the stitches to sit in.

1696-BF92-C07-A-4-A24-9197-7-F6-AB716-EB82.jpg


I will get the tiny little hole honed and sharpened on my strop.

1696-EE8-E-0-C6-C-4-FCB-A594-BD46626901-AE.jpg
 
Start with the top of the belt loop.

FD6B6F29-95D1-4E0A-ACAC-83BEFA9D4A19.jpg


Three well placed stitches. It will hold the top of the loop tightly against the sheath.

089307BA-EB06-452F-AA3C-9665C188E049.jpg
 
This is my current way of setting stitches. A diamond hole chisel. This is a cheap Tandy model with three (3) different stitch lengths.

10AA0520-B82F-46DE-AA67-843BA3166D0B.jpg


Just stand it up perpendicular to the groove line and hit it with a mallet.

ABBCDD7D-3EBB-4618-8A76-E6A94BB3A095.jpg
 
Then just hand stitch. Set each stitch with the same tension. That is the key to a nice stitch line.

73A9149F-A44A-405D-9938-67769A93892C.jpg


Finished the lower portion of the belt loop.

545B7260-AD16-4026-971B-B679D72FCA29.jpg


Afterwards take a clean faced mallet and lightly tap the stitches into the groove line flushly.

87E49BA6-1F97-4078-8ECD-D4C5A52AB9B5.jpg
 
Check the fit with the knife. I am good. Edge looks rough. Off to the grinder. I use my grinder with a clean 36 grit belt at about 30-35 percent.

1-FE1-B641-4561-4-DD7-9-FB4-1-A14-BAA25717.jpg
 
Two rules for using your grinder. 1) Do not drop your sheath into your dip bucket. Mine is gross and that would get nasty. 2). After you cut yourself on the grinder, do not bleed on your sheath.

Edge is rough ground. After putting in the stitches I will clean it up, smooth it out, and dye it black. I just want the leather set so it does not move around. Stitches are the cure.

7351131-B-C1-B0-4-F1-C-8597-E94-FDD1-D9-CA5.jpg
 
Take the diamond hole chisel and punch holes down the front side. Stay perpendicular to the sheath will help immensely in lining up the holes on the back side.

B3DE49B2-3185-4A3B-920A-3A734CF126AD.jpg


I start with the first hole at the top of the sheath. I want it right there. I do not care as much as to where the last hole ends up at the bottom of the sheath. But the top one is kind of important. Right there!!

F3DAB1E8-FDE2-4BA3-89F9-66EBCE73E19D.jpg
 
Holes are cut on the front side.

80731B18-5384-41A3-851B-4B953182A65E.jpg


This is the back side. The leather was fairly thick with the welt. You can just see the little nubs.

BBA08986-8293-4D36-958D-3E01FE3B8F9E.jpg


I now use the groover to cut the groove on the back side. It should line up fairly well with the little nubs if you don’t change it from cutting the front side. Unfortunately, I lost the picture so you will need to trust that it worked.
 
Start stitching from hole no. 1 at the top of the sheath. Biggest tip I can give is have even pulls on the tension of the sting after each stitch.

Front side picture.

D15C1B7B-D9FB-4F1D-8025-521095433885.jpg


Back side.

DB58FDCC-C66B-4A28-8C7E-C48818E47D53.jpg
 
Very nice sir - at beginning you mentioned 5-6 oz leather. There are many options Shoulder, double shoulder, belly First, for the ol' hillbilly - can I get nose or other 'special request' areas? and second - other than that - what leather would you recommend - thank you
 
I again use a clean 36 grit belt. I turn it down to around 20 percent. You can sand to 800 grit if you would like. I will stop here.

C6-D058-C2-7-BB5-4-E64-A5-F8-F78-A4-F831609.jpg


Then I dyed the edge.

C47-B1-B6-F-805-B-42-A9-9-B03-38-D12-CB3-D62-D.jpg
 
Back
Top