GeneK's KITH Bowie

The only concern I have with white is whether I can keep it clean. I've used it before and had spots that looked dirty.


I also want to etch the edge of the tang after I get the handle finished and I'm not sure if it will discolor the white liner or not. I may have to glue up a sample piece and try it.

Finger nail polish.
 
Time for handles. I'll be using corby bolts for the handles, so I will show my process for installing handles on a regular tang and a tapered tang.

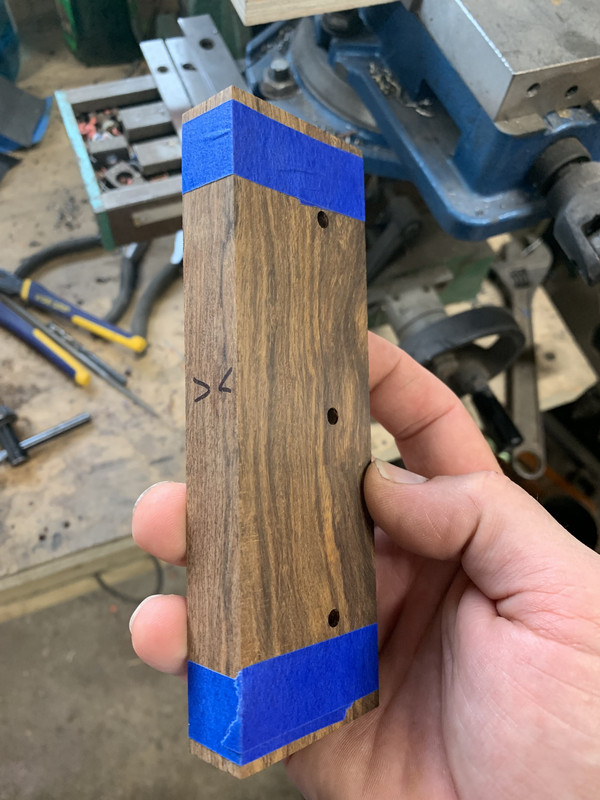
After I have split the block and flattened the scales, I position the blade on the scales where I want it, paying attention to any defects and the grain I want in the handle, and drill one of the pin holes. Then I'll insert a pin in that hole and drill the next.


Next, I tape both scales together and use the holes in the one scale to drill the other.


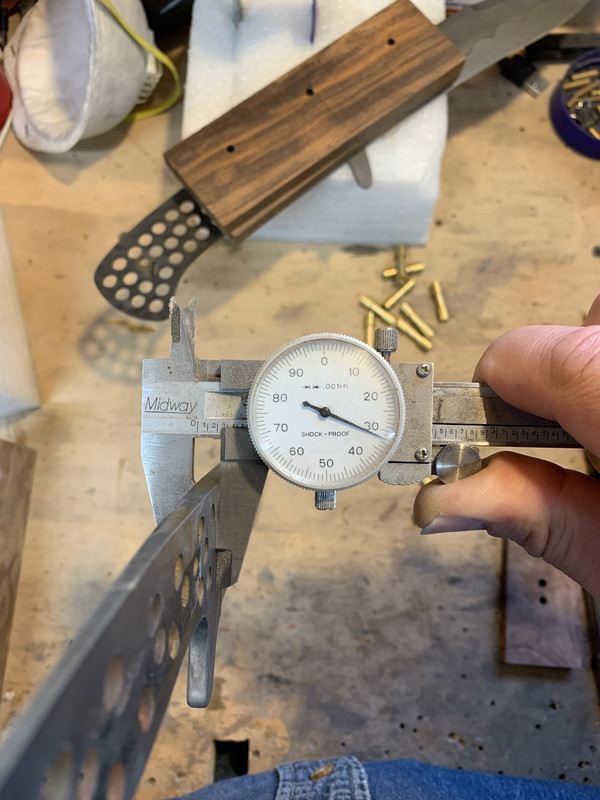
On a tapered tang, I need to find 1/2 the difference in the thickness of the ricasso end of the handle and the butt end. On this blade, the math was easy. The ricasso is .200" thicker than the butt end of the tang, so I need to shim the butt end of the scale up .100" when I drill the holes.


Three pieces of G-10 liner material will work for the shims.


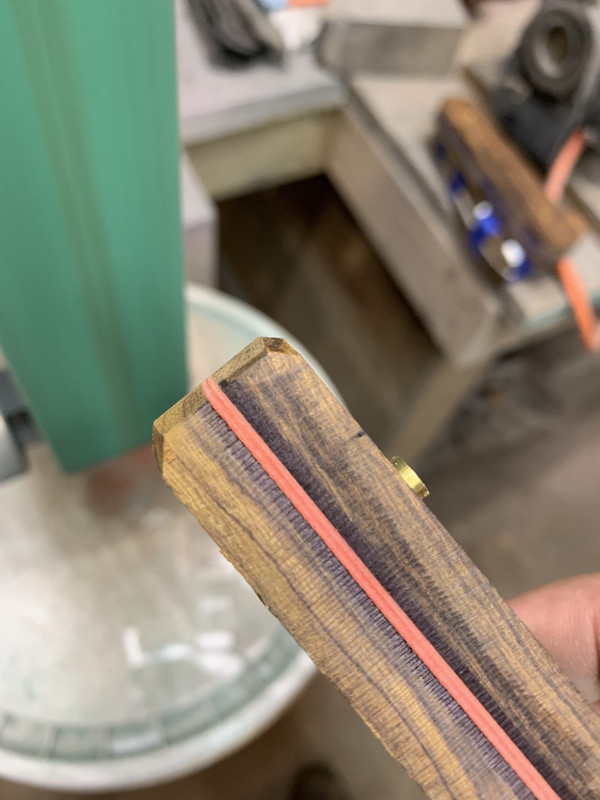
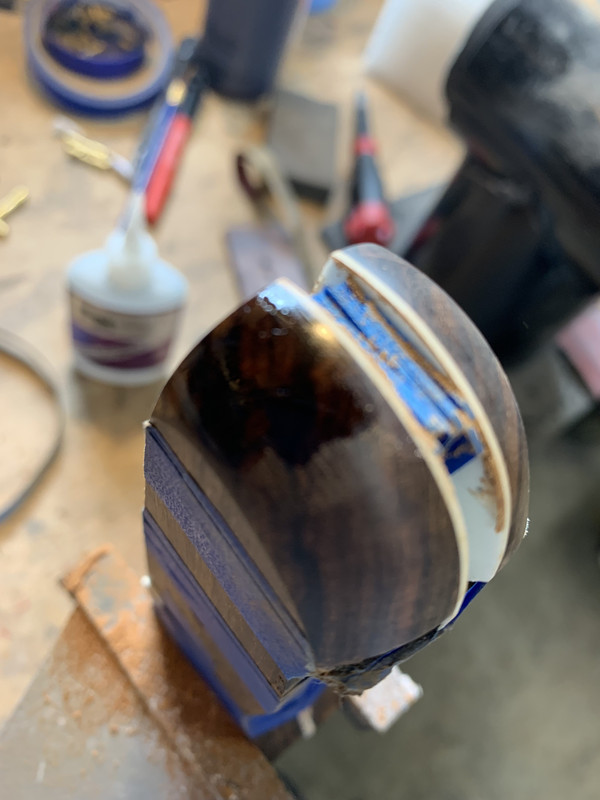
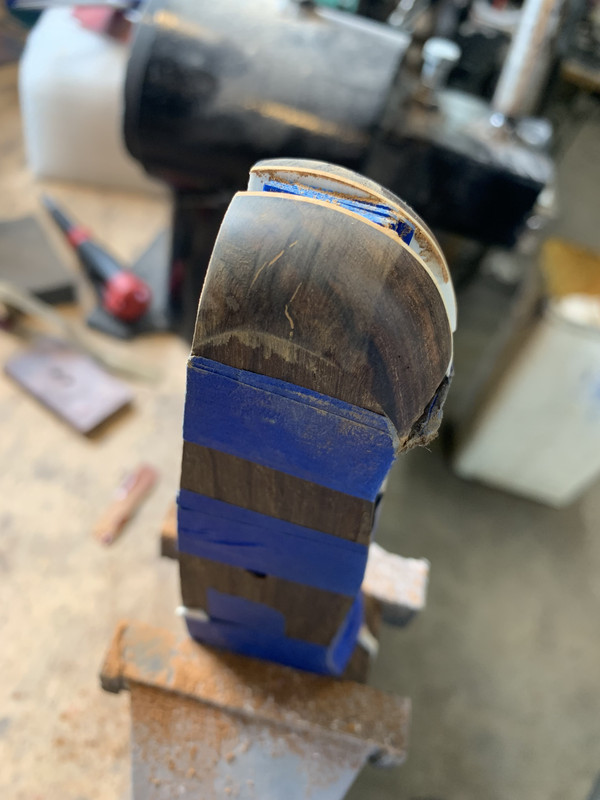
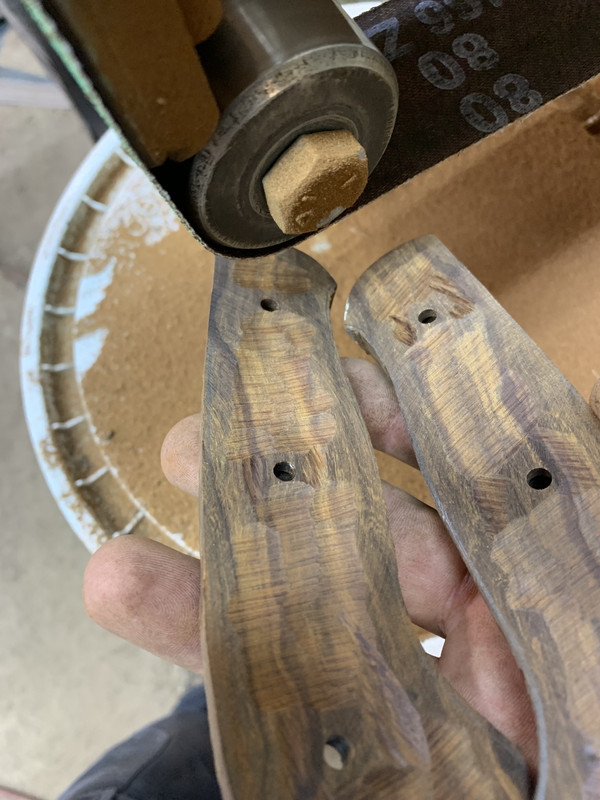
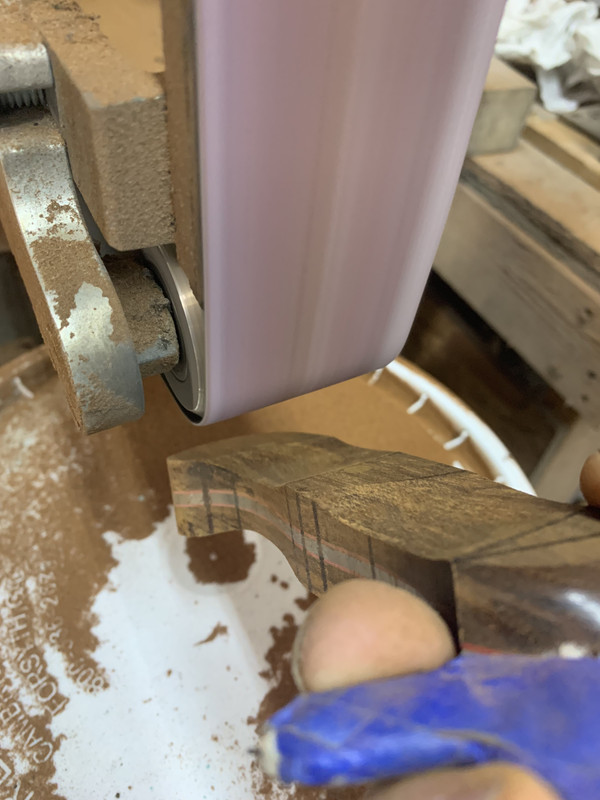
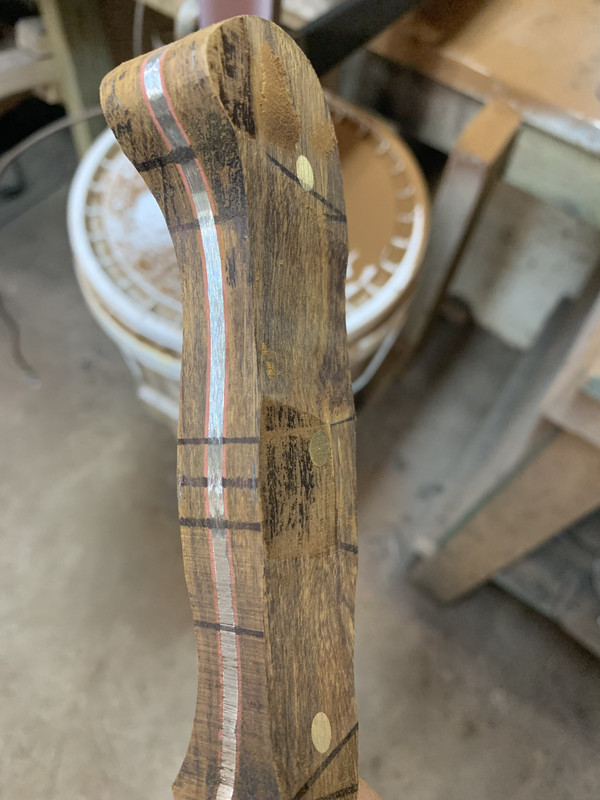
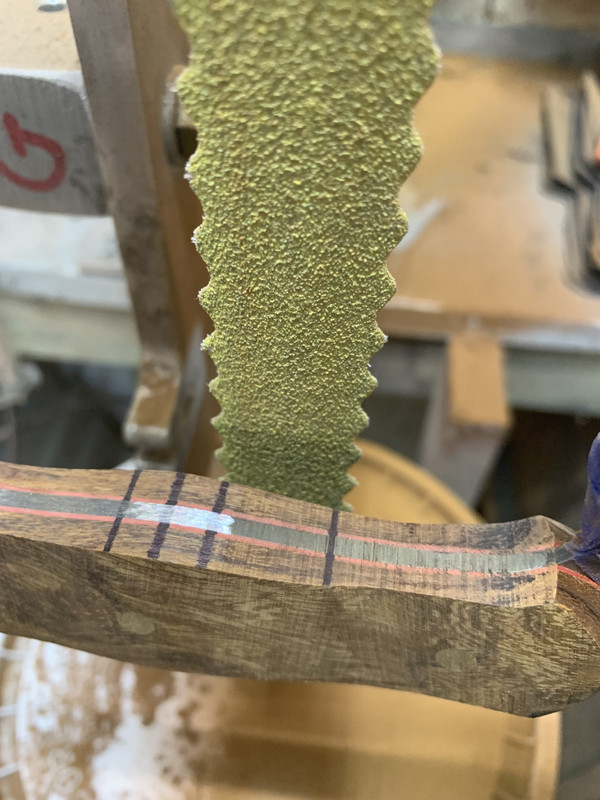
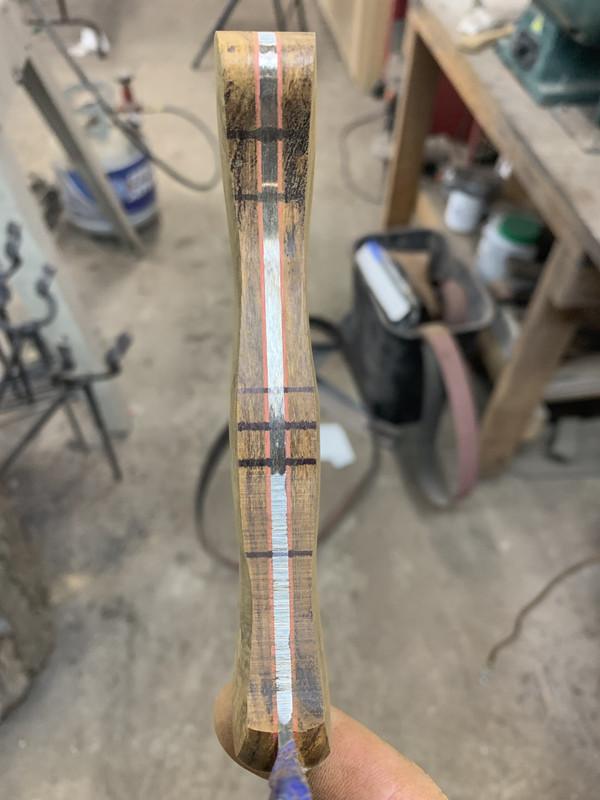
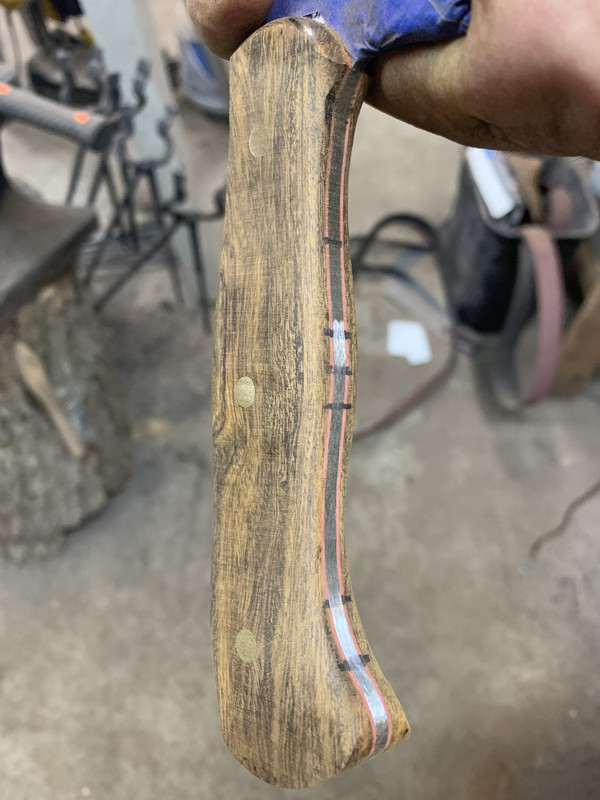
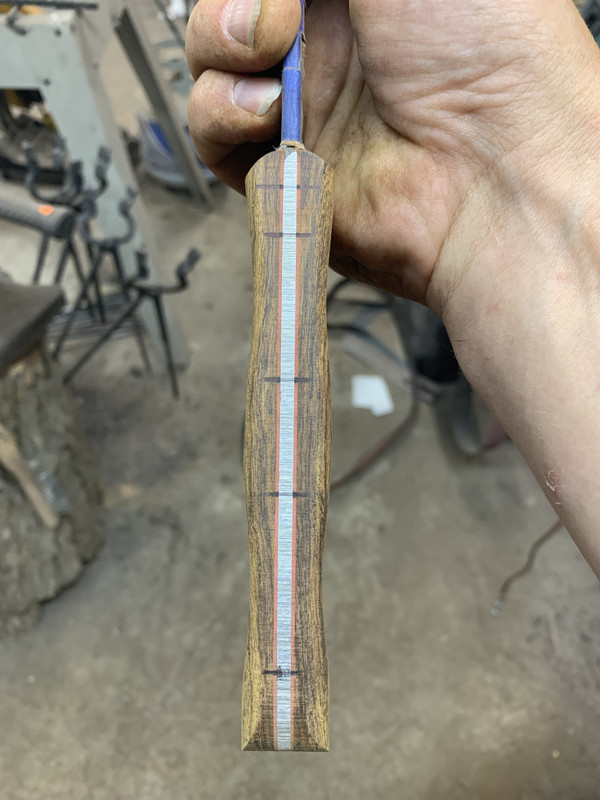
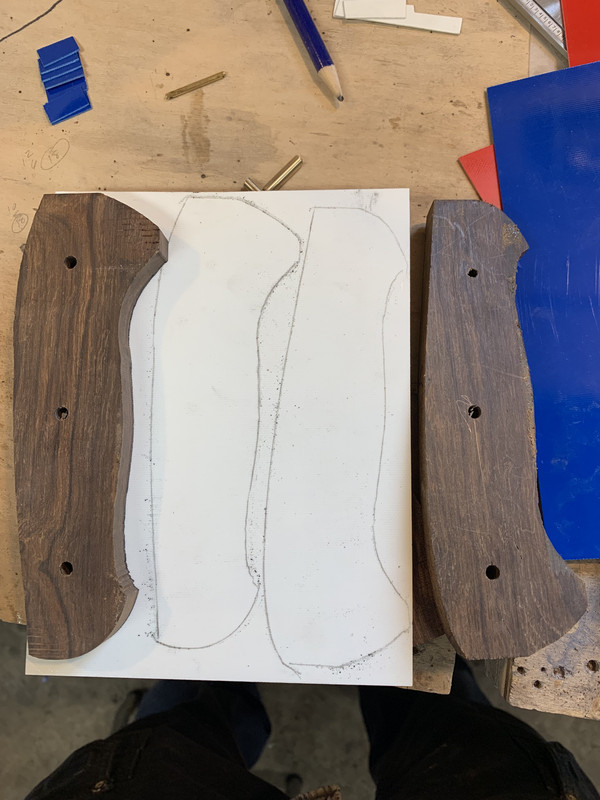
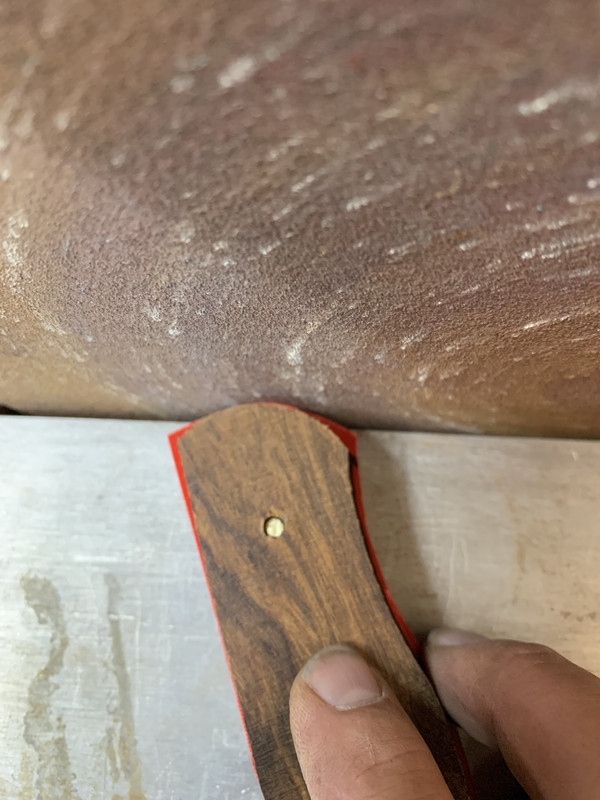
After the pin holes are drilled, I pin the blade to each scale and draw around the tang. On one of each set of scales, I draw the shape I want for the front of the scales, then rough cut each scale on the band saw, and sand the front of the scale on the disc sander.


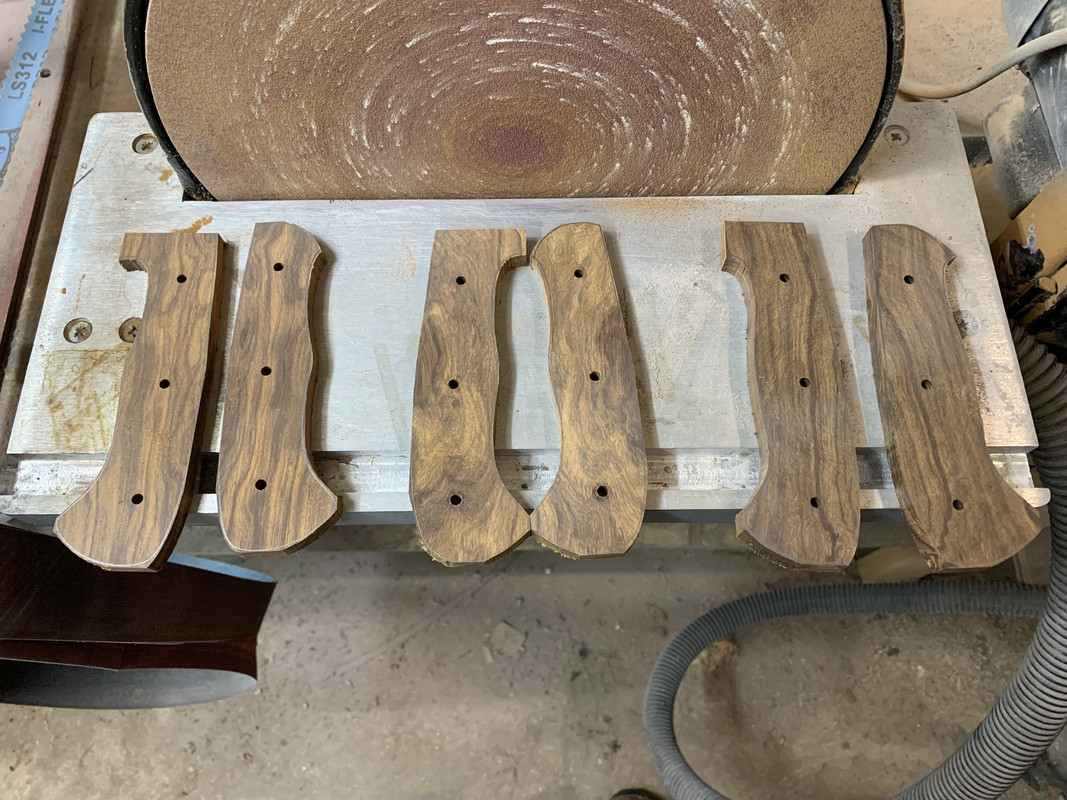
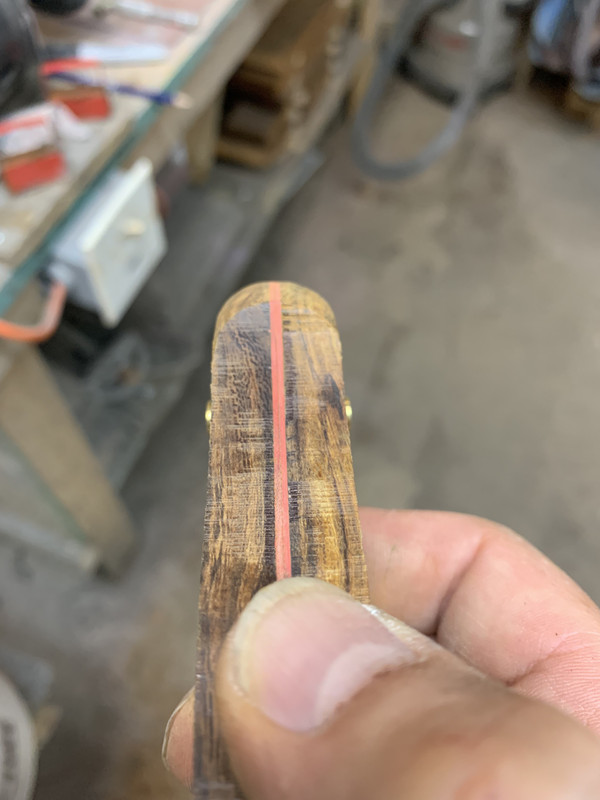
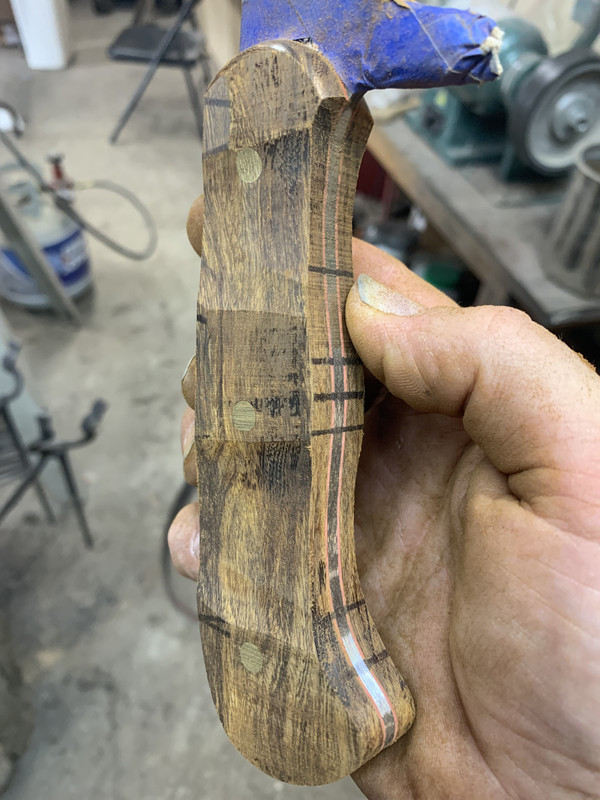
I then pin the scale with the profiled front to the other one and cut and sand it to the profiled scale.


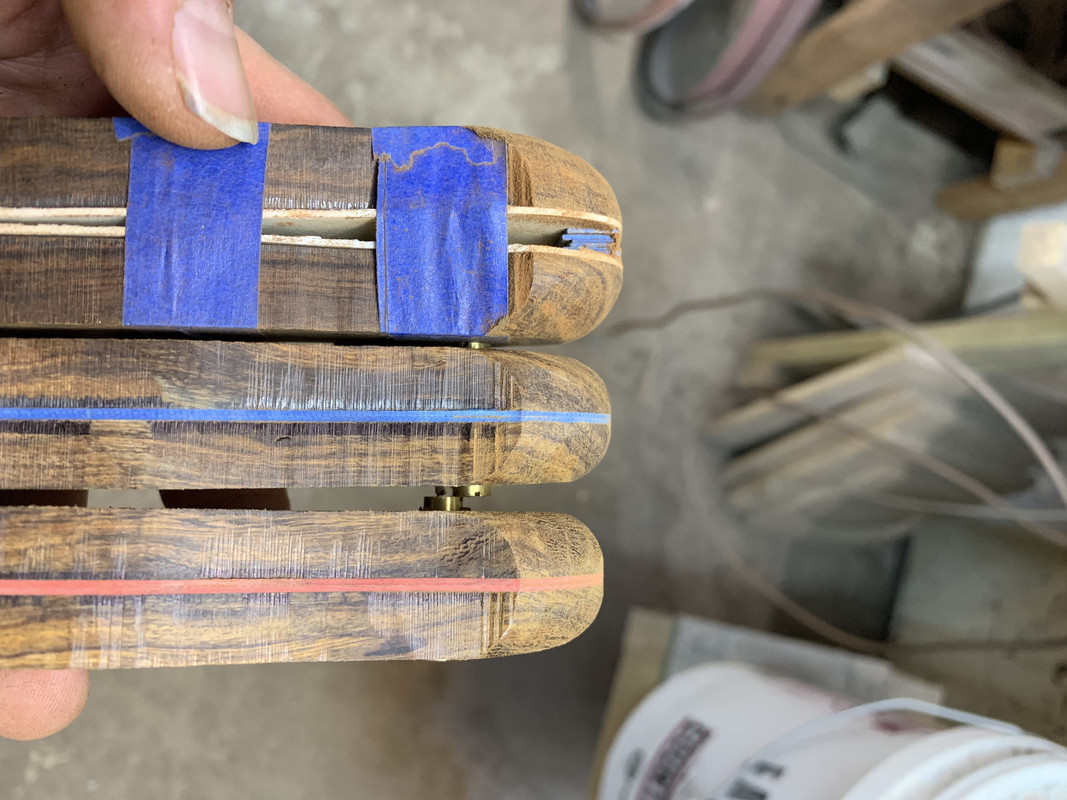
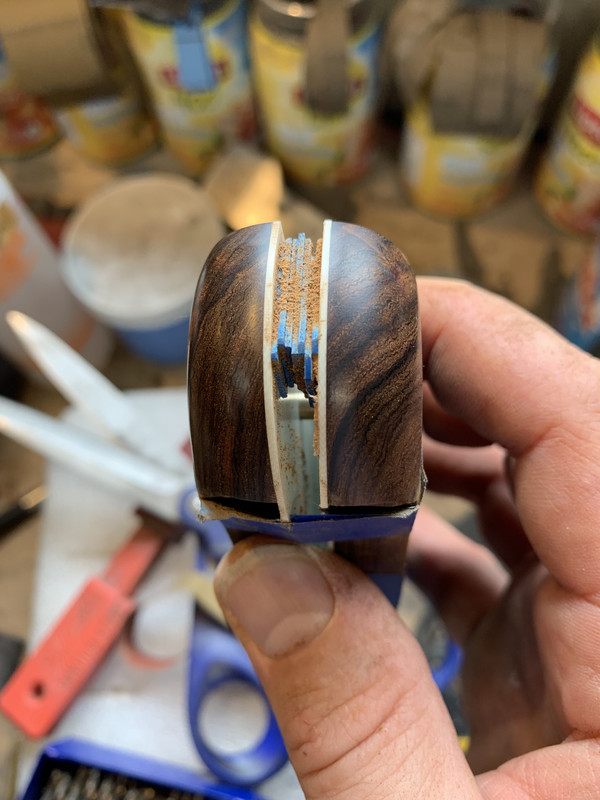
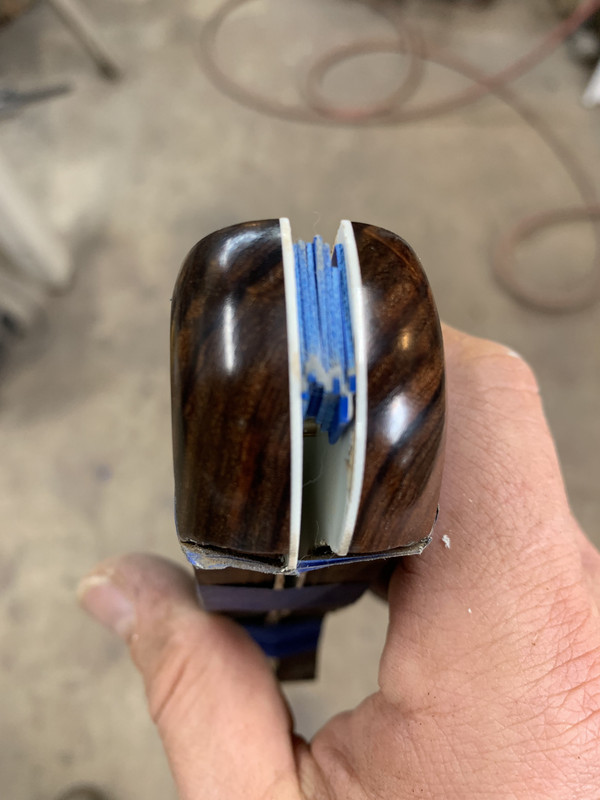
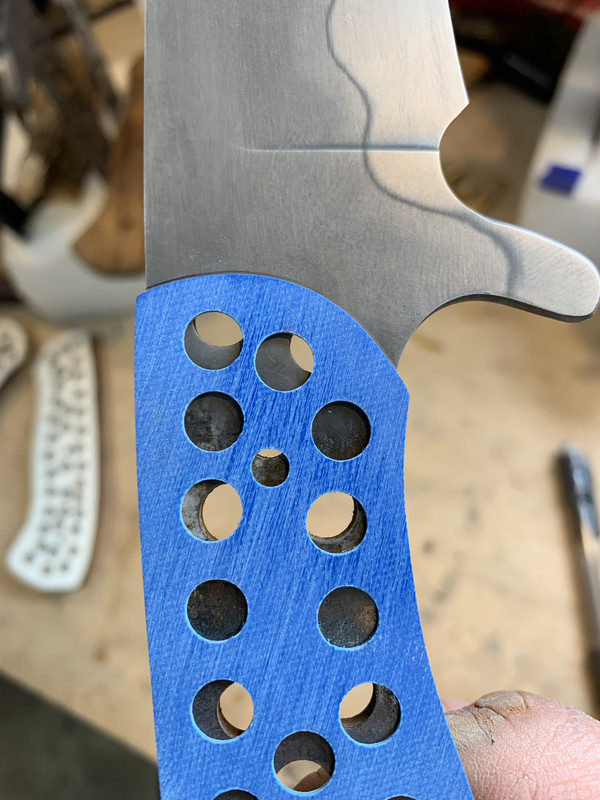
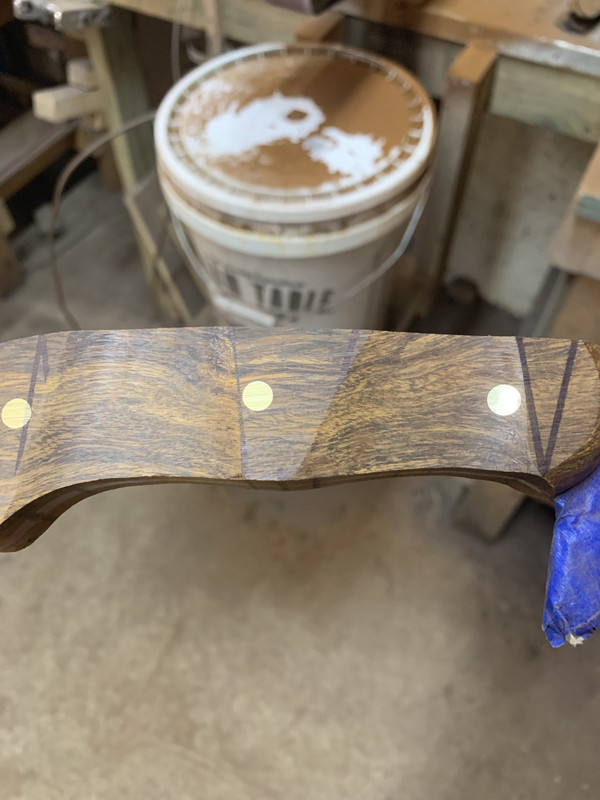
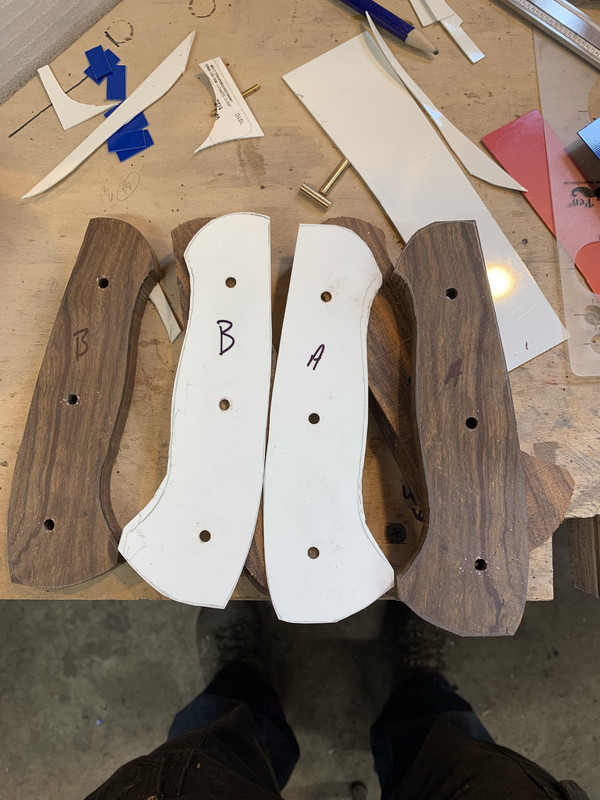
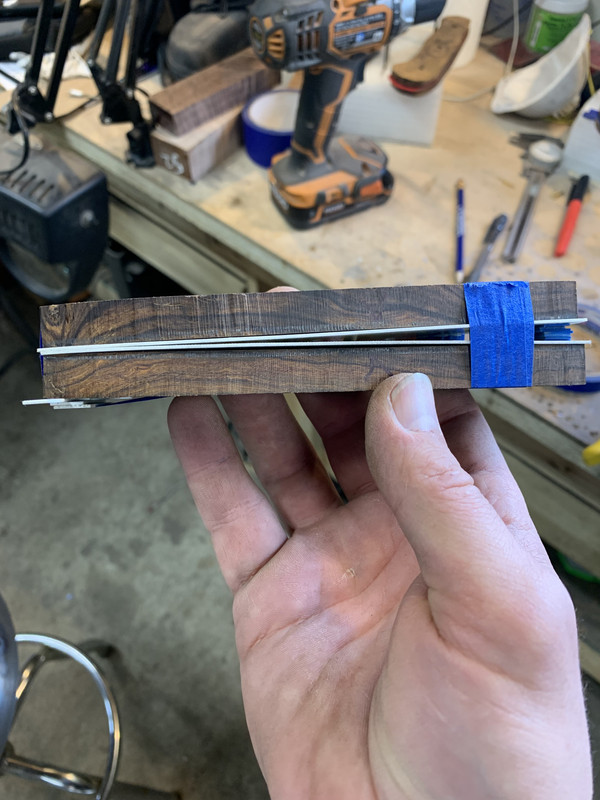
Next, I trace the scale profile on to the liner material, cut them out and drill the holes. After ruining a band saw blade cutting the G-10 liners, I found that a pair of tin snips work pretty good to cut the liners out.


After pinning the scales and liners together, I sand the liners flush with the scales.


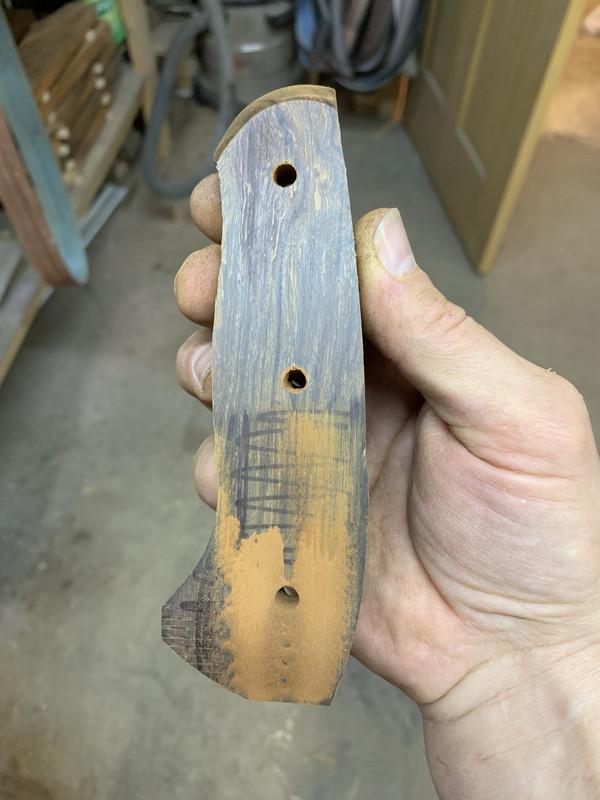
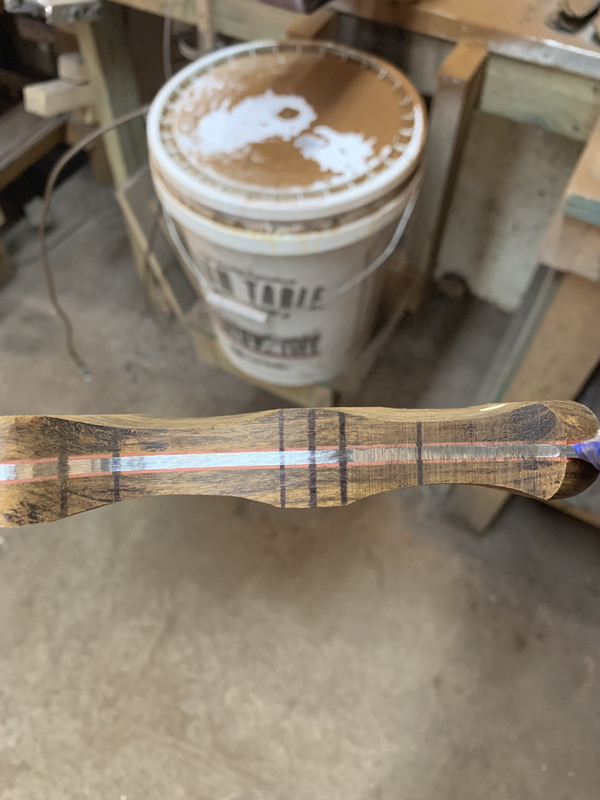
For the tapered tang, I tape .200" of shims between the front of the scales and liners and .100" of shims under the bottom scale. This squares everything up so the front of the scales will be square with the blade when I sand the fronts.


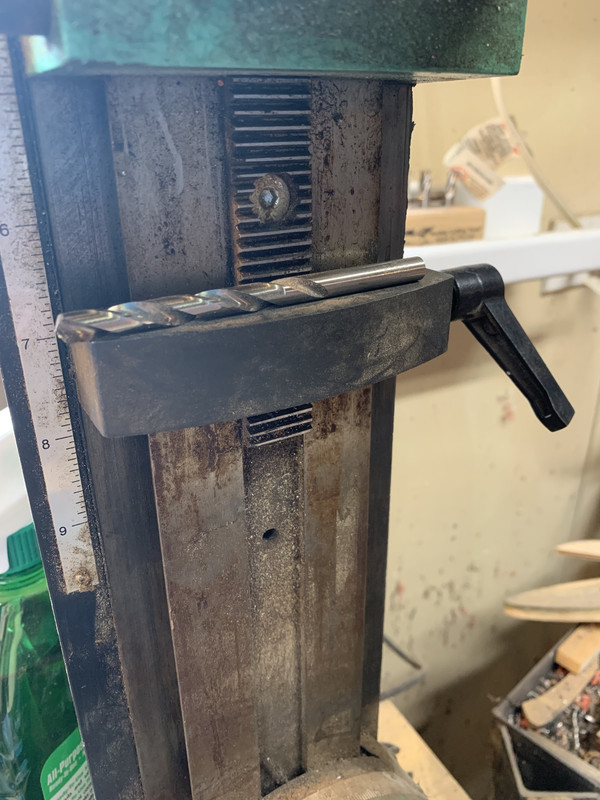
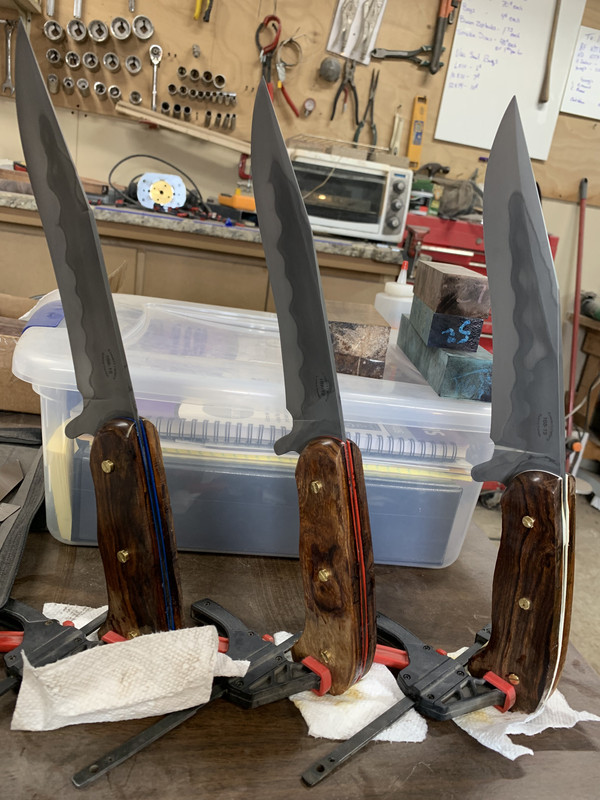
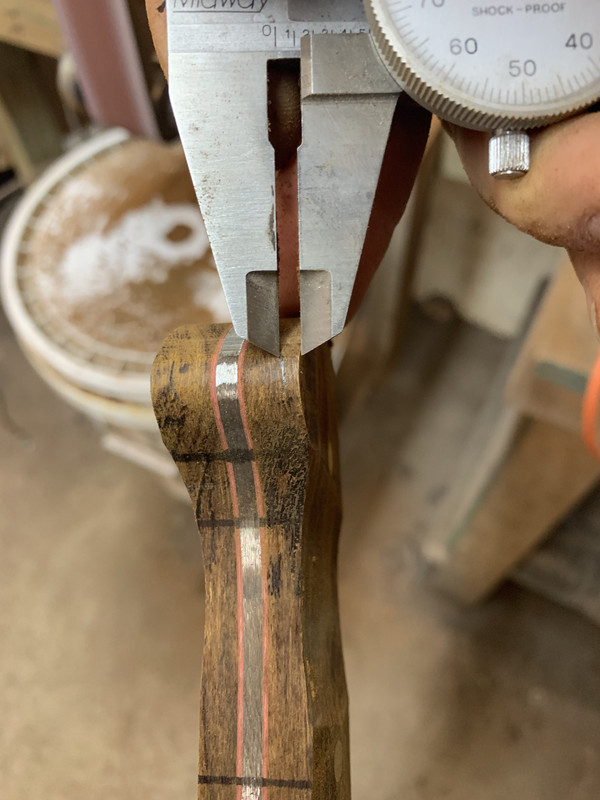
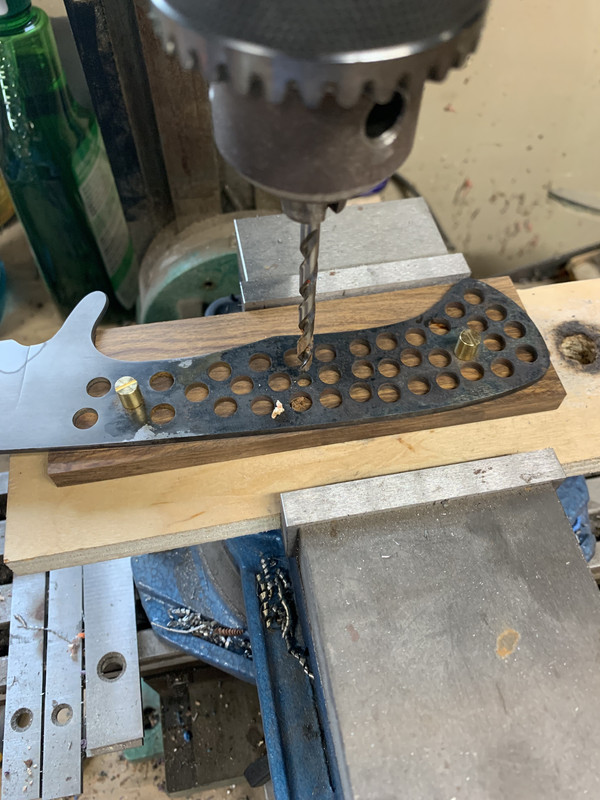
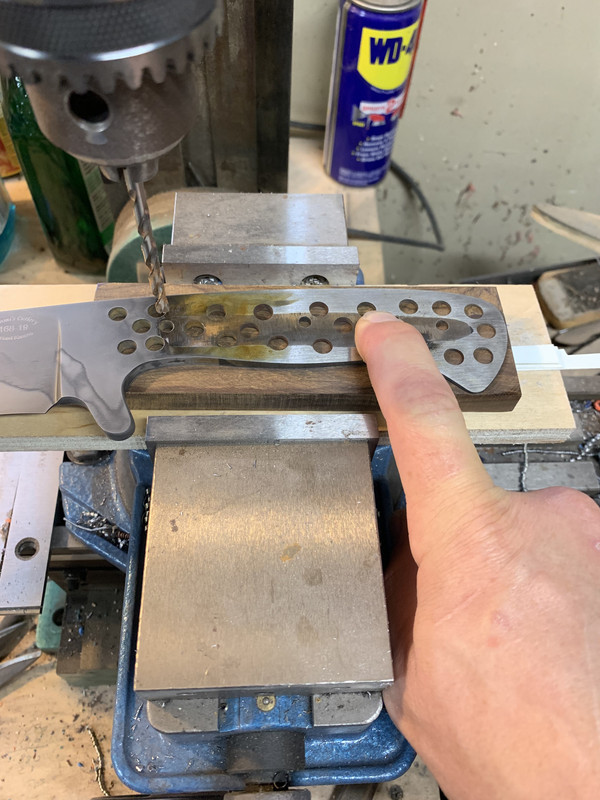
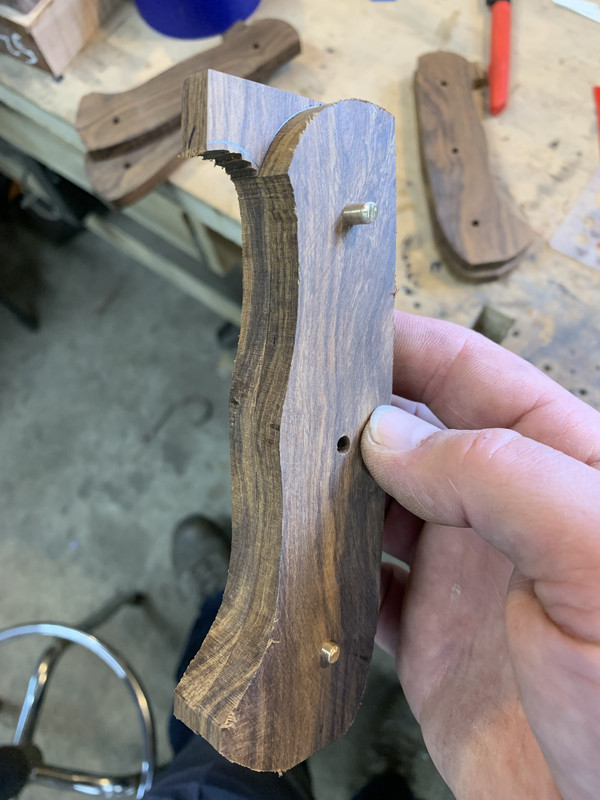
Now I set up the step drill to drill for the corby bolts. I leave .160" under the shoulder of the corby bolt. This let's me use the same set up on any blade from 1/16" to 3/16" without having to change my set up. I use a shim that I drilled a hole in to set up the stop for drilling with the step drill.


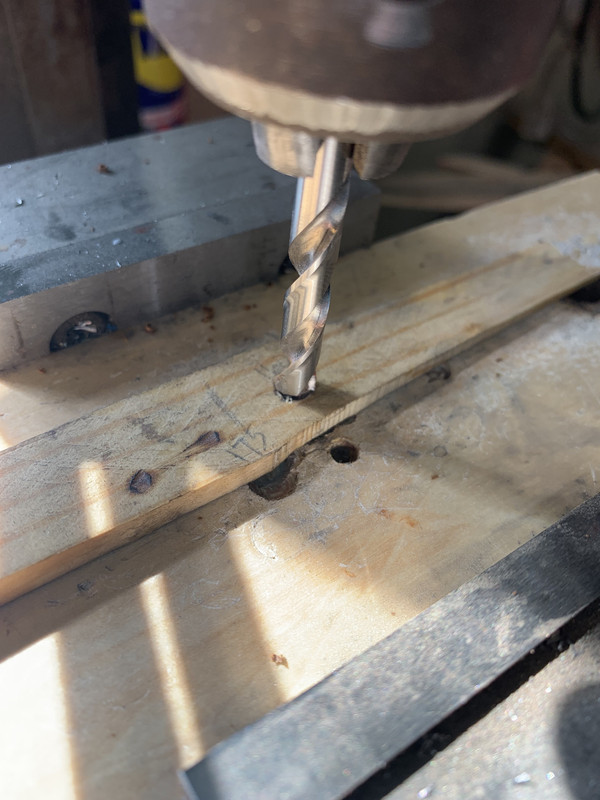
For the tapered tang, I need to shim the front of the scale up .100" to drill for the corby bolts. Since each pin will have to be drilled to a different depth, I set the stop so that the shoulder on the step drill flush with the table. Then I will use different size drill bits set on the stop for each hole.


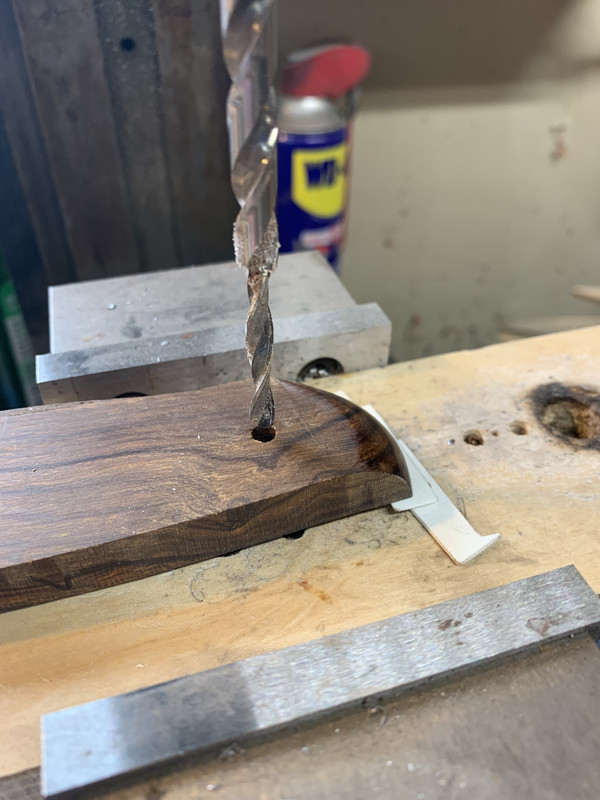
For the front hole I use a 1/4" drill bit on the stop since the scale is raised up .100" and I want .160" under the shoulder of the corby bolt. I used a .210" bit for the middle pin hole and a .163" for the back hole.

 
Next, with the scales and liners pinned together, I shape the front of the scales. I start by sanding the curve of the fronts at different angles until I have them to an almost round shape.


Then I roll the front of the scales on the sander to get them close to the final shape.


At this point, I put the scales in a vise and sand the fronts up to 1000 grit by hand. I use the shoe shine technique to sand them.


On the one set of scales, a few cracks showed up. I use a little super glue and sand it while it is still tacky.


If after sanding the super glue, the cracks fill with lighter dust, they are not filled yet.


That's better.


Finally, I hit the fronts on the buffer with white compound.


To prep the scales for glue, I use the wheel on the grinder with an 80 grit belt to cut a groove in the scale to hold glue.


For the liners, I drill a bunch of holes so the glue can reach the scales and the tang of the knife.


I sand the tang of the knife with 60 grit before I glue everything up. In the previous picture, I slid the liner back 3/4 of the pin hole and marked the front of it on the blade so I don't sand the blade where the scale won't cover it.

Before I glue the tapered tang, I want to thin the front of the scales since the front of the handle will be .200" thicker if I don't. I set my micrometer to .100" and mark the sides of the scales.


I use a marker on the face of the scales so I can see what is being sanded.


I then sand the scales free hand on the belt.


The last step on the scales is making sure the backs are flat by hitting them on the disc sander.

All glued up.


Anybody tired of pictures yet?
 
Time for some handle shaping. Normally, I just start grinding them to shape and eyeball form side to side to keep everything even. On these, I decided to draw some layout lines.


I started with a 60 grit belt and used the bottom wheel of my platen. The main thing to watch for is not getting anything too hot. This is where it's nice to have several knives to do at once so you can rotate between them.


Next, I want to make the bottom of the handle thinner, creating a wedge from top to bottom, so I use the calipers to mark a line to sand to.


For the rest of the handle shaping, I use a 1" 80 grit, scalloped belt to blend everything together.


I also round the edges over with this belt.


Next, I will sand the edges of the handle and blade to 400 on the platen and small wheel, then all the sanding from that point will be done by hand.
 
Gene that was very, very helpful. I have never thought of marking out lines on the handle. How thick were your scales to start with?
 
Great WIP. Some good ideas on how to fine tune the process, using layout lines to keep things uniform.

I just started using 1" scalloped belts and love them for handle work. I need to get more in different grits.
 
Great WIP. Some good ideas on how to fine tune the process, using layout lines to keep things uniform.

I just started using 1" scalloped belts and love them for handle work. I need to get more in different grits.
What do the scalloped belts help with?
 
Back
Top