First slip joint WIP

Thanks for the help man. I just played around with it a little last night, I might get a chance to really sit down with it tonight, depending on what time I get off from work today.

I'm wondering what the etch will look like just using DC. Of course I only have 12 volts DC and AC. I'm saying I'm wondering what it will look like without ever throwing the AC to it. My stencil looked fine until I turned on AC, the the Qtip started to turn brown and it started to deteriorate. If I could get a decent looking light colored etch using only DC, I might just stick with that..
 
You can always go with a light DC only etch if it's what you want.

I would however caution you NOT to avoid things such as this. There will be a learning curve involved. You can go for it, experiment, and figure out whats gonna work for you or put it off.

IMHO a light colored etch will never looks as good as one that has been darkened.

Of course this is only my opinion and we all know what THEY say about opinions ;) LOL.

I built confidence by etching my mark about a dozen times on a heat treated blade that had been muffed up and I had no intension of finishing.

Good luck,

Josh
 
Thanks.

That's actually my spare bedroom lol. I have a shower curtain on the floor and the walls lined to try to keep the mess from messing up the room. I'm in the process of building a shop in my backyard, but it won't be finished for a while so this is where I'm set up for now.


My wife would kill me dead, bring me back to life and kill me again! Very nice work on the build along.
 
I was going to play with the etcher tonight but I didn't get a chance. Started working on the bolsters. I didn't do a whole lot of work to them because I still have a couple of things that need to be done before I go forward. I did use the new stay clean flux and solder from pop's to put a dummy liner piece and bolster togather to see if i could do it. It did exactly as it should have and held great. not a hard process to do at all. I was actually kind of worried that I would struggle with it.

I'm going to offer some tips as I work. As some of you surely know, knifemaking is alot like machine work. I can't stand for something to run out or be out of square. I take every possible problem are into consideration. I may not always take a picture of the exact thing that I do, but rest assured it's being done. I will throw in some pics occasionally of what I do.

I started with 4 pieces of mill finished (the way it comes from the supplier) 410 ss .125" thick. I took each piece and stuck it up against the disc sander to true up the back. Now that we have the back of the bolsters straight, we can work from those surfaces to be sure everything else follows them.

Here are the four pieces done-
slipjoint35.jpg


Here I am showing you the side that I ground. This side needs to go down against the surface of your drill press or mill table. This way, the hole wll be square with the back surface. Be sure you stick it back up against the disc sander or rub it on a stone after drilling to get rid of the burr the drill causes. -
slipjoint36.jpg


In this picture I'm demonstrating something you should never do. Never hold a piece with your bare hands. I've done this (or let's say tried this) on many occasions, usually with not so good outcomes. You would be suprised at the power that even a small drill has to grab a part and spin it either cutting you in the process or just flat out striking you. Not cool. I actually had a big 2' long part one time I was tapping come loose and spin around and hit me where the baby making goods are. Again, don't do this-
slipjoint37.jpg


While a vise is the best thing to use, I don't have one here at home that will fit this itty bitty table. I used these needle nose pliers with some success. Be sure that as you hold the piece it remains flat against the table, so that your hole is square-
slipjoint38.jpg


I know several of you may have been wondering about what I should use for a sheld. I chose to make my own, and I don't recall seeing one like this. I figured a cross was unique, and hopefully nobody uses this design exclusively. The plate is heat treated D2, and it's at about 65 RC right now. I think this is called the parser plate. Still have to make the actual shield.-
slipjoint40.jpg


Here I am grinding one flat edge on each bolster piece. This surface I'm grinding will be in contact with the handle scales. Again, you need to be face down on the surface you ground to begin with, that way this surface will be 90 degrees square with it. Of course this only matters if the table is square with the disk / belt. I have this small piece of squared steel I use as a square for this-
slipjoint41.jpg

slipjoint42.jpg
 
Last edited:
Now, I need some recomendations from you guys on what to do with two concerns.

I need to go ahead and grind the blade, but I'm not sure If I want to flat grind or hollow grind. All I have is a 8" wheel, and I don't know if that large of a radius (4") would be good for this smaller blade. A flat grind seems to be popular on these smaller slippies. Which do you think I should use?

Second, I have to figure out some way to relieve the liners. I don't have a mill set up here at home that I can do them with. I don't even have a rotary table that small anyway. I think I remember Ryan etching his. What options do I have short of taking a rotary tool and grinding by hand?

I use a 14" wheel and it looks practically flat. Your 8" wheel should be fine. Just try it on a scrap practice blade and see. I love a hollow grind but it needs to go almost all the way to the spine.

You really only need to relieve the liners about .005". I usually go .007" on my mill. You can make your own rotary table and rotate it by hand slowly. I sure like my rotary table. It was only about $75 from ebay and when it gets here it has a Grizzly sticker on it.

Grizzly has a 3" that they sell for about that, and I was thinking about getting it and just using it on one of the mills at work. Not sure yet what I'm gonna do.
 
[QUOTE=J.

I'm going to offer some tips as I work. As some of you surely know, knifemaking is alot like machine work.


JS and Bruce

Thanks for all the tips, I find that I'm studying machine work more than knifemaking. Becoming familiar with basic tools and procedures, referencing MSCs big book catalog has a lot of info at the first of each section, like "taps for instance they explain the different types and uses.

Basic procedures, i have been paying close attention to Bruces tutorials.

It's a lot of those little things that you machinist do as routine that really help.

One thing I've learned is to keep things flat and square, if not it'll follow you through to the next step and screw it up.

How to keep, and make things flat and square is the challenge.
 
Last edited:
JS and Bruce

Thanks for all the tips, I find that I'm studying machine work more than knifemaking. Becoming familiar with basic tools and procedures, referencing MSCs big book catalog has a lot of info at the first of each section, like "taps for instance they explain the different types and uses.

Basic procedures, i have been paying close attention to Bruces tutorials.

It's a lot of those little things that you machinist do as routine that really help.

One thing I've learned is to keep things flat and square, if not it'll follow you through to the next step and screw it up.

How to keep, and make things flat and square is the challenge.

MSC does have some interesting information in the beginning of their sections. It is good stuff.

If you don't learn these things the right way, you will create habits that will be hard to break as you become more experienced. Keeping things flat and square is the secret to very good work. Building a house is no different.

When I was in trade school to be a michinist, my instructor gave us the following:

A block of metal cut on all six sides and not at all any where near square, an indicator for the mill, an endmill (1 size) and a dowel.

The machine was set up and out of whack on purpose, and a vise was on the table which was also out.

The block was to be 1" square, and he gave us a 1" micrometer, which was ALSO out.

He gave us these things and told us to create a perfectly square block, no more than +/-.001".

First thing on the agenda was zeroing the mic. You need the little wrench and some patience. After that, we had to figure out how to sweep the head in, check the vise, and do several other checks. Then, with a small block of steel and a dowel we made a square block. It can be done. This simple (I say simple but it was hard as nails at the time) task will set fundamentals into your brain on how to make something you can work with out of nothing, and teach you patience.

If you have a mill, try it sometime. If not, try to do it with a file. We had to do things with files as well. It takes alot longer, but again, it can be done :)
 
I've yet to file a guard with a hair line fit, testing my patience, and observation skills.

I got an optivisor, and am learning to pay more attention to layout and using a dial caliper, although a micrometer might be more appropriate (more accurate).
 
I've yet to file a guard with a hair line fit, testing my patience, and observation skills.

I got an optivisor, and am learning to pay more attention to layout and using a dial caliper, although a micrometer might be more appropriate (more accurate).

I made a part for the same instructor one time I was talking about earlier. The print said +/- .005 (really common for a general machine print). I used dial calipers. The print was a lathe part that had like 4 steps, 4 different diameters. He gave me like a 95 on it. I asked him why, and he said my diameters were off a little. I replied "you must of used mics" and without missing a beat he said "you didn't?"

To this day, I rarely use calipers except for ball park measurements lol. That stuck with me.

Stay tuned, later on I'm going to post some more pics of what I've done today. I have to go visit my Grandmother right now. Be back in a little bit.
 
Had a day off of work today so I got a little bit more done. I was wondering how in the world I was gonna relieve the liners. I had thought about the possibilty of buying a small rotary table. I checked the harbor freight website, and low and behold they have two different ones. I couldn't believe it. I called the local store and they had three of the smaller 3 inch models in stock! I drove down and got one for about $55. It was originally $70 or so, but I used another one of the 20% off coupons I found here on this site. If you are interested, do a search for harbor freight coupon.

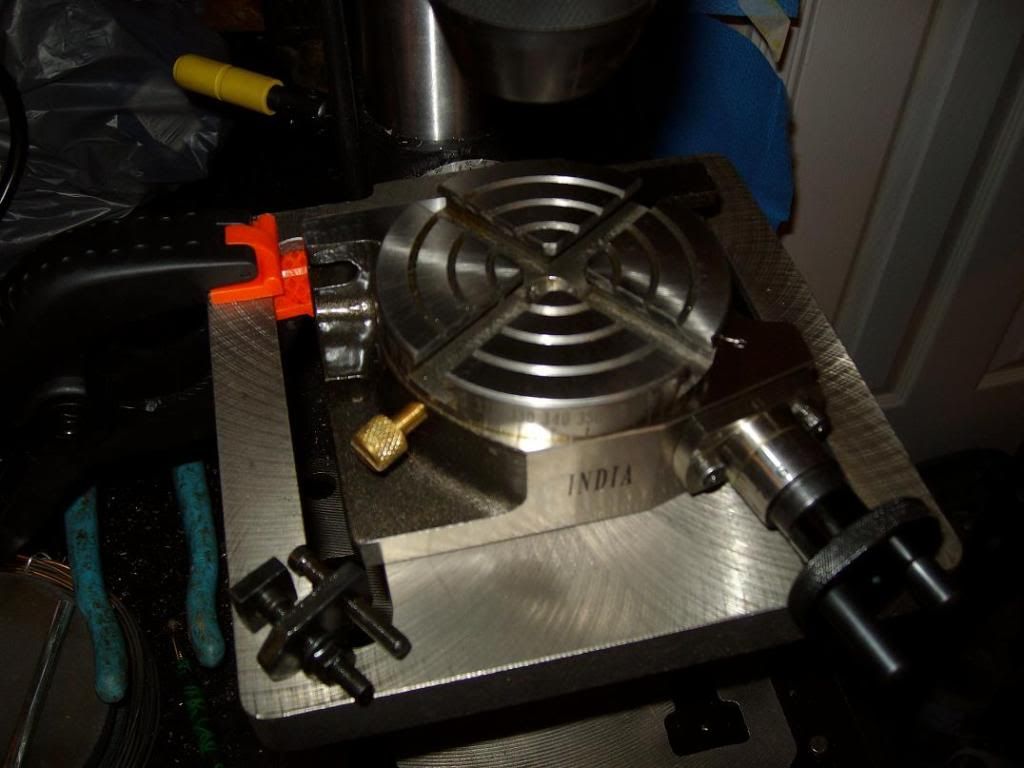
Here is the small rotary table. Looking at your pics Bruce, I think it may be the same one. I think it may have been made in India, but I'm not really sure. I have to admit, I'm excited to have it and it really is handy. I didn't know they made them so small lol-
slipjoint43.jpg


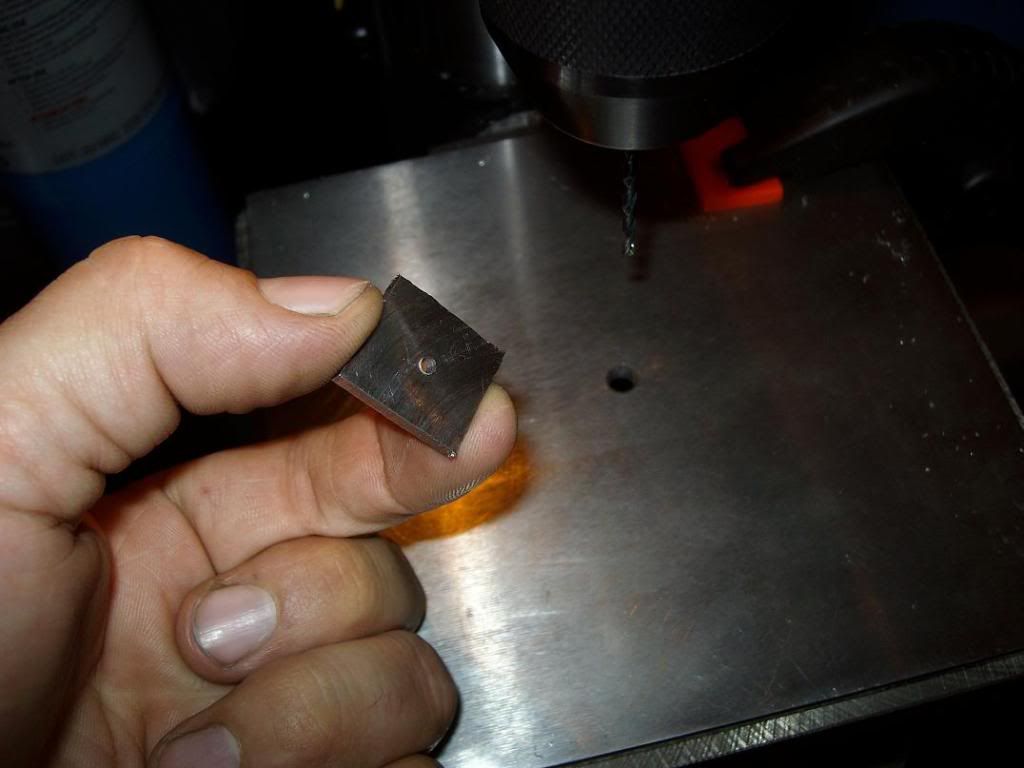
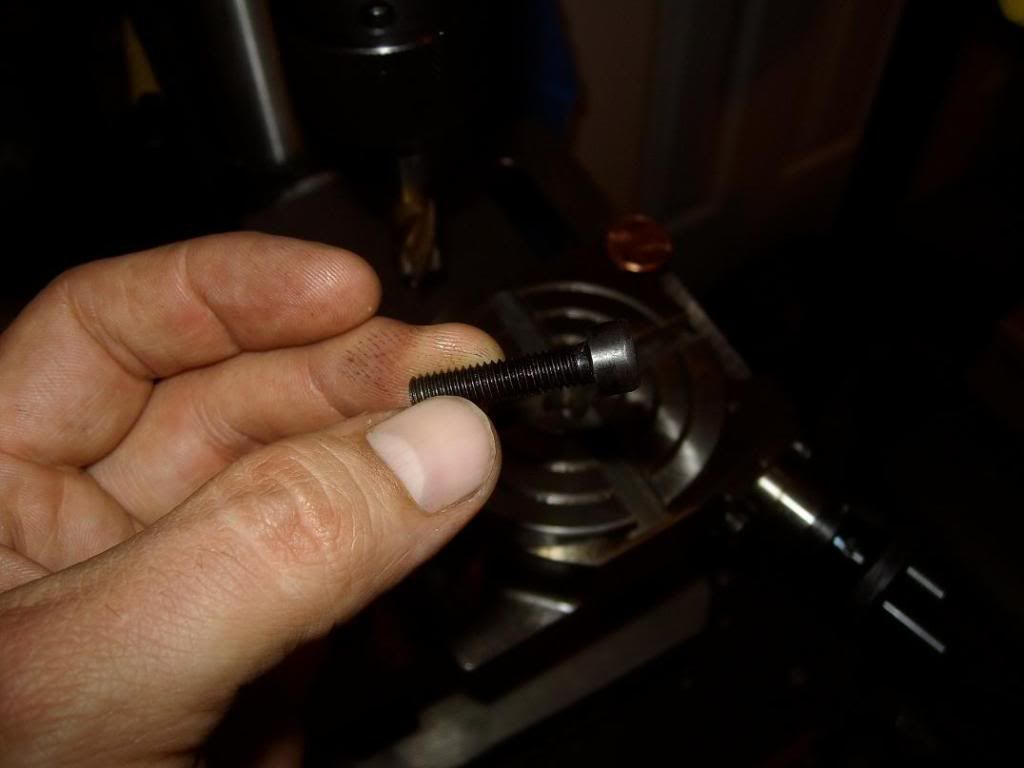
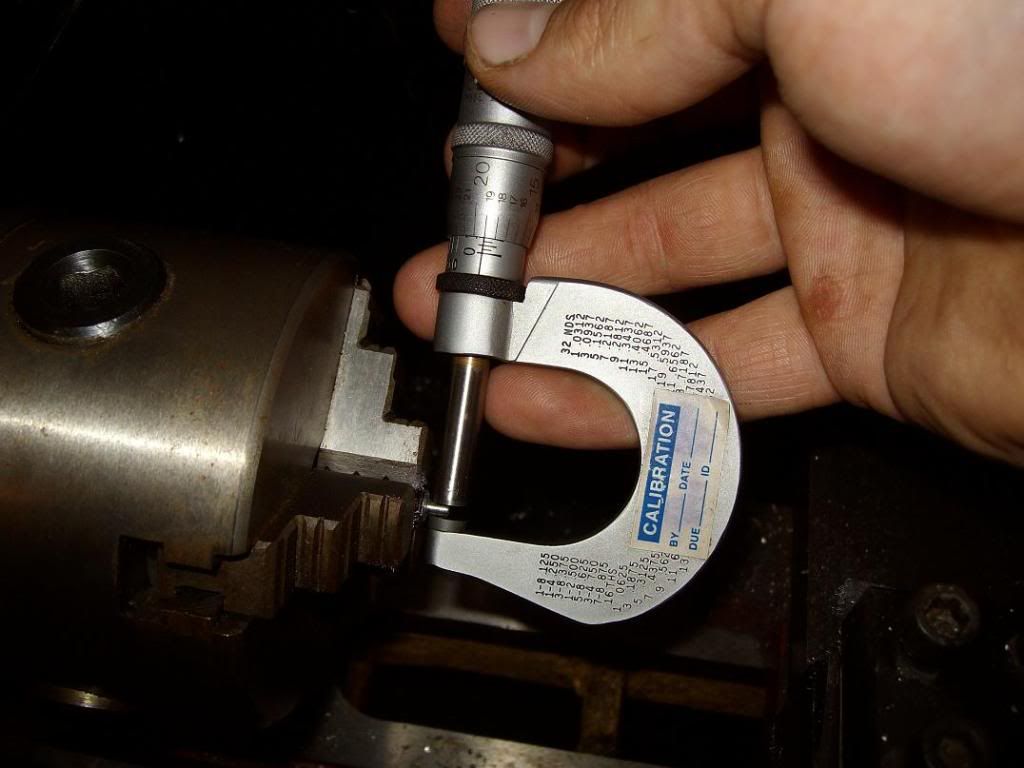
The first thing I noticed is that I really need to keep that blade pivot hole in the center of the rotary table. I didn't exactly know how I was going to do this until I saw the threaded hole in the center of the table. Simple enough. I turned the head down of a small metric screw to .094". Here's the screw and the mic checking it while its still in the little lathe chuck.-
slipjoint44.jpg

slipjoint51.jpg


And here it is screwed in to the center of the table-
slipjoint45.jpg


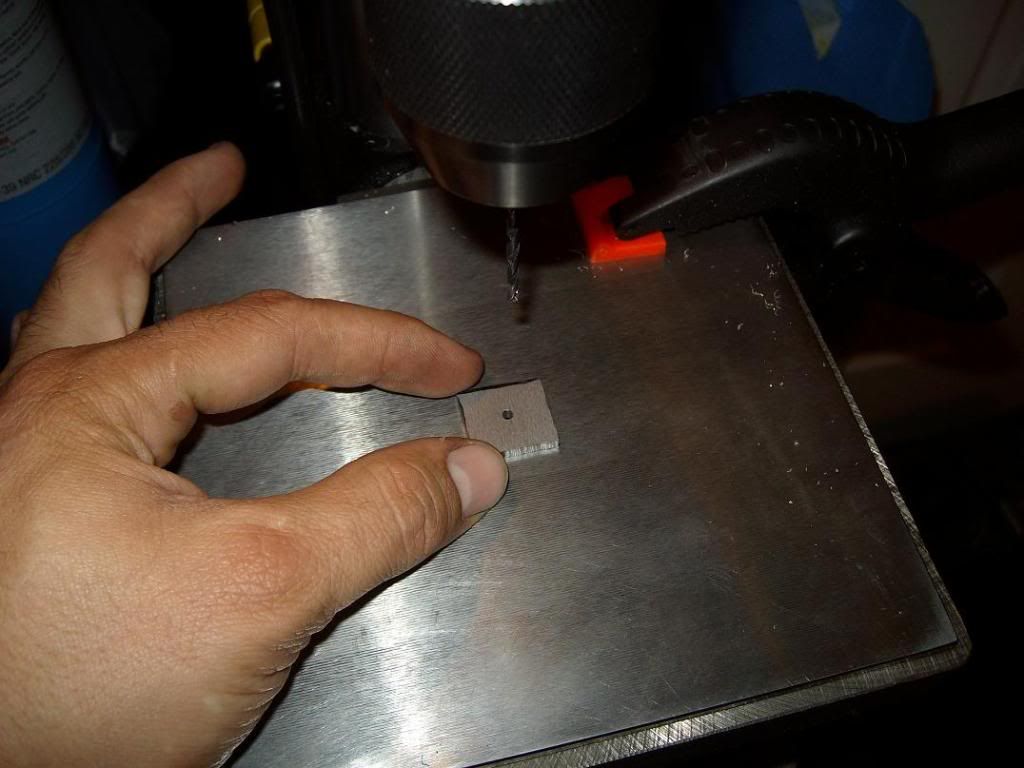
I knew I could come up with a way to do this on the drill press, so I gave it a shot. A drill press IS NOT the machine to do this on, but I'm trying my best to do this all at home with the tools I have here. I've mentioned it before, but hopefully I'll get a mill soon. Anyway, it was a rough ride but the drill press worked. A drill press does not have a rigid spindle designed for sideways loads, and an endmill has no place in a drill chuck. I've attempted to use a drill chuck to hold an endmill when I was in a hurry, and just about every time ended up breaking or chipping the endmill. a collet or holder designed for it is the best choice.

And another problem is you have is no controlable Z axis movement with the drill press. you can bring the spindle down with the handle, but there is no lock that will hold the tool at a certain depth. I just had to do the best I could. It still turned out great considering. I had a whole lot of chatter (the tool wanting to jump around instead of cut) but got it done.

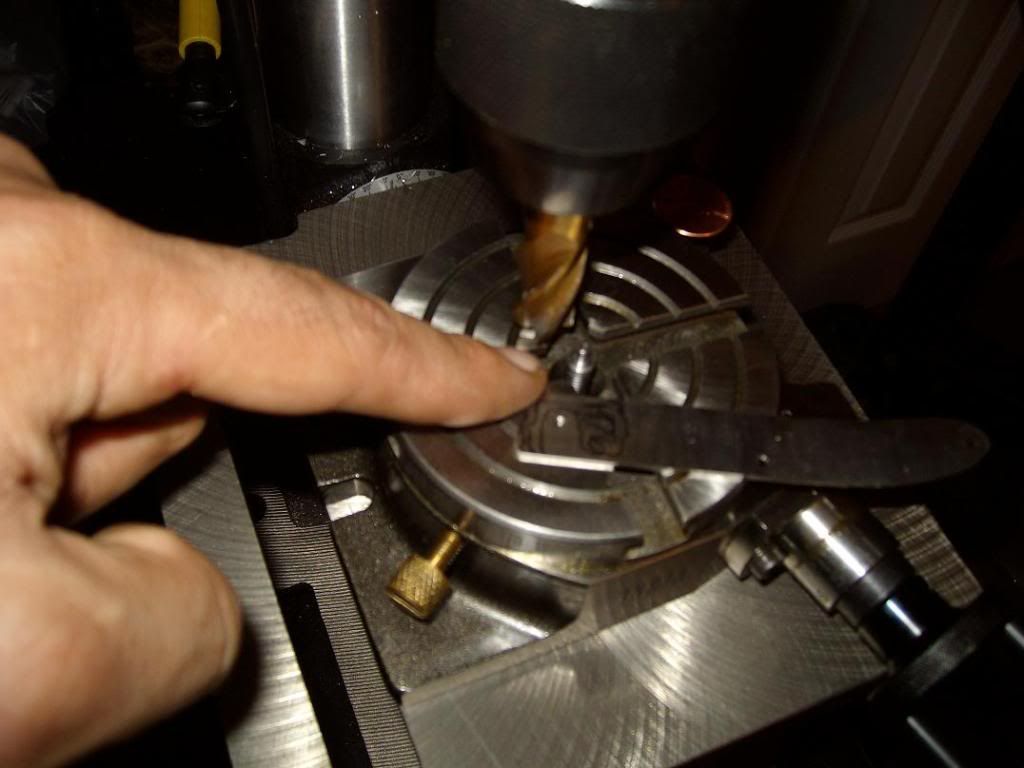
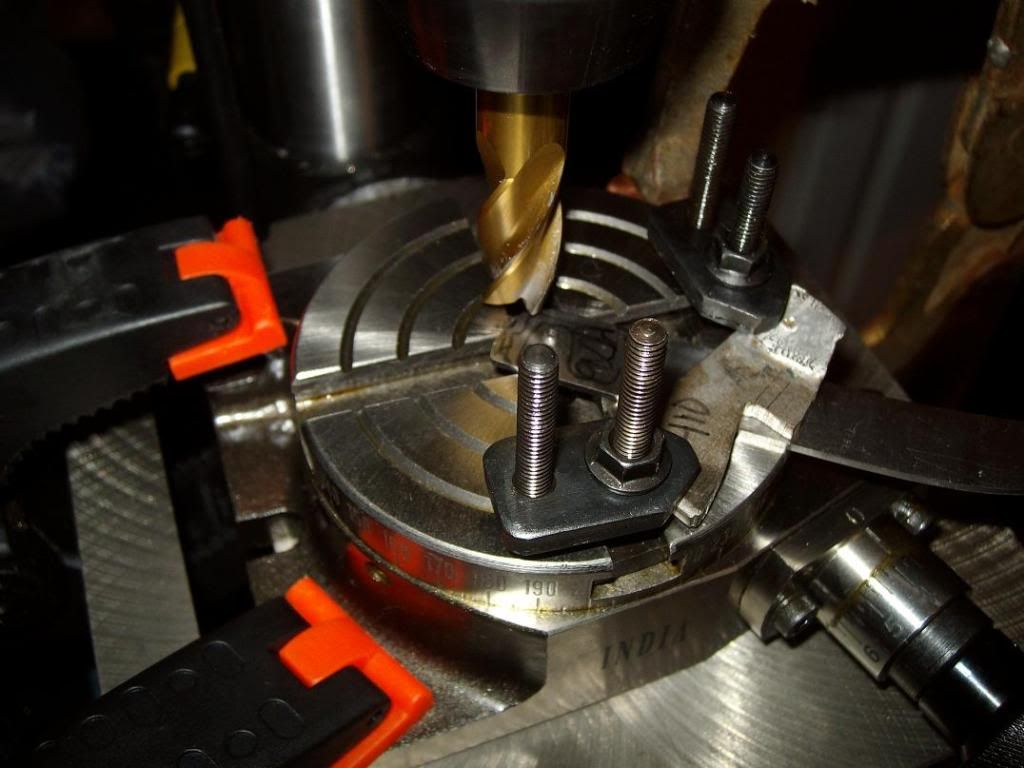
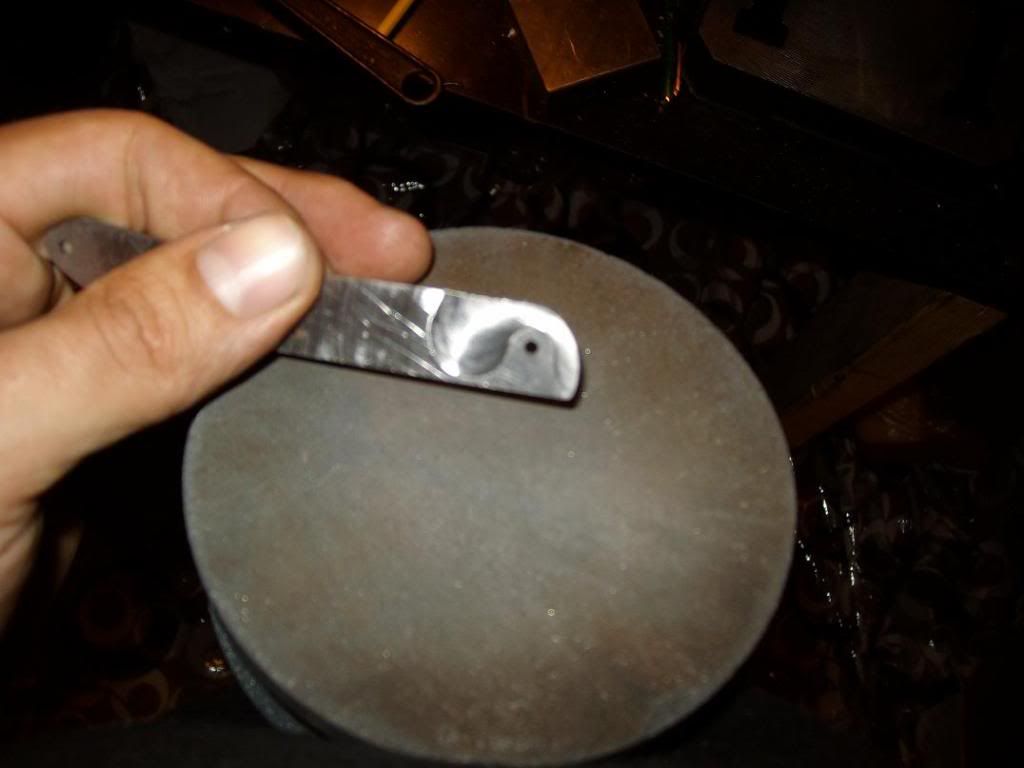
To do this, you center the spindle in the center of the rotary table (which is the center of the pivot hole in this case). Then you move the table in either the X or Y direction a specified ammount.You are basicly turning the table and rotating the tool around the center of the table. Since the drill press does not have any movement in it's table, I have to improvise and push the rotary table away from the spindle and lock it down. For this I used a vise Grip clamp and a couple of smaller clamps. This, of course caused clearance issues with the liner hanging off the side of the rotary table but I just repositioned them as needed.
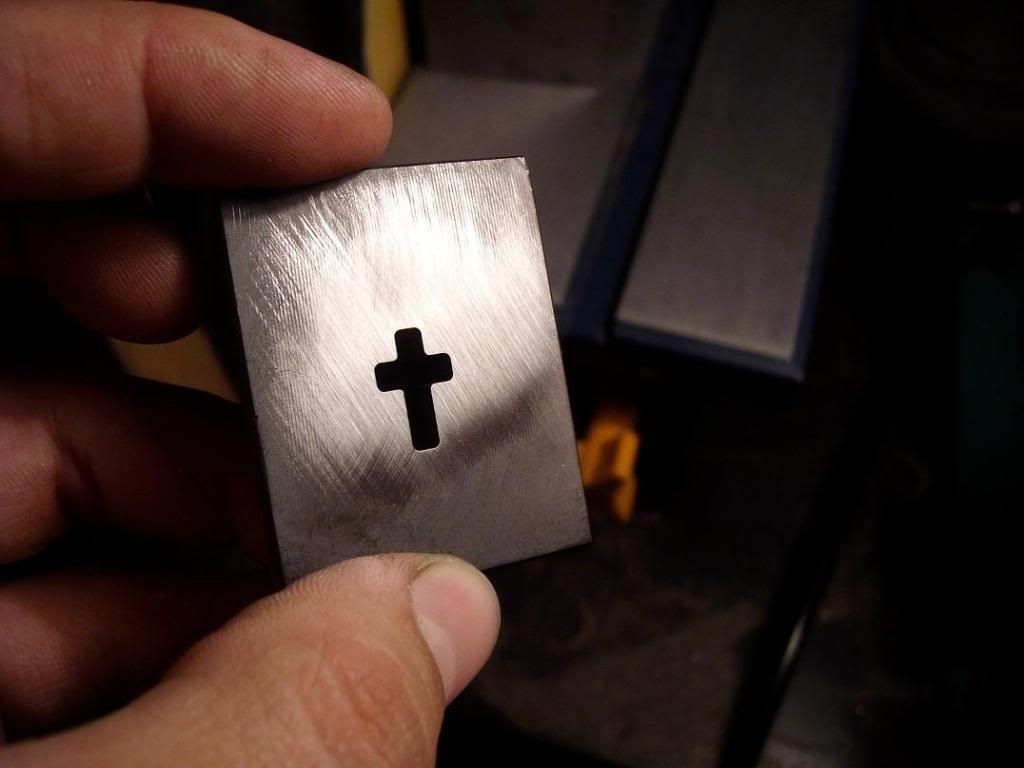
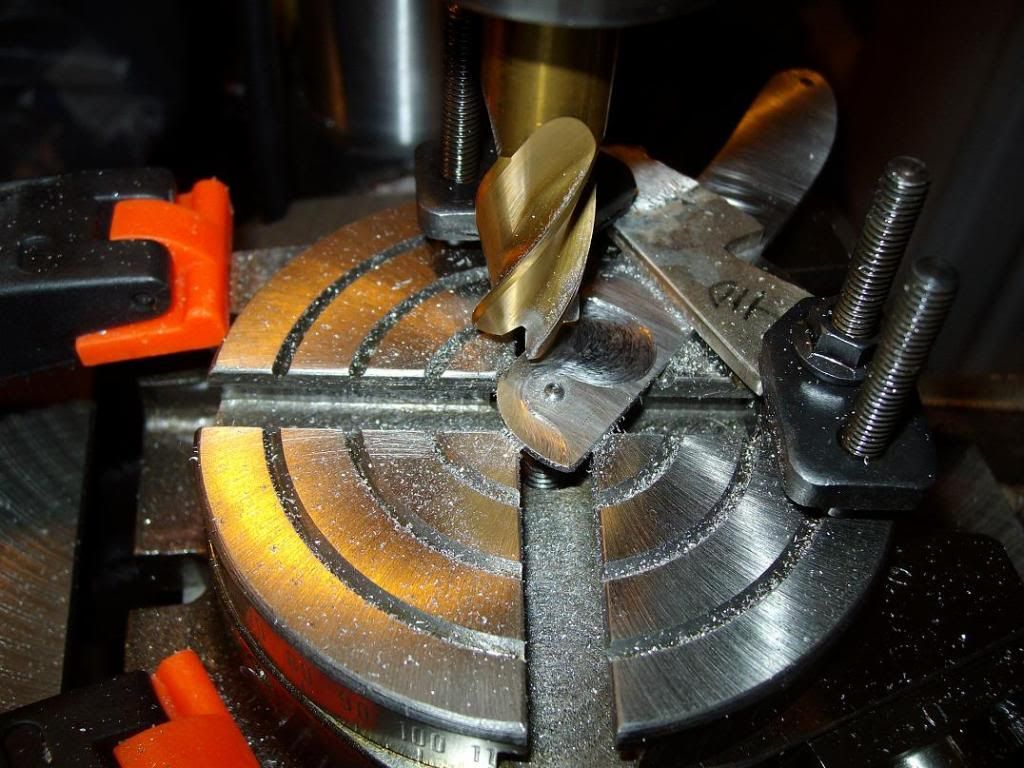
Here we are cutting-
slipjoint46.jpg

slipjoint47.jpg


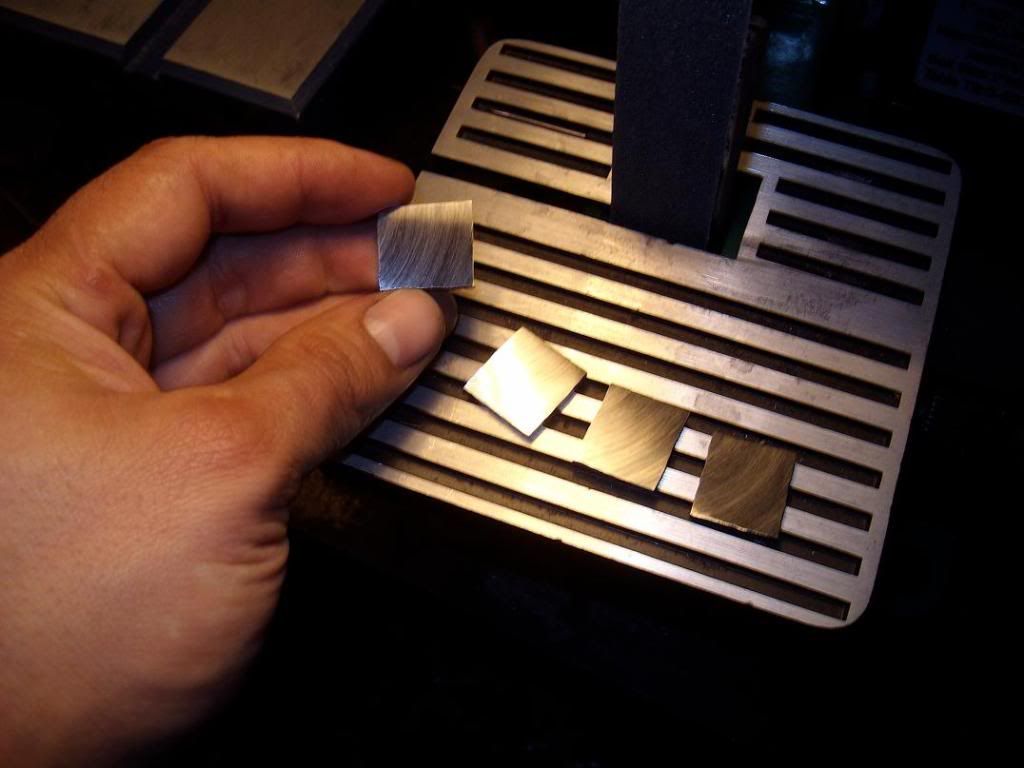
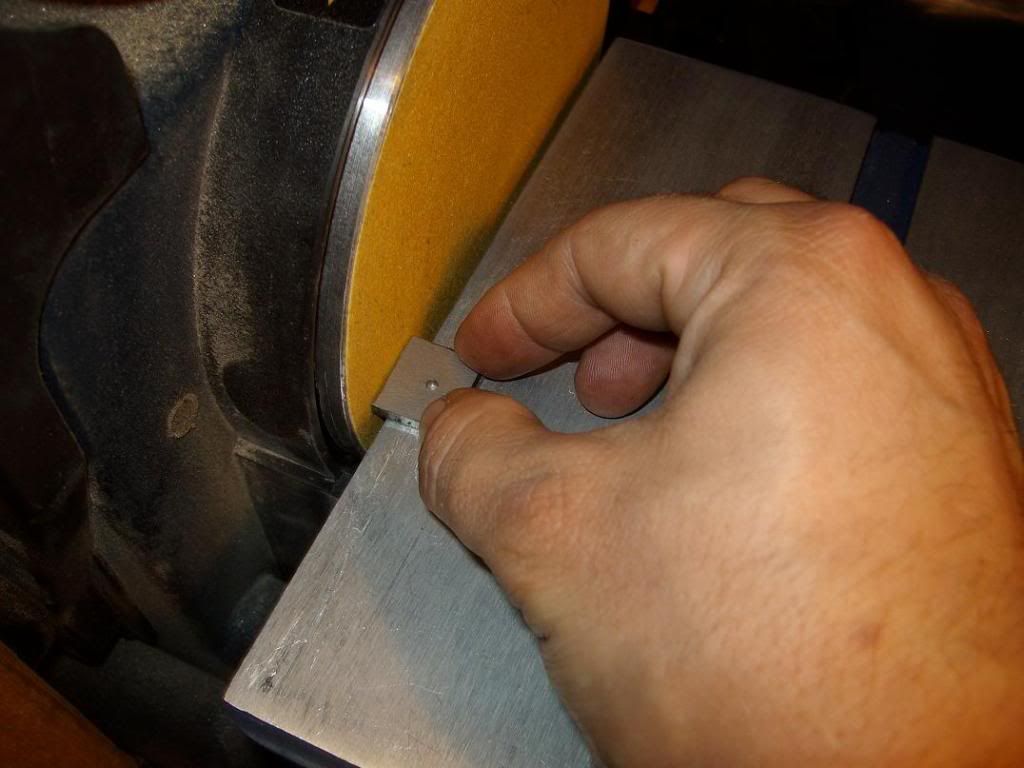
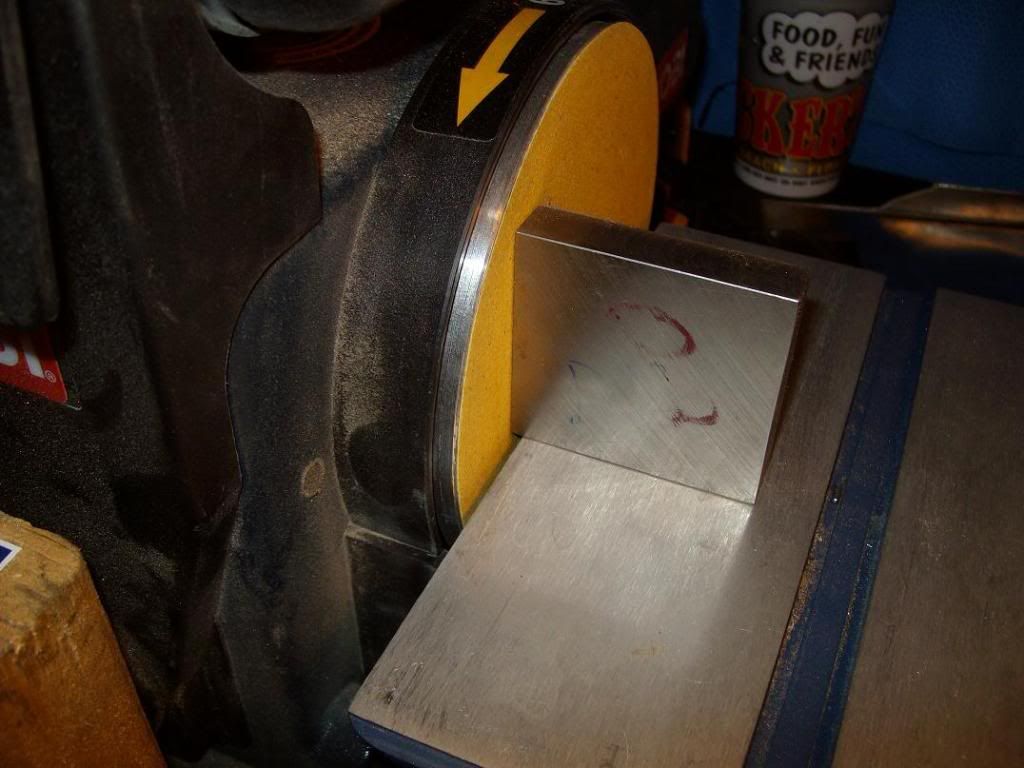
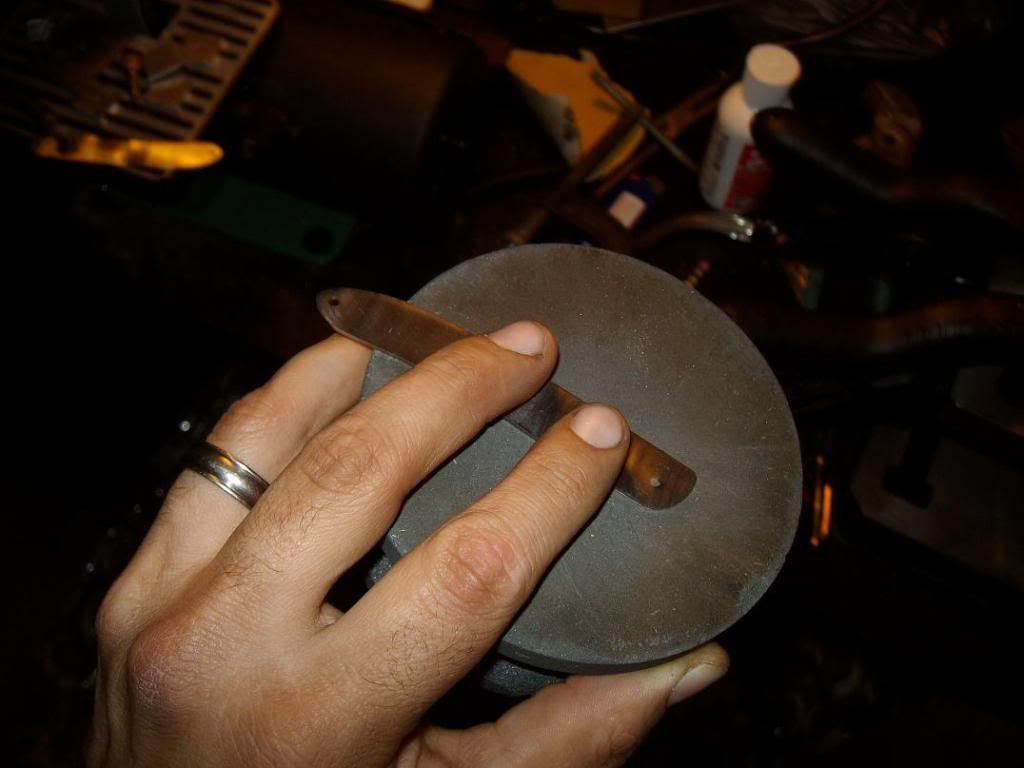
After I get done with the cutting them, I run that side face down on a smooth stone to remove the burrs.
slipjoint48.jpg

slipjoint49.jpg


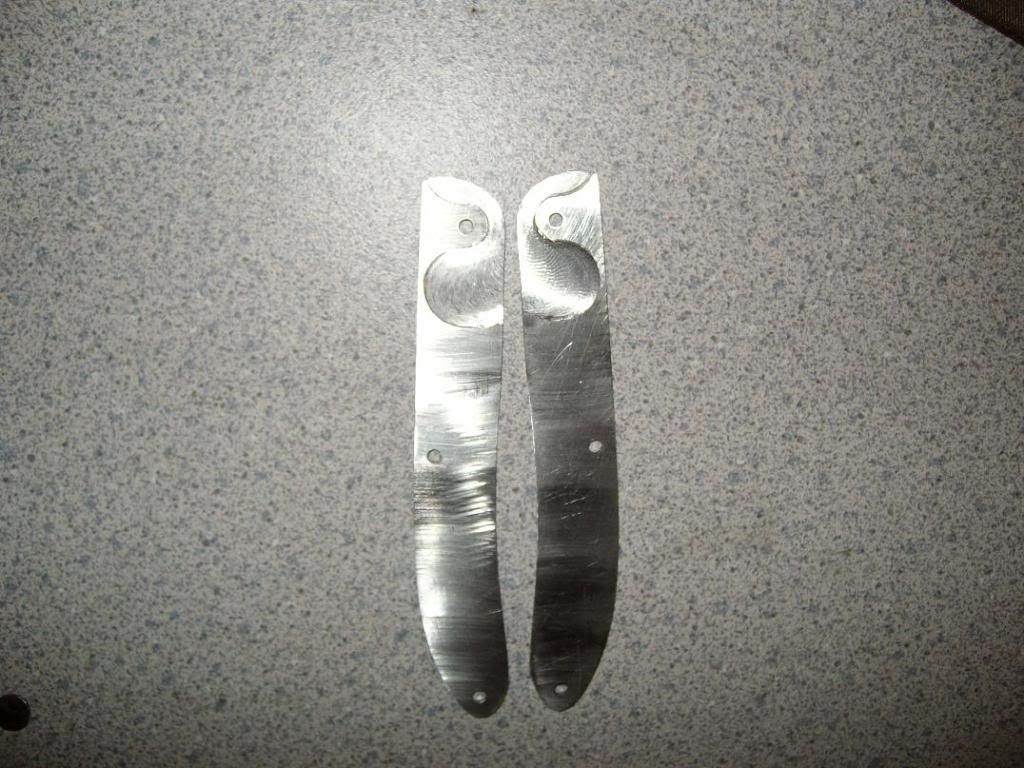
And the finished relieved liners. Needless to say, I am RELIEVED I got this part of the knife done :)
slipjoint50.jpg
 
Last edited:
Great job, another option.

What is the advantage of milling the liners vs. washers? To eliminate a component?
 
JS

You're doing a fantastic job with your WIP ! I too especially appreciate you sharing your machining wisdom with us 2thumbs

Just wanted to say thanks and keep up the good work !


-Josh
 
Back
Top