J S Machine
Well-Known Member
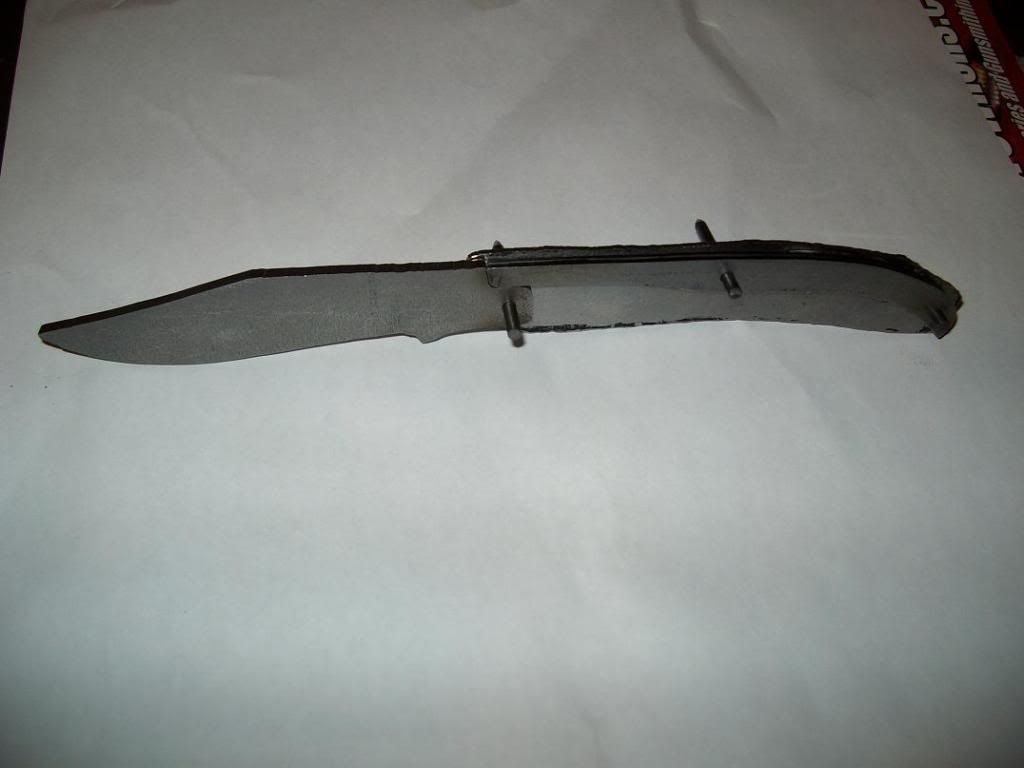
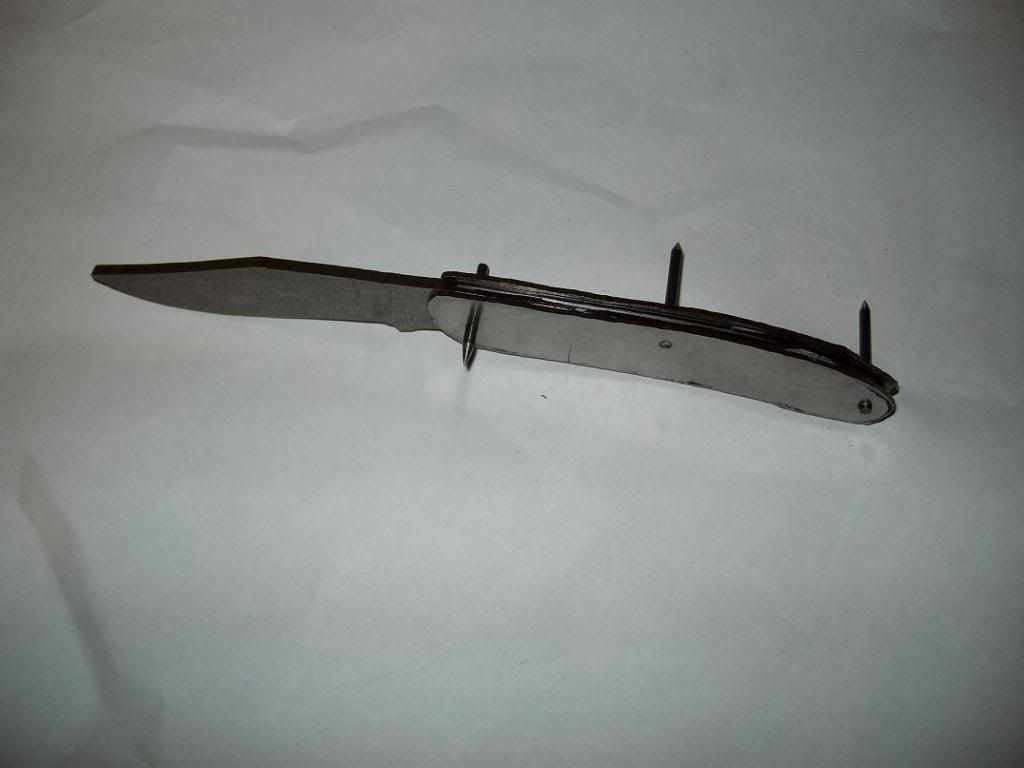
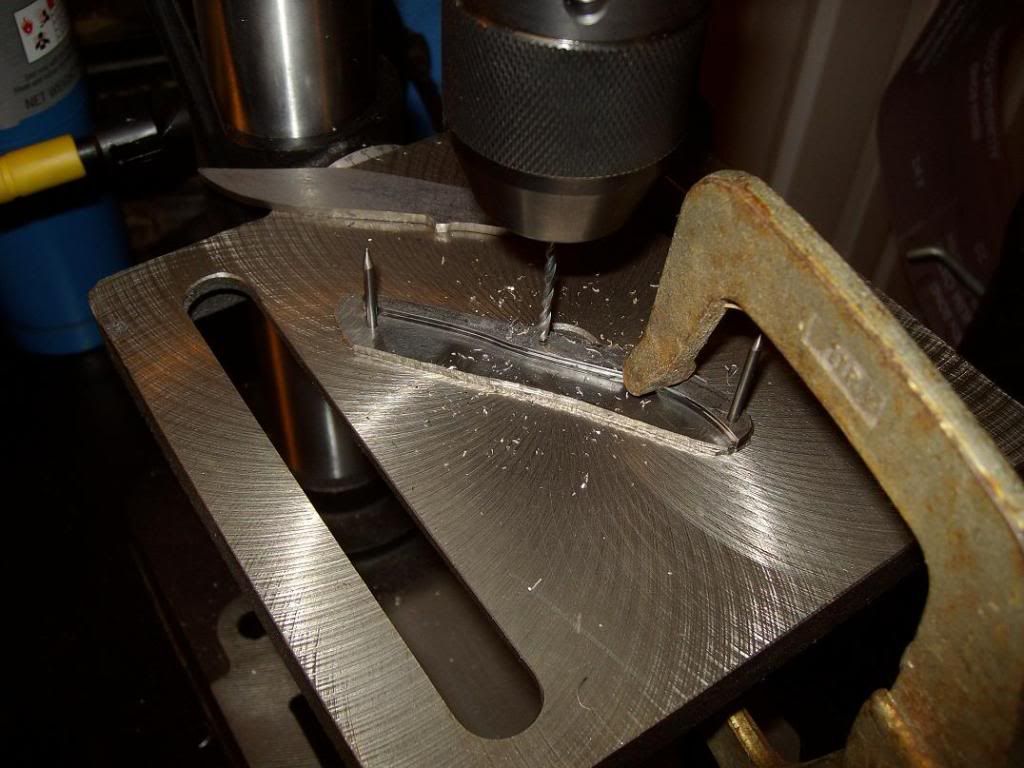
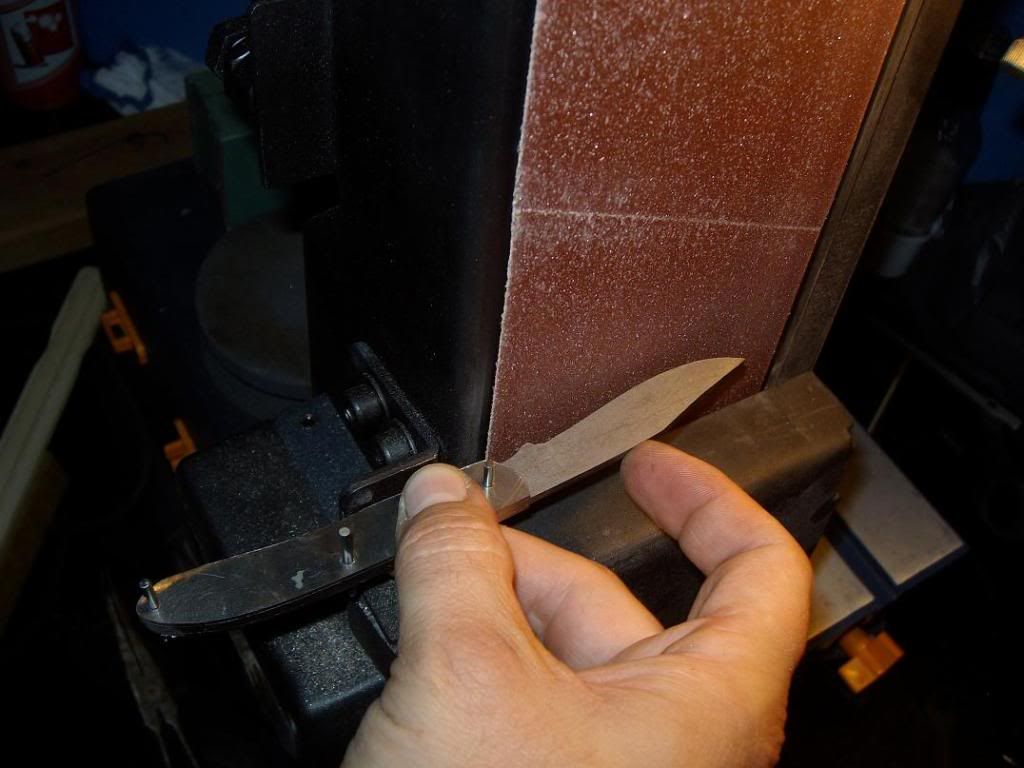
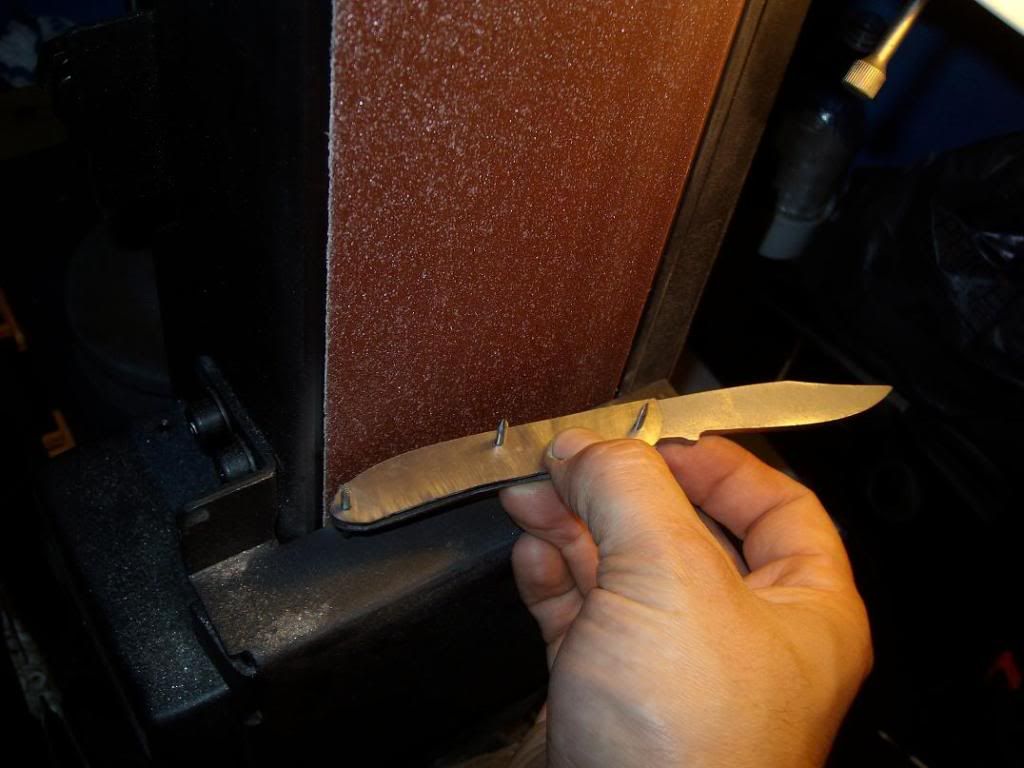
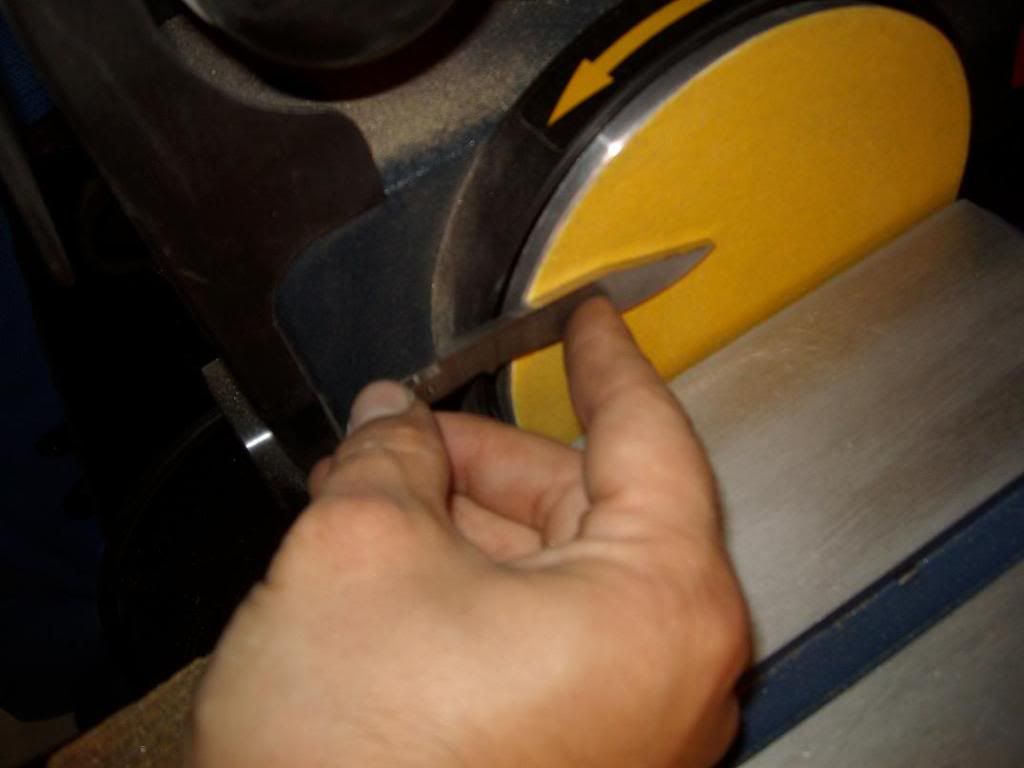
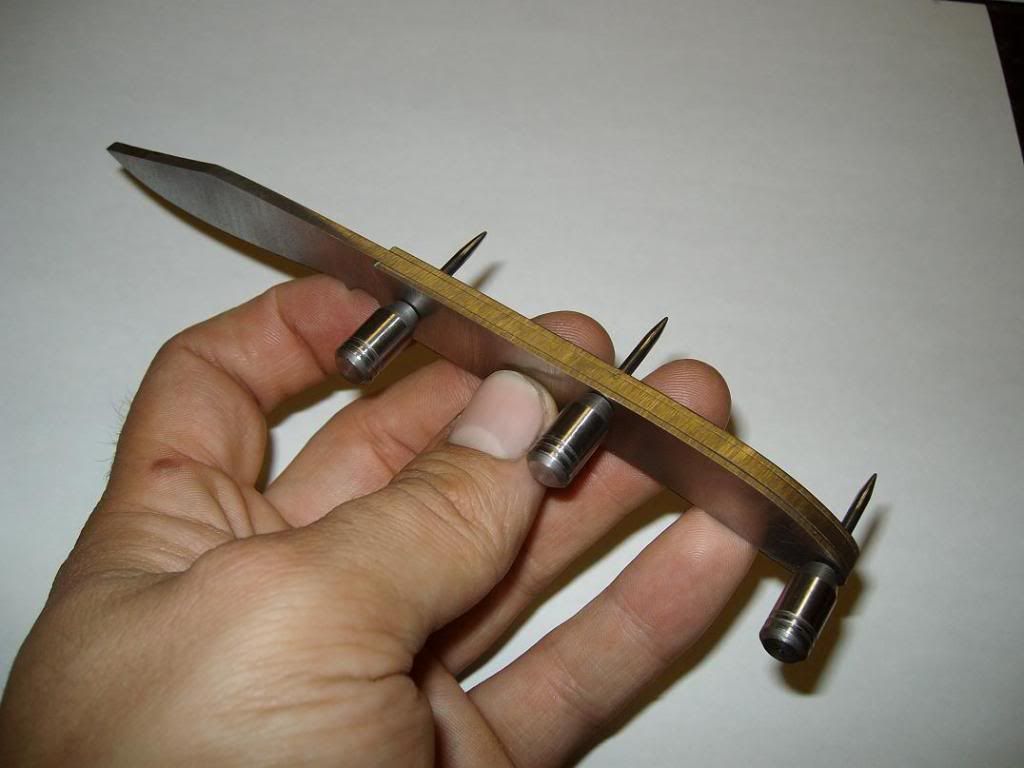
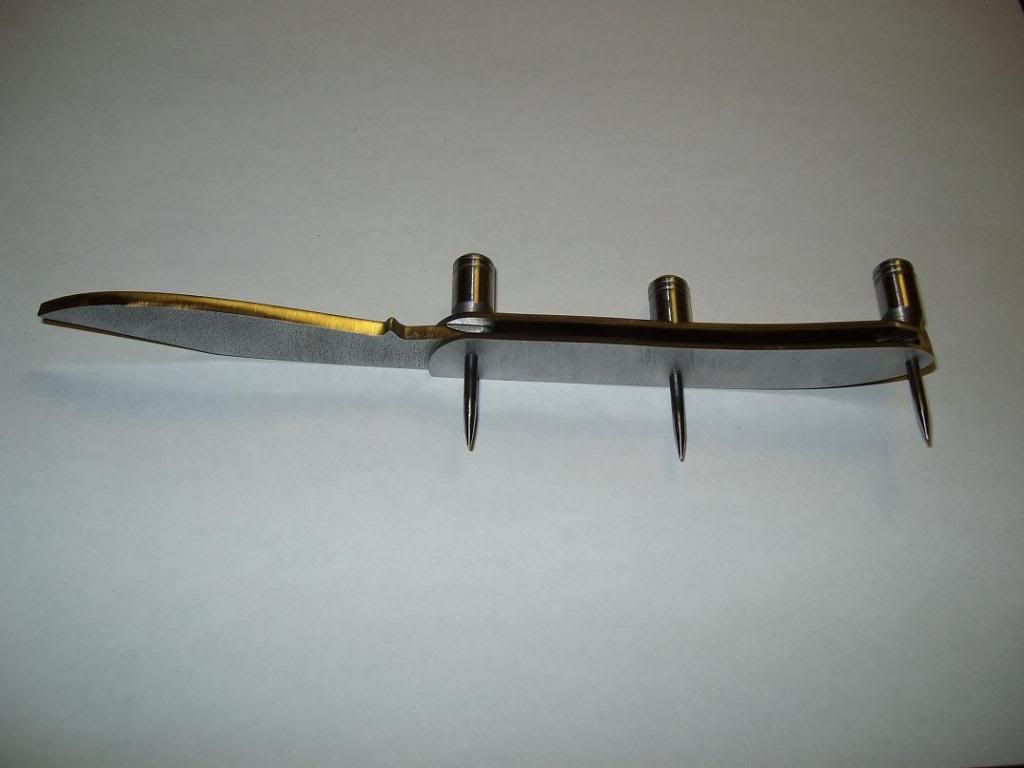
I got this picture from Bruce Bumps WIP. I think this may be what I should have done. I see you are going through the spring into both liners instead of both sides seperately...
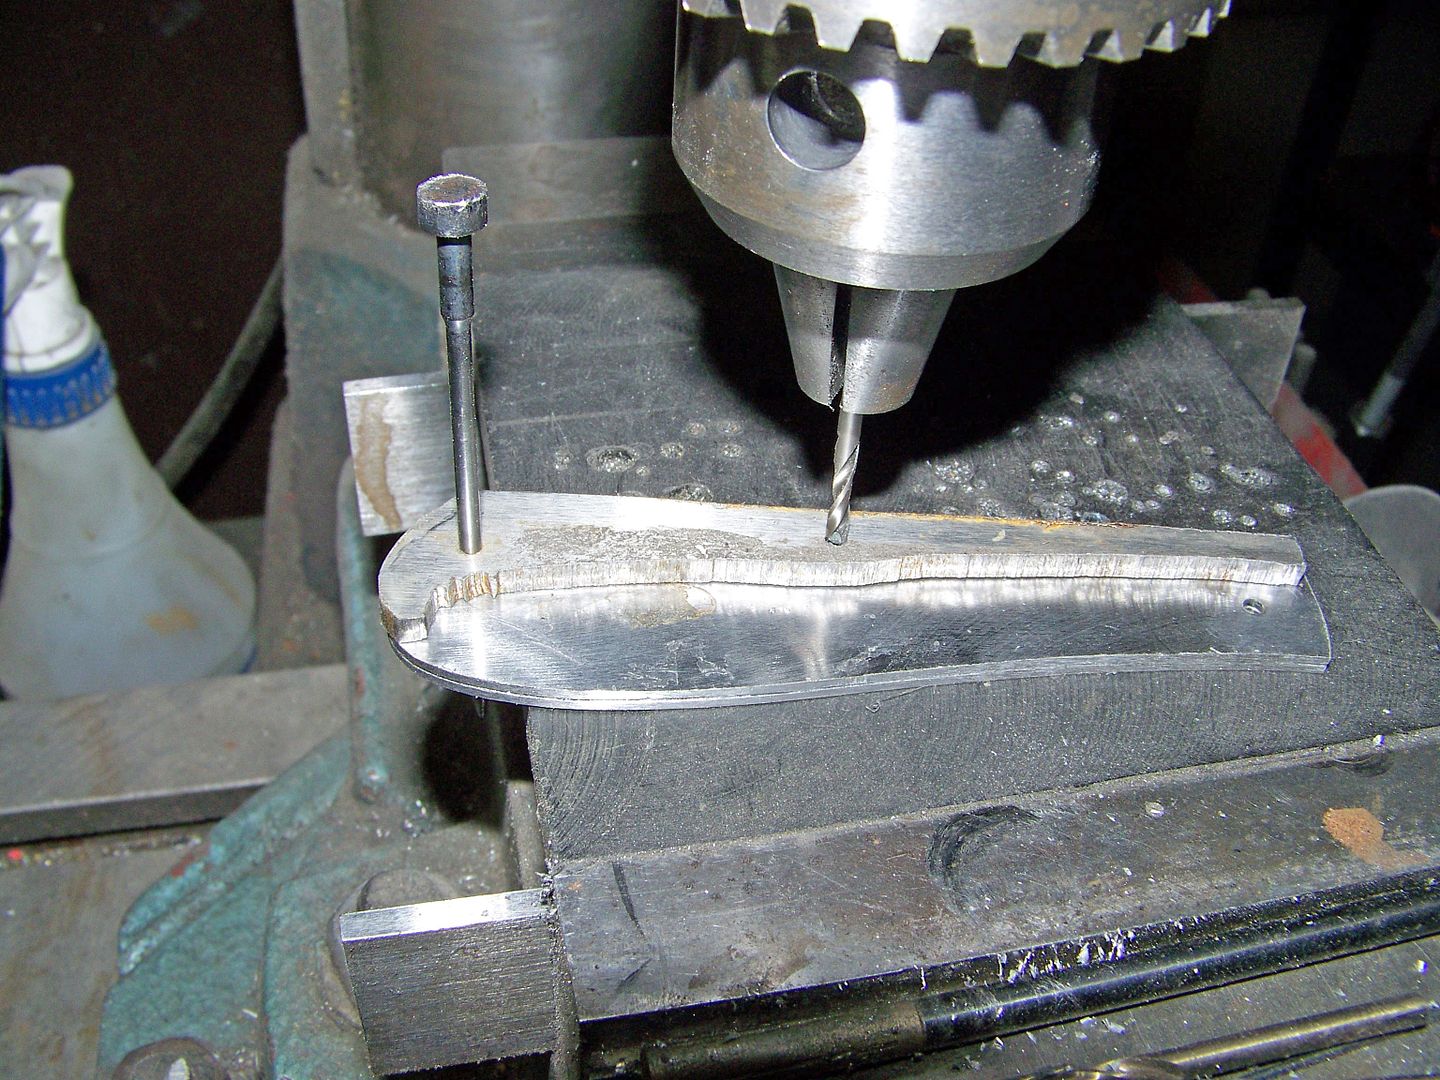
I got this picture from Bruce Bumps WIP. I think this may be what I should have done. I see you are going through the spring into both liners instead of both sides seperately...


I love those pins you made. I would buy some if you knurled the knobs on em.
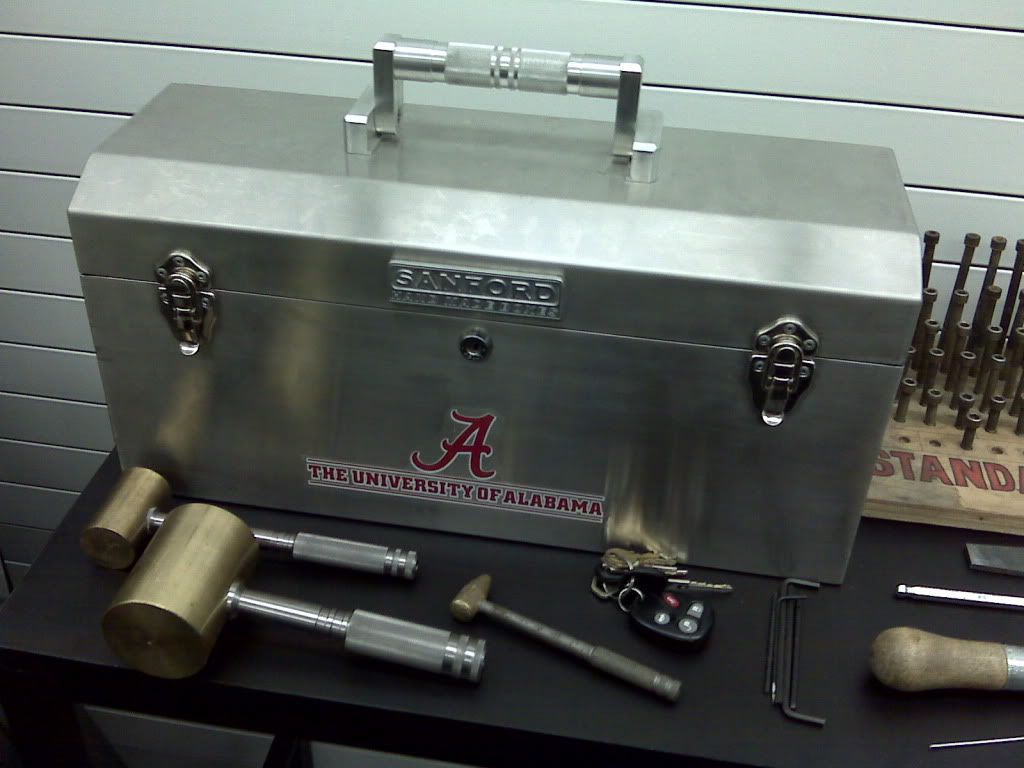
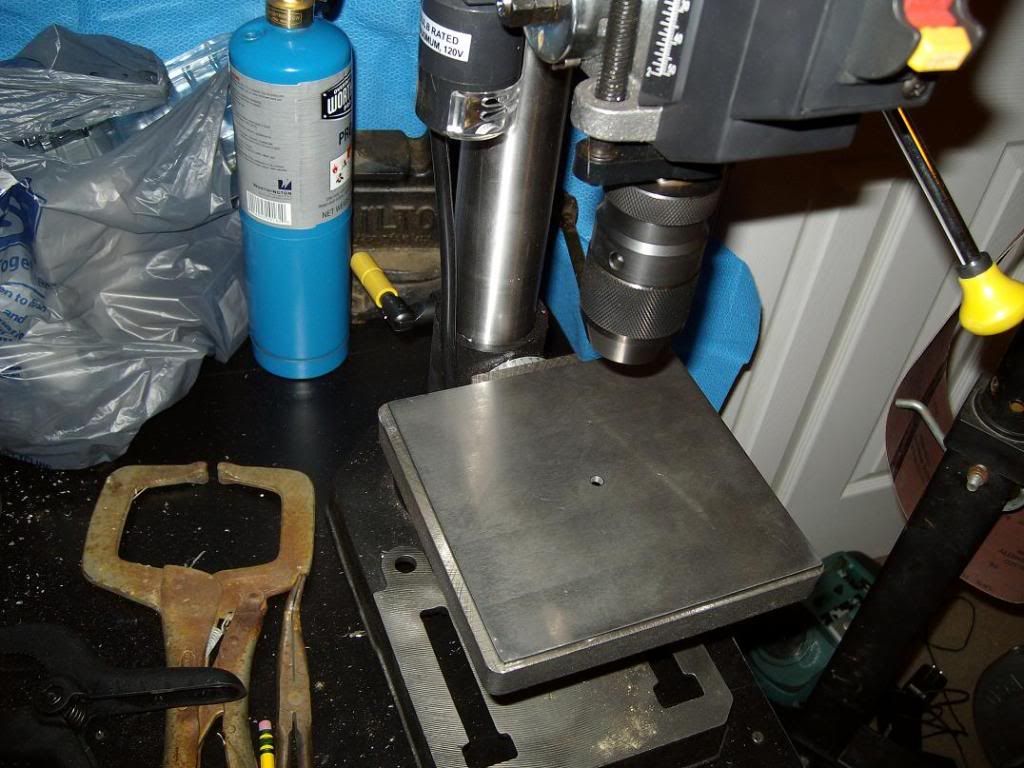
Ok I took a quick pic. I made this tool box in the picture and on top you can see the knurled handle. It is aluminum. The box is 300 series stainless. I bought the latches and the lock from McMaster Carr and made the rest. Also, in front I laid out a little hammer set I made. All these have very fine knurling on the handles. The smallest one looks rough because I use it pretty often in the EDMs. The handles are made from tool steel round stock - A2 or D2 probably, and they they tend to rust. Wish I would have used stainless there. I do have some with aluminum handles, but they are pretty beat up from use. The heads are brass.
Thats good work on everything in the picture. I cant believe you made the box. It looks factory made until ya start looking close at the hi pro parts on it. Did you knurl the car keys at all?
I burned my first too. I use salt water and Q tip until the Boss gets some etchant in.
Dip the Qtip dab on paper towel 3-4 times then press on stencil,1-2-3 lift move over 1-2-3 lift
I go over the whole stencil before dipping again. Maybe do this 5-6 times, experiment, I still haven't got it down. Hoping the ethcant will help.
The stencil burning is from holding the qtip too long on the stencil.
The qtip flatens out after a while and seems to work better with use, but I'm still not happy with mine.
Nice job, your shop looks just like mine only cleaner! - Roger
