The Laser Thread

OK, I edited the above #97 thread to replace the "no paint" with another photo of the same etch but more in focus. You can see the first "no paint" photo looks better than before.

Darn if it doesn't almost look blacker than the "black paint" photo. Perhaps it's because the scale of the two photos are different? Really, looking at the two etches on the same blade there just isn't much difference in them. Remember the difference in speed. It does take a slower speed to get the same good etch as with the black paint. Paint allows a faster (quicker) etch than no paint.

In the "no paint" photo you can easy see why that blade is in the scrap pile. Not sure why it cracked - it's AEB-L profiled only before HT'ing in oven at 1975°F, plate quenched, in freezer for 15 minute or so, then in LN for an hour or so, then in tempering oven at 325°F for 2 hrs, air cooled than back in oven at 350°F for 2 hr for a final of 61 Rc. I didn't notice the crack until the bevels were ground in as you see in photo.
 
Last edited:
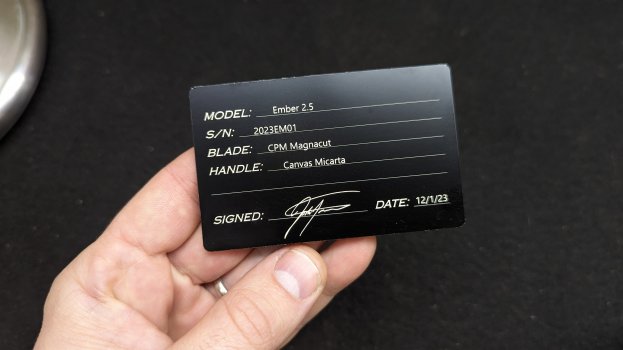
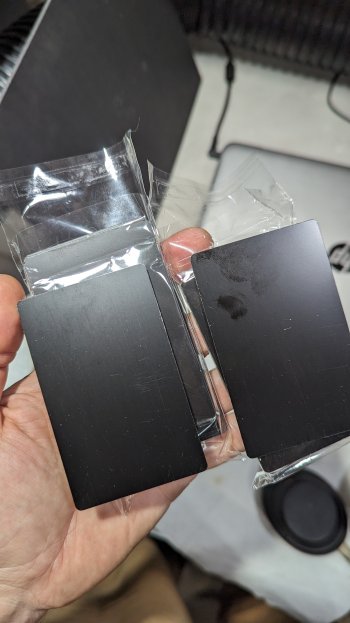
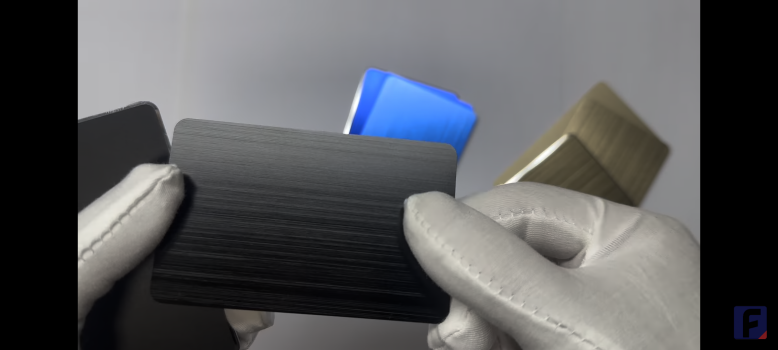
Be sure to let us know how they work out. How thick are they? I saw on Amazon the cards would range from .2mm to .8mm which is .008" that seems pretty thin and flimsy to .04" which seems pretty good.
 
I see, looks like painted rather than anodized. Can you tell if truly anodized or just painted?
 
I see, looks like painted rather than anodized. Can you tell if truly anodized or just painted?
The seller said they were "display anodized" rather than "full anodized" because they aren't thick enough... Whatever that means.

I just ordered some of these, seem much higher quality and I'm getting them in gold and black. These are much thicker too, .8mm. They run about $1 ea though so more expensive for sure.


Screenshot_20231202-193805.png
 
The seller said they were "display anodized" rather than "full anodized" because they aren't thick enough... Whatever that means.

I just ordered some of these, seem much higher quality and I'm getting them in gold and black. These are much thicker too, .8mm. They run about $1 ea though so more expensive for sure.


View attachment 83770

Let us know how these work out and where you ordered them from.
 
What power, speed and passes do you guys run your laser for your makers mark. I tried a scrap piece of 1084 (with mill scale since I didn’t sand it) at 100% power, 40 speed and 5 passes and it left a very faint mark at best.
 
What power, speed and passes do you guys run your laser for your makers mark. I tried a scrap piece of 1084 (with mill scale since I didn’t sand it) at 100% power, 40 speed and 5 passes and it left a very faint mark at best.
On mine I use 100% power, 170 speed and 2 passes.

Q: Did you adjust the height of the laser unit before running it? (that's the first mistake I made when I started with mine)
 
That mill scale might be causing the problem. When you say "40 speed" do you mean mm/min or inch/min? I tend to measure speed in mm/min and use around 100 to 200 mm/min depending on my mood at the time. I've always had the blade sanding to at least 400, most of time 800 grit. I agree with above, check focal distance. I've goofed like that several times.
 
If I could be so bold to ask. Can you guys post a screen shot of your software showing this?
I’d be much obliged.
 
Working on supper now - I'll try to get to shop and do that tonight. Computer in house doesn't have the Lightburn software installed.

What software are you using with your laser?
 
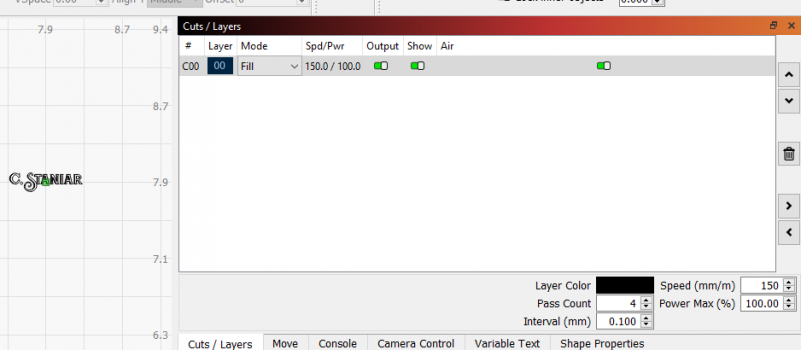
Here you go. You can see what Ken was referring to with the mm/m, etc. I generally have it sanded to the 400 range and I'll color the area with a Sharpee. Not sure that it does much but its easy.

There are also options for the layer - Fill, Line, Offset Fill. Since I want my letters all black I have it set to Fill.

1705448959687.png
 
Chris has got the screen shot I was planning for later tonight so no reason for me to post - thank you Chris.

I see Chris has 4 passes, I normally use 1 pass with 100 mm/m, and it still seems to do almost as well. Chris, coloring with a sharpie does about the same thing as I sometimes do with a coat of black spray paint. That seems to burn a bit of the pigment into the metal for a bit darker etch. White paint does good also.

I like my laser - and my wife LOVES the laser also. I mark up drinker cups for her with her name and a photo of her dog.
 
Here you go. You can see what Ken was referring to with the mm/m, etc. I generally have it sanded to the 400 range and I'll color the area with a Sharpee. Not sure that it does much but its easy.

There are also options for the layer - Fill, Line, Offset Fill. Since I want my letters all black I have it set to Fill.

View attachment 83910
Thanks so much Chris! I really appreciate it.
Another Question- as you can tell I’m not tech savvy.
How does one know where to position the blade on the grid to get your mark on the blade where you want it to go.
Do you guys do any photo downloads of your knife to position it on the blade.
 
Thanks so much Chris! I really appreciate it.
Another Question- as you can tell I’m not tech savvy.
How does one know where to position the blade on the grid to get your mark on the blade where you want it to go.
Do you guys do any photo downloads of your knife to position it on the blade.

So once you've centered your work in Lightburn, and then I center the laser on the work table. Tell it to move to position 8 and 8. That's on the little "move" tab. You just put in 8 for the X axis and 8 on the Y axis. Next, loosen the laser head and slide it up some.

Then I put my blade under the laser as centered as looks good. You can then have the laser fire at like 1% to see where it hits. You can also click "Frame" and it will trace a square around the area where it will burn. Once I have it placed where I want it, I lower the laser until the little "foot" hits. This focuses the laser.

Definitely do some test runs on a scrap piece of whatever. You'll eventually get the hang of placing it.
 
Back
Top