If there's one thing I've learned in knifemaking it's that the most difficult part for me is PATIENCE, LOL. The quickest route to a bonified mistake is being in a hurry for the finished product and getting the cart in front of the horse and doing something out of logical order making following steps much harder that they should've been. Think it through and take your time.
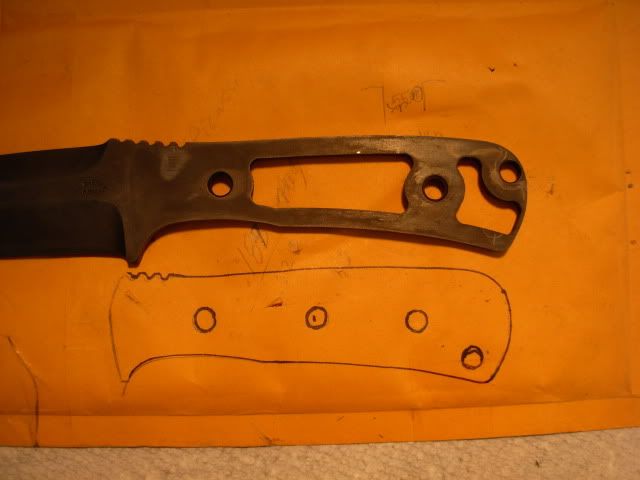
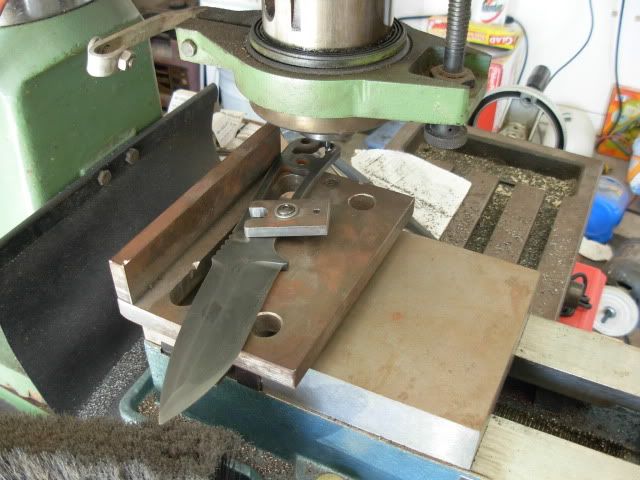
That being said before we get excited about shaping the handle we better get the flared tubing installed while we've still got a nice flat on the slabs which will make it MUCH easier to get consistant countersinking for the tubing.
Admittidly- this is the Po-Boy method of flaring tubing and more precise methods would give more appealing end results but this method does get the job done and still secures the scales for life.
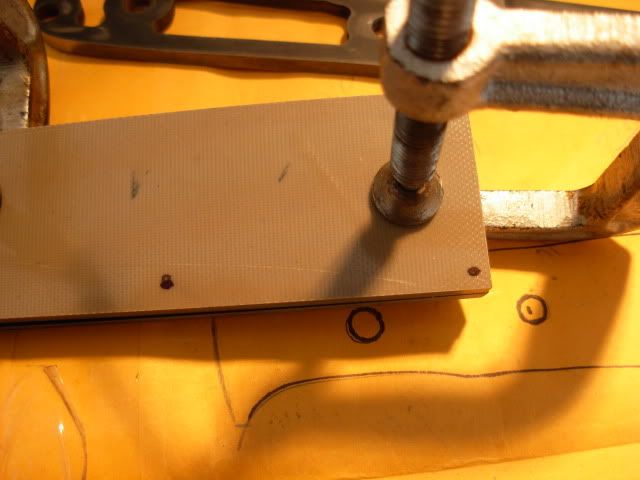
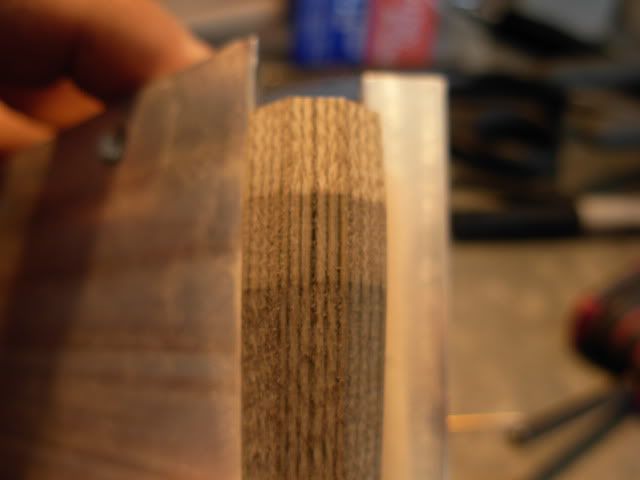
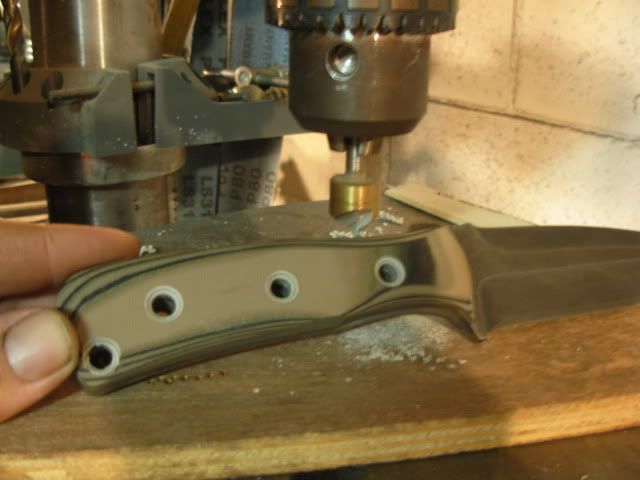
Countersinking the scales. I've used this method once before but that time I did a much shallower countersink then ground the tubing flush to the scales. On this knife I'm hoping to get the tubing flared and remain below the surface of the scale.
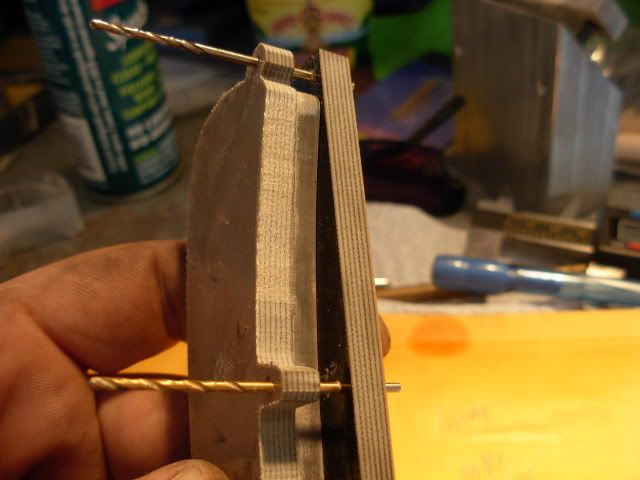
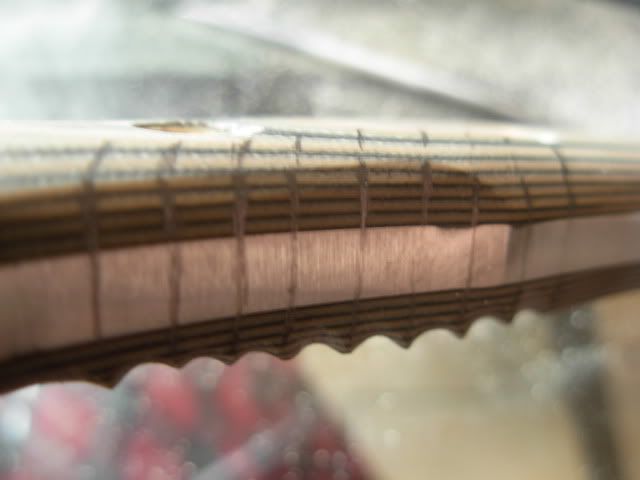
Clean up the tubing with some 220 by hand then insert and mark. I'm going to leave approx. 1/16" protruding from each side. When you cut the tubing be sure to leave enough extra that you can grind it flat and smooth on both sides and end up at the proper length
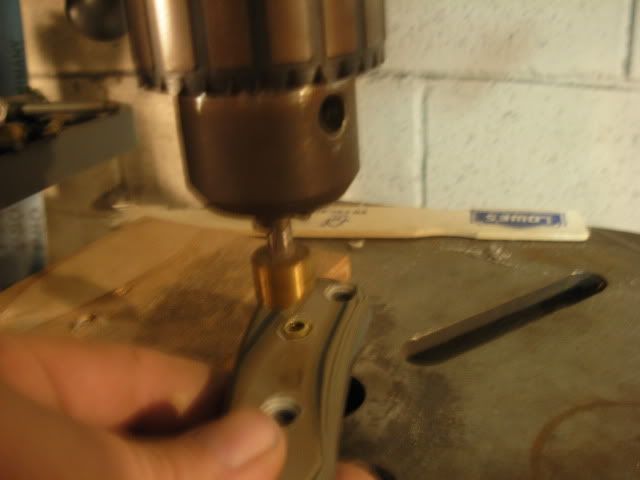
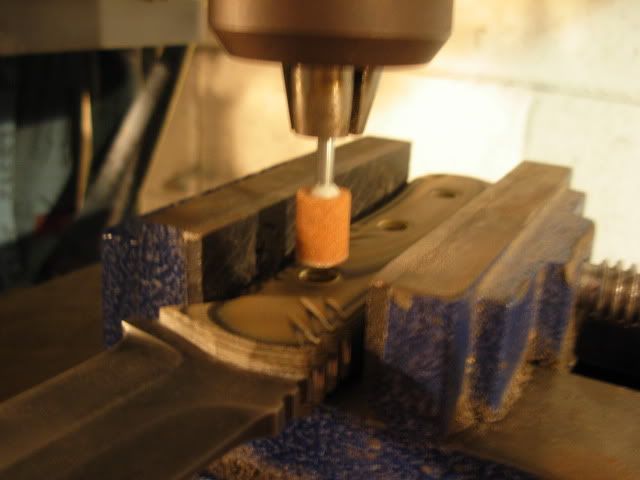
After the tubing is cut and ground to length I give it a tiny chamfer on the outside by had with 220 and on the inside by giving it a light touch with the countersink
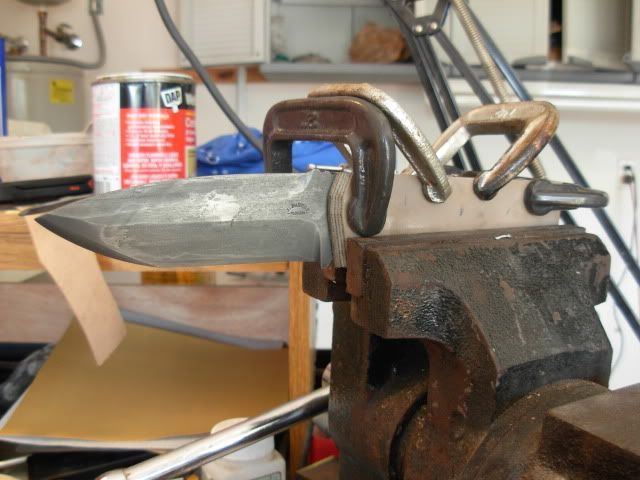
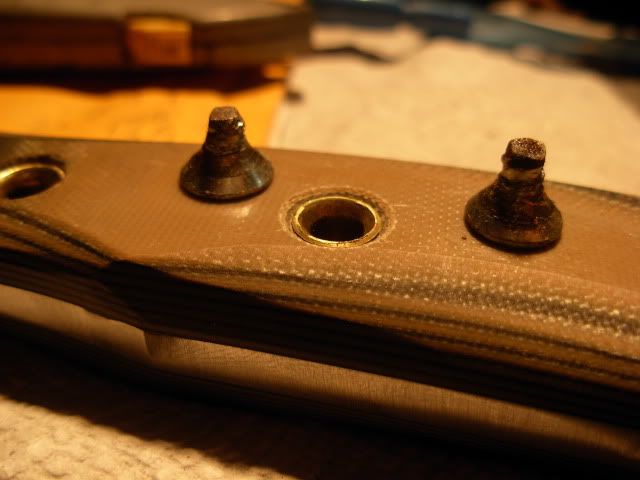
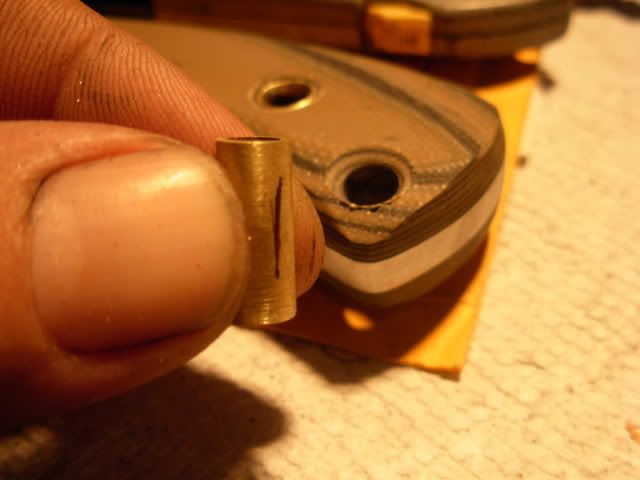
Almost forgot to get this pic. These are 2 #8 wood screws with the threads ground off and shortened so they'll slide inside of the tubing
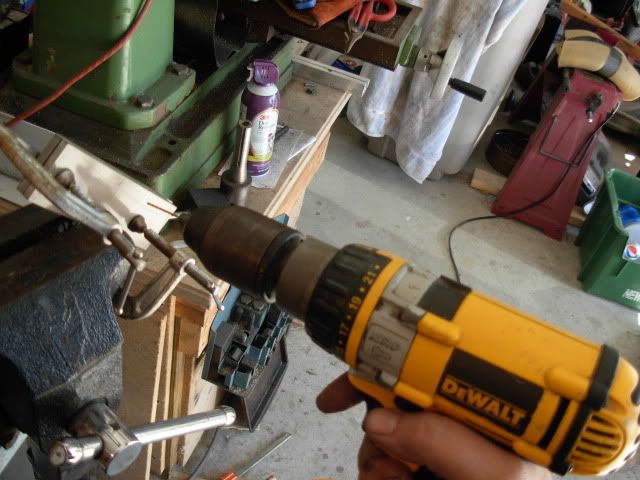
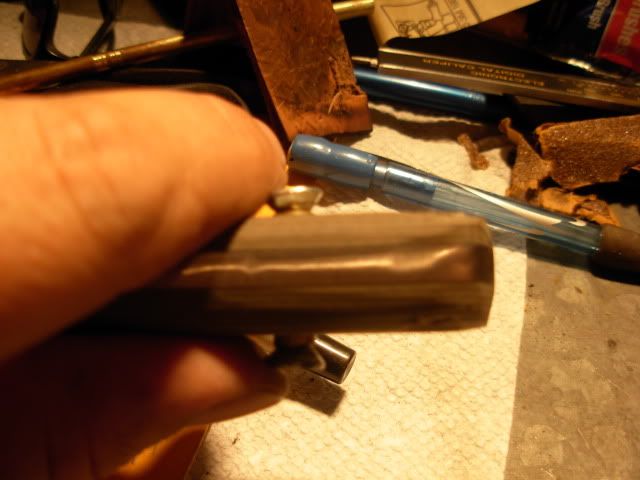
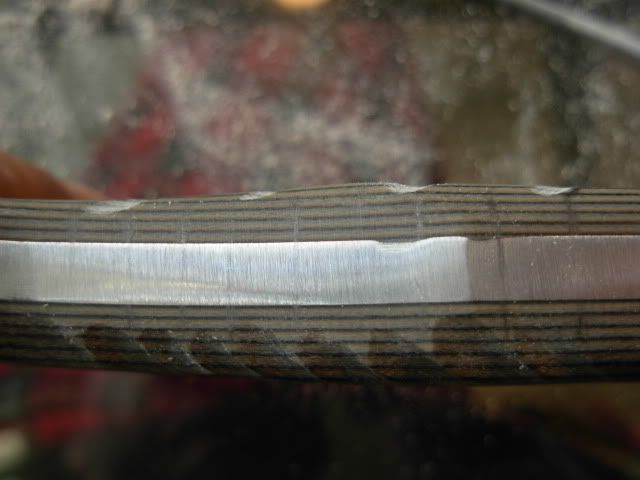
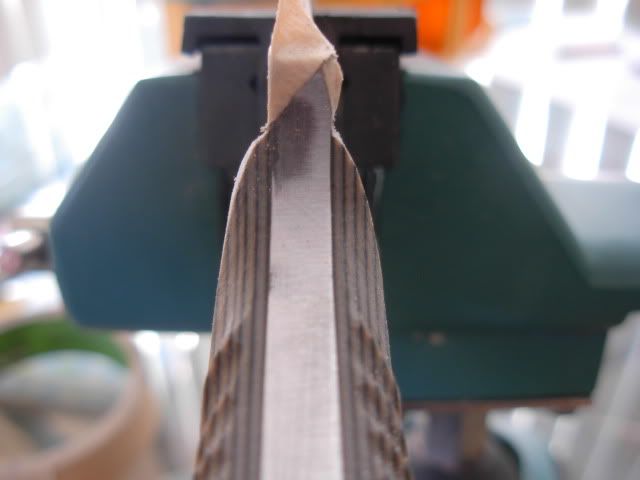
The screw heads get used like this to do the flaring. This set-up goes right in the bench vise. A word of caution- The majority of the flaring happens on the side of the vise that moves so when starting give a little squeeze then flip it over and squeeze from the other side to keep from having a huge flare on one side and tiny one on the other. If you find you flared one side too much you can attempt to push that side deeper by removing the screw head from the opposite side and squeezing, then put the screw back, flip and squeeze on the shallow side.
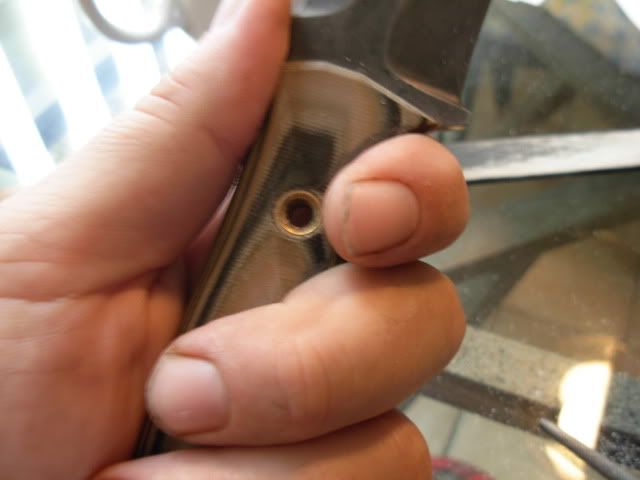
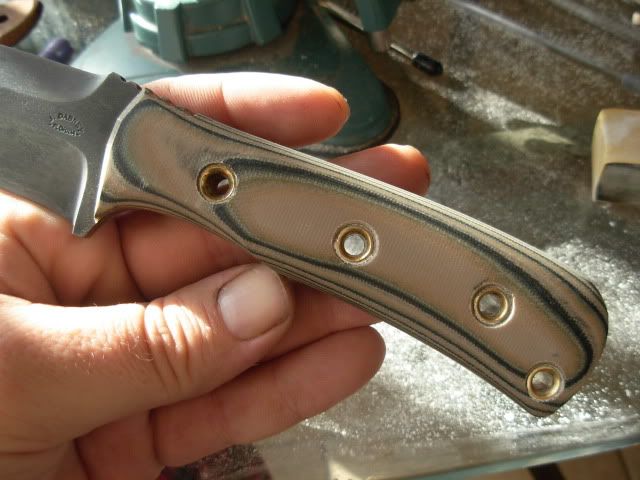
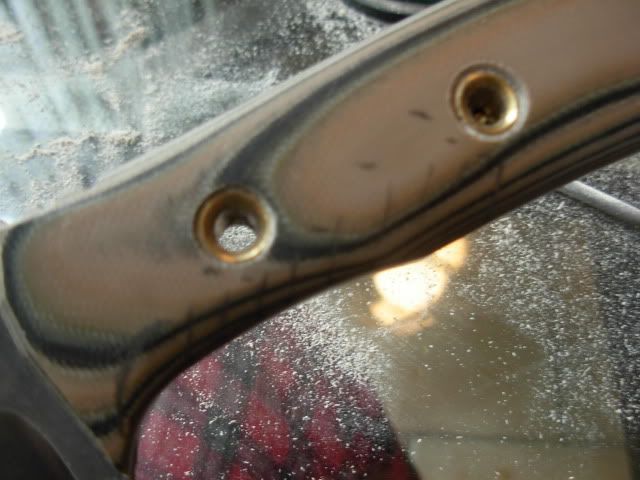
Here is the end result
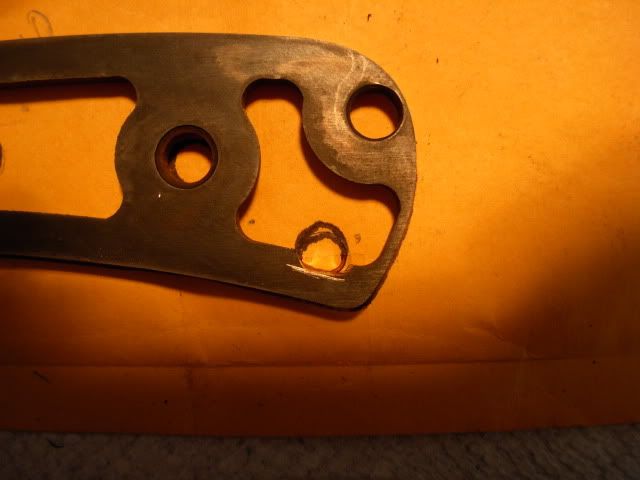
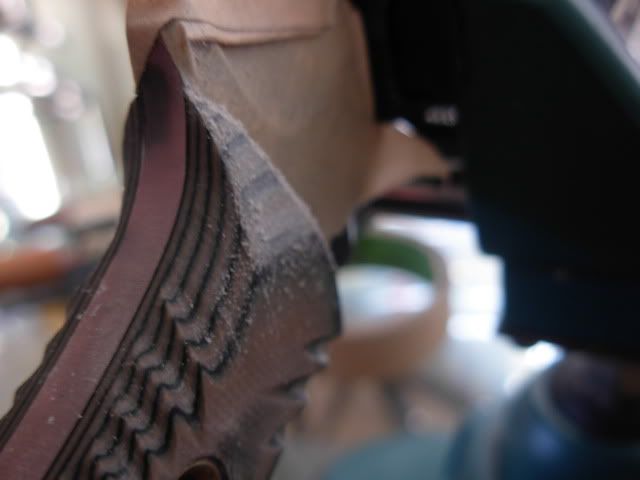
Although I didn't snap any pics of it I feel obligated to sheepishly admit that 1/16" past the handle material was WAY too much for the depth of my countersink. What happens is the tubing will only flare so far before the "rim" of the flare splits which is exactly what happened to the first tube I installed. I drilled through the center of the tube with a 7/32 bit to remove it and it did spin a little and bugger up one side of the countersink a little but I think we'll be ok. If not I'll be grinding the scales off and starting from scratch :what!: I should also mention that I settled on the tubing being just shy of the suface on both sides for a good length.
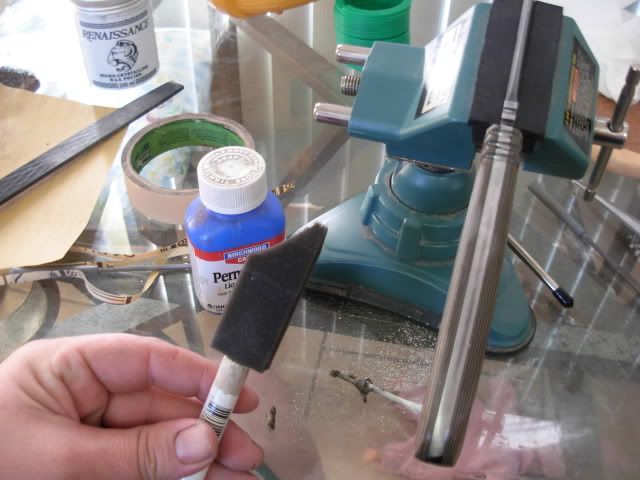
Another thing I didn't catch in the pics is that I also used epoxy with the tubing. Being flared it's really not needed to secure the scales but I did it as a moisure barrier. There's open space around the lanyard tube and the second tube from the front so I wanted to be sure those open spaces wouldn't fill with water if submerged.
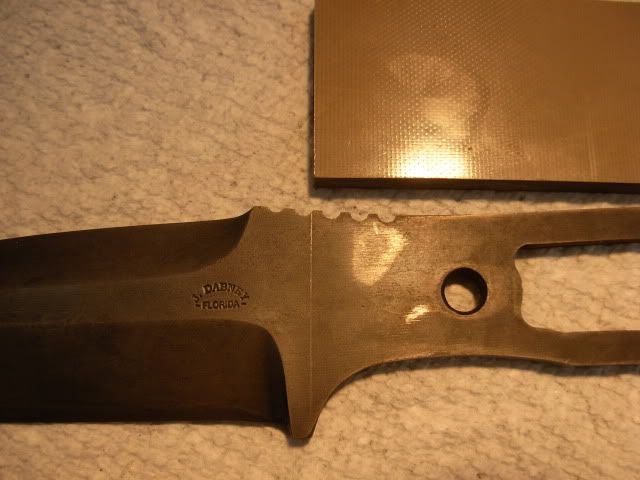
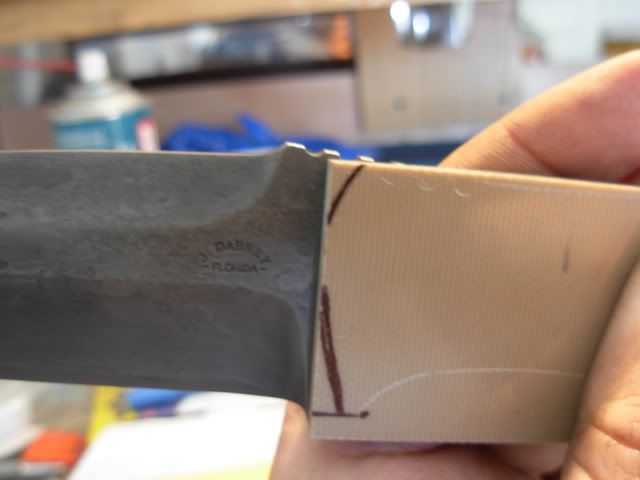
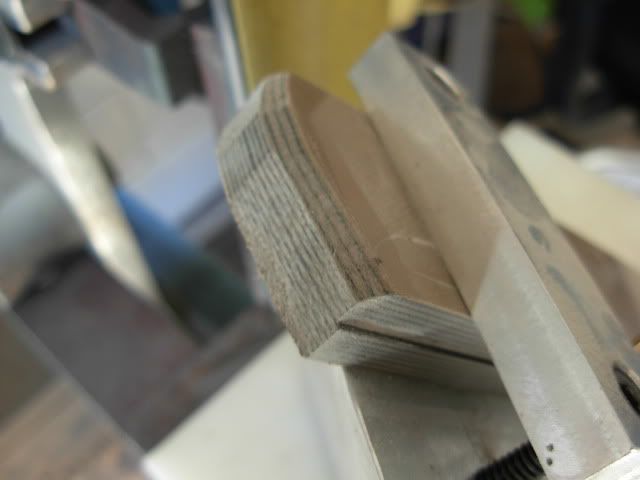
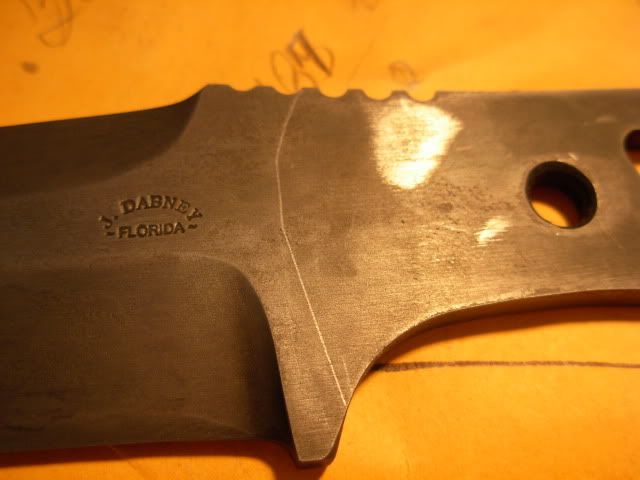
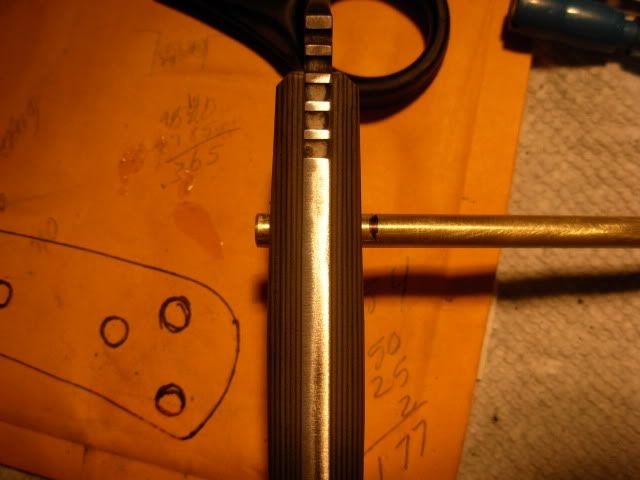
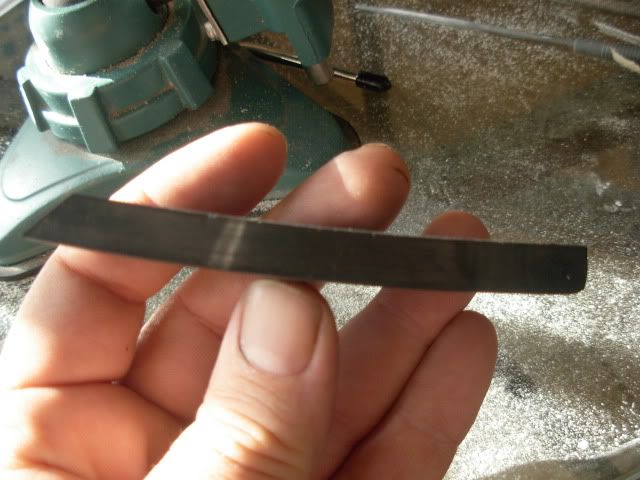
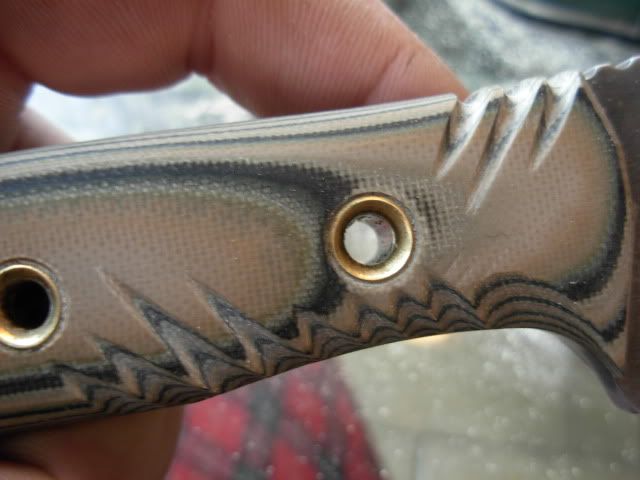
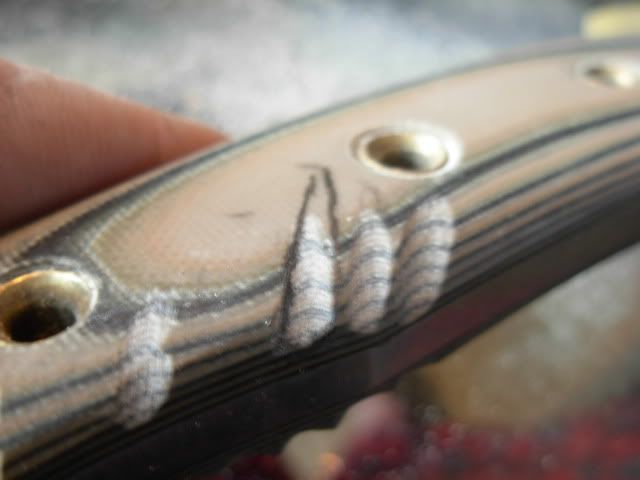
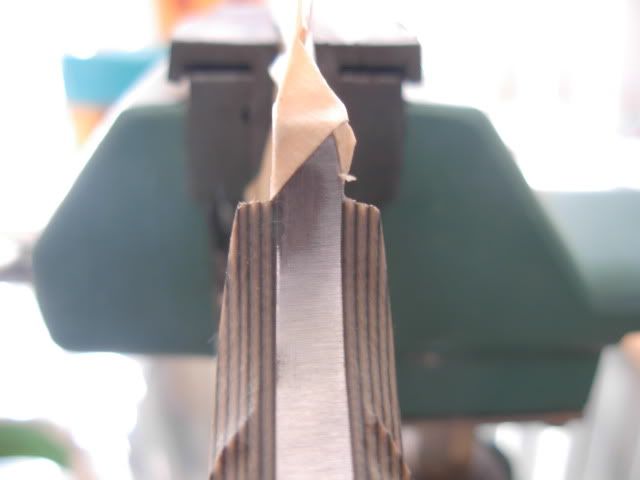
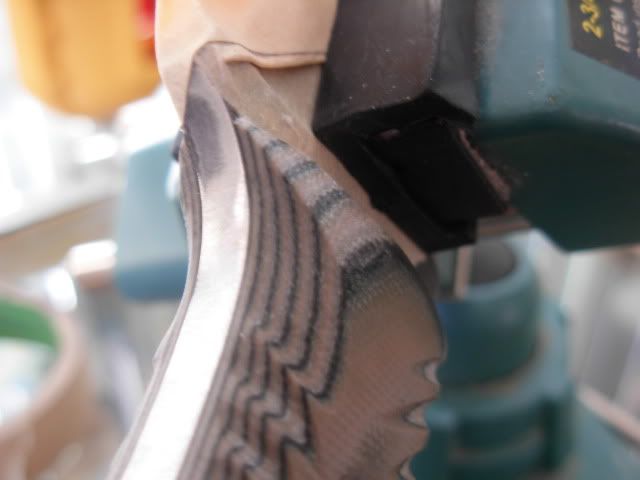
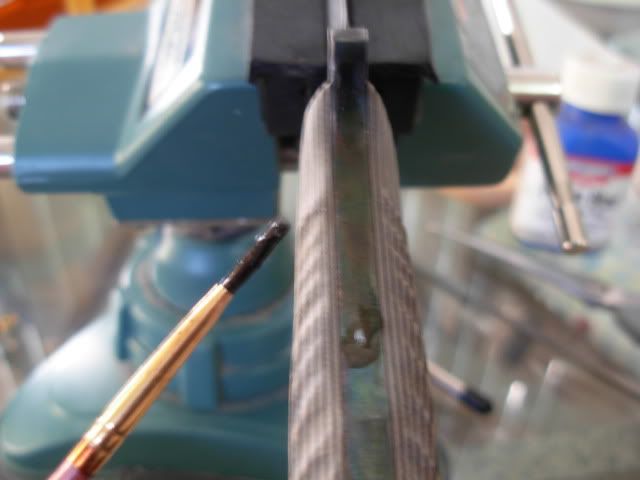
It's worth mentioning here that because of the shape of the handle around the rearmost tube coupled with the fact that I dont want to grind into the tubing I not only pre-shaped the scales but also pre-shaped the tubing with the ends ground at an angle instead of flat.
It's not a big angle but I marked where the short side of the angles are with a sharpie so I'd be sure to get it lined up where I needed when flaring.
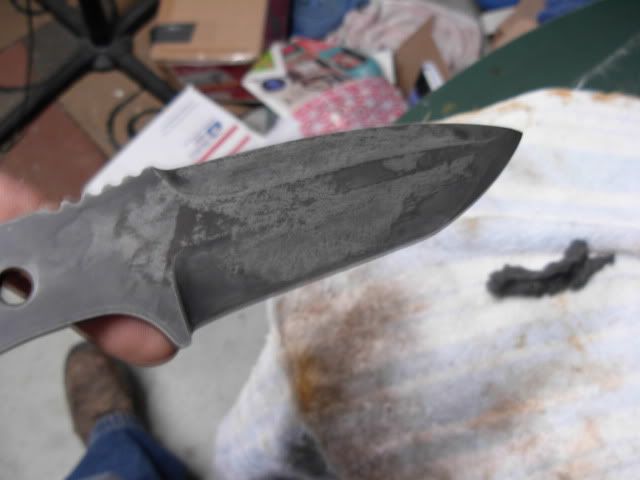
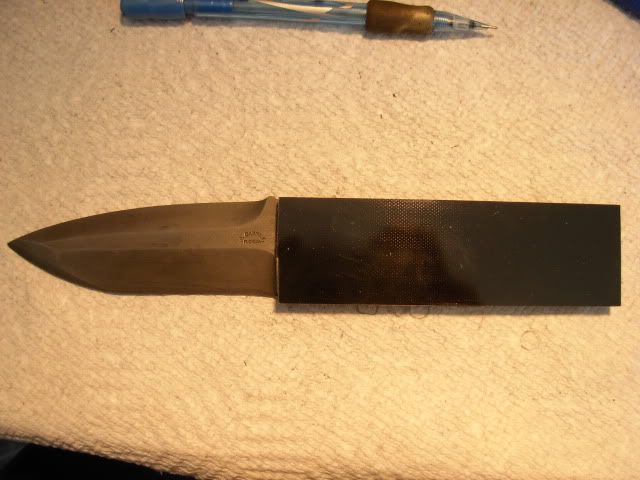
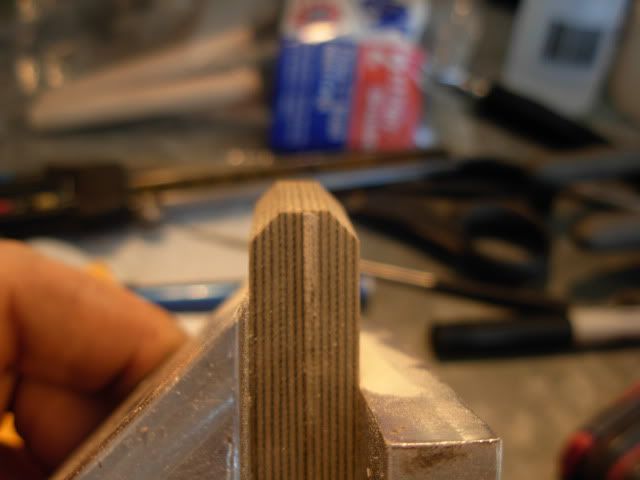
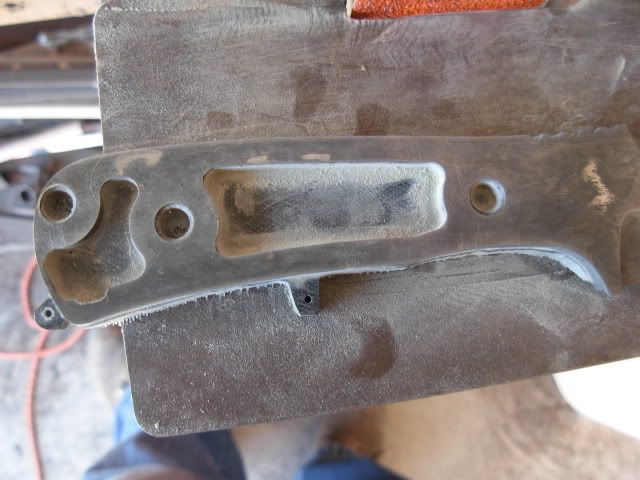
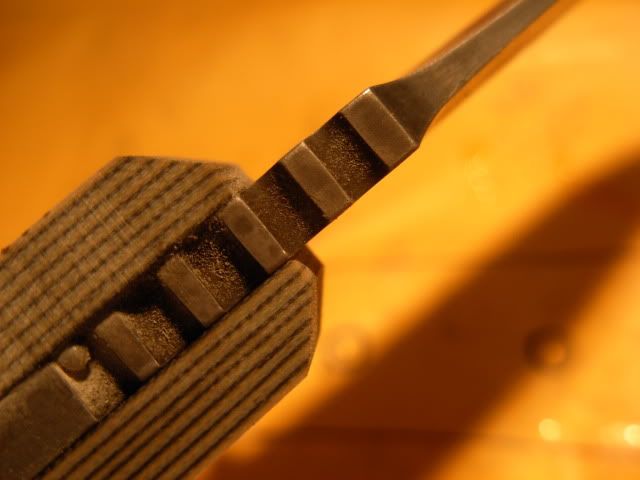
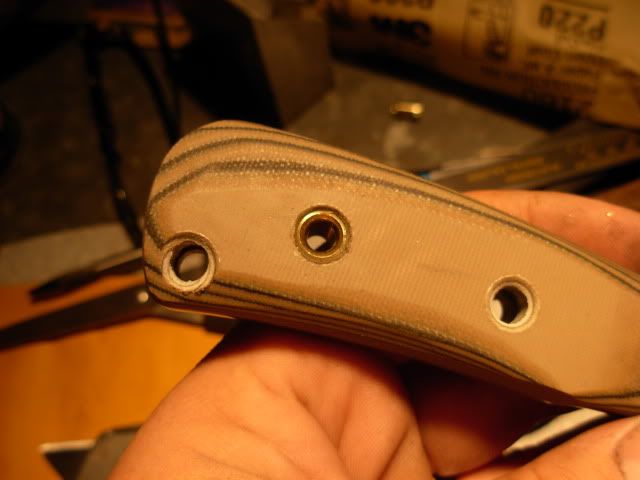
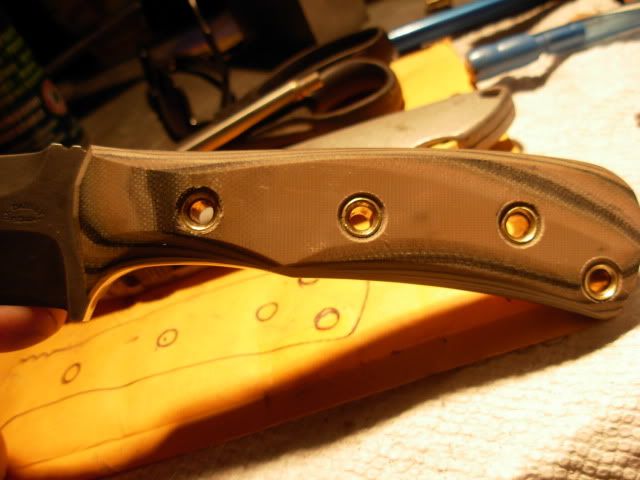
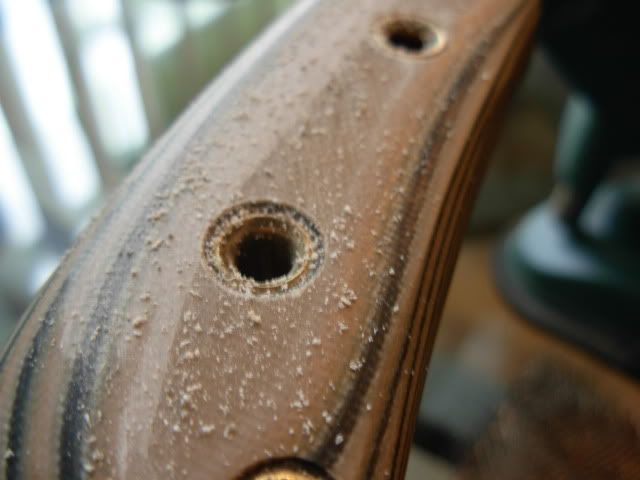
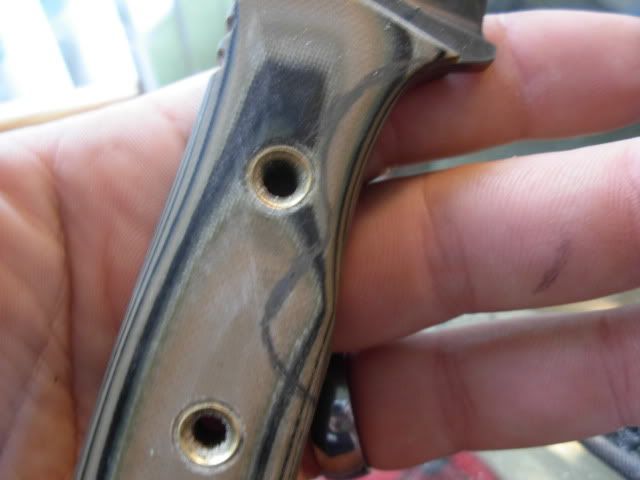
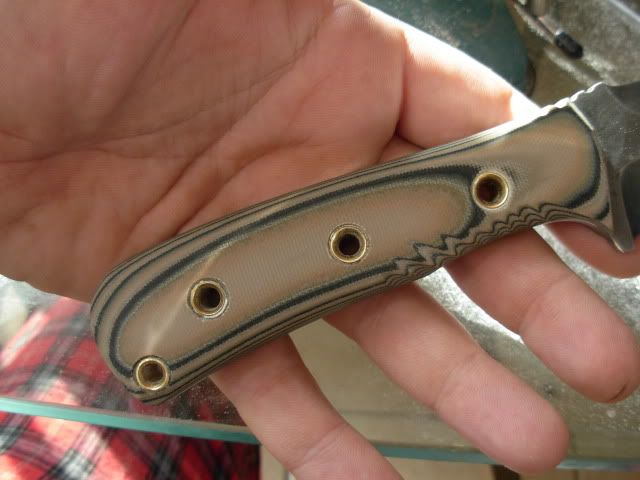
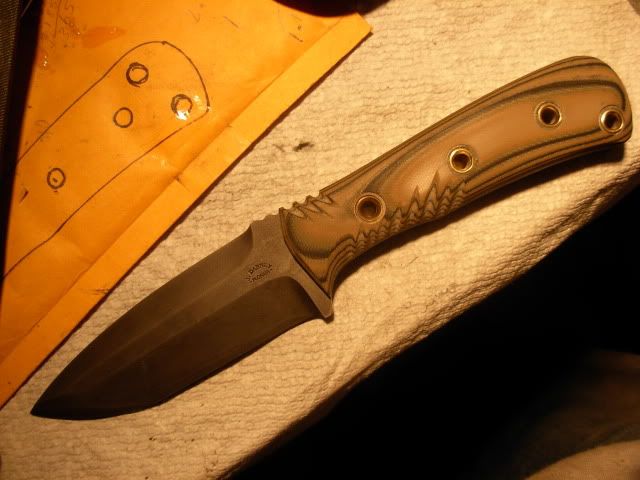
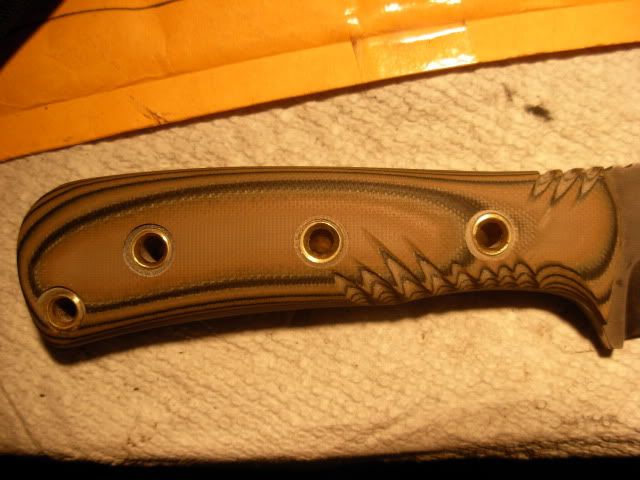
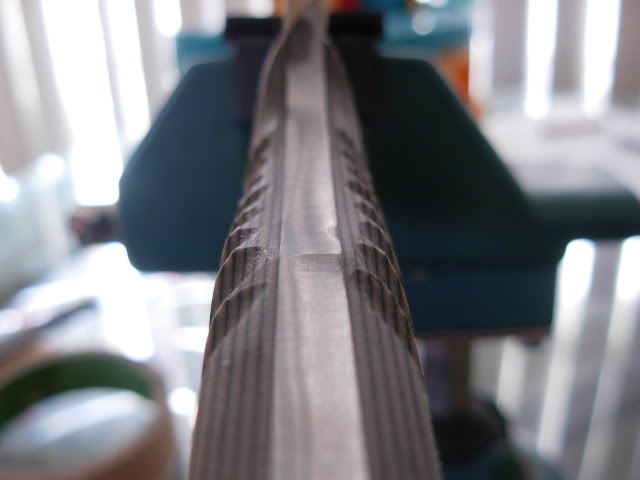
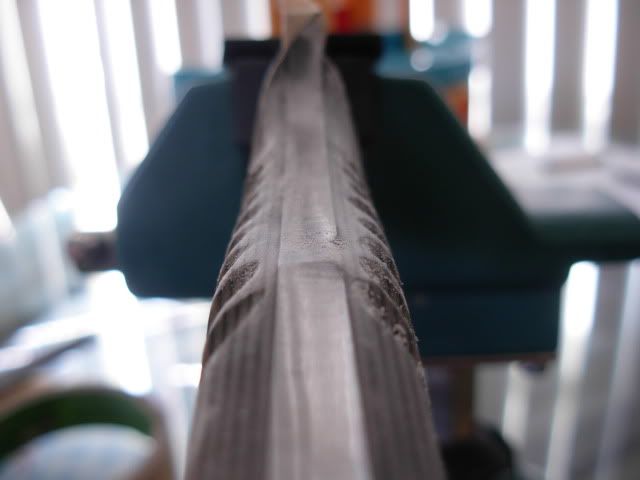
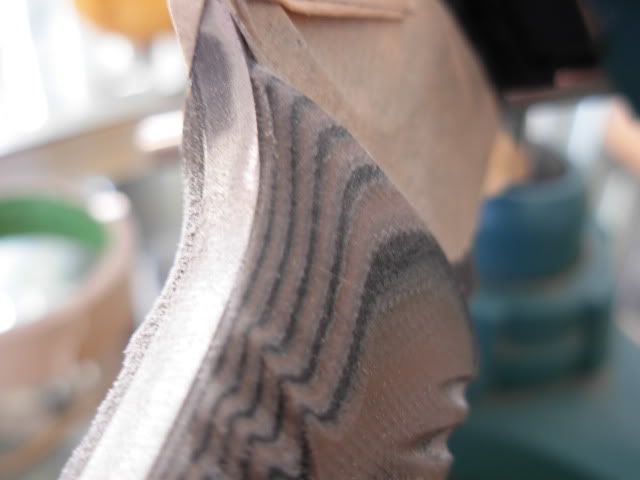
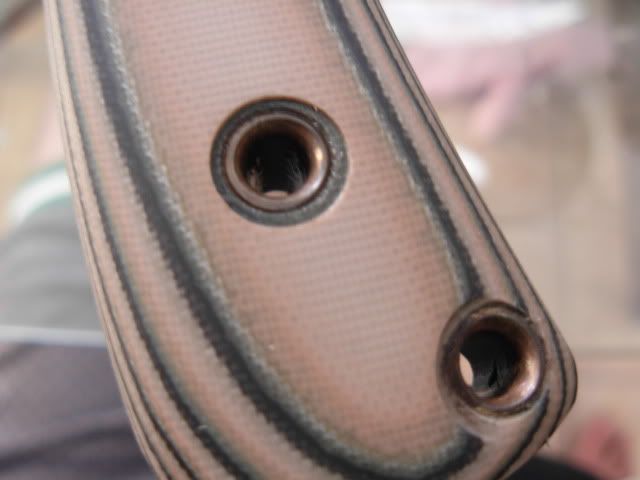
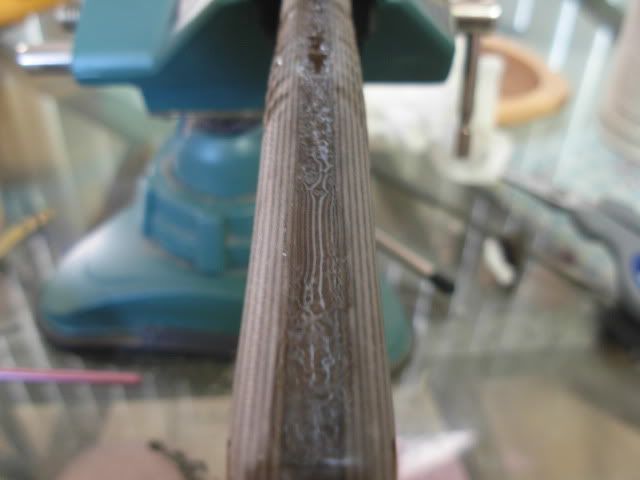
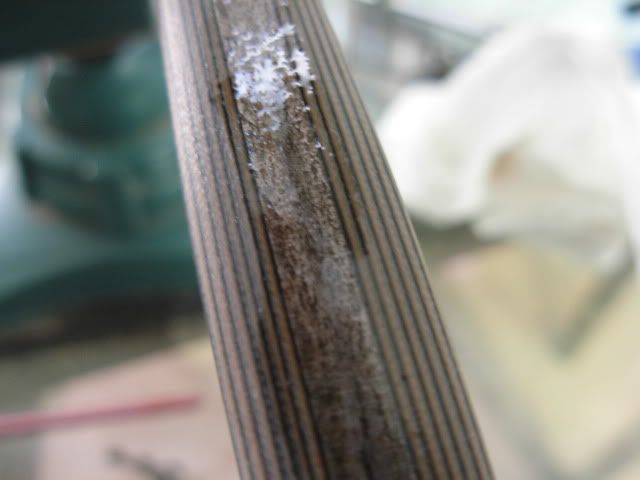
Finally we've got all the tubing installed
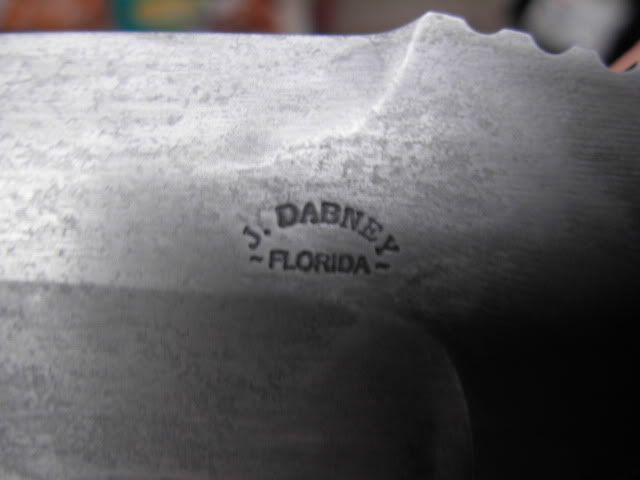
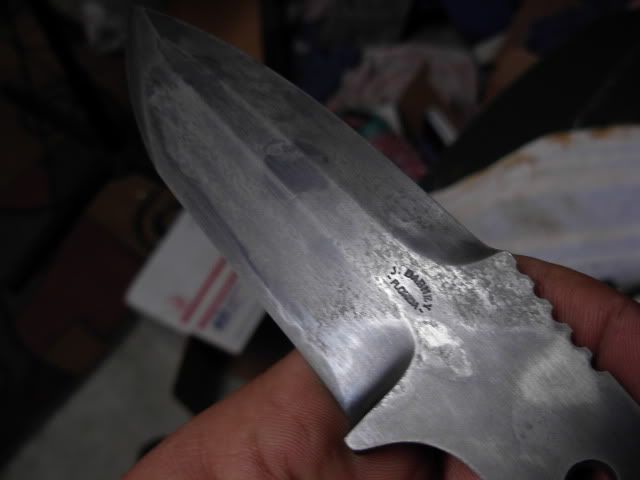
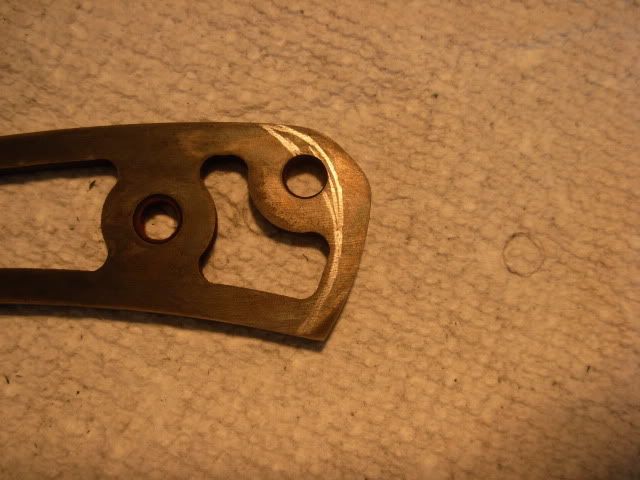
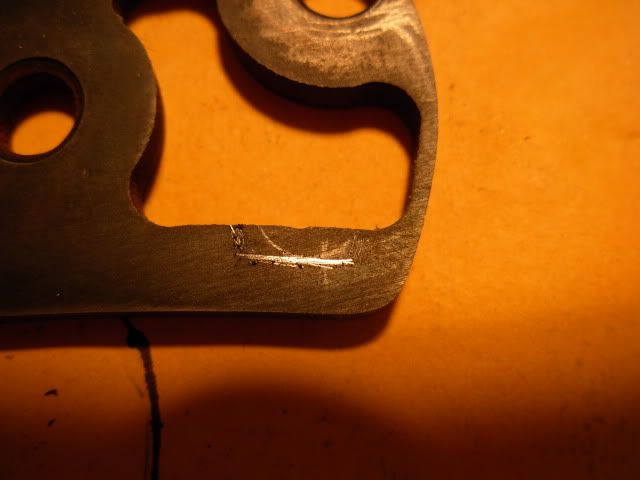
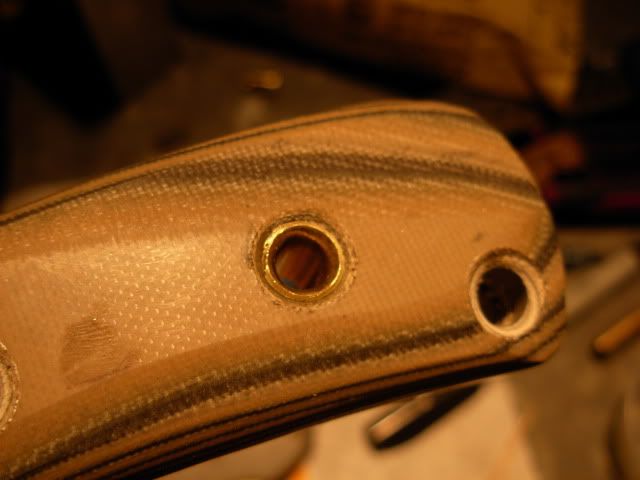
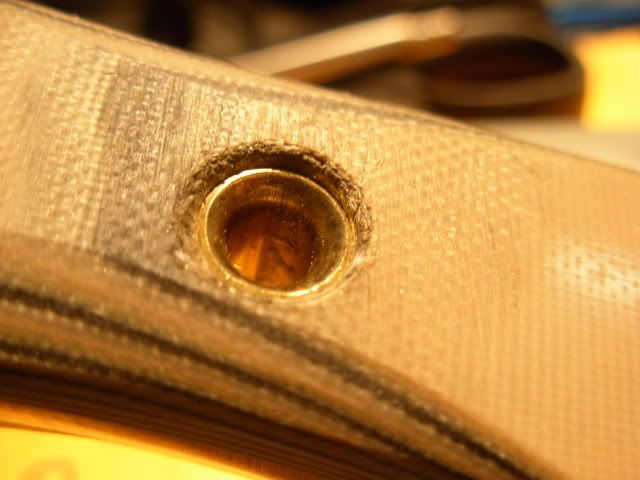
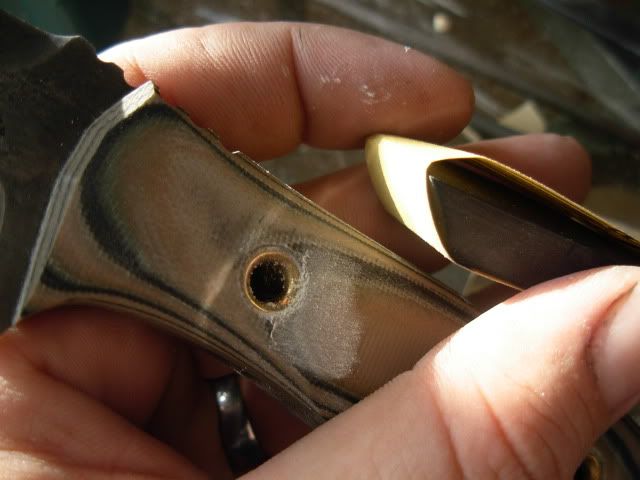
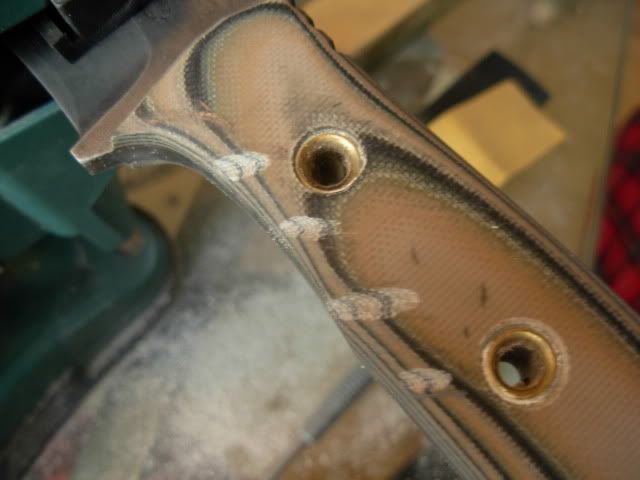
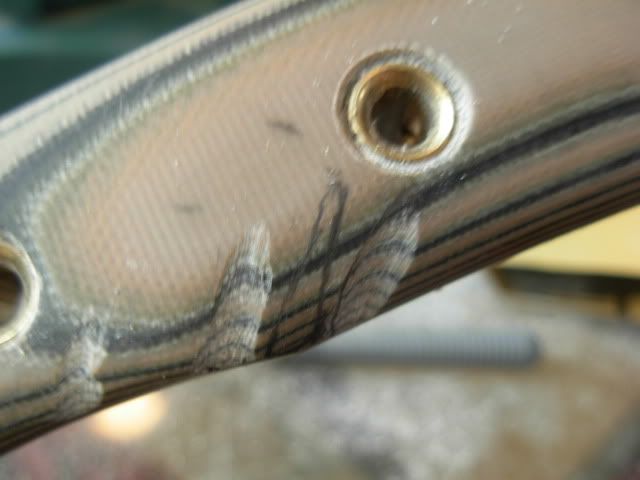
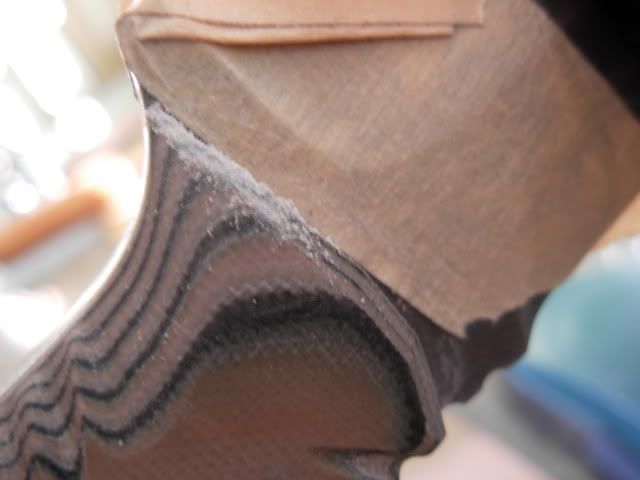
Here's a close-up of the countersink that got buggered with removing that first tube. It's a little rough around the edges but I'm still going to be doing some shaping on the scales which SHOULD clean things up a bit. I'm fiarly sure it'll work out alright in the end
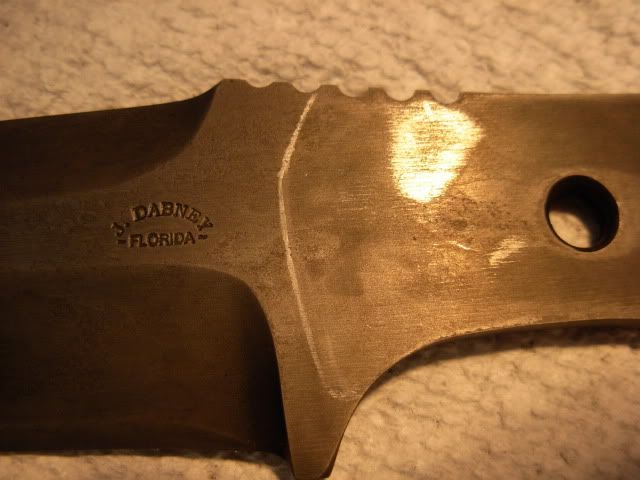
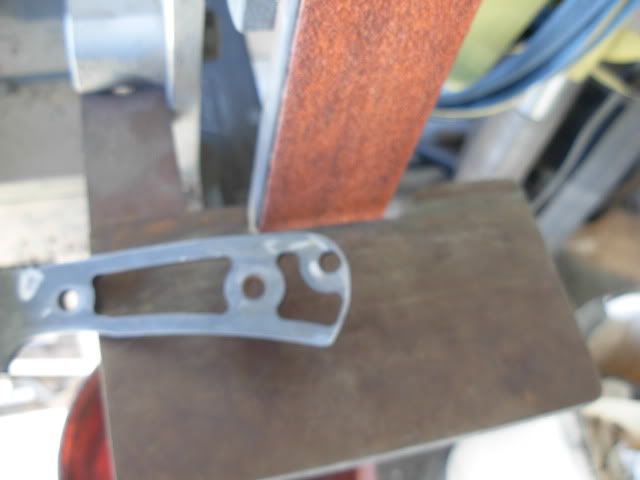
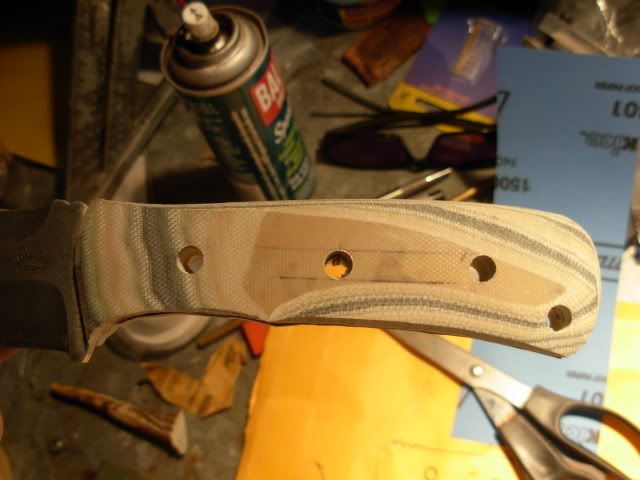
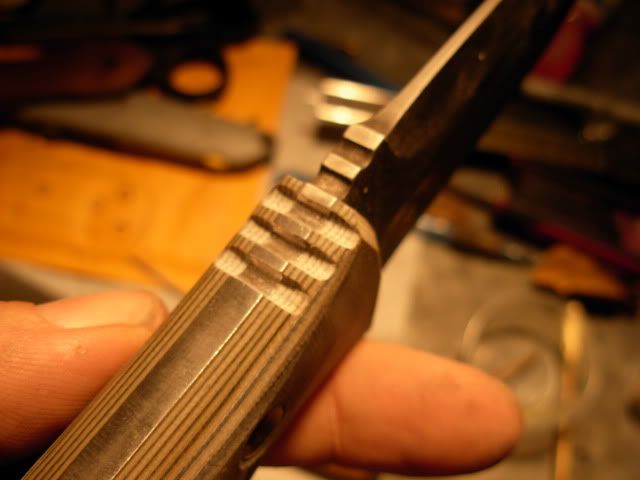
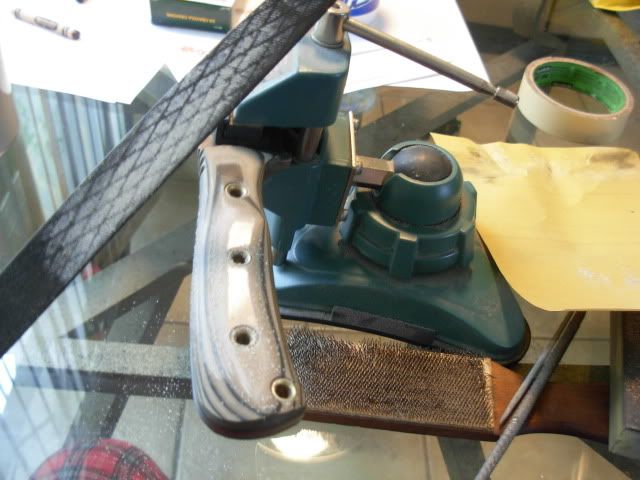
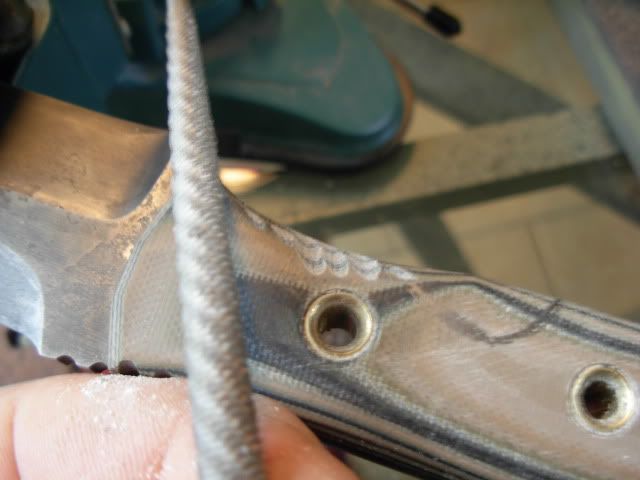
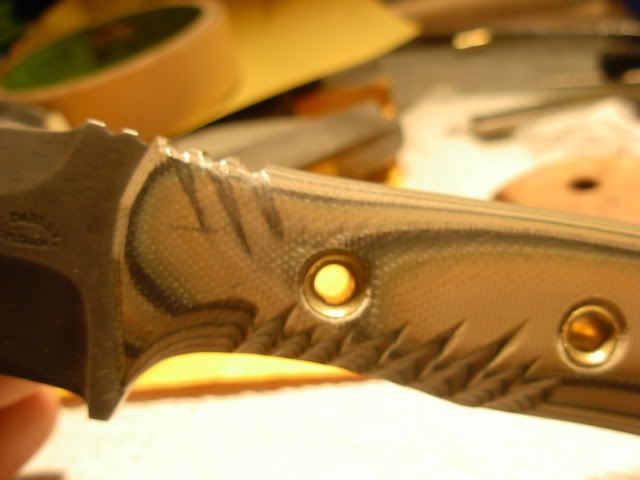
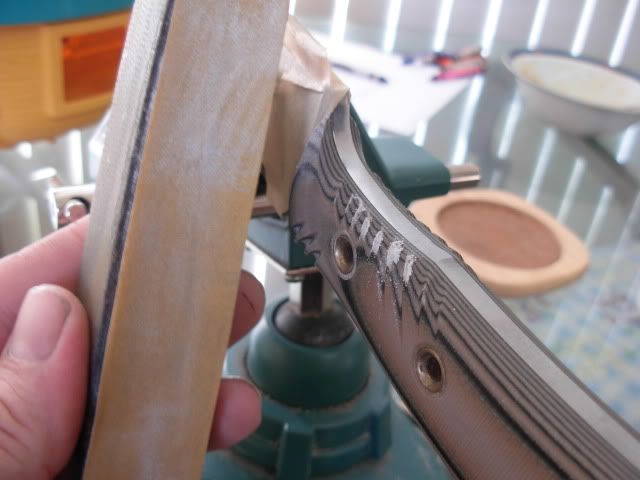
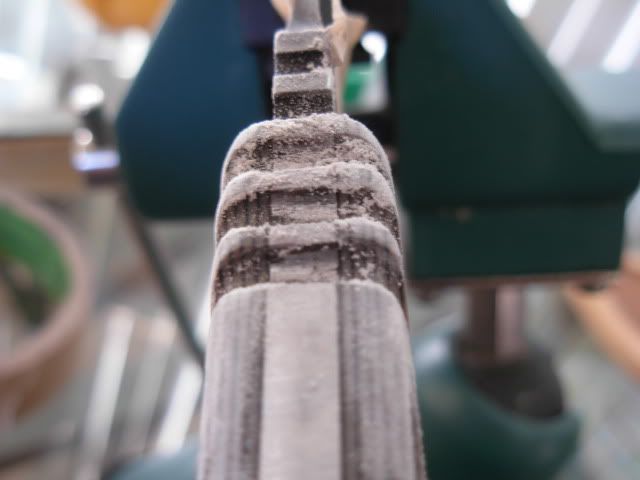
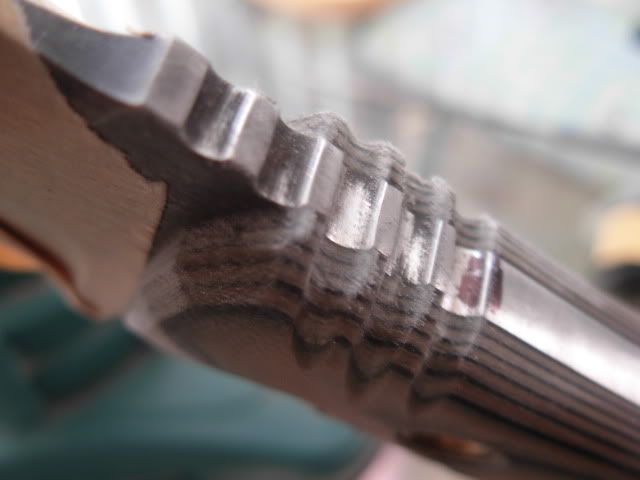
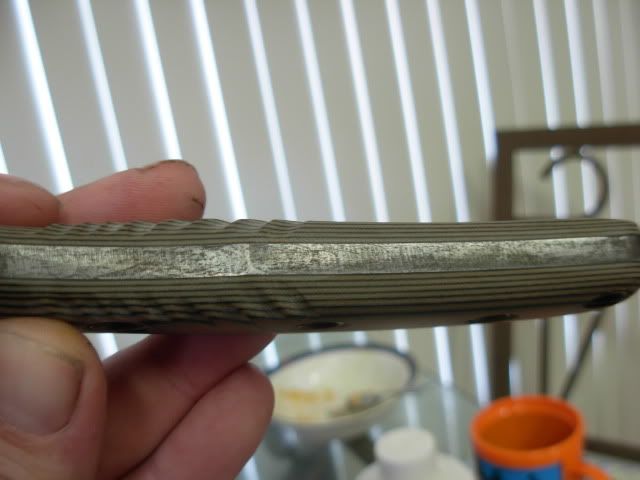
With tubing installed we can now move on to final shaping of the handle. I'll use a 1" 80 grit slack belt to further tune the shape close then make any need adjustmets with files or rasps and finish up by hand sanding it. I'm gonna start by cutting the thumb grooves into the scales with a needle file
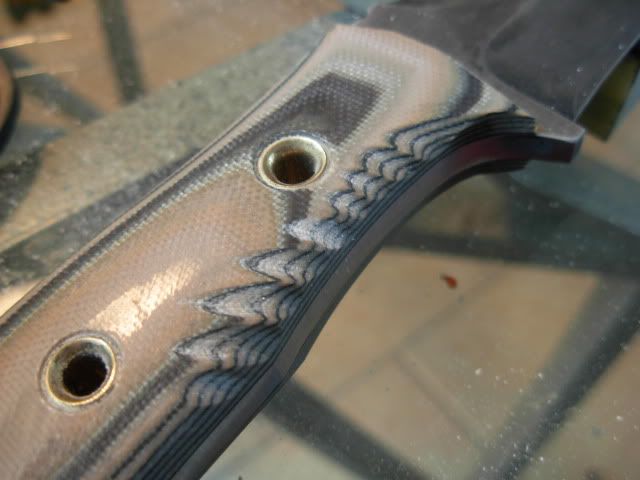
Keep your file card handy as the file will load up with just a few strokes so clean often and it'll go quick. I'll final tune these with sandpaper wrapped around a drill bit shank but we're done with the file and very close to where we'll end up
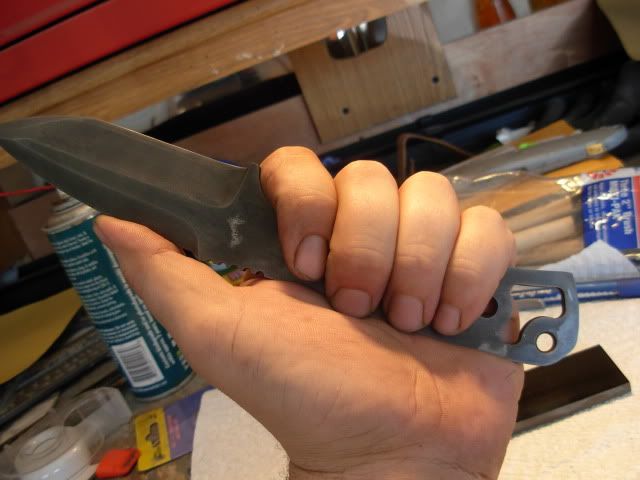
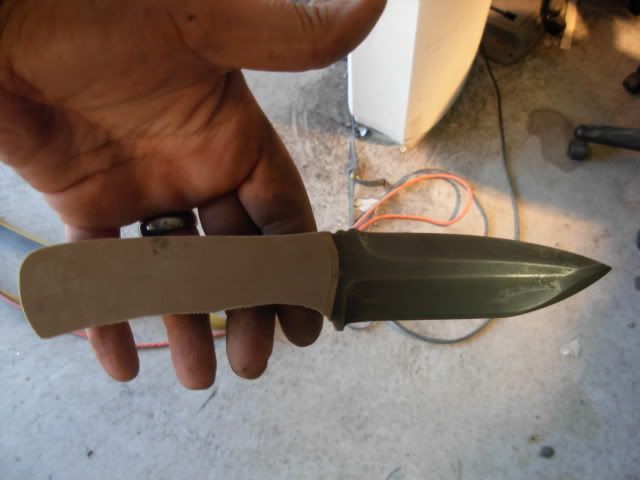
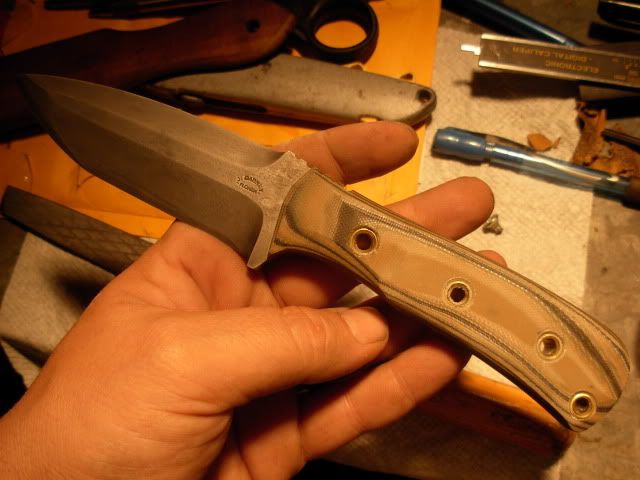
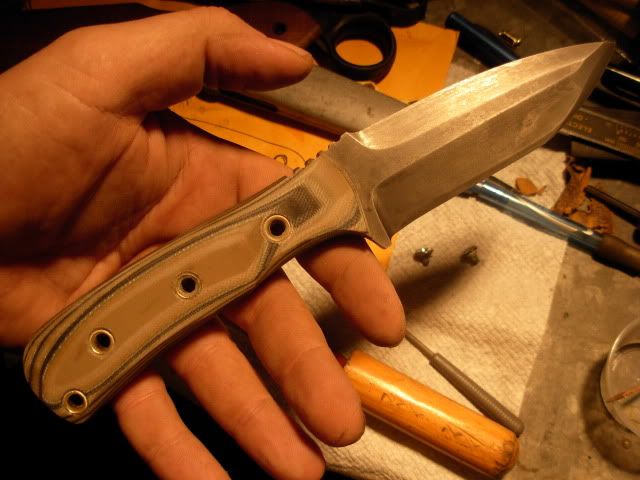
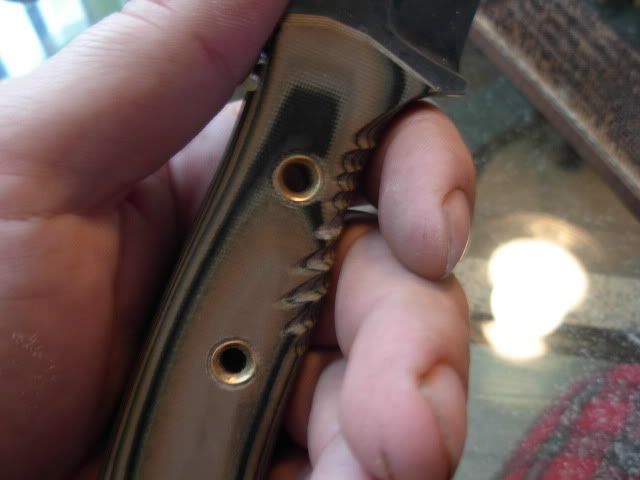
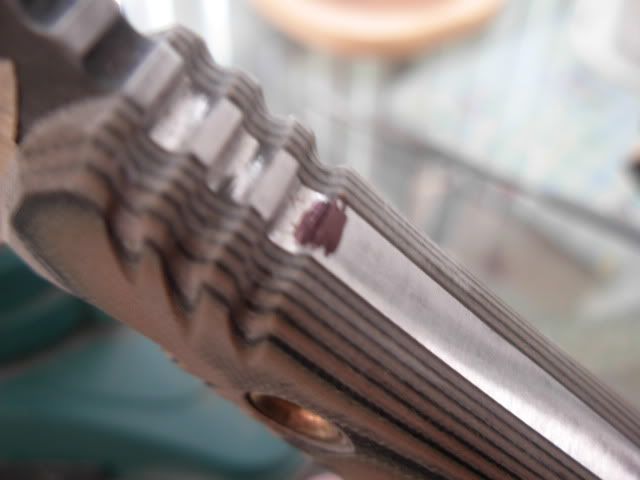
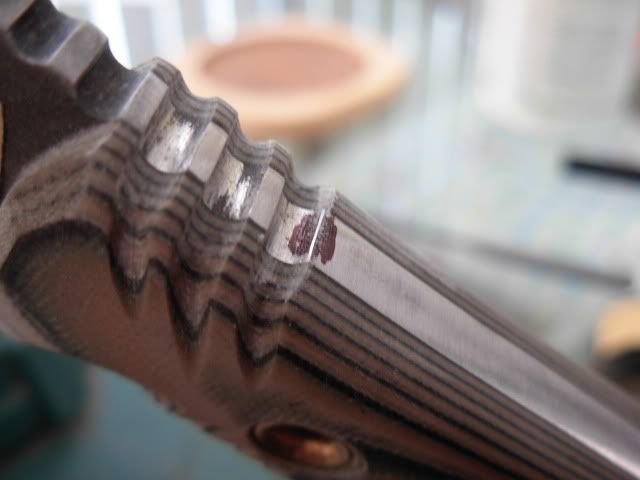
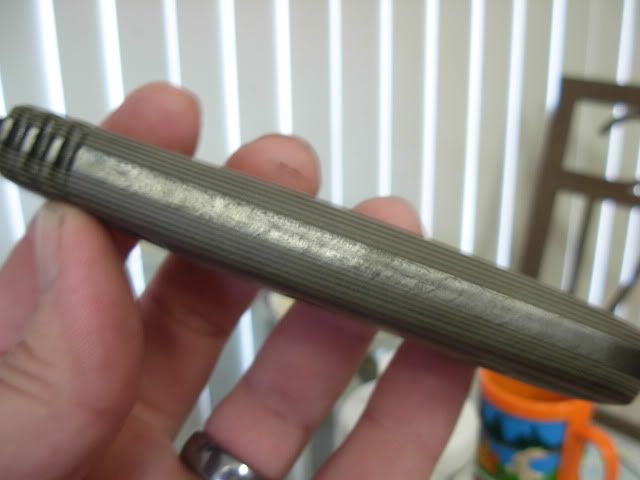
I went ahead and smoothed some things up with that slack belt and ready to move on to final shaping by hand but this is how I left off last night
Thanks for following along Fellas and glad your enjoying it.
Hopefully I'll get a little more time tonight than last night, LOL
Josh