Josh Dabney
Moderator
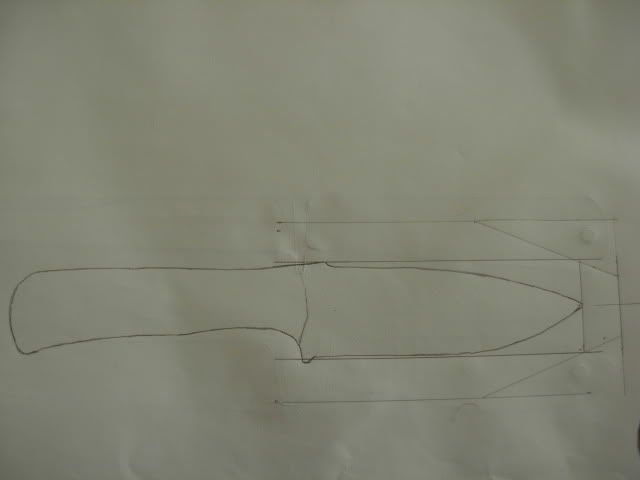
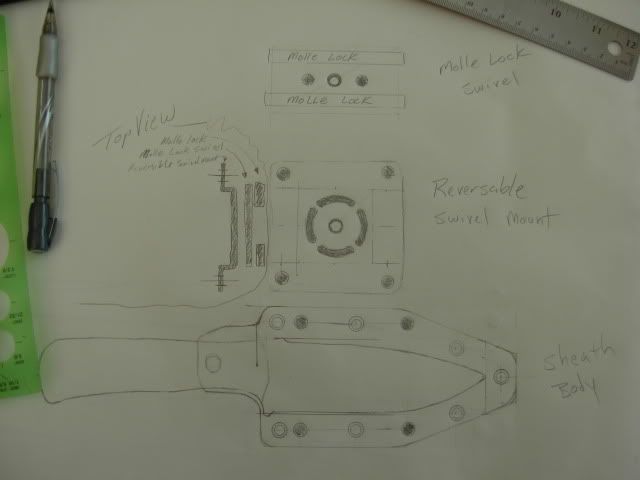
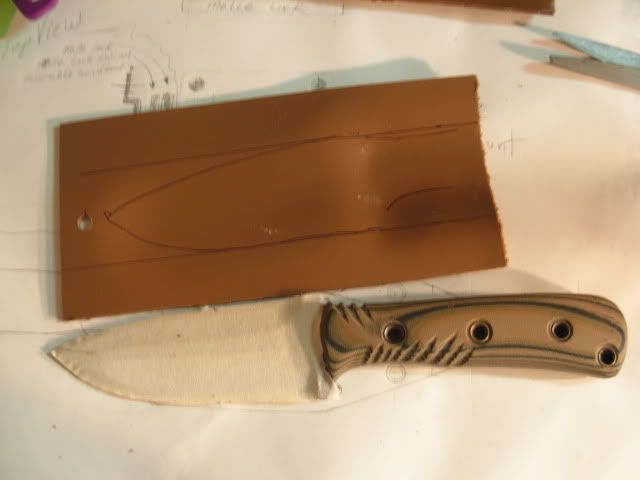
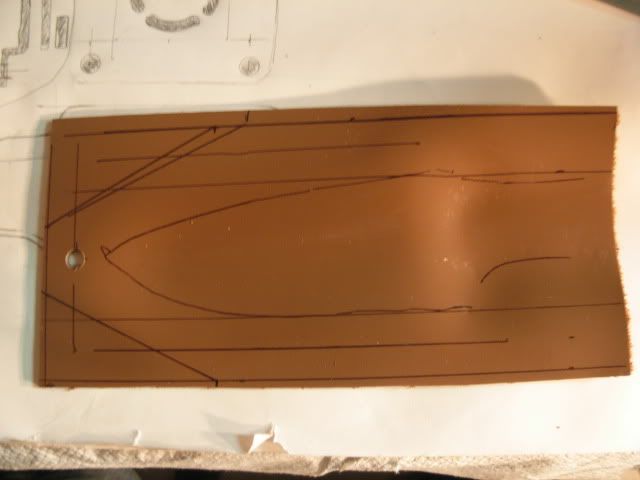
It always helps to make a plan before starting. Here we're getting our pattern started
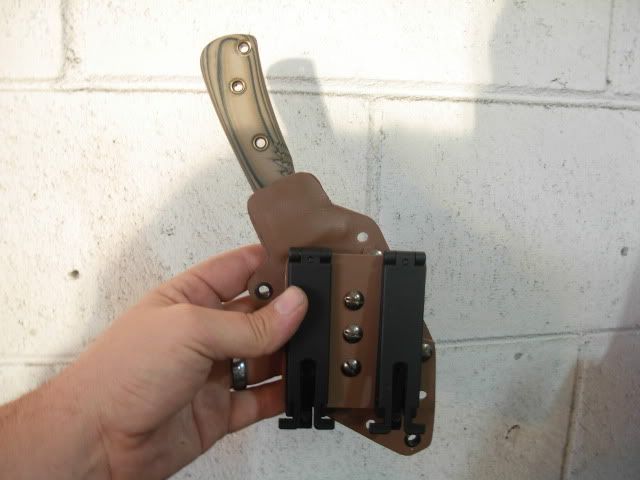
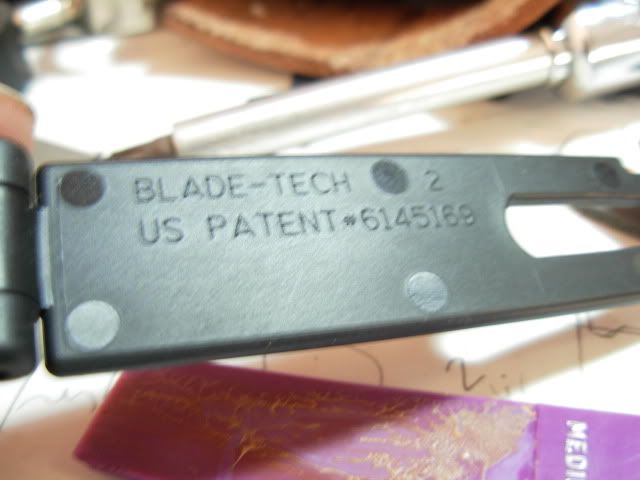
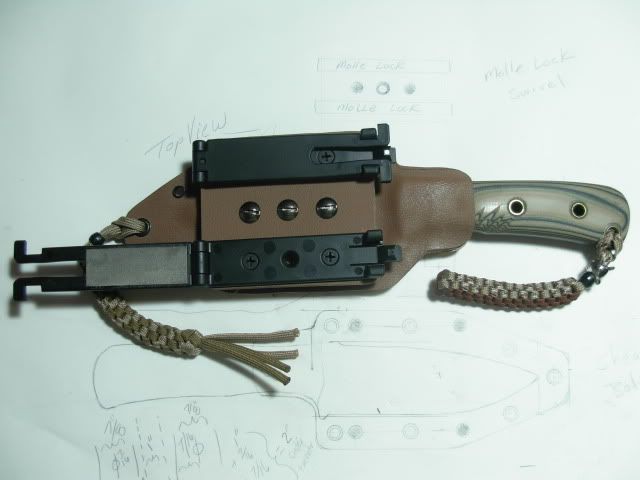
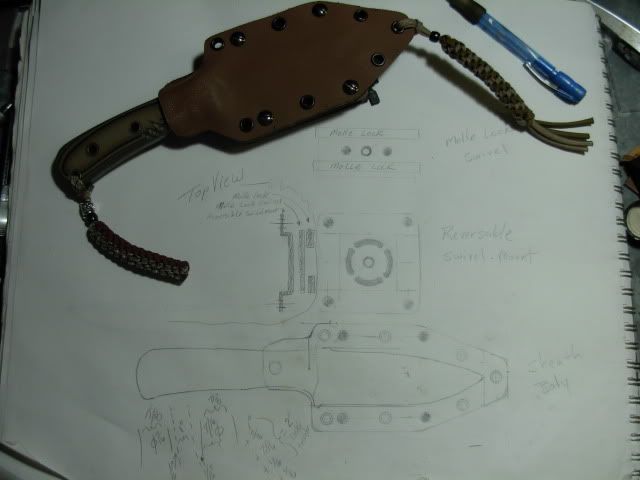
Now you can see I've got a fairly detailed plan laid out for my build. There will be 3 main components 1. the body 2. The "Molle lock plate" or molle swivel
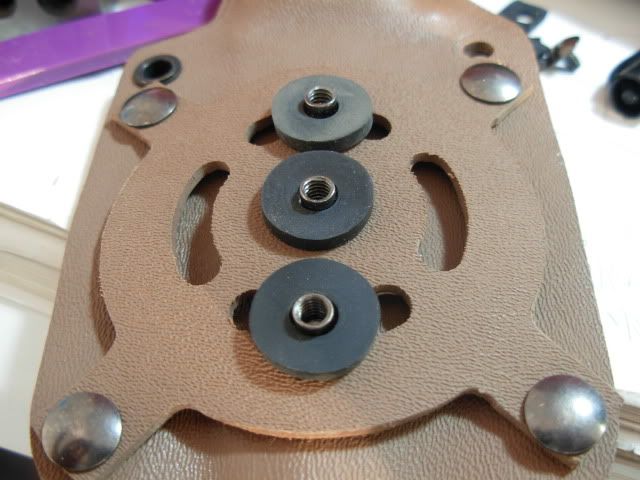
3. The Swivel mount
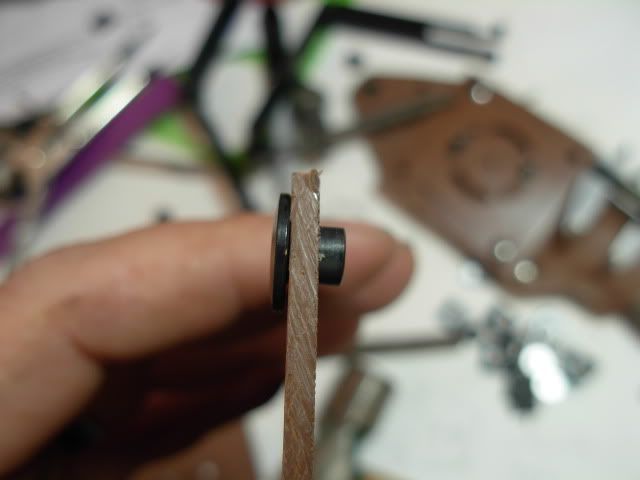
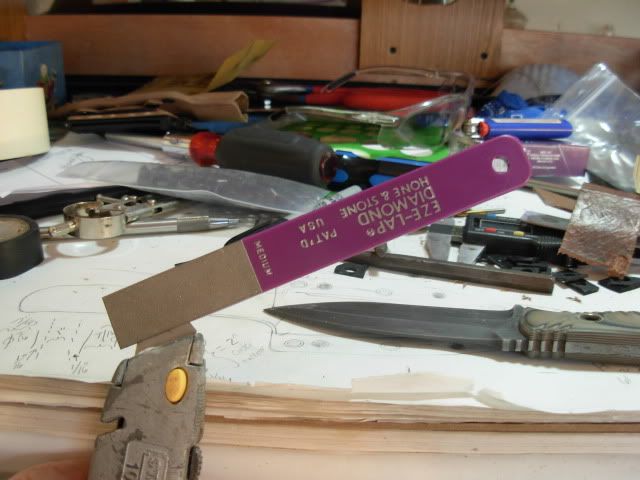
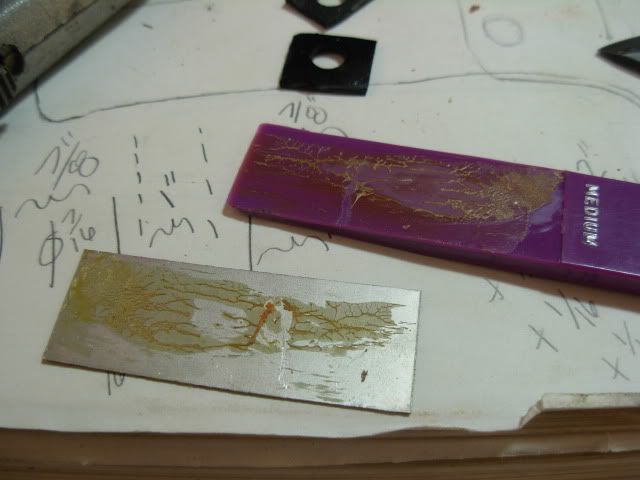
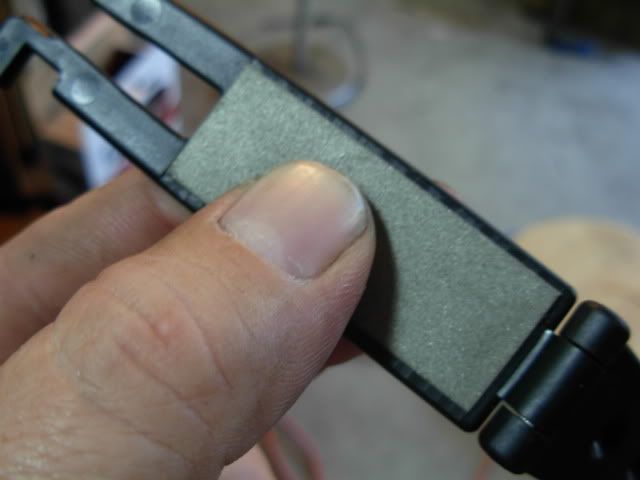
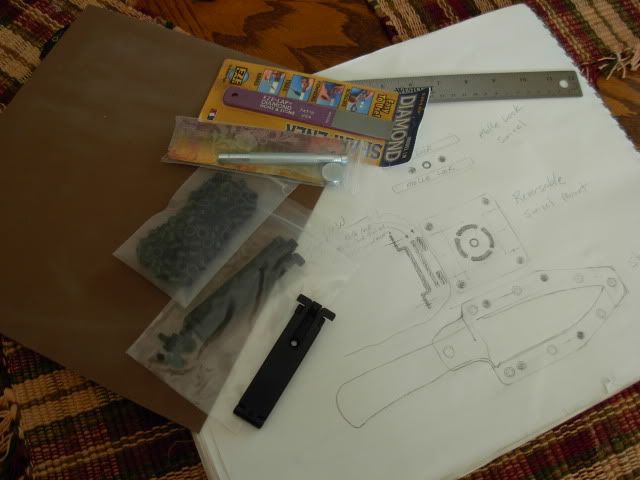
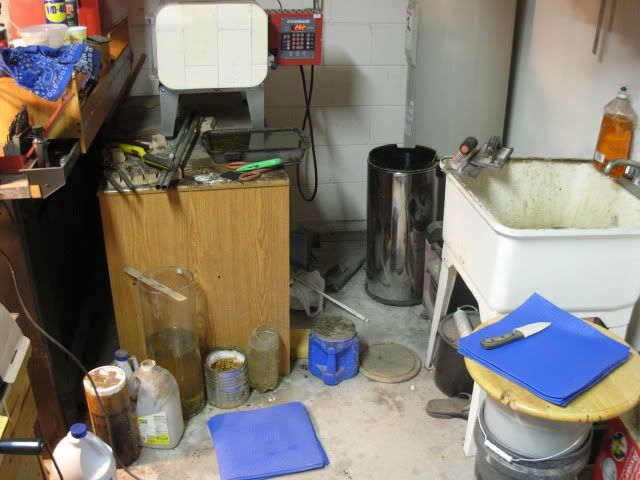
Here's a good bit of our materials. I ordered that EZ-Lapp diamond shapener not knowing exactly how it was made but I figured I'd pick it up and see if I could figure out a way to incorperate it into my sheath.
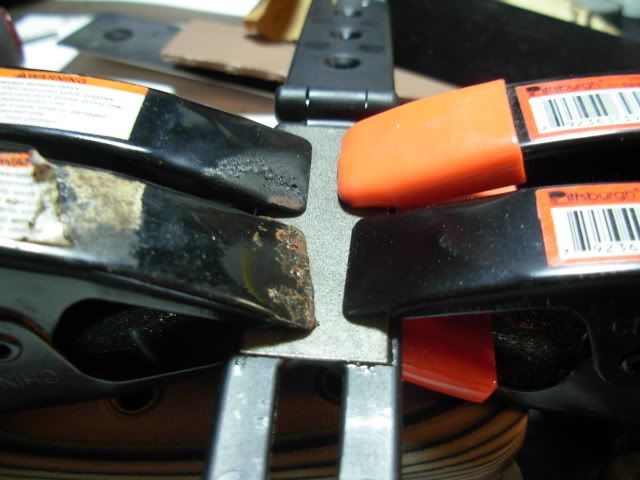
For those without a bandsaw these Weiss tin snips cut kydex no problem. Here I cut the sides of the body a little oversize. They do seem to want to slip around while being pressed around the knife
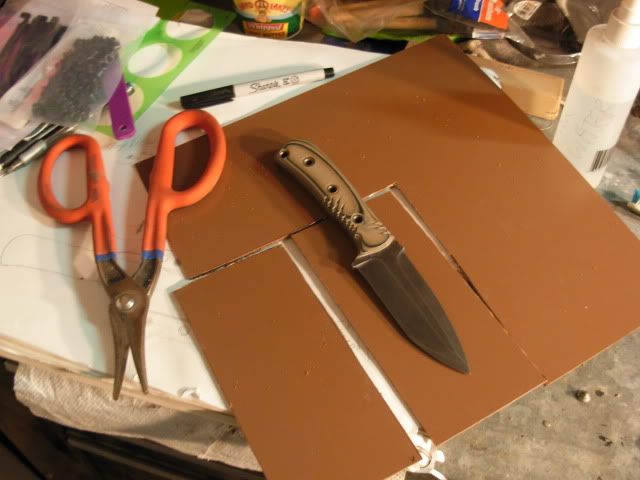
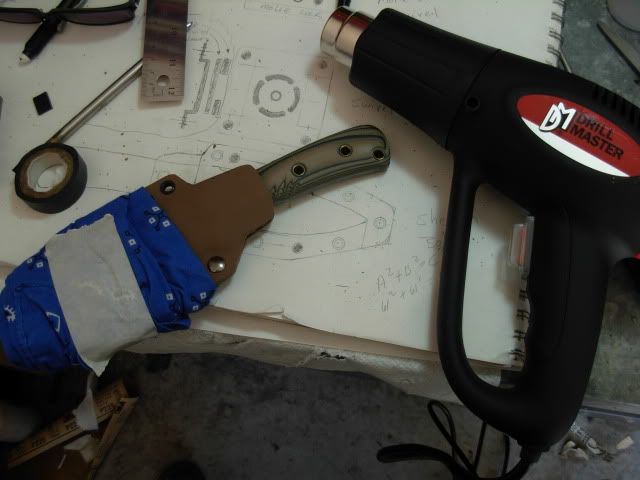
Now I traced my blade where I want it on my material just to speed things up when going from the oven to the press
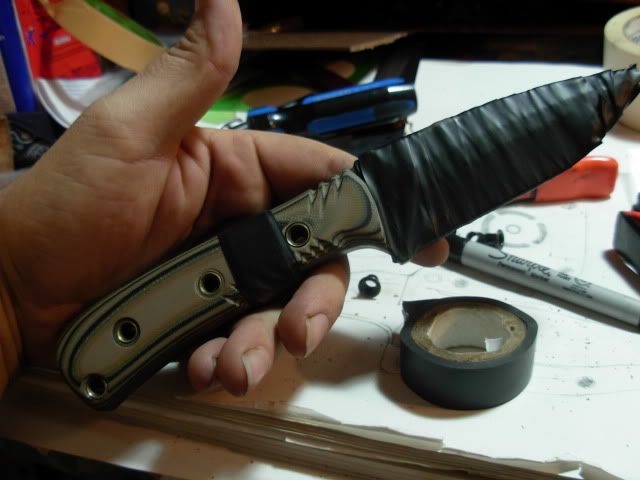
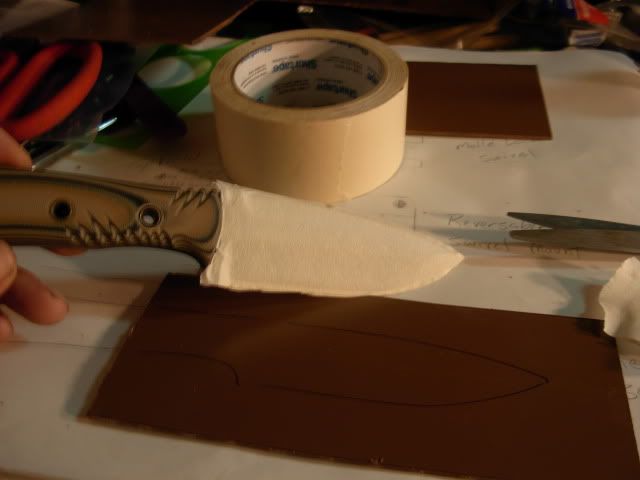
Since I'm out of Duct tape I put 3 layers of masking tape on each side of the blade and trimmed it with scissors just to give it room to slide freely in and out
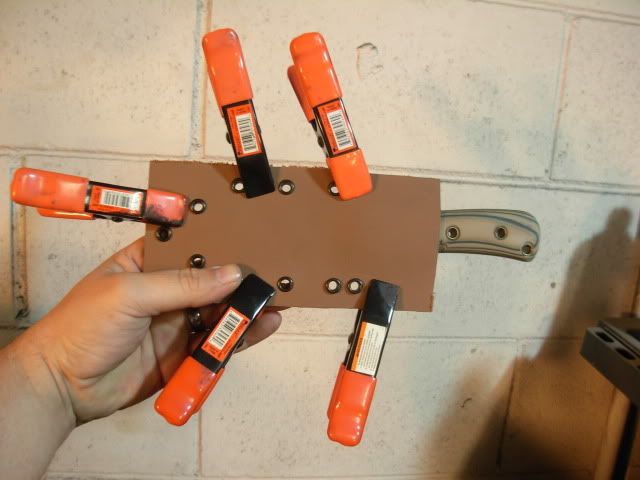
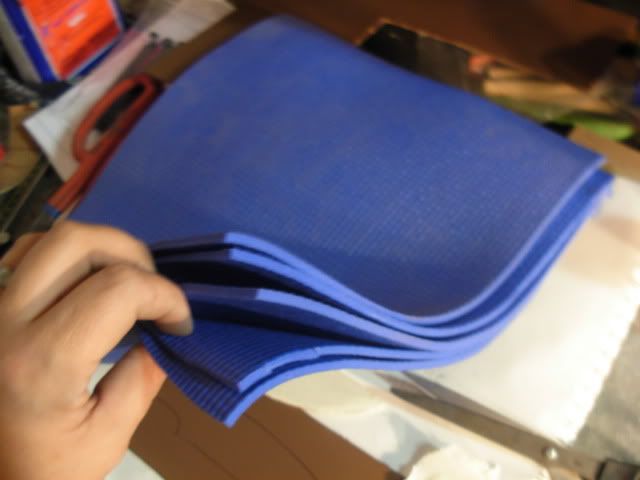
My foam for pressing is a Pilates mat that was laying around house not seeing any use :lol: Probably not the very best thing to use but it does work
In the evenheat cooking at 280 degrees. I think I probably could of gone a little higher temp than that but would have to experiment
The low tech pilates mat and a fat man press in action.
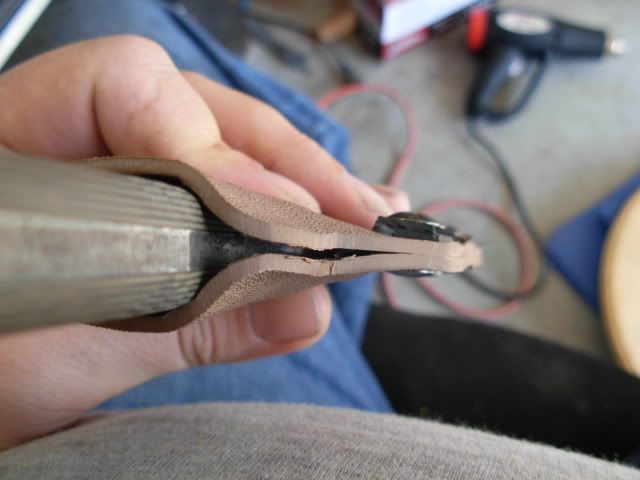
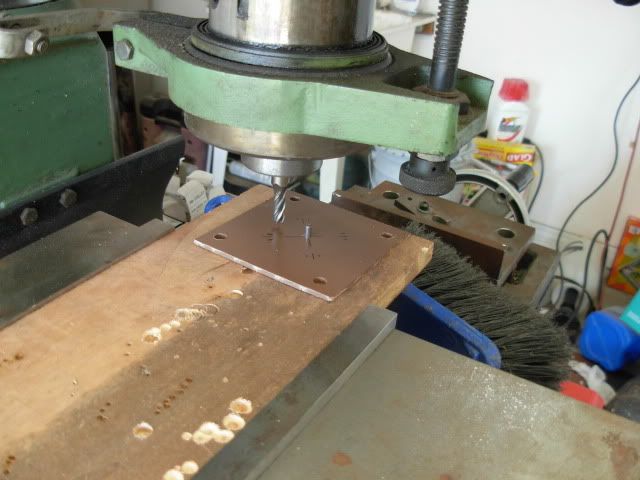
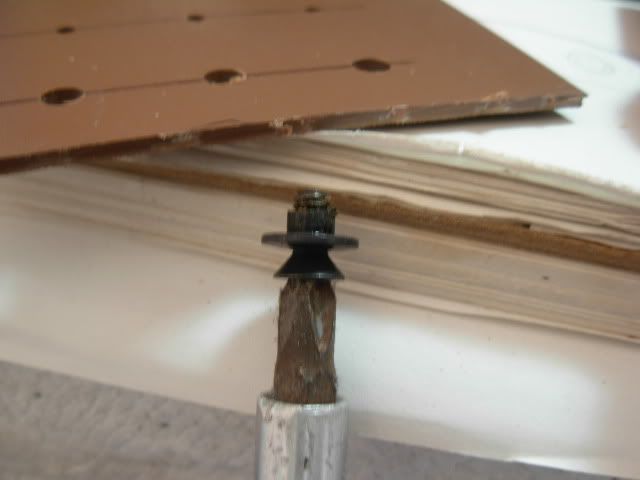
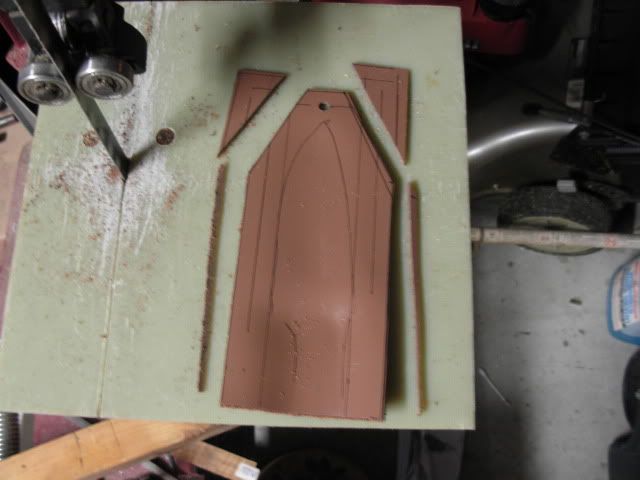
Now we're molded and move on with using layout lines just like on my drawing along with drilling the first rivet hole in the tip
Continuing on with laying out our plan. the rivet lines are 3/8" from the knife outline and the outside is 3/4" away
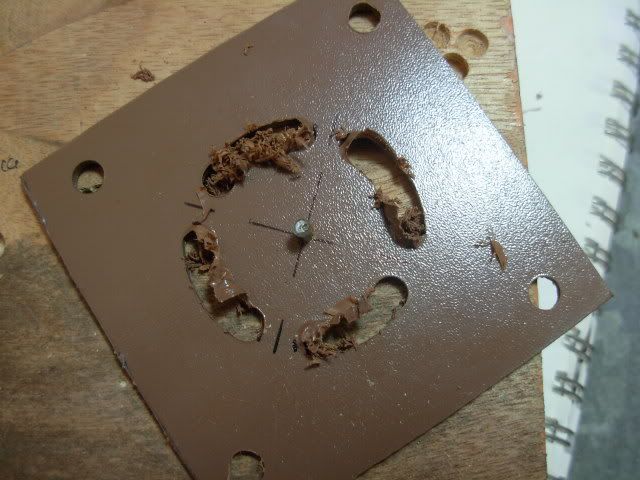
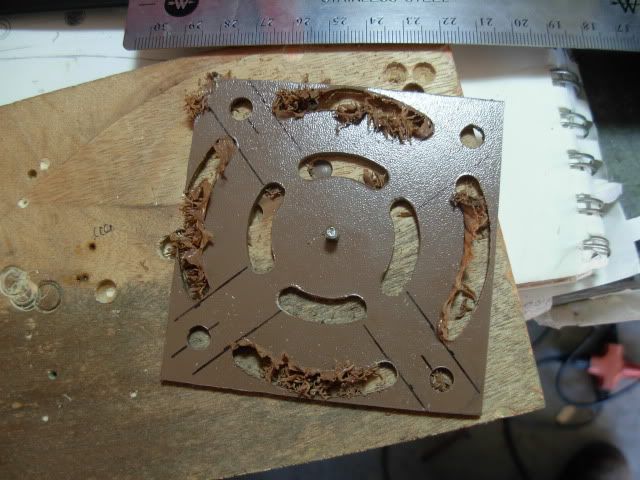
Getting all these lines going on can get confusing opening the door for Mr Murphy to step in so I cut out the perimeter on the bandsaw to simplify things a little
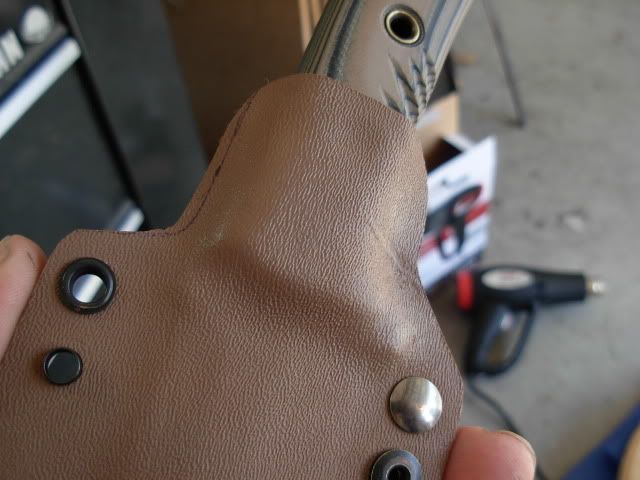
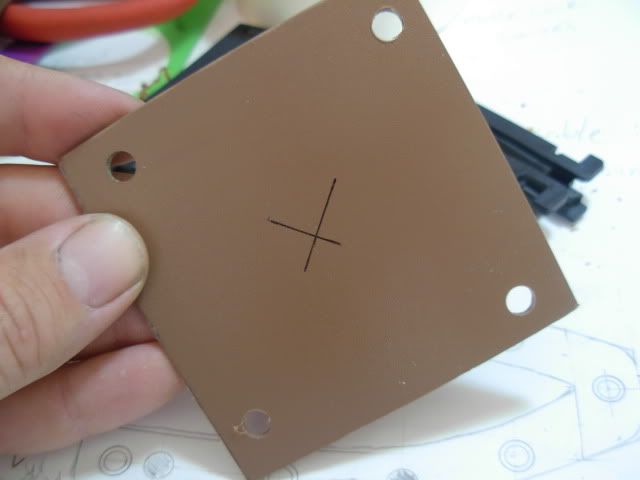
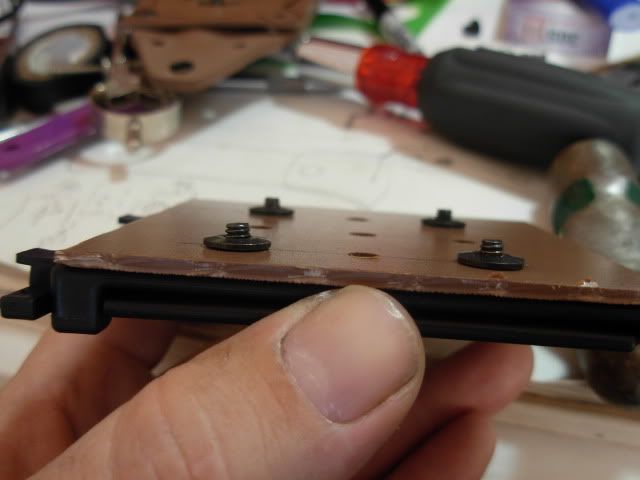
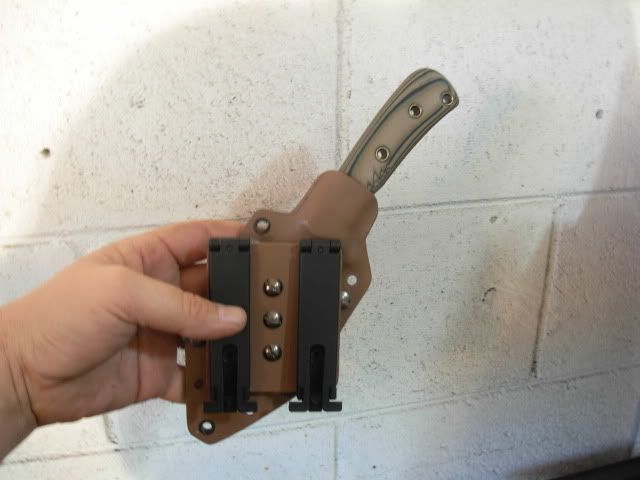
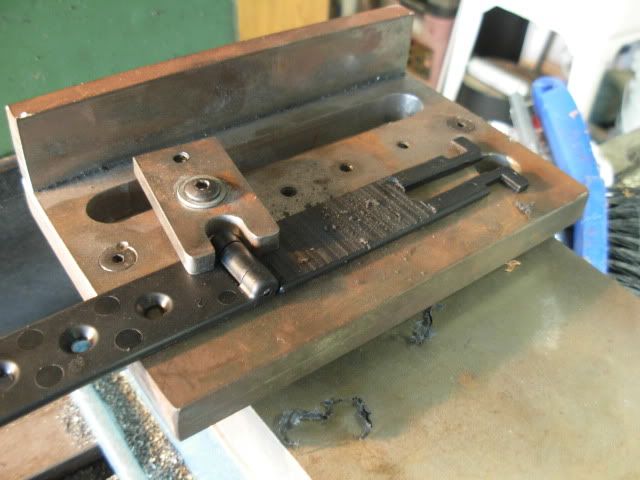
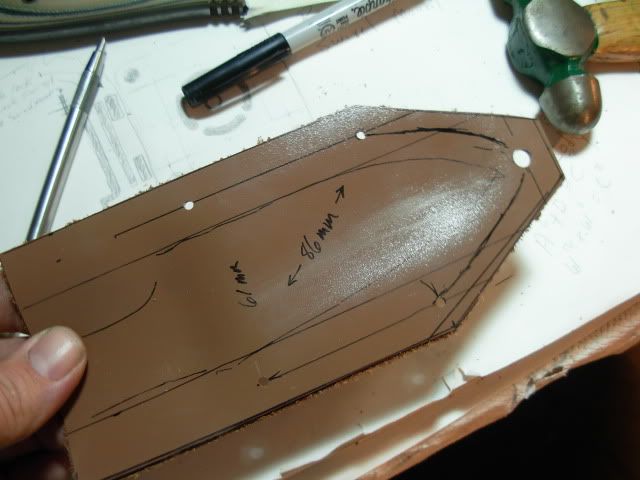
Because I want the sheath to be reversible (right to left handed) and also from verticle to horizontal carry I need my 4 mounting points for the swivel mount to be a perfect square so all 4 holes line up in any position. My rivet lines we're 61mm apart so I marked two holes on the same side 61mm apart and center-punched them. In the pic I'm using a 1-2-3 block as a square to transfer to the other side.
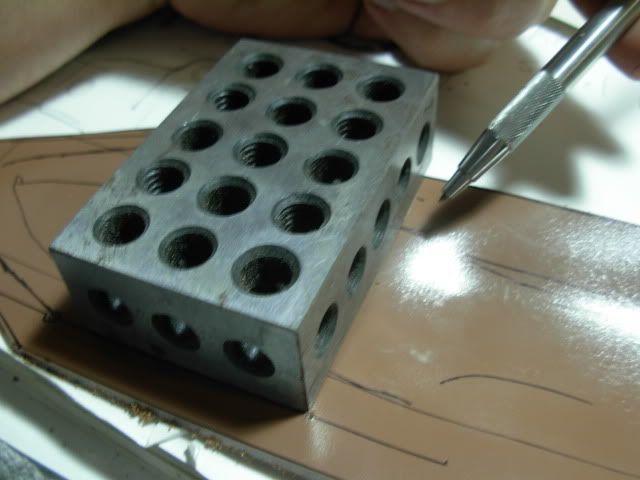
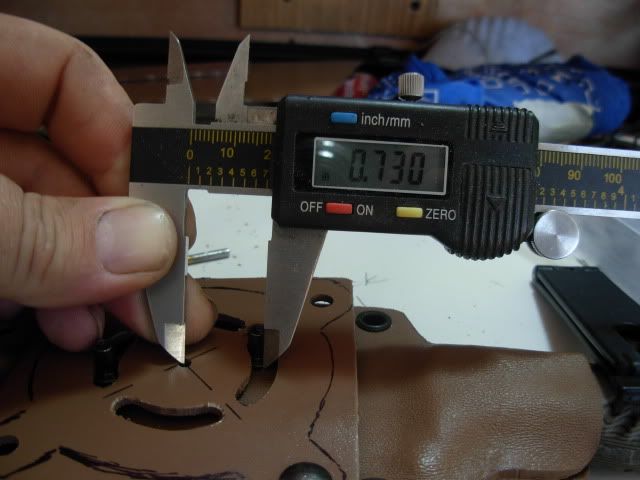
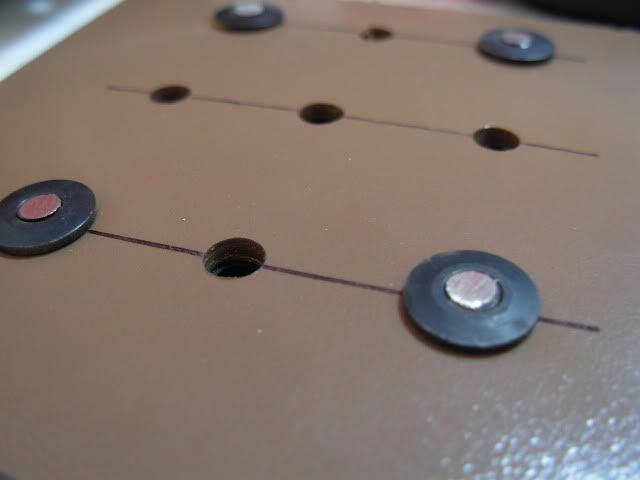
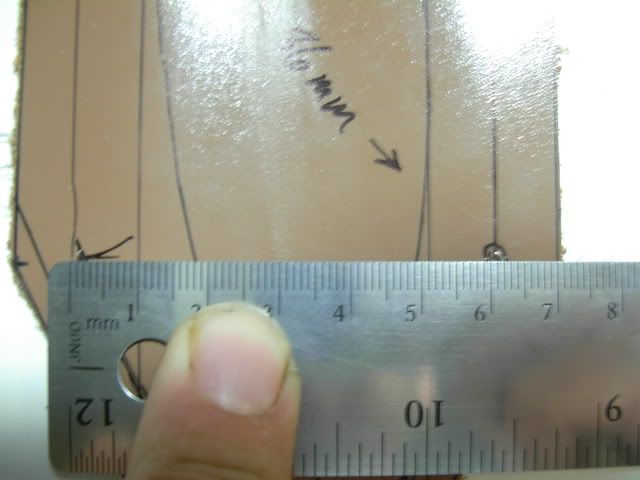
Now the mark made with the square will be square to the two marks on the first side but it's not as simple as measuring down 61mm to locate our last mark because my rivet lines aren't PERFECTLY parallel to each other. I again squared up with the 1-2-3 block and scribed a line. Wherever 61mm lands on the scribed line measuring across the sheath will be our last mark. In the pic you can see how far out of square my rivet line was. And finally we checked to be certain we're square by measuring diagonally at 86mm :35: I though I'd mention I hate metric measurments but it woked out to a perfect mm so what the heck
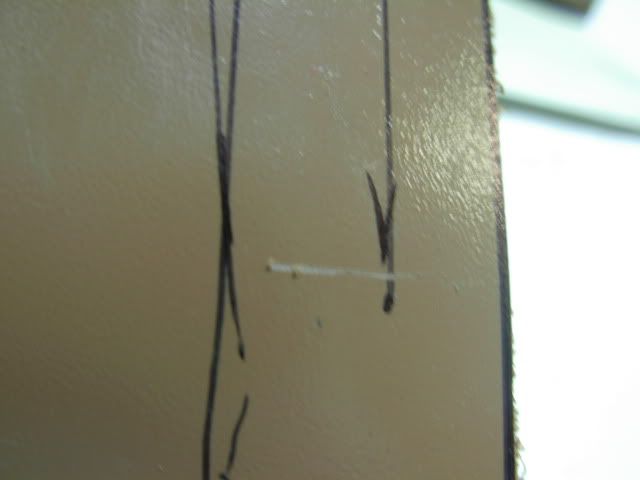
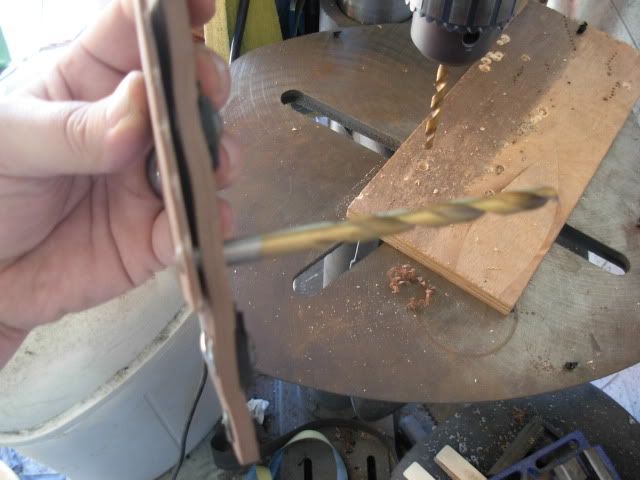
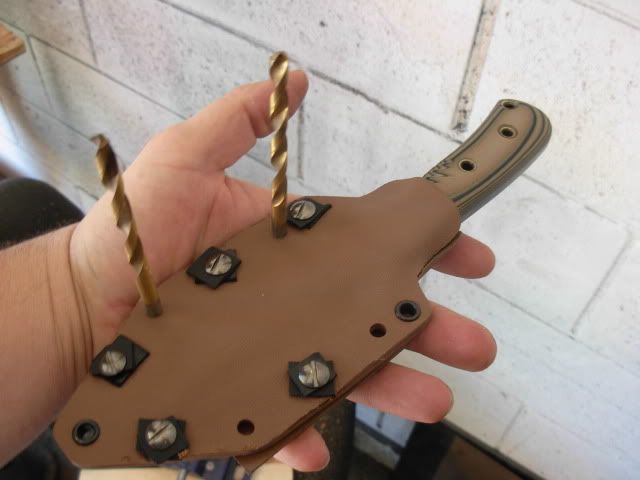
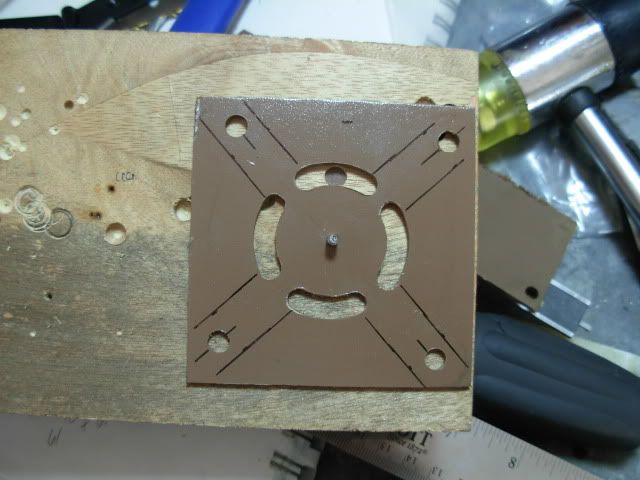
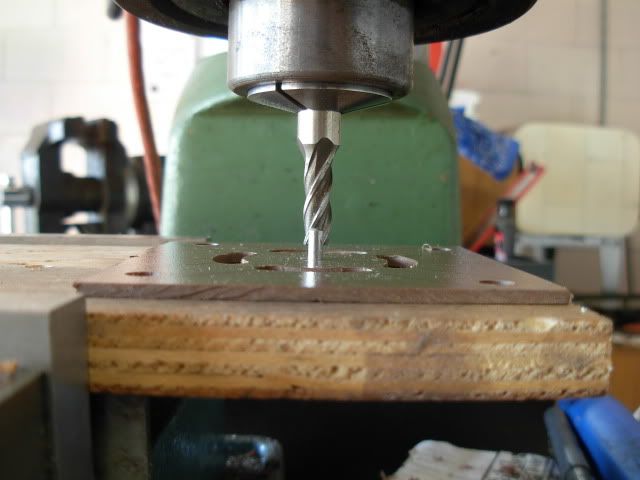
Now because I want these 4 holes to be perfect I'm drilling 1/8" pilot holes to make it easier for the 1/4" holes
Now you can see I've got a fairly detailed plan laid out for my build. There will be 3 main components 1. the body 2. The "Molle lock plate" or molle swivel
3. The Swivel mount
Here's a good bit of our materials. I ordered that EZ-Lapp diamond shapener not knowing exactly how it was made but I figured I'd pick it up and see if I could figure out a way to incorperate it into my sheath.
For those without a bandsaw these Weiss tin snips cut kydex no problem. Here I cut the sides of the body a little oversize. They do seem to want to slip around while being pressed around the knife
Now I traced my blade where I want it on my material just to speed things up when going from the oven to the press
Since I'm out of Duct tape I put 3 layers of masking tape on each side of the blade and trimmed it with scissors just to give it room to slide freely in and out
My foam for pressing is a Pilates mat that was laying around house not seeing any use :lol: Probably not the very best thing to use but it does work
In the evenheat cooking at 280 degrees. I think I probably could of gone a little higher temp than that but would have to experiment
The low tech pilates mat and a fat man press in action.
Now we're molded and move on with using layout lines just like on my drawing along with drilling the first rivet hole in the tip
Continuing on with laying out our plan. the rivet lines are 3/8" from the knife outline and the outside is 3/4" away
Getting all these lines going on can get confusing opening the door for Mr Murphy to step in so I cut out the perimeter on the bandsaw to simplify things a little
Because I want the sheath to be reversible (right to left handed) and also from verticle to horizontal carry I need my 4 mounting points for the swivel mount to be a perfect square so all 4 holes line up in any position. My rivet lines we're 61mm apart so I marked two holes on the same side 61mm apart and center-punched them. In the pic I'm using a 1-2-3 block as a square to transfer to the other side.
Now the mark made with the square will be square to the two marks on the first side but it's not as simple as measuring down 61mm to locate our last mark because my rivet lines aren't PERFECTLY parallel to each other. I again squared up with the 1-2-3 block and scribed a line. Wherever 61mm lands on the scribed line measuring across the sheath will be our last mark. In the pic you can see how far out of square my rivet line was. And finally we checked to be certain we're square by measuring diagonally at 86mm :35: I though I'd mention I hate metric measurments but it woked out to a perfect mm so what the heck
Now because I want these 4 holes to be perfect I'm drilling 1/8" pilot holes to make it easier for the 1/4" holes
Last edited: