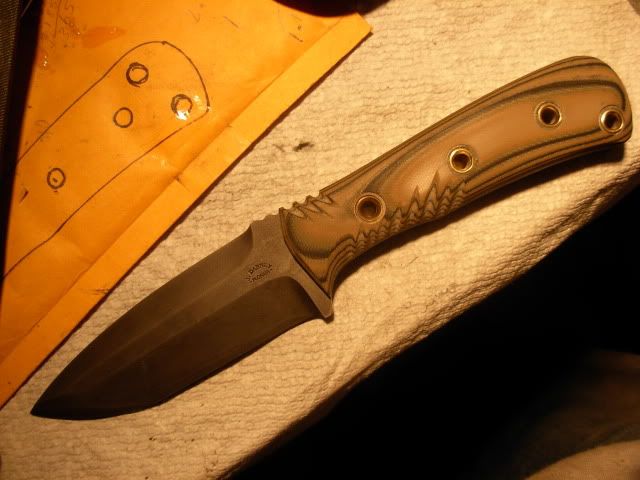
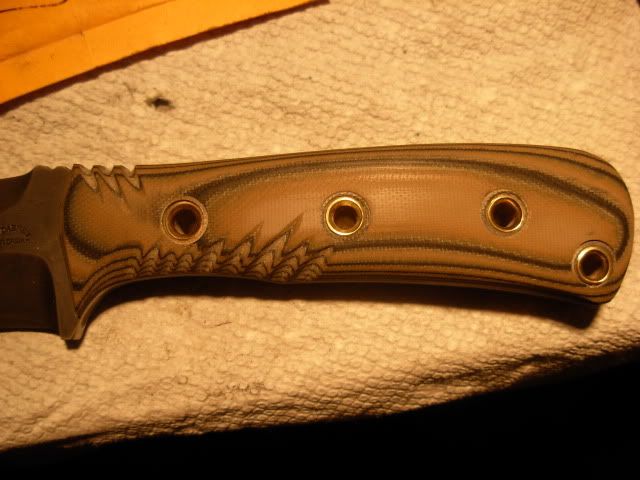
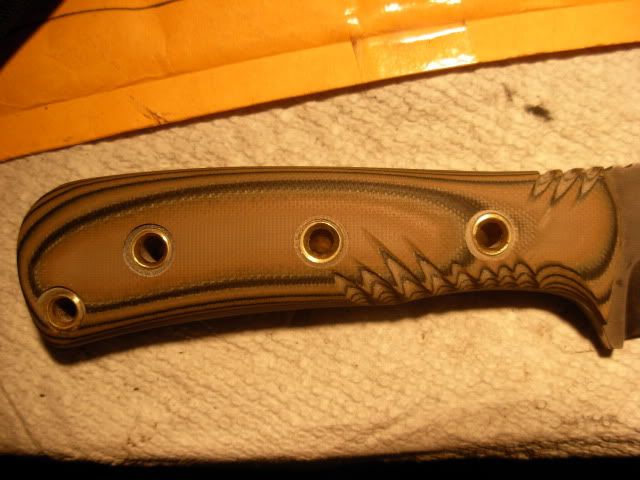
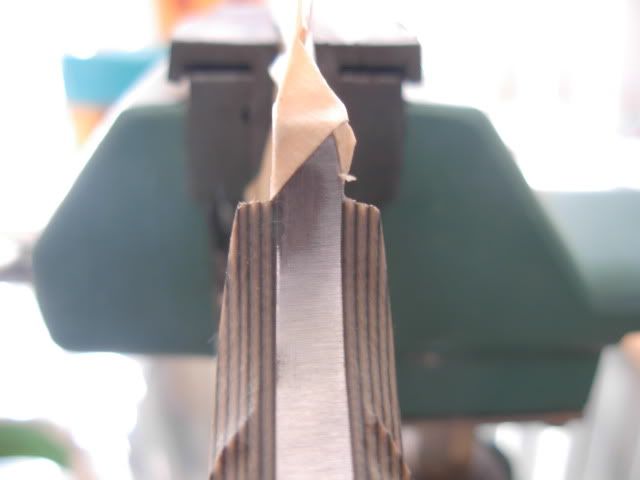
Josh Dabney Servicemember Knife build. (pic heavy)

Betcha yall I thought I fell off the face of the earth huh :biggrin:
Boy I've been busy with everything but making knives, With a shower remodel, trip up north for the holidays, a week of being good and sick, and a two weeks with my parents here visiting all past things are finally returning to normal and I'm beginning to get some real work done.

So we'll continue on basically from where we left off with this build. I did decide to re-profile the tip of the blade to increase pointyness a little and add yet another thinner convex grind to the tip part of the blade along with thinning out the convex over the entire length of the blade.

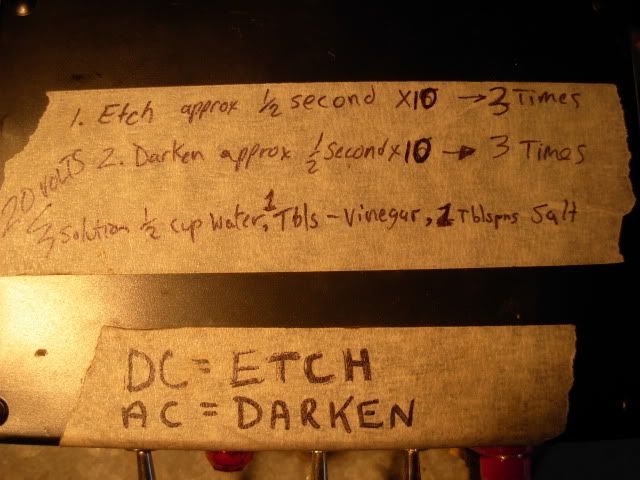
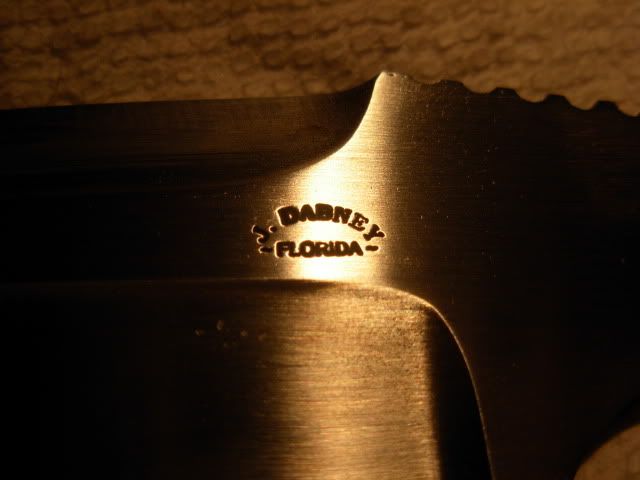
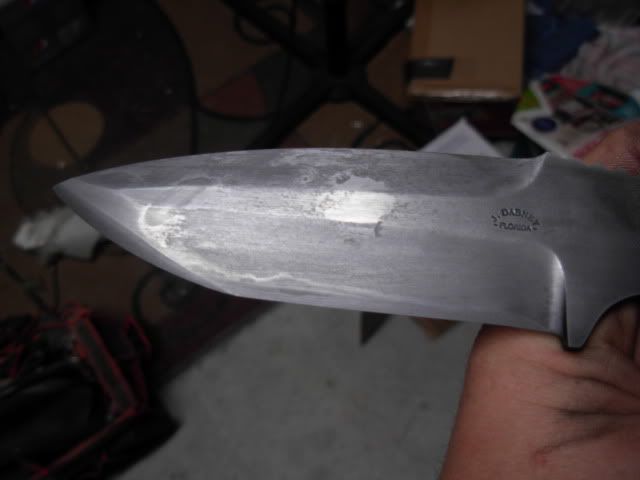
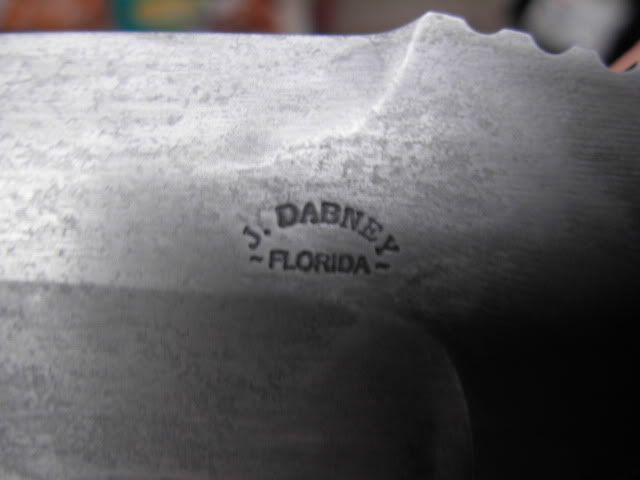
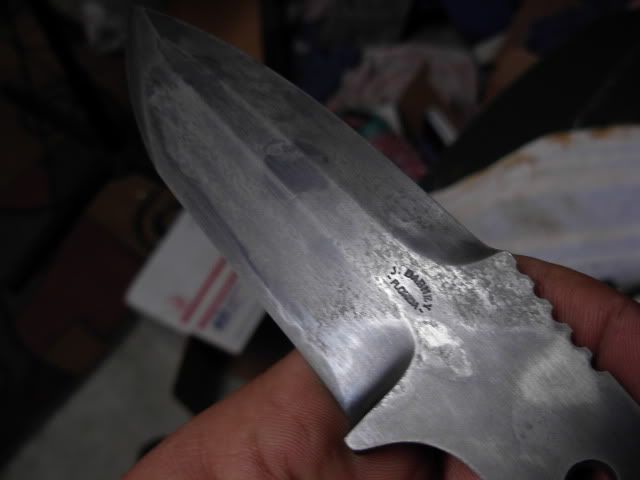
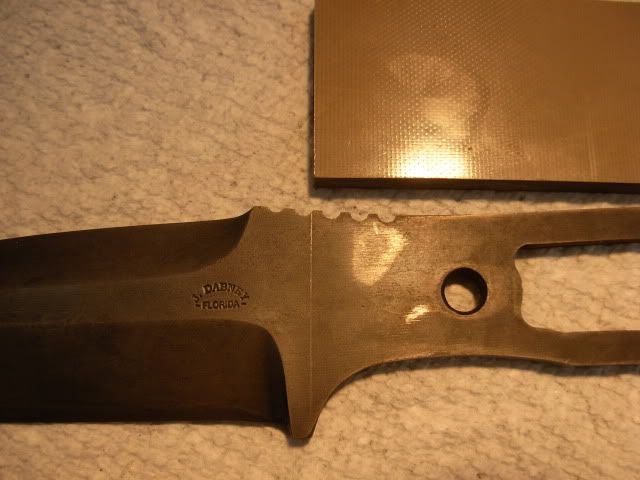
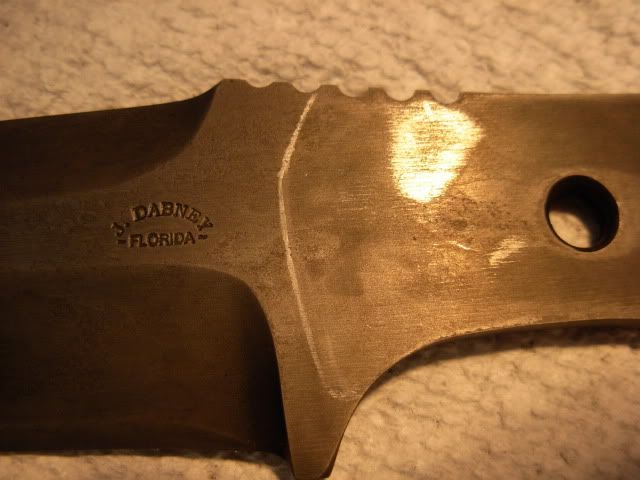
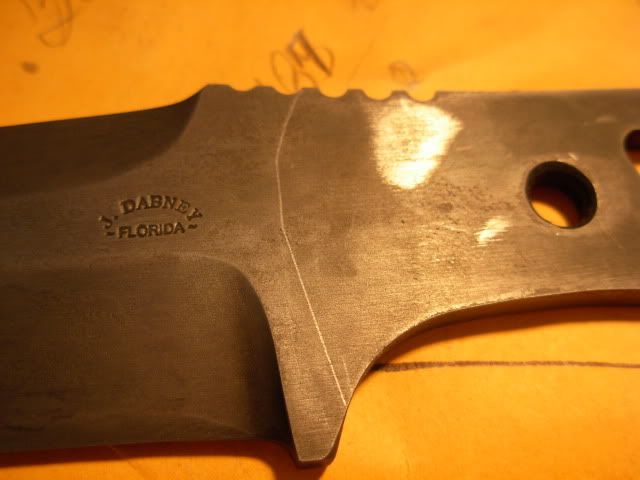
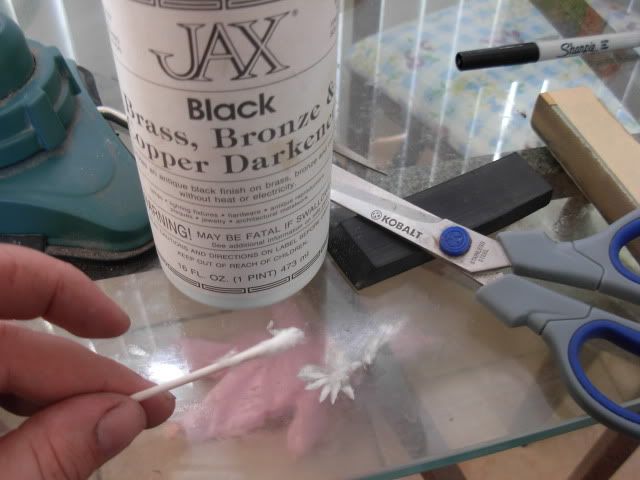
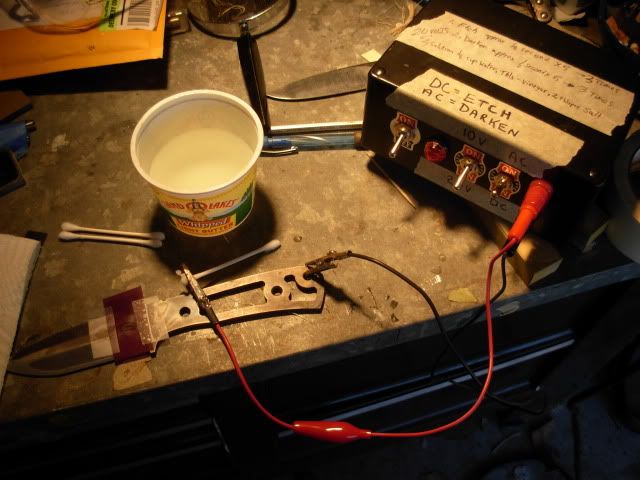
So here we are ready to etch the makers mark. The directions on my homebuilt etcher pretty much explain my process of etching.
Servicememberknife001.jpg


Servicememberknife002.jpg


I like to etch with my Q-tip a little wet so I always get a little "shadow" around the mark but it's only on the surface so a little clean-up and here we are
Servicememberknife008-1.jpg
 
With the MM etched it time to move on to the blade finish. I'm wanting a finish thats not shiny and low maintainence. Although a soldier probably takes care of his gear meticulously when time allows that oppertunity the last thing he needs to worry about is keeping a purdy finish on his blade. So I'm gonna help him out with a finish thats ugly and rough enough that there'll be no need to worry about it, just use it an abuse it. As you'll soon see it's unlikely they do anything worse to it that what I've already done :biggrin:

This is a method for getting an "antique" patina on a carbon steel knife that works quite well and I thought it would be an interesting finish as opposed to more modern methods of coating the blade.

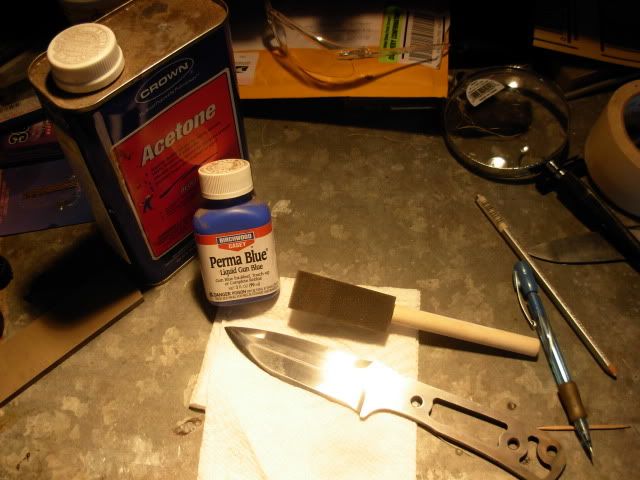
The first step in the process is to cold blue the blade. I'm gonna clean with the acetone then wash with dishsoap and hot water to degrease in prep for the bluing.
Servicememberknife010-1.jpg


Here we are after a the cold bluing. There were some large areas that just didn't wanna take the blue so I re-cleaned and blued again with the same result so I figure I'd just go for it and see what I got
Servicememberknife011-1.jpg

Servicememberknife012-1.jpg


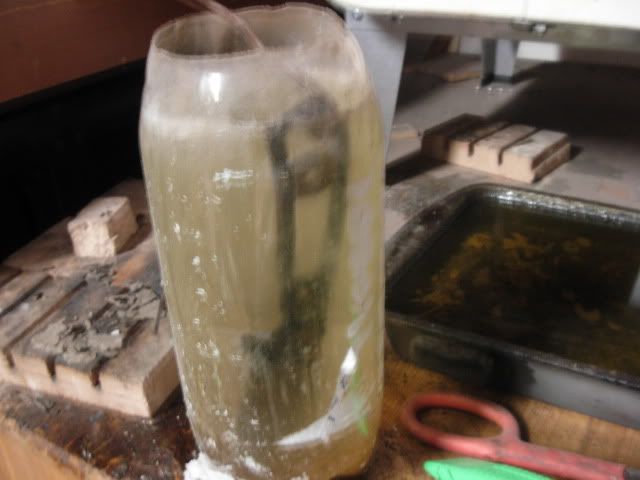
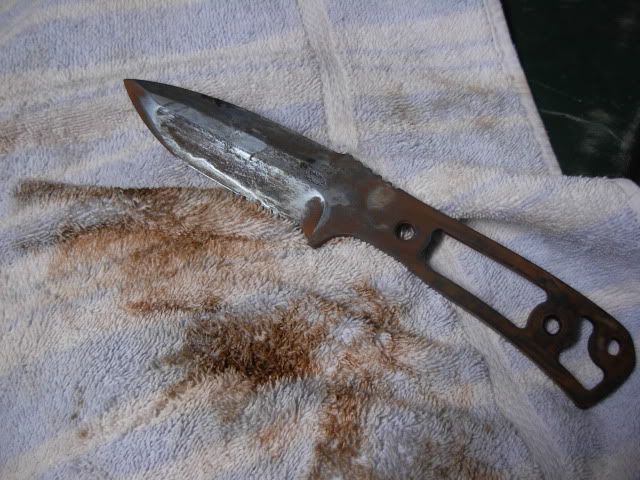
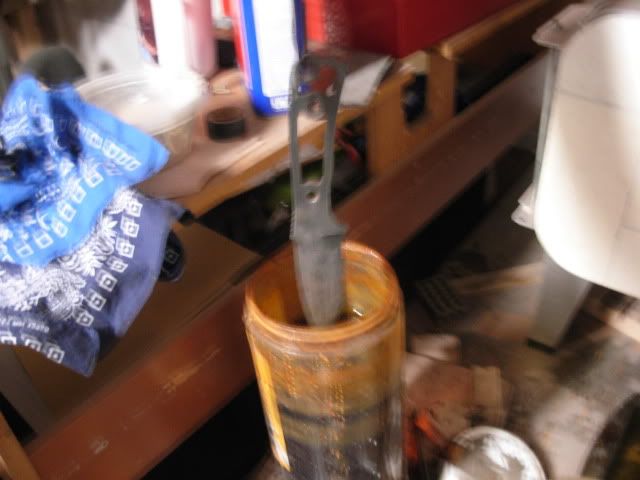
After bluing I rinsed it off with hot water then into this 2 liter bottle filled with bleach. As it was explained to me the bluing acts as an activator that causes the bleach to "etch" the steel. It's really pretty interesting as you can watch the rust grow on the steel it happens so fast. I kept it in the bleach for approx 3 minutes then pulled it rinsed to see what had then went back in for another 3 minutes.
Servicememberknife013.jpg


Heres a shot comming out of round one in the bleach tank
Servicememberknife014.jpg


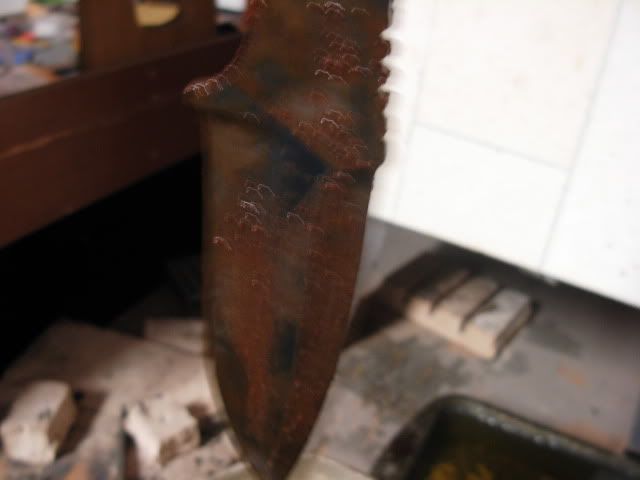
And round two. You can see we got some significant rusting going on here :35: just what we're looking for

Servicememberknife016.jpg


Wiping of the gross build up of rust with a dry towel to see what kind of pitting we ended up with

Servicememberknife017.jpg


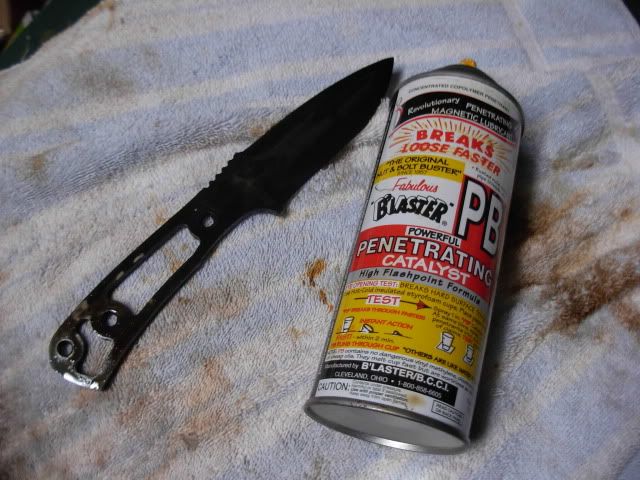
I like to neutralize the rusting action with a good soaking of PB Blaster
Servicememberknife018.jpg


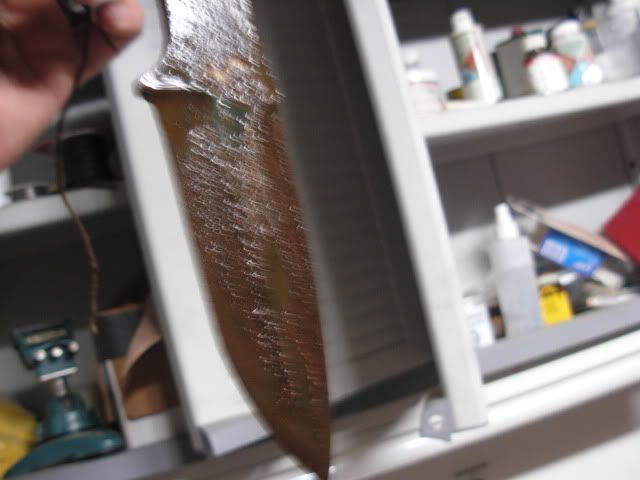
Follow that up with a good shot of Ballistol and a heavy scrubdown with steel wool and here's what we've got
Servicememberknife024.jpg

Servicememberknife025.jpg


Now we're lookin good but still have some shine on the blade in spots so we're gonna follow up with a quick dip in the Ferric tank
Servicememberknife021.jpg

Servicememberknife022.jpg


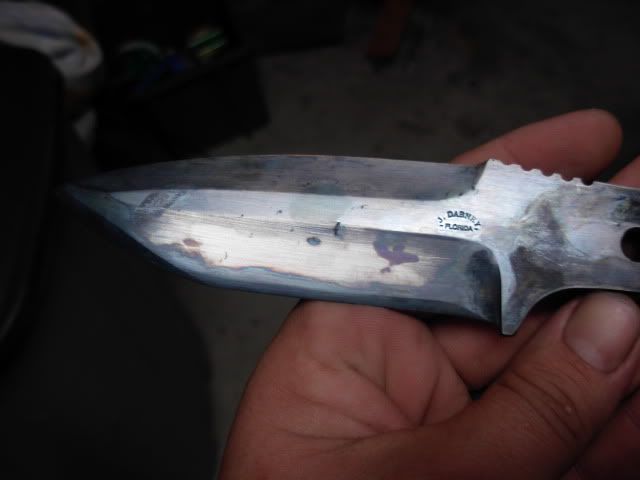
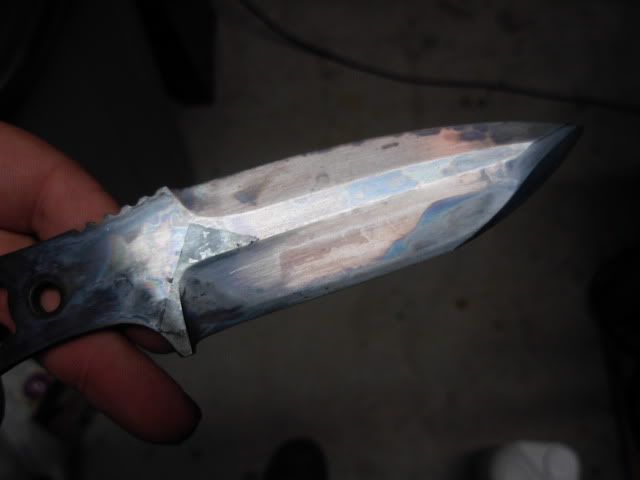
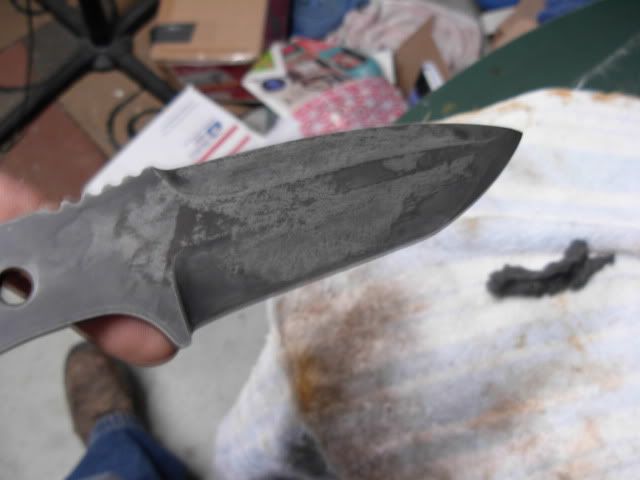
And finally here we are with our carefree blade finish.
Stains- bring'em on
rust- who cares
scratches from doing god knows what- character marks just like a good scar

And who says ugly is a bad thing ?
Servicememberknife020.jpg

Servicememberknife019.jpg


Thanks for the comments fellas ! Please keep'em comming and let me know what you think of my Rough-N-Ready low tech blade finish.

Stay tuned for more as we progress with finishing up this knife.

I do have one more idea on how I might make this blade even a little uglier but I'll have to experiment with it on the under the scale part of the handle first.

Take care, Josh
 
Last edited:
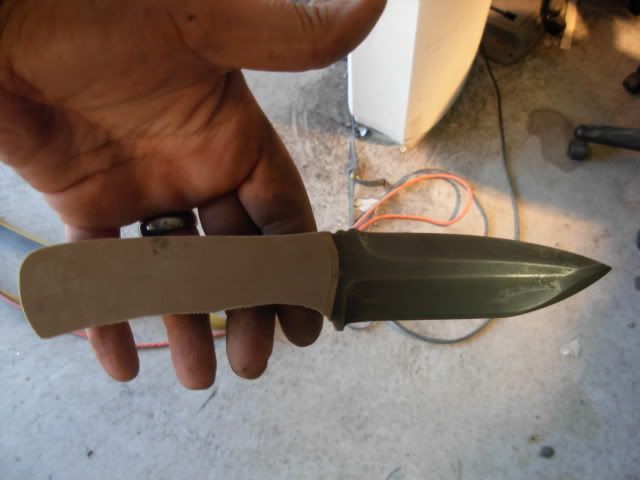
We left off pretty much ready for scales but I did go ahead and cold blue one more time and followed by some steel wool for a nice cold grey steel finish.

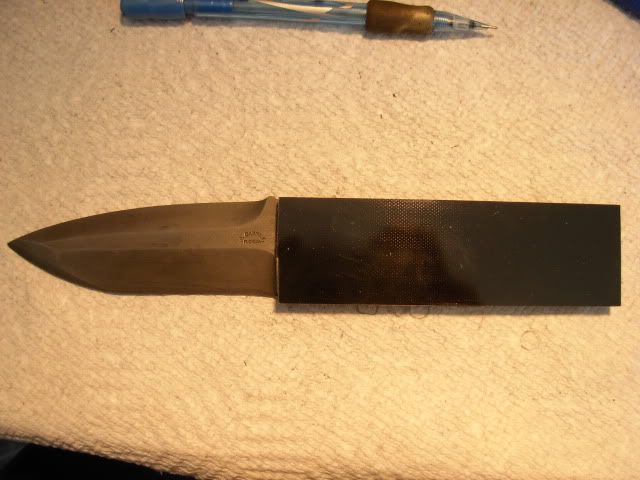
Intslling scales isn't the hardest thing to do but some problems can arise especially on a build like this where the handle material is just slightly larger than the tang so we'll run through how I go about it just in case we've got any newbies following along.

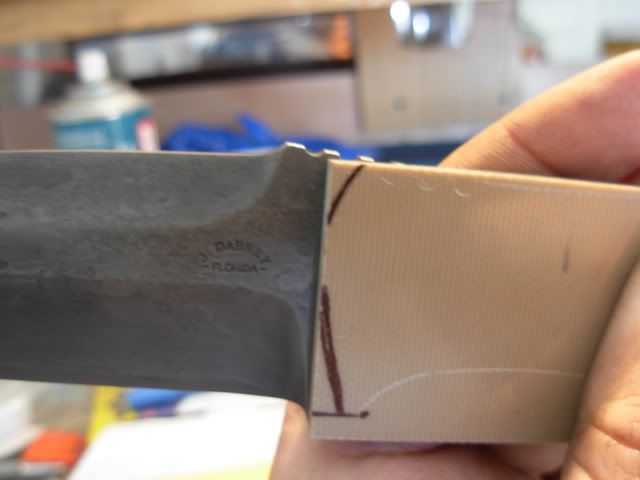
I lined up the scale with the but end lined up with the tang and made a pencil line across the forward edge to determine the maximum scale material available for shaping the front edge of the scales
Servicememberbuild007.jpg


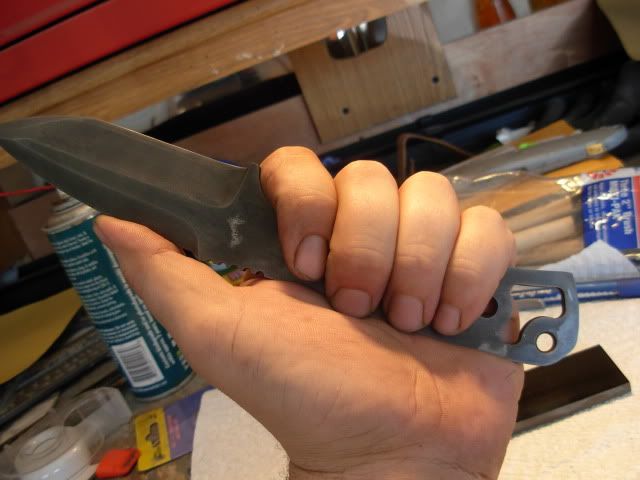
You can see that I'm a little limited as to how I can shape the scales due to the length of the tang. I've got fairly big hands so this pic is just to show how much longer than neccessary the handle is at this point
Servicememberbuild008.jpg


I decided to re-profile the rear of the tang to accomplish two things -Shorten the handle to a more suitable length and allow my scales to extend further forward so I can get an appealing shape on the front of the scales.
Servicememberbuild009.jpg


I'll be shooting for something similar to this for the front end
Servicememberbuild010.jpg


The ole 50 grit blaze made short work of re-profiling. I followed the blaze up with an 80 then 220 J flex
Servicememberbuild011.jpg


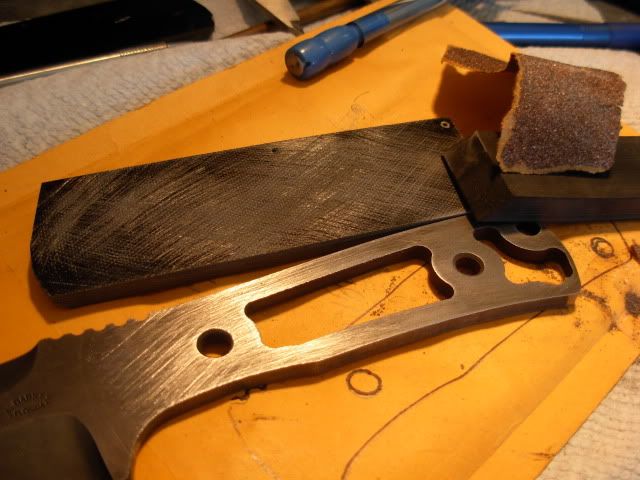
Now that I'm profiled the way I want I again lined the scale up nearly flush on the butt end then scribe around tang. The black you see on the handle material is going to be against the tang in final construction. I scribed on the tan side so that when I put my scales together for profiling my scribed line will be showing.
Servicememberbuild015.jpg
 
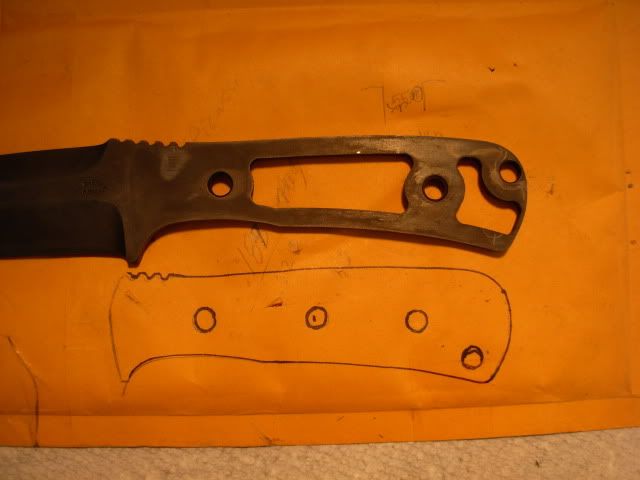
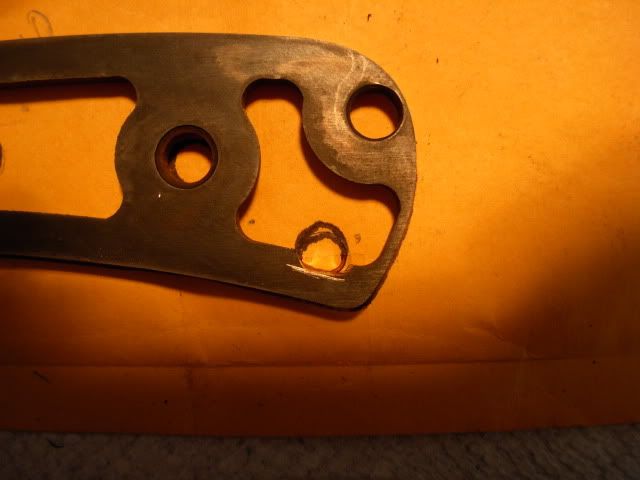
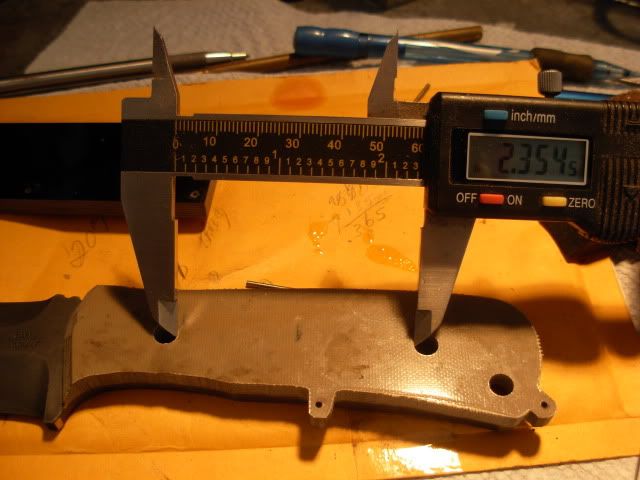
I decided I didn't really like the location of the lanyard hole. I could be completely crazy but it just seems to me that however the lanyard hangs down from the top side it's gonna end up in the way of getting a quick secure grip on the handle. I have it in mind that moving the tube to the bottom of the butt will cause it to hang down the underside of the handle allowing the users finger to slip right in between the lanyard and handle for a firm grip without lanyard interference. I'm also planning to use flared tubing instead of the corbys so I traced out my tang on paper and adjusted the placement of the rear tube and added a fourth tube between the two corby holes.
Servicememberbuild016.jpg


Now I've got a plan going I layed my tang on the paper to determine where I needed to remove steel from the tang to clear the rear most tubing hole
Servicememberbuild018.jpg


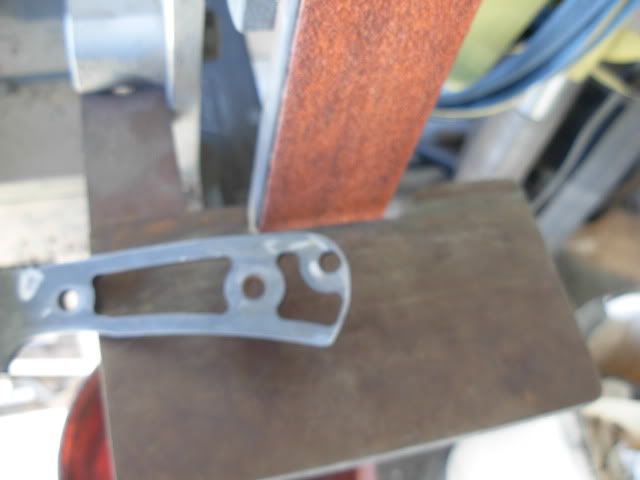
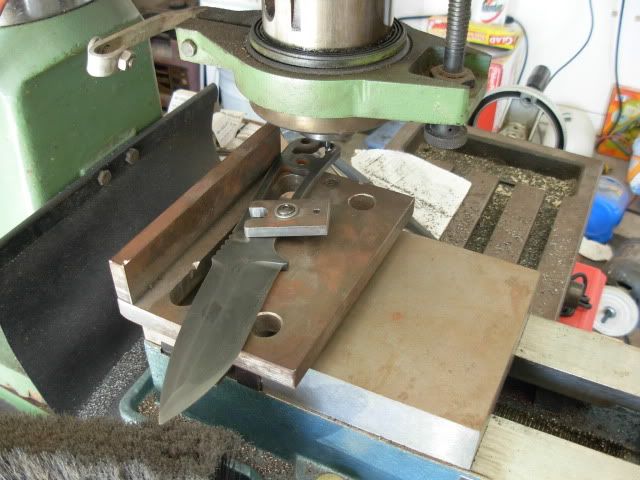
Probably should've done this planning before HT but it's really nothing an 1/8" solid carbide endmill cant handle
Servicememberbuild020.jpg


Here we are milled out and lined up with the pattern
Servicememberbuild021.jpg


Now I layed the scale back on the blade with the scribed side out and drew roughly how I'm gonna shape the front of the scales
Servicememberbuild023.jpg


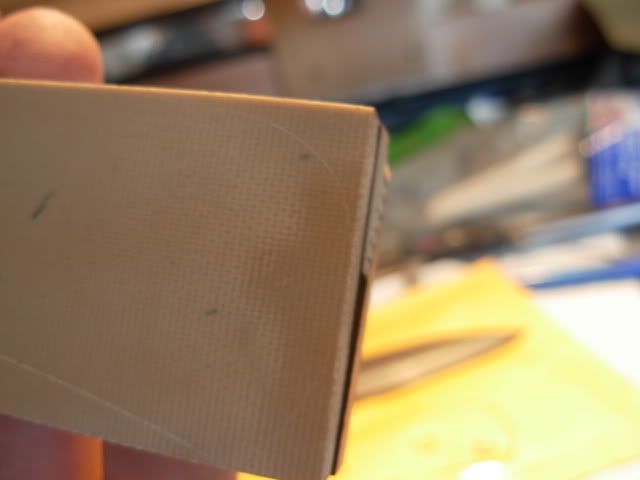
This is something you've gotta watch out for. These scales were cut with a saw that wasn't perfectly 90 degrees. No biggie but when you flip one scale so the black sides are together the angle is reversed so they are not a perfect match. I lined my scales up on the tang being sure I had some material past the end of the tang and nearly flush on the spine side.
Servicememberbuild025.jpg


I started using this method of installing scales when using bookmatched wood to keep them bookmatched as close as possible when installed and have found it a pretty easy way to do it and gives great results every time.
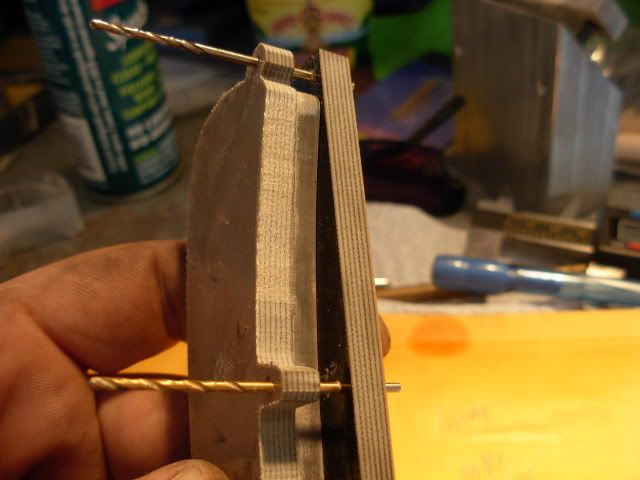
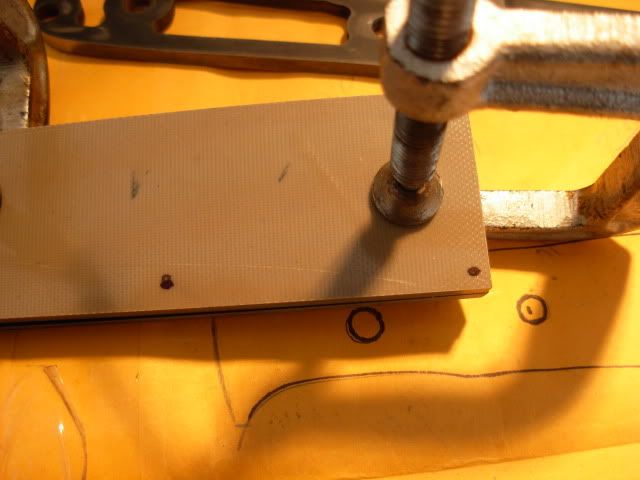
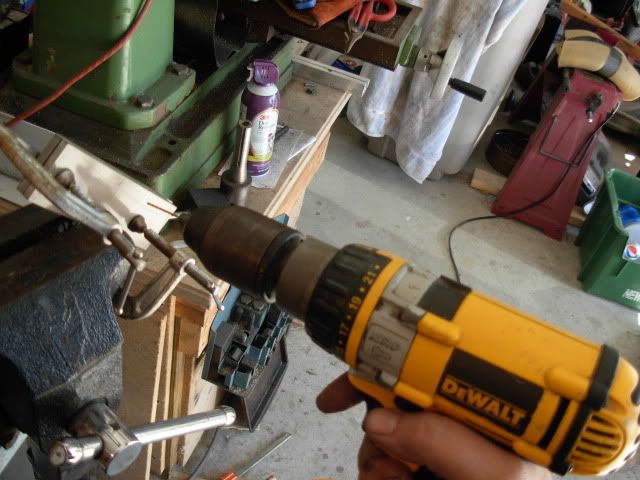
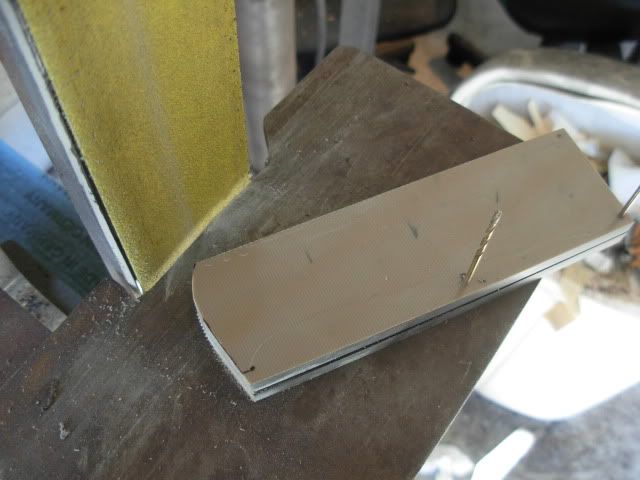
I begin by lining up the scales, clamping them together, then drilling two holes for "registration" pins on the OUTSIDE of the handle like this

Servicememberbuild026.jpg

Servicememberbuild027.jpg


Now that I've got those pins in I can go ahead and shape the front of the scales
Servicememberbuild029.jpg


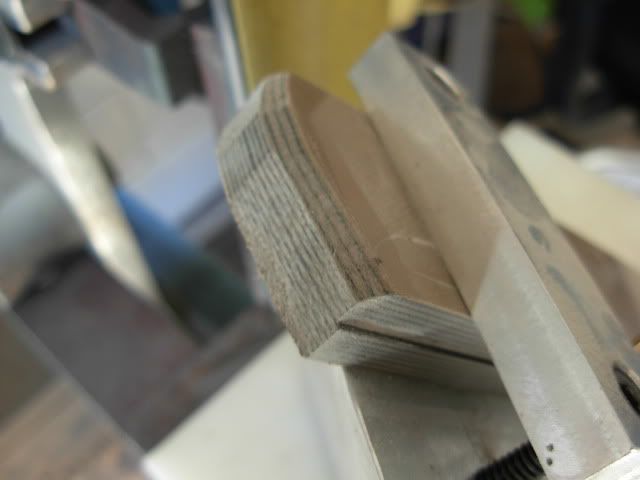
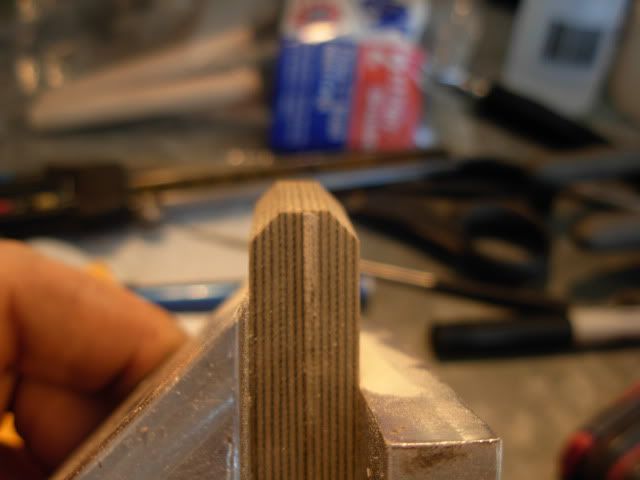
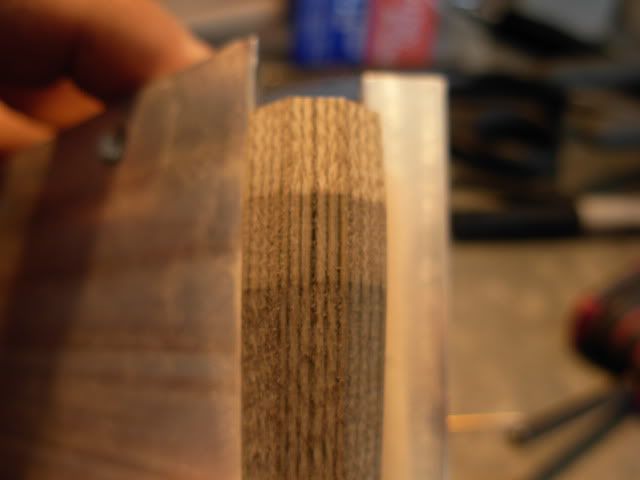
I decided to chamfor the front edge using my 45 degree dovetail jig.
Servicememberbuild030.jpg


You can get'em pretty darn even with a jig like this
Servicememberbuild031.jpg

Servicememberbuild032.jpg


Now that's done I'm ready to install the first scale so I line it up and trace that front edge so I know exactly where to prep for glue-up
Servicememberbuild034.jpg
 
To prep for epoxy I score up both the tang and scale with 60 grit sandpaper then give a cleaning with alcohol.
Servicememberbuild035.jpg


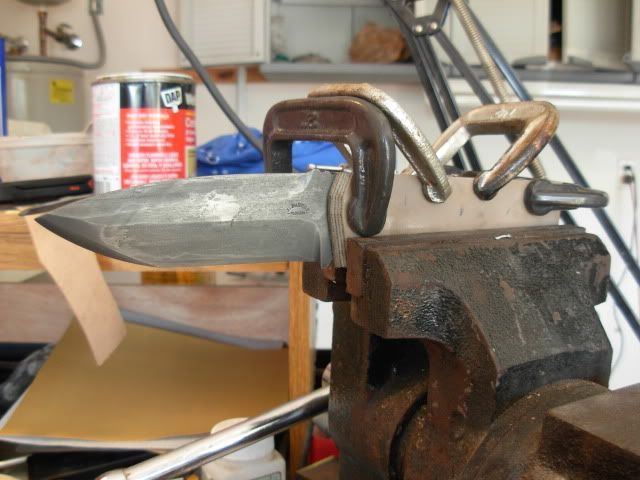
Can you use too many clamps while gluing up handle material ? I use as many as I can fit :biggrin:
Servicememberbuild036.jpg


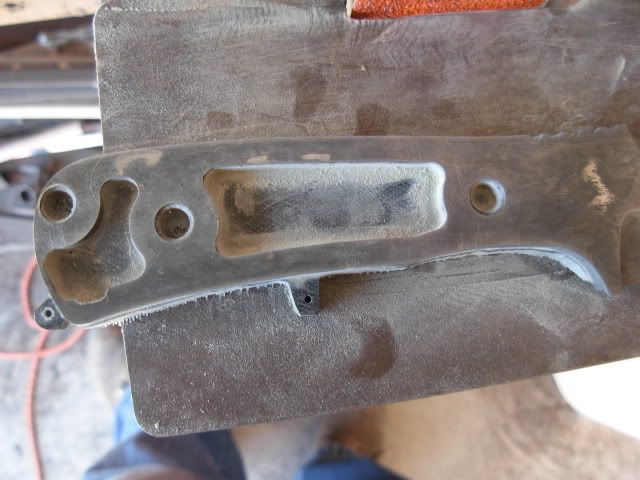
Once scale #1 is ready I profile the scale to within .010 or so from the tang of course leaving two little tabs where the registration pins go.
Servicememberbuild037.jpg


This just shows how the pins are used to line up the second scale and the result
Servicememberbuild038.jpg

Servicememberbuild040.jpg


Now before we get excited and glue up scale #2 we'ld better drill some tubing holes through scale #1 first.
Servicememberbuild041.jpg


This shot shows how I did the layout to locate the added hole
Servicememberbuild042.jpg


Now repeat prep and glue up for scale number two and profile it down close to the tang with the 50 grit blaze
It's starting to look like a knife.
Servicememberbuild049.jpg


Now I'll go ahead and use the 50 grit and platen to remove some of the bulk for shaping.
Servicememberbuild050.jpg


Thats as far as I got today.

Josh
 
I need some popcorn and a large coke and some Goobers... This is like watching an awesome movie!
 
If there's one thing I've learned in knifemaking it's that the most difficult part for me is PATIENCE, LOL. The quickest route to a bonified mistake is being in a hurry for the finished product and getting the cart in front of the horse and doing something out of logical order making following steps much harder that they should've been. Think it through and take your time.

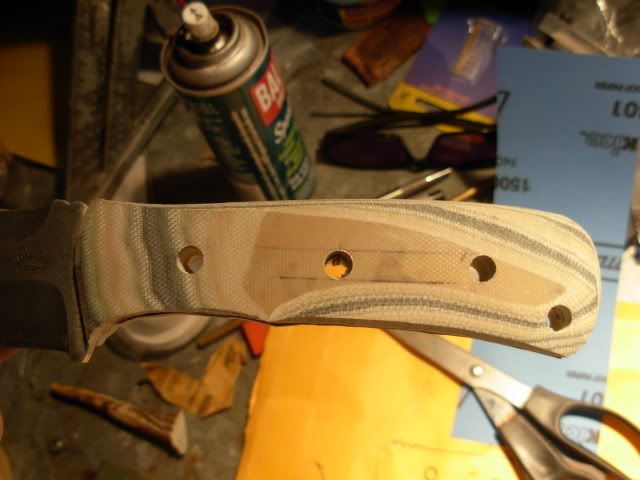
That being said before we get excited about shaping the handle we better get the flared tubing installed while we've still got a nice flat on the slabs which will make it MUCH easier to get consistant countersinking for the tubing.

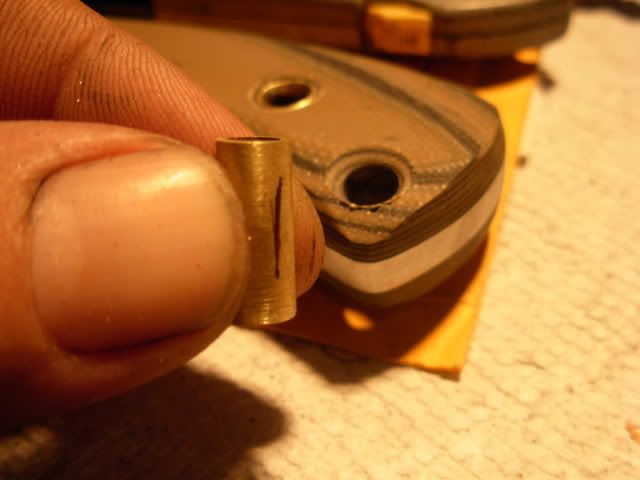
Admittidly- this is the Po-Boy method of flaring tubing and more precise methods would give more appealing end results but this method does get the job done and still secures the scales for life.

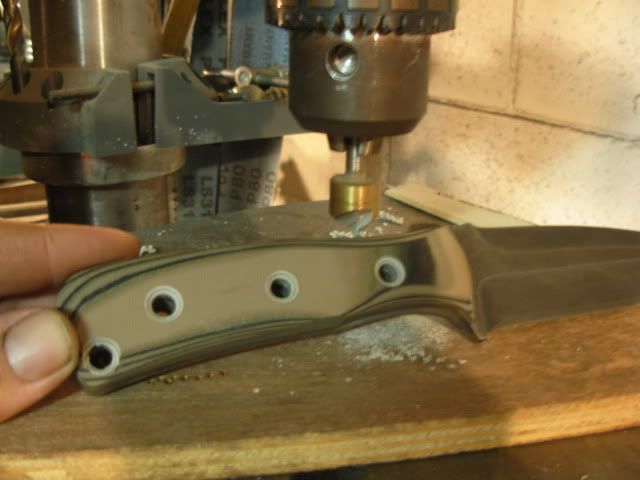
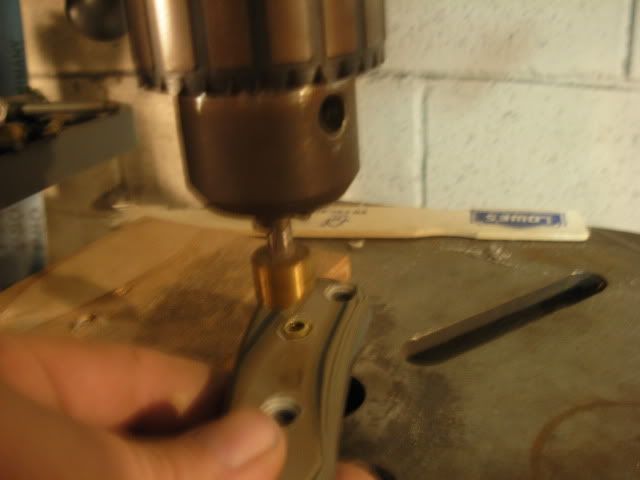
Countersinking the scales. I've used this method once before but that time I did a much shallower countersink then ground the tubing flush to the scales. On this knife I'm hoping to get the tubing flared and remain below the surface of the scale.
servicememberbiuld2001.jpg


Clean up the tubing with some 220 by hand then insert and mark. I'm going to leave approx. 1/16" protruding from each side. When you cut the tubing be sure to leave enough extra that you can grind it flat and smooth on both sides and end up at the proper length
servicememberbiuld2002.jpg


After the tubing is cut and ground to length I give it a tiny chamfer on the outside by had with 220 and on the inside by giving it a light touch with the countersink
servicememberbiuld2003.jpg


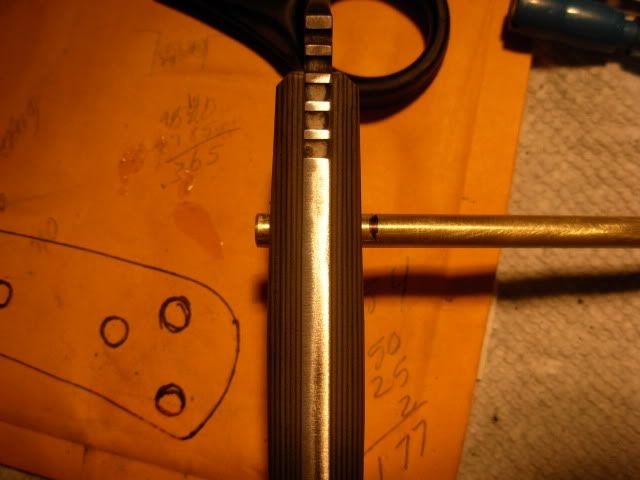
Almost forgot to get this pic. These are 2 #8 wood screws with the threads ground off and shortened so they'll slide inside of the tubing
servicememberbiuld2012.jpg


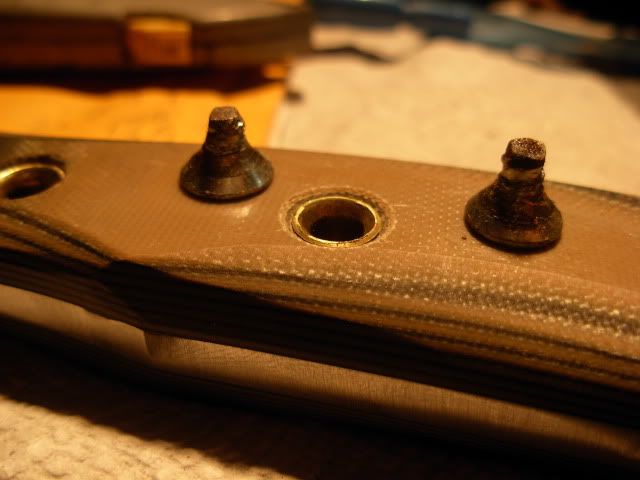
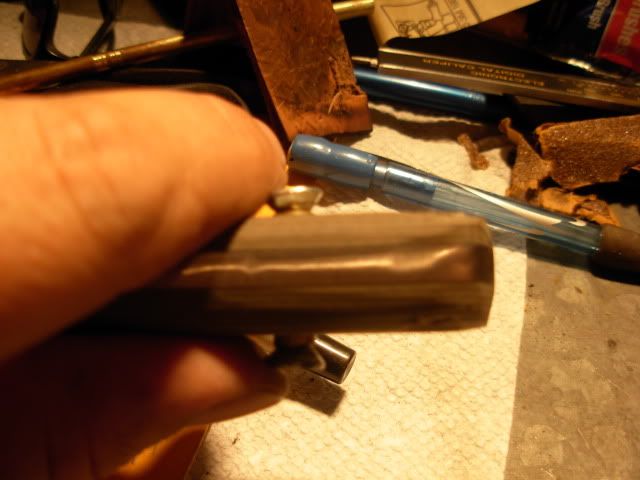
The screw heads get used like this to do the flaring. This set-up goes right in the bench vise. A word of caution- The majority of the flaring happens on the side of the vise that moves so when starting give a little squeeze then flip it over and squeeze from the other side to keep from having a huge flare on one side and tiny one on the other. If you find you flared one side too much you can attempt to push that side deeper by removing the screw head from the opposite side and squeezing, then put the screw back, flip and squeeze on the shallow side.
servicememberbiuld2004.jpg


Here is the end result
servicememberbiuld2005.jpg

servicememberbiuld2006.jpg


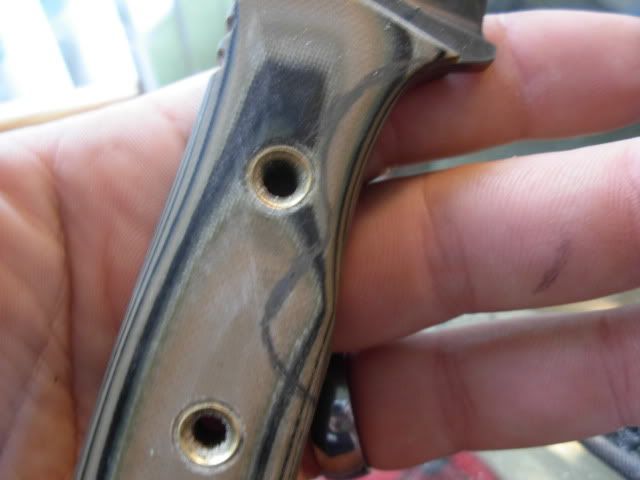
Although I didn't snap any pics of it I feel obligated to sheepishly admit that 1/16" past the handle material was WAY too much for the depth of my countersink. What happens is the tubing will only flare so far before the "rim" of the flare splits which is exactly what happened to the first tube I installed. I drilled through the center of the tube with a 7/32 bit to remove it and it did spin a little and bugger up one side of the countersink a little but I think we'll be ok. If not I'll be grinding the scales off and starting from scratch :what!: I should also mention that I settled on the tubing being just shy of the suface on both sides for a good length.

Another thing I didn't catch in the pics is that I also used epoxy with the tubing. Being flared it's really not needed to secure the scales but I did it as a moisure barrier. There's open space around the lanyard tube and the second tube from the front so I wanted to be sure those open spaces wouldn't fill with water if submerged.

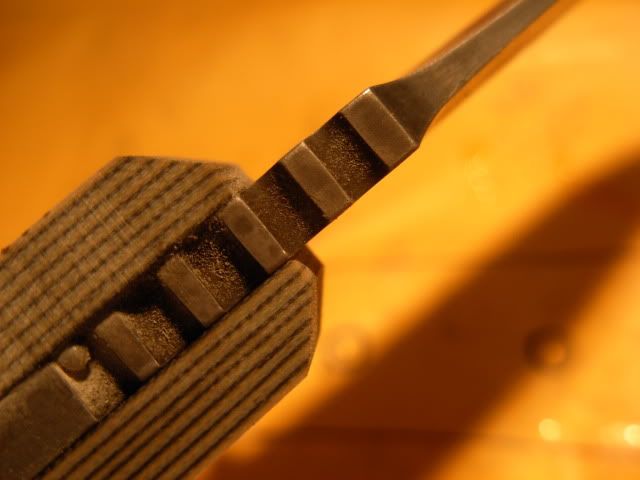
It's worth mentioning here that because of the shape of the handle around the rearmost tube coupled with the fact that I dont want to grind into the tubing I not only pre-shaped the scales but also pre-shaped the tubing with the ends ground at an angle instead of flat.
It's not a big angle but I marked where the short side of the angles are with a sharpie so I'd be sure to get it lined up where I needed when flaring.
servicememberbiuld2009.jpg


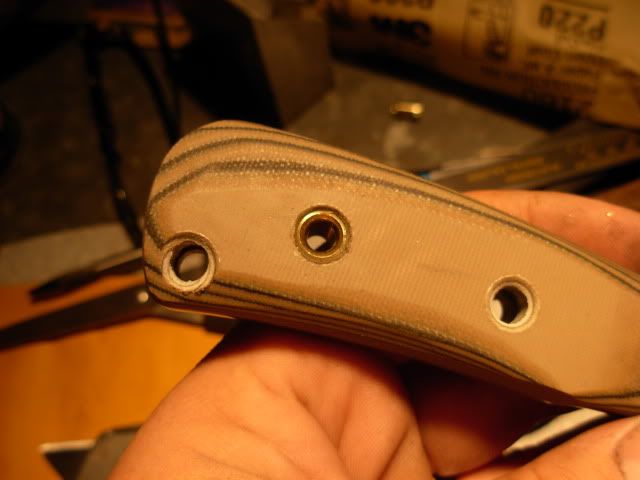
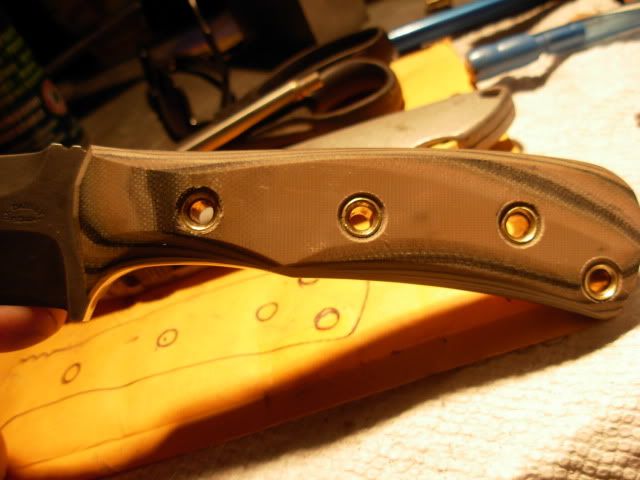
Finally we've got all the tubing installed
servicememberbiuld2010.jpg


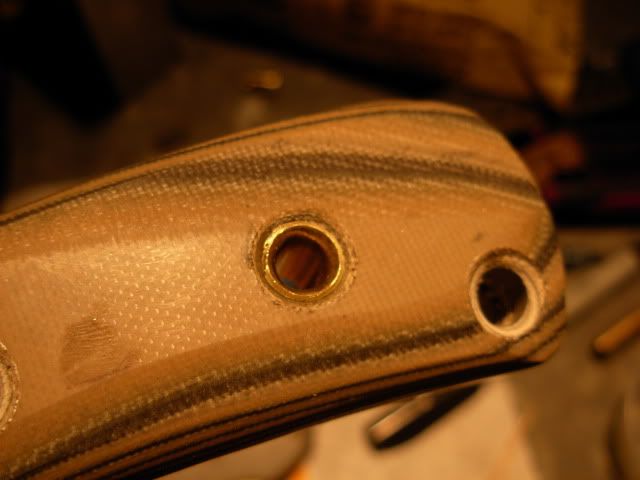
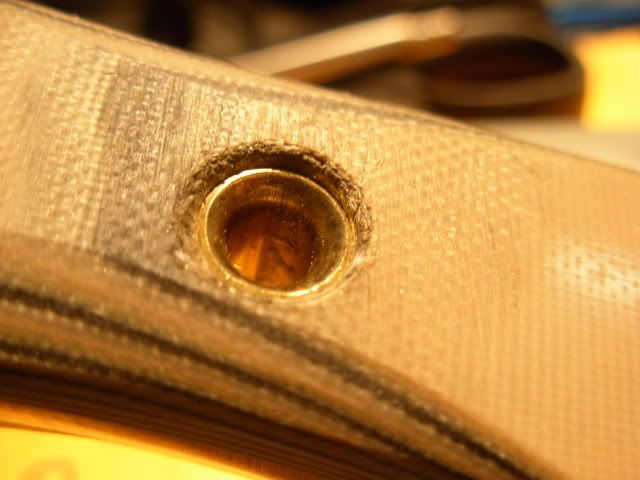
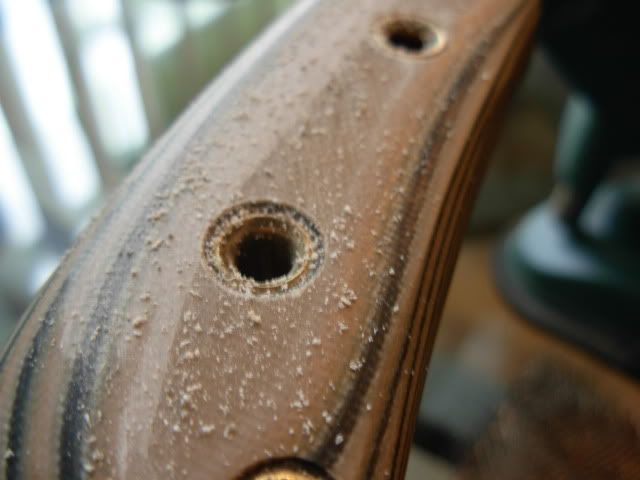
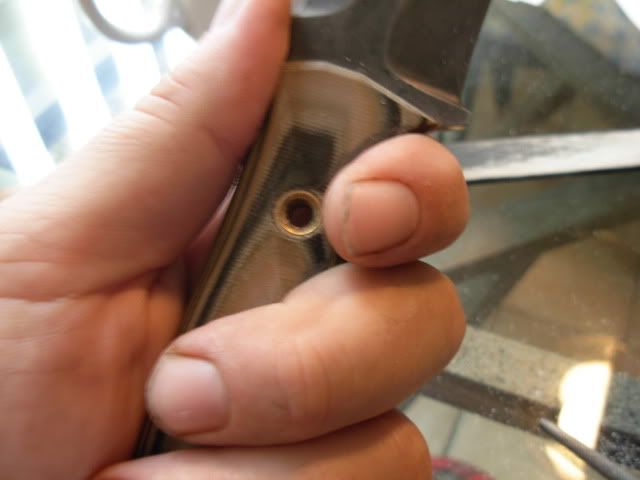
Here's a close-up of the countersink that got buggered with removing that first tube. It's a little rough around the edges but I'm still going to be doing some shaping on the scales which SHOULD clean things up a bit. I'm fiarly sure it'll work out alright in the end
servicememberbiuld2011.jpg


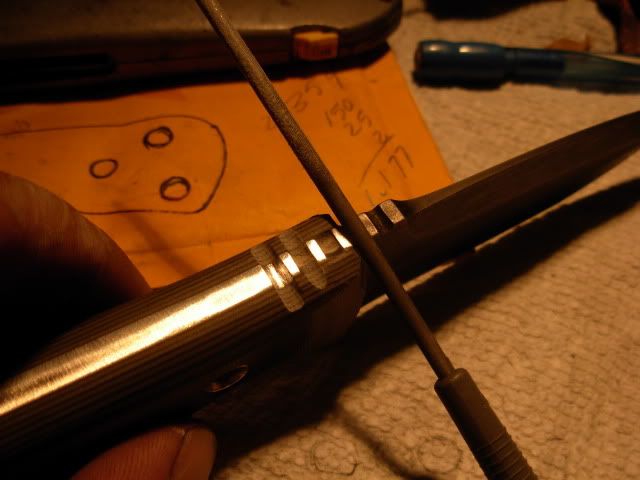
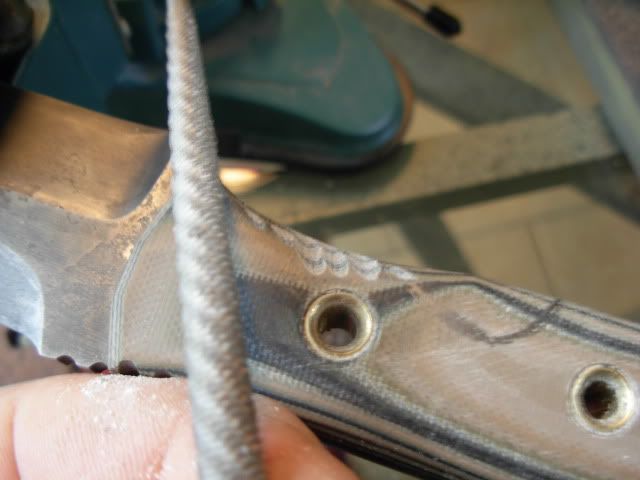
With tubing installed we can now move on to final shaping of the handle. I'll use a 1" 80 grit slack belt to further tune the shape close then make any need adjustmets with files or rasps and finish up by hand sanding it. I'm gonna start by cutting the thumb grooves into the scales with a needle file
servicememberbiuld2013.jpg


Keep your file card handy as the file will load up with just a few strokes so clean often and it'll go quick. I'll final tune these with sandpaper wrapped around a drill bit shank but we're done with the file and very close to where we'll end up
servicememberbiuld2015.jpg


I went ahead and smoothed some things up with that slack belt and ready to move on to final shaping by hand but this is how I left off last night
servicememberbiuld2017.jpg

servicememberbiuld2016.jpg


Thanks for following along Fellas and glad your enjoying it.

Hopefully I'll get a little more time tonight than last night, LOL

Josh
 
Last edited:
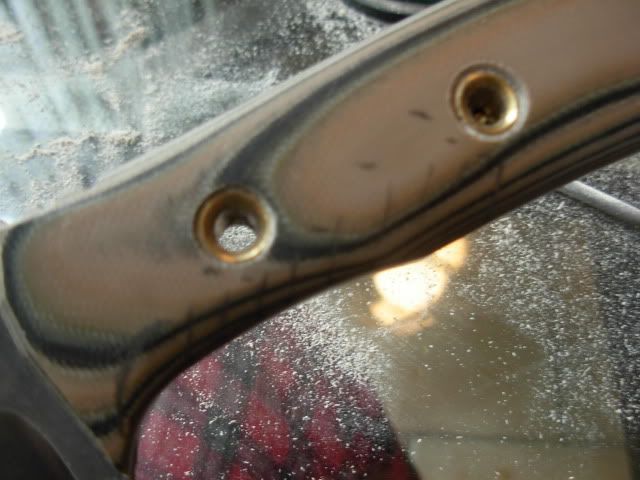
I'm getting to the point in making a knife, or anything else for that matter, where I'm getting excited and want to work on it all the time till it's completed. Final handle work and sheathmaking are about the only things I manage to work on during the day because I can get away with doing at the kitchen table :shush: Actually my lovely wife is very understanding and besides... I already scratched the heck out of the glass hand sanding my first kit blades on.

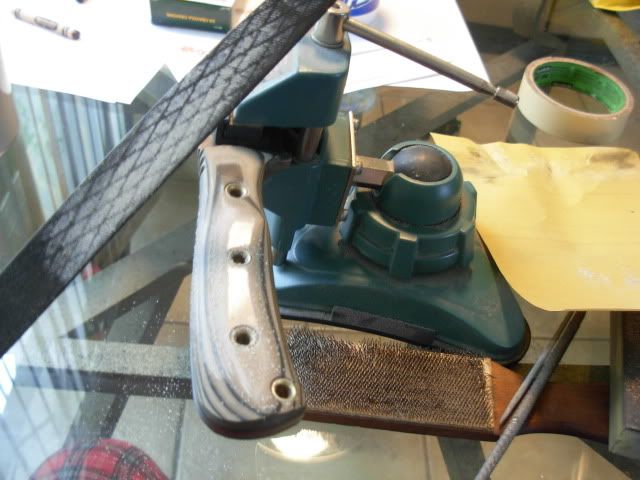
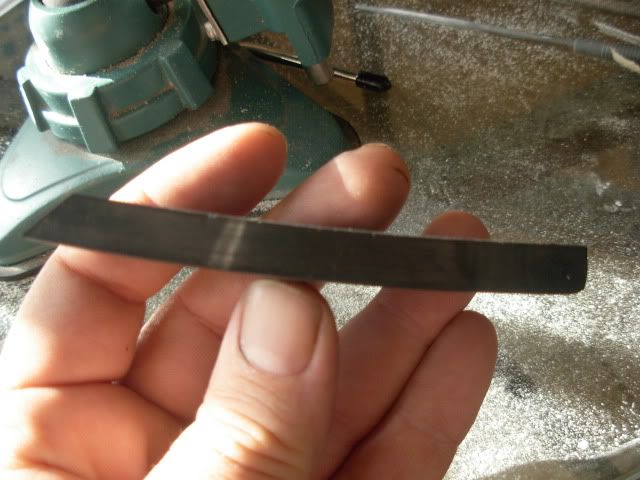
Since I'm done with power tools till it's time to sharpen I broke out my hobby vice with suction base, a rasp, a few files, a couple sanding blocks and a piece of 220. This file works so good for handle material that I never use it metal. It'll eat micarta like nobody's business and is fantastic for shaping the end grain of hardwoods.
servicememberbiuld3001.jpg


Using that big ole file to smooth off high spots and adjust my flats to a domed shape. Use this file with caution and a LIGHT touch and keep it away from inside curves cuz it's hungry !
servicememberbiuld3002.jpg


Getting a grip to see just where I want to contour the handle
servicememberbiuld3003.jpg


Something about like this should do the trick
servicememberbiuld3004.jpg


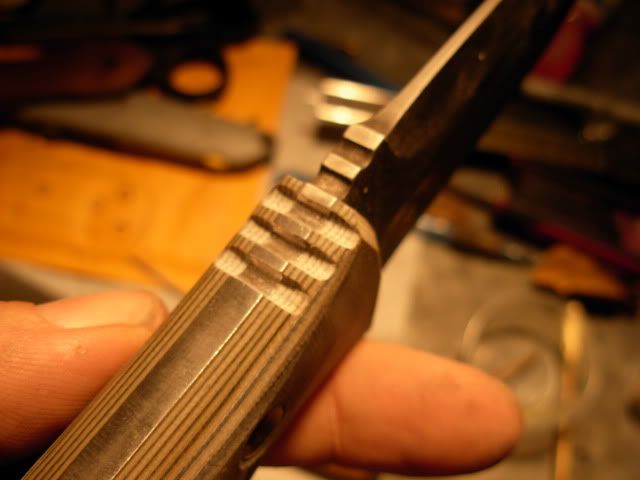
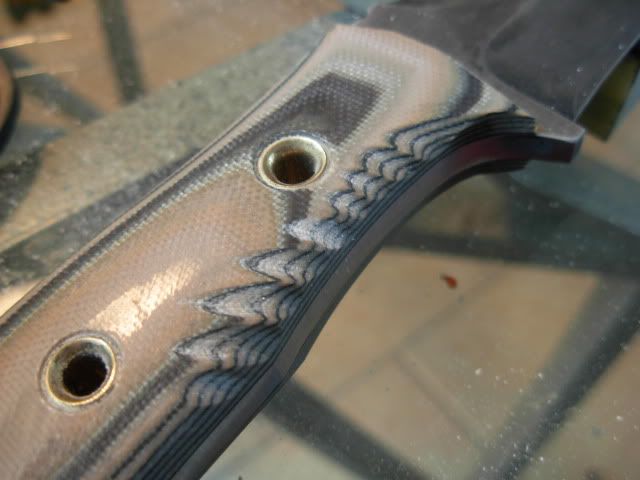
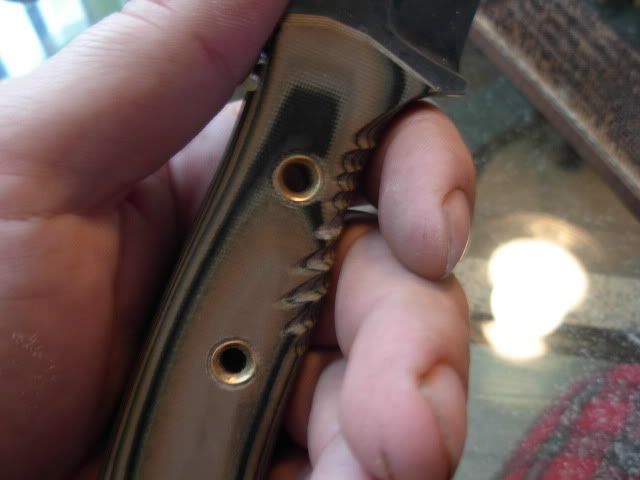
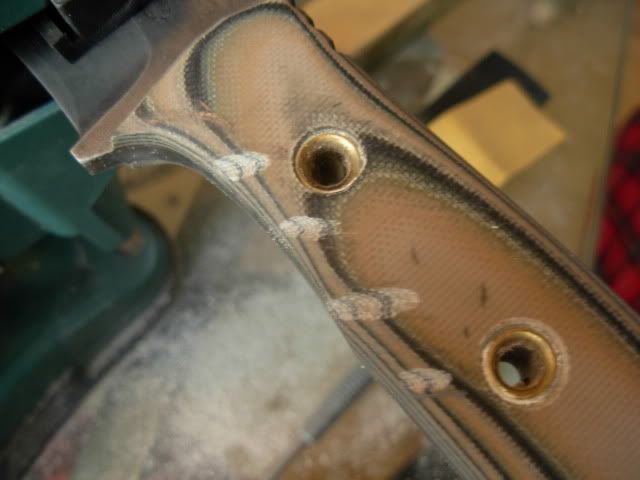
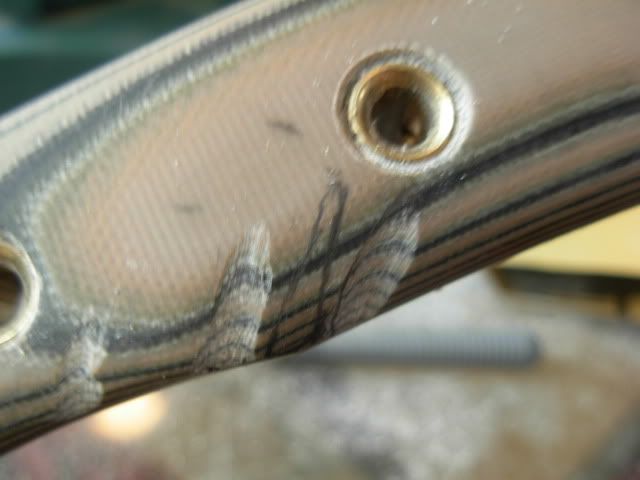
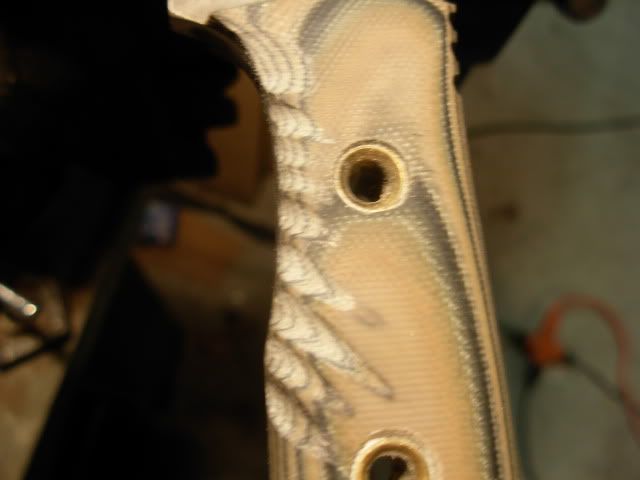
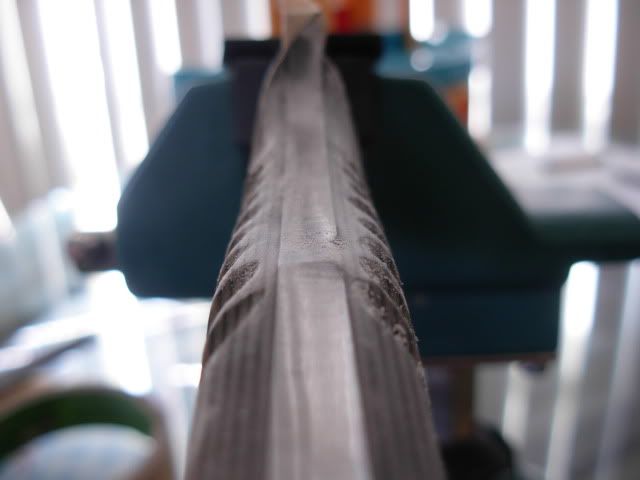
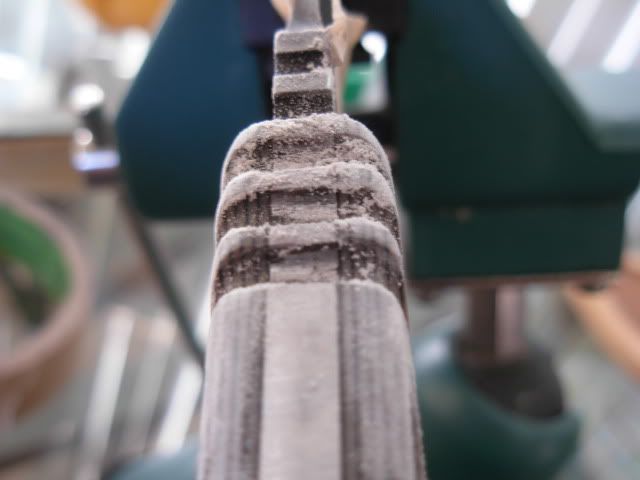
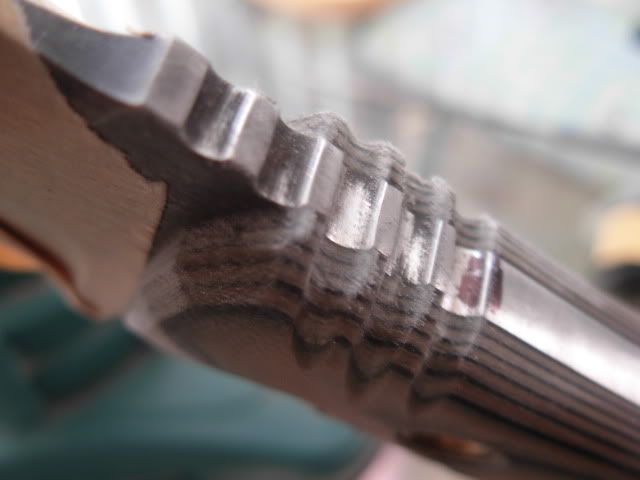
I learned long ago trying to work micarta with a 3x21 belt sander that a rasp is the way to go for shaping so I started taking some small bites with my rasp to create a finger groove of sorts
servicememberbiuld3005.jpg


Boy this looks kinda cool and isn't as hard on the fingers as I imagined it would be. Might as well play around with the rasp and see what I can come up with
servicememberbiuld3006.jpg

servicememberbiuld3008.jpg


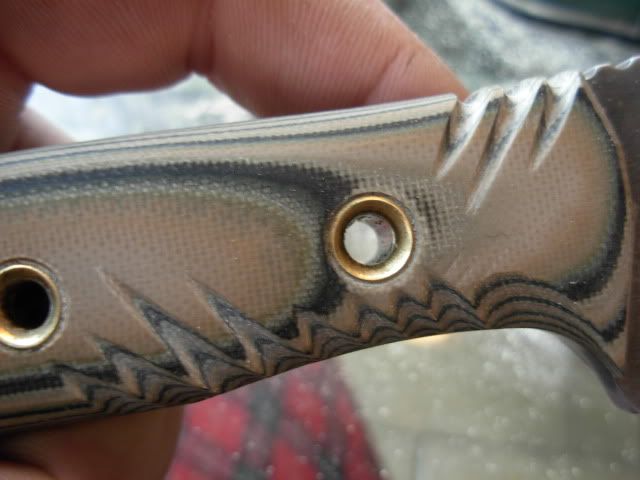
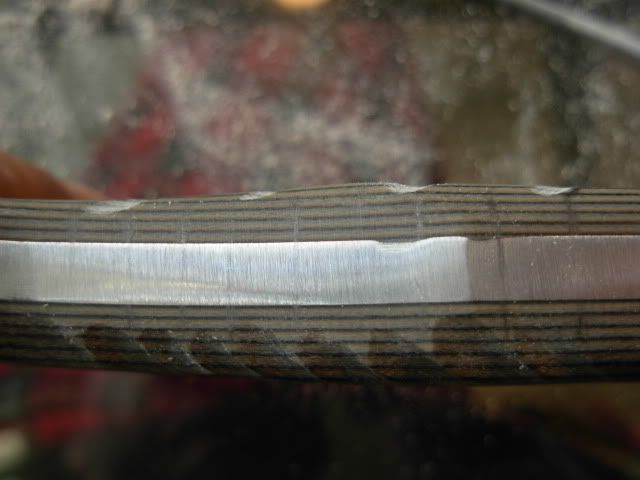
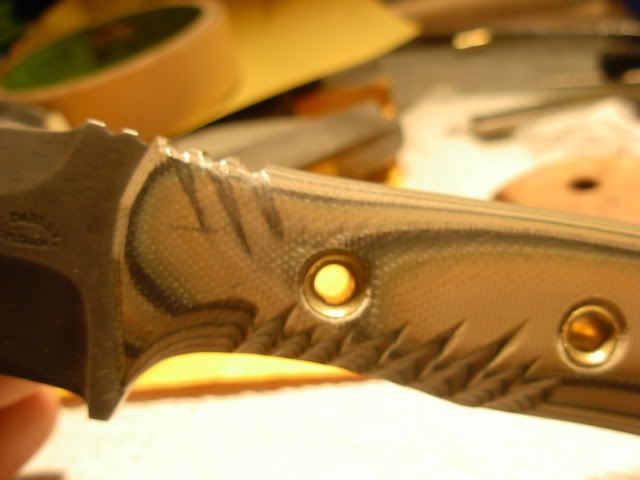
These rasp cuts look cool and seem to greatly improve traction on the handle so I think I'm gonna go with it. Before going forward with the rasp I'd better final tune the handle shape so I can match up this spiffy rasp work. This multi color handle material is pretty cool stuff to work with ! I'm judging my contour from left to right using the coloring as an estimation of symetry
servicememberbiuld3009.jpg

servicememberbiuld3010.jpg
 
I though I'd show you this little sanding block. It's hard rubber so it's firm but does have a little give to it. one end has an angle ground on for getting into tight areas an the other end has a square corner and a radiused corner. I use this on for something on just about evey knife I make.
servicememberbiuld3011.jpg


It accels at blending and spot sanding on small areas like this
servicememberbiuld3012.jpg


Now that I'm done tuning things up I re-pointed and extended some of the grooves and added similar grooves to the thumb grooves
servicememberbiuld3013.jpg


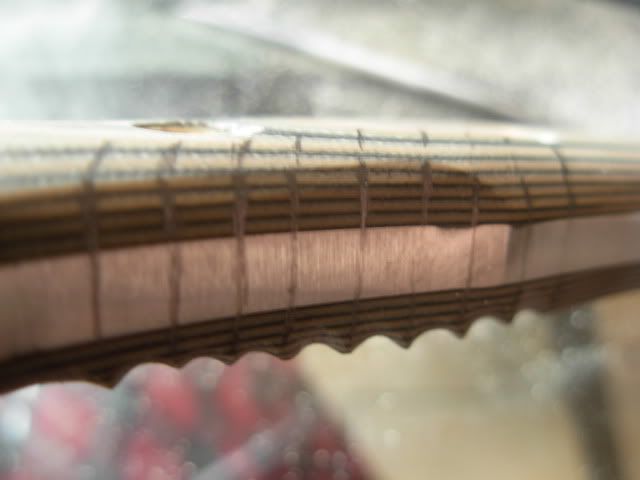
Now it's time to get this pattern over to the opposite side as close as possible. I started by marking pencil lines where the "points" are so we'll have a rasp cut in between each line
servicememberbiuld3014.jpg


Now I've got enough marks that I should be able to get it very close to side #1
servicememberbiuld3016.jpg


Start by getting some shallow cuts started then eyeball it to see which way to push the cut as you get deeper
servicememberbiuld3017.jpg

servicememberbiuld3018.jpg


Once I work a couple of the cuts down I'll eyeball it again and make more pencil marks to guide where I need to cut.
servicememberbiuld3019.jpg

servicememberbiuld3020.jpg


Thats where I'm at. Getting close to finishing the handle off :biggrin:

-Josh
 
Nothing heavy to report tonight, just more of the same.

Continuing with rasp/file work on side 2. Take a few passes then check, take a few more then check
service005.jpg


Laying out the thumb groove grooves
service006.jpg


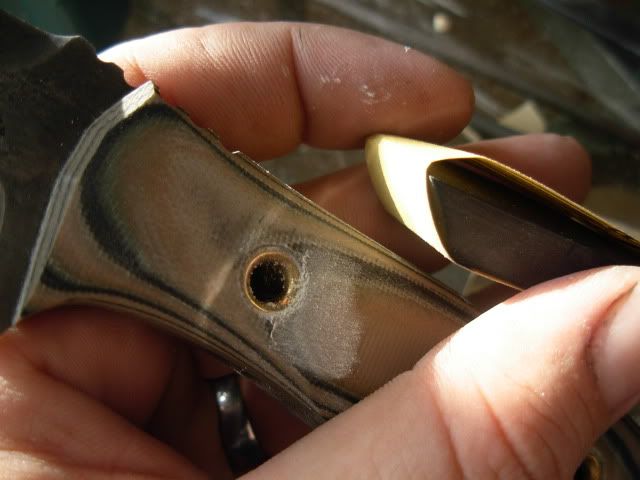
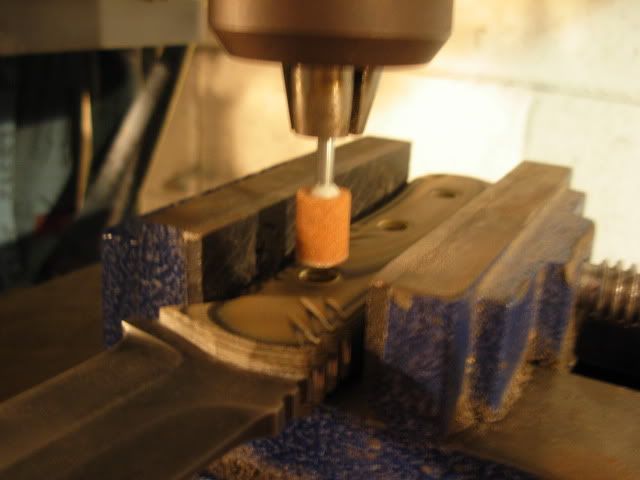
I filed those in and decided I should at least attempt to make my tubing/coutersink areas a bit more uniform. This is an aluminum oxide grinding wheel that came with my dremel kit chucked up in the drill press. Eyeball it and lightly grind till it feels right
service009.jpg


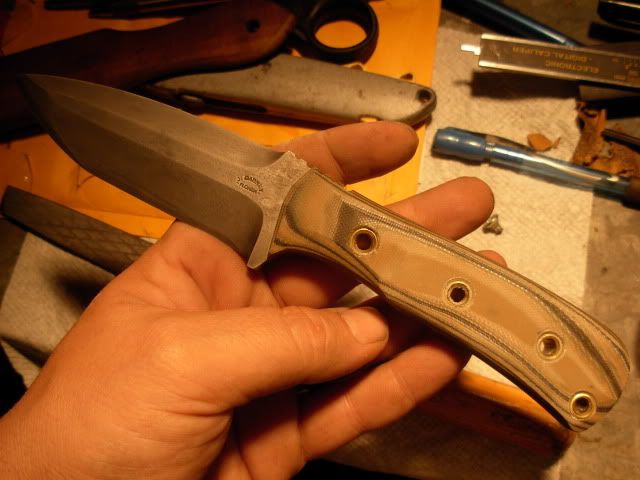
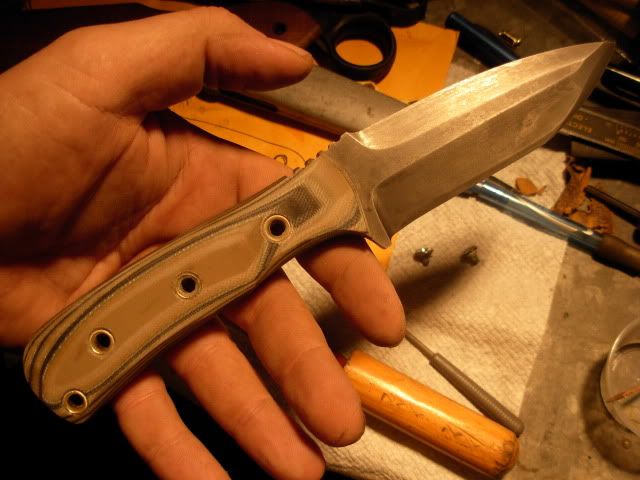
She's really starting to look like a knife now
service010.jpg

service011.jpg

service012.jpg


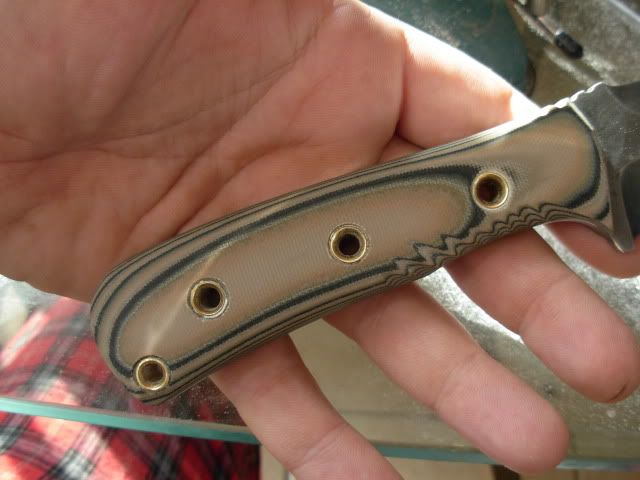
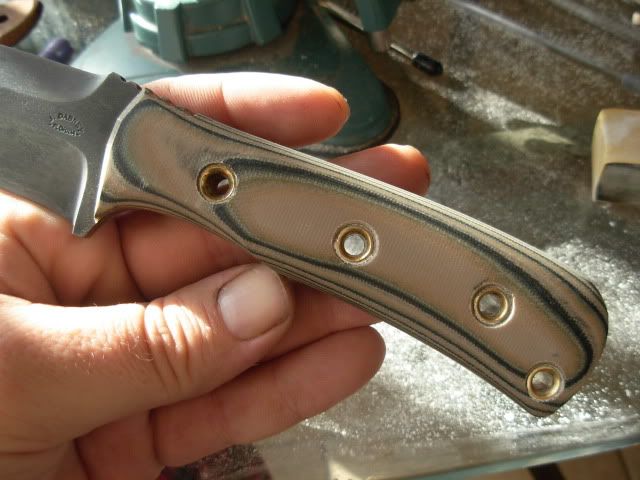
Theres still some minor adjustments that need made to the scales but it's essentially done.

Let me know what you guys think.

Josh
 
Lookin mighty good there Josh. Some lucky servicemember is going to be dang proud to own it.
 
Excellent WIP Josh. You did one heck of a job on that knife - great grinds, neat finish and some terrific handle work. Wish I had one just like it 41 years ago.
 
Well I guess she was ALMOST done. I did manage to tie up the rest of the loose ends on this knife today so this'll be the last update till I get my order from Tracy and get to work on the sheath.

I've been carrying this bad boy around the house playing with it and getting a FEEL for what it telling me to do. Didn't know knives could talk did ya ? All the major work being done it time to de-fang this sucker the rest of the way, blacken the tubing, and give the tang THE TREATMENT.

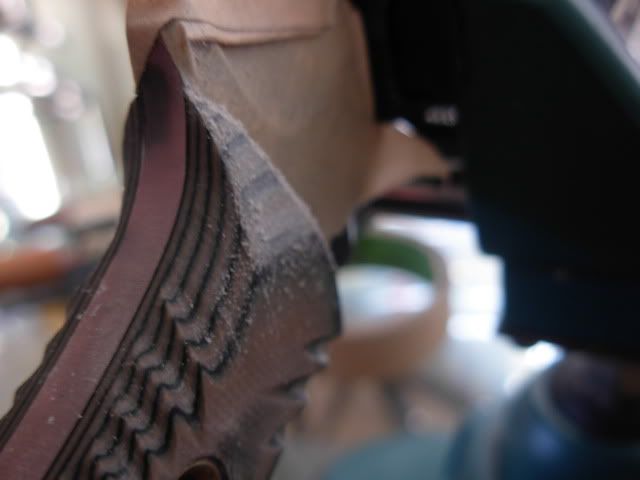
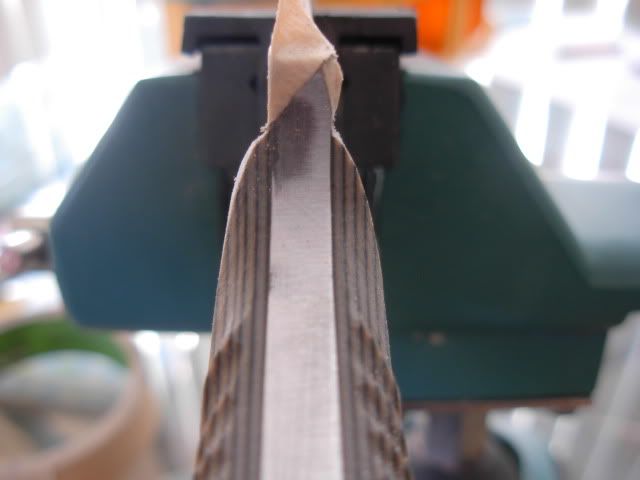
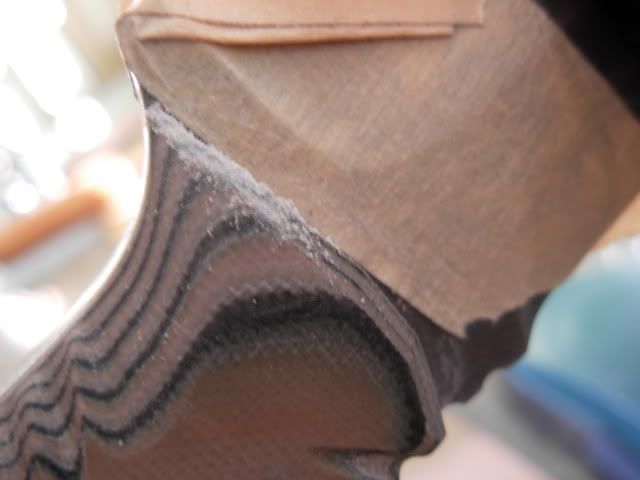
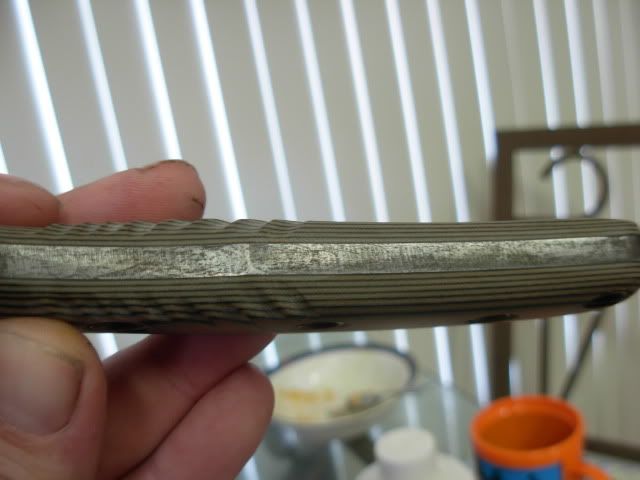
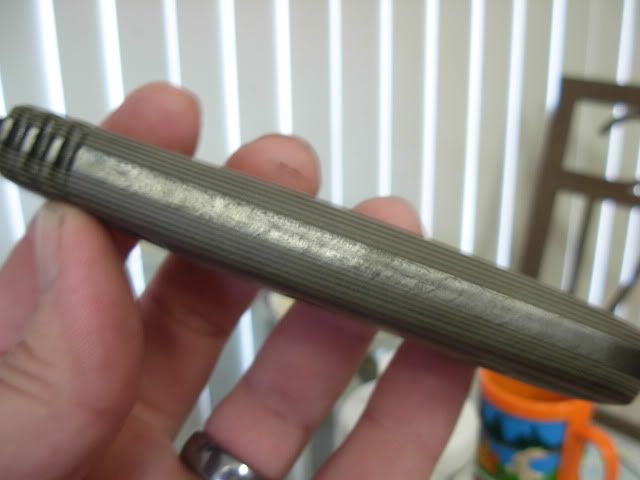
Here we see what the scales look like in the front on the bottom. Doesn't look too friendly to the fingers does it ? I'm going to be filing right up to the blade so I threw a couple pieces of masking tape along the ricasso. Wouldn't wanna scratch that fine finish :lol:
servicemember3001.jpg


First I filed the sharp corner away and blended it into the side of the handle
servicemember3002.jpg


Do the other side and even things up
servicemember3003.jpg


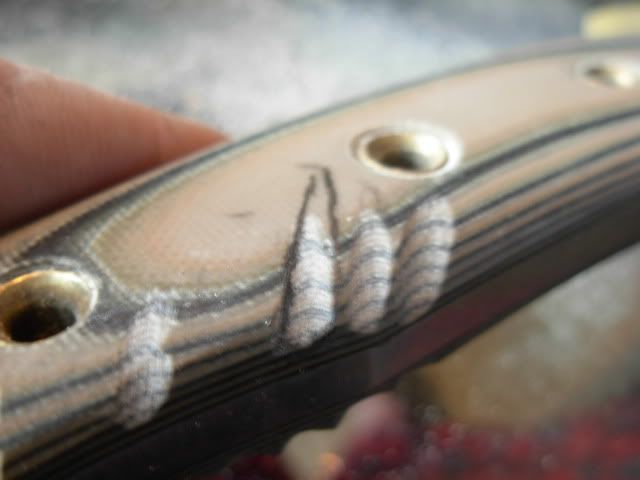
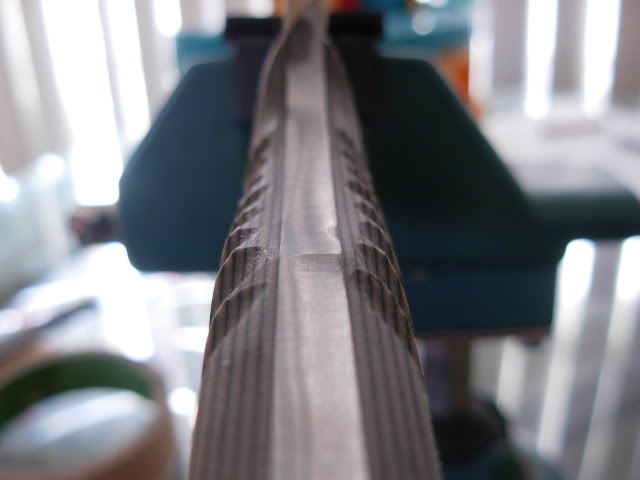
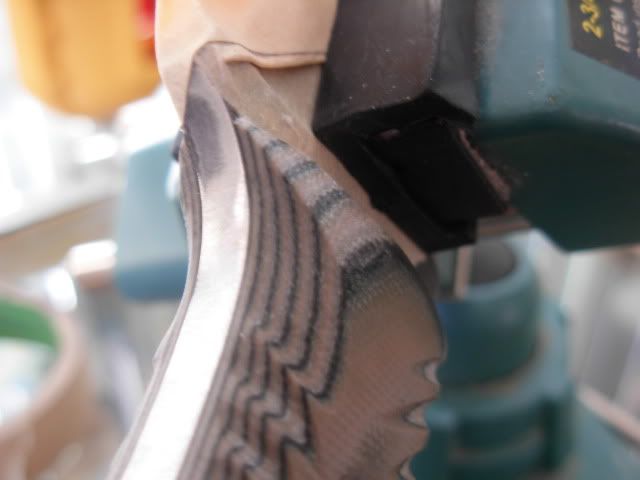
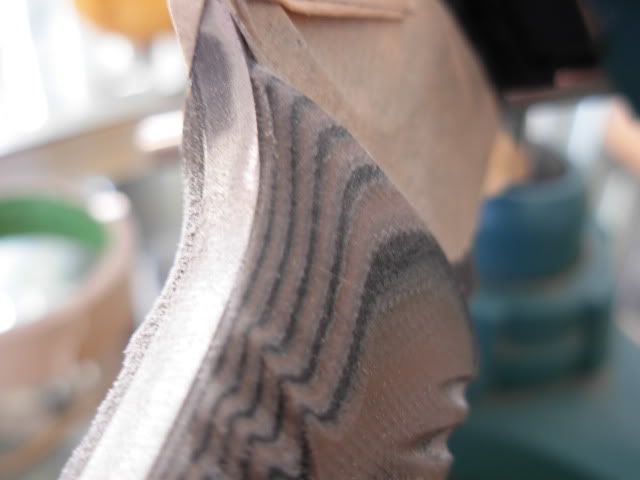
Here you can see how some of the "points" between the rasp grooves are a little squarish and others are more rounded so I'm going to roll any pointy parts that'll dig into the fingers over
servicemember3005.jpg


Another shot to show where material was removed
servicemember3006.jpg


Now it's looking better
servicemember3007.jpg


Same thing up on top
servicemember3008.jpg


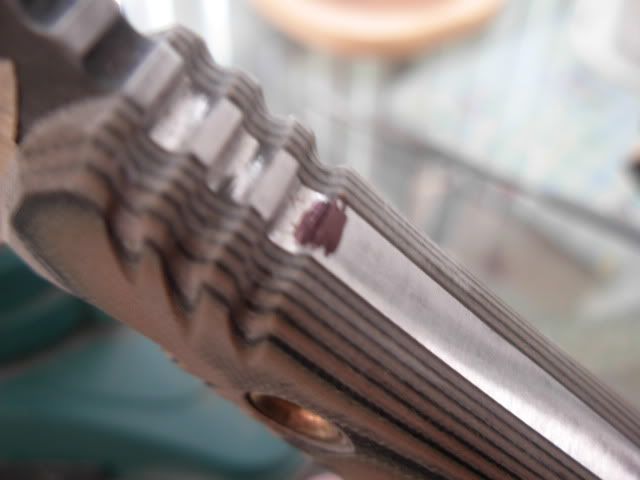
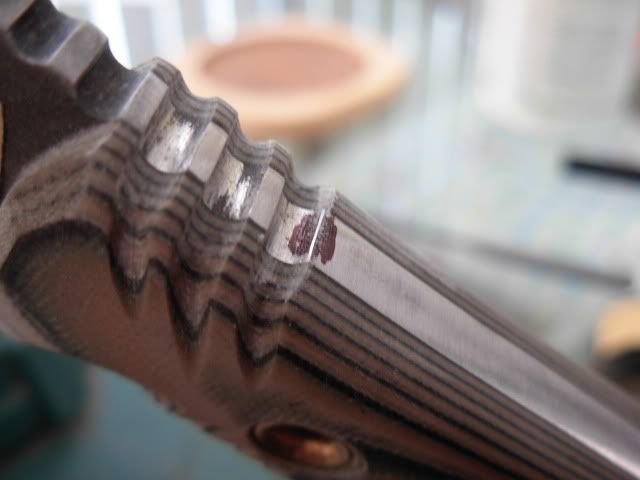
I thought this may be hard to explain but the very edges of the thumb grooves had some real bite to them so I colored a little bit with a sharpie to show where I smoothed the edges of the grooves over a little
servicemember3009.jpg

servicemember3010.jpg


Did both sides of them all like this
servicemember3011.jpg


When I filed those points off the scales I actually created a new sharp edge that also needs to be addressed
servicemember3012.jpg


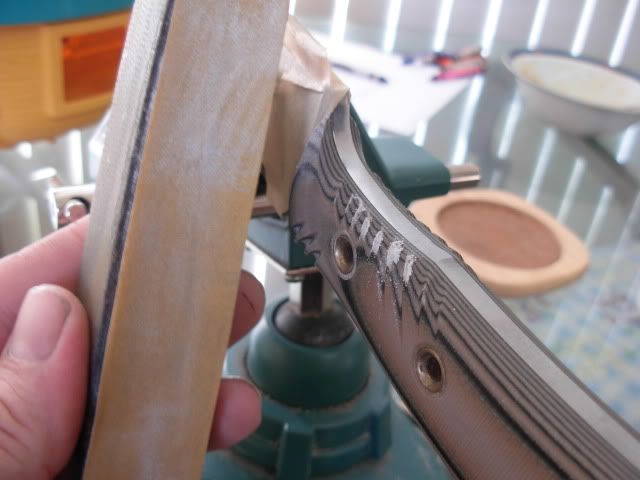
Used an 1/8" wide strip of 220 and shoe shine motion to completely smooth this inside curve over
servicemember3013.jpg


Doing all this shaping on the front of the scales removed a good portion of my 45 degree chamfer so again with the needle file to carry the chamfer back down till it meets the tang
servicemember3014.jpg


Now we've got EVERYTHING smoothed over so that no matter how you hold or turn the knife nothing will be biting you or giving you blisters or uncomfortable hot sopts yet we still have an extremely good grip with the grooves for traction.

Now onto the final details. The devil really is in the details huh.
Here we've got some Ajax's Jax Black that were going to use to "blacken" the brass tubing. Simple stuff really. Clean the brass and coat it with the solution and let it do it's magic.
servicemember3015.jpg


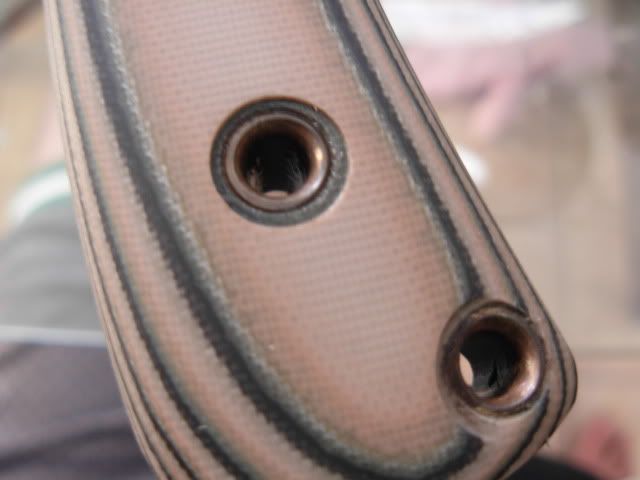
I didn't get them truely black but more of a golden brown. No matter as my real intent was to remove the shine.
servicemember3017.jpg


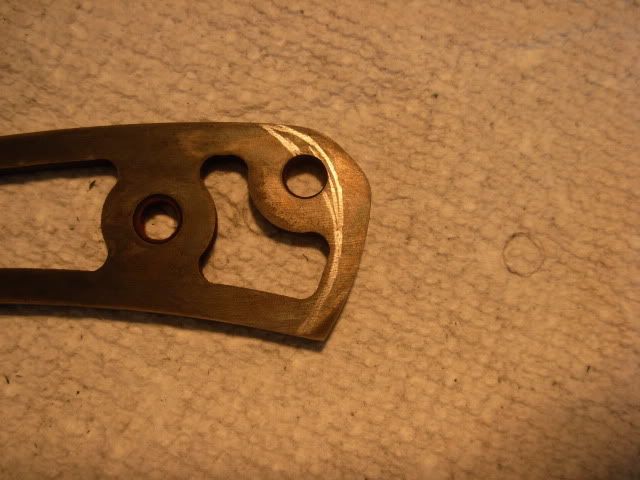
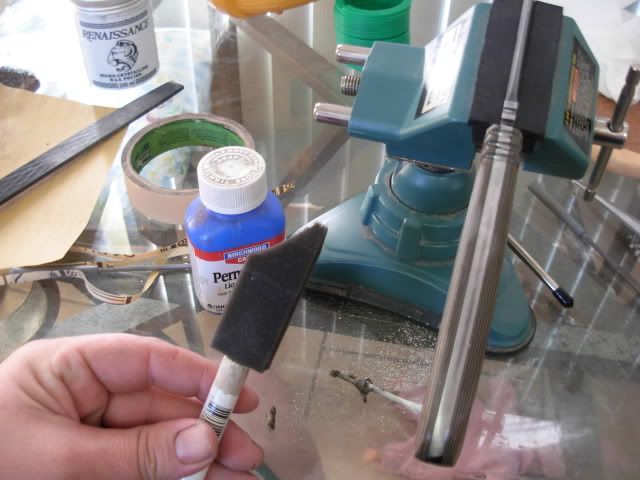
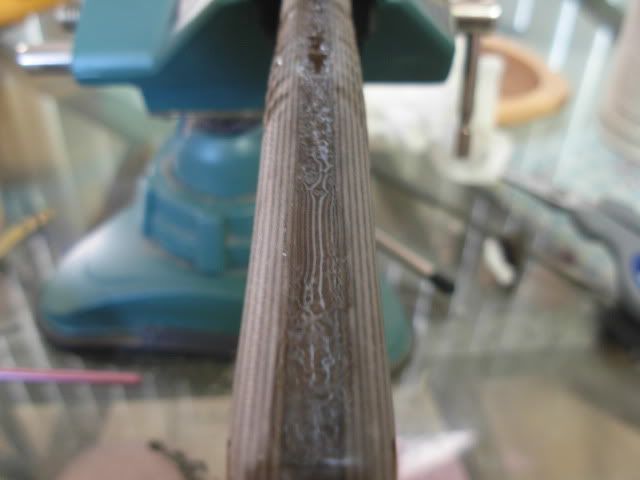
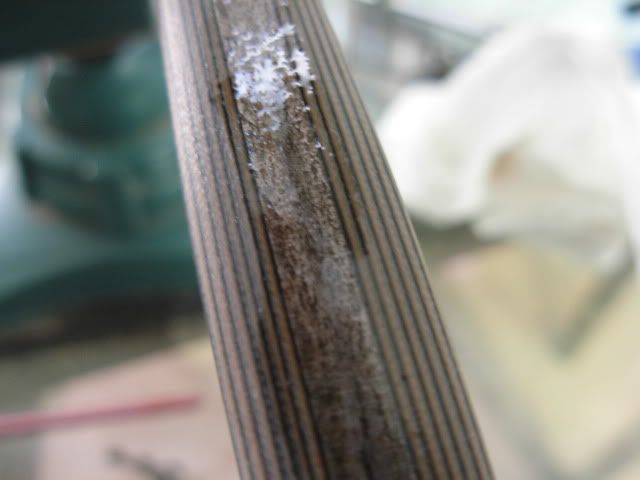
Now it's finally time to etch the tang with the treatment starting with the cold blue and a foam brush I trimmed to a small point for this detail work.
servicemember3018.jpg


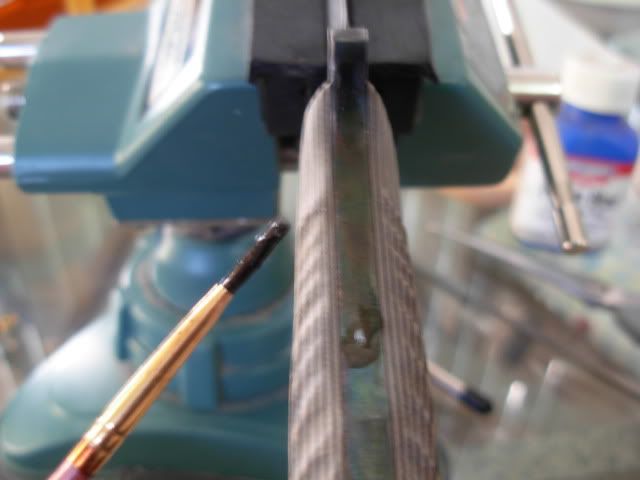
Now that it's blued I'm wetting the surface with bleach using this little paintbrush. It took a little experimenting to get the bleach etch. I kept the surface wet for about 5 minutes with little noticable rust formation. After that I started wetting the top side, flipping to the bottom and wetting it then back to the top wipe off, re-wet, turn over etc etc etc. Using this procedure gave the desired results
servicemember3019.jpg

servicemember3020.jpg

servicemember3021.jpg


And this is what we ended up with
servicemember3022.jpg

servicemember3023.jpg


Got it pitted up pretty good I think.

Now my knife is completed other than sharpening. As I mentioned though I'll be continuing on with this thread once I start making the Kydex sheath.

Thanks for all the comments guys. They are appreciated :biggrin:

Josh
 
Last edited:
Let the Sheath making begin

I've made a couple kydex sheaths before but it's been awhile so bare with me while we experiment in an attempt to accomplish a few goals.

-The first and formost job of a sheath is to protect the user from the sharp blade. Shouldn't be a problem with kydex :3:

-Proper retension with no room for the blade to wiggle or rattle while inside the sheath while allowing easy access to drawing the knife. Remember- A loose sheath houses a dull knife !

I've been thinking for awhile about this sheath and it's destiny for at least one trip into harms way. NOT something that should be taken lightly by a maker IMHO. This is what I know about this knife and sheaths future. The things I don't know also had a big affect on what I wanted this sheath to be able to do. It could end up in a Spec Warriors hands, an infantryman, or a mechanic. Will this person be right or left handed ? Even if they're right handed the other gear they must pack may neccessitate left handed carry. Upside down carry on backpack straps ? Crossdraw ? The possibilities are endless not to mention that the users mission could change their desired placement of their sheath.

With these ideas in mind I decided to shoot for what I'll call a "Modular Sheath System" Sure as heck sounds fancy huh ?

What I mean by this is the body of the sheath will be a seperate piece from the Molle Locks so it can be removed and flipped to the opposite side for left handed carry. I also would like the sheath to have the ability to be able to tilt for user adjustable comfort.

A couple other requirements I have for this sheath are dead tight perfect retension. It's gotta be able to fly out of airplanes, climb walls, crawl over rocks, slug through mud, muck, water etc etc etc all the while staying quiet and in place ready for action.

The second thing is being able to grip the handle right where you need your hand for using the knife while it's still in the sheath. Grab- Draw- Use ! No fumbling around repositioning the hand for a comfortable grip after the knife is drawn. A leather pouch sheath is a great sheath for a hunter but wouldn't fit the bill here.

Thats enough Dabney sheathmaking theory already LOL

Lets make us a sheath !

Josh
 
Back
Top