Josh Dabney
Moderator
LOVIN IT !!!!
-Josh
-Josh

Bruce,
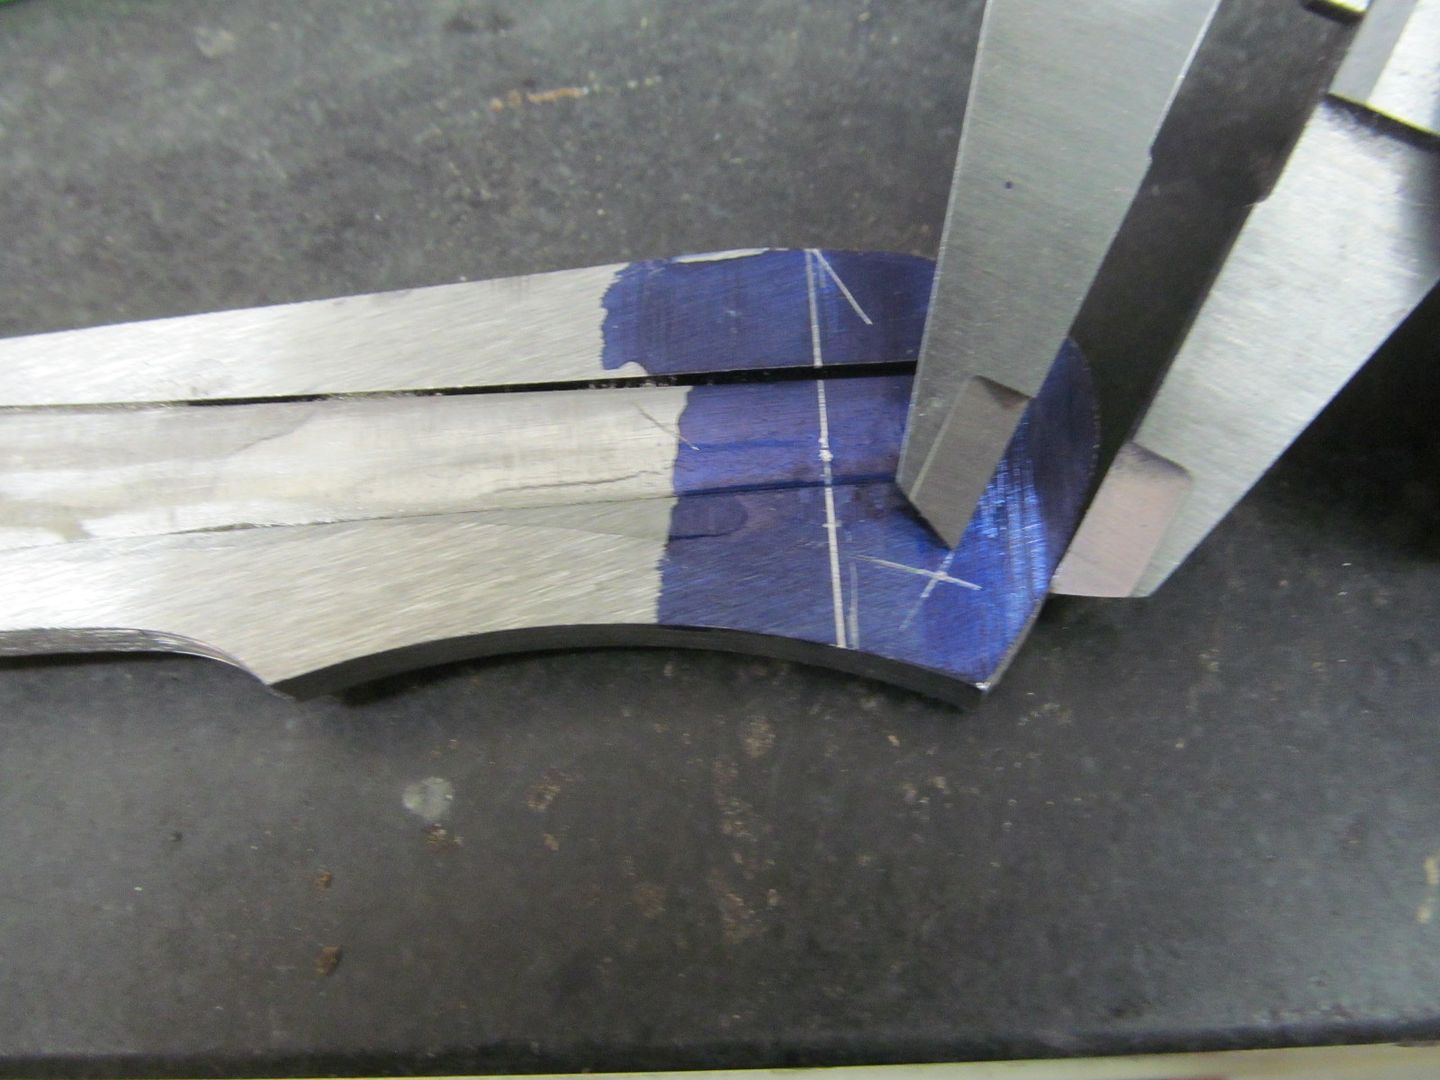
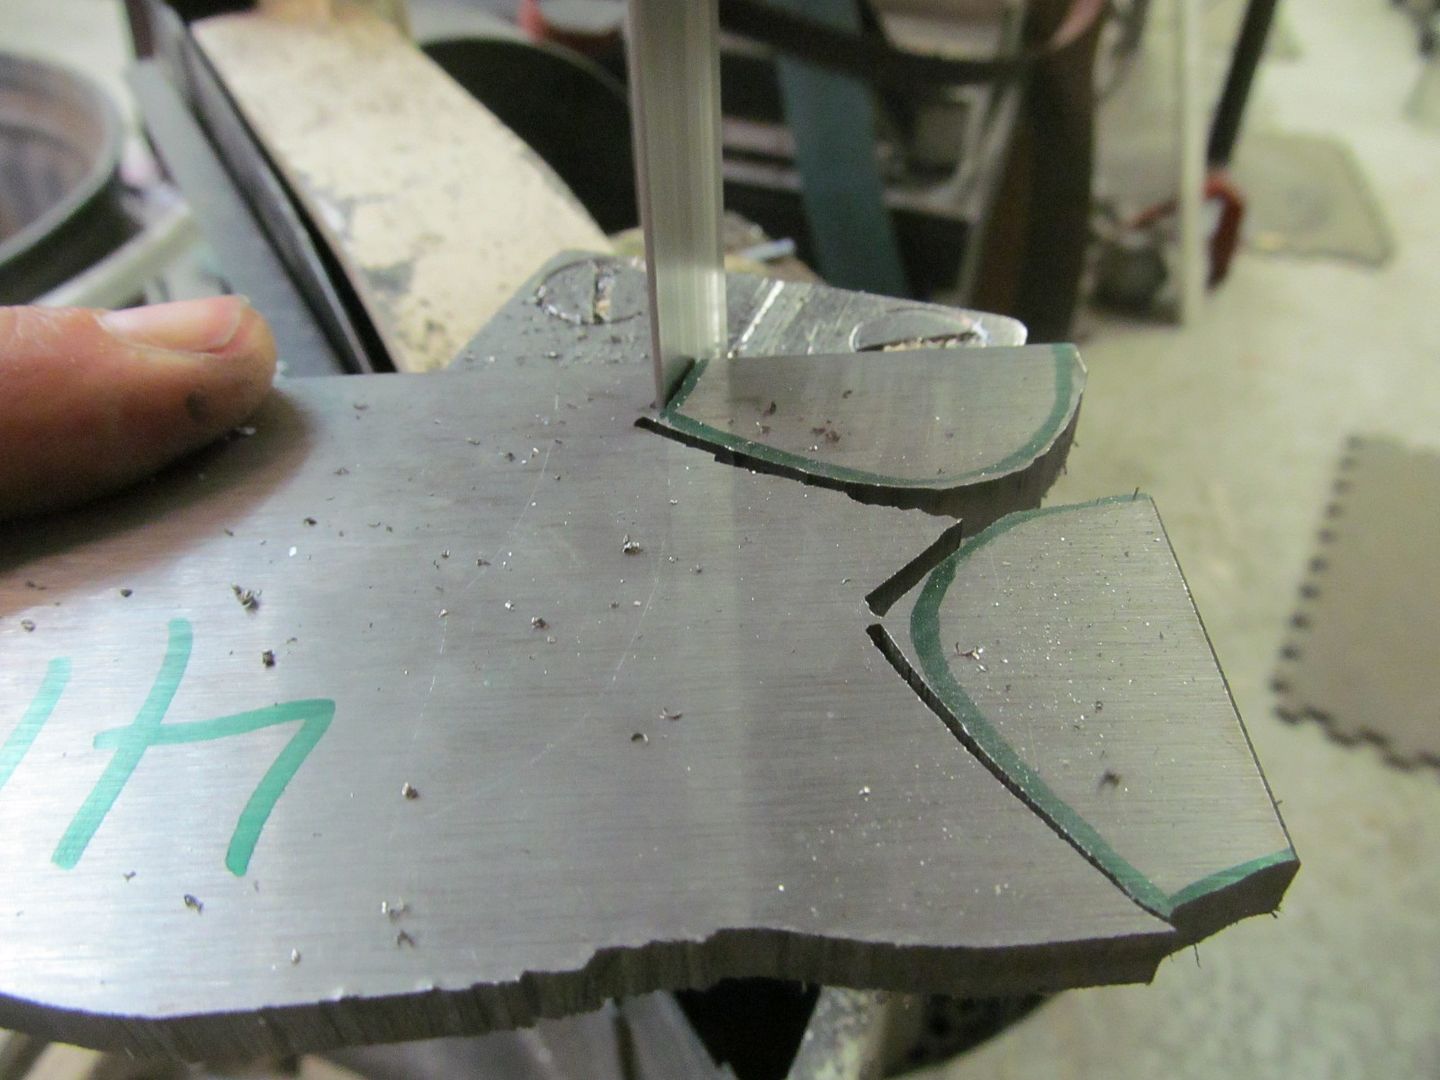
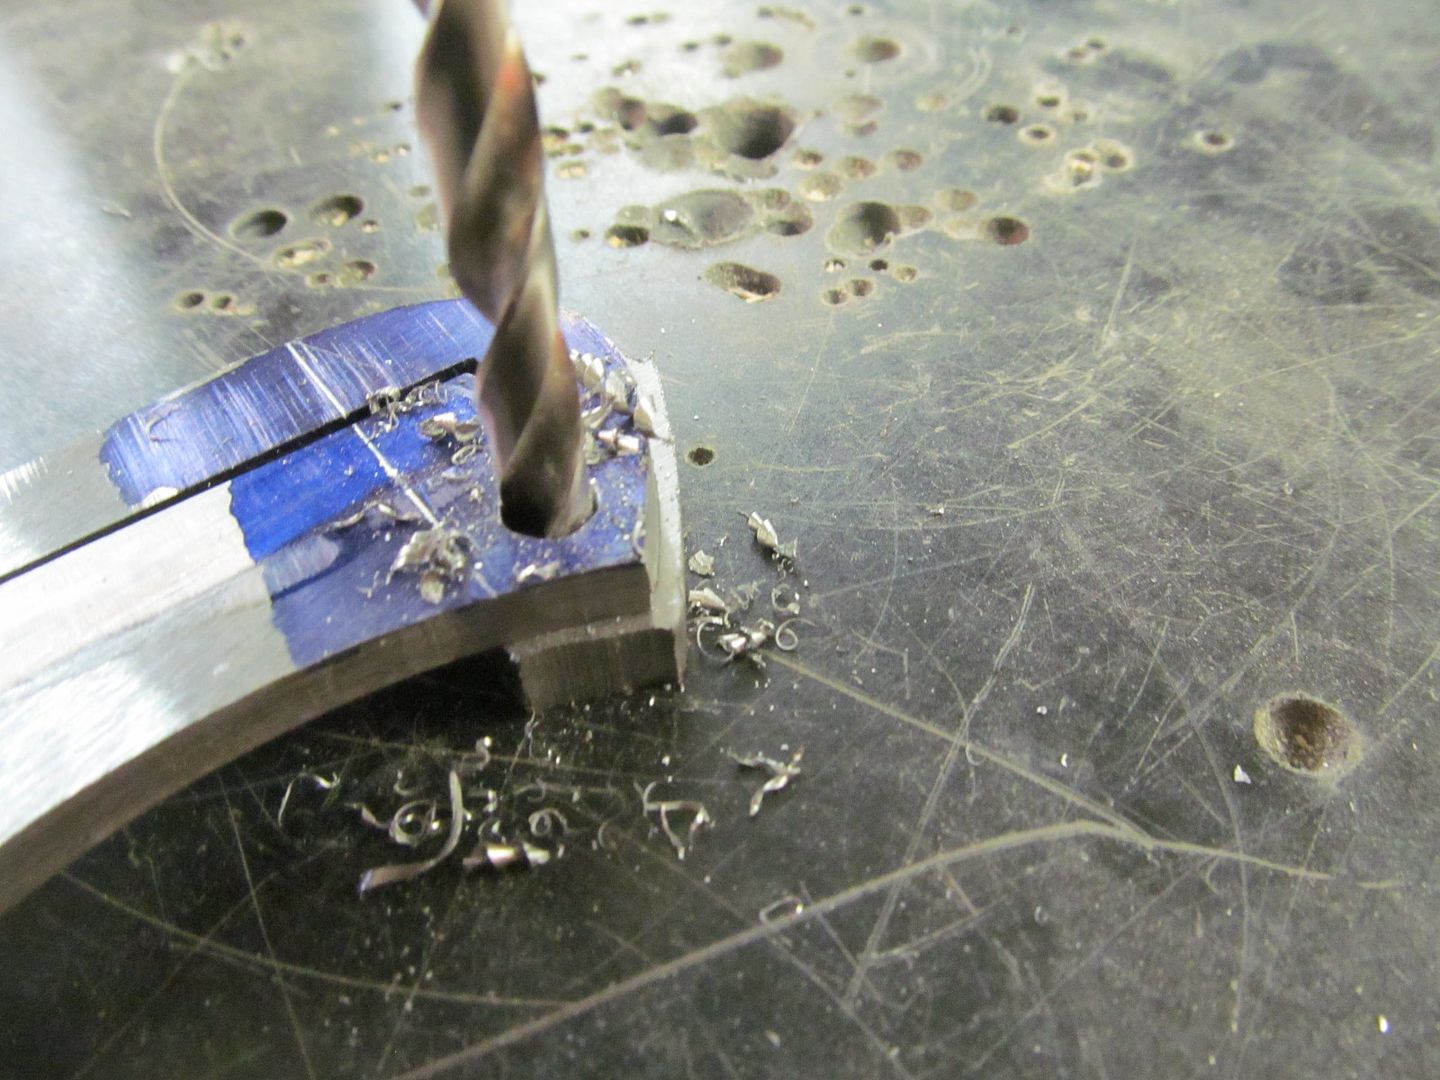
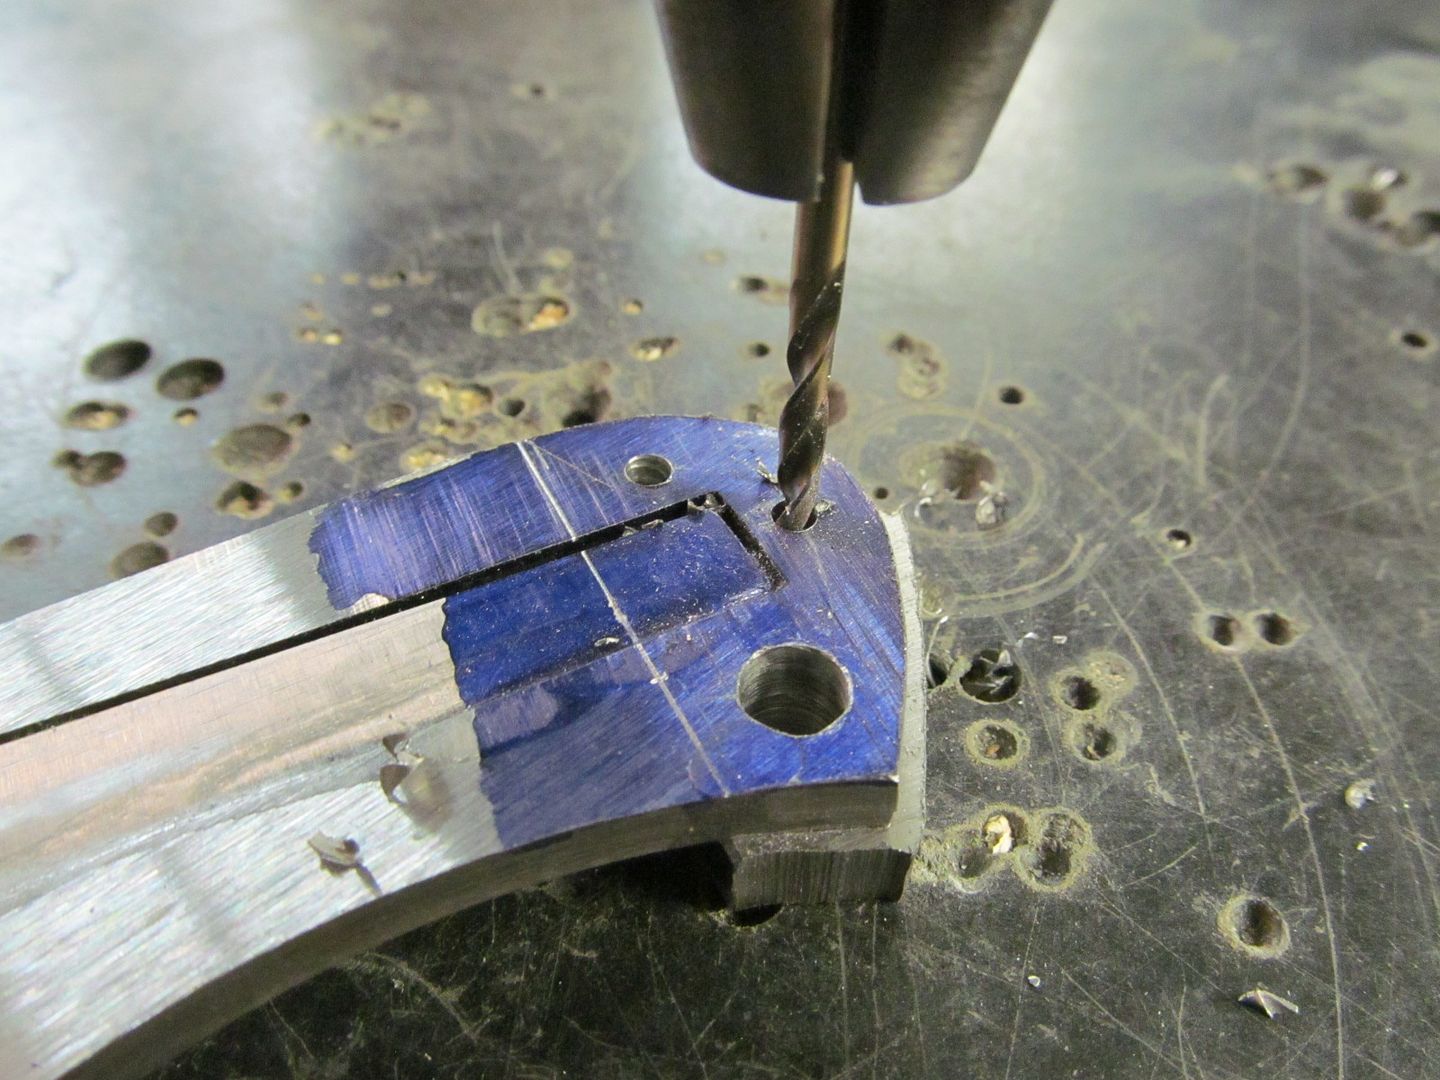
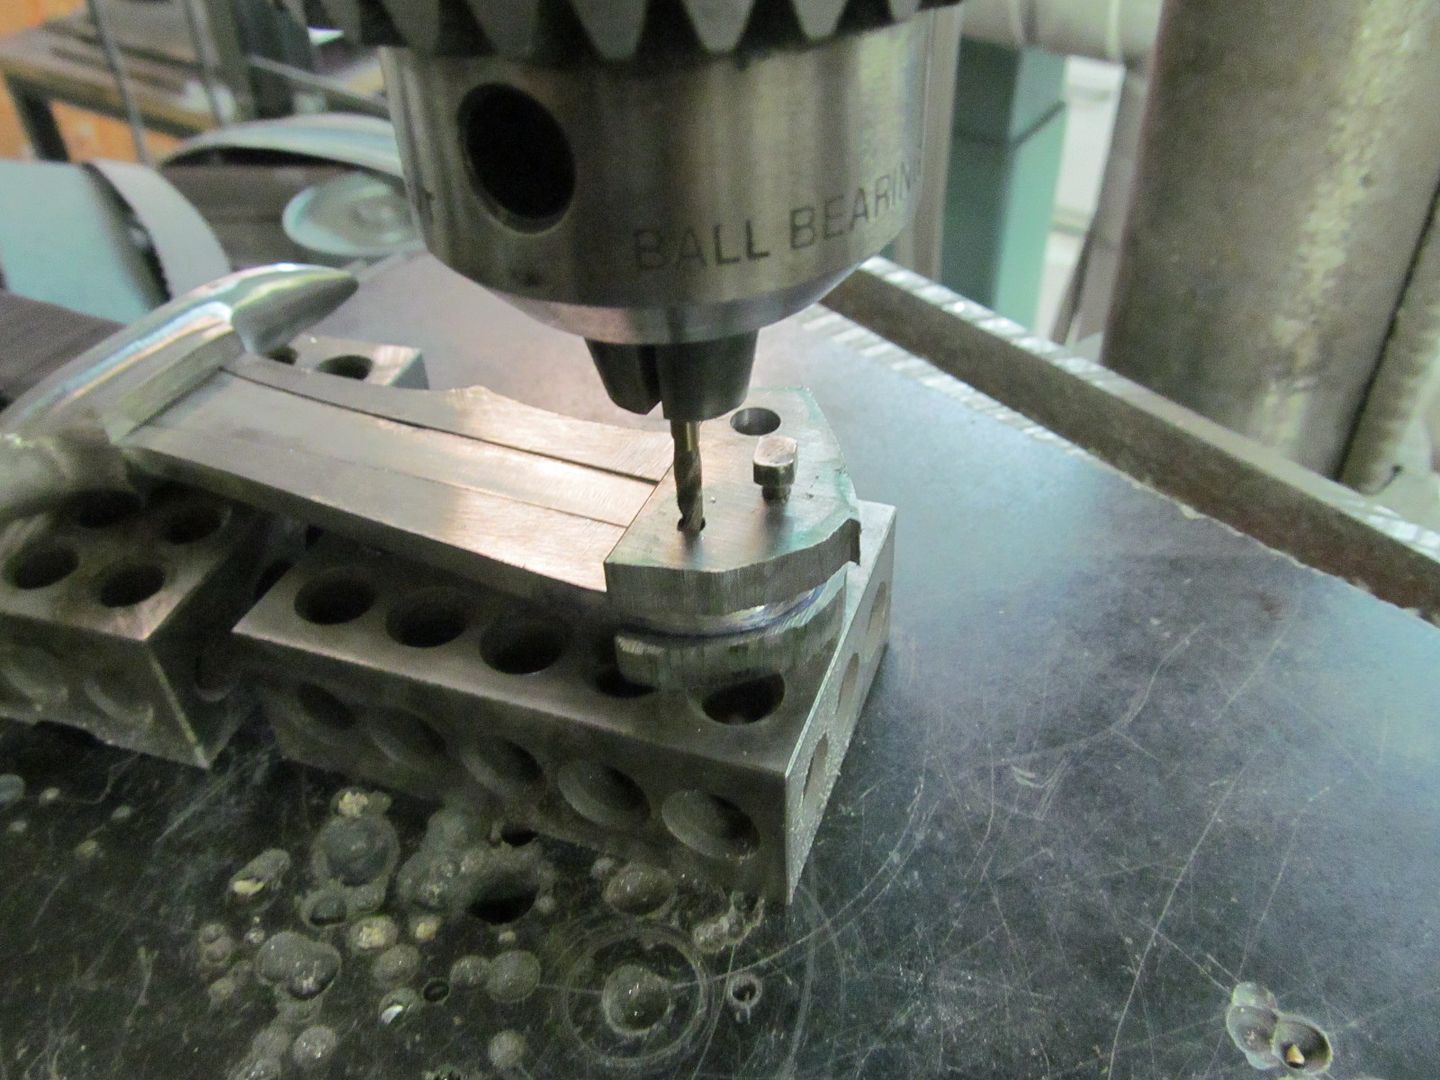
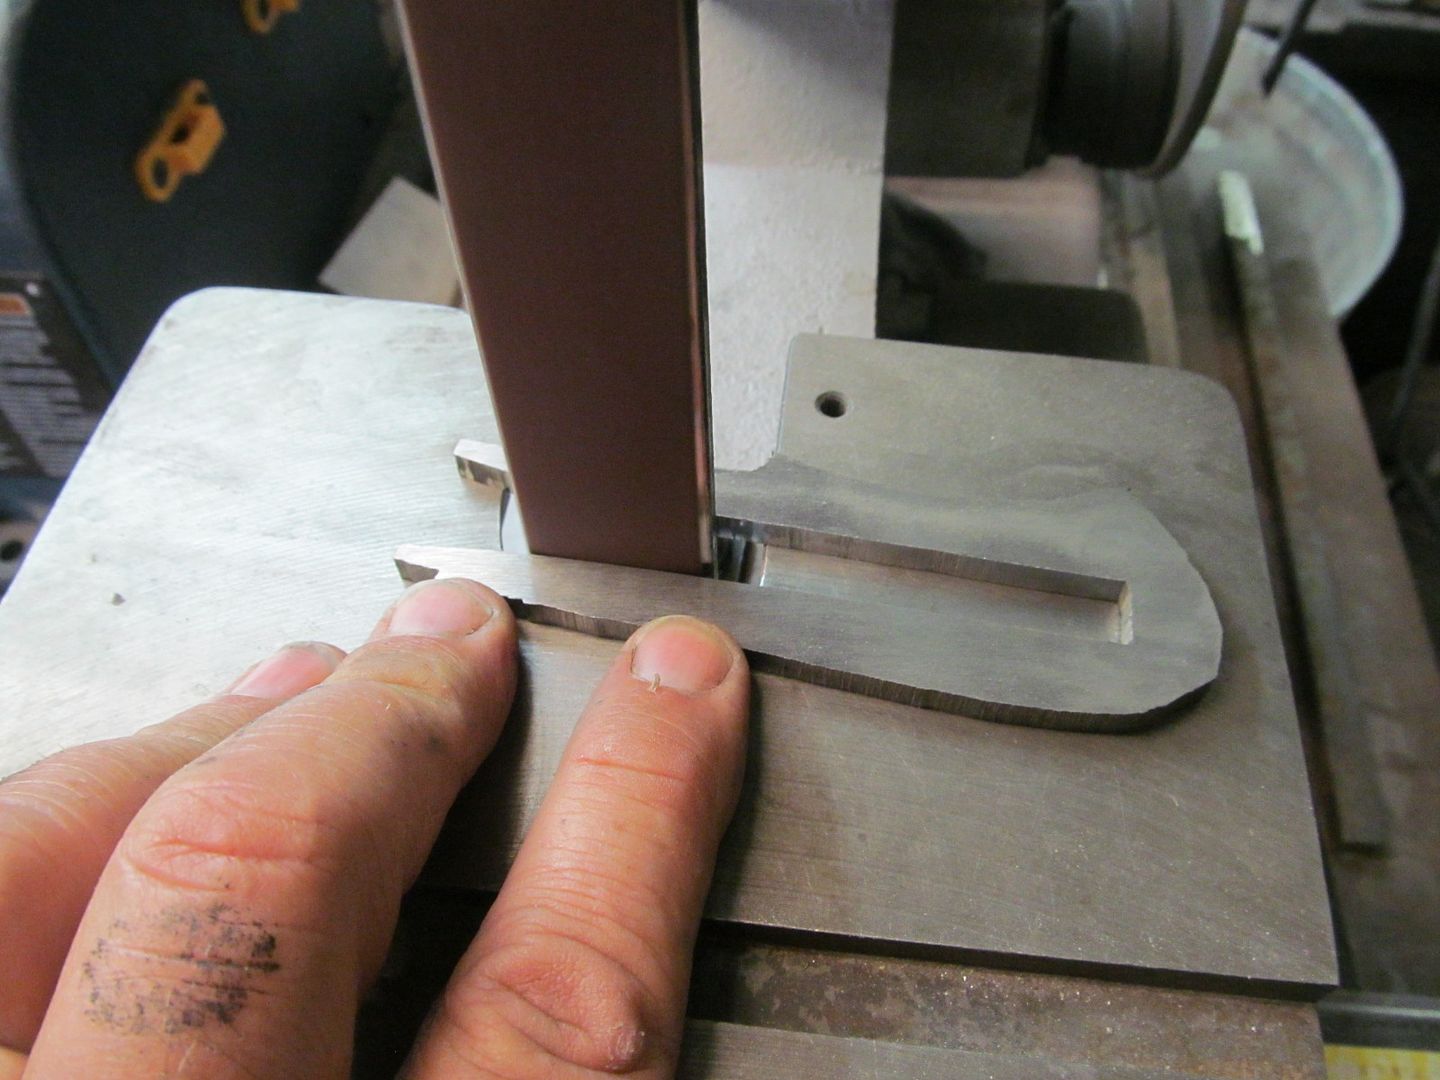
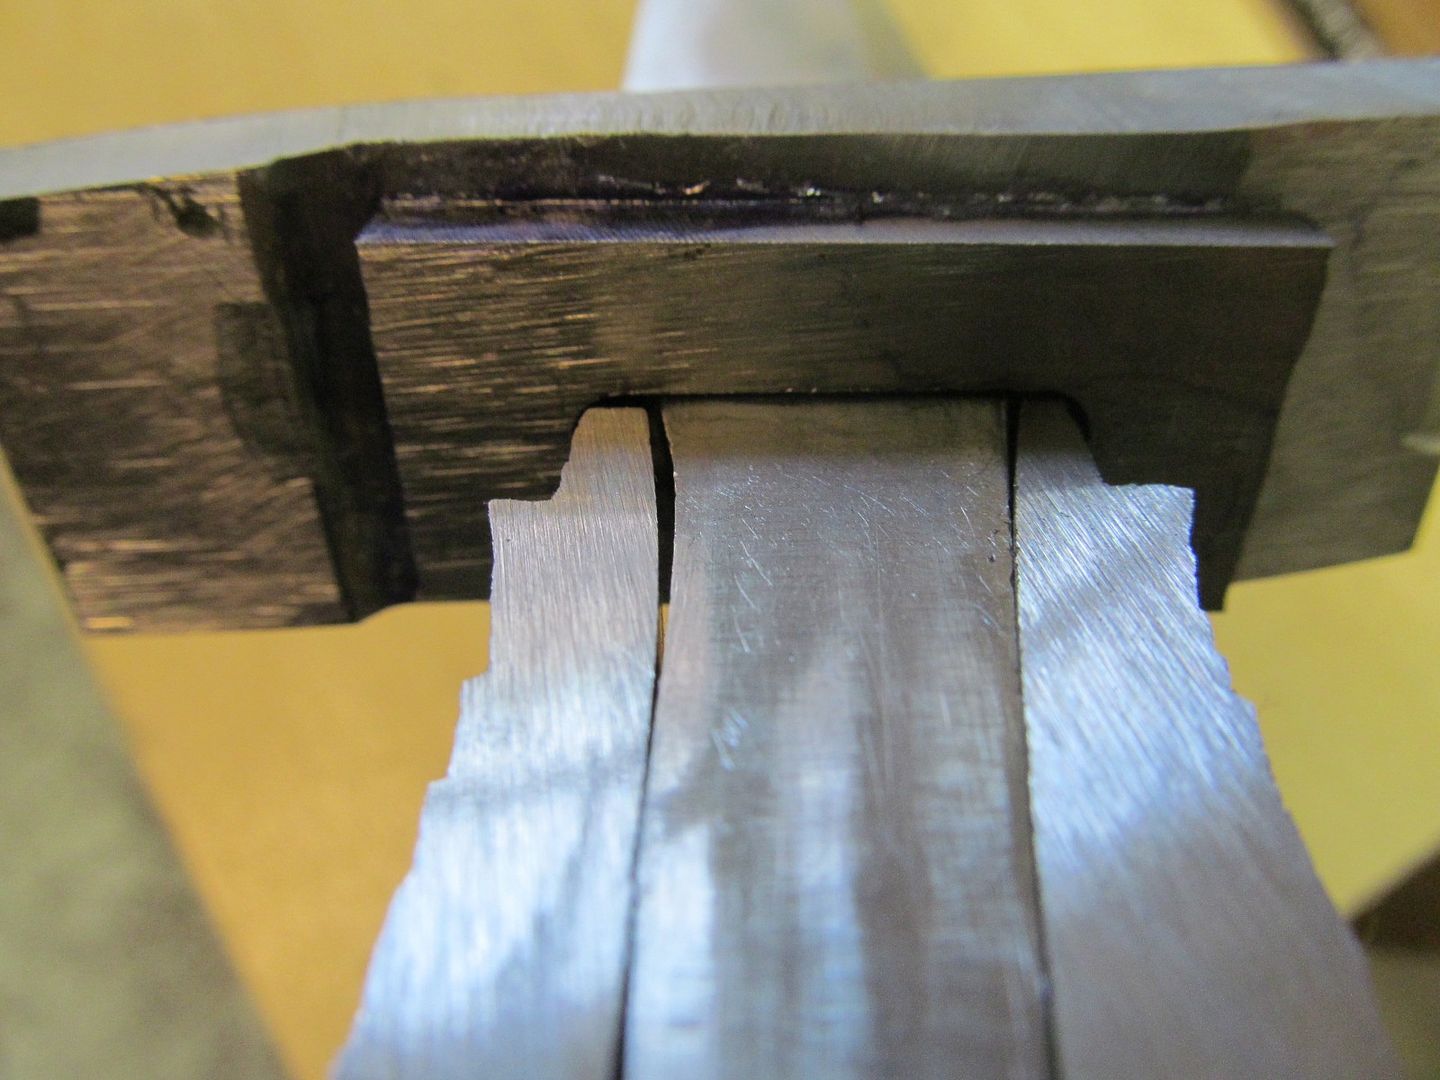
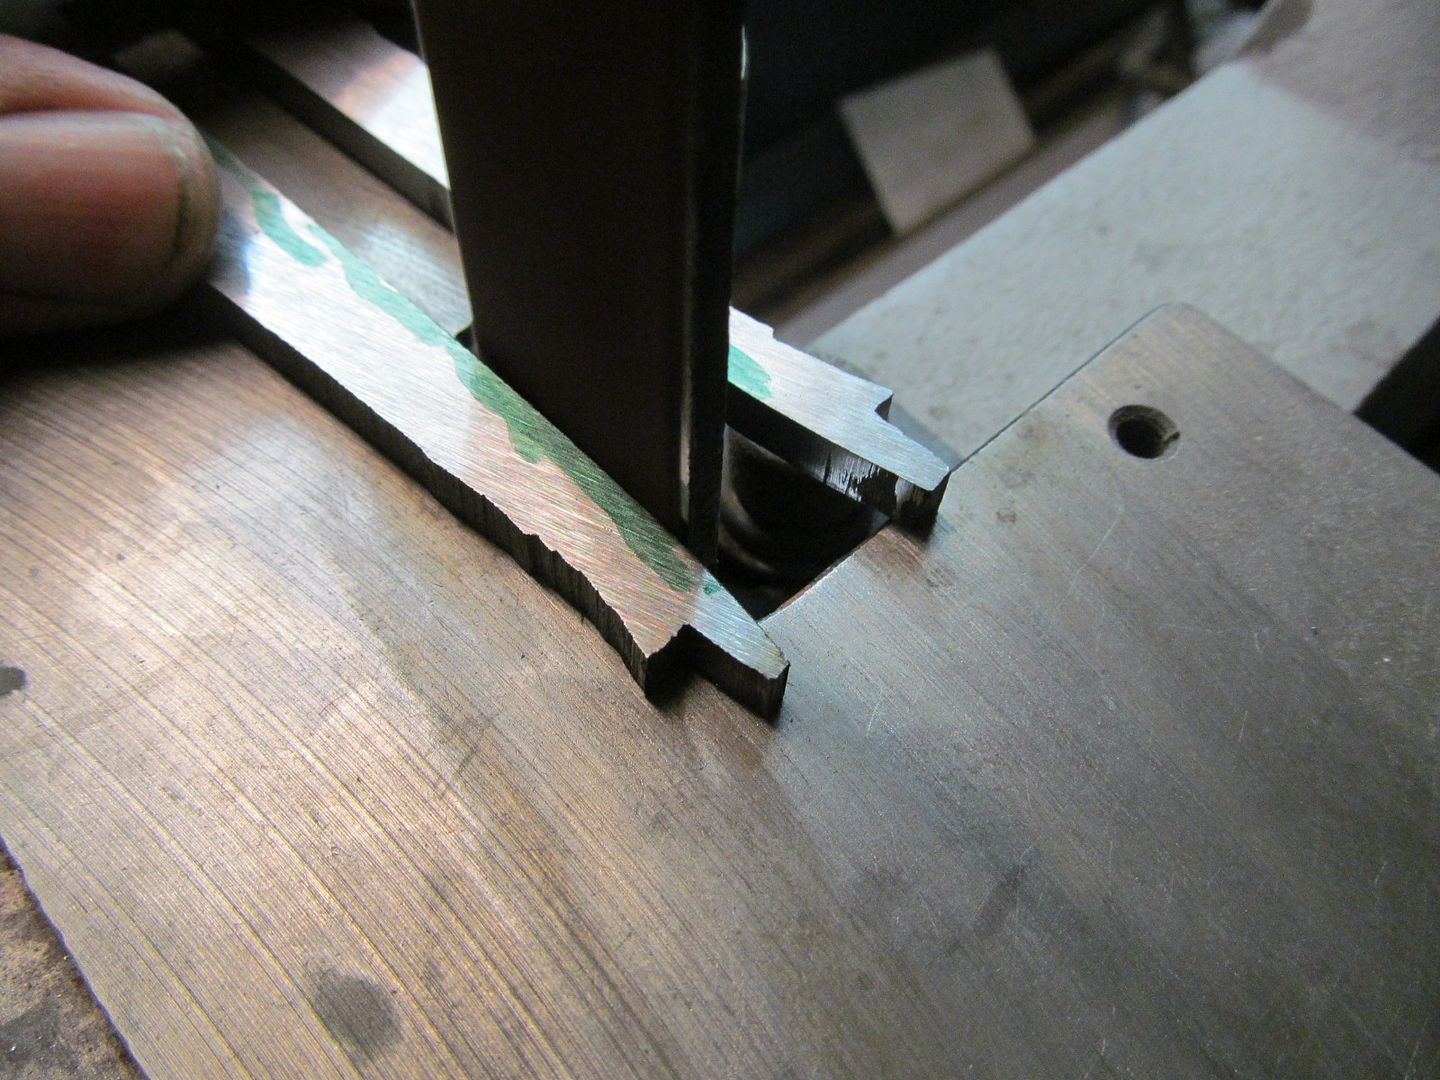
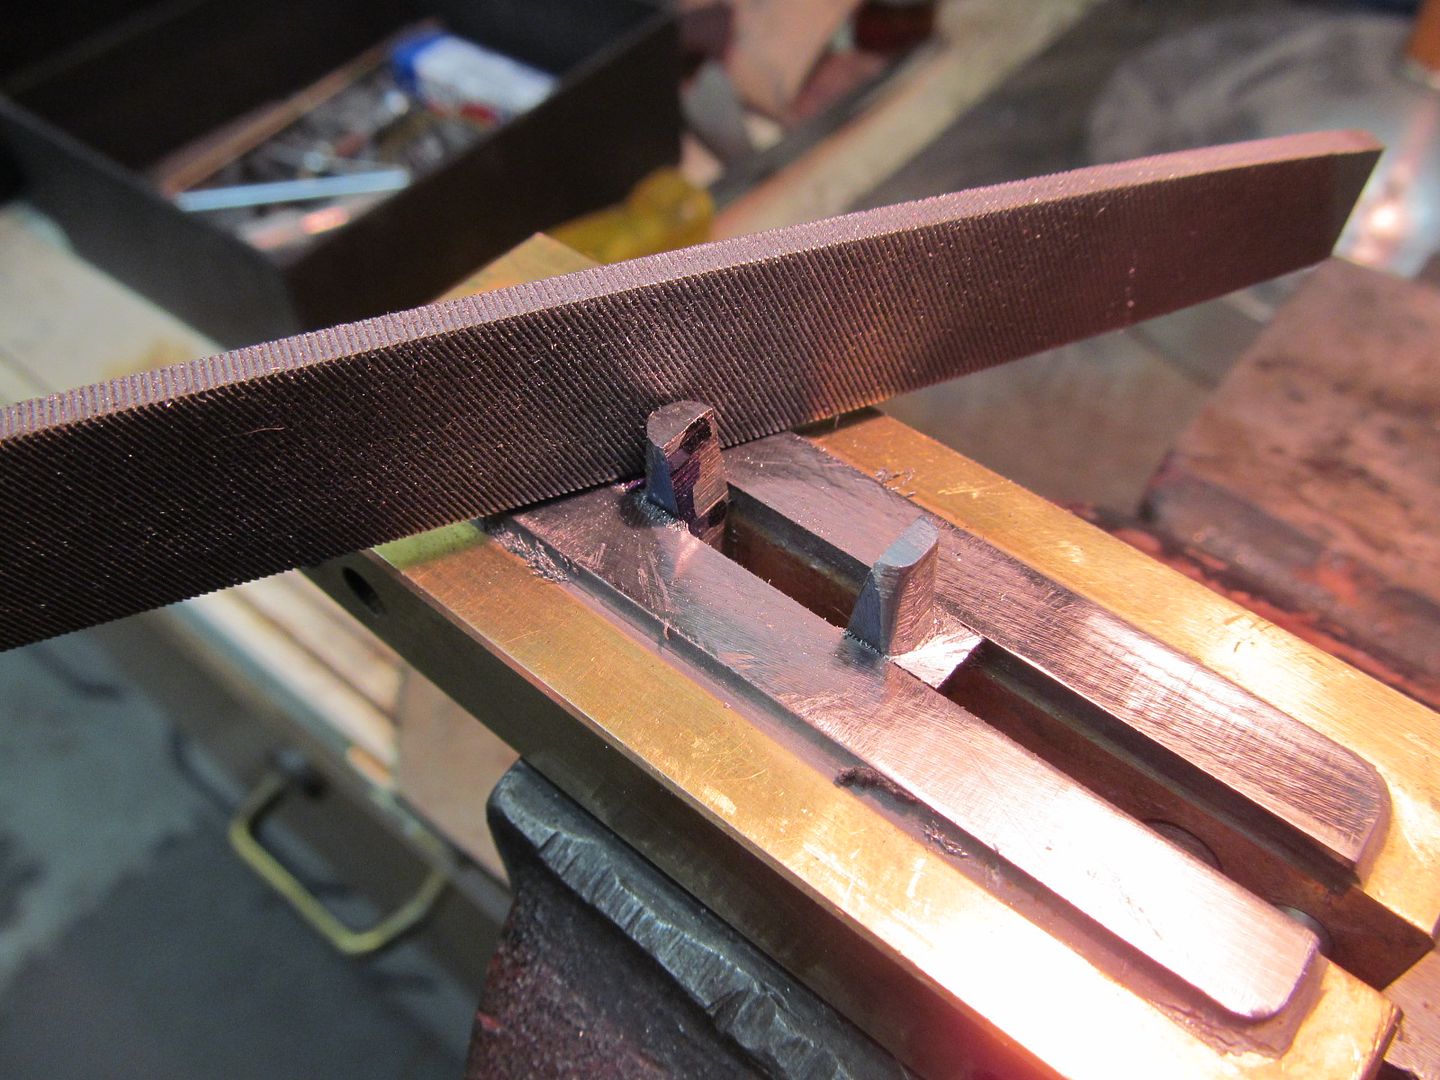
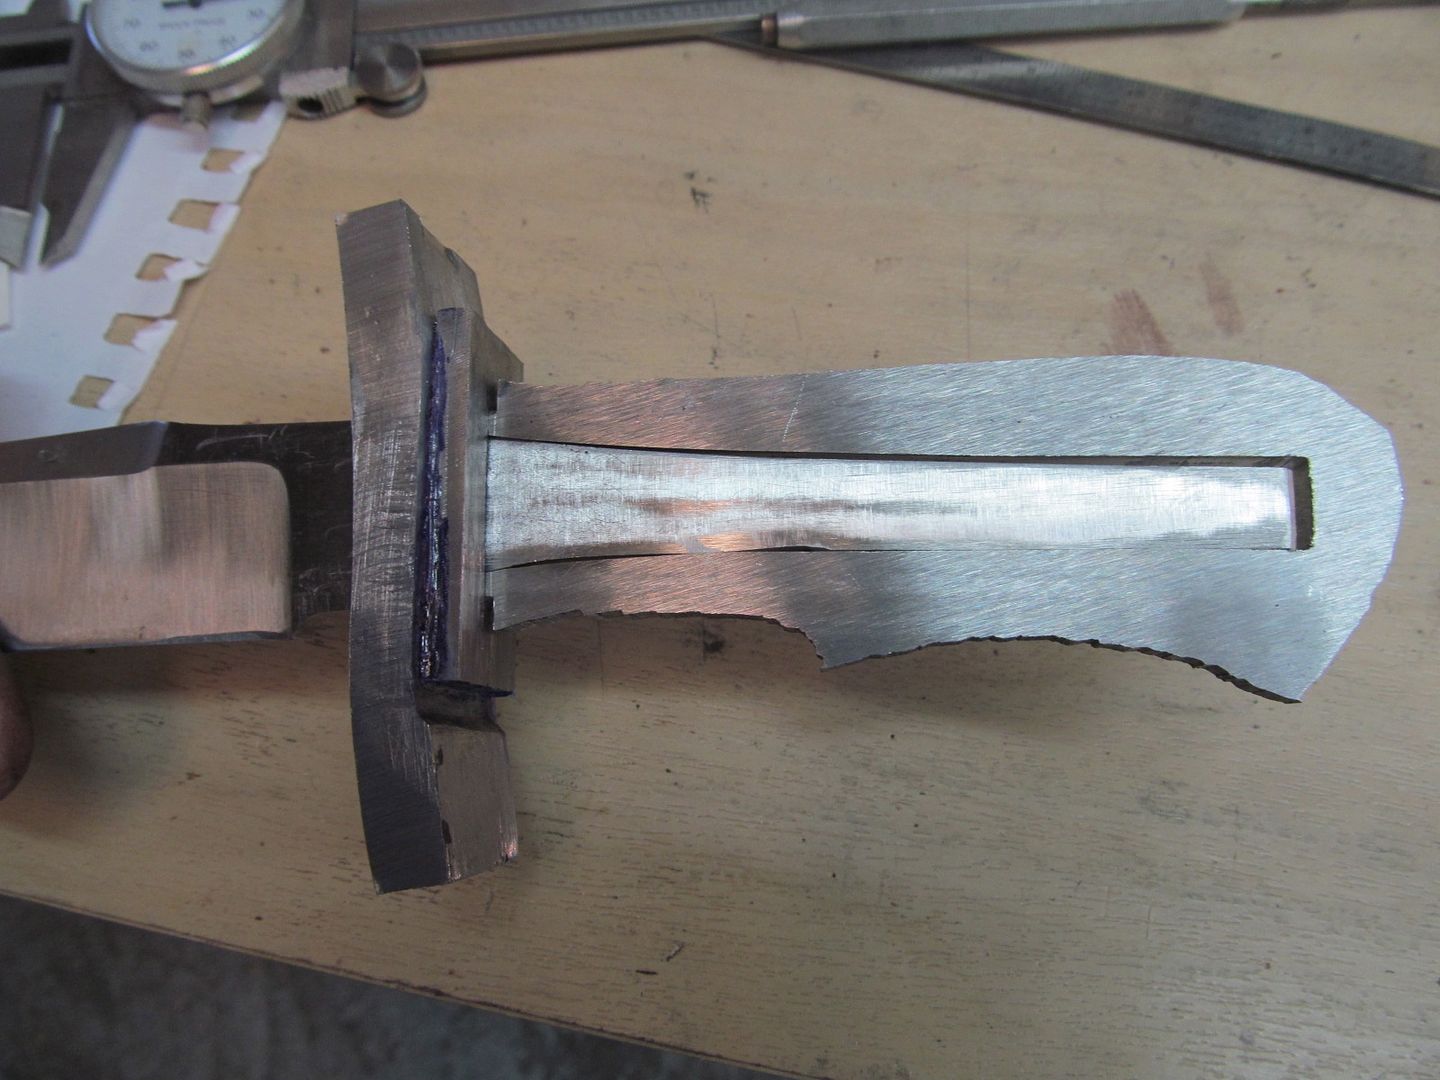
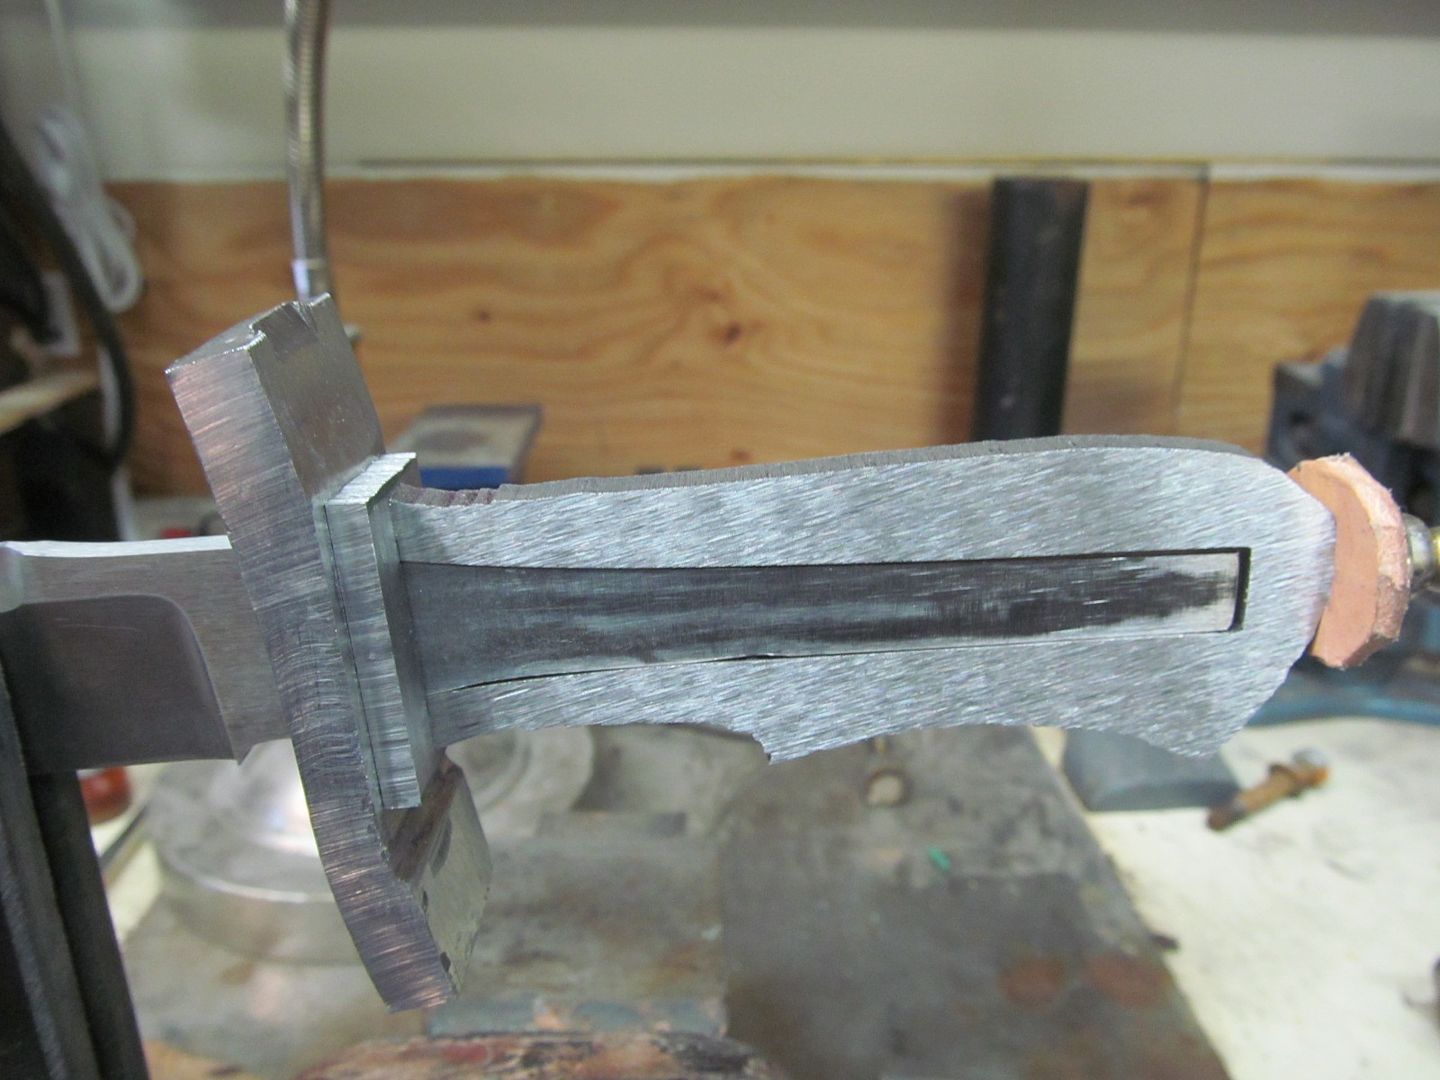
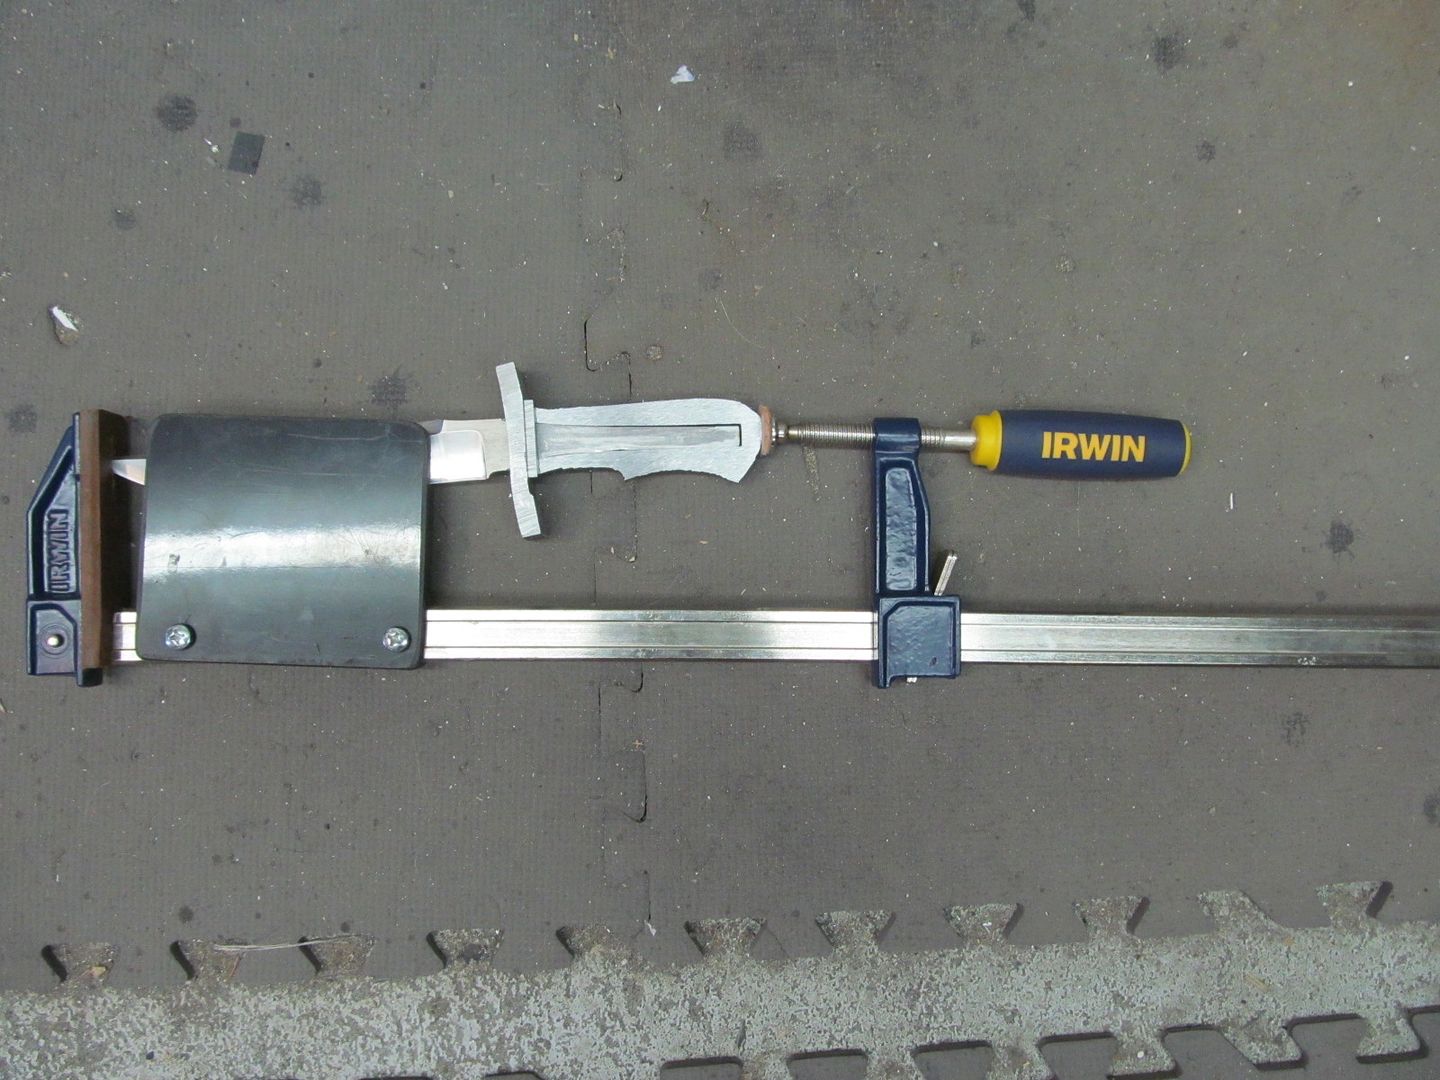
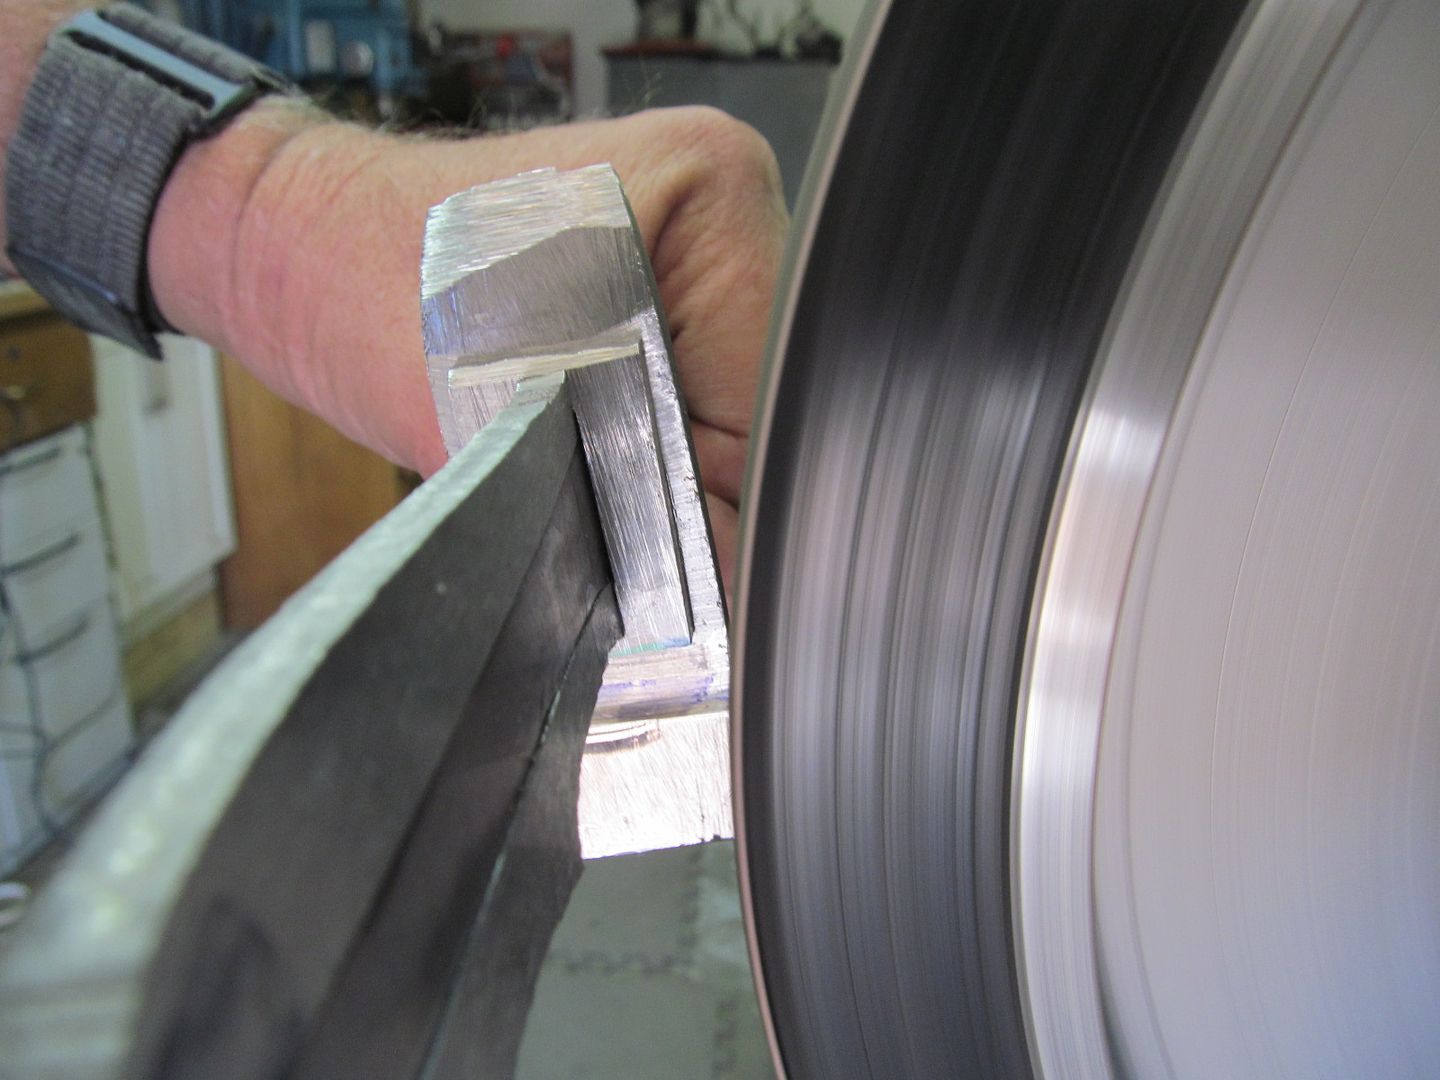
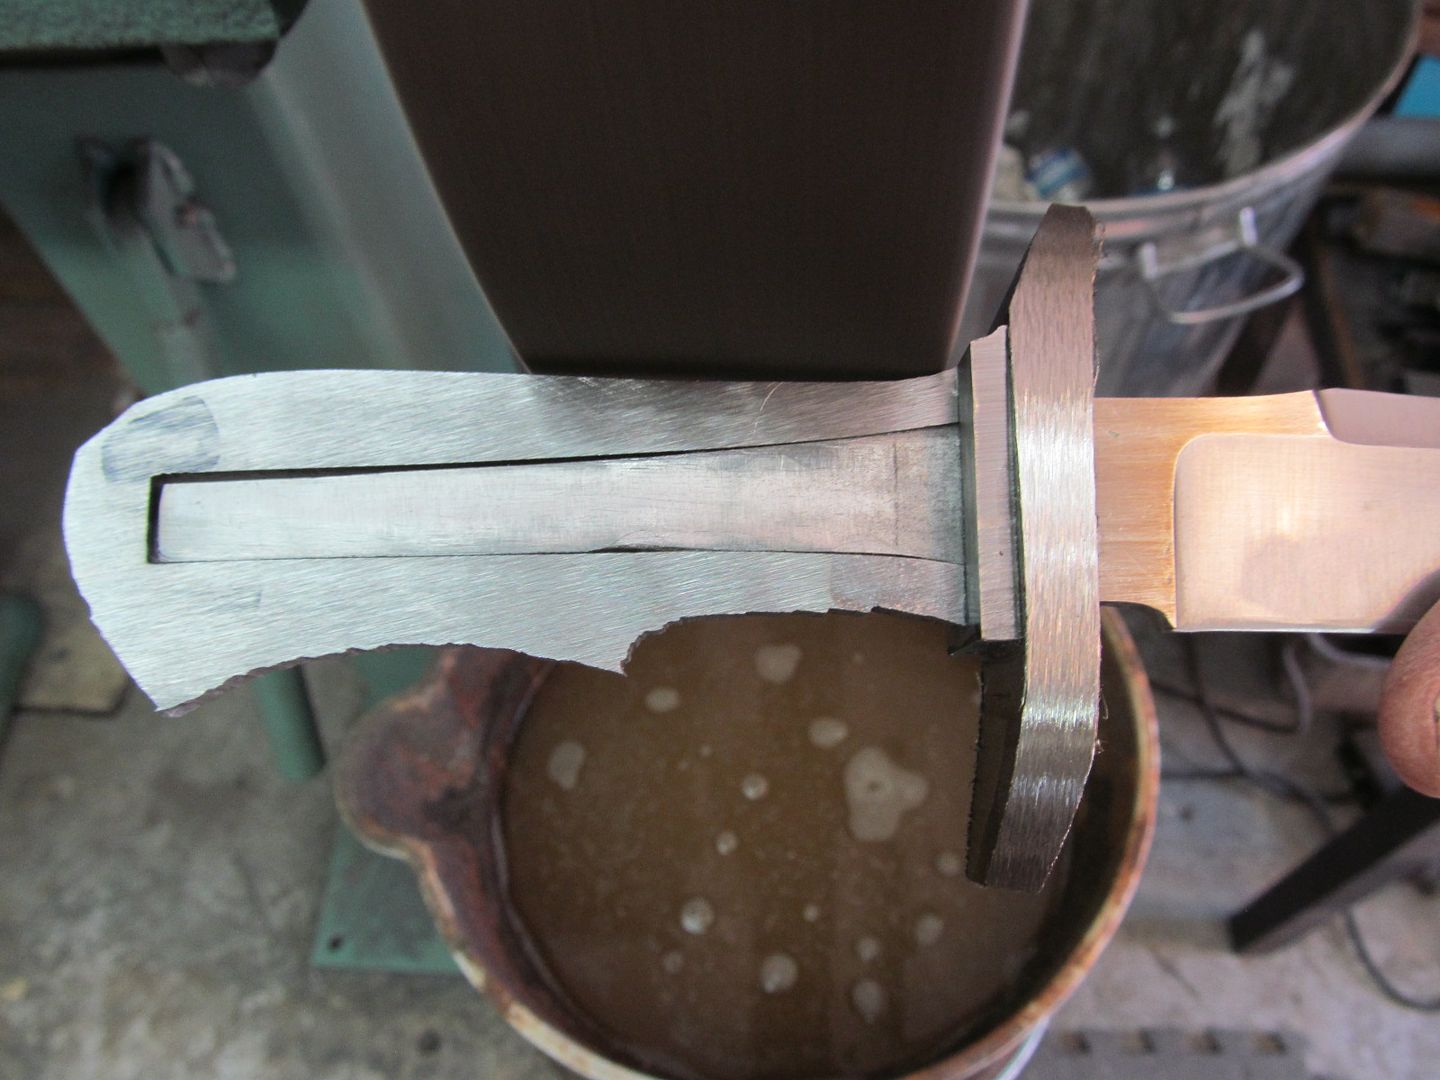
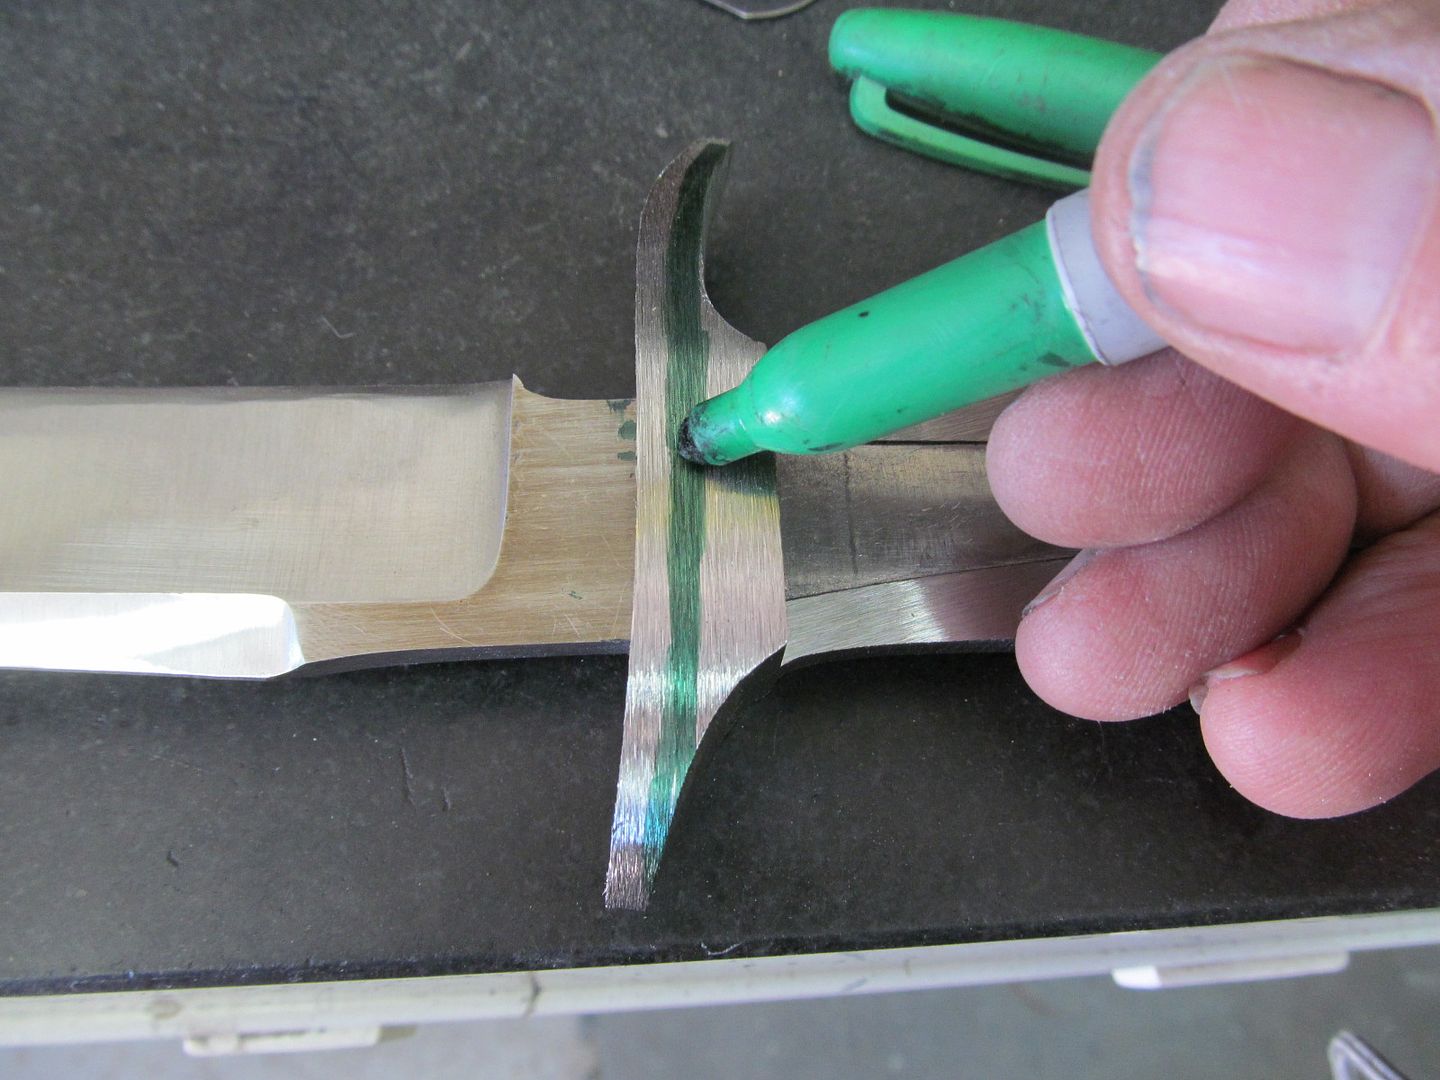
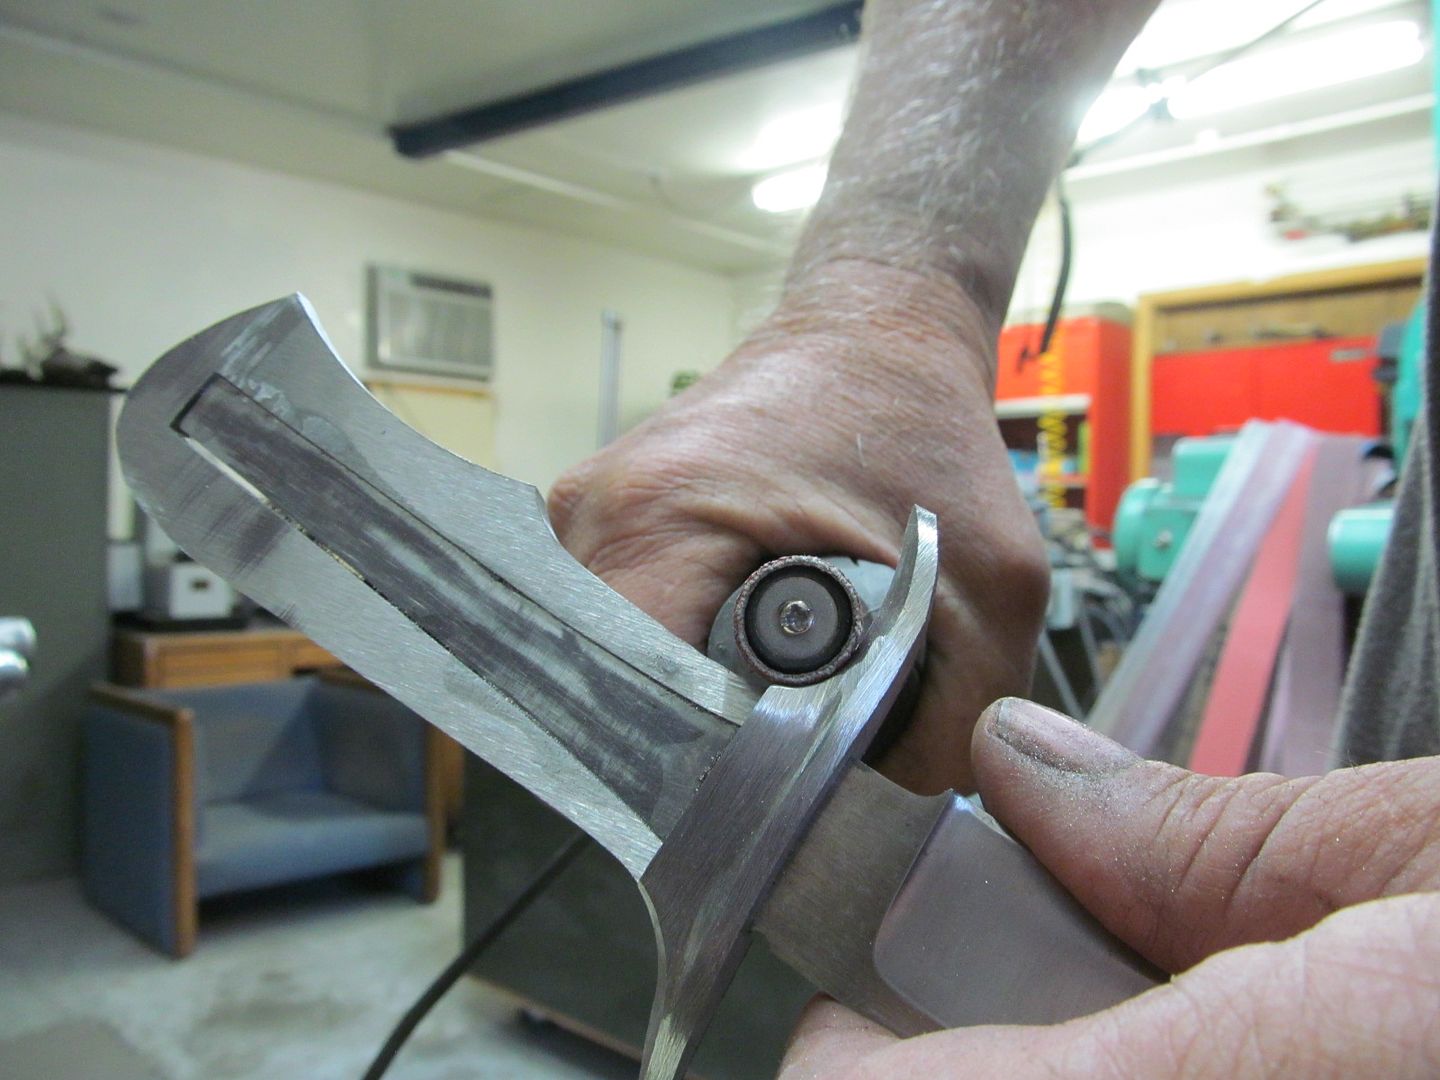
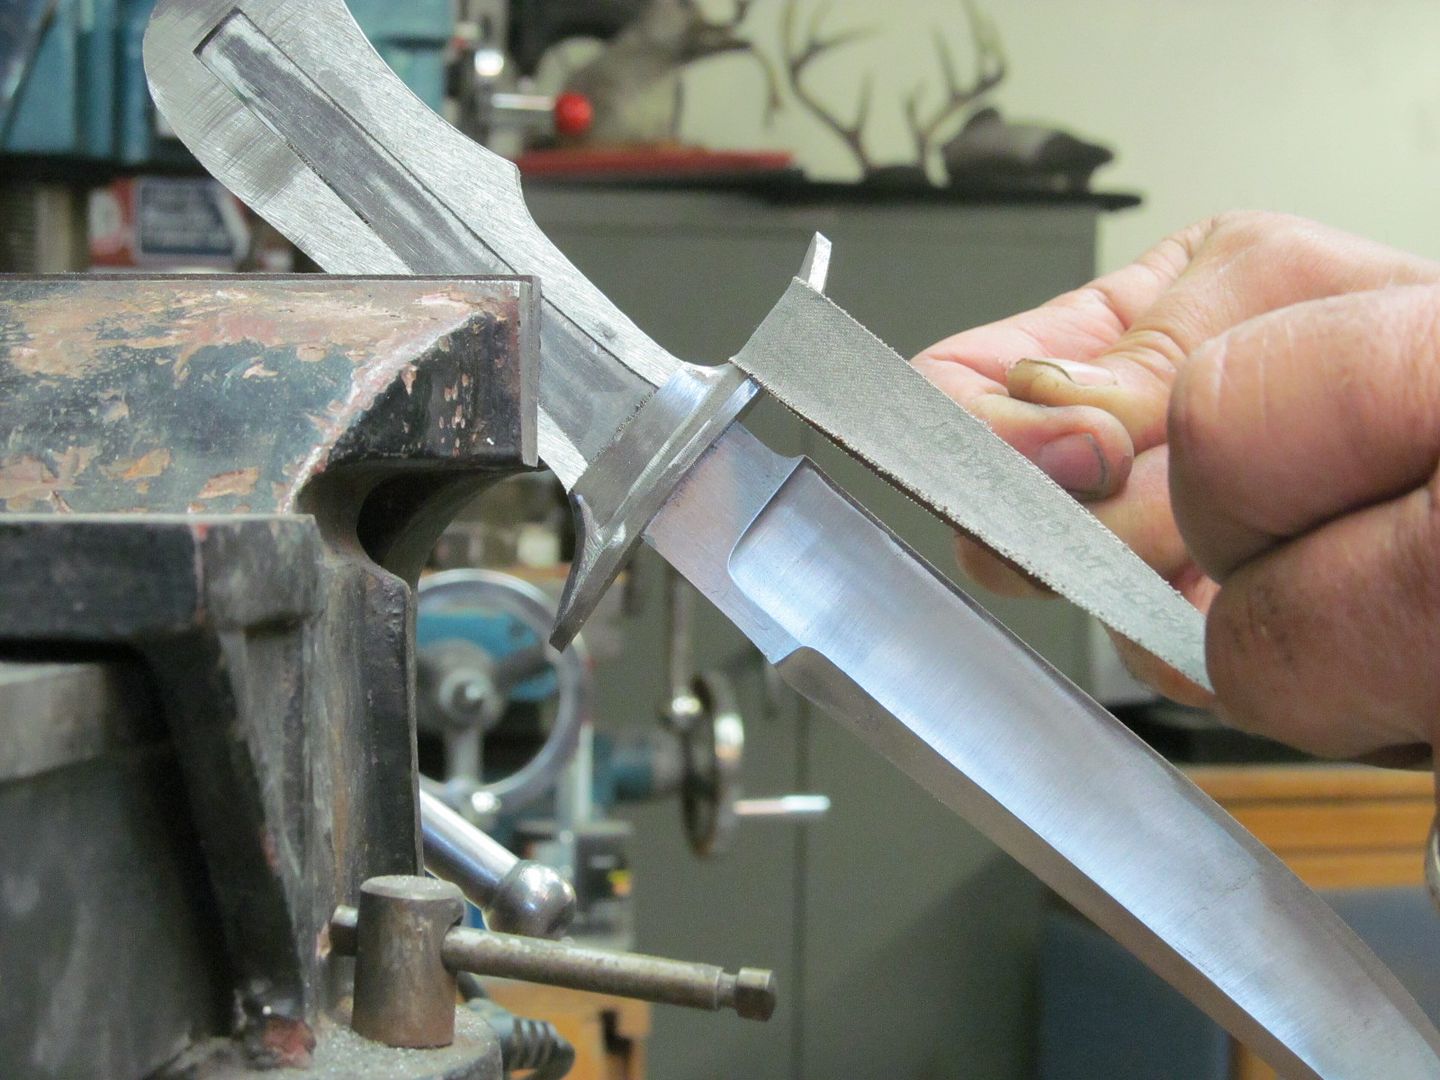
How do you control lateral (side to side) movement of the tang within the frame so that it stays centered? Do your alignment tabs simply fit tight enough to avoid this?
I've been thinking about making a few frame handled daggers out of some of the billets we made at Jim's, so these kinds of questions have been keeping me awake at night.
")
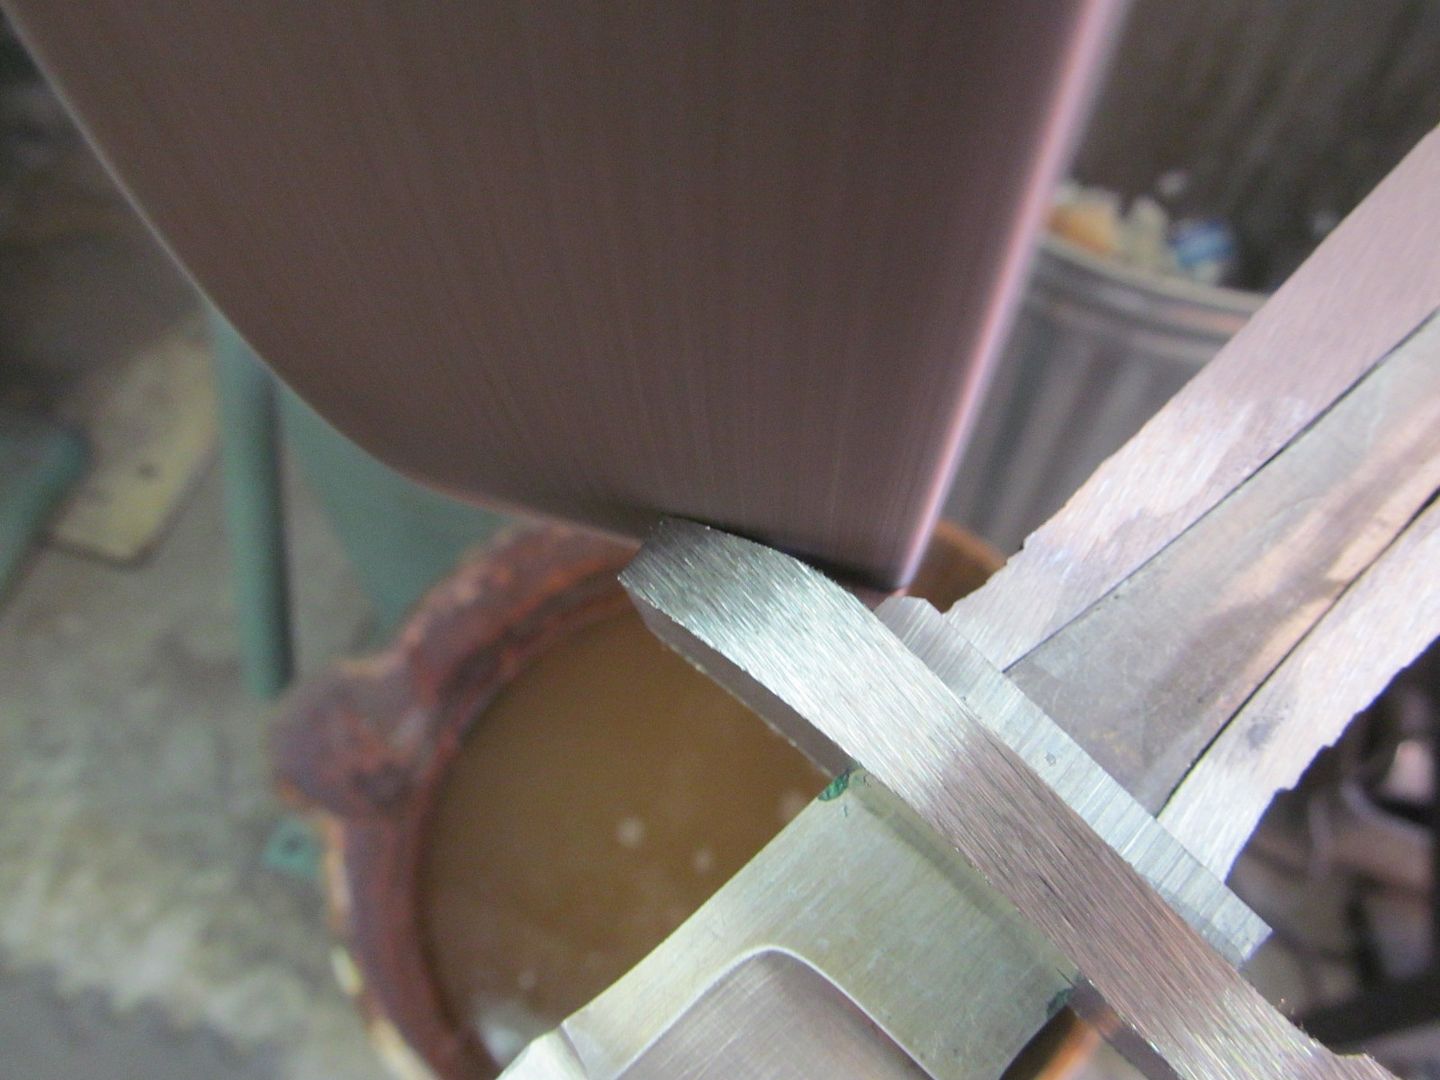
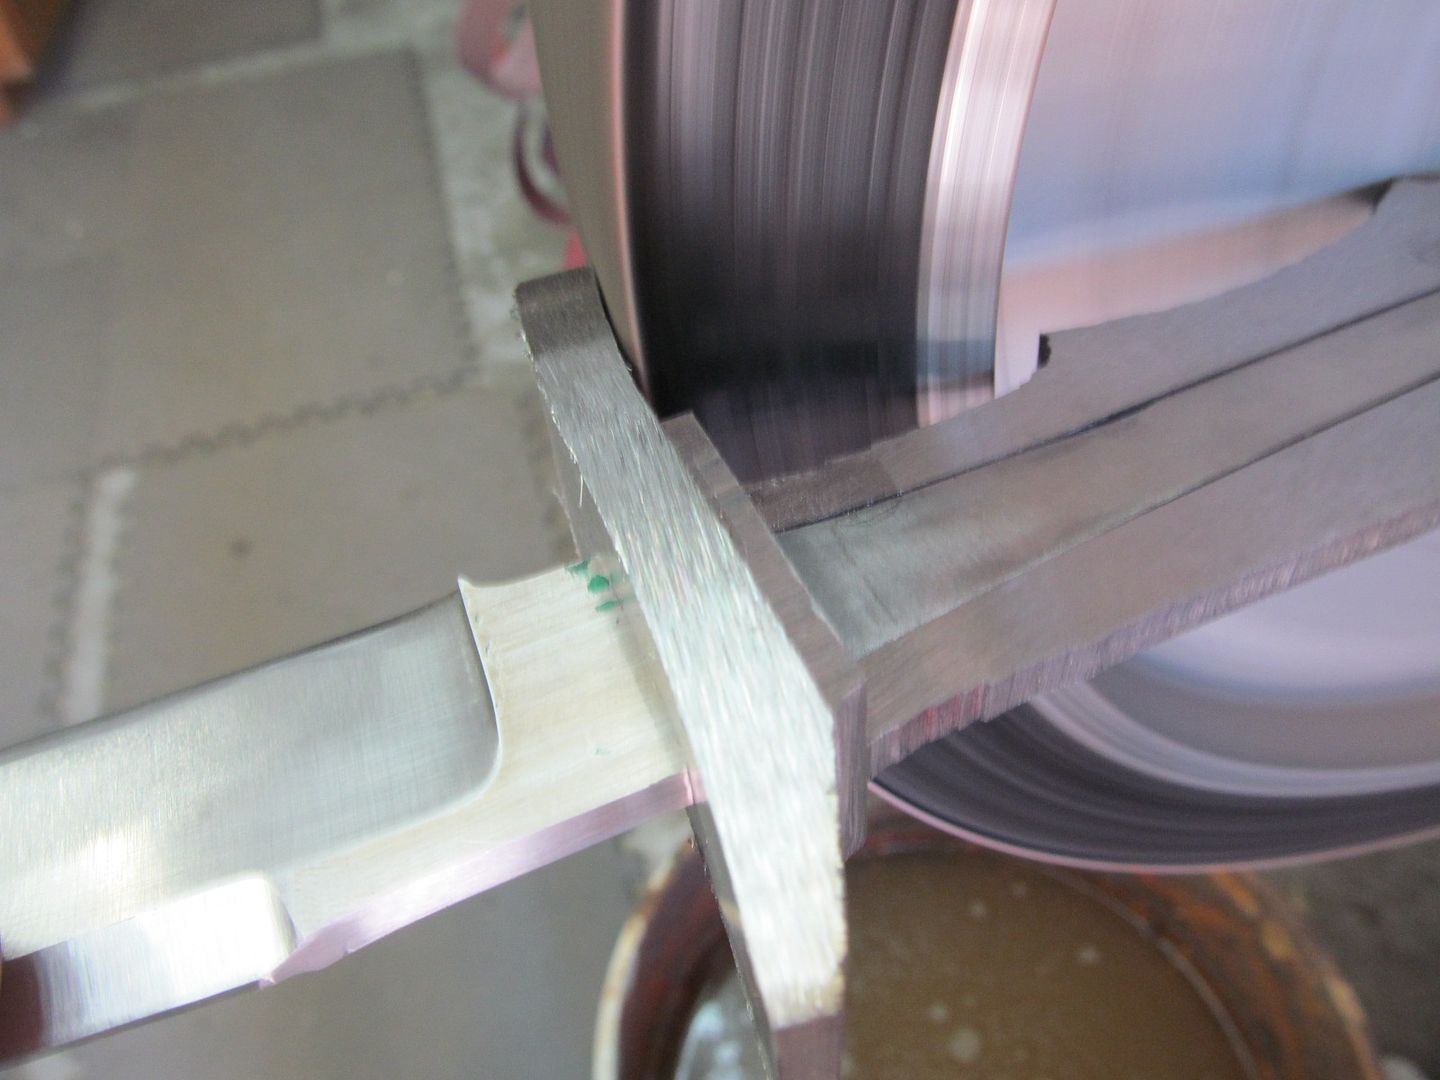
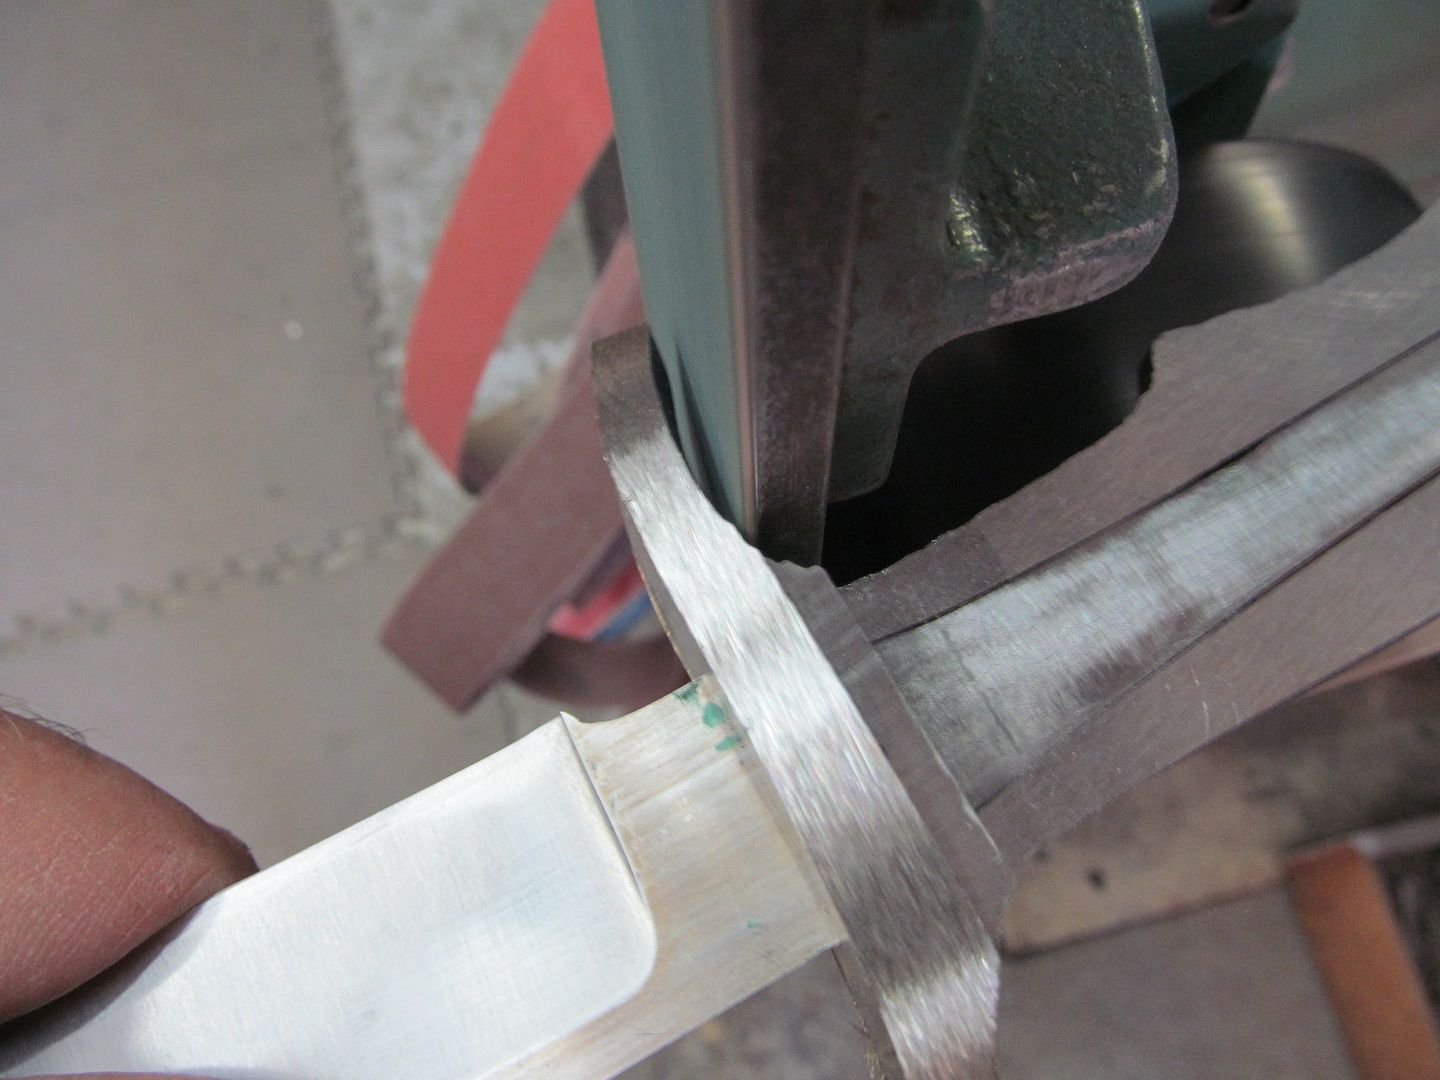
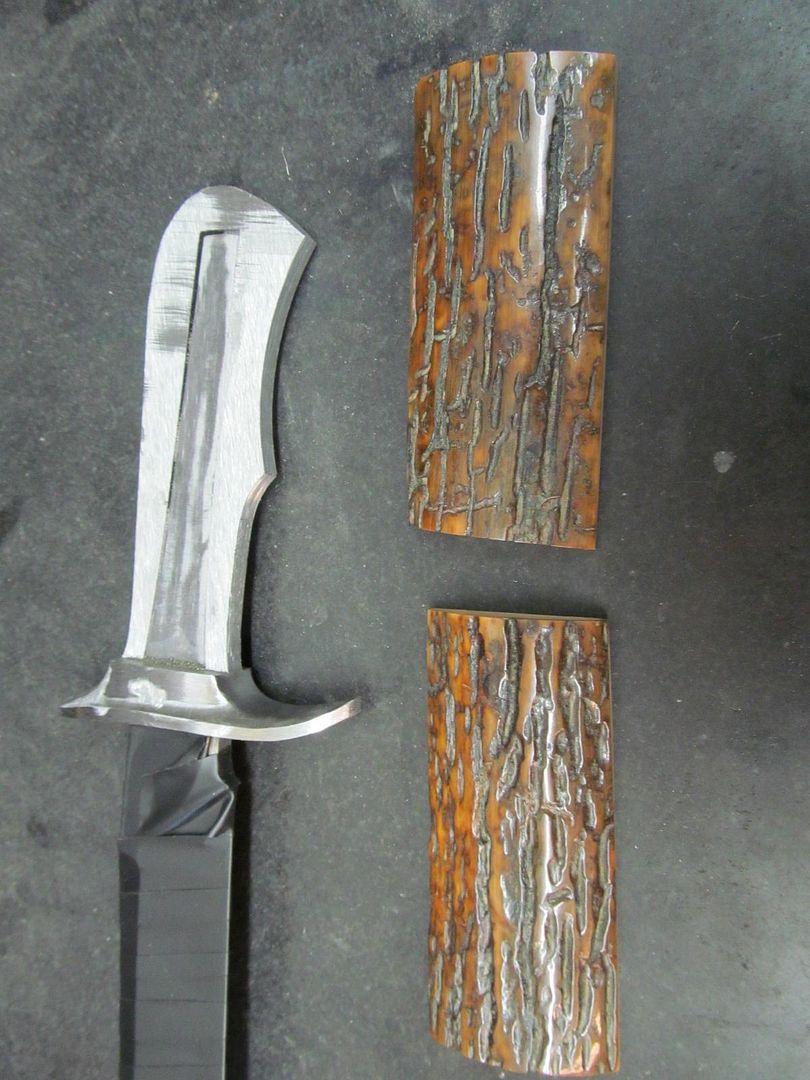


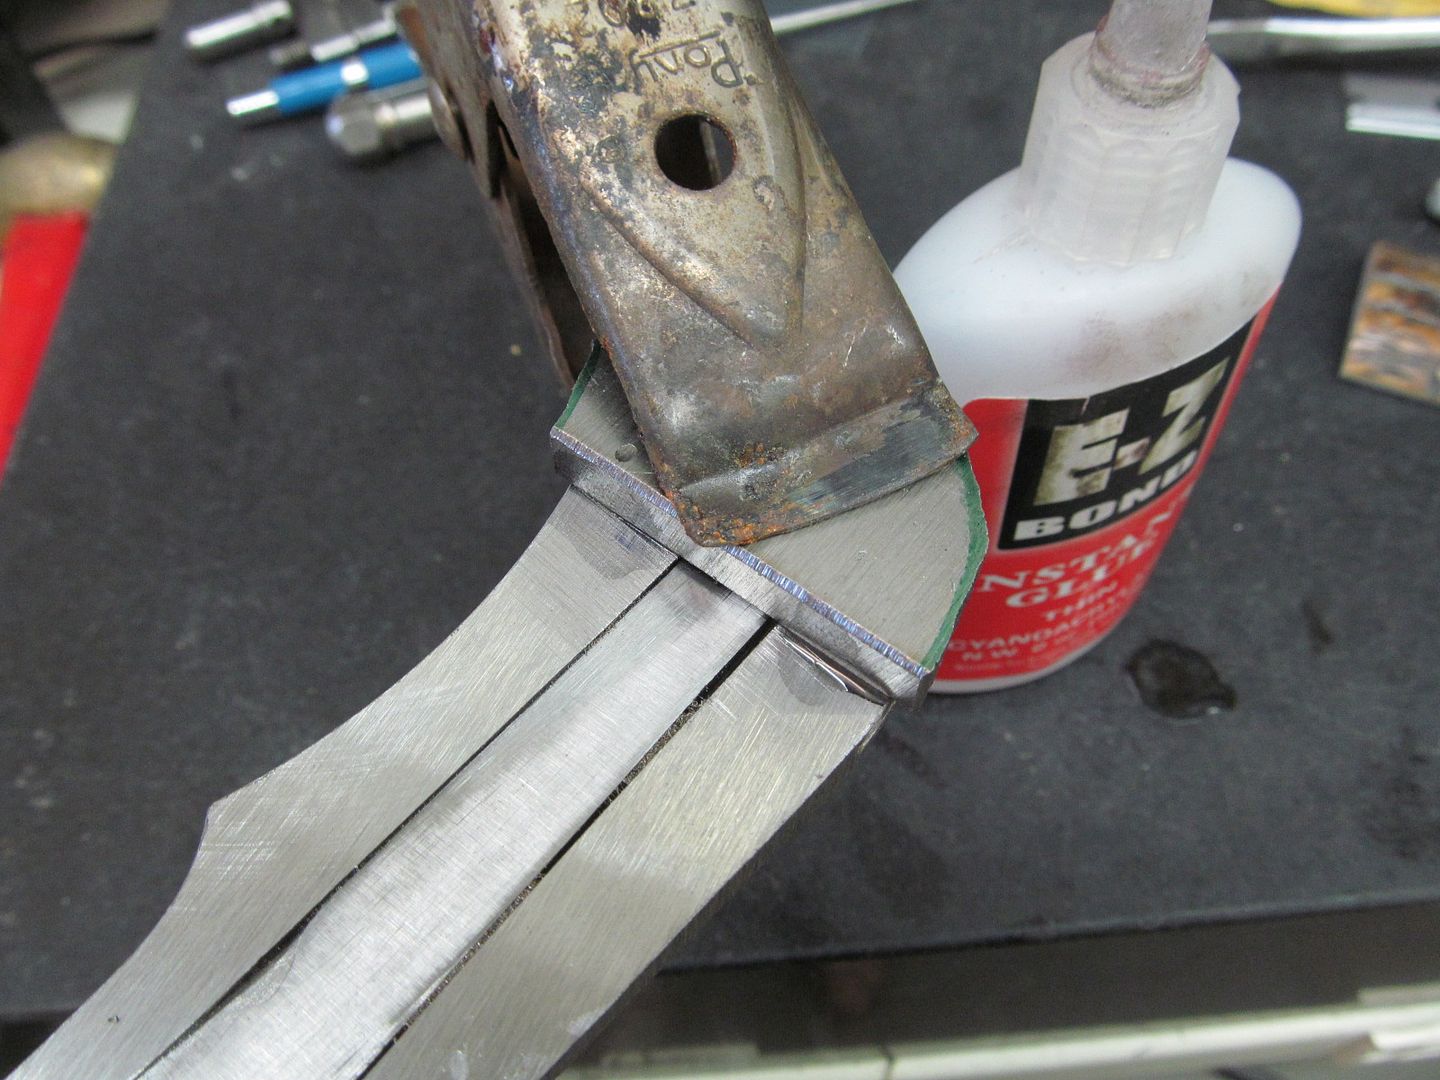
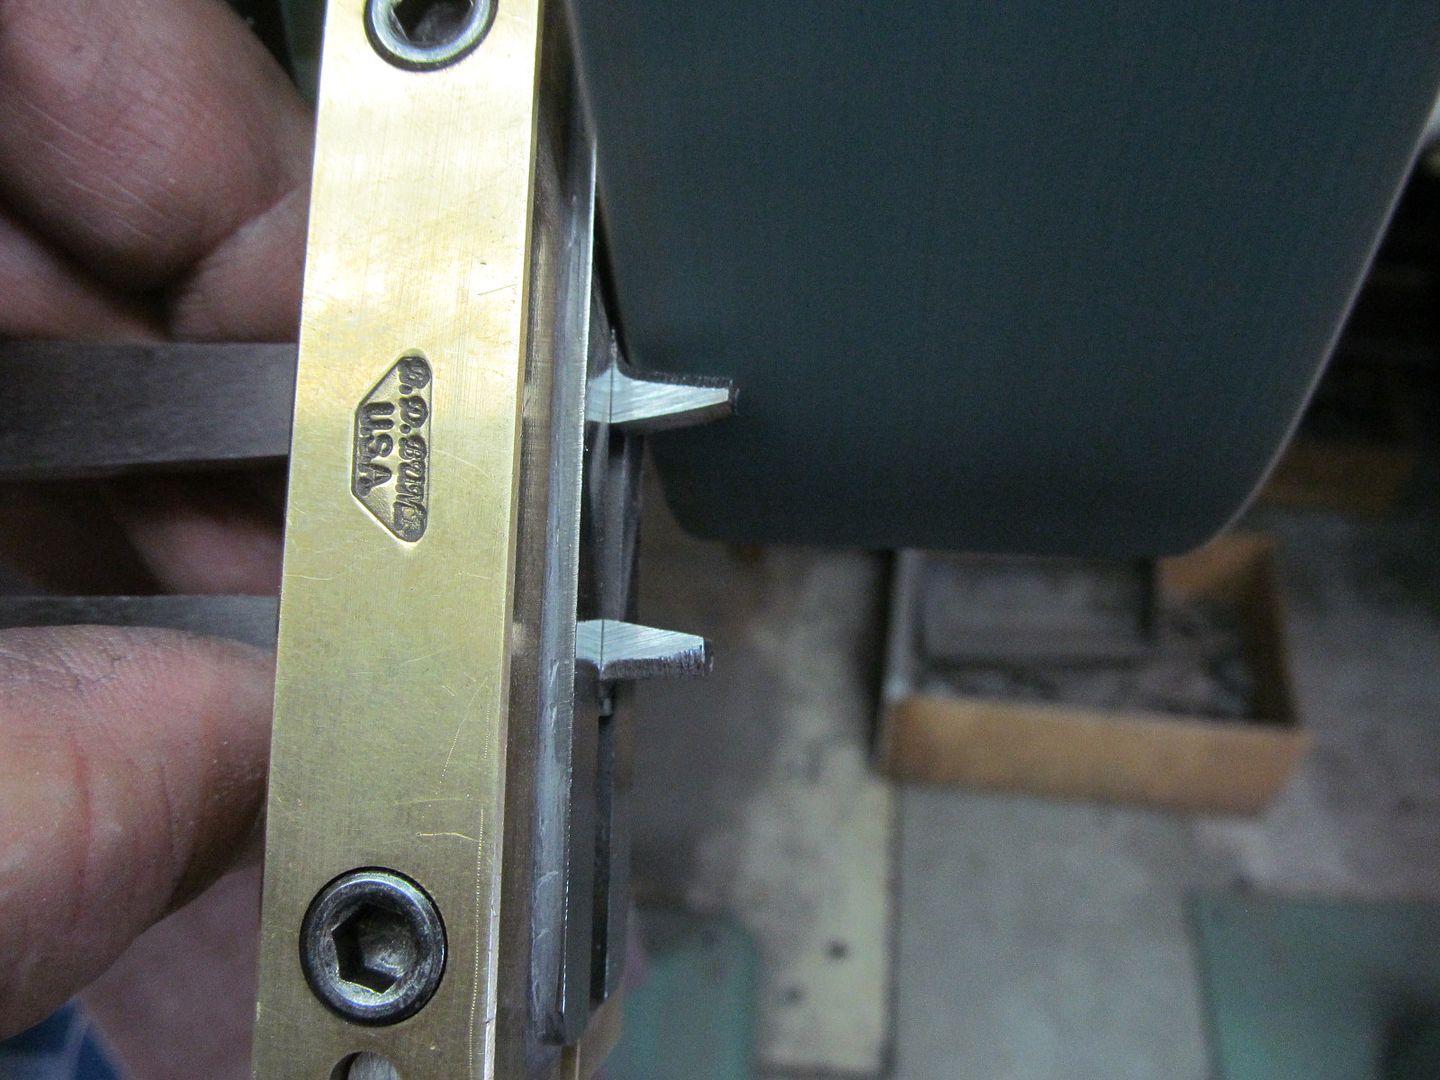
I'm surprised to see that the frame guard assembly is held together with super glue after all the shaping.
Will you disassemble and reassemble for any reason?