Josh Dabney
Moderator
Just cannot say thanks enough for sharing with us but...
THANKS ENOUGH ;D
-Josh
THANKS ENOUGH ;D
-Josh
Just cannot say thanks enough for sharing with us but...
THANKS ENOUGH ;D
-Josh
"Frame Handled Knives Inspired by Bruce's WIP"
"Frame Handled Knives Inspired by Bruce's WIP"
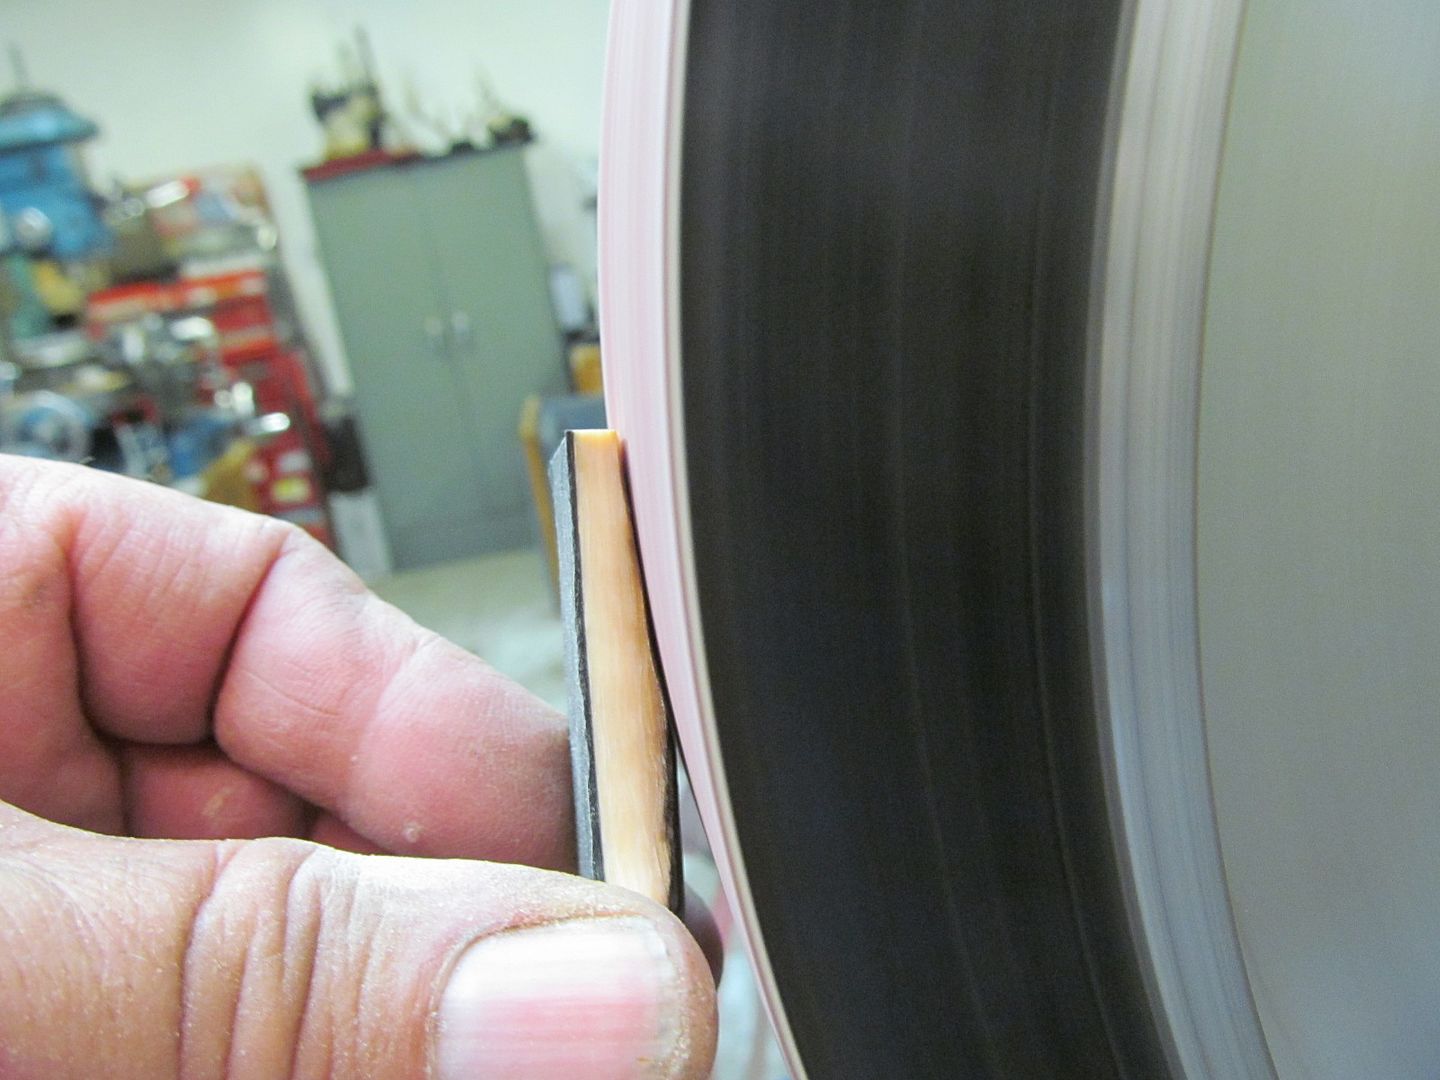
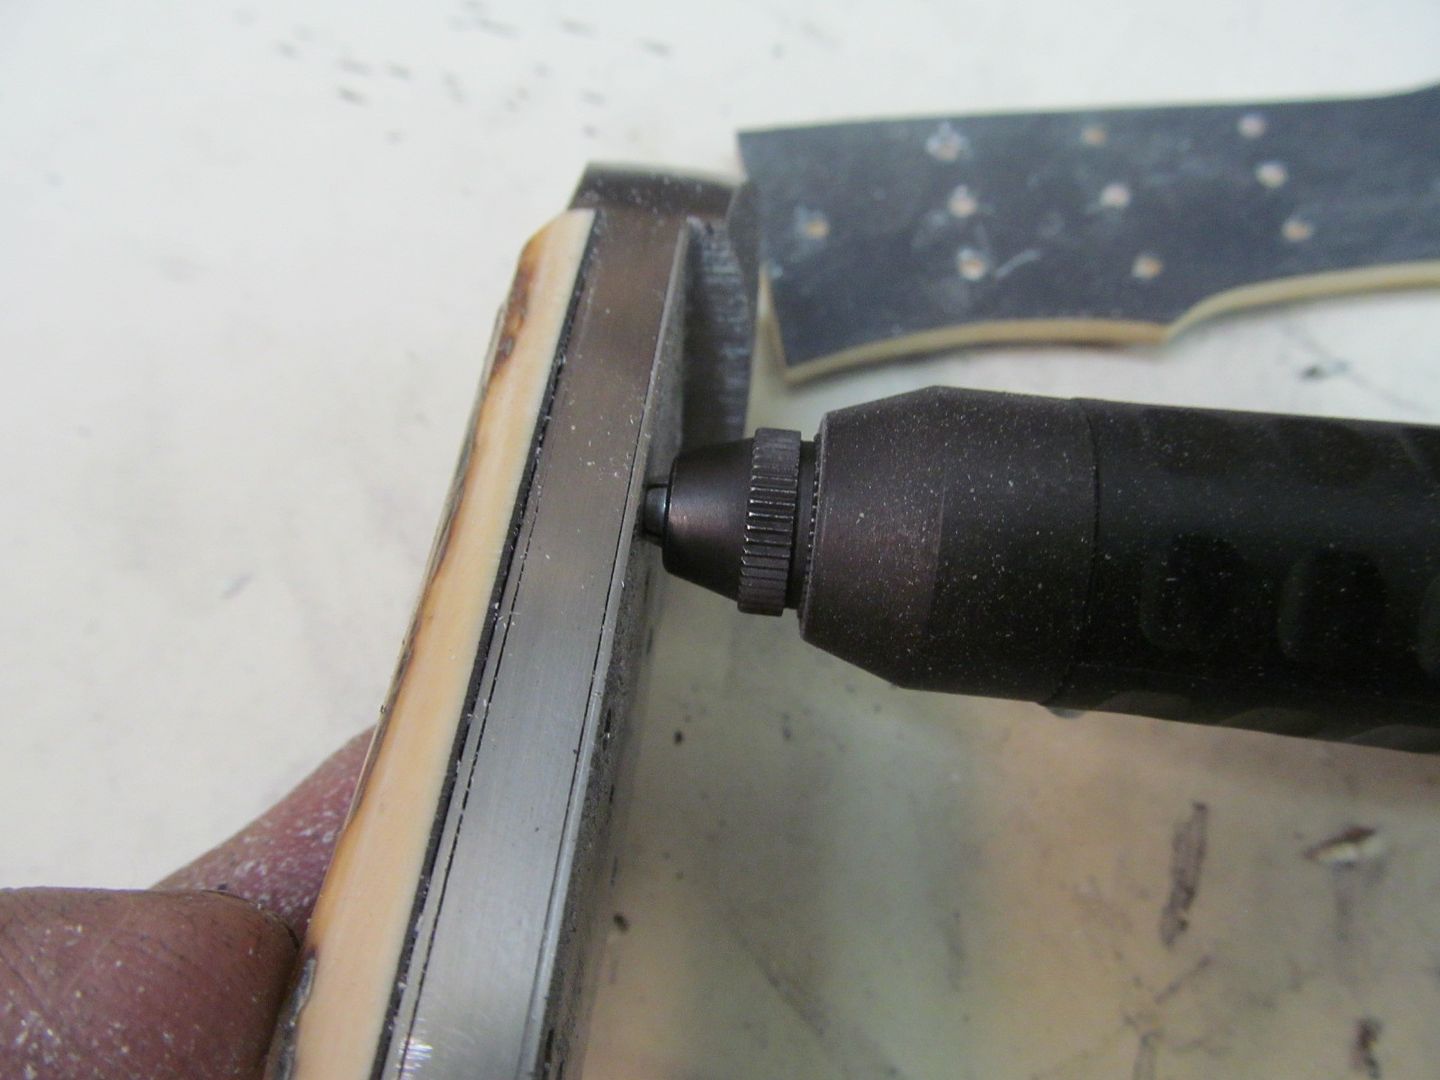
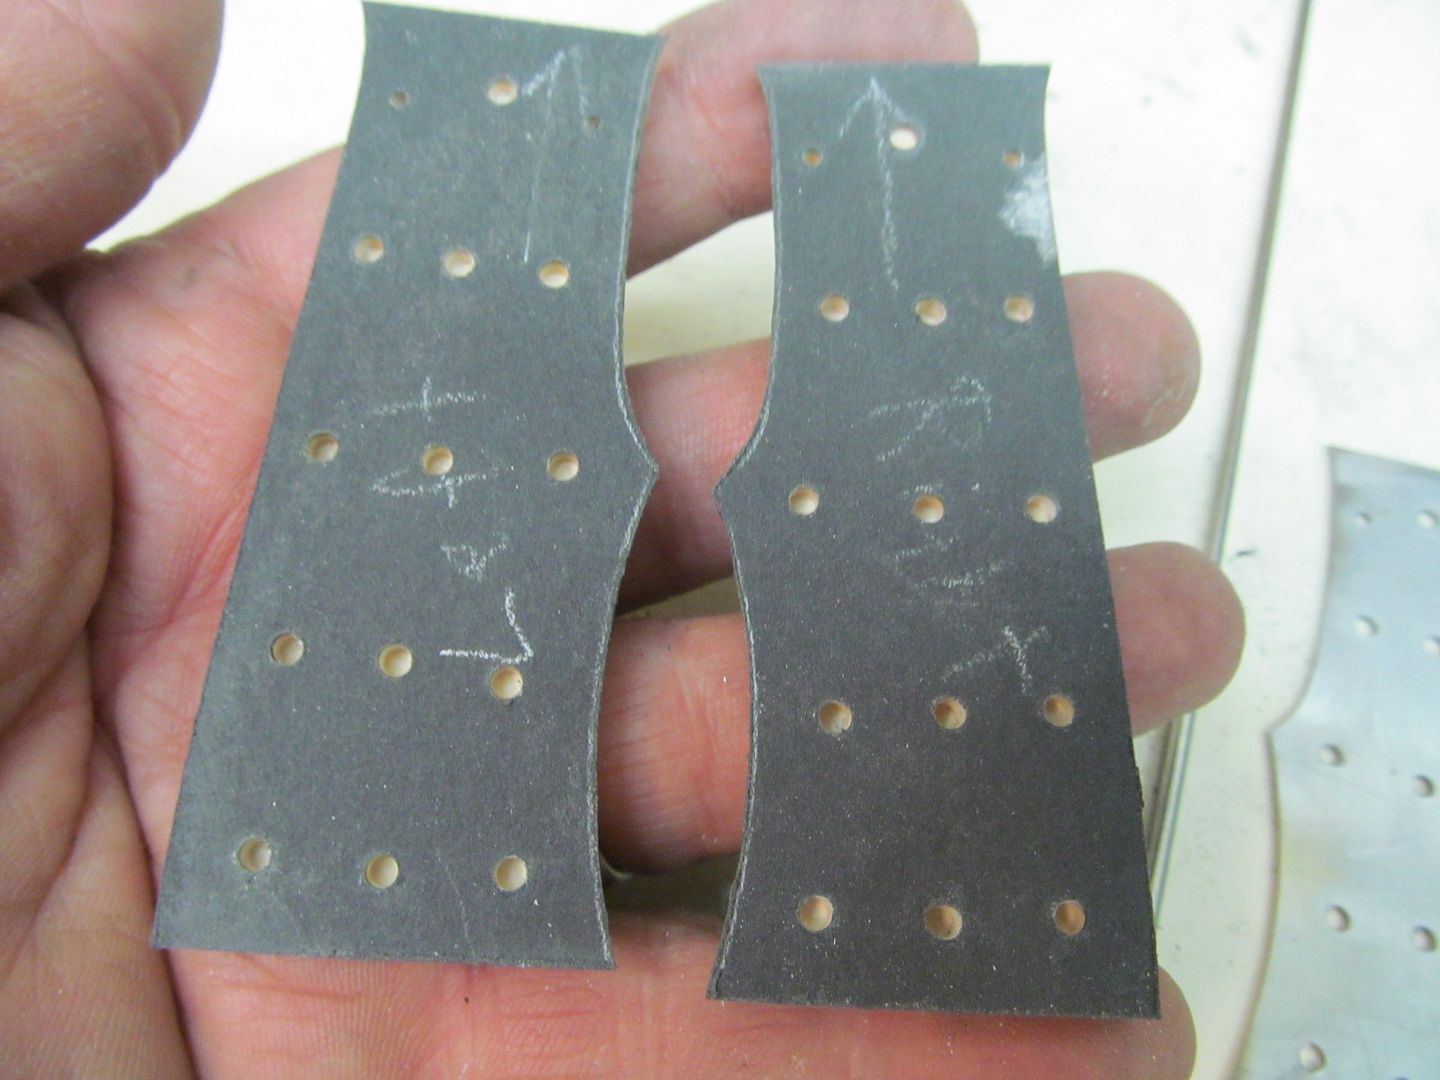
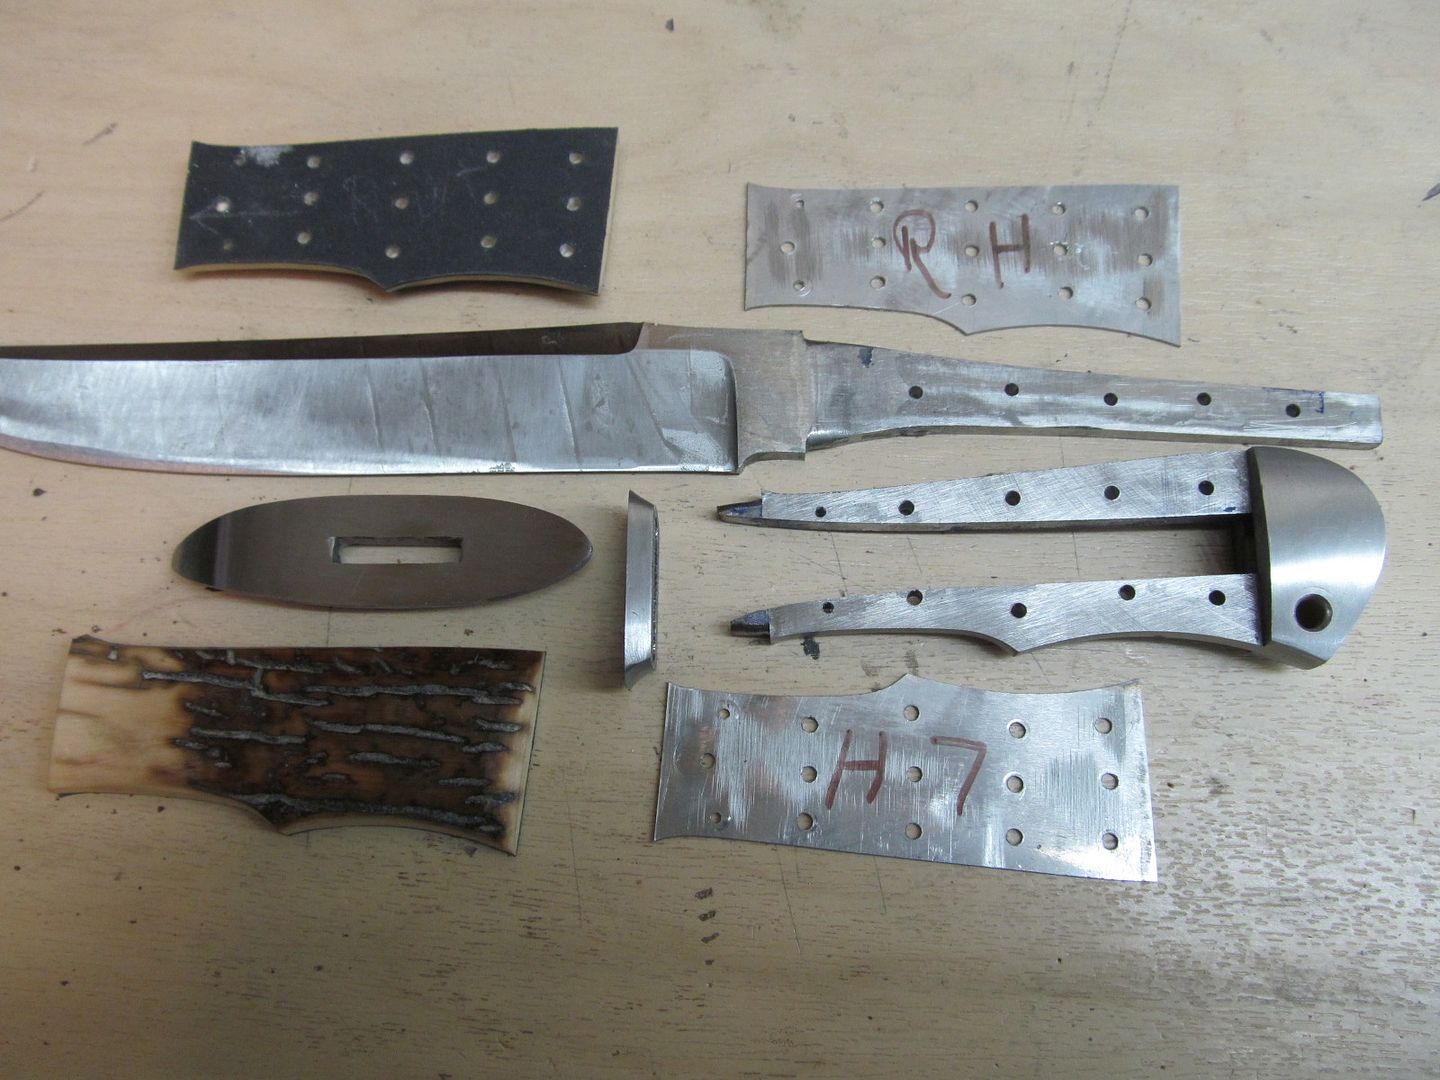
I'm having fun doing this one. I found that most of my "work in progress" threads are just that but to actually teach is entirely different. I'm afraid to leave out some of the steps in this one. I hope its not getting too picture heavy.
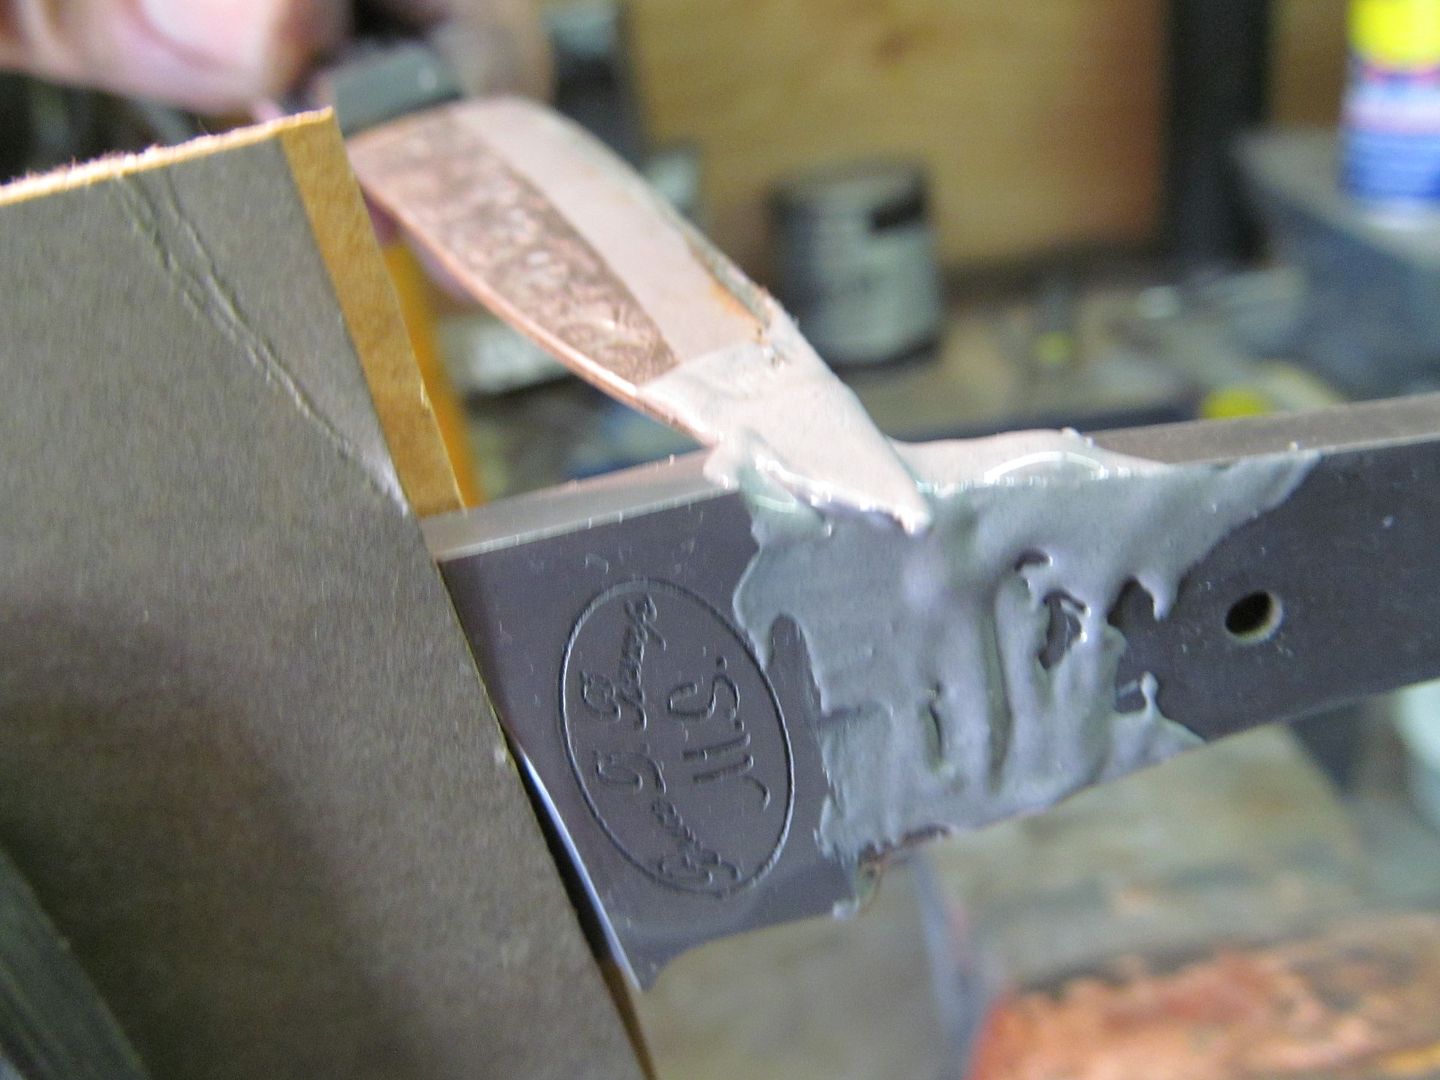
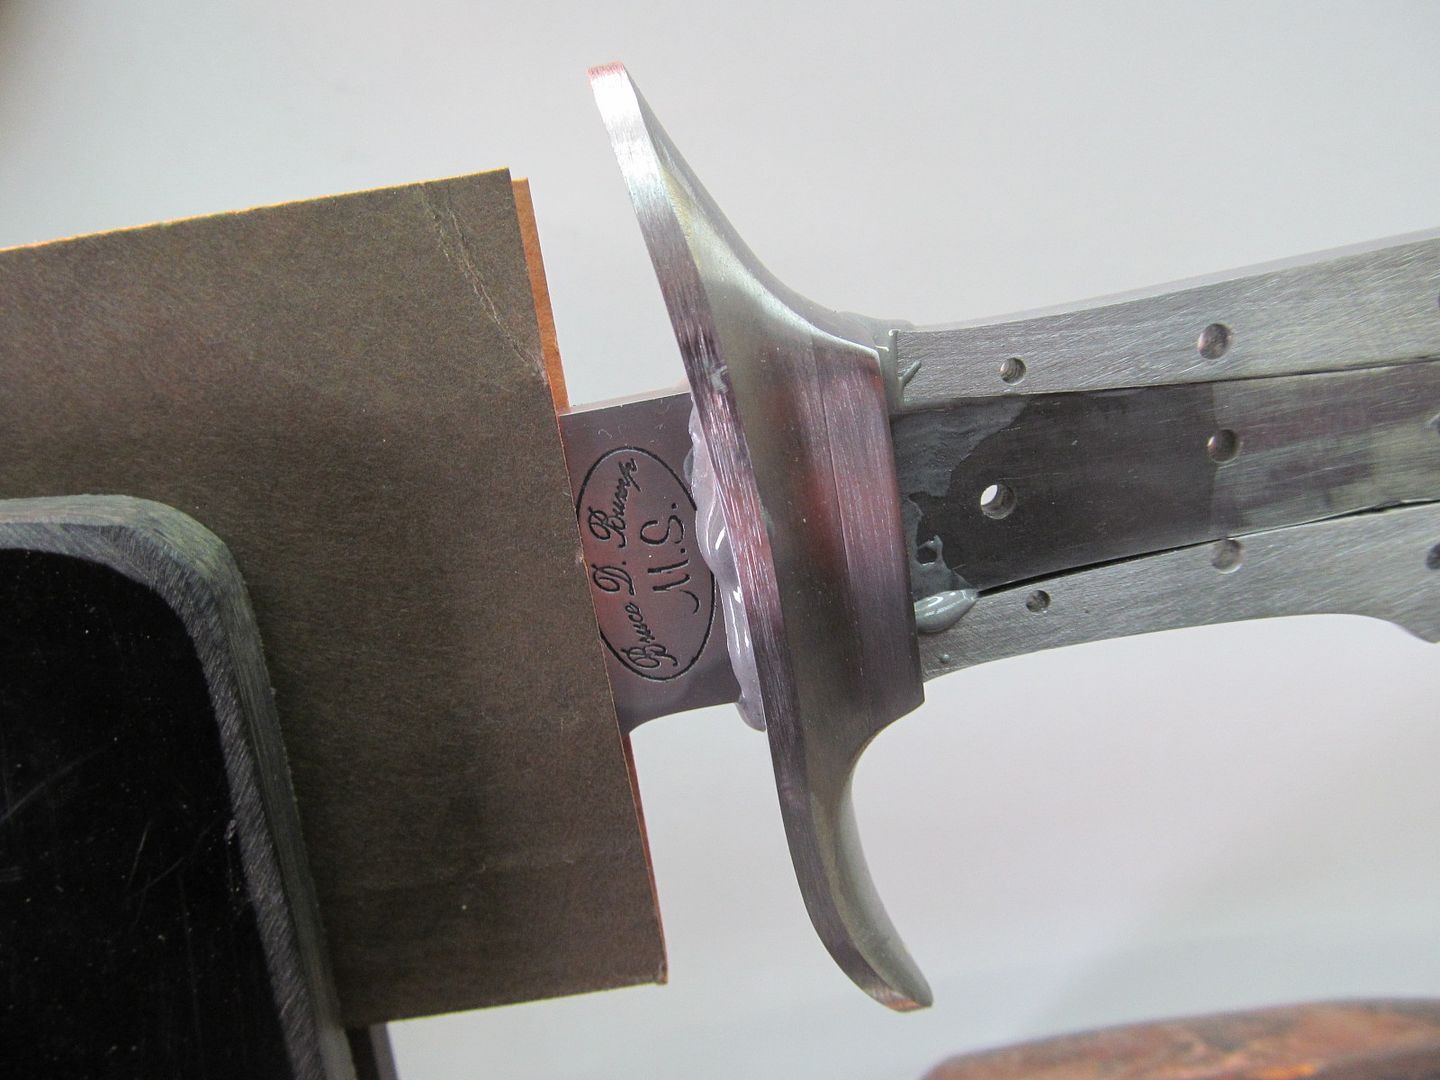
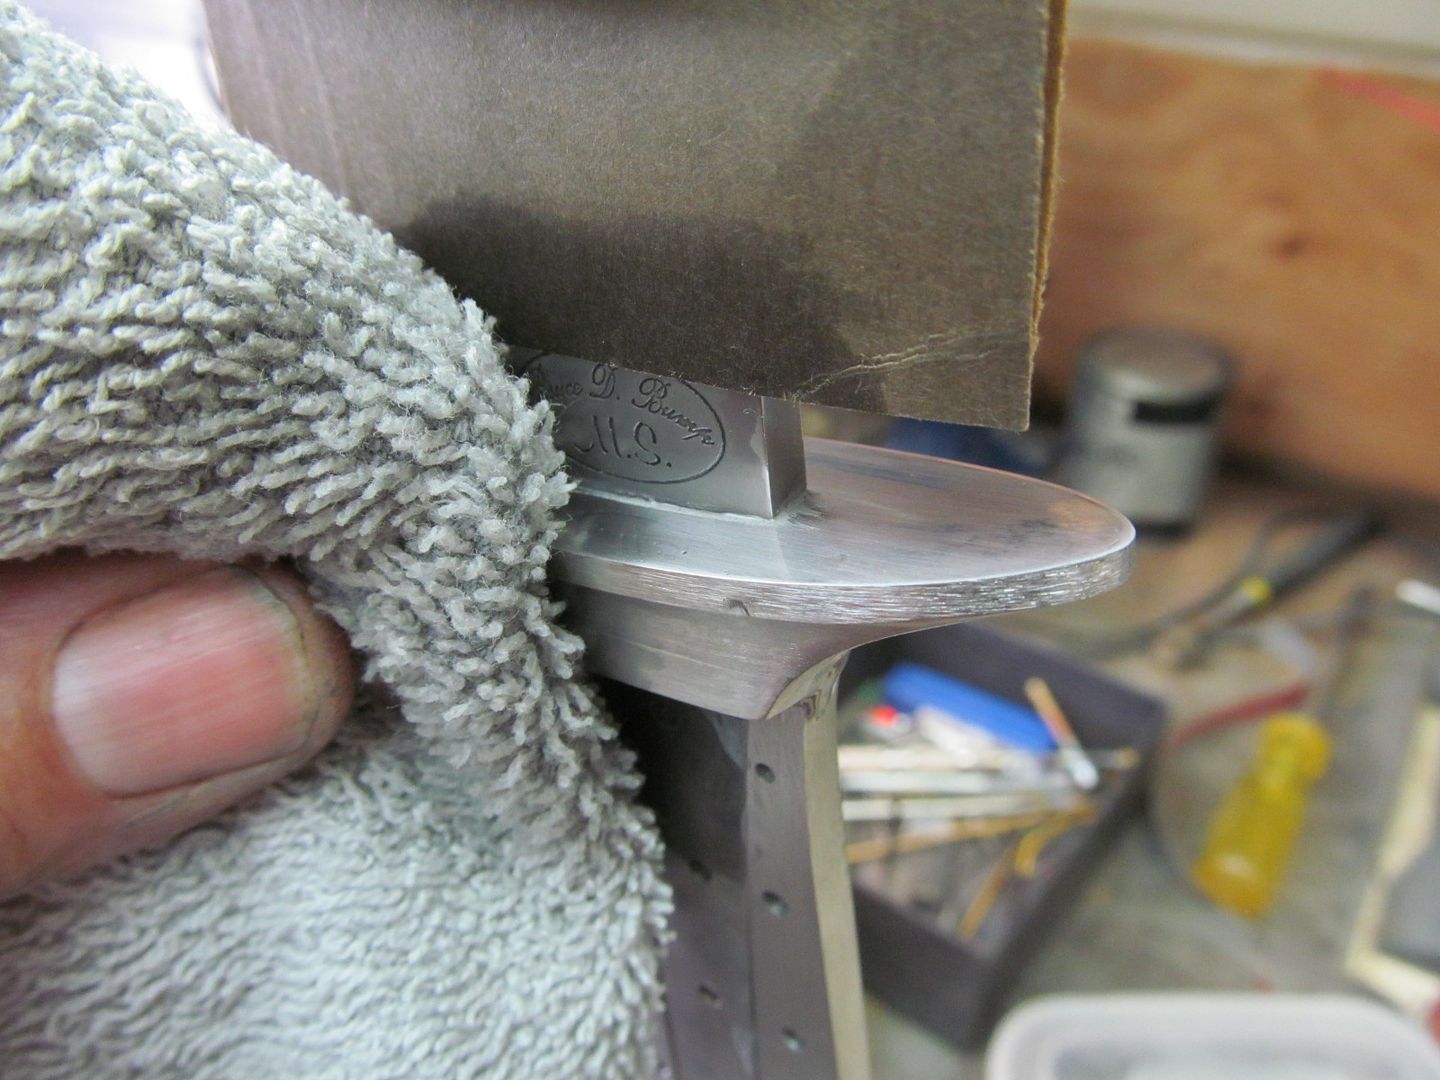
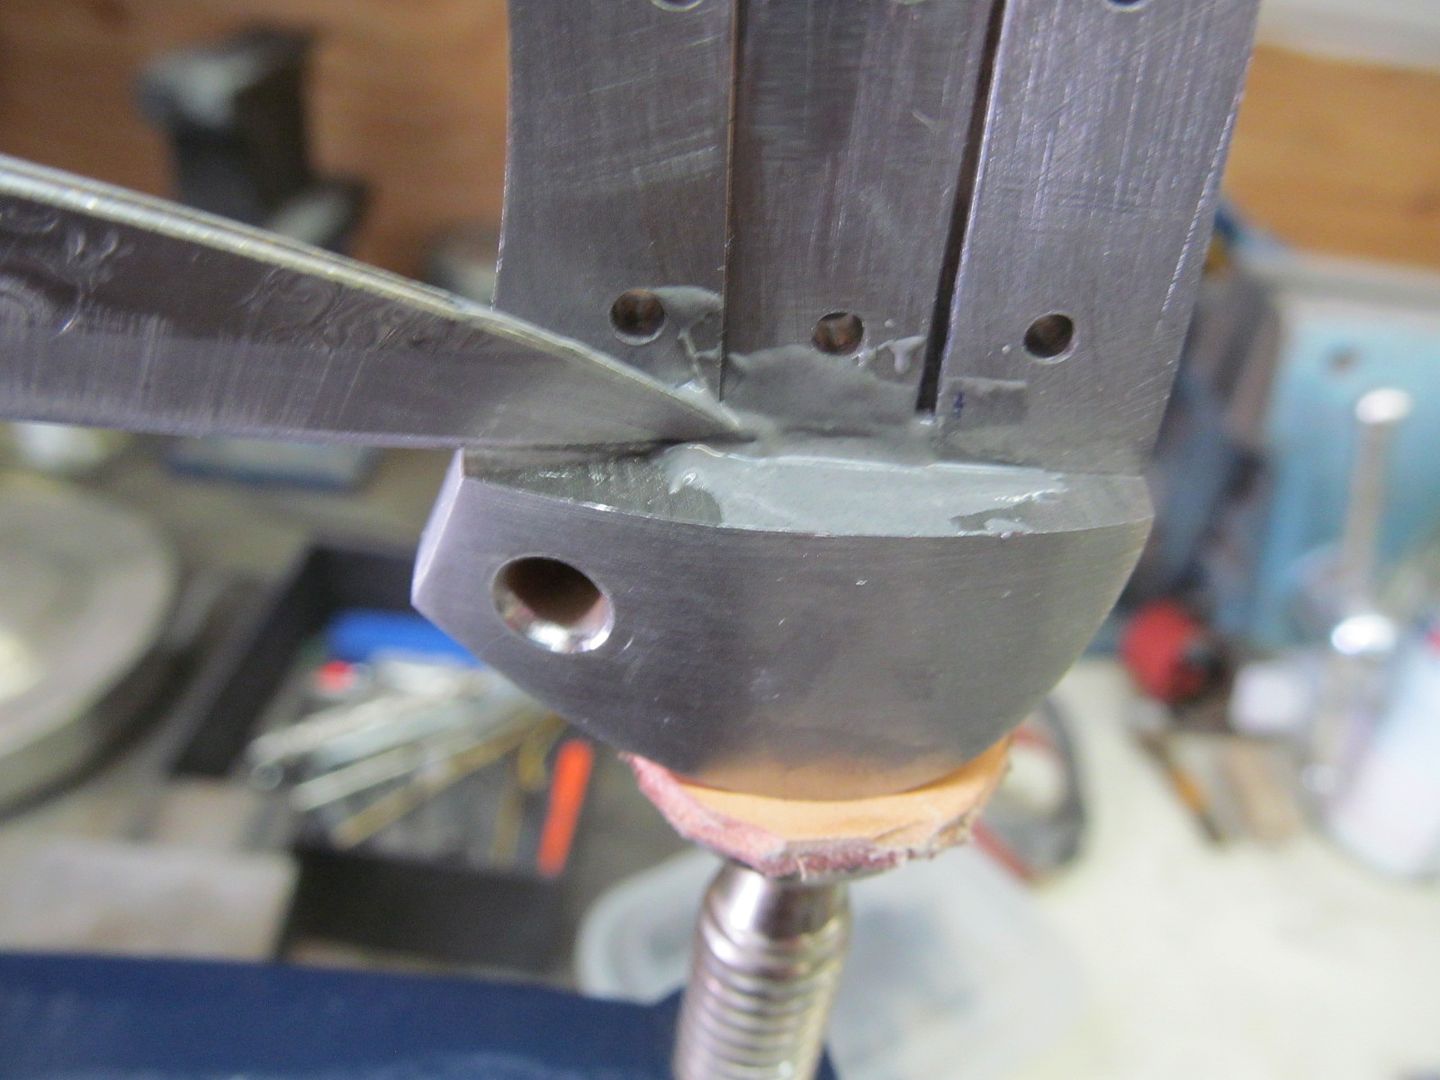
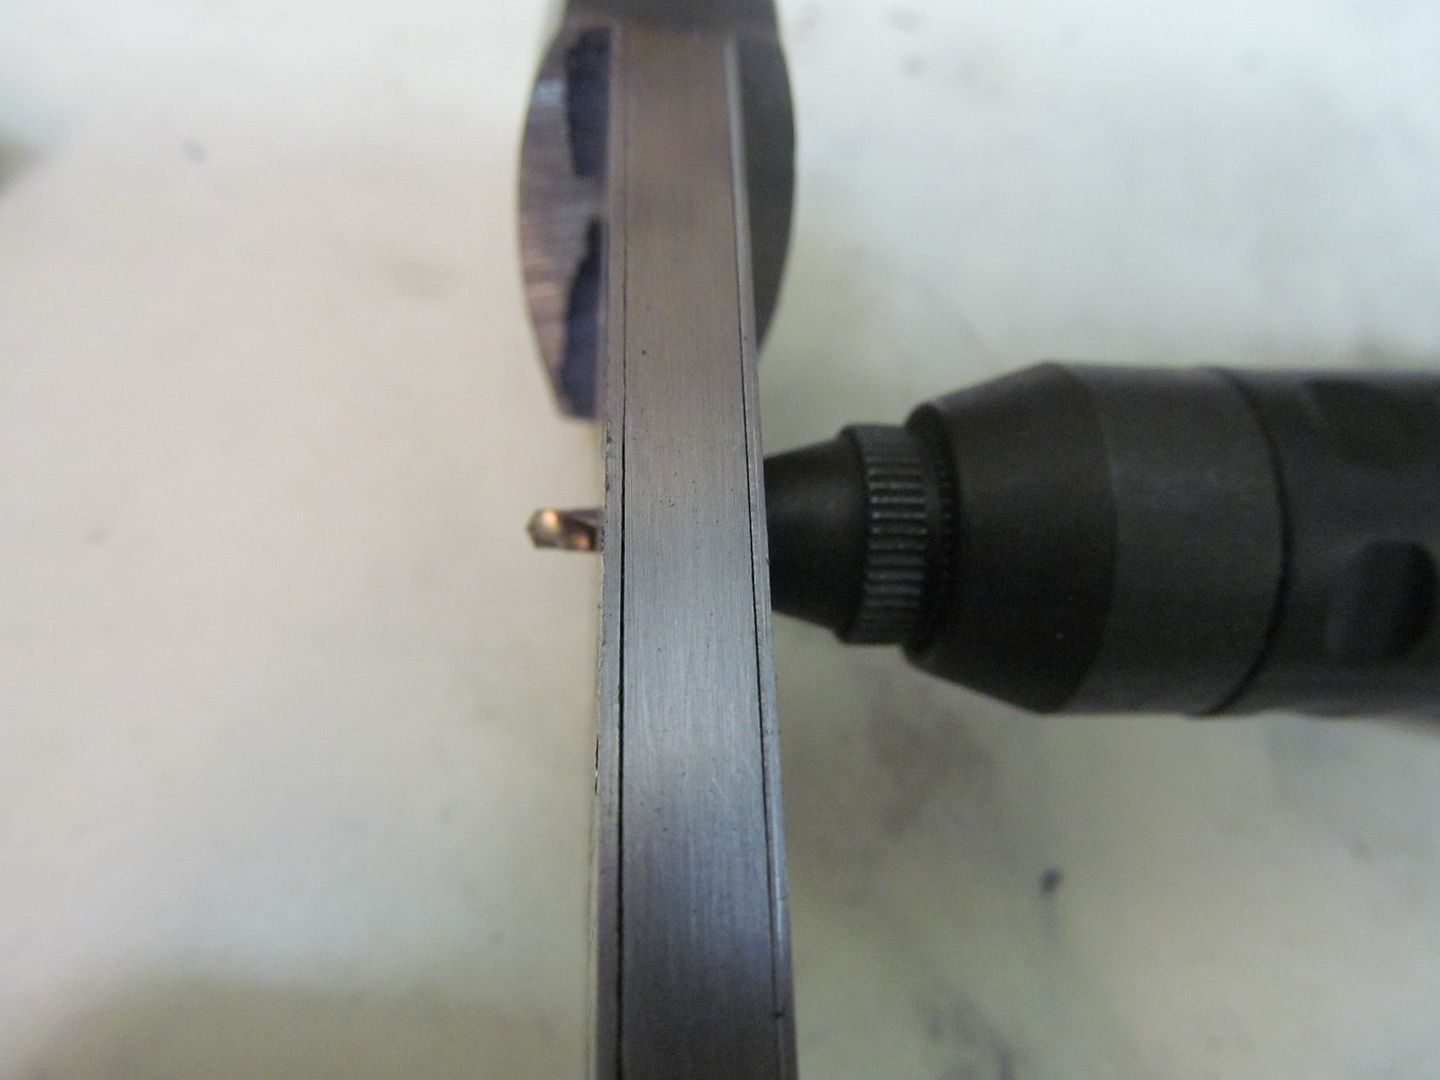
") However I have made take downs with a smaller hole and tang. I've used #6 or #8 threaded tangs and bolts.on this type of frame before. I believe the one piece milled rear bolsters is the best simply because I can use stronger and larger diameter #12 or 1/4" threaded tang and barrel nut. I make the barrel nuts on my lathe as you cant buy them.
However I have made take downs with a smaller hole and tang. I've used #6 or #8 threaded tangs and bolts.on this type of frame before. I believe the one piece milled rear bolsters is the best simply because I can use stronger and larger diameter #12 or 1/4" threaded tang and barrel nut. I make the barrel nuts on my lathe as you cant buy them.
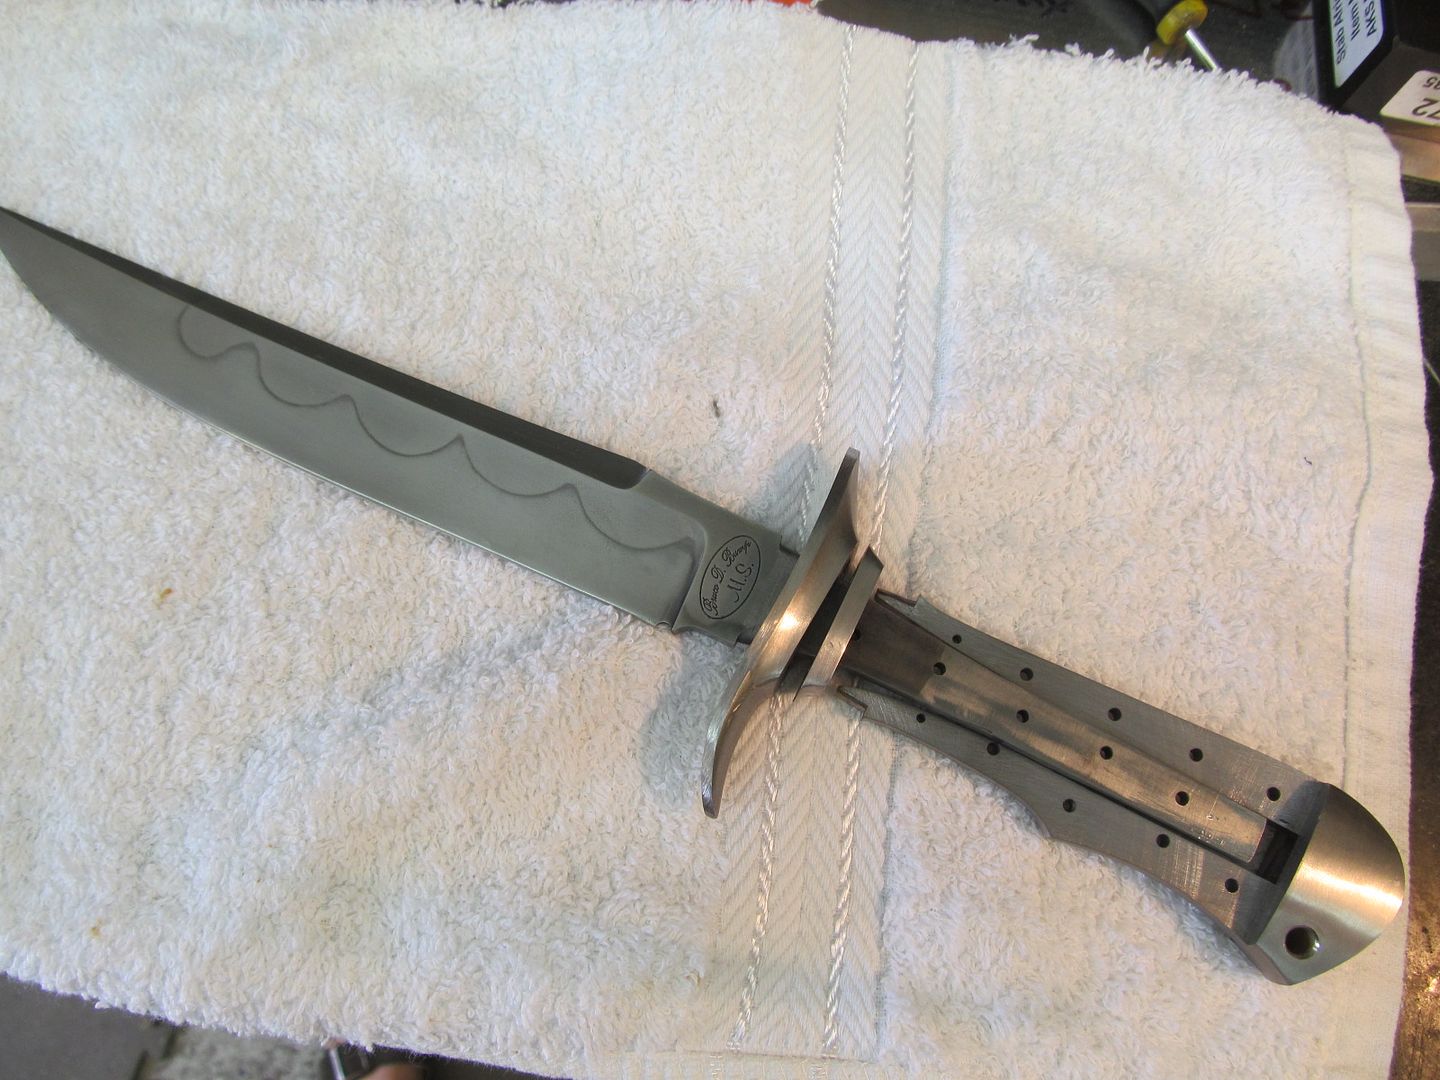
Man I have a pile of knives on the bench right now but I think they will get pushed to the side. Time for another frame handle..
I cant wait to see the hidden pins..
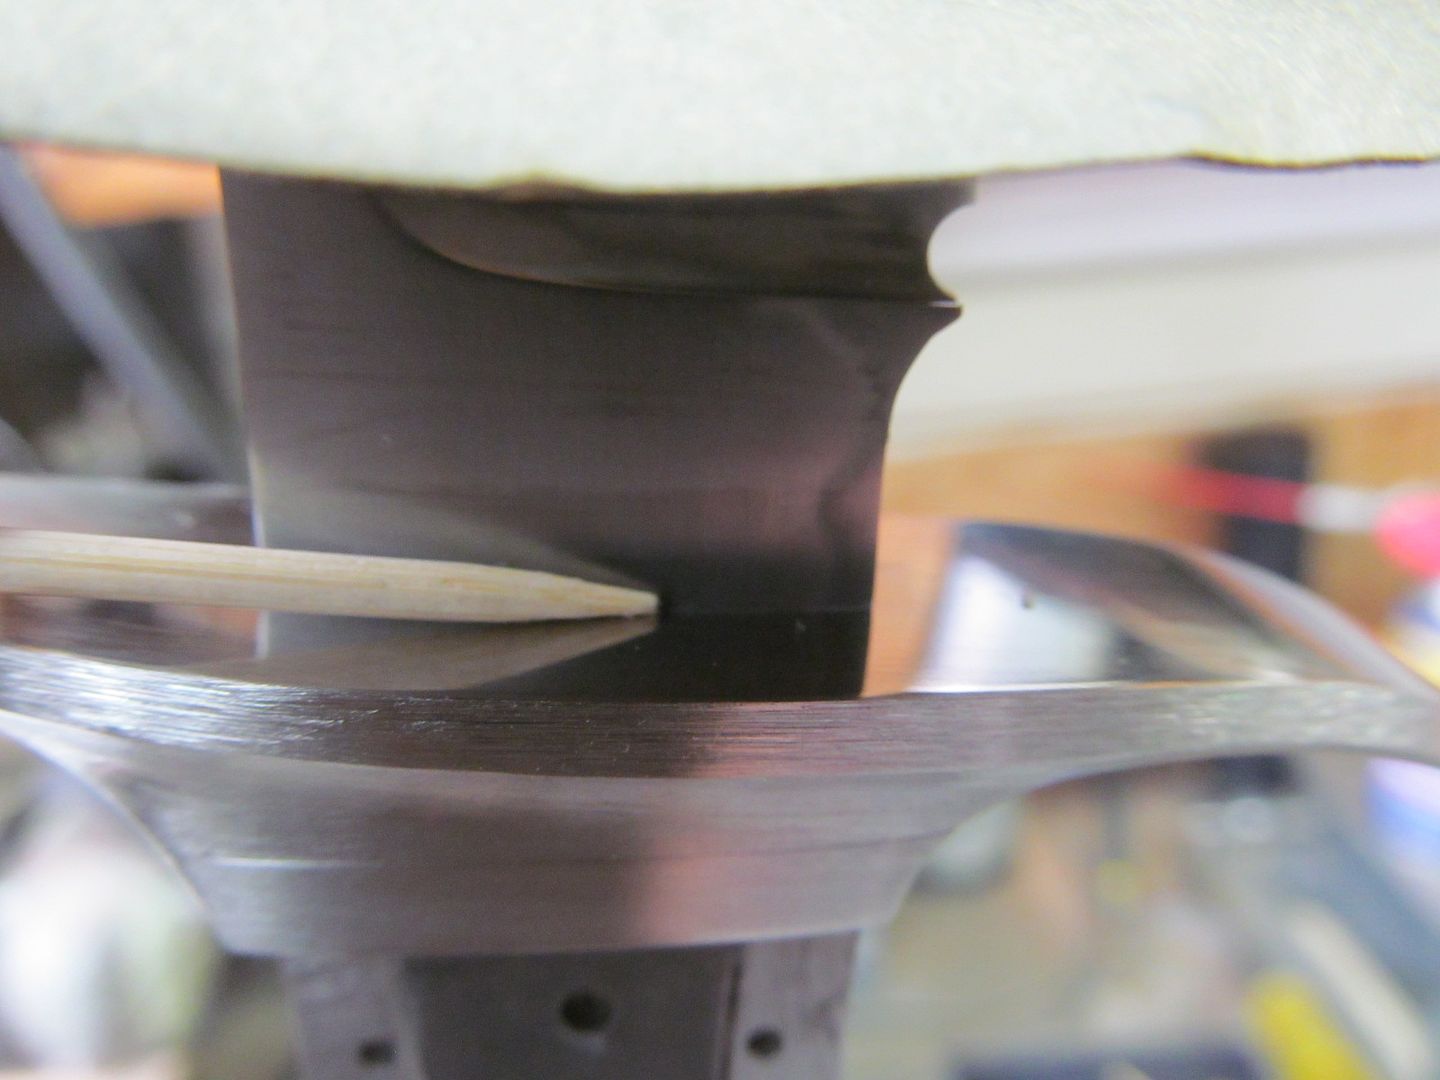
Question.. Bruce this doesn't matter on this knife, But if the tang was treaded at the rear and you were using a pommel nut would you just drill through the frame and bolsters or would the frame be a 2 piece and have a gap there for the tread to come through? I have seen some of your frame handles with decorative pommel nuts and always wondered how the nut or thread goes through the frame. Thanks for doing this WIP.
Jim
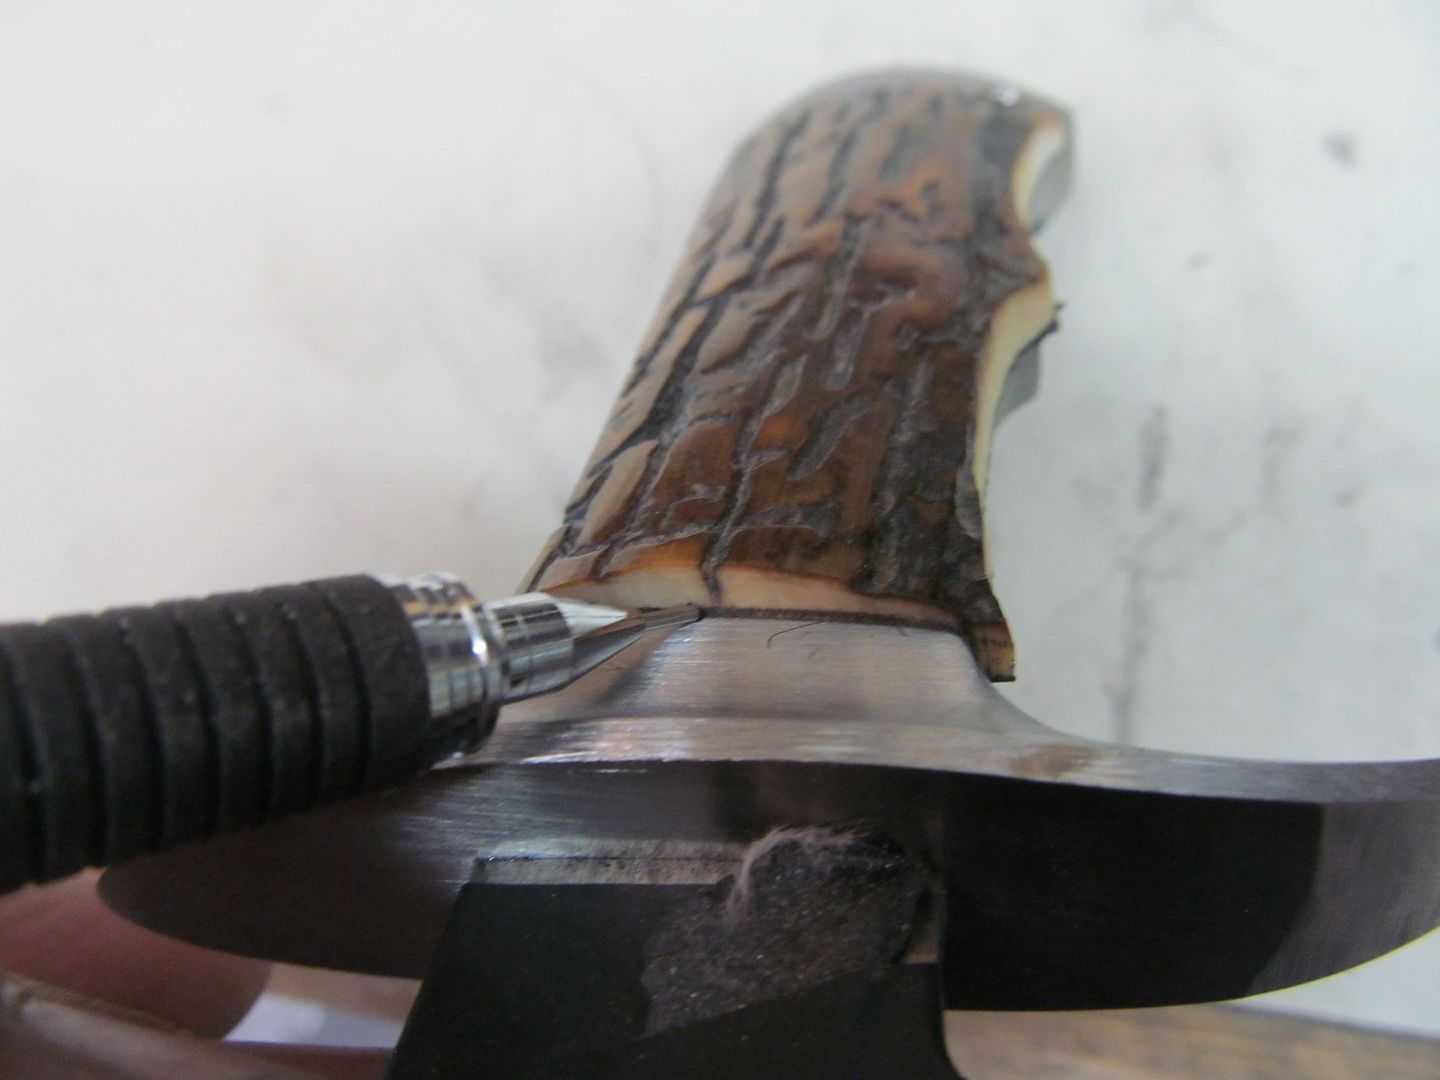


 Surprised to see your not using amber stag. Will you be heading to Little Rock again? I sent my balance in a couple weeks ago. See you there if I remember to go.
Jim I,m in the MSC V79 catalog and found tapered pin reamers for under $20
Heres some numbers
MSC (800) 521-9520
2/0 small end is .1137" large end is .1462" straight flute import part number 02400992 for $14.81
USA number is 72400997 for $28.58
They also have the spiral cut for a few bucks more but the straight cut works fine for me. I,d start with the import unless you plan to do allot of pins.
Looking good there Sonny.
Hey Papa,
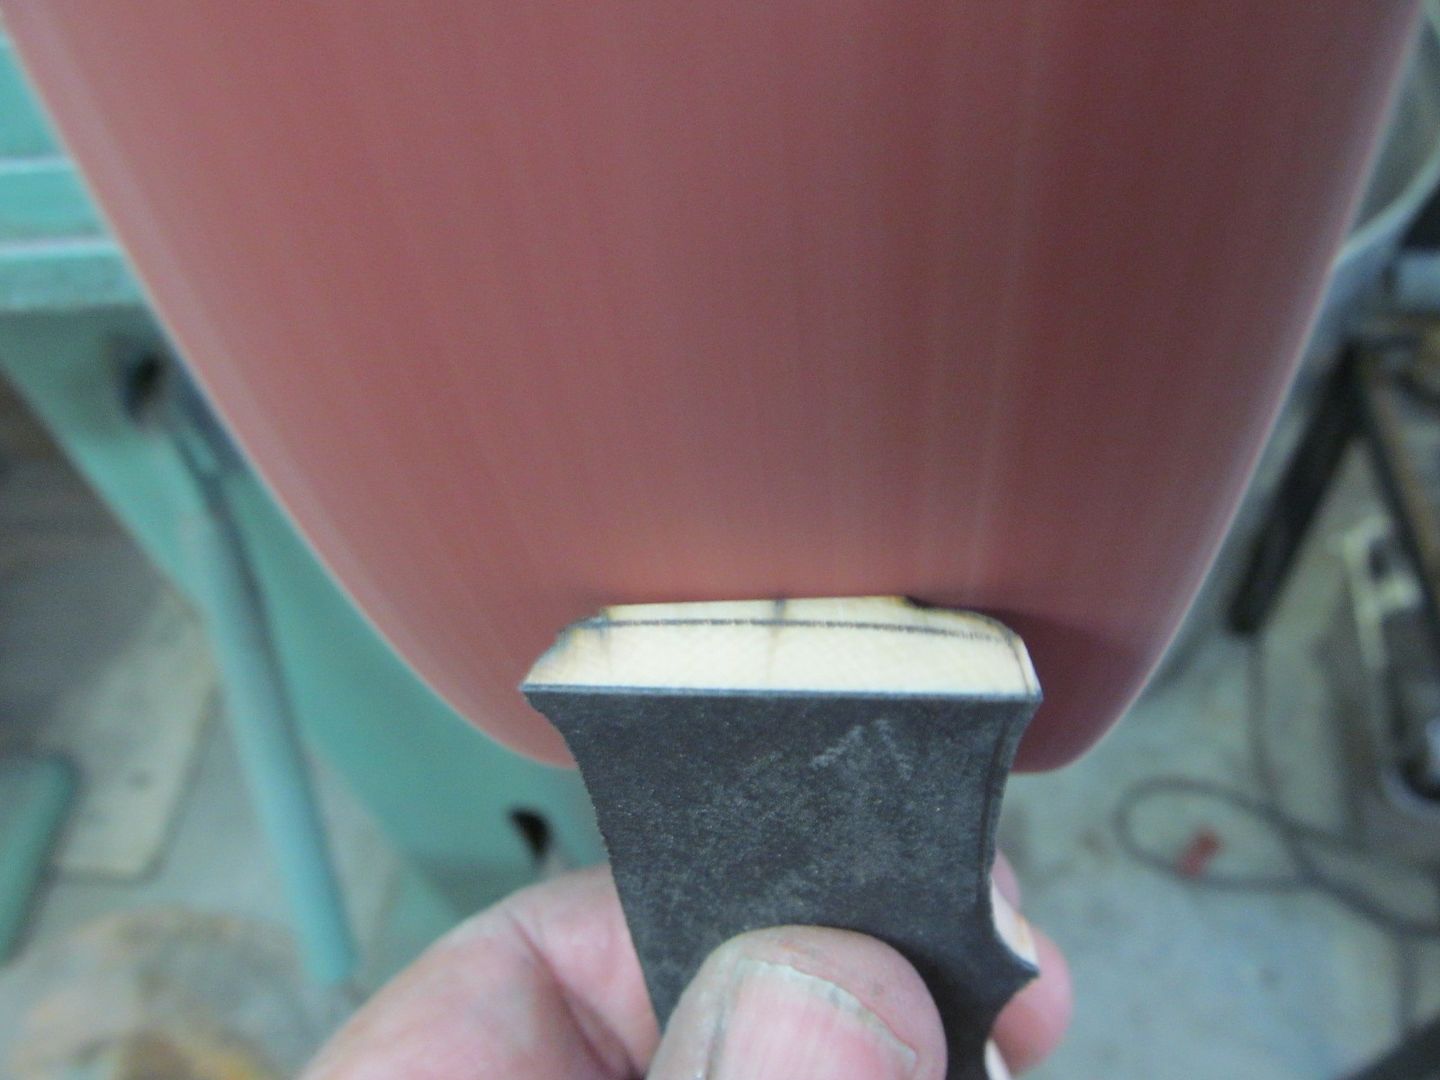
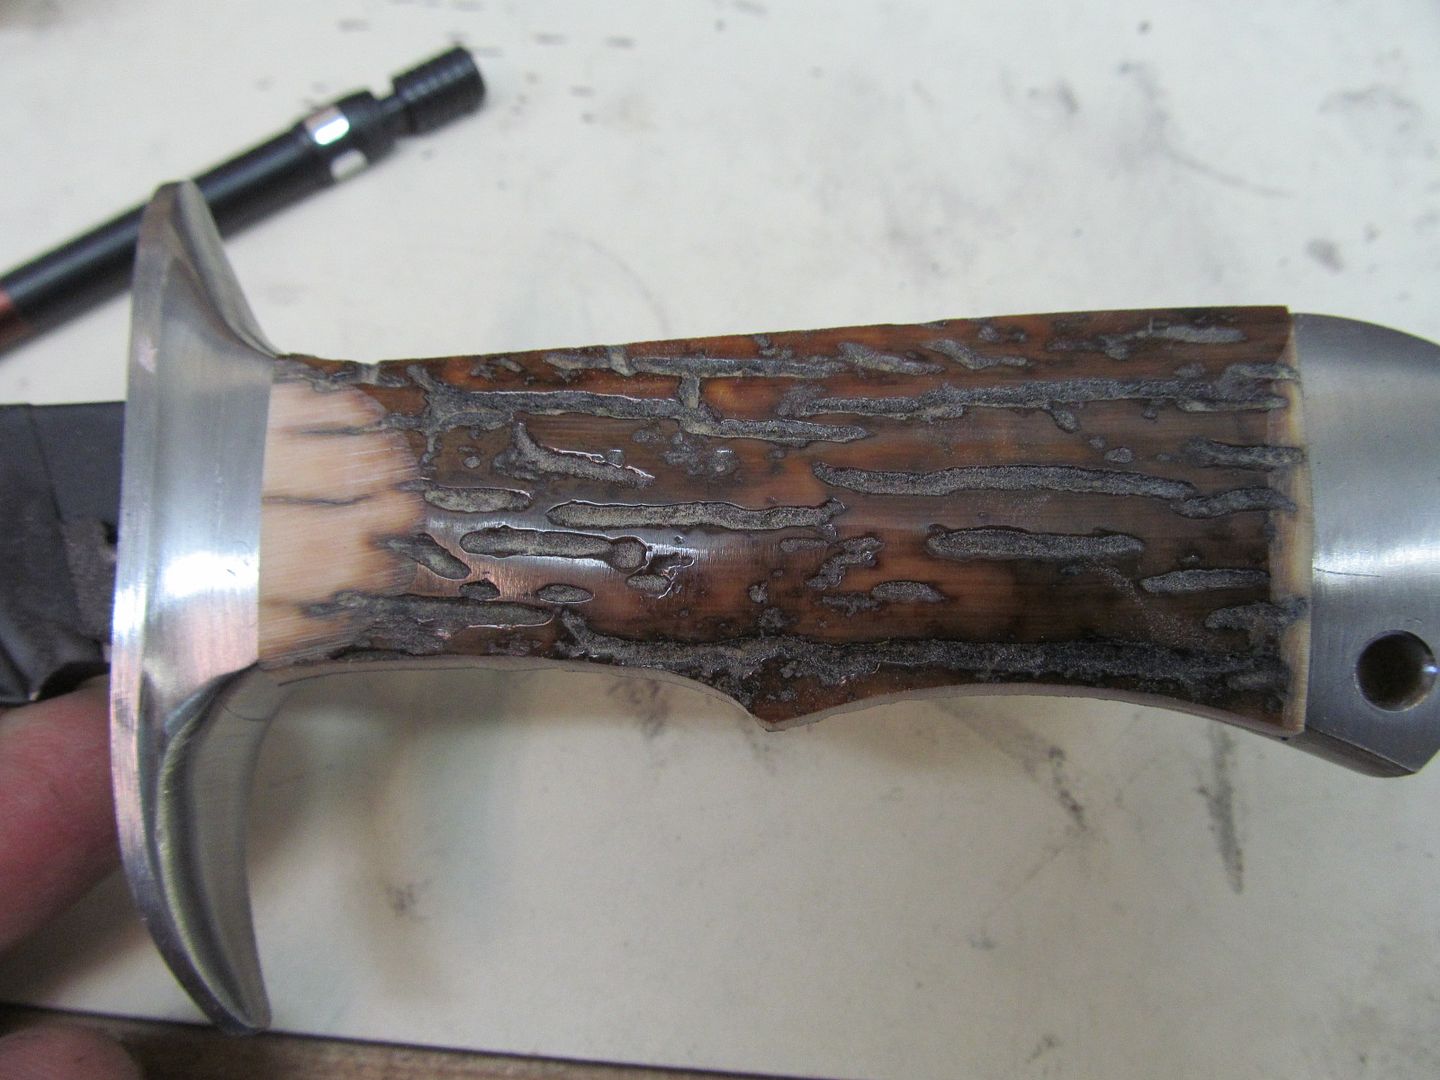
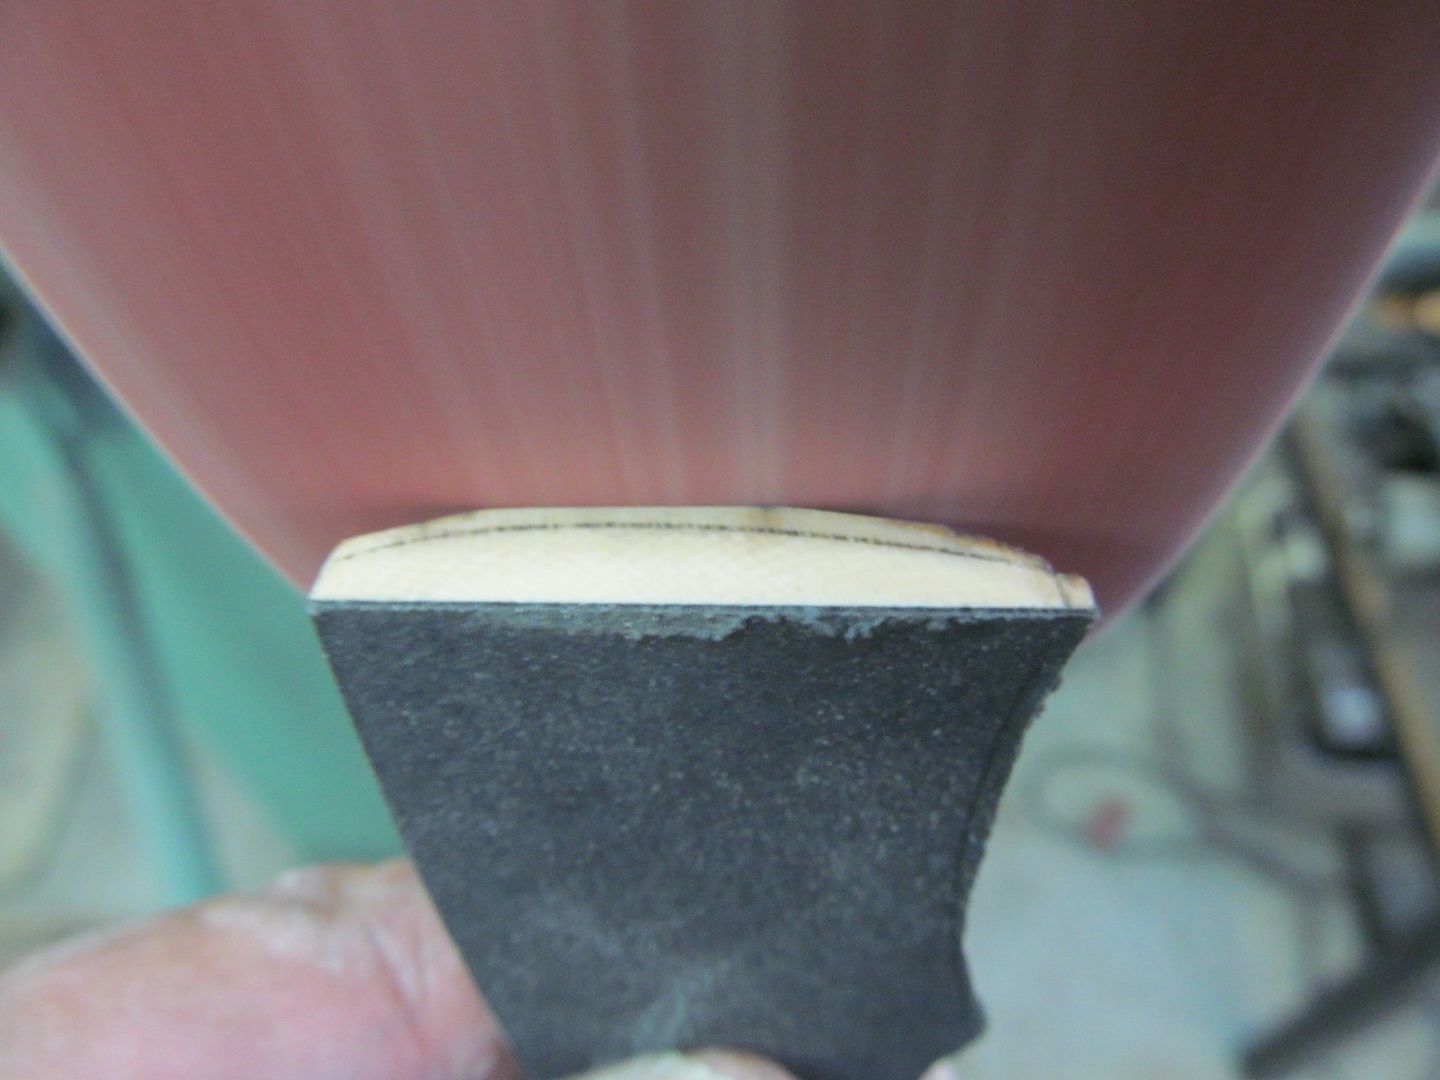
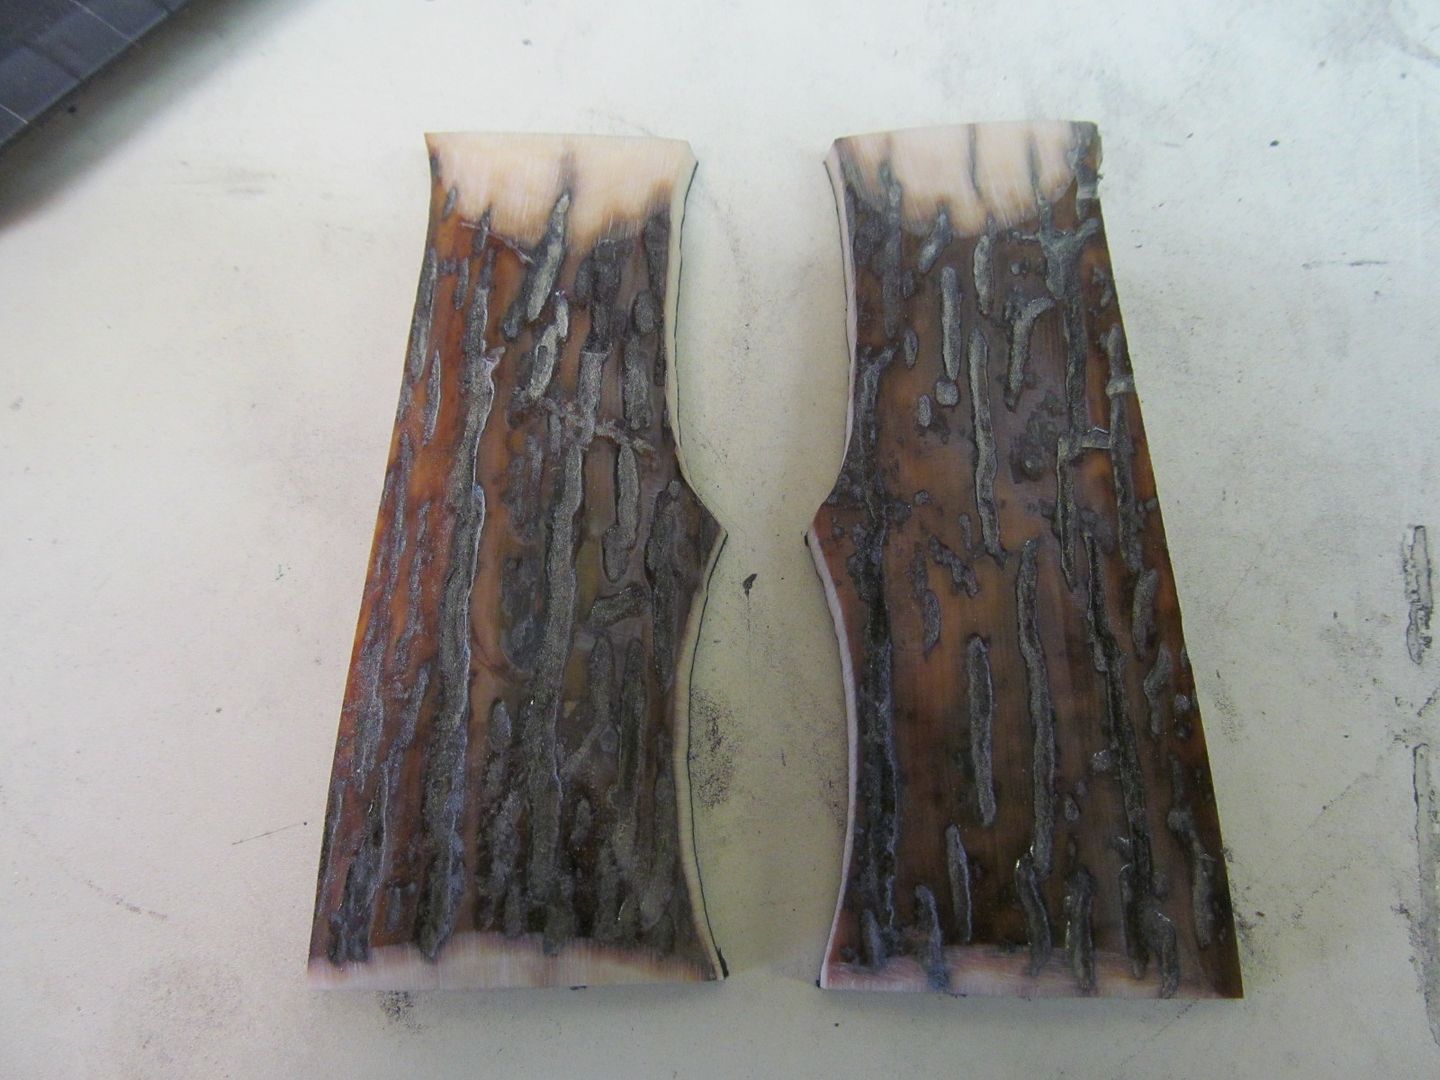
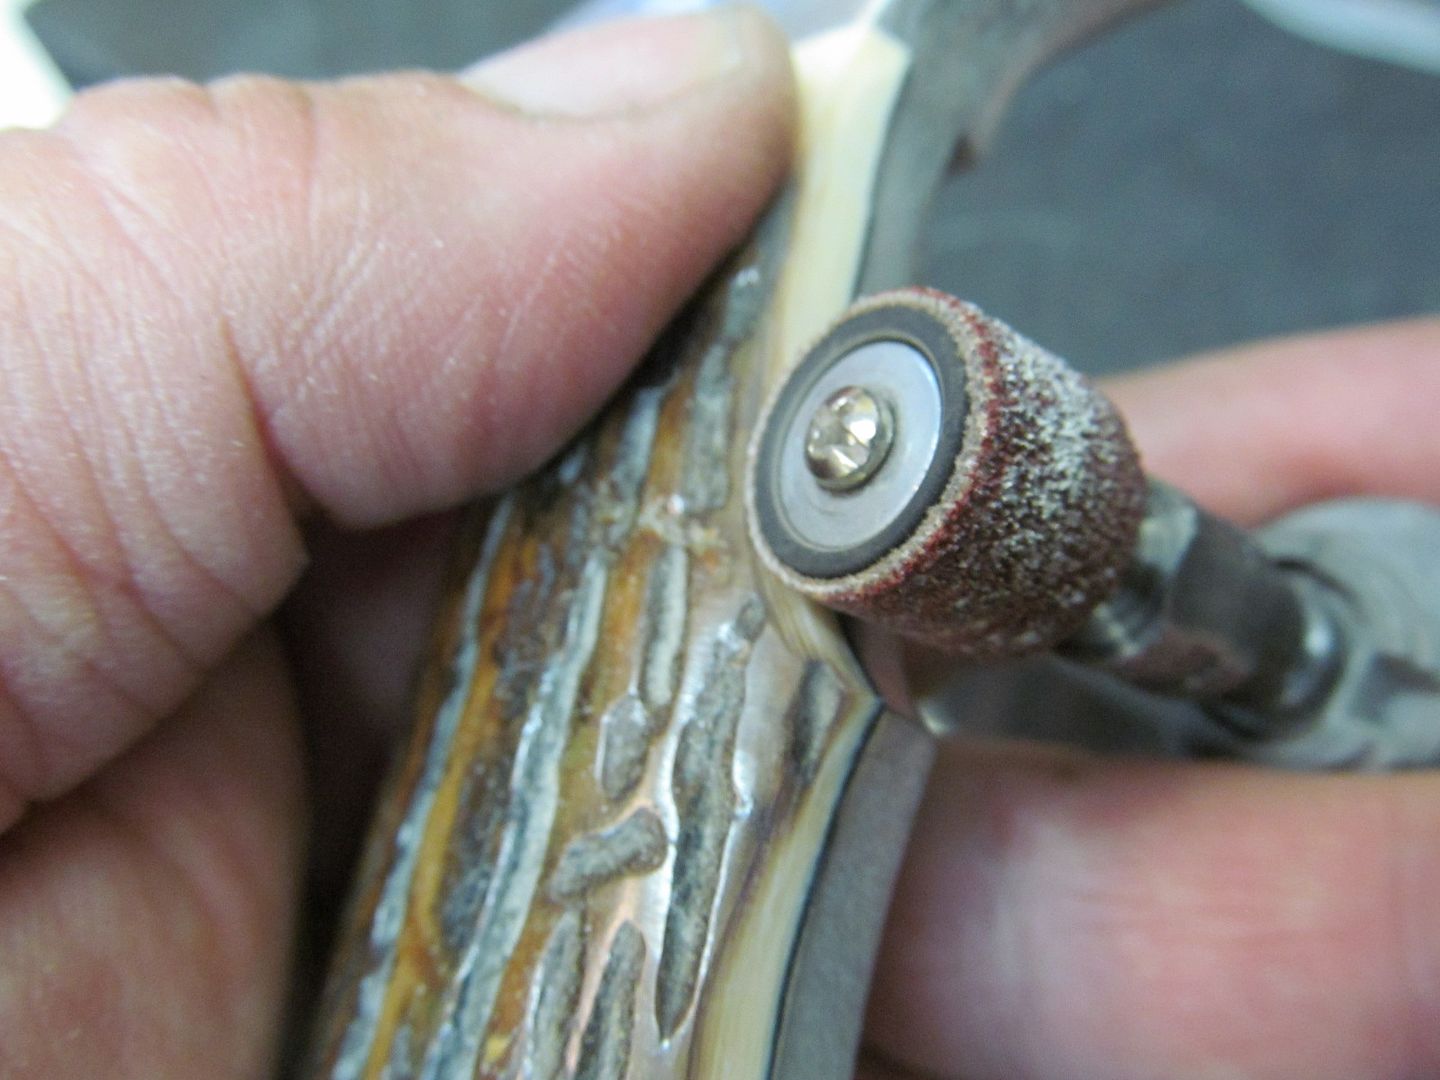
I had this ivory screaming to be used on something.
Nope, on Little Rock. I actually dont have a show scheduled anywhere for next year. I might just take a year off of shows. I'd sure like to do Blade but not with a table.
I almost asked for a refund of my deposit but decided to do the show again. I'm still after that 20 pound stripped bass. I caught its 10 pound little sister last year.
I was thinking the ivory scales you used were sambar stag. After taking a closer look at the photos of the ivory scales they almost look like they were jigged to me. Looks to be another fine looking knife your in the process of making!