Double guard and framed handle, rear bolsters too

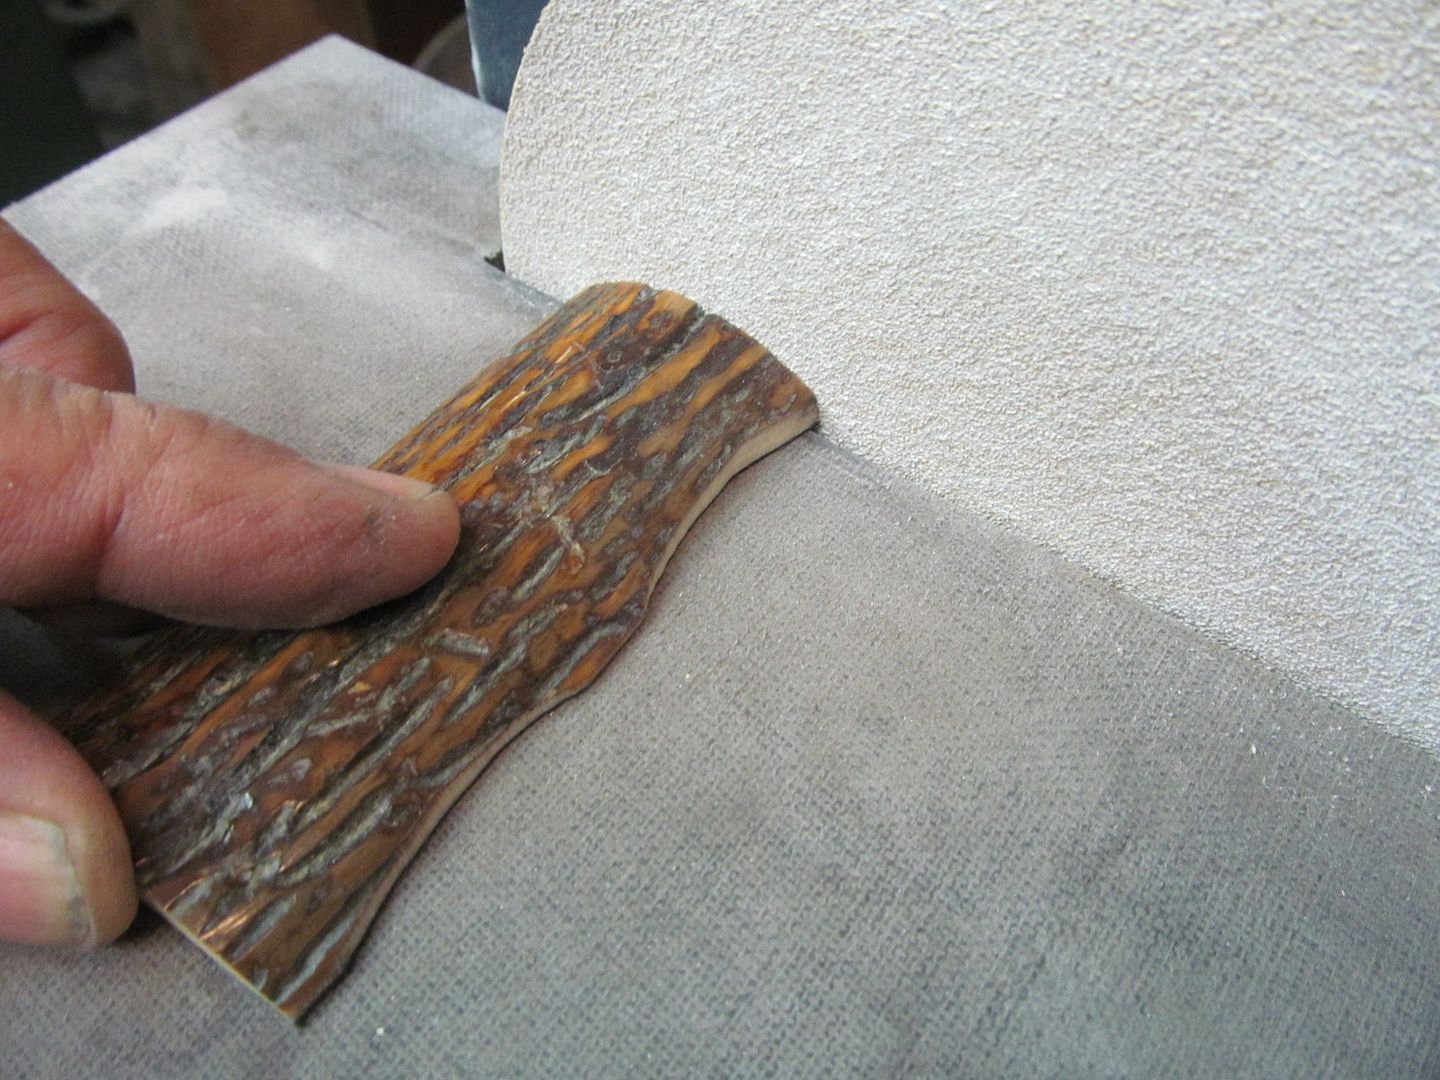
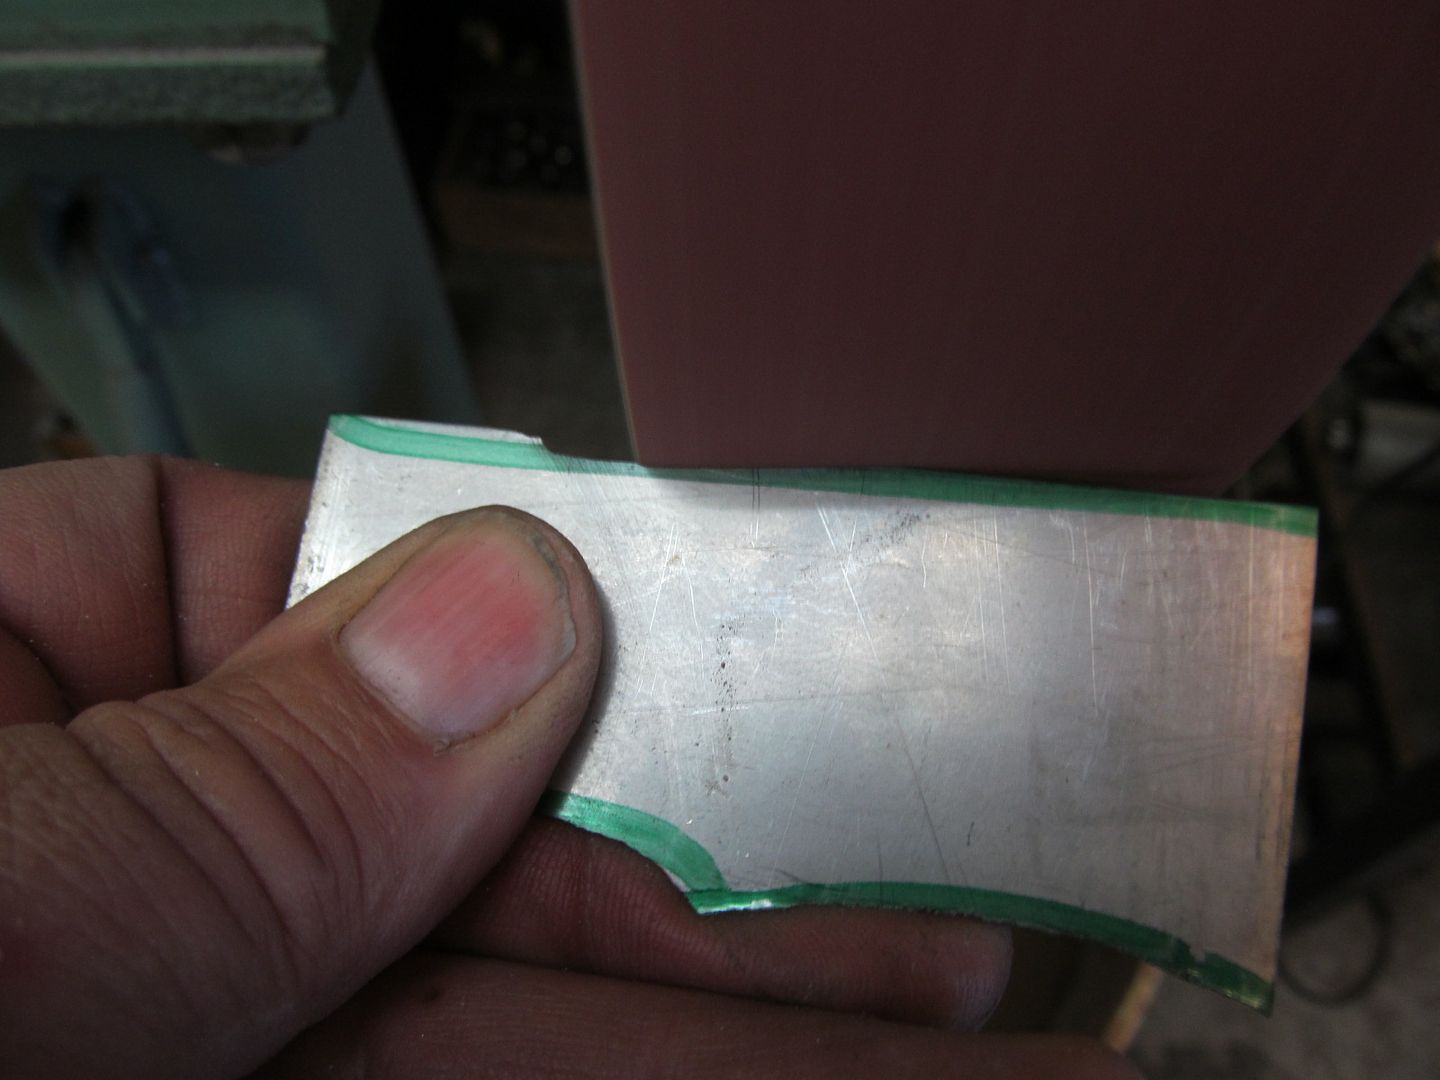
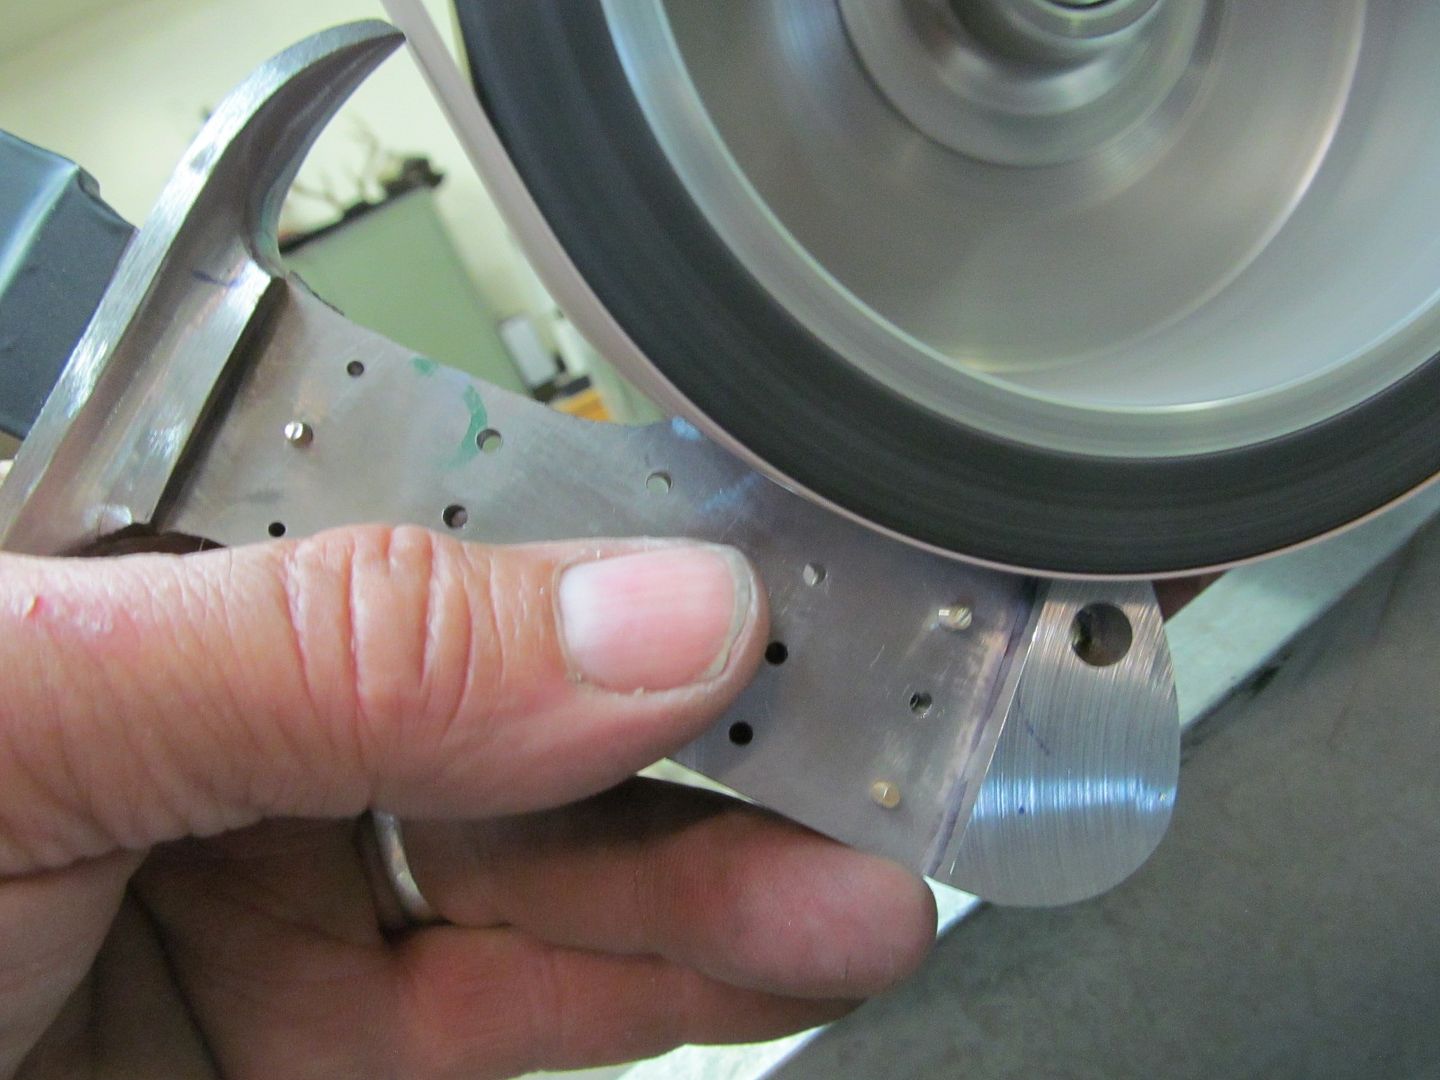
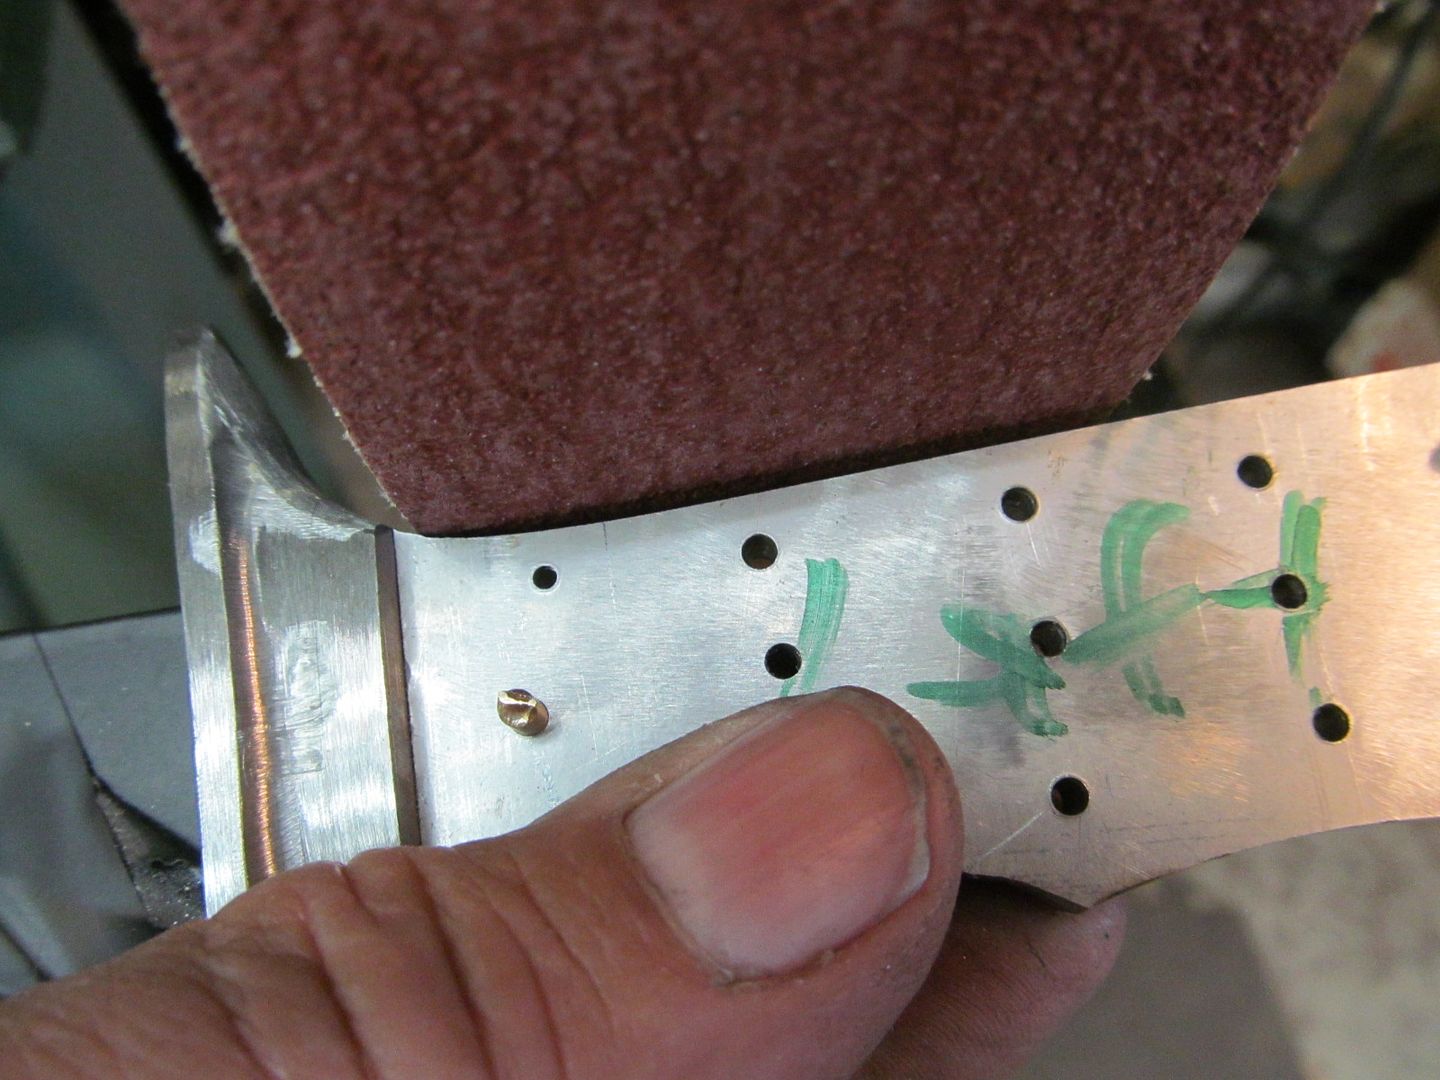
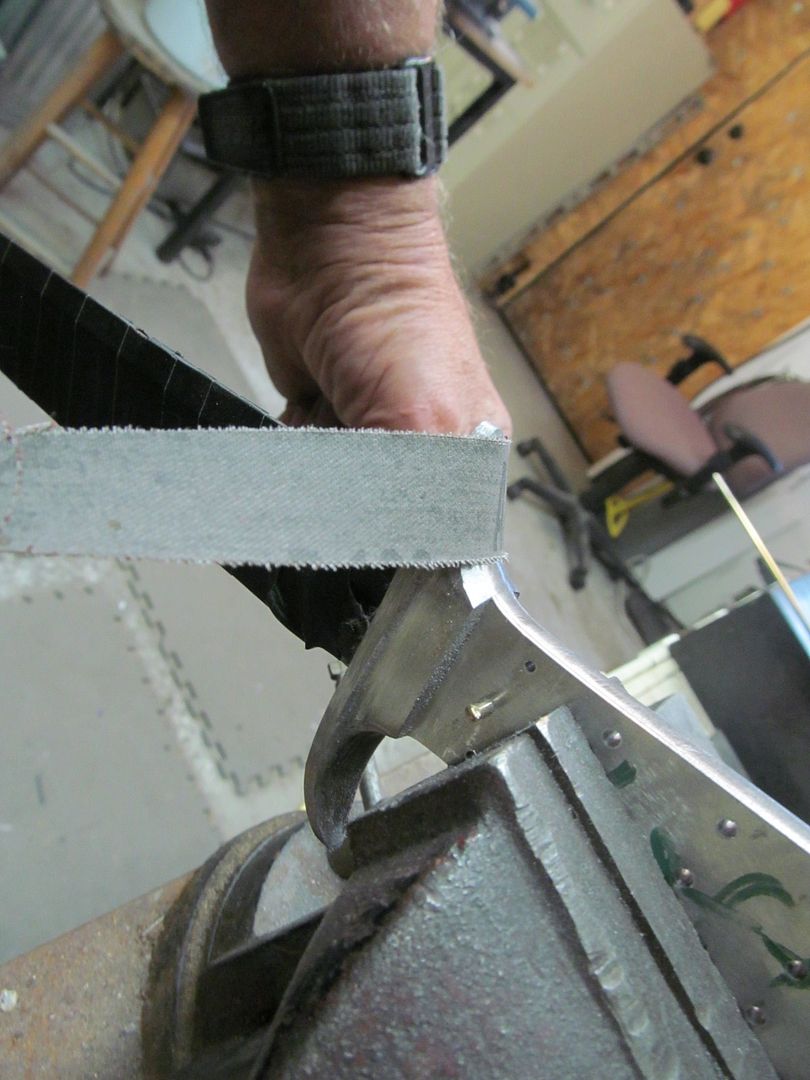
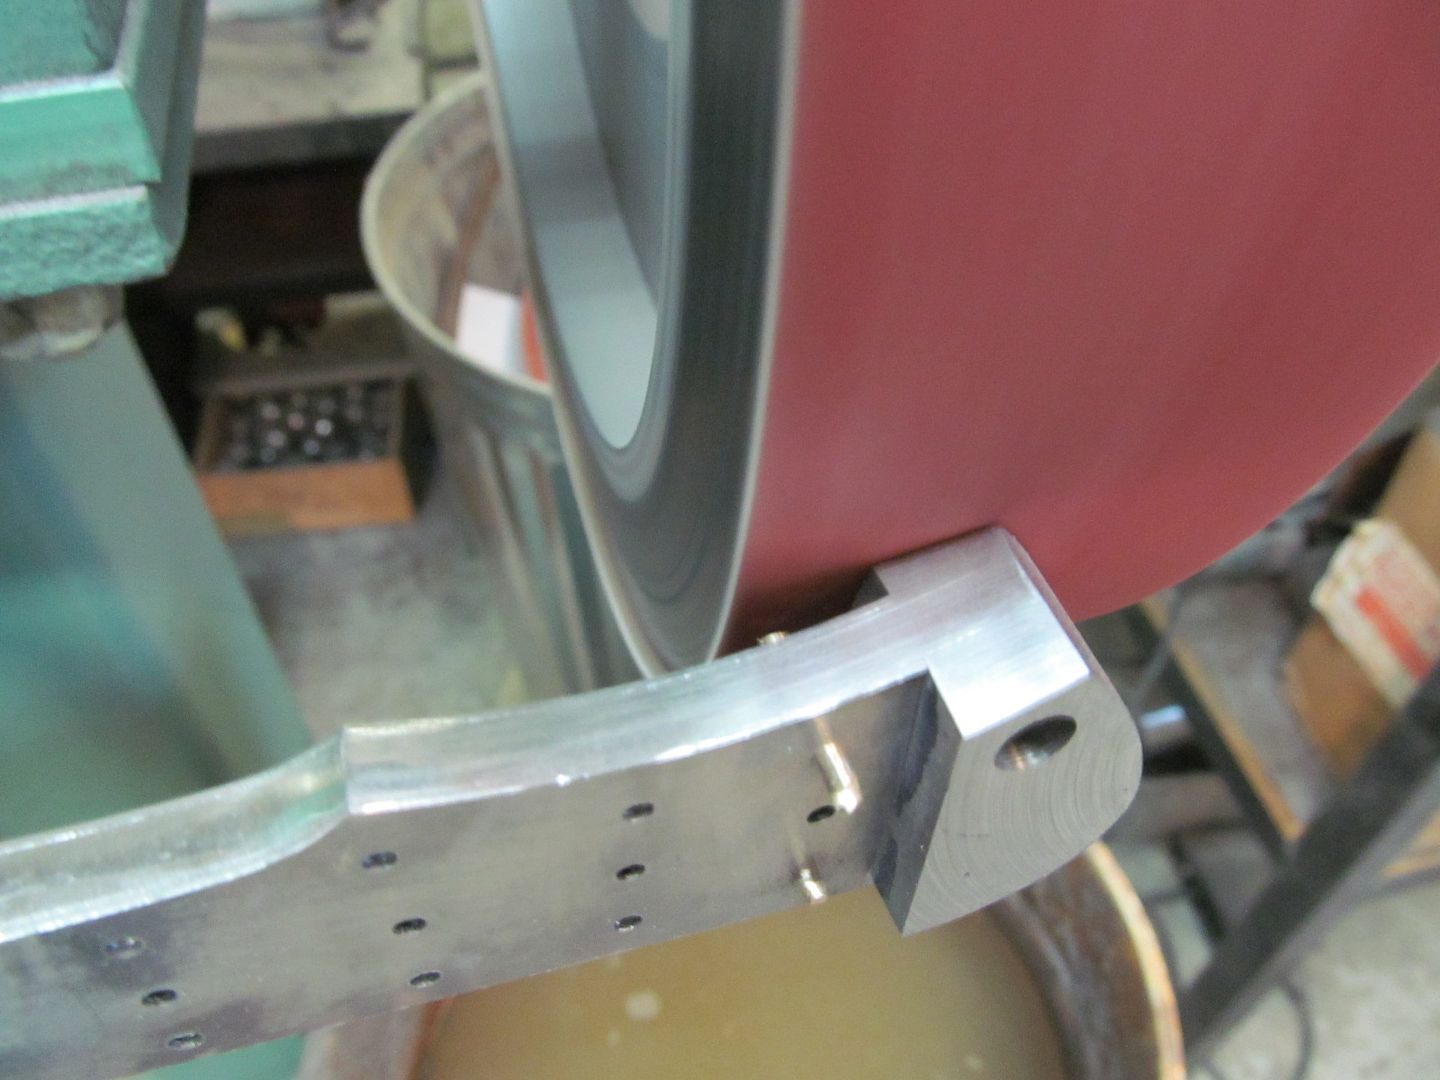
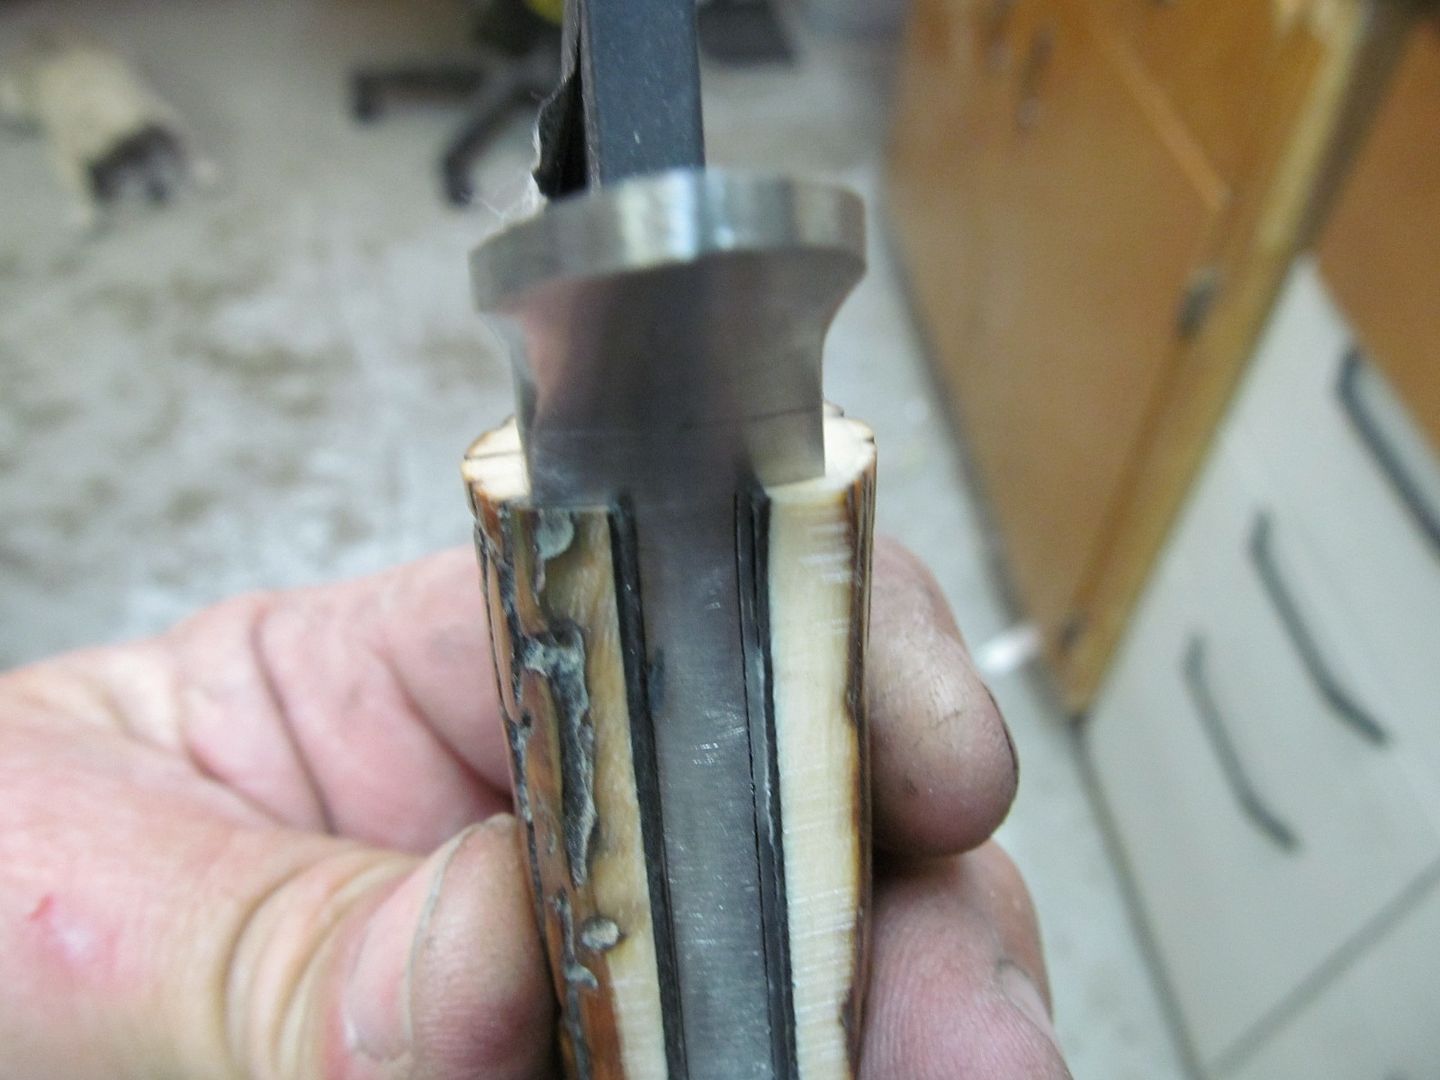
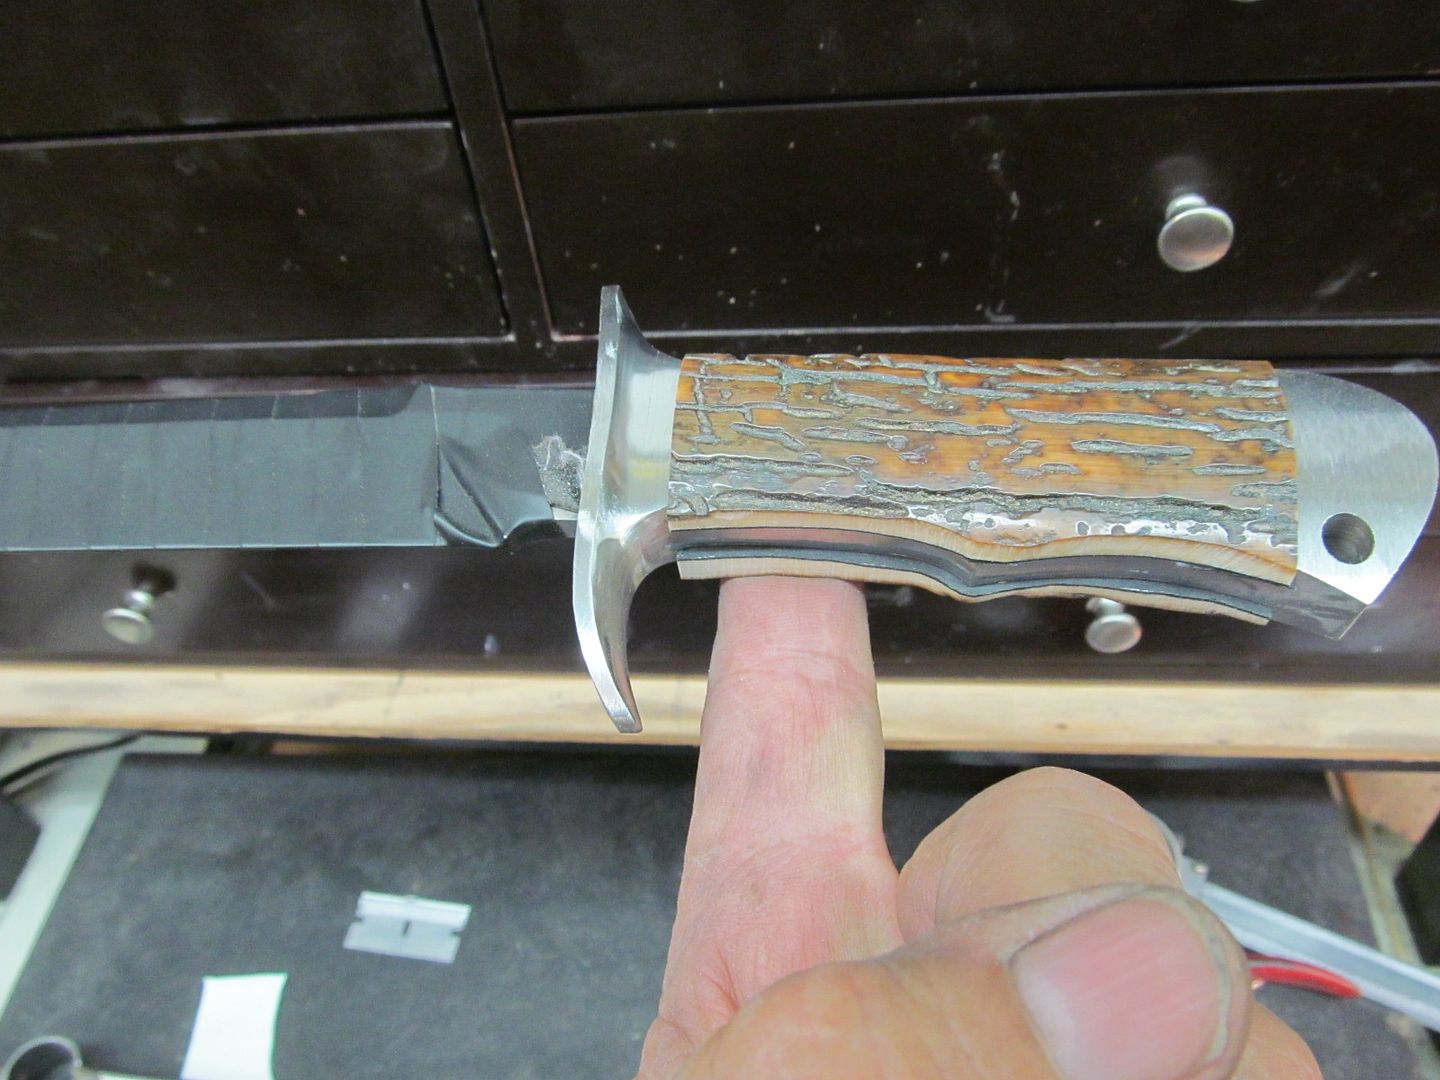
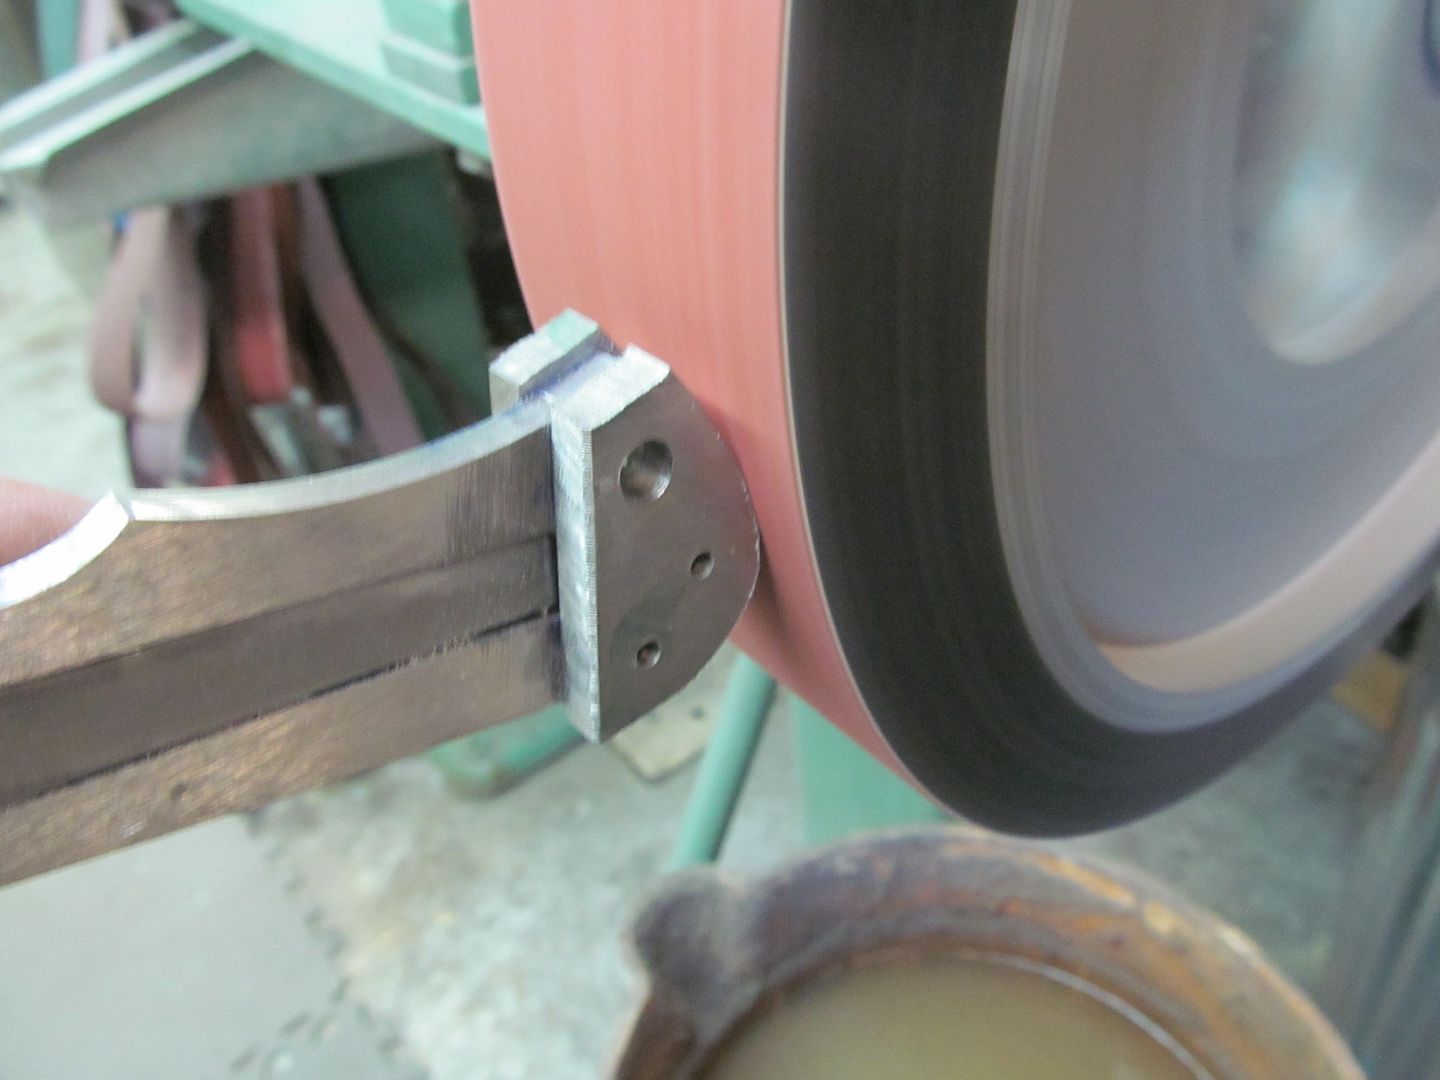
The excess bolster material can be cleaned up on the belt grinder now or after its pinned permanately

IMG_3620_zps172fff65.jpg


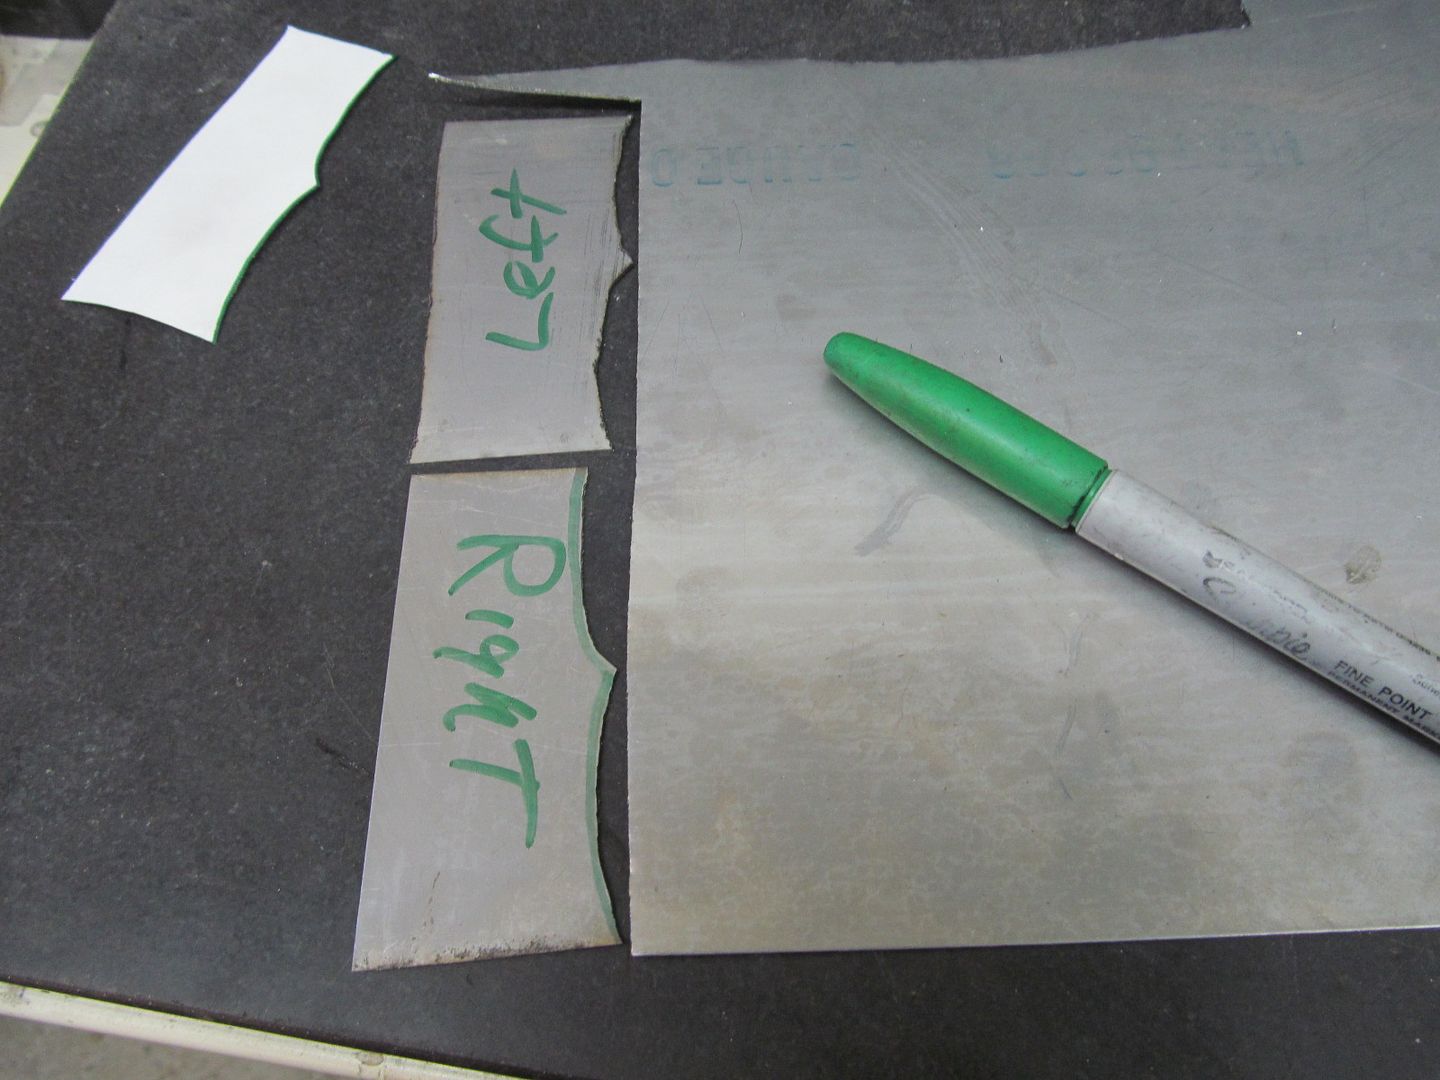
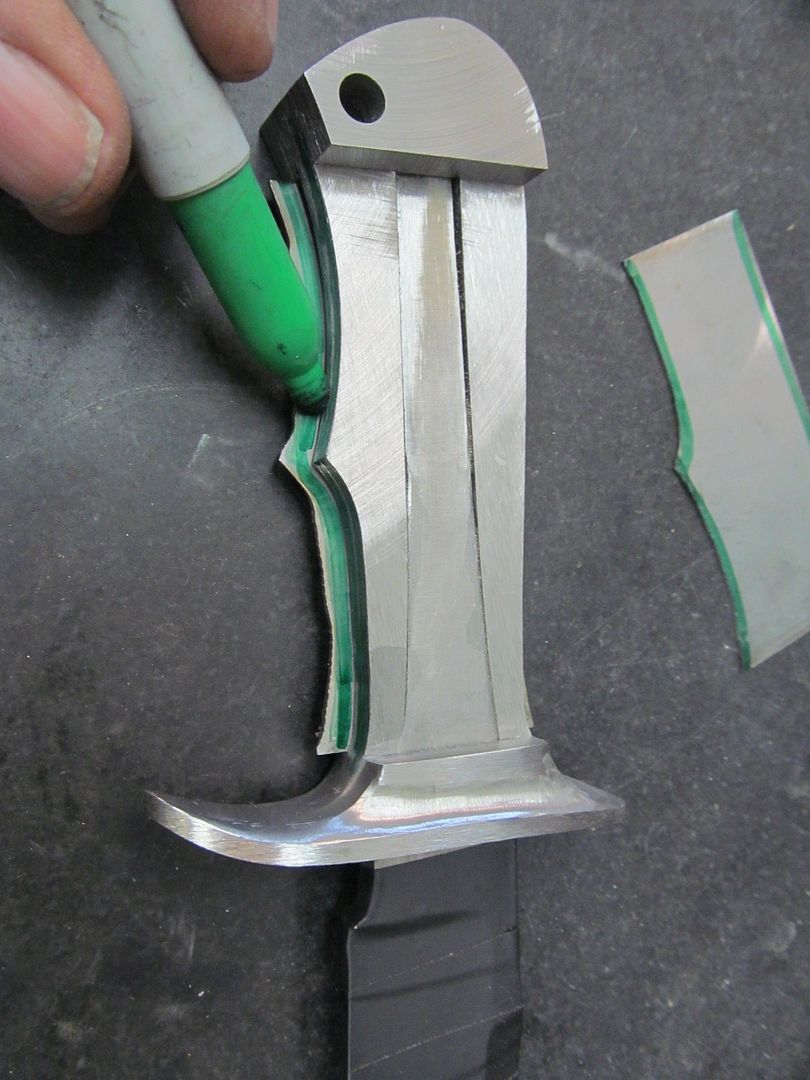
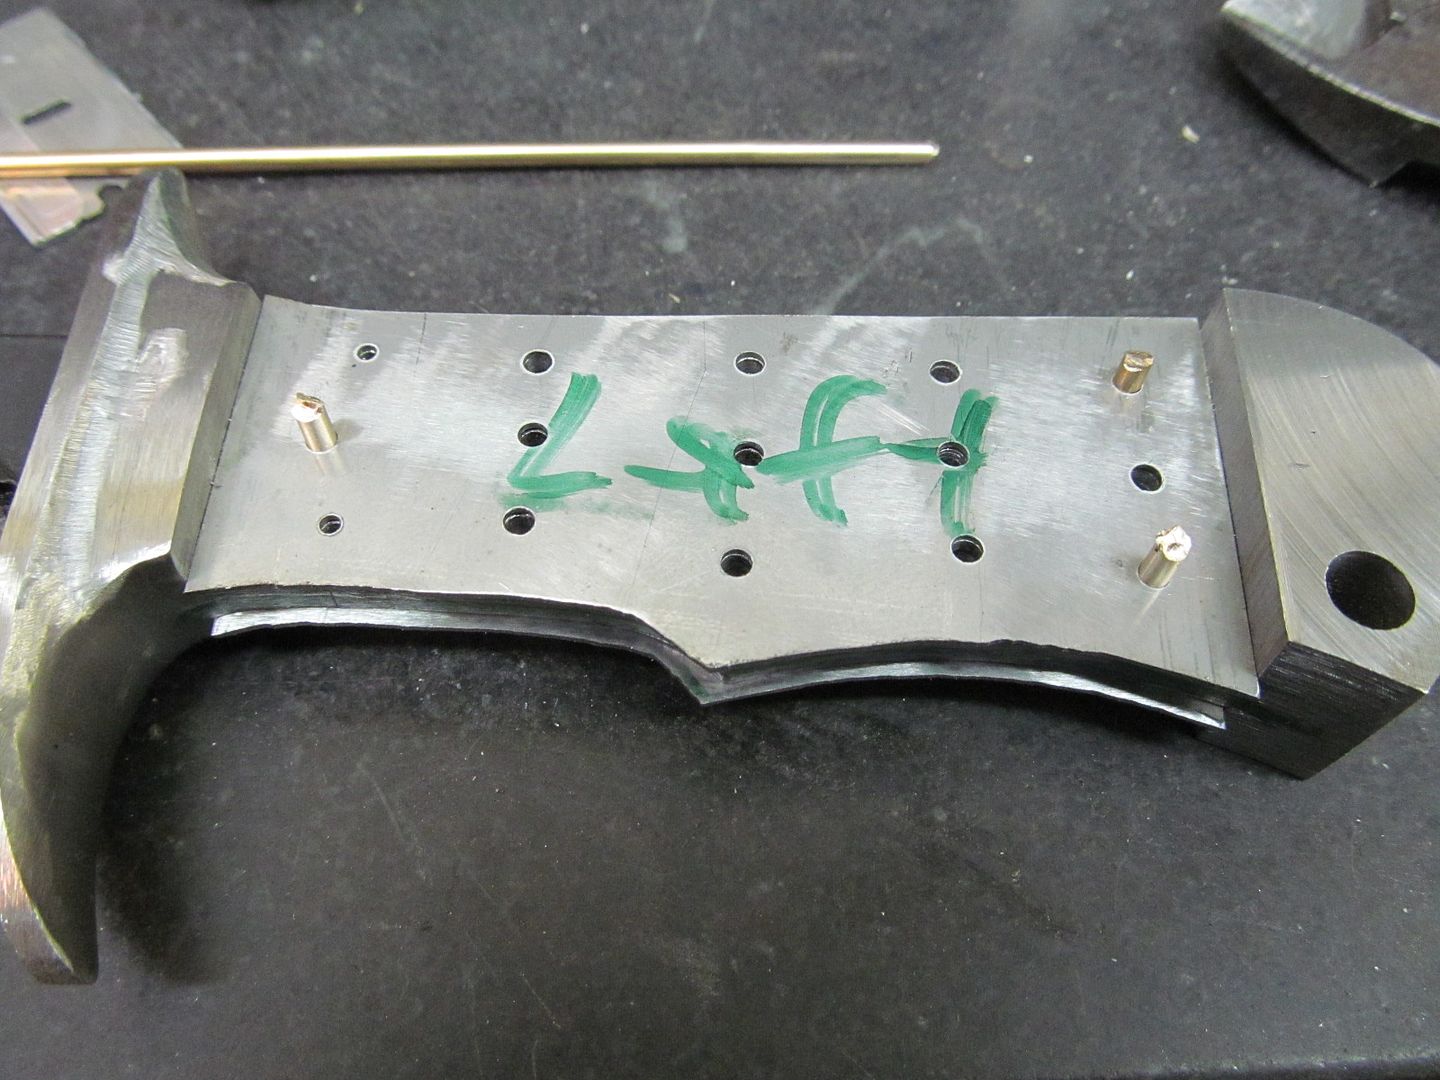
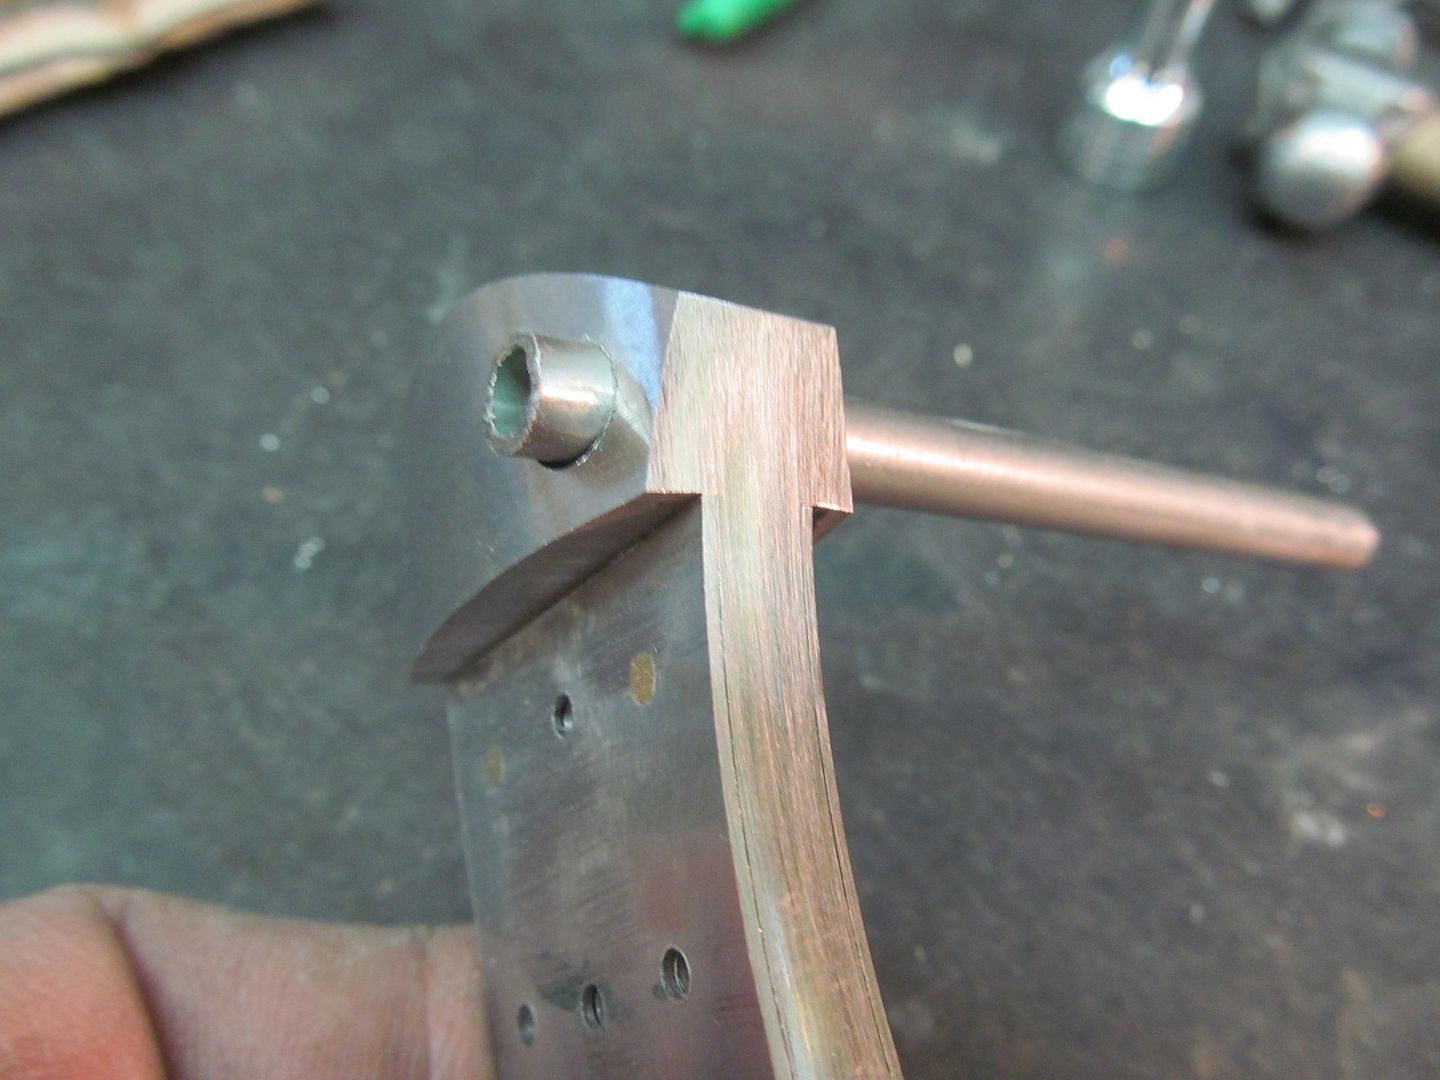
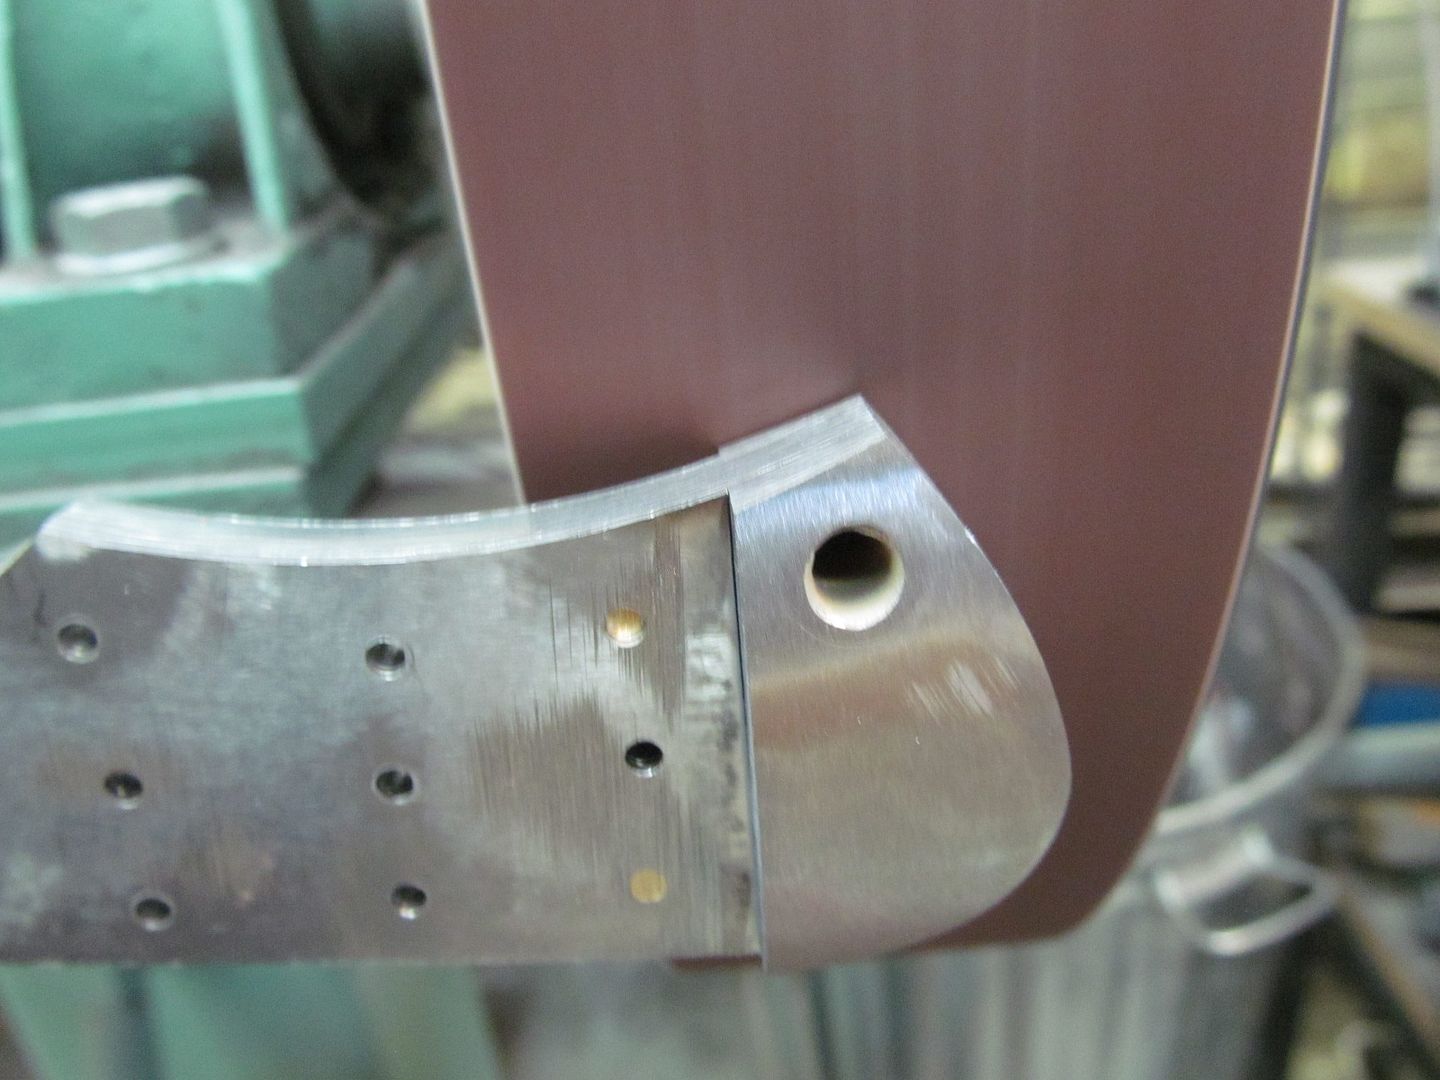
Pop the bolsters off the frame and clean the glue off with a razor blade. If they dont just "pop off" use a propane torch and warm them up, they,ll come off for sure. Stack and pin them together and face them off on the flat disc as a pair. Be sure the disc table is set at 90 degrees.

IMG_3622_zps4861bcd4.jpg


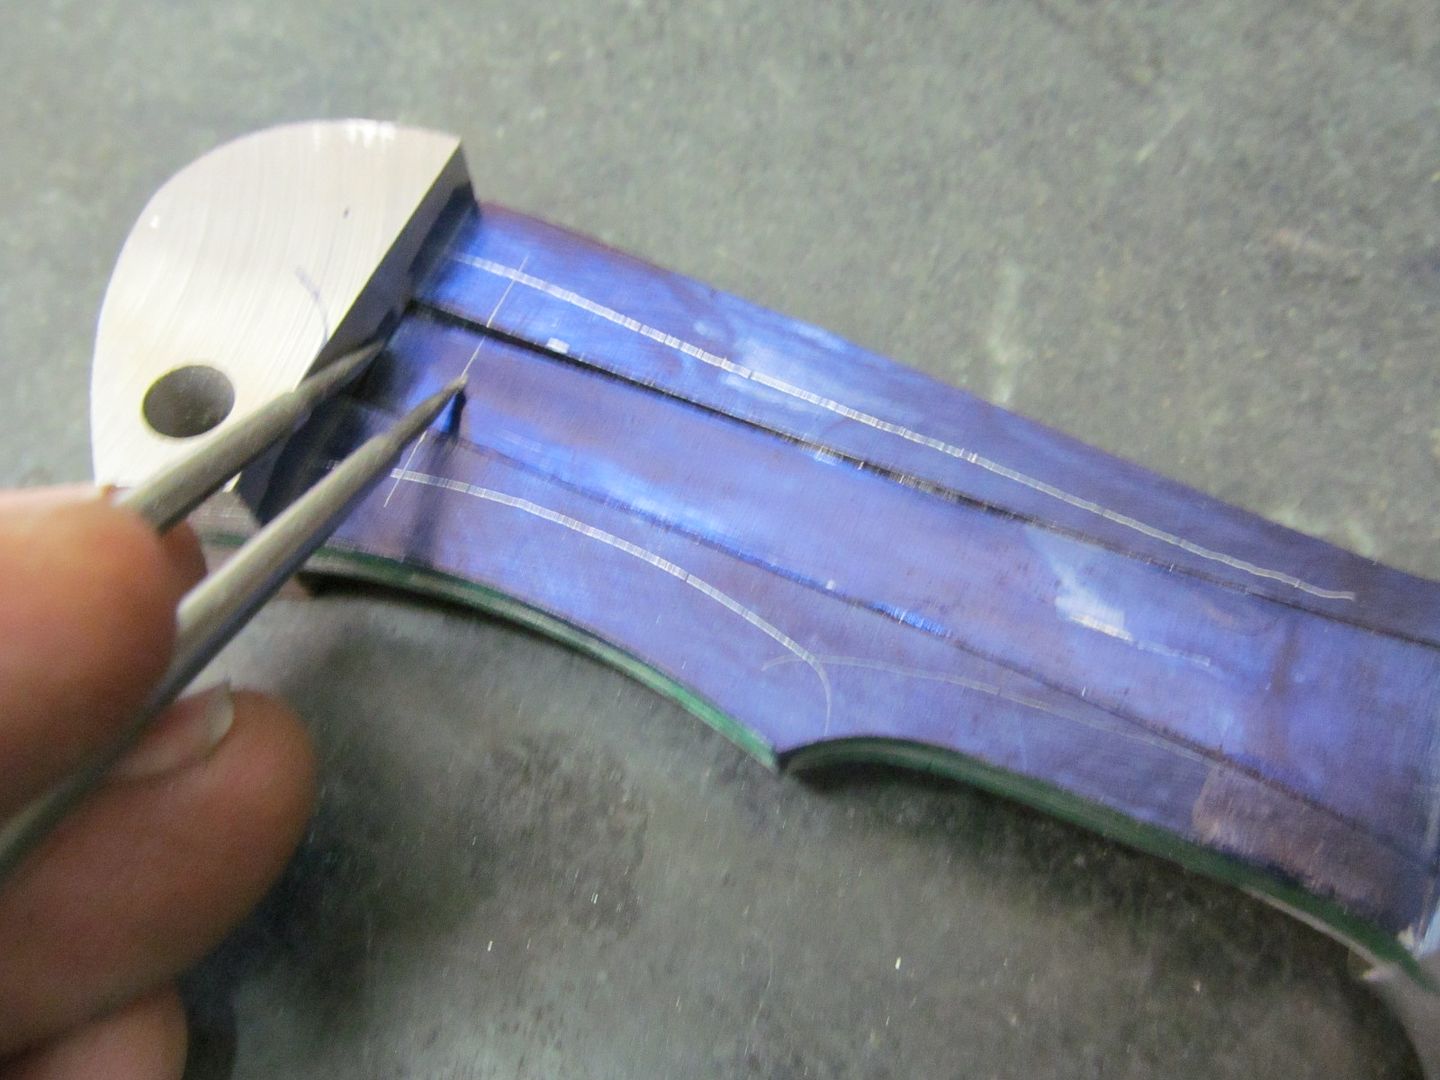
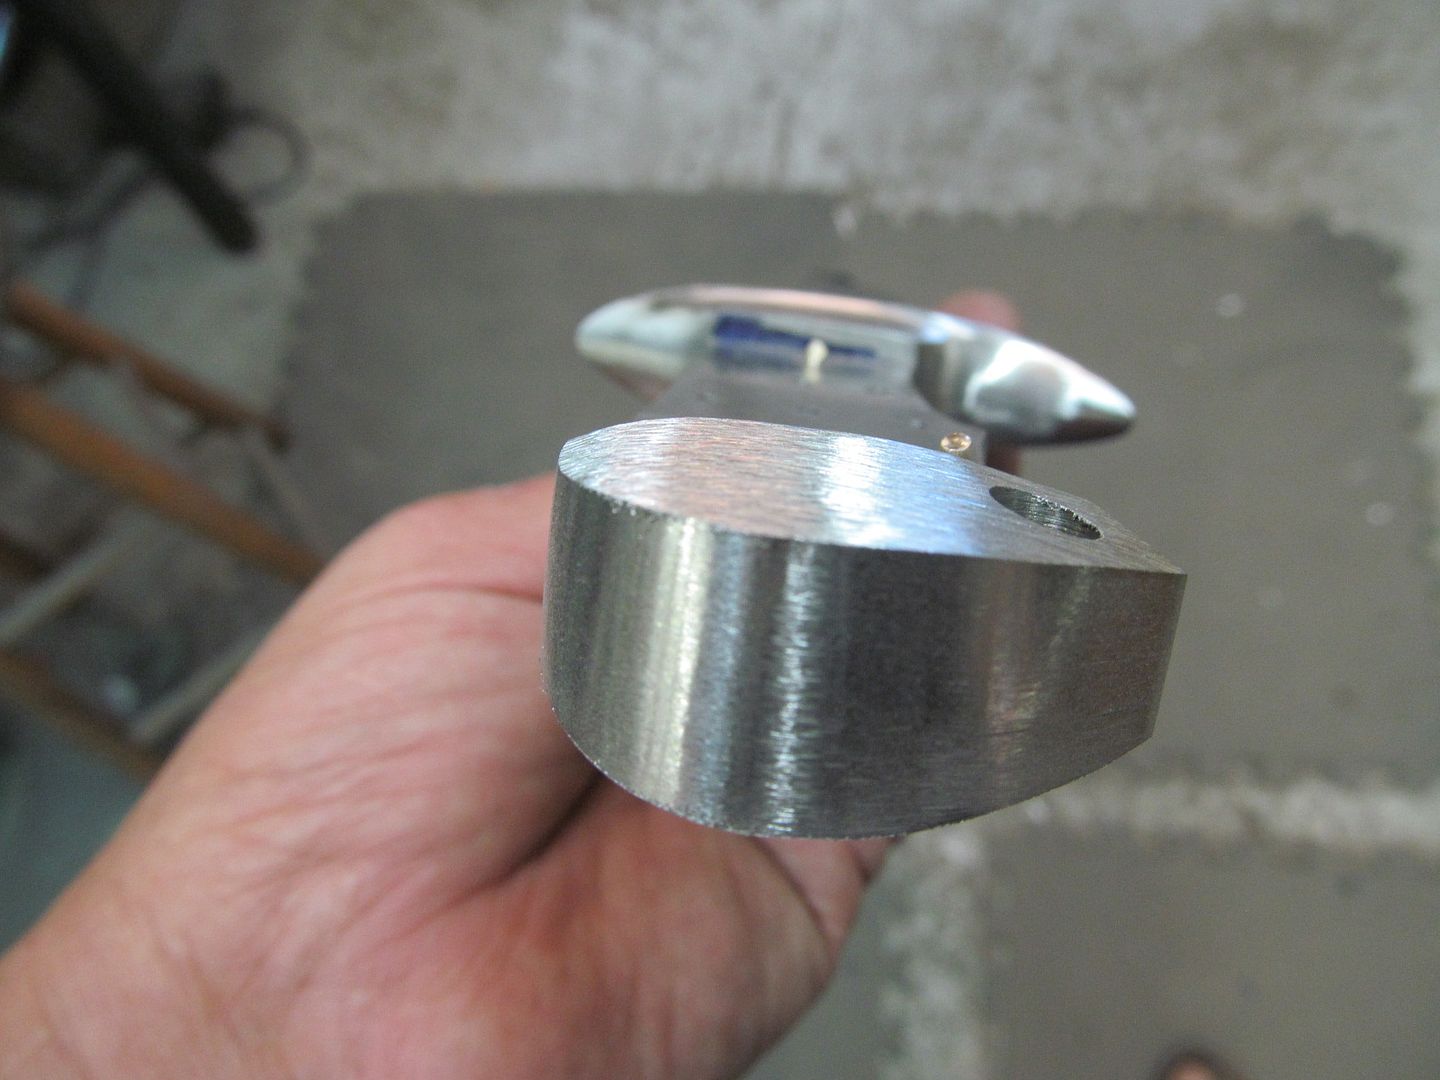
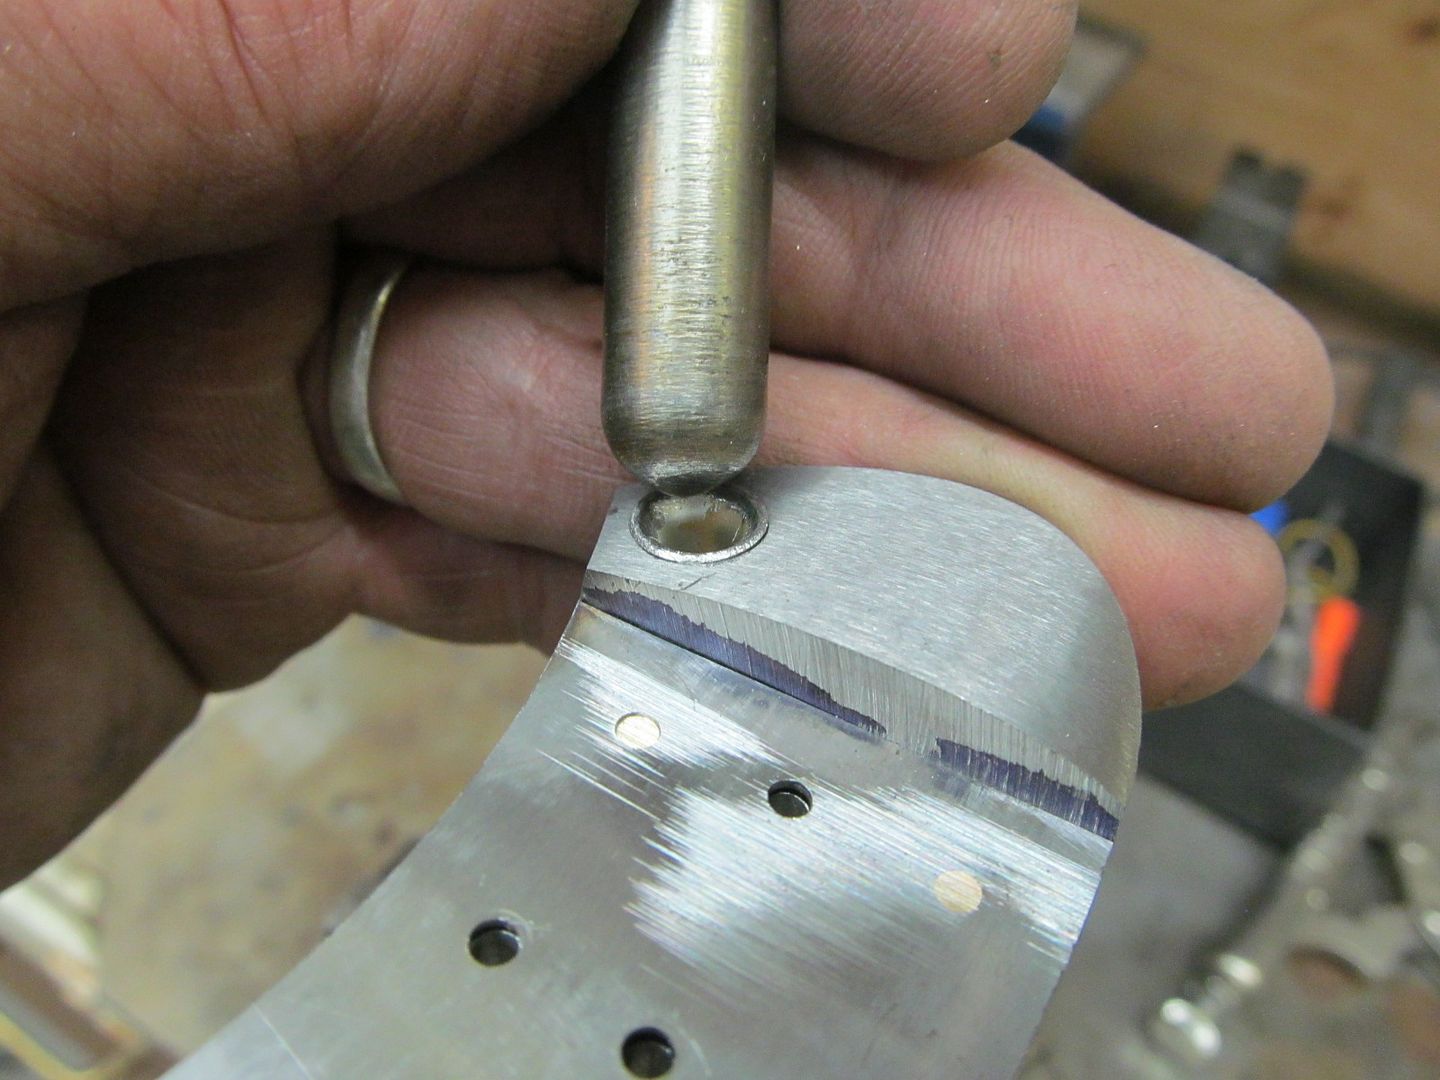
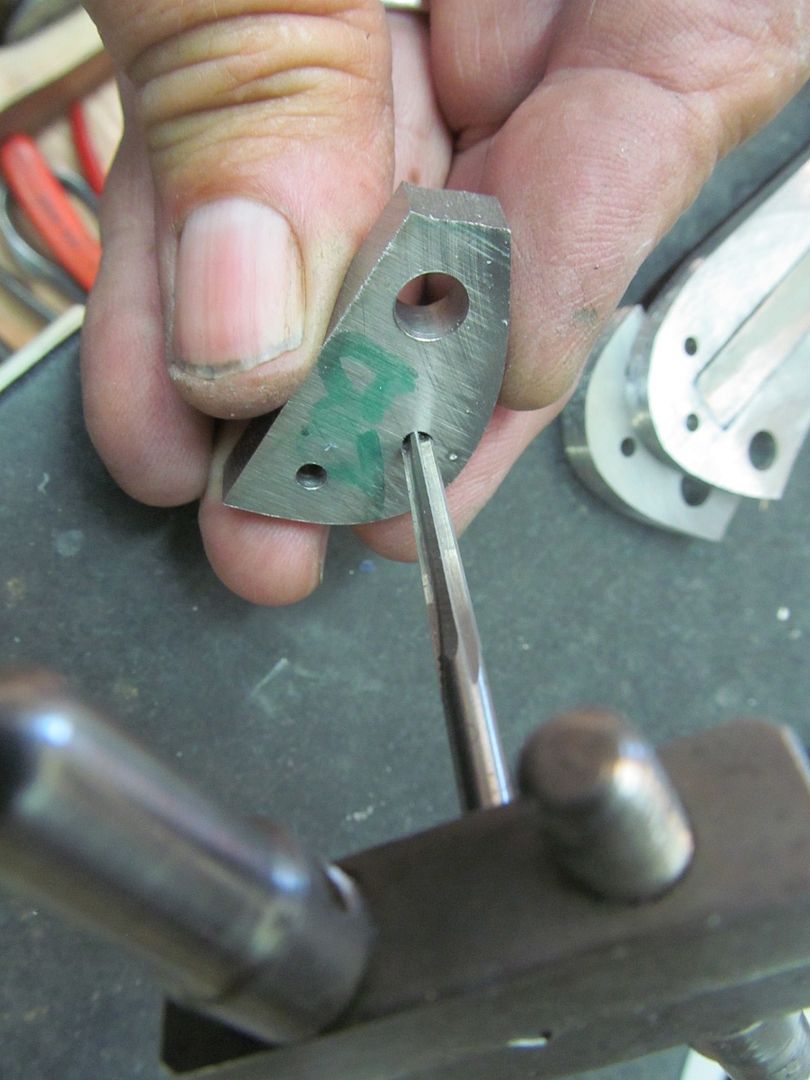
Mark each one "out" so you cant reverse them and using a 2 degree tapered ream by hand remove metal from the "out" side of each. Taper them all the way to the other side not just a little around the top of the hole as the bolsters will be contoured later and the pin wouldnt be tapered enough to hold tight.

IMG_3623_zps32efe90e.jpg


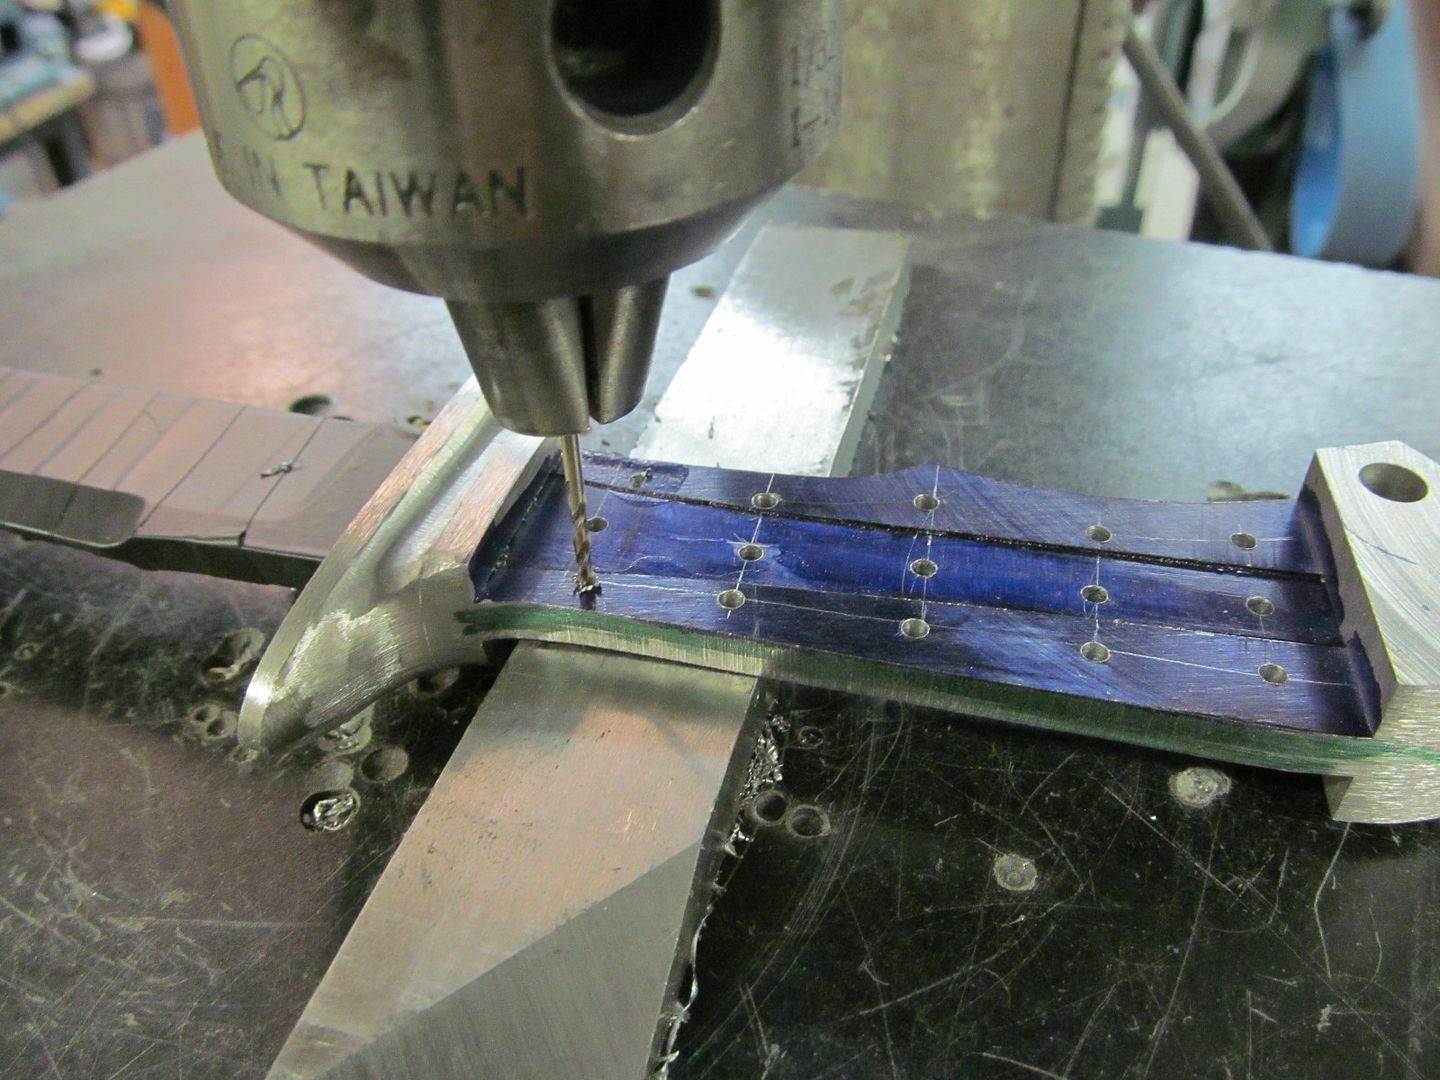
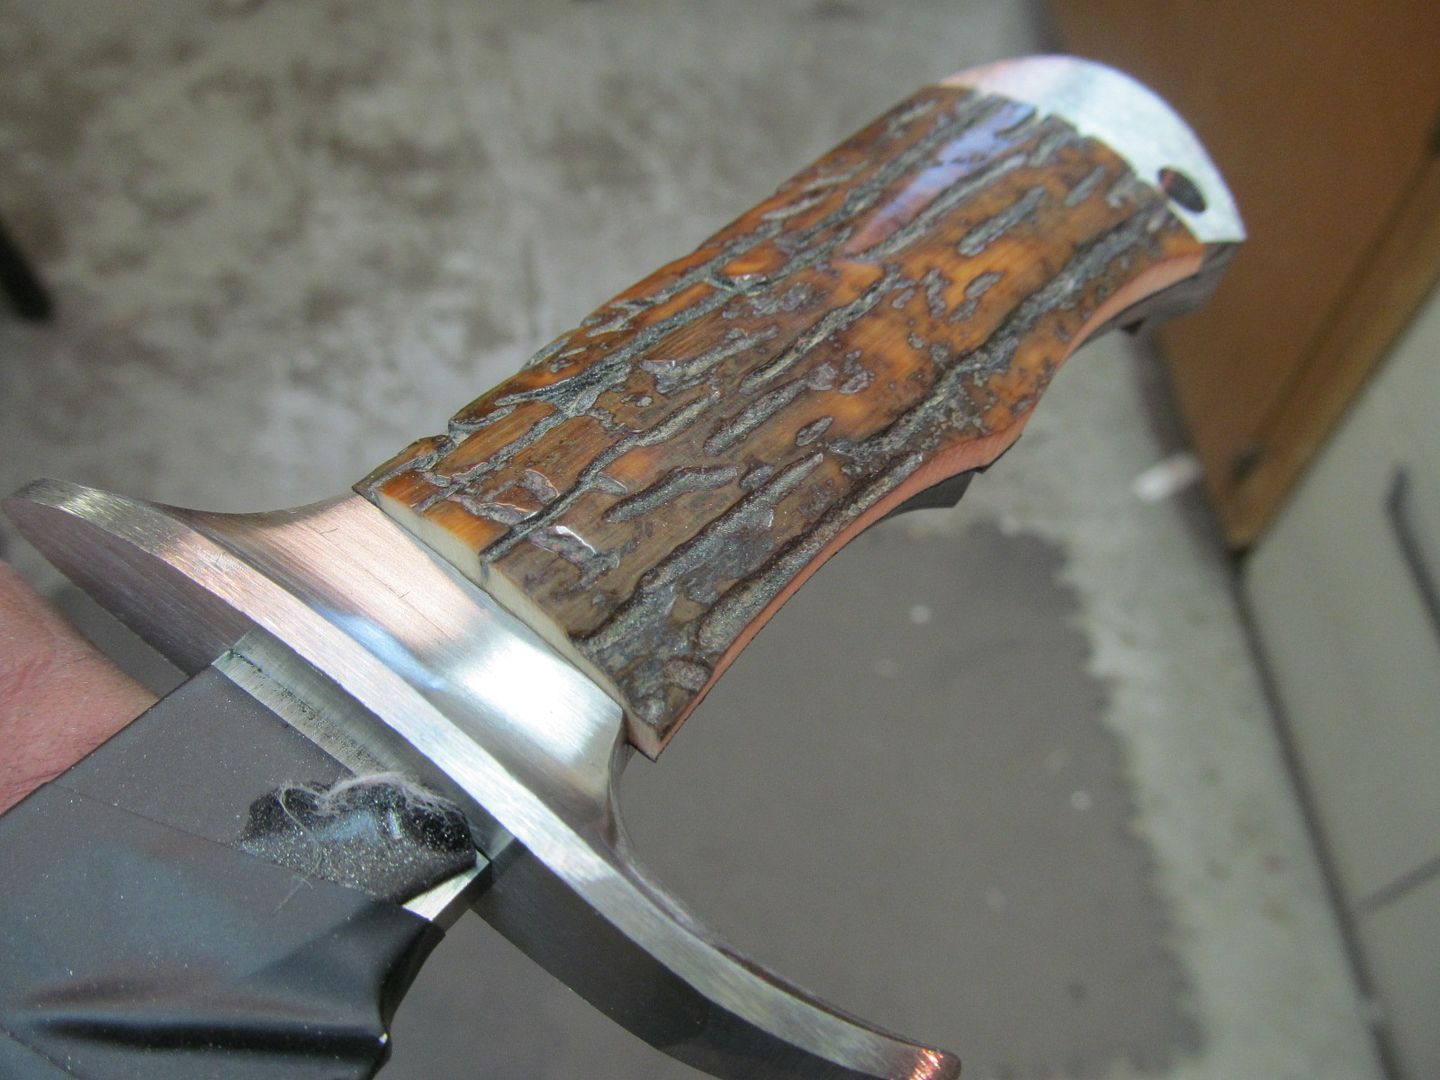
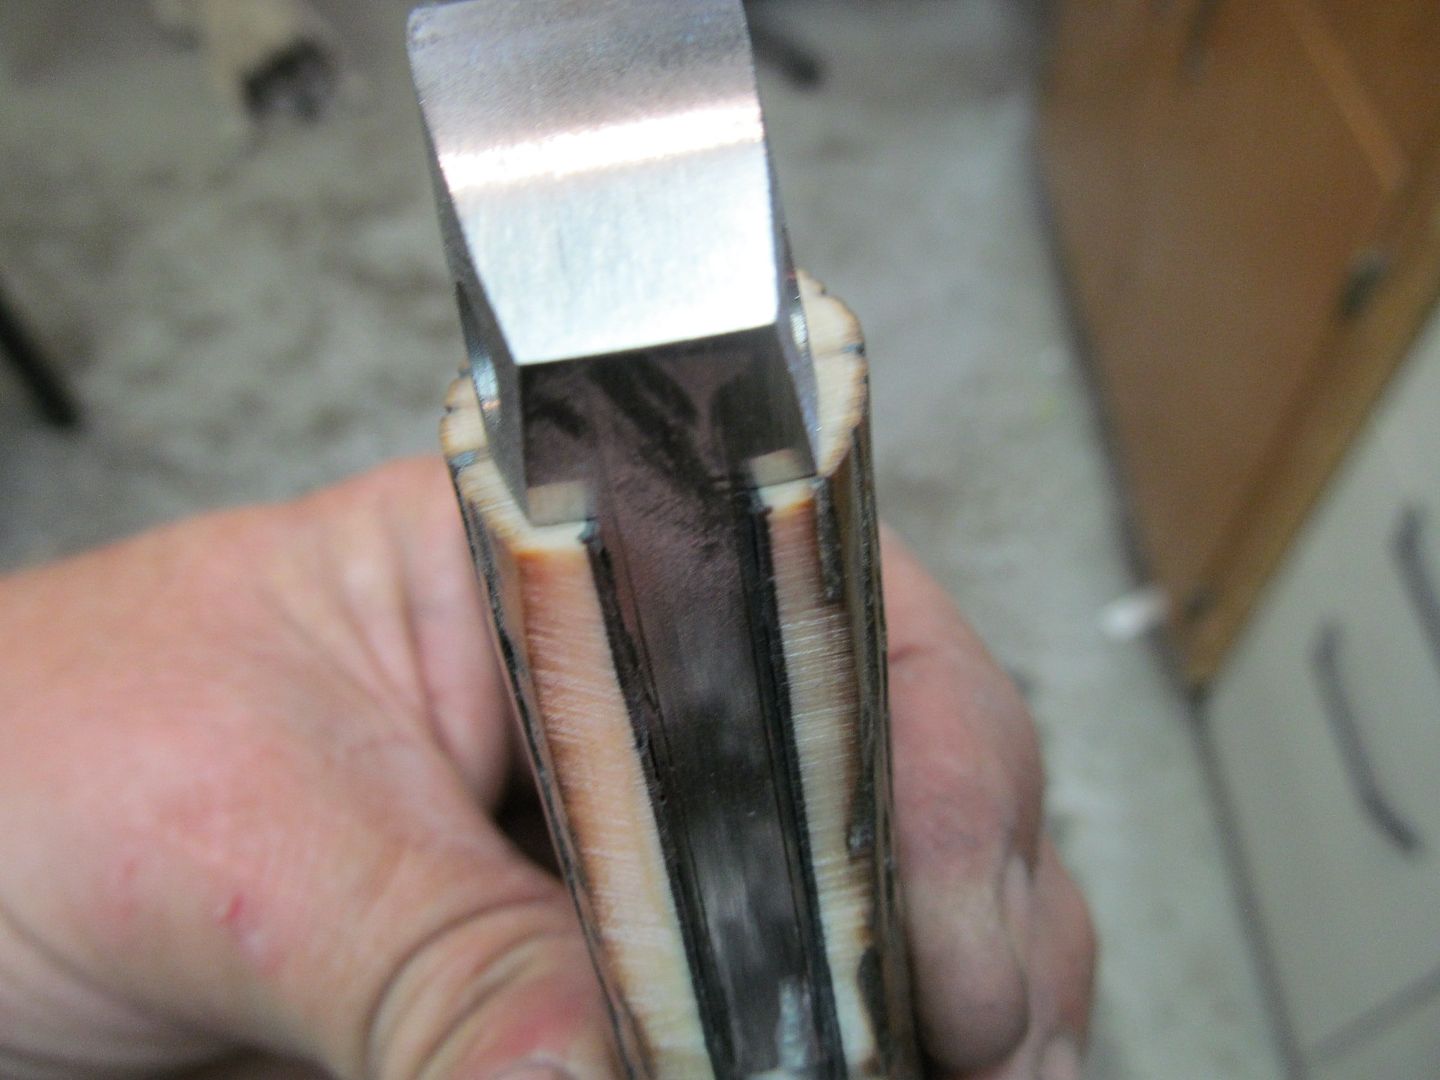
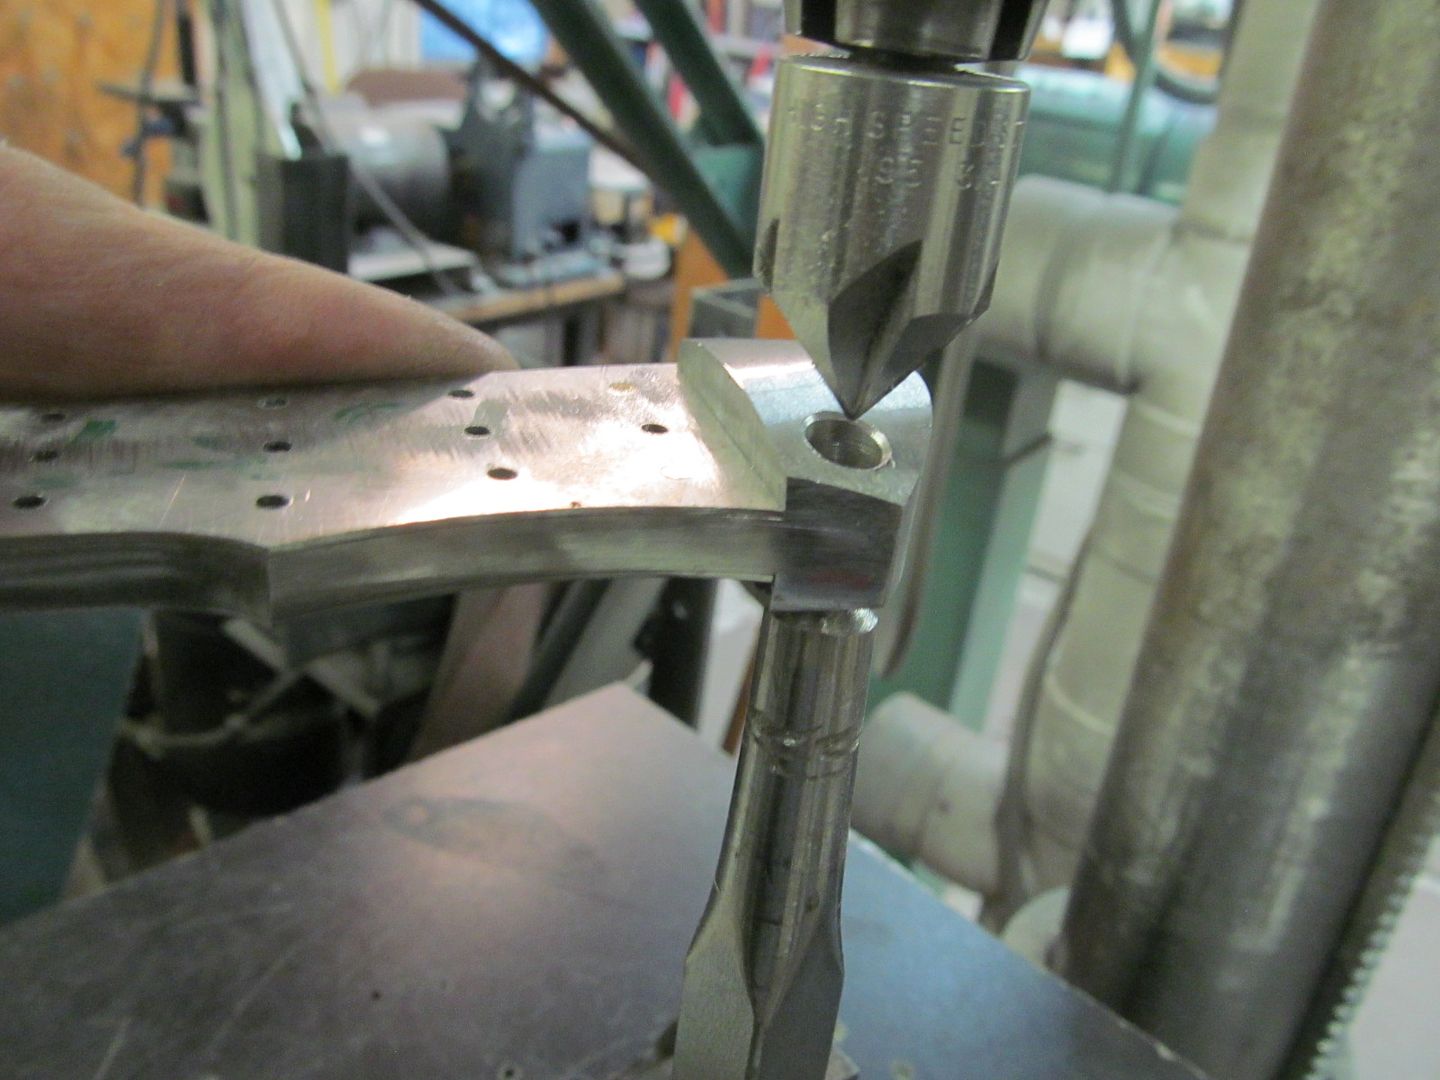
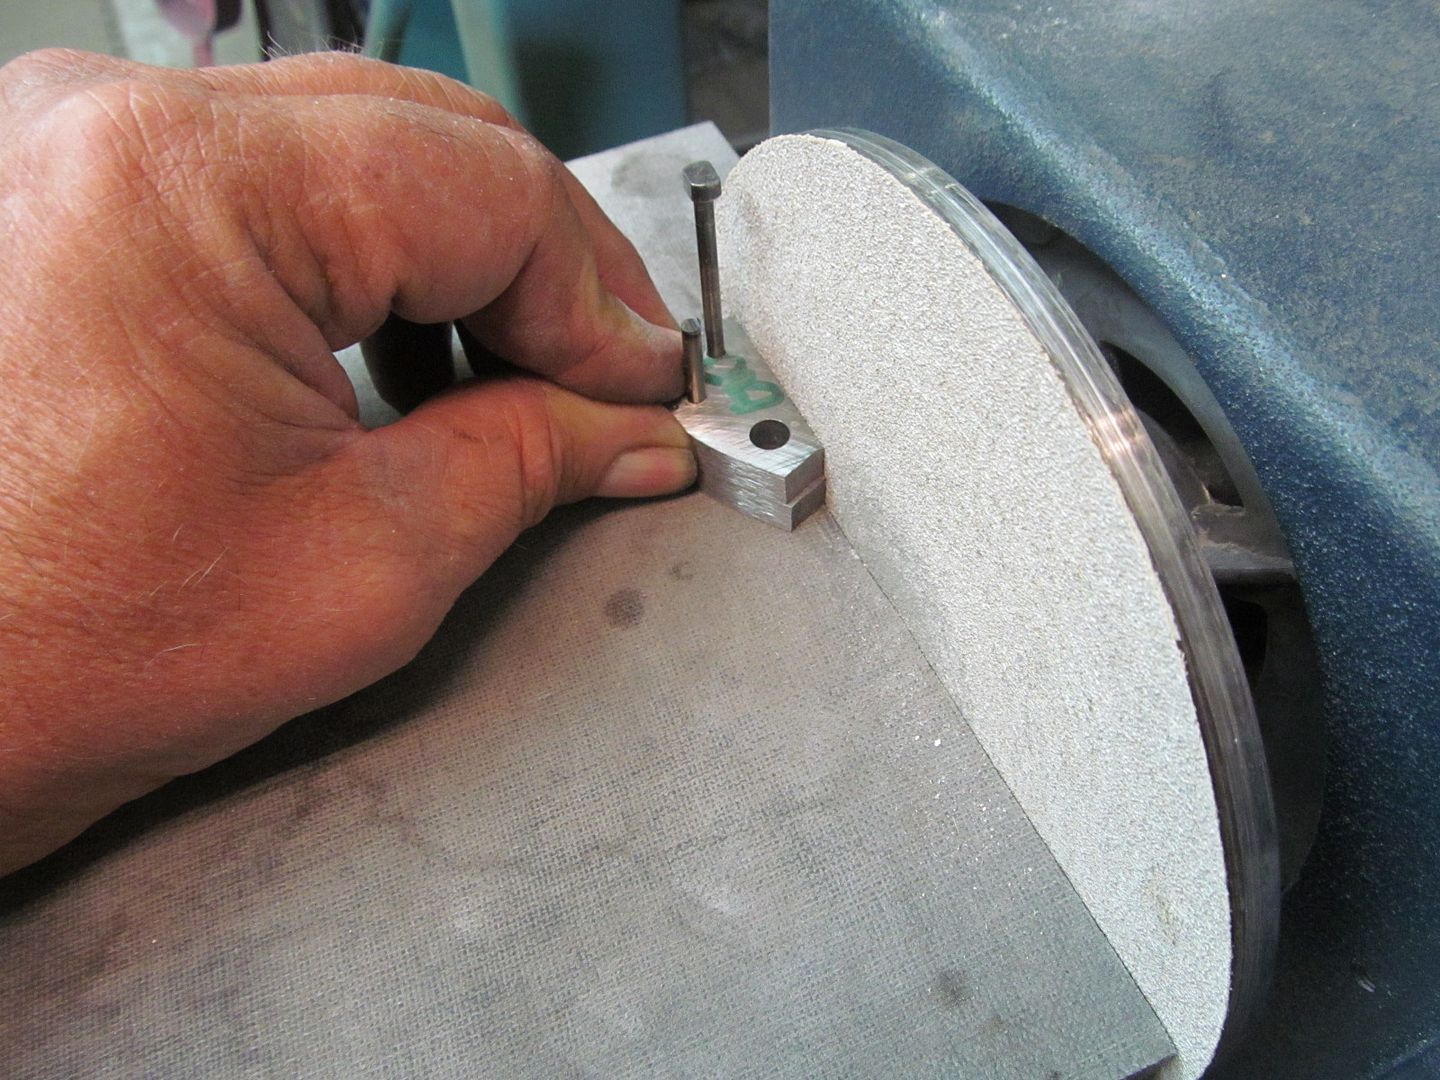
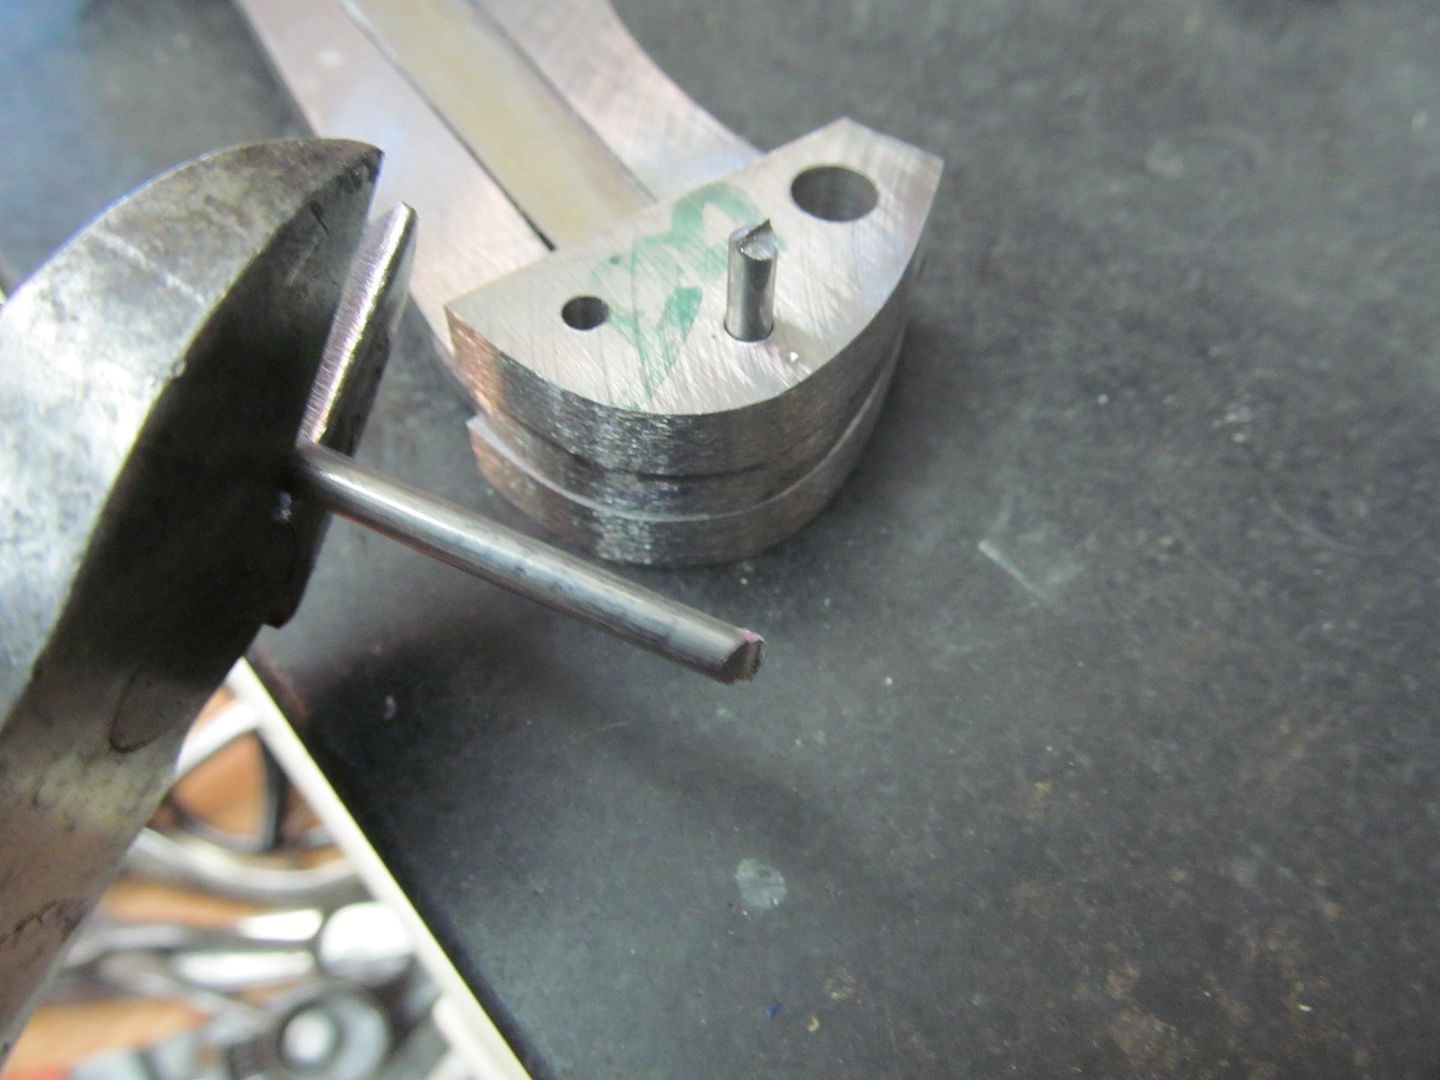
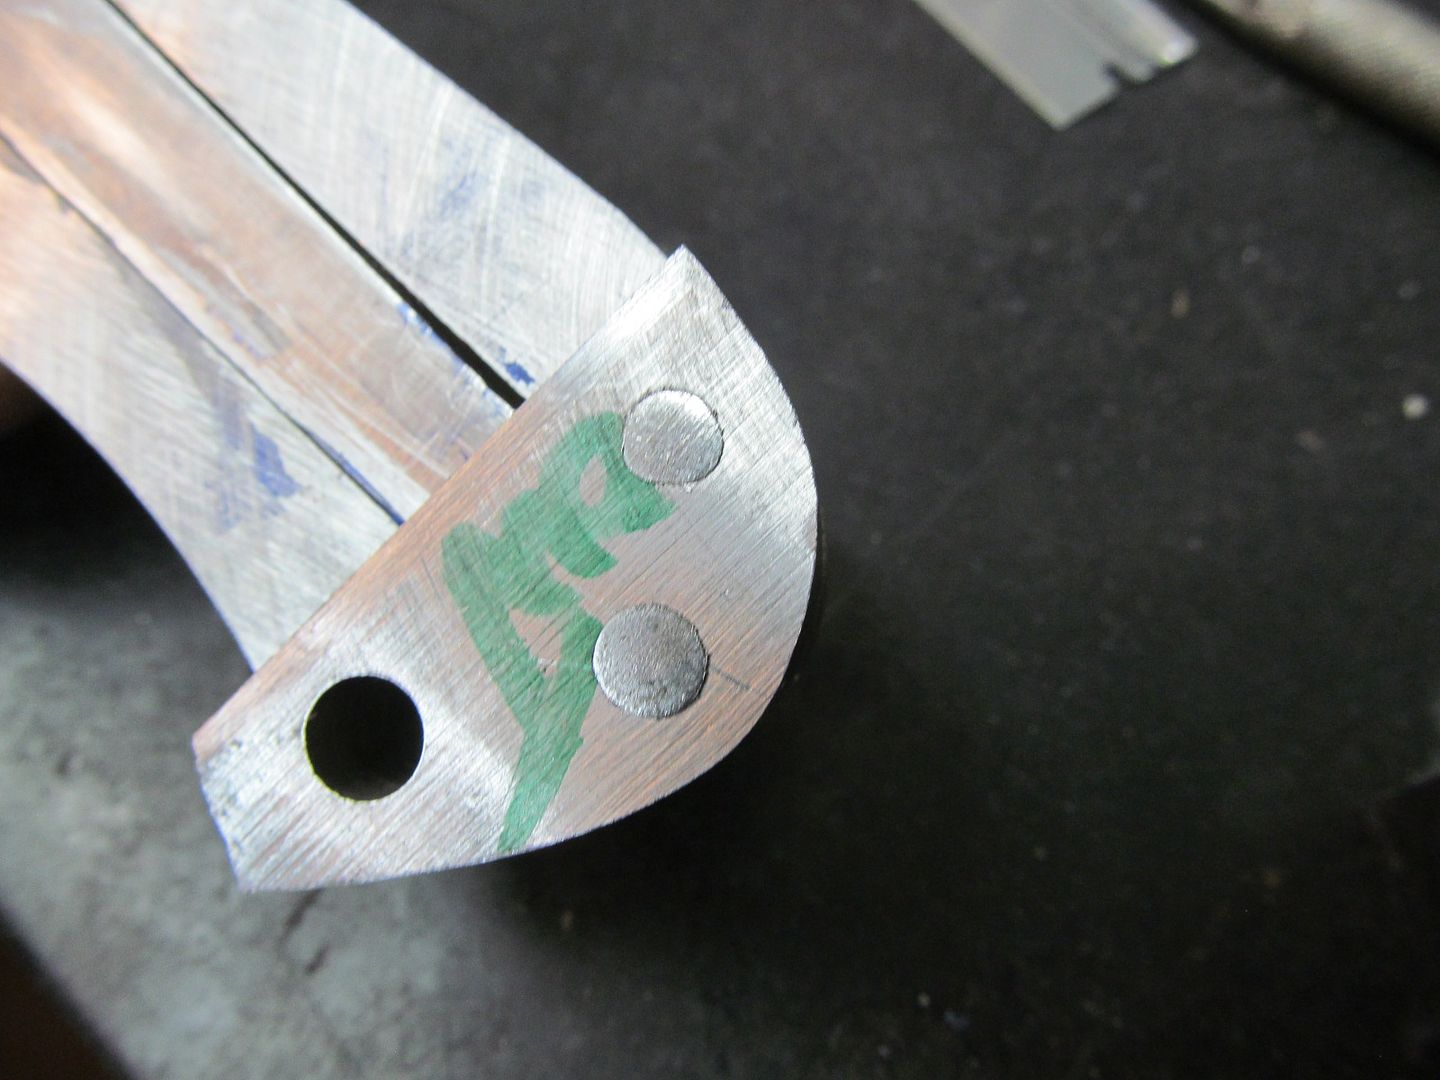
Cut a couple of 1/8" pins and sharpen on end to slip through the assembly. Grind off the pins on both ends so they stand proud about 3/16" and peen them down enough to close up the gaps.

IMG_3624_zpsaf0504a6.jpg


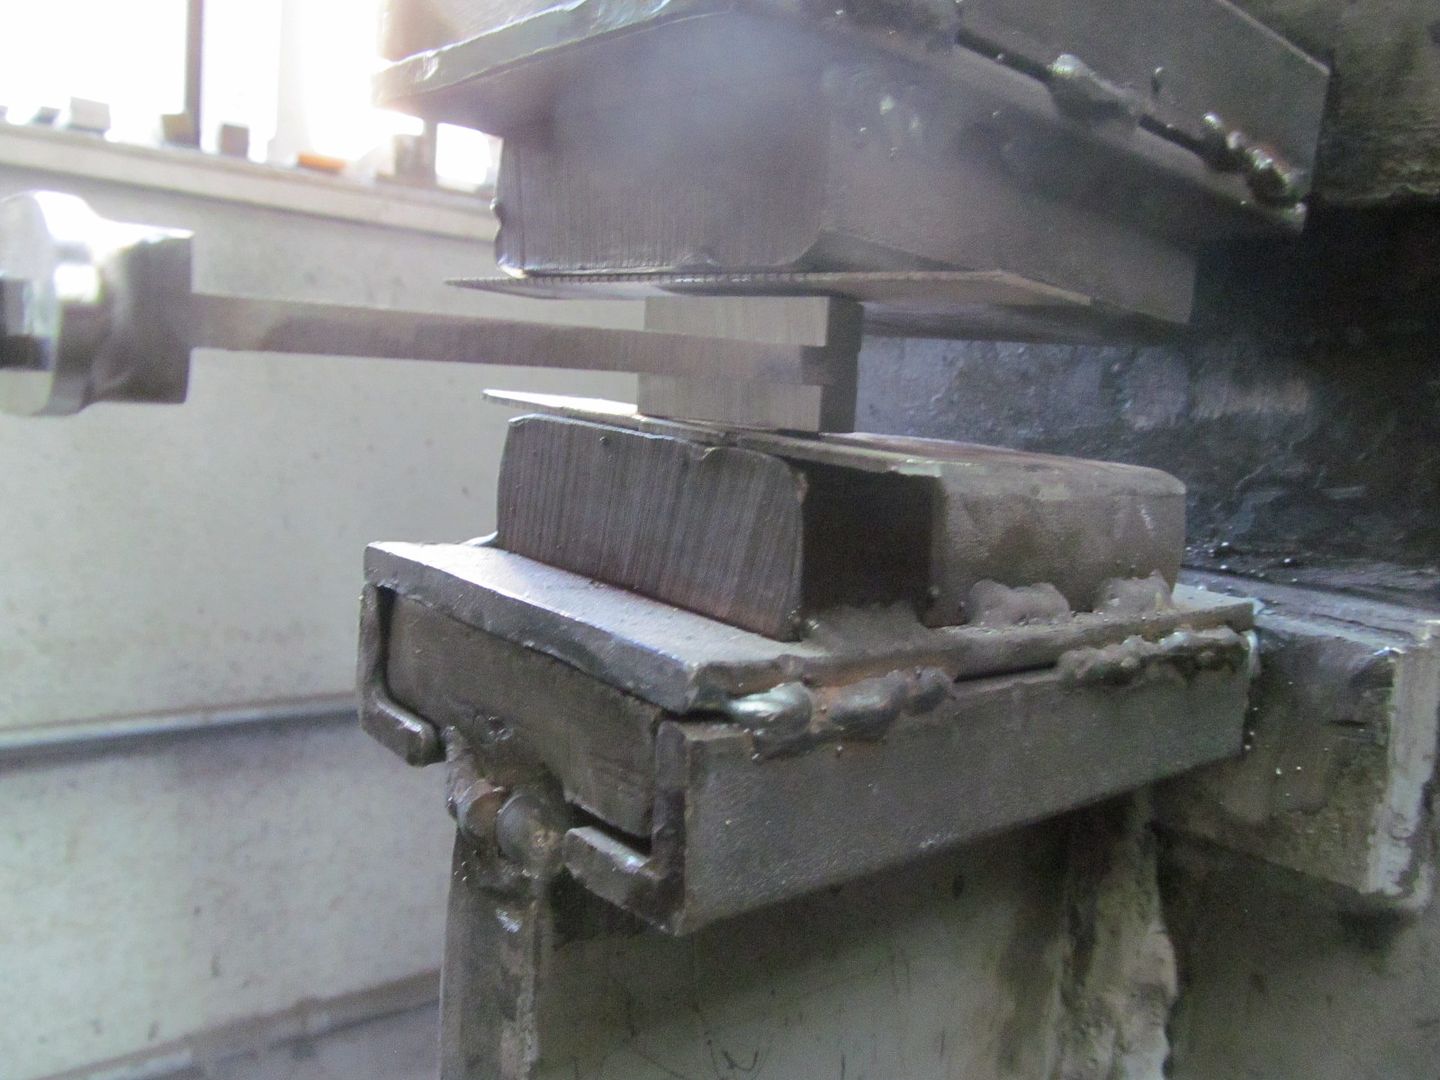
From here I like to press them down with my forging press but a bigger hammer would work too.

IMG_3626_zpsa9453721.jpg


IMG_3627_zps5b54995e.jpg
 
Last edited:
I made a new tight fitting card stock paper template and used it to rough grind the ivory scales. Again the disc table is adjusted to 90 degrees to match the bolsters and the front spacer. Its hard to see but there is a slight taper to the scales so they "wedge" into position and practically hold themselves in place. Heavy duty pins or bolts arent going to be needed. The hidden pins will work nicely.

IMG_3628_zps11224003.jpg


IMG_3629_zpsd83c470a.jpg


IMG_3631_zps581f7bef.jpg


IMG_3632_zps30bfd152.jpg


It must be said that its very very easy to remove too much off the end of the scale and have a gap. I cant say enough about the foot switch on this disc grinder. I can take off just a couple thousands at a time and change my angle just a few degrees by barely touching the ivory to the sand paper and giving the foot pedal a gentle tap. Harbor Freight has them for like $20

Oh forgot to tell you to mark the scales "left" and "right" so you dont end up with 2 lefts or 2 rights. I should know. The arrows always face forward.

Dont think I've forgotten to make the stainless liners, I just cant remember where I put the steel for em.
 
Last edited:
Bruce, this is a great thread and I'm learning so much. One question on the tapered reamer. I found some in MSC, but they are in the $65 range. Are they that expensive? Would you give us the part number and your source?
Thanks so much for all your documentation.
 
Bruce, this is a great thread and I'm learning so much. One question on the tapered reamer. I found some in MSC, but they are in the $65 range. Are they that expensive? Would you give us the part number and your source?
Thanks so much for all your documentation.

Jim I,m in the MSC V79 catalog and found tapered pin reamers for under $20
Heres some numbers
MSC (800) 521-9520
2/0 small end is .1137" large end is .1462" straight flute import part number 02400992 for $14.81
USA number is 72400997 for $28.58
They also have the spiral cut for a few bucks more but the straight cut works fine for me. I,d start with the import unless you plan to do allot of pins.
 
Thanks guys for all the kind words.

I made more progress today, I have the liners cut out and fit to the frame. These liners are 410 stainless steel and only .026" thick. They will be needed to tie the handle to the tang permanently.

I just bandsaw them out oversize and use the disc grinder to carefully fit them to the frame and wedge them in fairly tight to fill any gaps at both ends. I use a rough belt to grind it close to my line.

IMG_3634_zps01d1f310.jpg


IMG_3635_zpsba3e3799.jpg


IMG_3636_zps137017af.jpg
 
Next I lay out a series of 3/32" holes and drill through the frame and tang. The liners are drilled one side at a time and temporarily pinned with just a few pins. The excess liner is ground away to match the tang.

IMG_3638_zps2ecc9dad.jpg


IMG_3639_zpse5ae63ac.jpg


IMG_3641_zps489fc9cf.jpg


IMG_3642_zps82ed610d.jpg


IMG_3643_zps0ef9a7ca.jpg
 
I bought a box of these scalloped edge belts made for blending steels. They work great on these inside curves and dont dig in at the edge like regular belts on the inside radius. They are only 1" wide too so they fit in tighter places.

IMG_3645_zps23513aa1.jpg


The shoe shine method for the top of the guard.

IMG_3648_zpscf2e0f3f.jpg


The contouring of the pommel begins. I dont want to narrow the pommel, just shape it.

IMG_3649_zps38c66a2f.jpg


IMG_3650_zpsf97f4d52.jpg


Checking the scales, I see the fronts will need allot of ivory ground away but thats OK because it adds some nice creamy color as this brown is only skin deep. I have to be really careful to just polish it and not sand the brown away everywhere else. The pommel end just needs to be rounded over.

IMG_3653_zps3470473d.jpg


IMG_3654_zps25181b43.jpg


IMG_3655_zps3b6b4ae1.jpg


This is a good time to check the balance of the bowie. Its nice if the handle isnt too heavy. I simply see where the balance point is and hope it is at the index finger. This one is a tad back but may be better when the ivory is ground away. Sometimes I can drill or remove half moon shapes from the frame to help balance it out. We'll see, I may do that.

IMG_3657_zpsaa082ffc.jpg


The lanyard hole needs a stainless tube. I like to countersink the hole at both ends and swell the tubing against it. This method will help hold the rear bolsters on also. There isnt any epoxy in this method.

IMG_3658_zps8f30dc70.jpg


IMG_3660_zps47070dfb.jpg


IMG_3662_zps88df099c.jpg


Sand down the excess tubing and countersink the tubing just a little so it doesnt have sharp edges.

IMG_3664_zps690e339a.jpg


More tomorrow, thanks again for tuning in each day.
 
Last edited:
Boy, I'm looking forward to rest of this!!! All 15 of those pins will be used? and all hidden?

I've got one of those scalloped belts - I've been waiting to use it.

Ken H>
 
Yep, some of them hold the frame to the tang and the rest hold the scales to the liners. I,m thinking about having just one pin that goes all the way through.
Be sure to use brass pins as temporary pins as they will drive out when the time comes. Dont try that with stainless pins as they lock in place easily.
Boy, I'm looking forward to rest of this!!! All 15 of those pins will be used? and all hidden?

I've got one of those scalloped belts - I've been waiting to use it.

Ken H>
 
Last edited:
Great pictures and descriptions I look forward to looking in on this build, and I'm getting excited about trying a frame handle myself in the coming months.
Thanks
 
Double-bolster is something I've never tried (yet). Thank you again again again for this WIP, as I'm sure I'll be back to reference it in the future.
 
Great pictures and descriptions I look forward to looking in on this build, and I'm getting excited about trying a frame handle myself in the coming months.
Thanks

Me too. When we're done we should start a thread for "Frame Handled Knives Inspired by Bruce's WIP".
 
Thankyou dogs.

Travis, Good idea.
There is so much you can do with framed handles especially if you forge your blades and have a narrow tang. Daggers love framed handles too.
Me too. When we're done we should start a thread for "Frame Handled Knives Inspired by Bruce's WIP".
 
I forgot to mention above that the liner material on this one is stainless but titanium makes great liners especially where weight is a concern. Ti can be heat colored or anodized prior to the final assembly too. One more advantage is titanium can be threaded for removable handle scales. Stainless can also be threaded but since its soft material I worry about the threads stripping out later.
 
Last edited:
Back
Top