yakut knives

That looks complicated. My question, tradition aside, is if that grind is superior to a scandi or flat grind, given the complexity of the build.
What is your take on a scandi grind?
i haven’t done one before. do you run the primary bevels all the way to the edge?
 
What is your take on a scandi grind?
i haven’t done one before. do you run the primary bevels all the way to the edge?
how much meat do you want just behind the edge on a a puukko?

is a puukko a bushcrafter?
I don’t have much experience with scandi grinds and I prefer a flat grind. But yes it’s my understanding that scandi primary bevels terminate at the edge. With a flat grind you can always make the secondary bevel more robust if needed. All the puukkos I’ve seen have keen edges.
Keep in mind this is just my observations.
 
The blade on Scandinavian ground knives should have flat bevels leading right to a finished edge, with no secondary edge. Some people do like to put a slightly heavier angle on the last bit of the edge. Generally they end up as a slightly convex edge, beveled right to an edge. The entire bevel is honed to resharpen them. I prefer them with a diamond shaped cross section. Puronvarsi blades are a good example.
 
The blade on Scandinavian ground knives should have flat bevels leading right to a finished edge, with no secondary edge. Some people do like to put a slightly heavier angle on the last bit of the edge. Generally they end up as a slightly convex edge, beveled right to an edge. The entire bevel is honed to resharpen them. I prefer them with a diamond shaped cross section. Puronvarsi blades are a good example.
I always respected a true Scandi grind for its ease of sharpening alone.
 
Thanks, I'll search it up a little, too,. Now I have more of an idea what to watch for and I'll look at the Puronvarsis. I'd like to see how to sharpen grinds that come to zero. I want to figure out this knife - how it works and how it sharpens.

I used it a little and the flat/convex positions made more sense to me. When I turned the knife to cut toward me it worked just like a chisel, leaving a flat clean side with the rest falling away. So - I'm learning anyway.


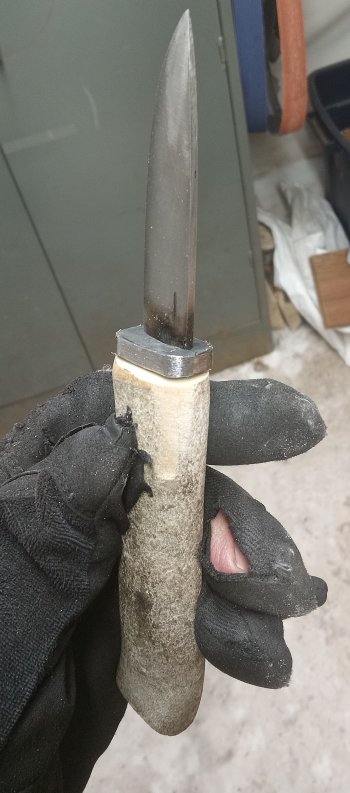
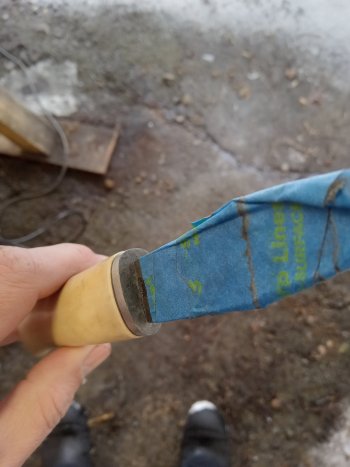
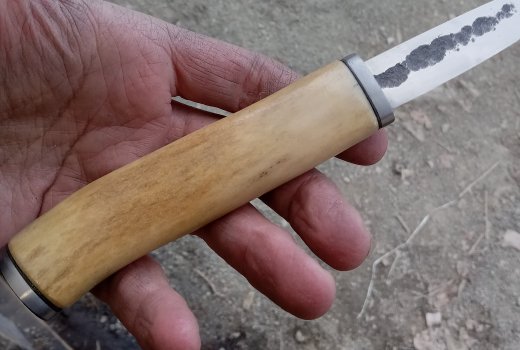
This little guy is coming along. Handle material is weathered caribou.
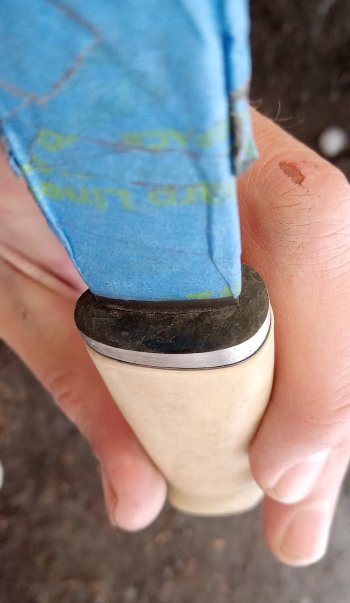
Bolster is mild steel and just about fit. Planning to leave a hammered face and forge scale.
20240223_160634.jpg
20240229_201607.jpg
The tang hole is still a little oversized in the center of the convex side. I'm hoping to hammer that closer. The flat side is tight as possible and shoulders are flat.
20240229_201603.jpg
Guard was hot fit to help form the convex side. Unsure if I created a weak spot with the added heat.
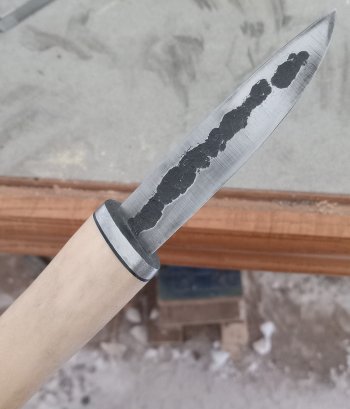
**No knife I have sold has this temperline at this point. This one will be for me to learn how it cuts.**

I've got another, larger, one heat treated and ready for grinding. Just want to figure out that edge.
 
Since the handle material is already pretty old and not stabilized, I'm doing two bolsters with a tang extension.

Even though it is weathered it will clean up. Honestly, I hope I didn't create a weak area above the bolster and I have this for a long time.
 
Second knife is in the recycle bin. I had a hard time refining the grain, so it was getting smaller and smaller like this one.

This video has additional photos on the grind and shows a knife with a fuller higher up from the edge than most of the other yakut knives I've seen so far online.

It's in Russian but just watching it was good. I have found a handful of threads and videos in English that've helped to get me started. But it seems like most of the info out there is in Russian.

He's also got a short one, maybe that was also his first.
 
Working on my first heirloom fit. It went well near the front, the rear bolster is questionable.
20240328_110724.jpg
Line up pins changed the way I built knives. Definitely important for doing this.
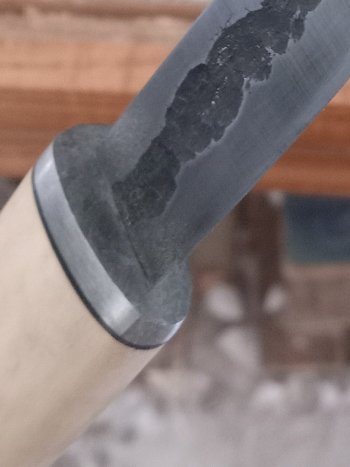
The earlier pictures show that I had everything flush. I removed the antler, scribed a line on the bolster/black liner and took it all down to that line. Then just beveled the antler. Not sure if that's the right way or not.
20240328_110814.jpg
20240328_110852.jpg
Front bolster, both sides
 
I tried the same thing on the rear. This is where I got a little carried away. The antler is old and dry so it disappeared fast under 80 grit.

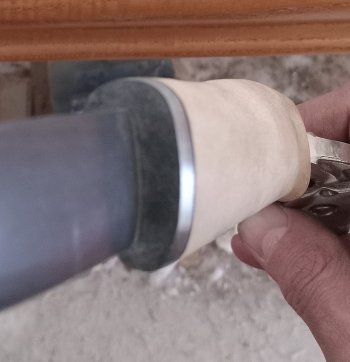
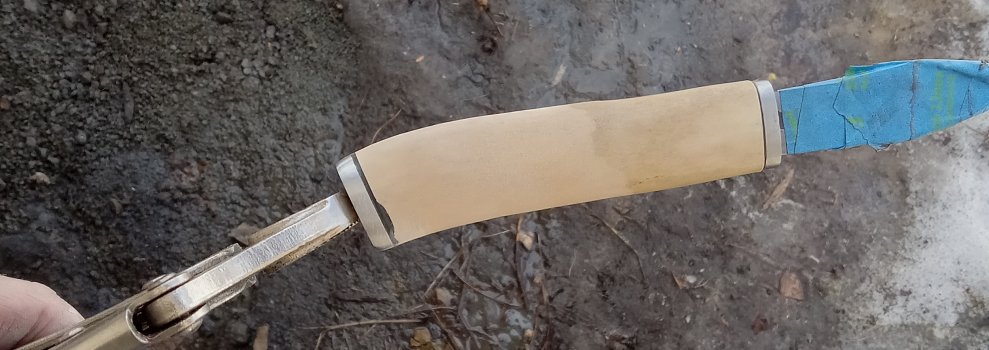
I used channel locks to hold it tight for shaping. I'm going to peen the end of the tang over, so I didn't want threads.
20240327_150458.jpg

20240328_112108.jpg
20240328_110840.jpg
The gap at the front closes up
 
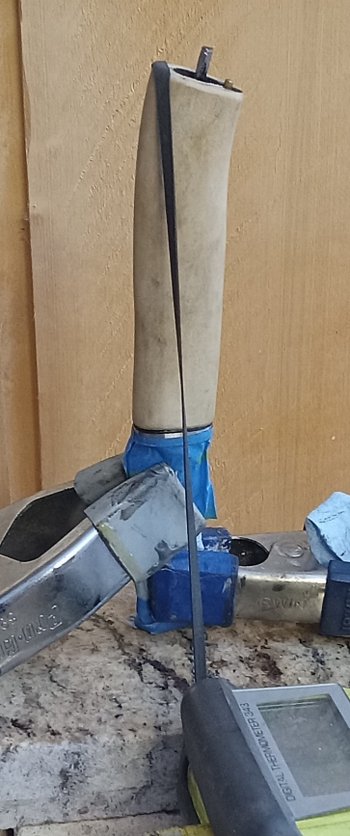
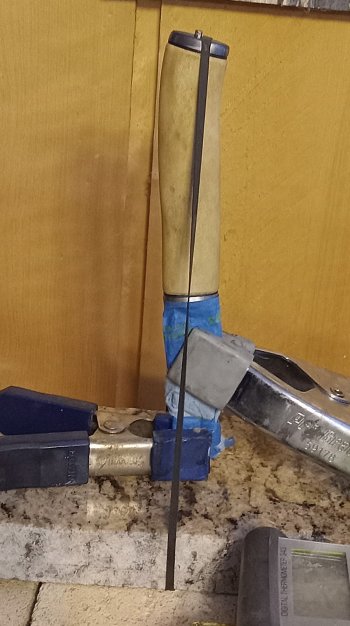
Since the back of the handle is kinda canted I glued it up in two stages throughout the day today. I didn't think I could keep the joints closed with what I have. Also because of the cant, I'm going to let this cure 72 hrs before I peen over the tang.
20240413_113125.jpg
20240413_194400.jpg
 
Back
Top