Alden Cole
Well-Known Member
Hey guys, this was a tutorial I posted up on my website a while back, thought I would post it here for any beginners as just a basic build along.
April 6, 2020
This tutorial is a very basic one, but hopefully it will give you some insight into how I make knives. There is a ton of info on the internet about knife making. Check out Ed Caffrey, Poor Folk Bows, and Simple Little Life for starters. Now for how I make a knife. Obviously there are a million ways to make a knife, this is just the way that I currently do it. A knife starts out with a drawing. This is a custom knife, so I drew out multiples to see which one looks best.

This one was chosen, so I printed it onto cardstock and cut it out. Check it in your hand and make sure it feels right.

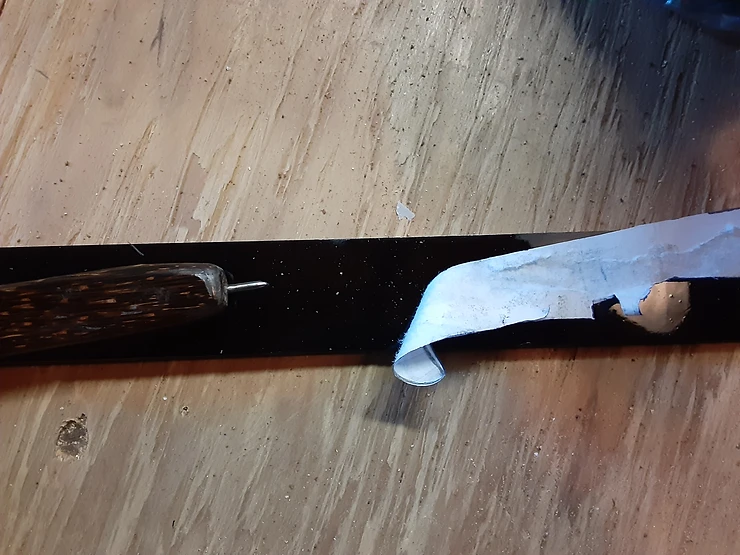
You can glue it on your steel, but then you wouldn't have a pattern. I lay it on my piece of steel and use a scribe to trace it out. You can also use a sharpie. I sprayed the steel with paint so that I could see the scribe lines, but you could also use machinist fluid or a large sharpie, it just takes longer. You can make a decent scribe by taking an old broken drill bit (preferably 1/16 to 1/8), and grinding it to a point without producing to much heat and ruining it's temper. Then stick it in a piece of wood, antler etc. I have a bunch of scraps laying around so it is great for those.
I cut the outline out on my portable variable speed bandsaw. A friend helped me build this table to set the bandsaw upright. I use 18 tpi blades and turn the speed way down. Watch your fingers. You could also use a SHARP hacksaw, angle grinder etc, but if you get serious, buy a bandsaw.

I profile it out on my 2x72 grinder. If you don't have a 2x72, you can use files, angle grinders, 1x30s etc. I start out with a 36, 80, 120, and then a coarse scotchbrite belt. I put a 5 gallon bucket under my grinder to catch the sparks and dust and also use it to cool down the knife blank. You will be making a lot of dust and sparks. Always wear a respirator, safety glasses, and hearing protection. I always wear my baseball cap while working on knives. Just because.

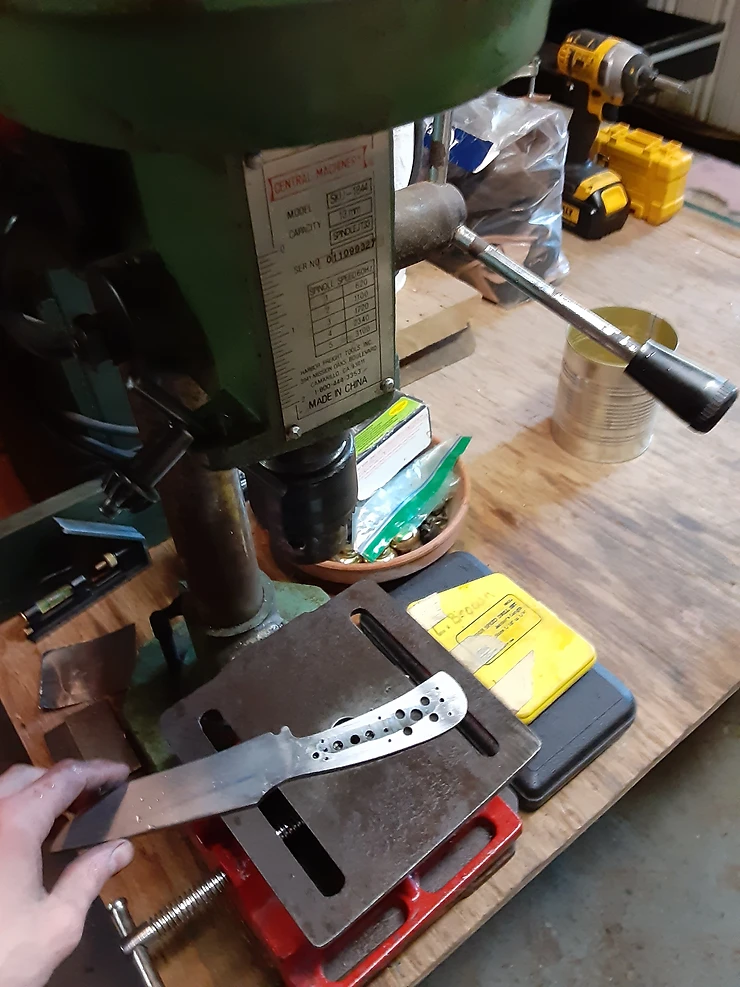
Once you are completely finished profiling the knife you can start drilling out holes with a drill press. I drill extra holes that will not hold pins, but will reduce weight and let epoxy form a strong bond. For most of my knives I use 1/8 and 3/32 pins. I like those sizes. Also notice I put in a Spanish notch/choil with a chainsaw file. This makes it easier to sharpen without scratching up the bevel.
Grinding the bevel. Probably the trickiest part so far, but there are plenty of resources out there so I won't go into a ton of detail. Mark your center line down the edge of the blade with a sharpie and drill bit on a flat surface. Start a 45 degree angle and knock off the corner of the edge with an old belt as it will shred a new belt unnecessarily. Work your way up from the edge. The general rule for edge thickness pre heat treat is the thickness of a dime. I take my bevels pre heat treat to 120 or a coarse scotchbrite.

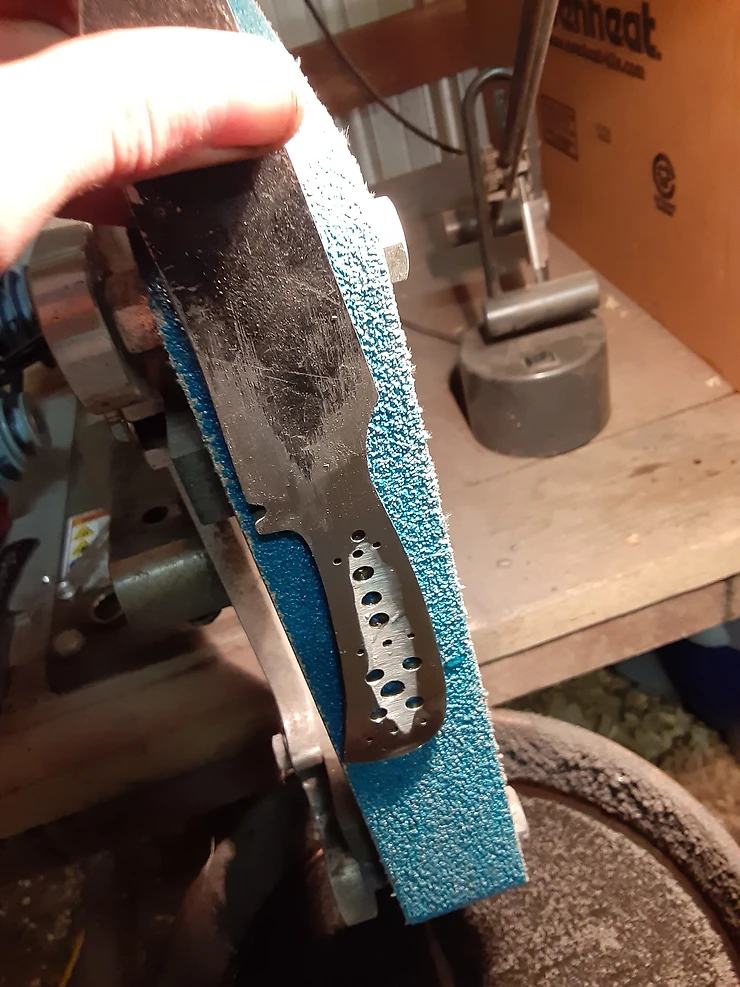
This knife is a full tang with stock over 3/16 in thick, so I taper the tang. If you are working with thinner stock, this is not necessary. Tapering the tang lightens unnecessary weight and shows a skill that is not always easy to do right. I first mark the butt with scribe lines showing how far I want to grind down to. Then I will take a small wheel (probably 1.5 in?) and carve a trough down the middle of the handle, right through to the end. This picture was actually taken after the next step, so the trough does not go all the way to the butt. I wouldn't advise tapering the tang if you have limited tools.

Then I lay it down this way on the flat platen and grind it to those marked lines. I finish flattening it on the disk grinder.
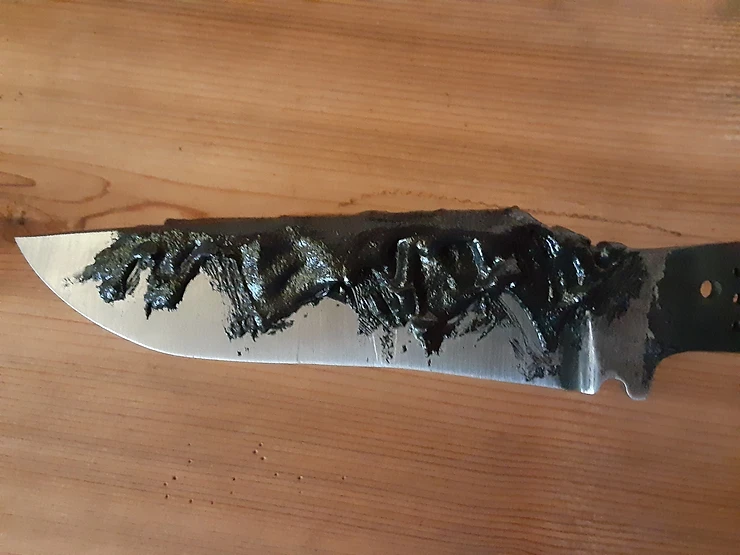
This is 1075 high carbon steel and as such is capable of producing a hamon, which is basically where the spine of the knife is soft and the edge is hard. The clay retains heat during the quench making it cool down slower and not become hard like the edge. Once the blade is almost finished, you etch it in acid and the acid will eat at the different hardness's of steel differently, hopefully revealing a hamon. I am definitely not an expert at this, but it is kind've fun. I use furnace high temp clay.
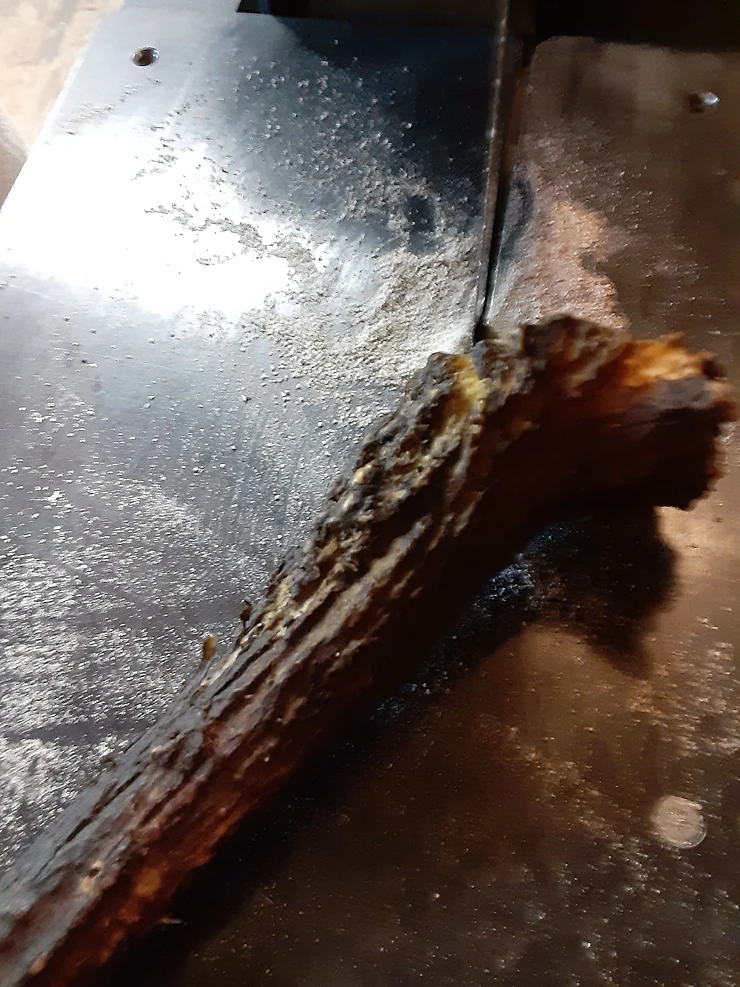
This fellers gonna have elk scales, and I will try to leave as much of the crown and bark on as possible. We will see how it goes. Here I am cutting it in half. I fill the pith up with very thin super glue and then flatten the scales on the disk sander.
Ready for heat treat.

I'll be heat treating in my oven, which Evenheat was very, very generous about. You could also use a forge or MAP gas torch, or something else. Get it to critical temperature (around 1450), and quench in some type of oil. Previously I had done some normalizing cycles, but that is not necessary.
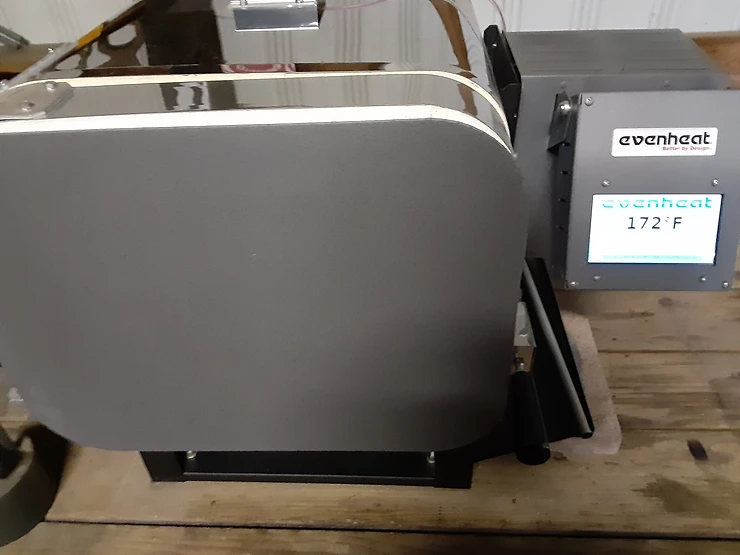
I quench in canola oil. I hope to upgrade to some better type of oil soon, but canola gets the job done. Heat the oil till it is warm to the touch, about 120*? I just dip a hot railroad spike in it till it gets to the right temperature.
April 6, 2020
This tutorial is a very basic one, but hopefully it will give you some insight into how I make knives. There is a ton of info on the internet about knife making. Check out Ed Caffrey, Poor Folk Bows, and Simple Little Life for starters. Now for how I make a knife. Obviously there are a million ways to make a knife, this is just the way that I currently do it. A knife starts out with a drawing. This is a custom knife, so I drew out multiples to see which one looks best.
This one was chosen, so I printed it onto cardstock and cut it out. Check it in your hand and make sure it feels right.
You can glue it on your steel, but then you wouldn't have a pattern. I lay it on my piece of steel and use a scribe to trace it out. You can also use a sharpie. I sprayed the steel with paint so that I could see the scribe lines, but you could also use machinist fluid or a large sharpie, it just takes longer. You can make a decent scribe by taking an old broken drill bit (preferably 1/16 to 1/8), and grinding it to a point without producing to much heat and ruining it's temper. Then stick it in a piece of wood, antler etc. I have a bunch of scraps laying around so it is great for those.
I cut the outline out on my portable variable speed bandsaw. A friend helped me build this table to set the bandsaw upright. I use 18 tpi blades and turn the speed way down. Watch your fingers. You could also use a SHARP hacksaw, angle grinder etc, but if you get serious, buy a bandsaw.
I profile it out on my 2x72 grinder. If you don't have a 2x72, you can use files, angle grinders, 1x30s etc. I start out with a 36, 80, 120, and then a coarse scotchbrite belt. I put a 5 gallon bucket under my grinder to catch the sparks and dust and also use it to cool down the knife blank. You will be making a lot of dust and sparks. Always wear a respirator, safety glasses, and hearing protection. I always wear my baseball cap while working on knives. Just because.
Once you are completely finished profiling the knife you can start drilling out holes with a drill press. I drill extra holes that will not hold pins, but will reduce weight and let epoxy form a strong bond. For most of my knives I use 1/8 and 3/32 pins. I like those sizes. Also notice I put in a Spanish notch/choil with a chainsaw file. This makes it easier to sharpen without scratching up the bevel.
Grinding the bevel. Probably the trickiest part so far, but there are plenty of resources out there so I won't go into a ton of detail. Mark your center line down the edge of the blade with a sharpie and drill bit on a flat surface. Start a 45 degree angle and knock off the corner of the edge with an old belt as it will shred a new belt unnecessarily. Work your way up from the edge. The general rule for edge thickness pre heat treat is the thickness of a dime. I take my bevels pre heat treat to 120 or a coarse scotchbrite.
This knife is a full tang with stock over 3/16 in thick, so I taper the tang. If you are working with thinner stock, this is not necessary. Tapering the tang lightens unnecessary weight and shows a skill that is not always easy to do right. I first mark the butt with scribe lines showing how far I want to grind down to. Then I will take a small wheel (probably 1.5 in?) and carve a trough down the middle of the handle, right through to the end. This picture was actually taken after the next step, so the trough does not go all the way to the butt. I wouldn't advise tapering the tang if you have limited tools.
Then I lay it down this way on the flat platen and grind it to those marked lines. I finish flattening it on the disk grinder.
This is 1075 high carbon steel and as such is capable of producing a hamon, which is basically where the spine of the knife is soft and the edge is hard. The clay retains heat during the quench making it cool down slower and not become hard like the edge. Once the blade is almost finished, you etch it in acid and the acid will eat at the different hardness's of steel differently, hopefully revealing a hamon. I am definitely not an expert at this, but it is kind've fun. I use furnace high temp clay.
This fellers gonna have elk scales, and I will try to leave as much of the crown and bark on as possible. We will see how it goes. Here I am cutting it in half. I fill the pith up with very thin super glue and then flatten the scales on the disk sander.
Ready for heat treat.
I'll be heat treating in my oven, which Evenheat was very, very generous about. You could also use a forge or MAP gas torch, or something else. Get it to critical temperature (around 1450), and quench in some type of oil. Previously I had done some normalizing cycles, but that is not necessary.
I quench in canola oil. I hope to upgrade to some better type of oil soon, but canola gets the job done. Heat the oil till it is warm to the touch, about 120*? I just dip a hot railroad spike in it till it gets to the right temperature.


")


