Dan Seaver
KNIFE MAKER
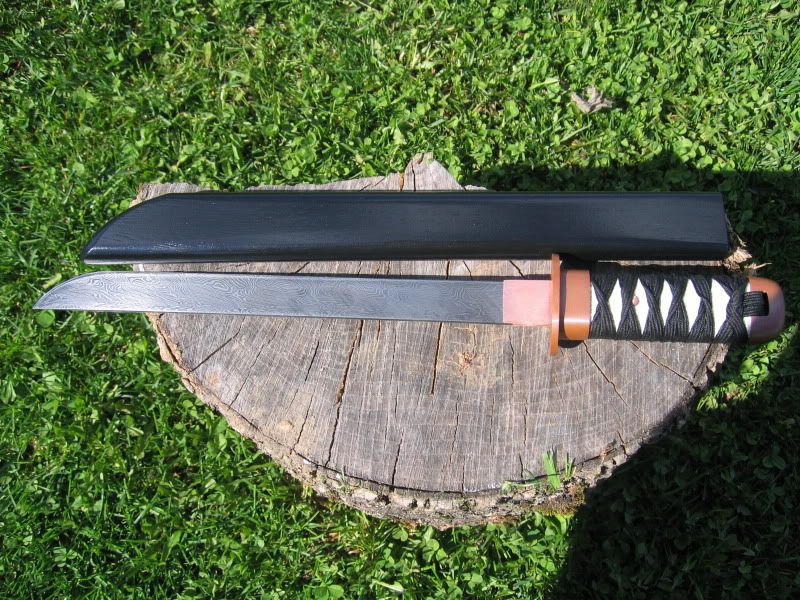
turkish twist tanto
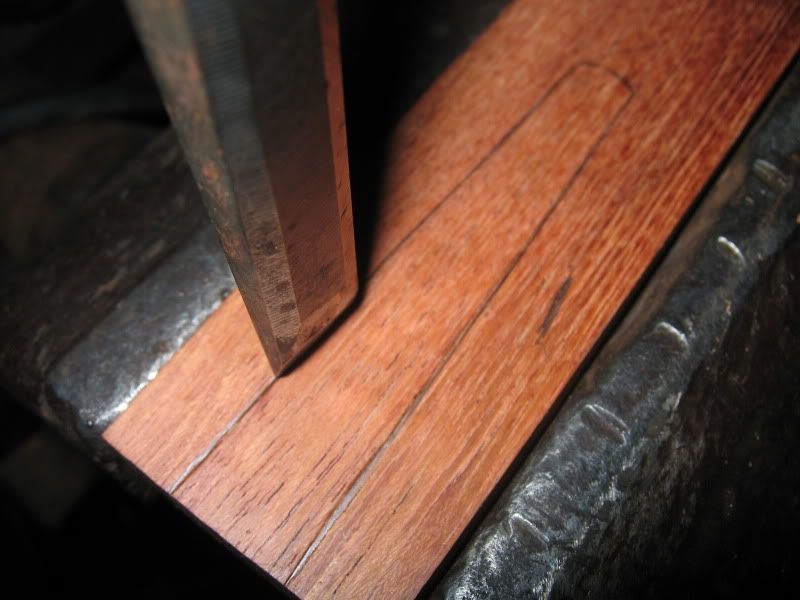
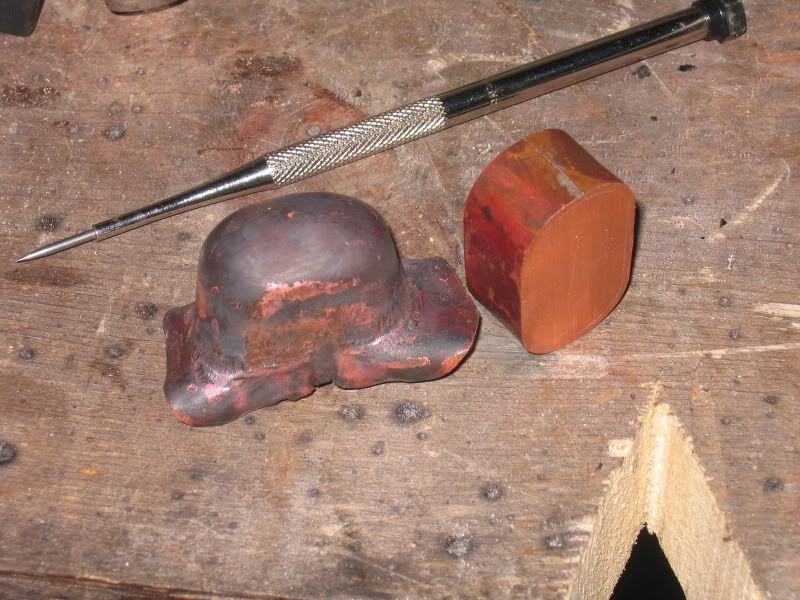
My forge called it quits last week so I haven't been able to work on damascus orders. To help fill my extra time when I'm not working on rebuilding the forge I've started working on a tanto I had kicking around.
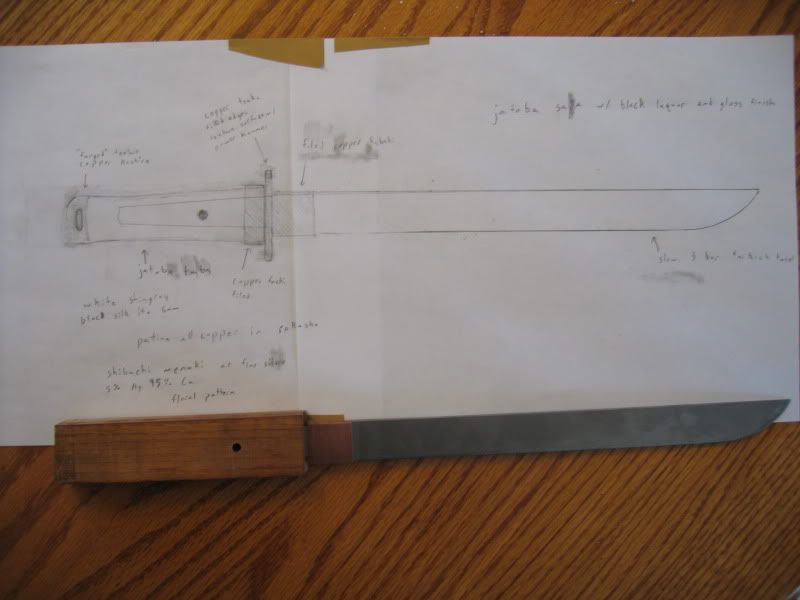
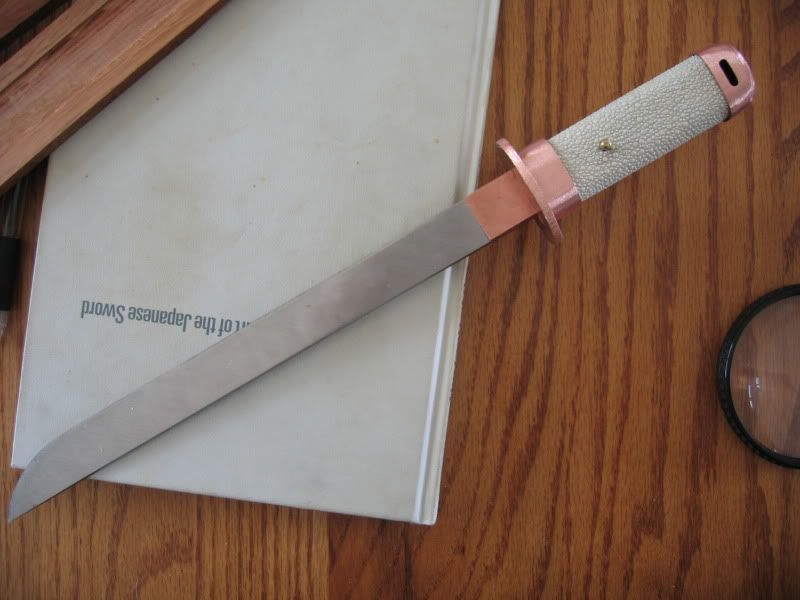
Its just in the rough stage now but I'm excited. Its made from the first bar or turkish twist damascus that I made last year.
My forge called it quits last week so I haven't been able to work on damascus orders. To help fill my extra time when I'm not working on rebuilding the forge I've started working on a tanto I had kicking around.
Its just in the rough stage now but I'm excited. Its made from the first bar or turkish twist damascus that I made last year.
Last edited: