Graham Fredeen
Well-Known Member
Hey Bruce,
Thought I might come over here and share one of my projects with everyone. Hope you don't mind.
I know I've gotten a lot of great valuable information and ideas from your past WIP threads, and always look forward to seeing them, so thought I'd share one that uses some things I picked up from your threads, and maybe pass along some things and ideas to others while I'm at it.
So folks, here we go:
Technically speaking this pattern will be a mosaic, based on a modifid W pattern that was re-squared on a 45° bias, 4-wayed, and then tiled out.
This pattern starts just like it would if you were making a standard W pattern, except for varying the layer composition of the billet.
The starting billet:

18 layers of 1095 and 10 layers of 15N20. You'll notice that the middle of the billet is straight 1095, with alternating 1095/15N20 on the edges. This modification will create different thicknesses in layers and will add to the pattern development. Never underestimate what varying layer stacks/layer thickness can do for a pattern.
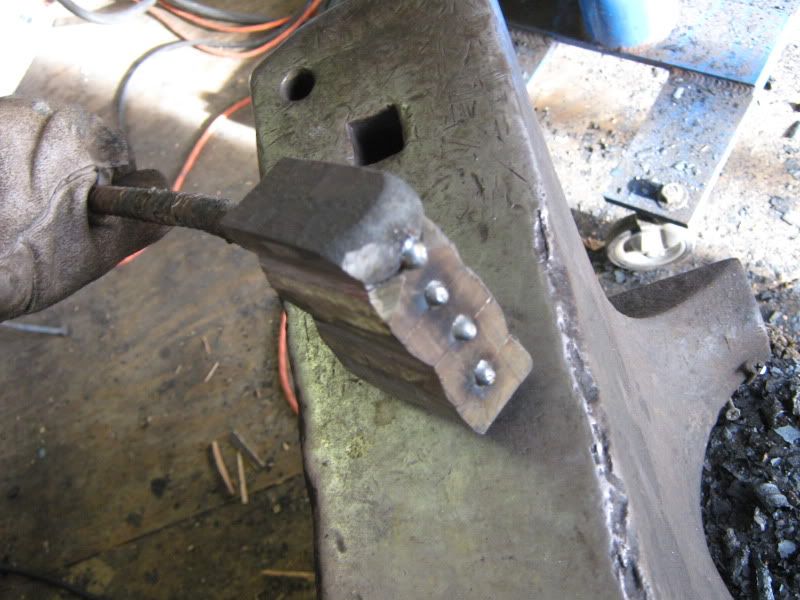
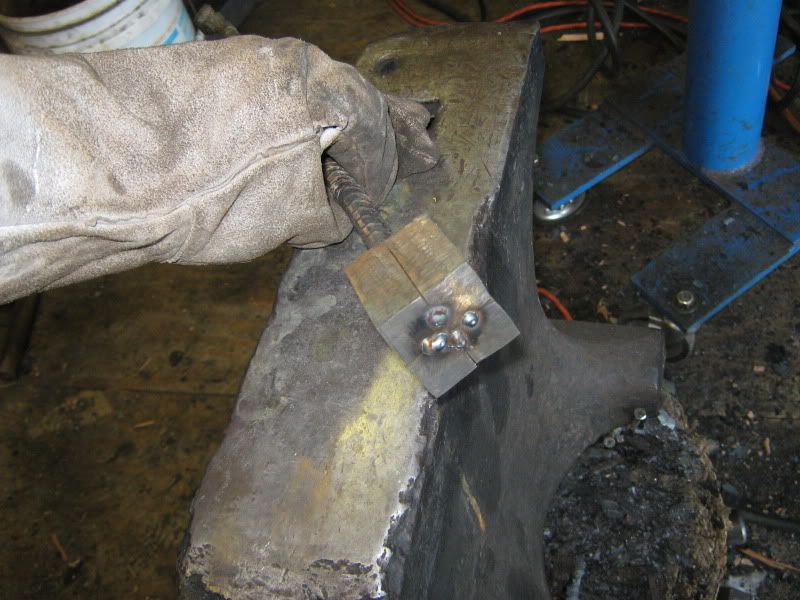
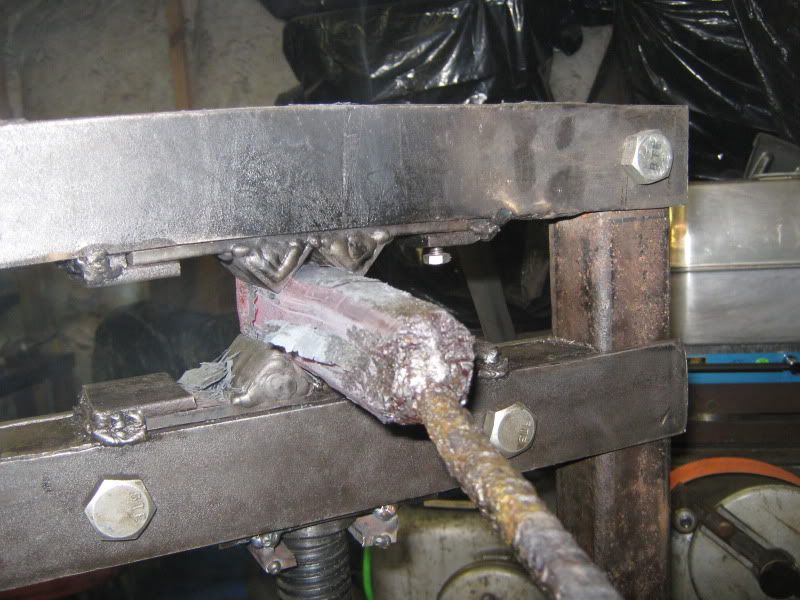
In for welding:
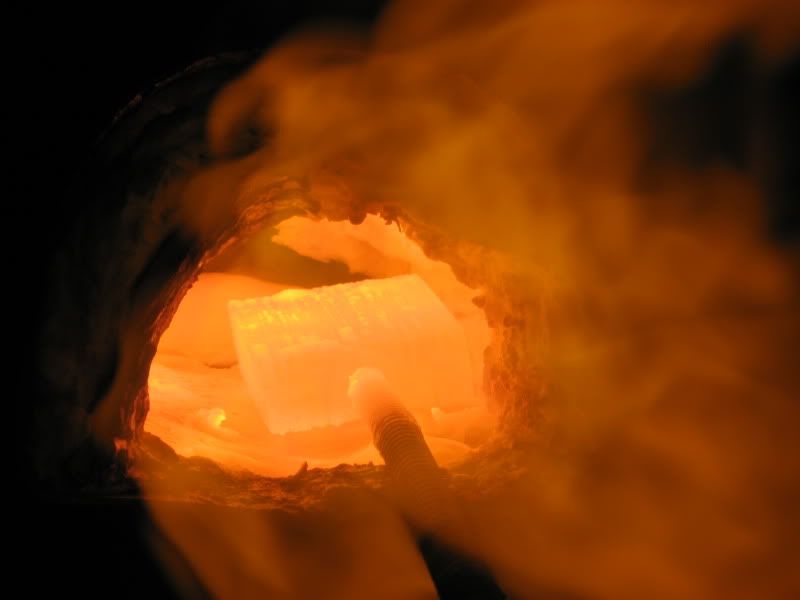
Right after the first welding press:
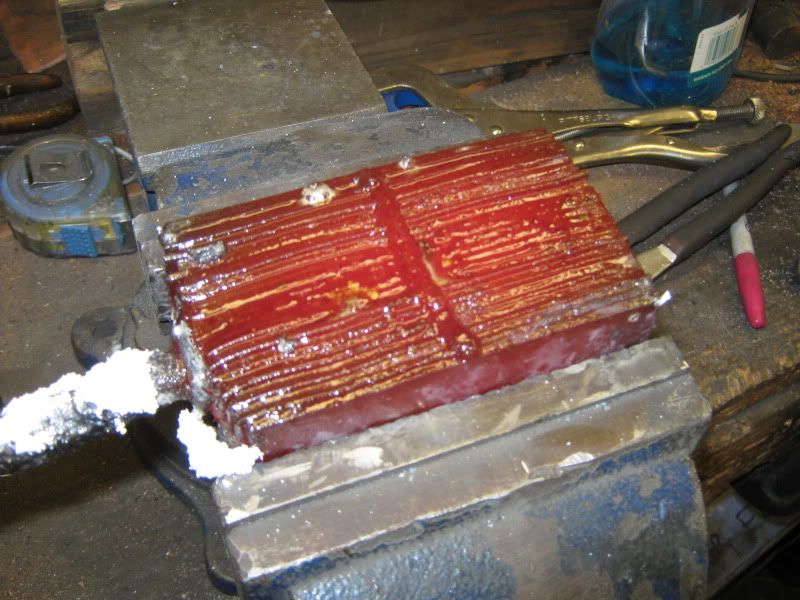
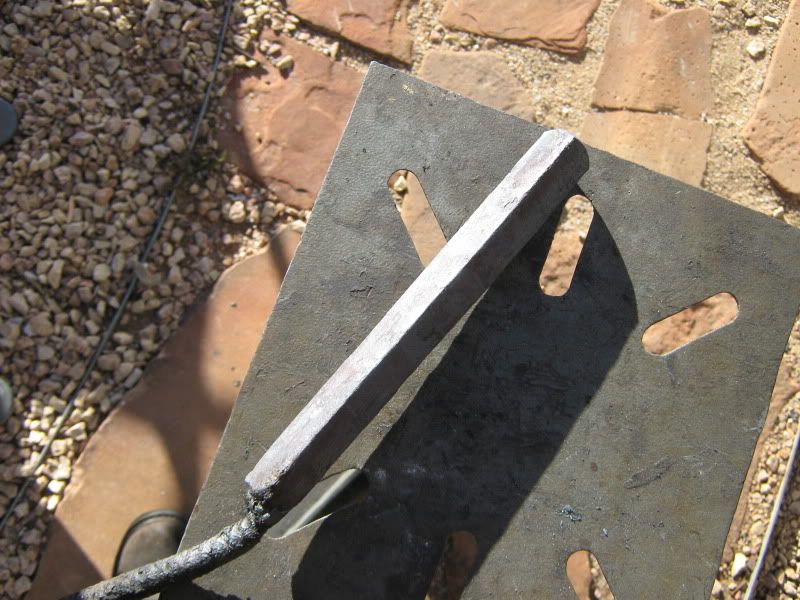
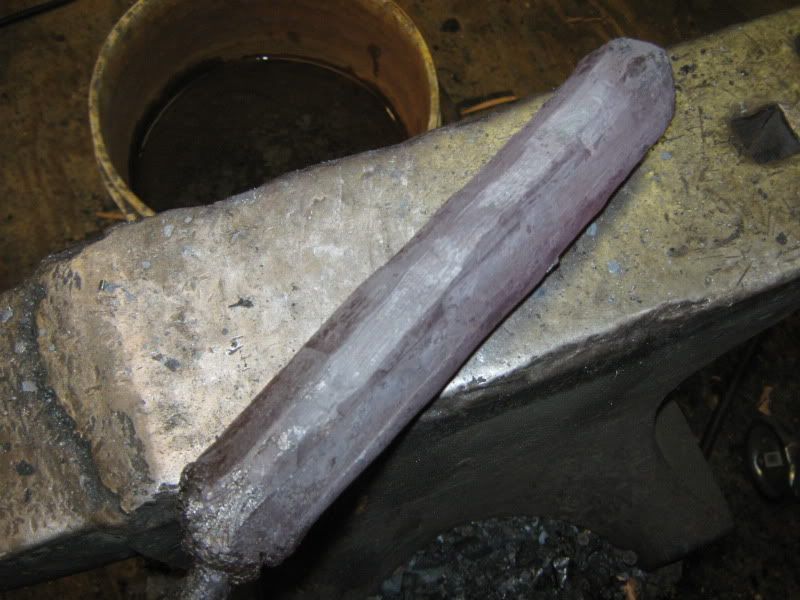
I grind off the mig welds to prevent billet contamination:
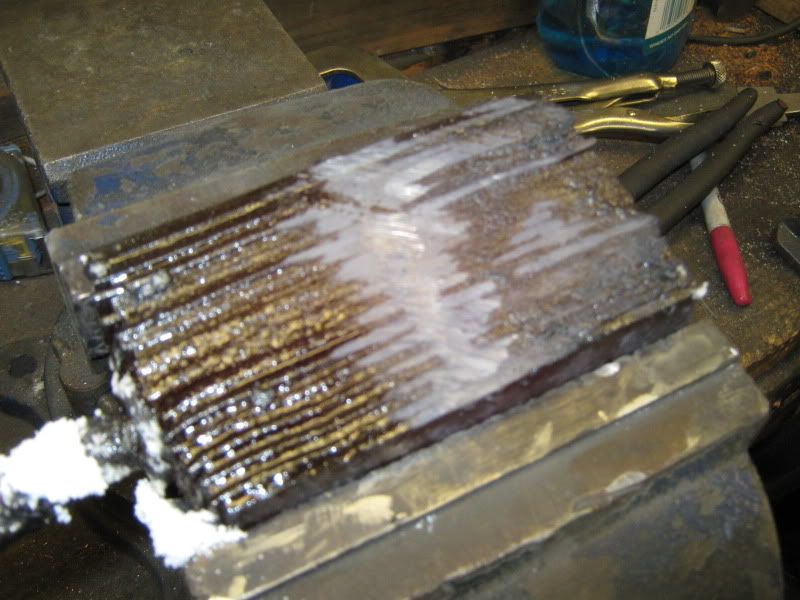
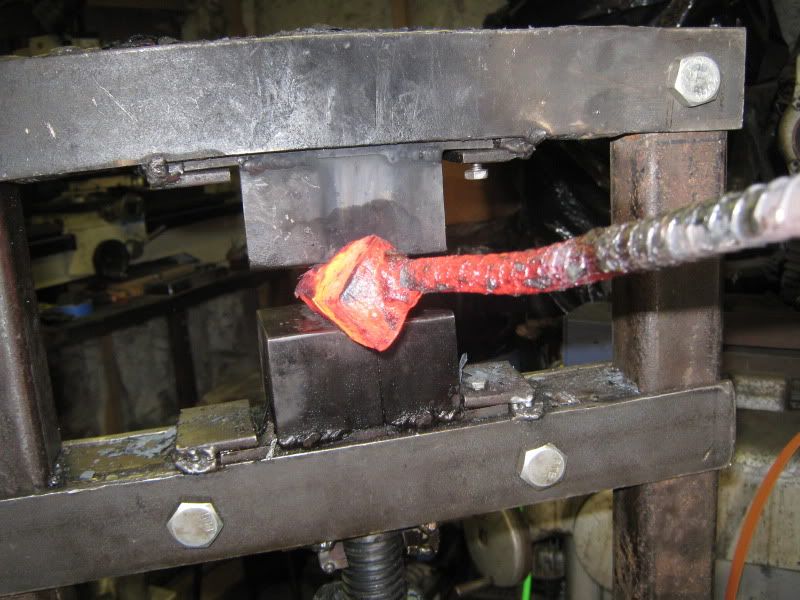
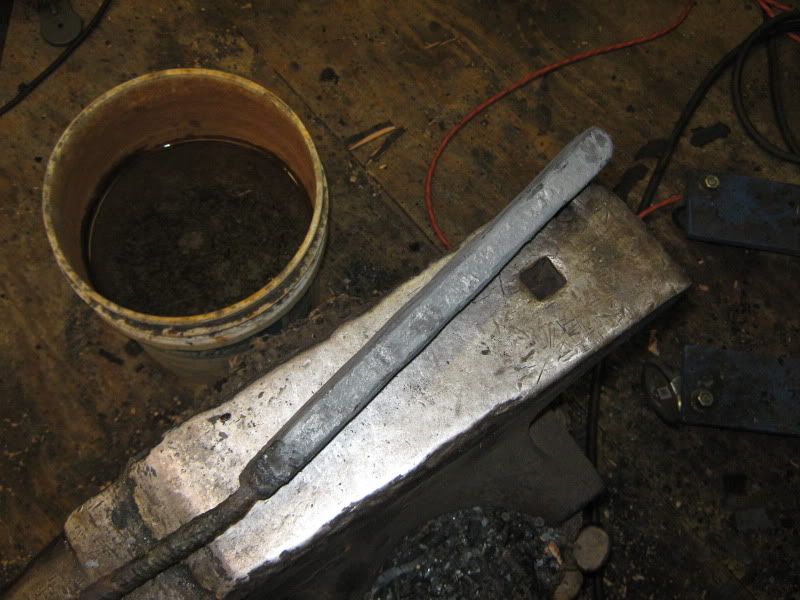
Forge things down into a rough square:

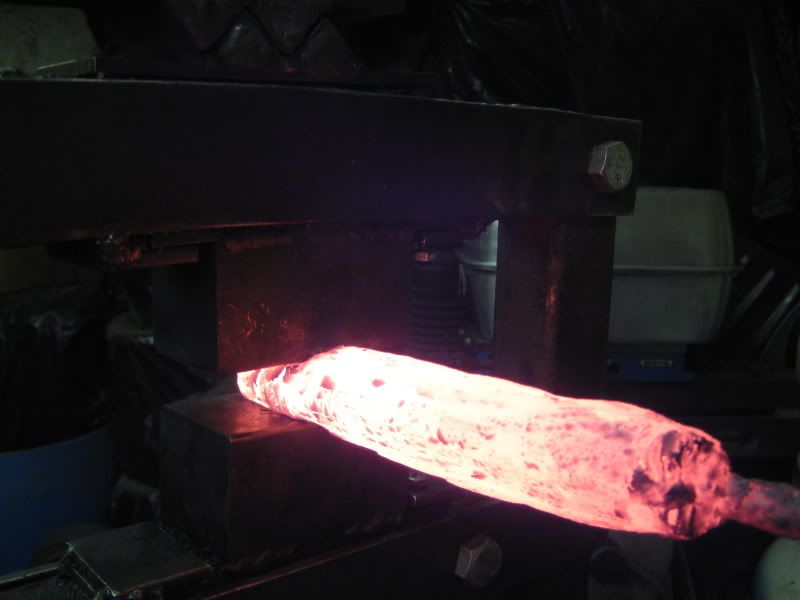
Next I'll use squaring dies to start squaring the billet on a 45° bias. This forces in the corners of the billet and starts distorting the layers for a sharper W effect. I picked up this from Bruce's W pattern thread.
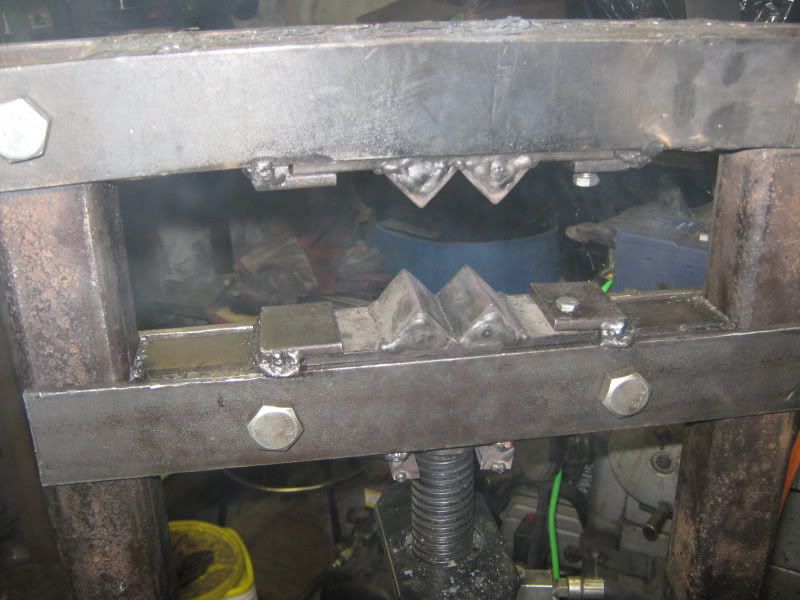
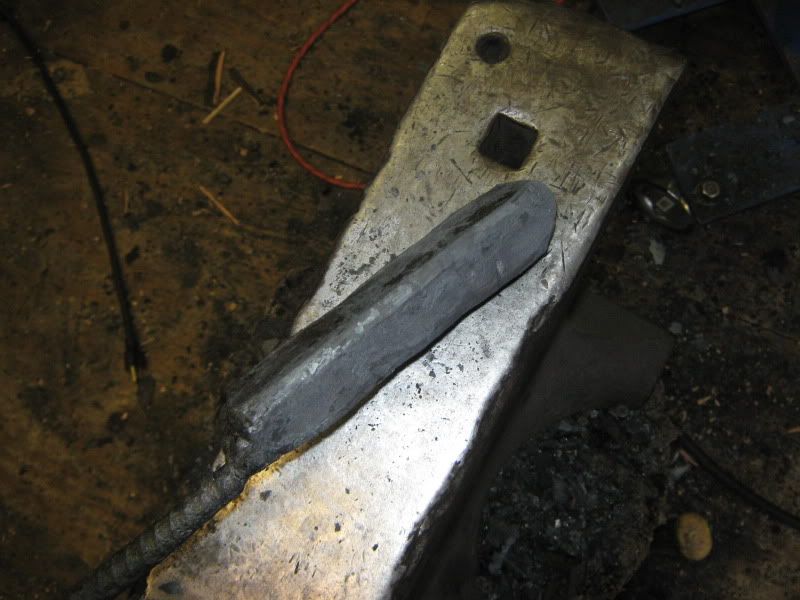
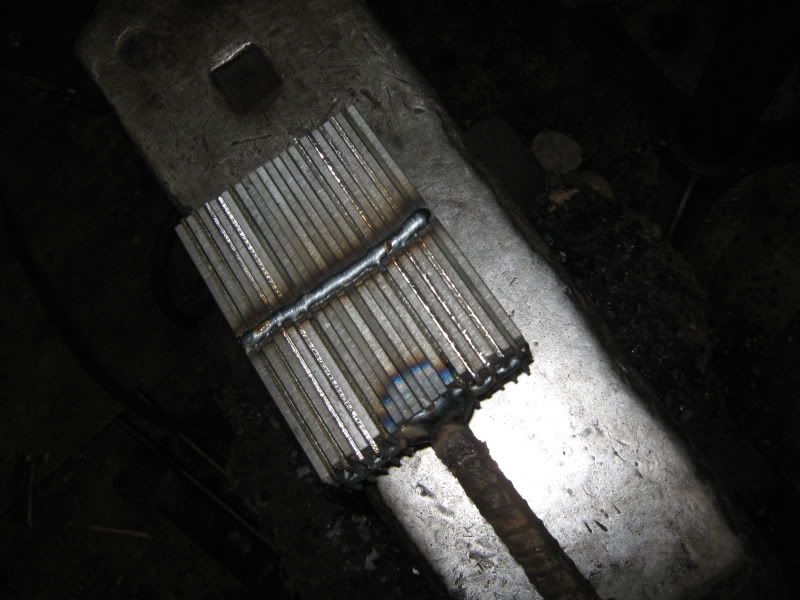
Here's the billet after the rough trip through the squaring dies:
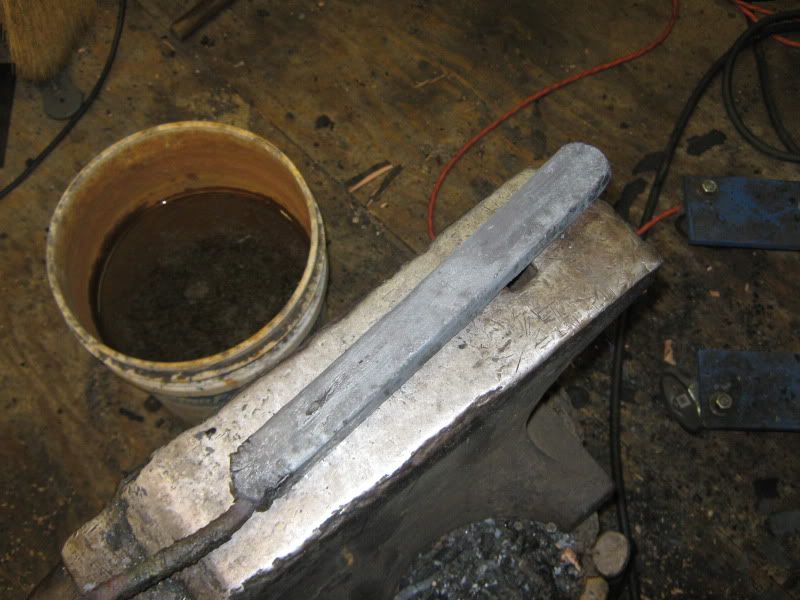
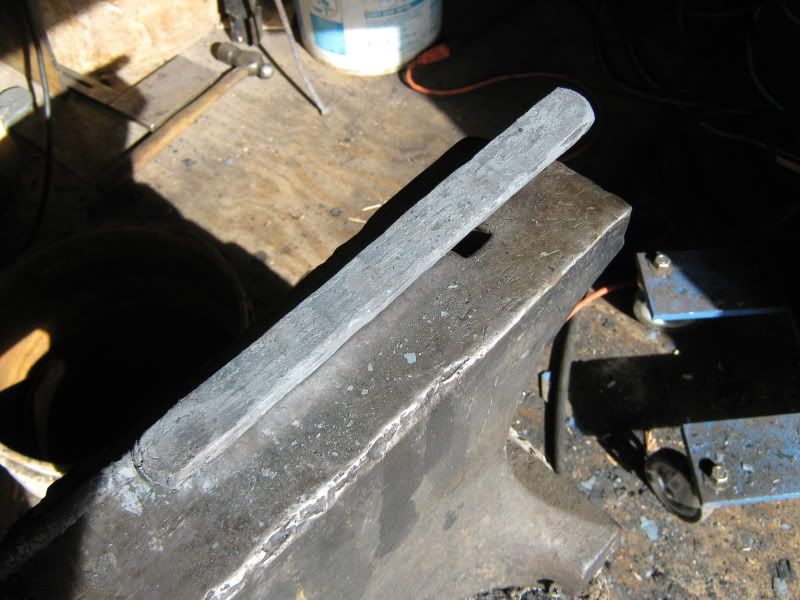
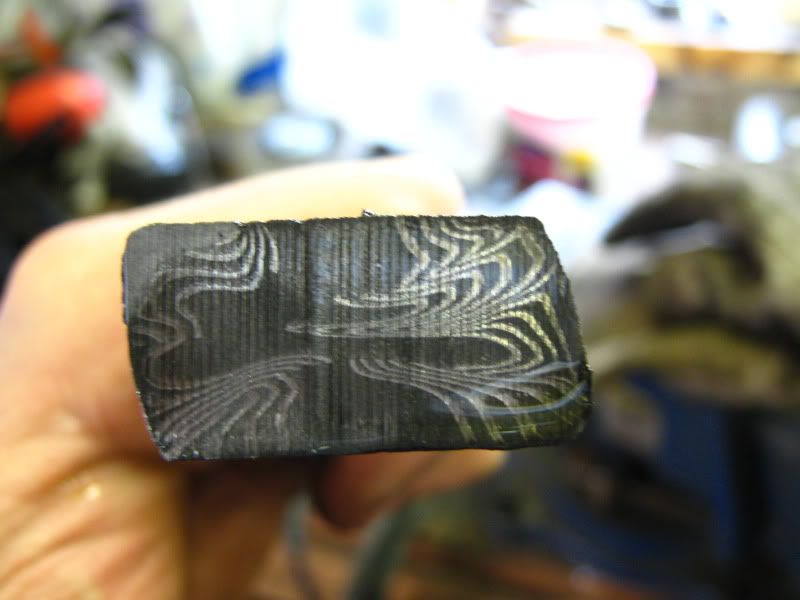
The billet will now be rotated 90° from its original orientation and drawn out (the "distorted" layers are now in a "vertical" orientation):
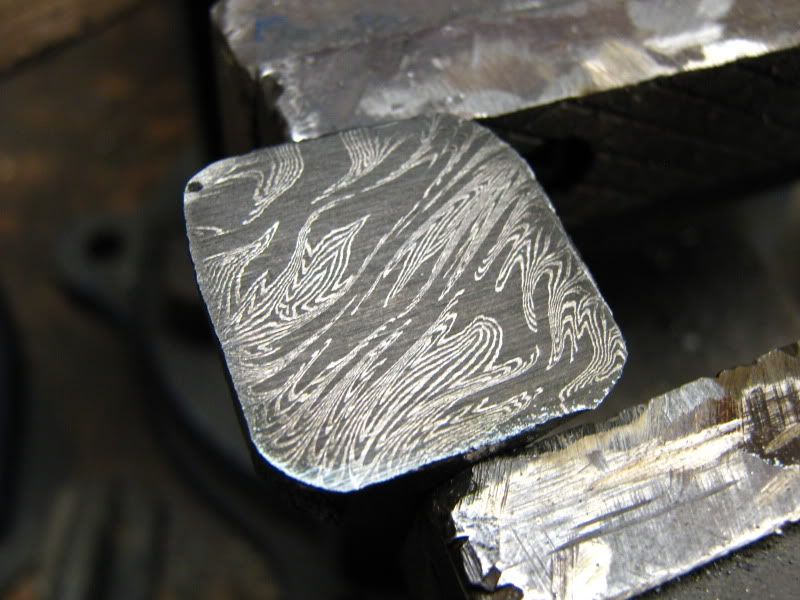
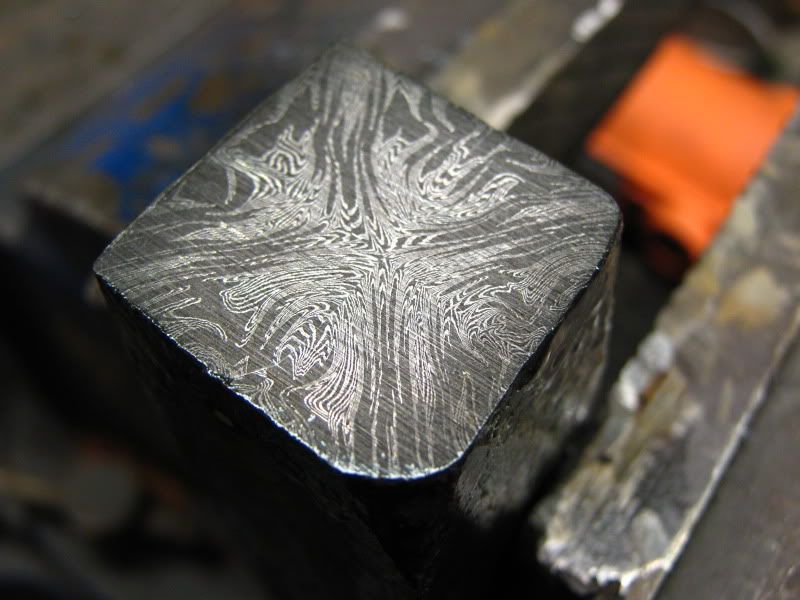
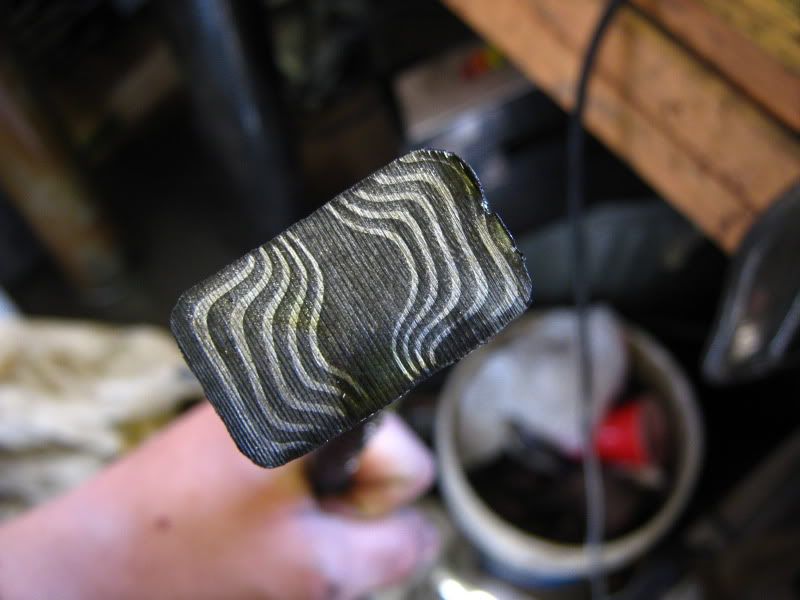
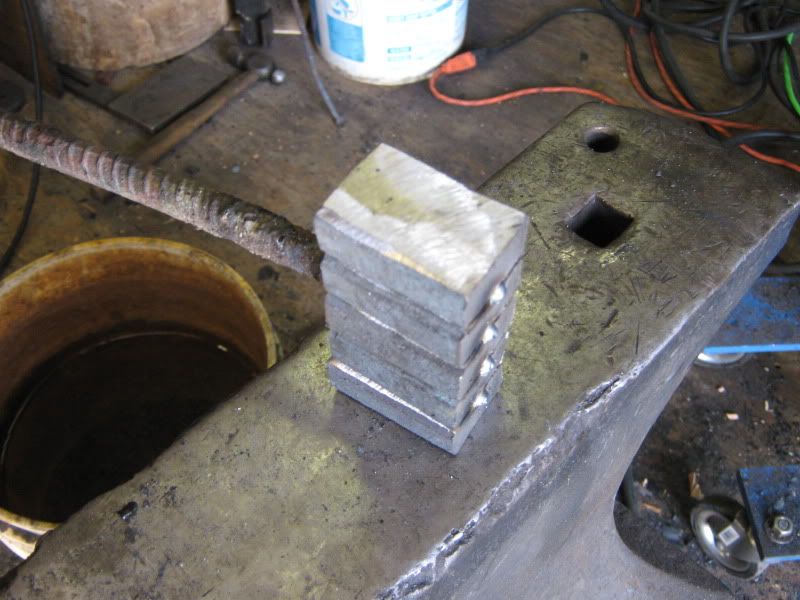
The billet drawn out and ready for a cut and restack:
The result of that manipulation:
I'll post more later.
Thought I might come over here and share one of my projects with everyone. Hope you don't mind.
I know I've gotten a lot of great valuable information and ideas from your past WIP threads, and always look forward to seeing them, so thought I'd share one that uses some things I picked up from your threads, and maybe pass along some things and ideas to others while I'm at it.
So folks, here we go:
Technically speaking this pattern will be a mosaic, based on a modifid W pattern that was re-squared on a 45° bias, 4-wayed, and then tiled out.
This pattern starts just like it would if you were making a standard W pattern, except for varying the layer composition of the billet.
The starting billet:
18 layers of 1095 and 10 layers of 15N20. You'll notice that the middle of the billet is straight 1095, with alternating 1095/15N20 on the edges. This modification will create different thicknesses in layers and will add to the pattern development. Never underestimate what varying layer stacks/layer thickness can do for a pattern.
In for welding:
Right after the first welding press:
I grind off the mig welds to prevent billet contamination:
Forge things down into a rough square:
Next I'll use squaring dies to start squaring the billet on a 45° bias. This forces in the corners of the billet and starts distorting the layers for a sharper W effect. I picked up this from Bruce's W pattern thread.
Here's the billet after the rough trip through the squaring dies:
The billet will now be rotated 90° from its original orientation and drawn out (the "distorted" layers are now in a "vertical" orientation):
The billet drawn out and ready for a cut and restack:
The result of that manipulation:
I'll post more later.
 , I love these threads I know I learn a little trick here and there from these. Thanks for taking the time to do this Graham. Also if Bruce minds Tracy put up a Hotwork area just for us metal beaters.