Self Made Knives
Well-Known Member
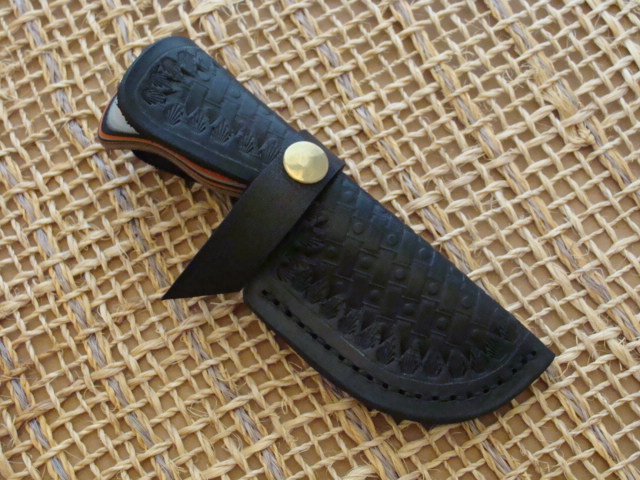
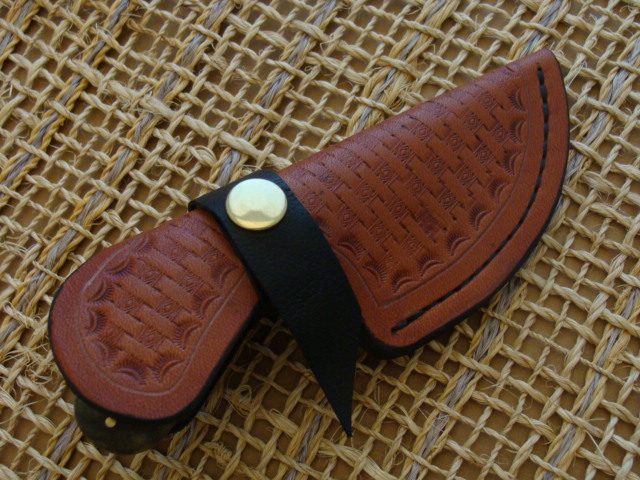
I need some advice, pics, links, etc. When using snaps and studs, how do you keep the backside from contacting the knife? I've used snaps a lot, but I just go some Sam Browne studs in to try. I tried carving a little recess, but it still isn't below flush. I've got some thin pigskin that I thought about covering it with, but then I'm afraid the knife would catch on that when entering the sheath. I guess you would have to sew that pigskin in too. Short of lining the whole sheath, I'm struggling with how to do this the right way.