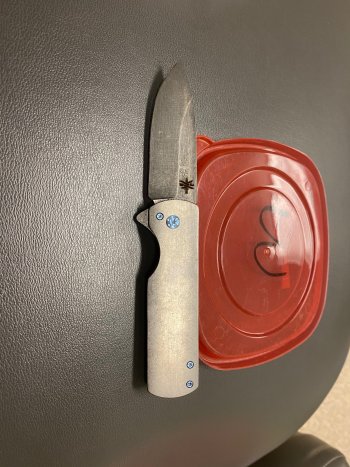
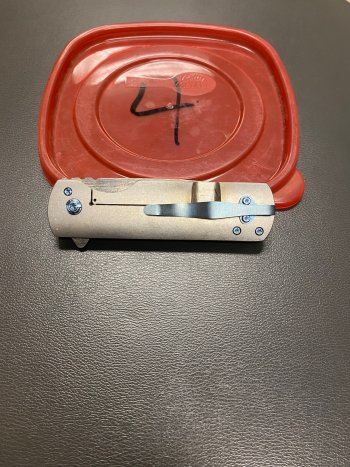
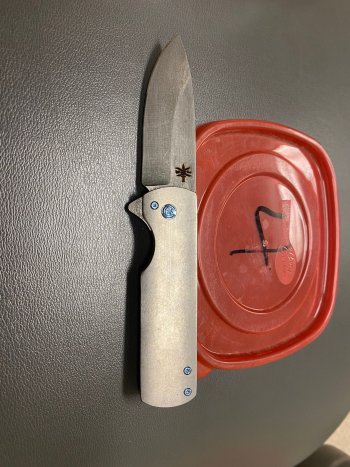
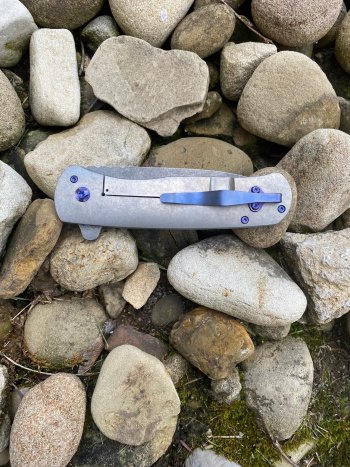
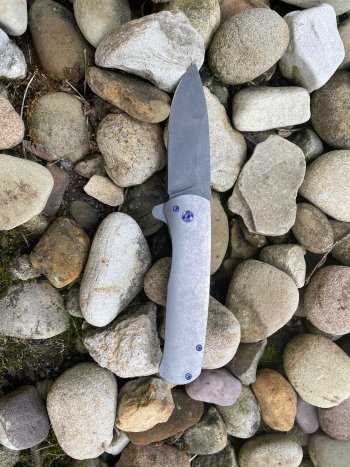
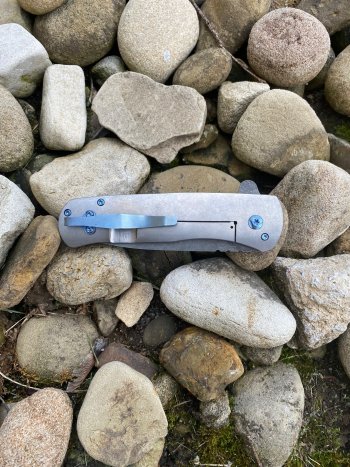
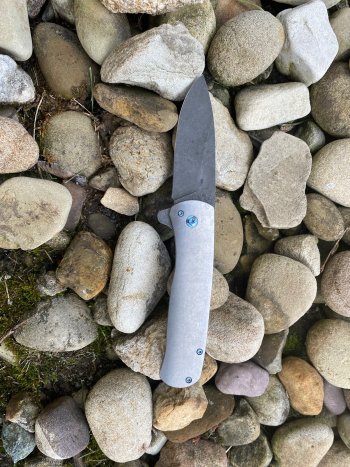
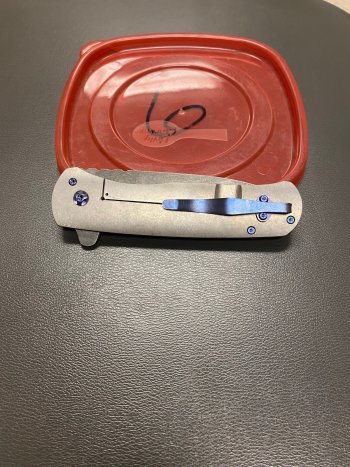
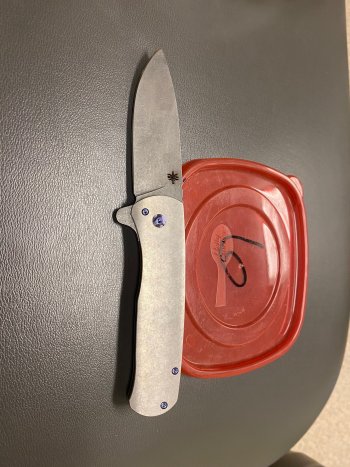
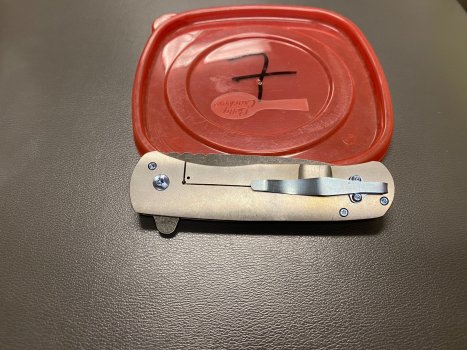
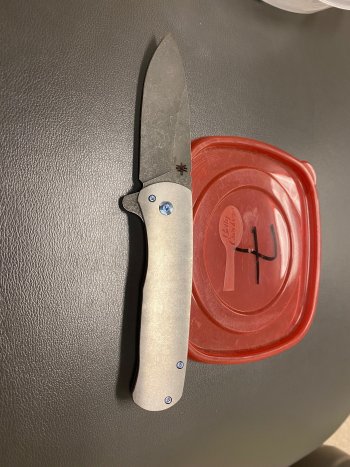
Small Batch Run of MagnaCut frame locks

Def will. Gonna try to do them closer to the edge so I can remove them when I grind the bevels. Thanks for the suggestion!
If you grind deep (like you would on bevels) I don't think it will keep them straight... You want some residual peening to remain just below the surface on the flats.
 
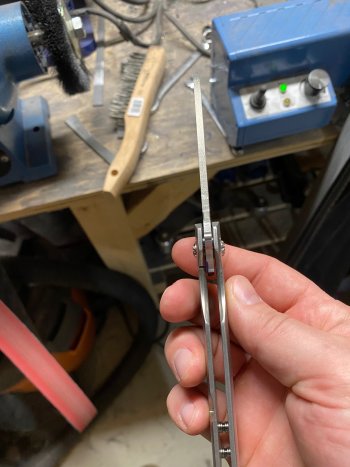
I inspected all the blades more carefully over the weekend and it looks like there is only 3 that are warped. So I had 4 to play around with while I waited for the carbide hammer.

IMG_9146.jpg

First order of business was the get the edges of the blade up to a 400 grit finish. This was accomplished with the same small wheel as before.

Next, I had to surface grind the flats up to a 400 grit finish. For this I used the Ameribrade SGA.

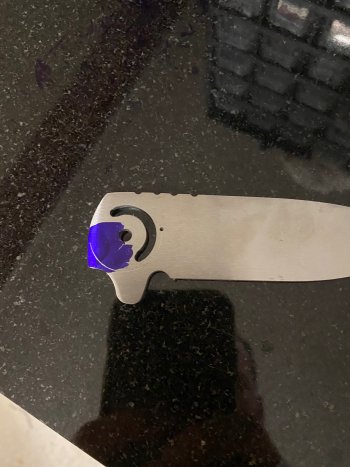
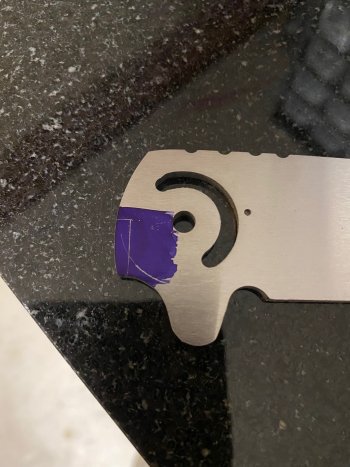
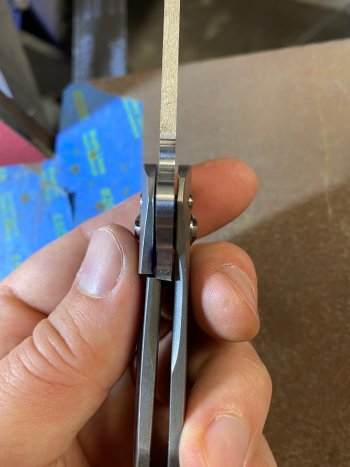
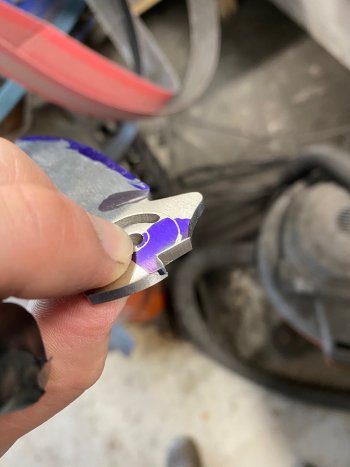
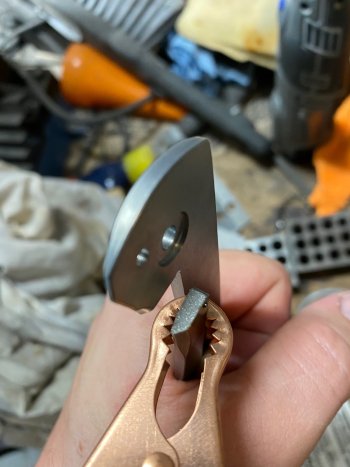
Once the edges and the flats were done, It was time to grind the lockface. You only get one shot at this so definitely take your time! First I put some Dykem on the are of the tang that was to be ground down. Then I assembled the knife and while holding it in the open position, I took a small thin razor blade and marked the front of the lock bar, I also marked the top of the lock bar.

IMG_9145.jpg
IMG_9144.jpg
IMG_9147.jpg
IMG_9148.jpg
IMG_9149.jpg

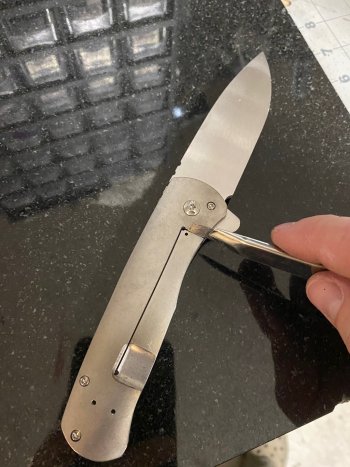
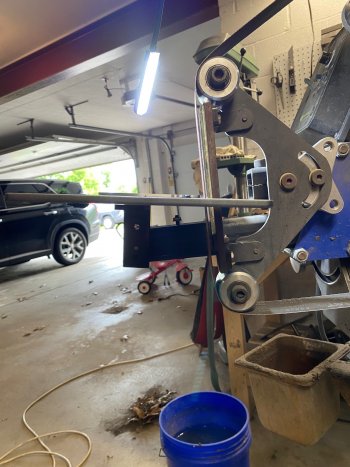
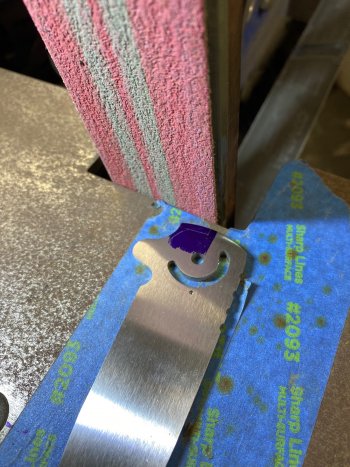
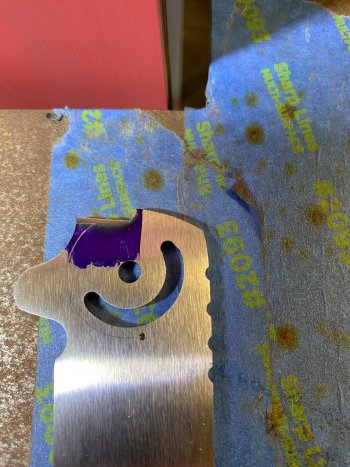
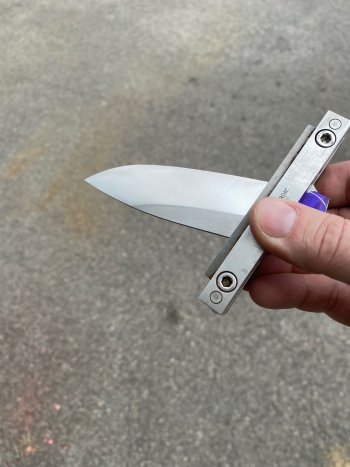
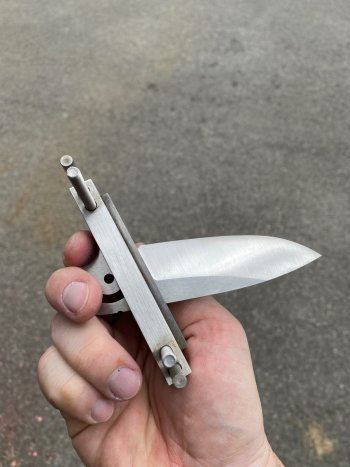
Once that was done, I set my workrest at a 7.5 degree angle and put on a 120grit belt. Going slowly, I approached my scribed line, being sure to cool the blade in water every few seconds. I take more off closer to the spine of the blade so that the lockbar engages only the very bottom portion of the lockface. You will grind, assemble, check lock-up, and then repeat until you get it just right. It is very easy to grind too much and then that blade is toast. I aim for aound a 25-35% lock up initially. After several attempts, we got it!

IMG_9150.jpg
IMG_9151.jpg
IMG_9152.jpg
IMG_9153.jpg
 
Last edited:
Once the lockup was dialed in, I chamfered the sharp edge of the lockface to keep it from digging into the lockbar.

IMG_9161.jpg

Then it was time to grind the bevels. Going slow and dunking between each pass, finally got them done.

IMG_9154.jpg
IMG_9155.jpg

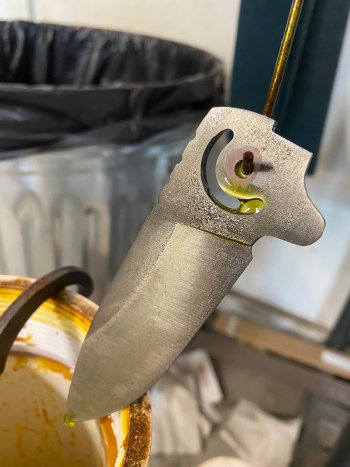
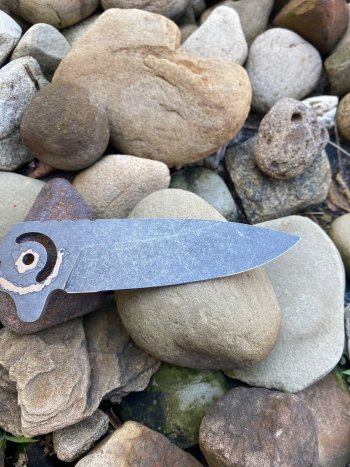
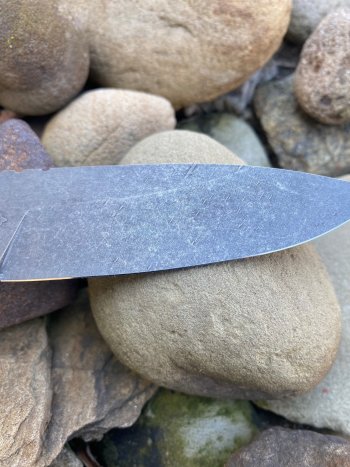
I brought the bevels up to a 400 grit finish, but they were fingerprint magnets. I normally acid etch my high carbon blades and stonewash them to give them some added protection from fingerprints and patina. I didn't know if I could acid etch MagnaCut, so I though I'd try it. I cleaned the blade with acetone and put fingernail polish on the pivot, lockface, and detent track. I put in in my FC mixture and set a timer for 20 min. After 20 min, nothing was really happening. I read somewhere that stainless takes much longer than high carbon steel, so I set the timer for another 20 min. After I check it, nothing much was happening. I set it for one final 20 min cycle and if it didn't work, then oh well. I come back after the last 20 min and the blade looked funny. Like the "shiny" was peeling. I rubbed the blade and the "shiny" rubbed off, revealing a dark blade!. So I wiped it down with my steel wool and put it into my tumbler to see if it would take a stonewash. Looks pretty good to me!

IMG_9160.jpg
IMG_9165.jpg
IMG_9166.jpg

Next, I used my BeBe carbadizer and carbadized the lockbar.

IMG_9157.jpg
IMG_9158.jpg
 
Next step was to sharpen up the blade. Everyone has their own methods to do this. I use my Wicked Edge so that I can get consistent angles on both sides. The four that I have been finishing up were sharpened to 18 degrees per side.

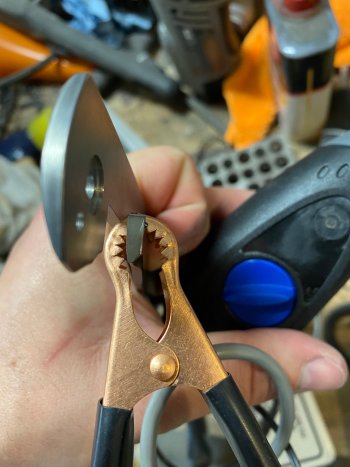
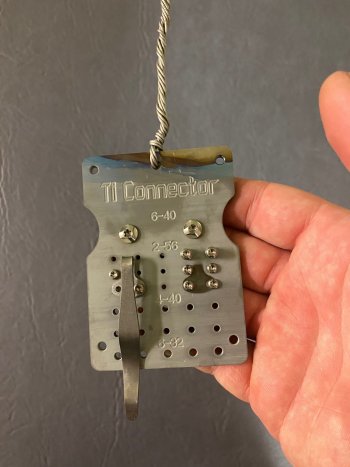
Next step was to anodize the hardware. To do this, I use an anodizing plate that I purchased. It has pre-drilled and tapped holes for all the common screw sizes. So I screwed the hardware to the plate. Scrubbed them down with rubbing alcohol to remove the finger oils. I then anodized the hardware and let it dry.

IMG_9172.jpg

Final step was to assemble the knives. I use blue loctite to make sure the pivot screws, etc... don't loosen over time while flipping the knife.

IMG_9176.jpg
IMG_9177.jpg
IMG_9179.jpg
IMG_9181.jpg
IMG_9182.jpg
IMG_9184.jpg
IMG_9185.jpg
IMG_9187.jpg

This weekend I plan to tackle the 3 blades that were warped, so fingers crossed!
 
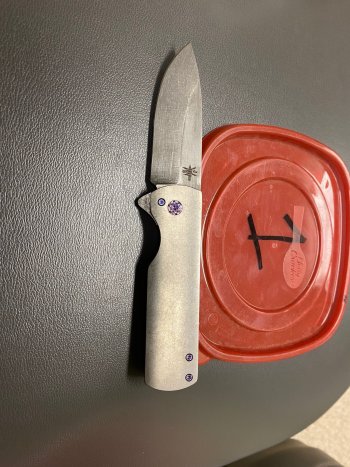
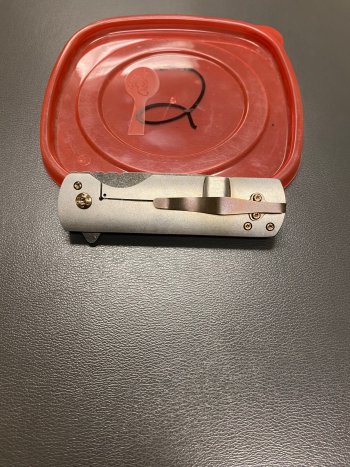
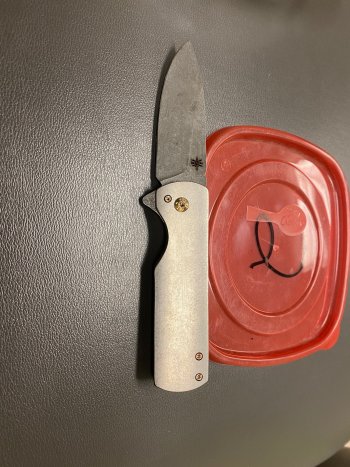
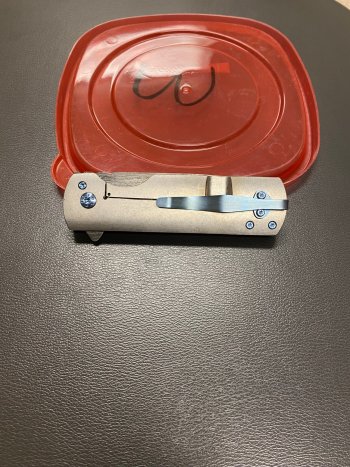
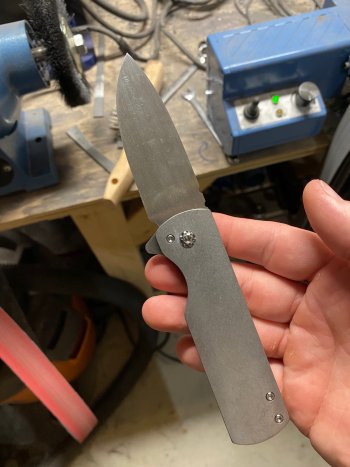
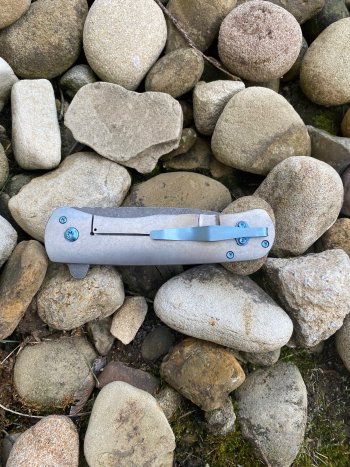
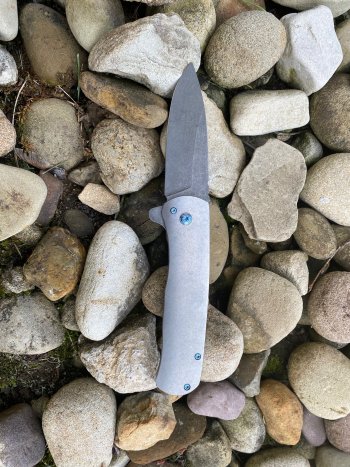
I have finally finished up the small batch run. Overall I am happy with how these turned out. This was the first time I have made a small batch like this, can't say I'll do it again anytime soon! Also the first time working with a stainless steel, probably will do more in the future, once I have the ability to heat treat them myself (need LN). There are 3 things I am not 100% thrilled with though.
1) 3 of the 7 blades were so badly warped that they couldn't be salvaged (by me). I set them aside and may try again in the future, but for now I just remade the blades using O1 tool steel. So I only ended up with 4 MagnaCut blades.
2) I should have waited to finish the blades until after the logo was laser etched. They needed to be sanded after the logo and then finished in the acid and stonewashing. However, I had already used Loc-Tite on the hardware when I assembled the knives prior to logo etching. Plus, most of these are zero grind or close to it before I put the 18 degree bevels on. I was afraid that if I stonewashed these again in my tumbler with the ceramic media, the edges may chip out, I didn't want to risk that. Plus I like the worn in, well used look, and the logos def have that look! So I'm not too upset.
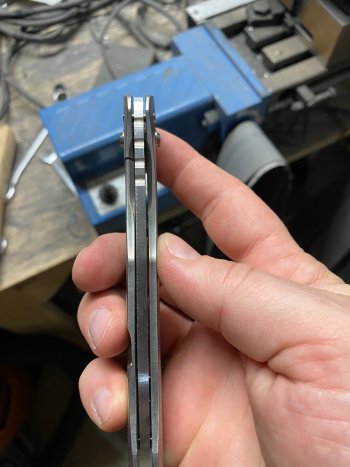
3) There is some centering issue with a couple of the blades. Nothing horrible, but my OCD is def going crazy! The blades are flat (checked on granite surface plate) as well as the scales (check with granite surface plate). There aren't any burrs around the pivot (as far as I could tell), so the only thing I can think is my counterbore that I use for the bearing pocket must be nearing the end of it's life or something like that. I'll scrap it and get a new one. Been thinking of different ways to do this anyway, maybe using a smaller end mill and my rotary table to mill the bearing pocket instead.

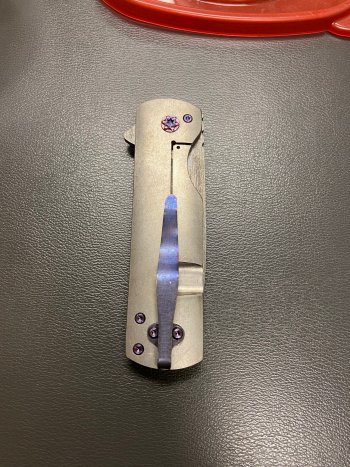
But, again, I like how they look. I am a big fan of worn in/well used looking things. They will make excellent EDC blades. They def aren't show pieces, they are made to be used. As such, they will be priced accordingly if anyone is interested in purchasing one.

Thanks for following along and the nice comments as well. Hopefully it helped someone with some aspect of making a framelock!!

Take care and grind on!!

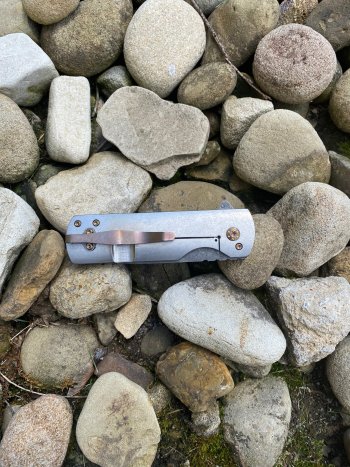
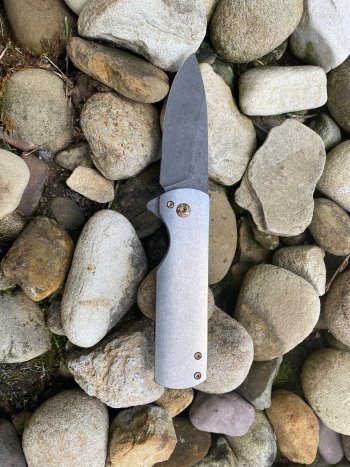
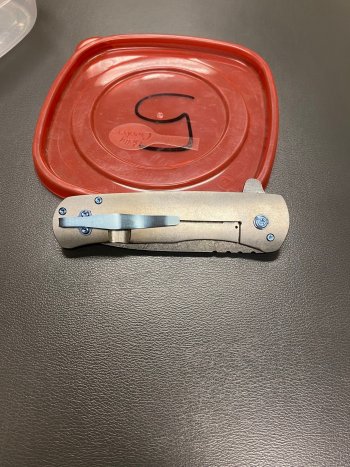
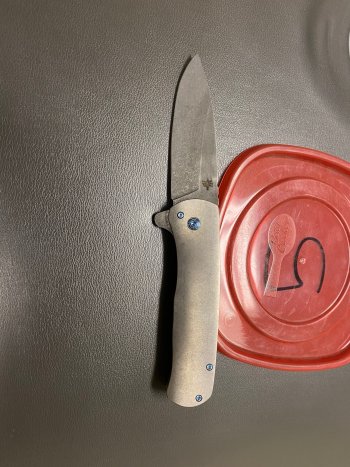
Here are the first 4 (only #2 is MagnaCut out of this group)
IMG_9206.jpg
IMG_9208.jpg
IMG_9224.jpg
IMG_9226.jpg
IMG_9212.jpg
IMG_9214.jpg
IMG_9218.jpg
IMG_9220.jpg
 
Back
Top