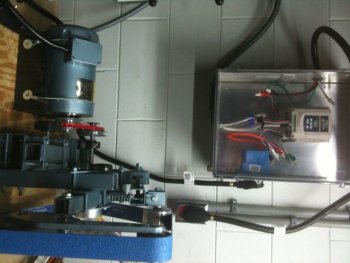
I originally wasn't going to post this, just because I wasn't sure if it would be allowed since the plans aren't mine. Then I figured if I just skipped measurements I should be ok!
I will walk through this as I did, but ignoring some of the boring parts. Such as measuring and drilling all the holes in the different pieces. Boring (and also guarded by the Boss!)
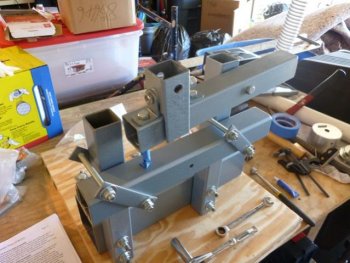
Once I did that, I primed all the tube stock and straps as well as the tracking/tension block. Once dry, I did a rough assembly. One thing I noticed was that I didn't like all the bounce in the drive wheel with the pillow blocks so close together on the base tube. I opted to modify this by using 1" x 1" square tubing mounted to the base tube which would allow one pillow block to be mounted over the left side of the base tube and the other to be set a full 4 inches to the right of the base tube, this eliminated a lot of wobble from the drive wheel.
This picture shows my adaptation from the side as I was working to mark my holes in the base tube, pre drilling.
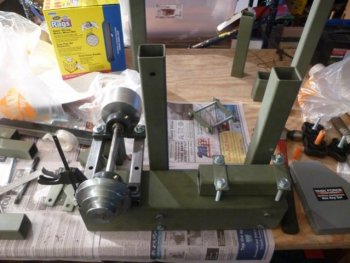
This picture shows it from the back of the grinder, as I was marking holes to drill.
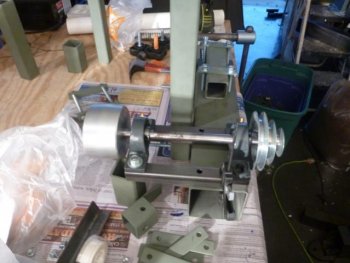
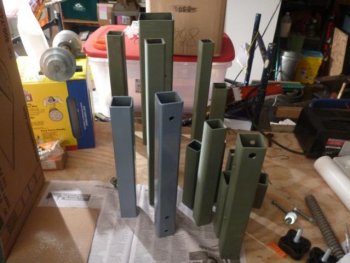
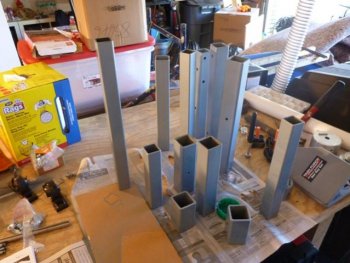
This shows the tubes which are primed (Green) with those I'm painting to final color (blue). I really like this blue, I have a case as its discontinued and you'll see my vise later on matches!
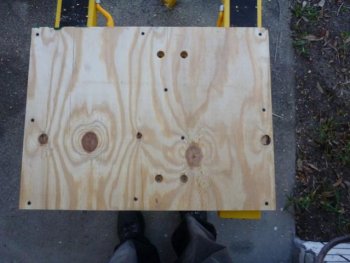
I felt the recommended size base was too large, so I scaled it down. I did stack the 2 pieces of 3/4 plywood, I marked and drilled the holes so that the washer and bolt head wouldn't stick out of the bottom board. This pictures shows the holes drilled and they are screwed together.
All painted!
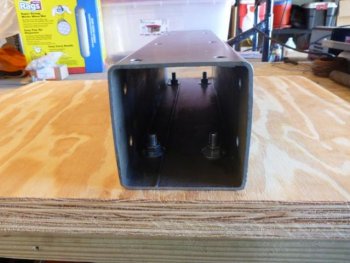
Base tube mounted
Tool rest holder mounted, verticals mounted. I started to add the pillow block tubes, but removed them after this as I didn't want them dinged too much when I tried adding the tool arm holding tube.
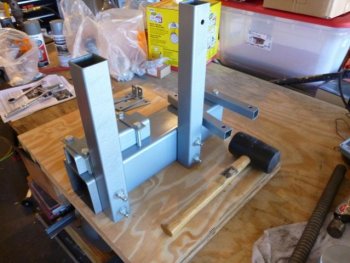
Added the tool arm holder as well as the tension arm and the tracking block.
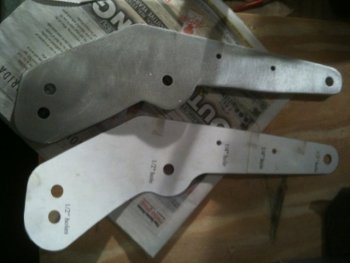
I decided early on to order one of the rotating arms that was sold by Usaknifemaker (the design is in the plans). Except they no longer carry it. When I inquired about it, they said I should contact a certain waterjet company who had previously been highly recommended on here. After 6 emails and 4 phone calls (including messages) being left unreturned, I decided not to waste anymore time and I've told others not to waste their money there either! But I also decided to build my own. Here is the picture of it next to the template. I think it came out well, and didn't cost 1/4 of what I would have probably been willing to pay originally!
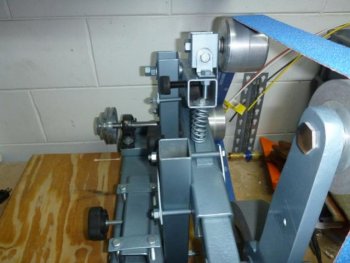
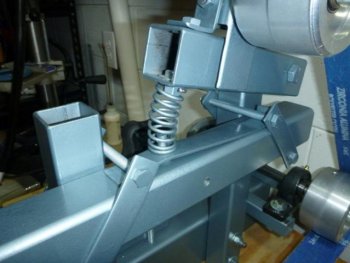
I had read about moving the spring from behind the tension arm, to under it and resting on the tool arm tube. I liked what I'd heard so I did make this modification. I'll add more pictures and explanations tomorrow.
I will walk through this as I did, but ignoring some of the boring parts. Such as measuring and drilling all the holes in the different pieces. Boring (and also guarded by the Boss!)
Once I did that, I primed all the tube stock and straps as well as the tracking/tension block. Once dry, I did a rough assembly. One thing I noticed was that I didn't like all the bounce in the drive wheel with the pillow blocks so close together on the base tube. I opted to modify this by using 1" x 1" square tubing mounted to the base tube which would allow one pillow block to be mounted over the left side of the base tube and the other to be set a full 4 inches to the right of the base tube, this eliminated a lot of wobble from the drive wheel.
This picture shows my adaptation from the side as I was working to mark my holes in the base tube, pre drilling.

This picture shows it from the back of the grinder, as I was marking holes to drill.

This shows the tubes which are primed (Green) with those I'm painting to final color (blue). I really like this blue, I have a case as its discontinued and you'll see my vise later on matches!

I felt the recommended size base was too large, so I scaled it down. I did stack the 2 pieces of 3/4 plywood, I marked and drilled the holes so that the washer and bolt head wouldn't stick out of the bottom board. This pictures shows the holes drilled and they are screwed together.

All painted!

Base tube mounted

Tool rest holder mounted, verticals mounted. I started to add the pillow block tubes, but removed them after this as I didn't want them dinged too much when I tried adding the tool arm holding tube.

Added the tool arm holder as well as the tension arm and the tracking block.

I decided early on to order one of the rotating arms that was sold by Usaknifemaker (the design is in the plans). Except they no longer carry it. When I inquired about it, they said I should contact a certain waterjet company who had previously been highly recommended on here. After 6 emails and 4 phone calls (including messages) being left unreturned, I decided not to waste anymore time and I've told others not to waste their money there either! But I also decided to build my own. Here is the picture of it next to the template. I think it came out well, and didn't cost 1/4 of what I would have probably been willing to pay originally!

I had read about moving the spring from behind the tension arm, to under it and resting on the tool arm tube. I liked what I'd heard so I did make this modification. I'll add more pictures and explanations tomorrow.

