wmhammond
Well-Known Member
Here is my first friction folder:
Blade: 1095
Blade Length: 3 1/4"
OAL: 7 1/2"
Liners: Brass - Peened together with the spacer
Pin: Brass w/ Brass washers Peened.
Handle: Spalted and figured Maple
Didn't have any screws so I just peened the spacer to the liners and used another pin as a stop. Turned out OK I guess.
View attachment 58339View attachment 58338View attachment 58340
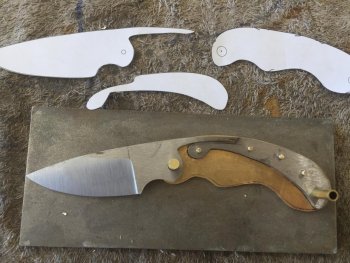
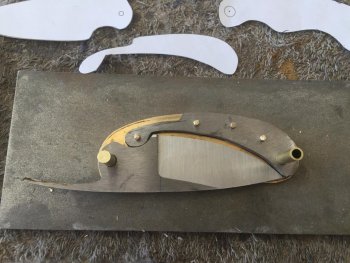
WIP This is my second Friction Folder after the one above. I designed the knife on my simple CAD program and cut out the pieces (Blade, Spacer and Liner). The blade and spacer are cut from CMP-154, The spacers are cut from 16 gauge brass sheet. Blade has been rough ground and is ready to heat treat. In these two photos the liners are glued together and the spacer has been hand shaped with the blade in place to assure fit and stop. The spacer was then glued on top of them and the small pin holes have been drilled. At this stage the liners are ready to be peened together with the spacer.
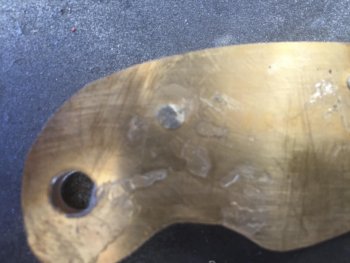
Here the liners have been peened together
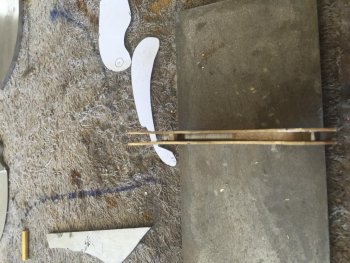
Here the blade has been fitted back into place and the liners and spacer and blade flange have been trued up on the grinder.
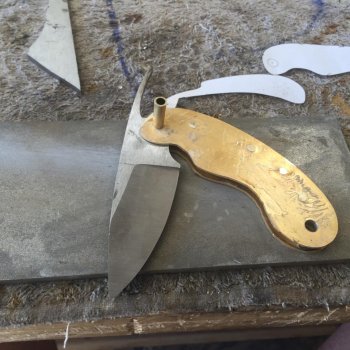
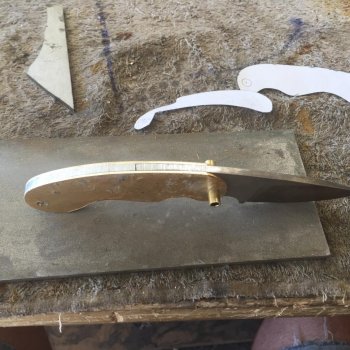
At this stage the knife is ready for the scales to be shaped and glued and pinned in place. More to come. . . . .
Thanks for looking,
Wallace
Blade: 1095
Blade Length: 3 1/4"
OAL: 7 1/2"
Liners: Brass - Peened together with the spacer
Pin: Brass w/ Brass washers Peened.
Handle: Spalted and figured Maple
Didn't have any screws so I just peened the spacer to the liners and used another pin as a stop. Turned out OK I guess.
View attachment 58339View attachment 58338View attachment 58340
WIP This is my second Friction Folder after the one above. I designed the knife on my simple CAD program and cut out the pieces (Blade, Spacer and Liner). The blade and spacer are cut from CMP-154, The spacers are cut from 16 gauge brass sheet. Blade has been rough ground and is ready to heat treat. In these two photos the liners are glued together and the spacer has been hand shaped with the blade in place to assure fit and stop. The spacer was then glued on top of them and the small pin holes have been drilled. At this stage the liners are ready to be peened together with the spacer.


Here the liners have been peened together


Here the blade has been fitted back into place and the liners and spacer and blade flange have been trued up on the grinder.


At this stage the knife is ready for the scales to be shaped and glued and pinned in place. More to come. . . . .
Thanks for looking,
Wallace
