Making a handle and bolster with Micarta and resin

Edwardshandmadeknives

Well-Known Member
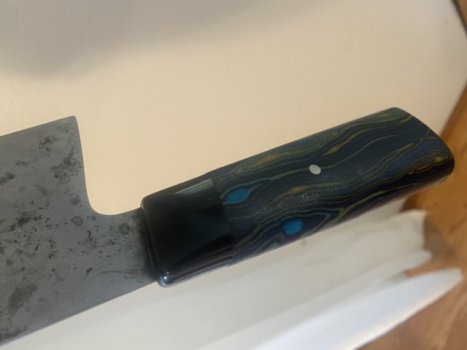
Figure I’ll share how I do some of my handles, after the thread about wa handles. I did not come up with this idea, this came from an ancient Finnish knife I had. They would burn the tang into a piece of wood, then carve designs into the wood handle, wrap the handle in damp leather, and pour it full of babbit (tin/lead alloy). After this was cooled, they would remove the leather and finish the handle, which would leave an intricate inlay of sorts of babbit in the handle. I took this concept and basically just replaced the babbit with epoxy mixed with pigment. I’ll post up a picture of an older kitchen knife I have here.
 
95603A7A-6746-40C2-9645-B2427E70F81C.jpeg
Here you see my handle block and bolster. I started by drilling two .25 holes and wobbling the bit to create a slot in the tang, although you could just drill one larger hole into the block. I then ground off the front of the block at an angle, and finished it to 120 grit. I found that it needs to be somewhat smooth, a 36 grit belt will create a fuzzy looking transition between the bolster area and the handle material. I then placed a piece of packing tape on each side of the blade a couple inches up the blade from where I wanted the bolster to end. I trim the tape off the edges of the blade, and then painted green turtle wax onto the edges and let it dry. The tape/wax is a release for the epoxy.
 
B1818200-C25A-483A-827D-41276F3B3DDB.jpeg
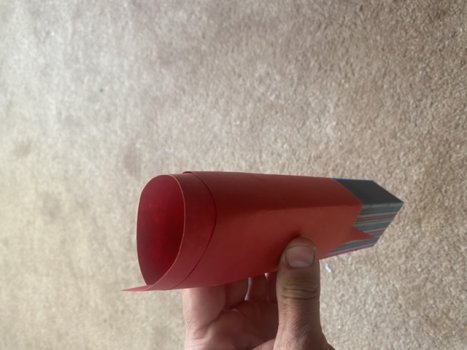
Next I wrap good ol duct tape around the handle block to create a “well” pretty much like the red paper here. The blade then is inserted into the hole in the block and the well extends a fair bit onto the blade, about 1.5 inches. Next I mix up some epoxy and black pigment and pour it into the well, filling up the hole and the well. I usually do this in the evening, and remove the handles the next morning. They usually pull off the tang by hand, but sometimes I have to persuade them with a hammer a bit.
 
68EAD4C4-22DE-4D8C-BE29-1DF88C750058.jpeg
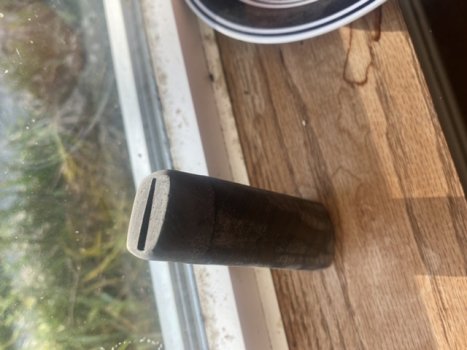
After I knock the handle off the blade, I peel off the tape and clean the blade. I will shape the handle down, drill my pin hole, and completely finish the blade and handle separately. The handle block/bolster will look sorta like this. It fits absolutely perfect to the blade. Once everything is up to snuff, I just mix up a little epoxy, apply to the tang and inside the handle, and stuff it together and install the pin. I clean off any excess epoxy with a qtip and acetone. From here on out I will just have to finish the pin and sharpen the blade and it’s done. It probably takes me less than 30 minutes to make a handle this way, minus cure times. You could make the front of the block into any manner of curve/angle/whatever, and the epoxy will fill it in and there is no fitting to the blade or handle. Super simple. Just make sure you use a good casting epoxy that won’t yellow or discolor or it will look like crap down the road. I’ve done this with black pigments, but some real cool things can be done with colors mica powder too. I made a “Minnesota Vikings” themed one with purple and gold mica powder in the epoxy and the bolster was very pretty. Your imagination is the limit. I wouldn’t do this with wood. It will expand and contract different than the resin over time, and leave a ridge where the two meet. I only do it on composite handles. Have fun with it.
 
Back
Top