Randy Lucius
Well-Known Member
Had some questions from a friend about how I do my maker's mark so I thought I would post it here. To the older guys this will be pretty boring but might help some of the newer guys. Feel free to add any tips of your own.
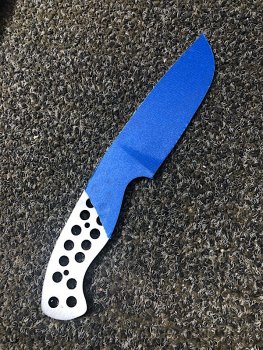
I start by taping up the opposite of the blade from the maker's mark to prevent scratches.
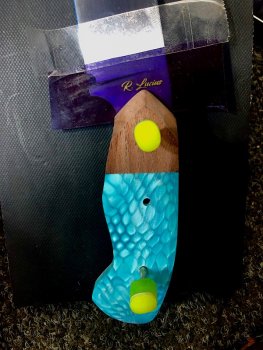
I put the scales on and get my stencil lined up where I want it.
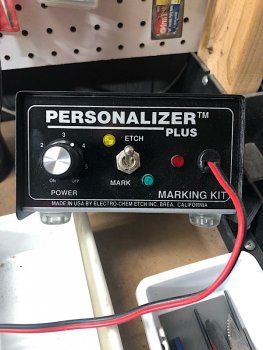
I use 3.5 as the setting on the Personalizer Plus for both etching and marking.
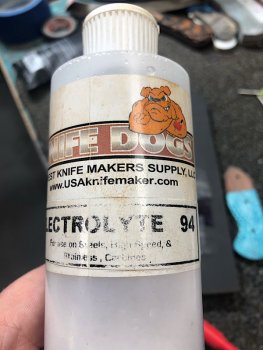
The etchant I use is Electrolyte 94 from USA Knifemaker. I wet the pad down and then blot it off with a paper towel. You want the pad damp but not wet.
With the etcher set to the etch position I apply the pad to the stencil 12-15 times for 5-7 seconds each time lifting the pad up and out of the way to release gases.
The same procedure is repeated on the mark position. I always end up with a shadow around my mark. I've tried the drop of windex trick but it doesn't seem to help much. It really doesn't matter though because we are going to make it worse in the next step anyway.
The next step was shown to me by a good friend Chris Crawford. We'll use Perma Blue to make the mark "blacker" and more permanent.
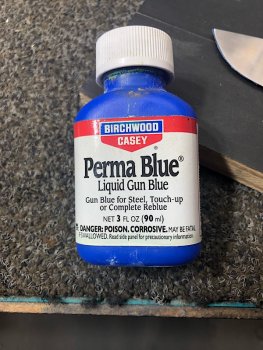
Using a Q-tip dab some Perma Blue on the mark. It doesn't take much and try to be neat with it.
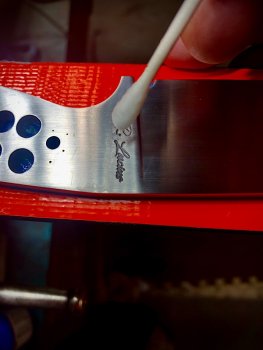
Let it dry 10-15 minutes.
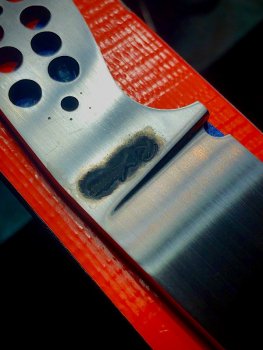
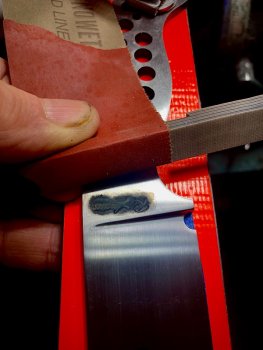
Using a hard backer with the same grit as you finished the blade we'll sand the mark. If you finished the knife at 800 grit sand the mark with 800.
It only takes a few strokes to clean it up. I sand in only one direction to avoid J-hooks going from the handle towards the tip. Windex works well here as a lubricant.
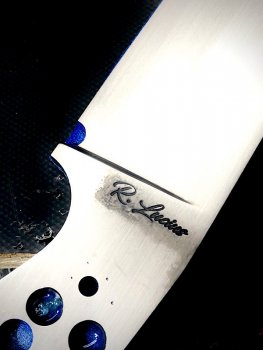
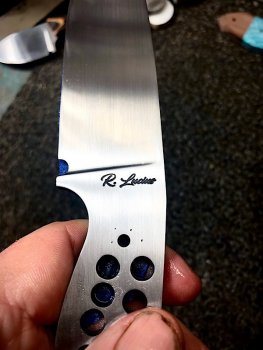
This is what it looks like finished. A nice deep mark that will last.
I start by taping up the opposite of the blade from the maker's mark to prevent scratches.

I put the scales on and get my stencil lined up where I want it.

I use 3.5 as the setting on the Personalizer Plus for both etching and marking.

The etchant I use is Electrolyte 94 from USA Knifemaker. I wet the pad down and then blot it off with a paper towel. You want the pad damp but not wet.

With the etcher set to the etch position I apply the pad to the stencil 12-15 times for 5-7 seconds each time lifting the pad up and out of the way to release gases.
The same procedure is repeated on the mark position. I always end up with a shadow around my mark. I've tried the drop of windex trick but it doesn't seem to help much. It really doesn't matter though because we are going to make it worse in the next step anyway.

The next step was shown to me by a good friend Chris Crawford. We'll use Perma Blue to make the mark "blacker" and more permanent.

Using a Q-tip dab some Perma Blue on the mark. It doesn't take much and try to be neat with it.

Let it dry 10-15 minutes.

Using a hard backer with the same grit as you finished the blade we'll sand the mark. If you finished the knife at 800 grit sand the mark with 800.
It only takes a few strokes to clean it up. I sand in only one direction to avoid J-hooks going from the handle towards the tip. Windex works well here as a lubricant.

This is what it looks like finished. A nice deep mark that will last.

