MTBob
Well-Known Member
As requested, this posting describes the details of my initial posting outlining replacement of the flat drive belt on my lathe. I used this belt replacement method since I did not want to disassemble the lathe to install a complete loop belt.
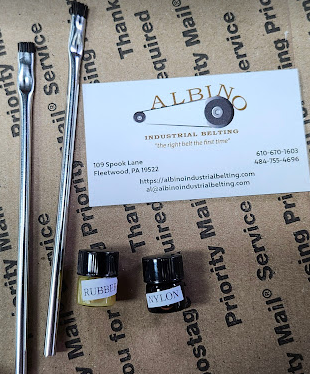
Here's source of supply information. The belting I used is sold by Al Bino Industrial Belting. The belt cost $57.50.
I generally replicated the installation process found in this YouTube video,
The supplier cuts the belts to exact dimensions that the buyer specifies and sends the belt along with glue, brushes for application and an installation instruction sheet. Each end of the belt is "skived" (taper cut) to allow for a flat surface after joining the two ends. I thought about buying some stock belting and skiving the ends my self. But, finding the correct belting and trying to cut or grind the proper end taper seemed to be more work than purchasing a pre-cut belt from a company that specializes in this product.
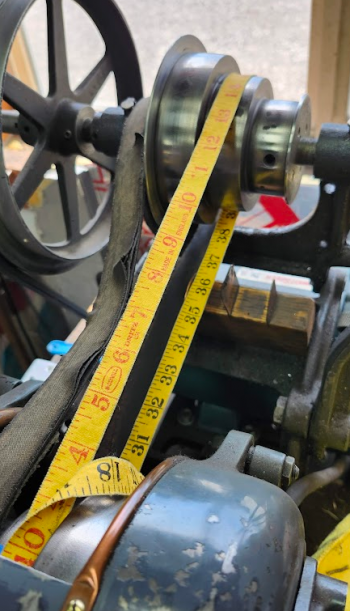
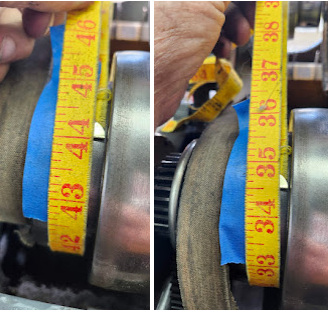
To get the proper measurement, I adjusted the tension mechanism between its maximum and minimum ranges to check the dimension
In my case the length ranged between 34.5-44 inches. I decided to split the difference and use a 39 inch belt. That length was also consistent with the length of OEM belts sold for my lathe.
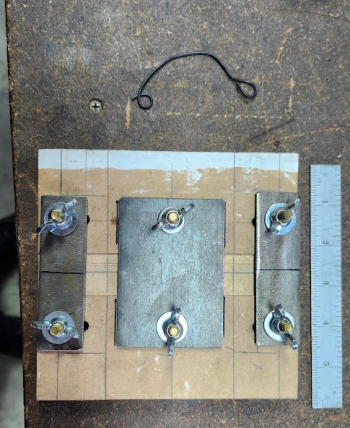
The most critical installation step is careful alignment of the belt ends to assure proper tracking on the pulleys. I made a simple clamping fixture to hold the belt in place similar to the one in the YT video. To assure alignment I dado cut an exact 1" groove (to match the belt width) in the MDF board, that is about 1/2 the thickness of the belt. Compared to the video reference, I added the screw-down joint clamp feature and a bit of wire to hold the belt back during gluing.
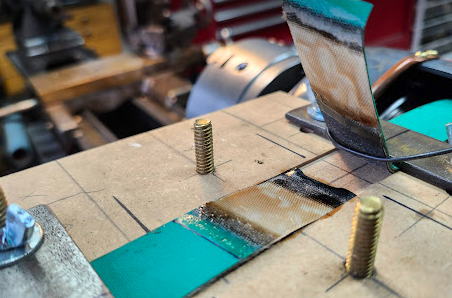
Here you can see the different layers of the belt. The green and black areas are external layers of rubber, the grey area is the nylon belt.
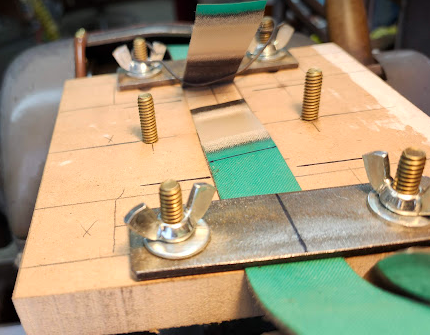
This is the belt with glue applied and drying to a tackiness prior to clamping. There are 2 glues, one applied to the rubber sections of the belt and another to apply to the nylon, grey area. The wire holds the belt up for easier glue application.
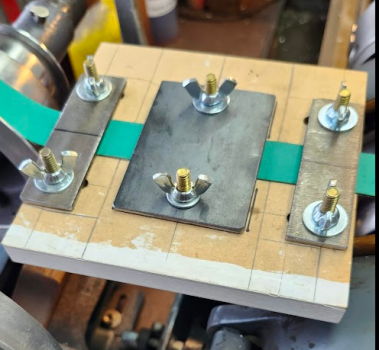
Clamped in place - and then wait for 24 hrs.
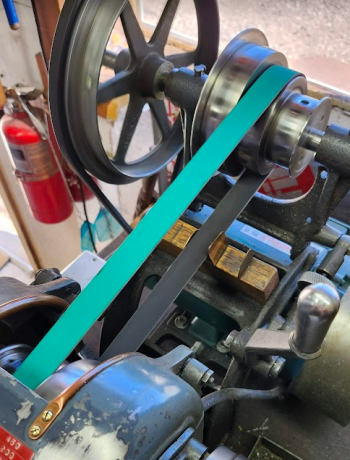
Completed belt. The suppliers says the belt can be run with either the green or black side on the pulleys, and says that the green side may offer more friction than the black side.
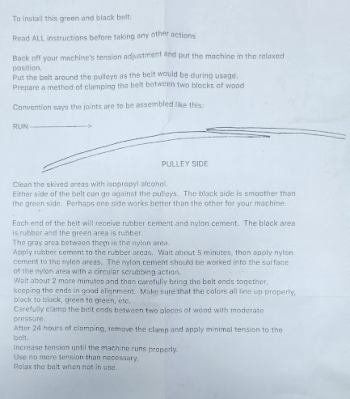
Installation instructions:
Here's source of supply information. The belting I used is sold by Al Bino Industrial Belting. The belt cost $57.50.

I generally replicated the installation process found in this YouTube video,

To get the proper measurement, I adjusted the tension mechanism between its maximum and minimum ranges to check the dimension
In my case the length ranged between 34.5-44 inches. I decided to split the difference and use a 39 inch belt. That length was also consistent with the length of OEM belts sold for my lathe.

The most critical installation step is careful alignment of the belt ends to assure proper tracking on the pulleys. I made a simple clamping fixture to hold the belt in place similar to the one in the YT video. To assure alignment I dado cut an exact 1" groove (to match the belt width) in the MDF board, that is about 1/2 the thickness of the belt. Compared to the video reference, I added the screw-down joint clamp feature and a bit of wire to hold the belt back during gluing.

Here you can see the different layers of the belt. The green and black areas are external layers of rubber, the grey area is the nylon belt.

This is the belt with glue applied and drying to a tackiness prior to clamping. There are 2 glues, one applied to the rubber sections of the belt and another to apply to the nylon, grey area. The wire holds the belt up for easier glue application.

Clamped in place - and then wait for 24 hrs.

Completed belt. The suppliers says the belt can be run with either the green or black side on the pulleys, and says that the green side may offer more friction than the black side.

Installation instructions:


