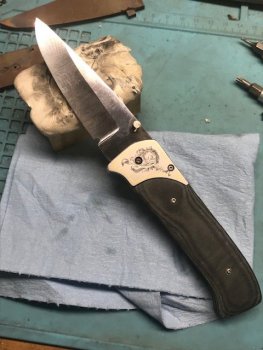
Gents liner lock WIP

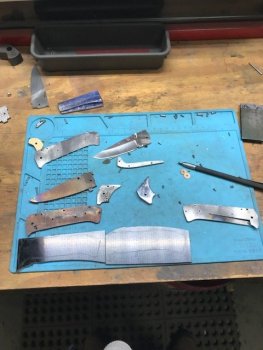
The back scale and bolster needed to be relieved a bit to allow the lock bar to over spring to clear the detent ball. Pretty easy stuff really. Clamp it down and mill away .045" or so.
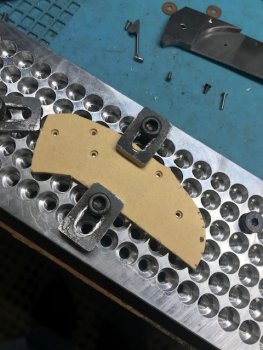
IMG_4383.jpg


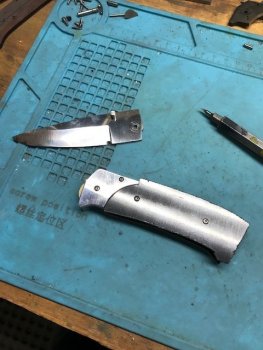
The thumb stud needed a bit more clearance in the closed position. I notched it with a carbide bit and a rotary tool.
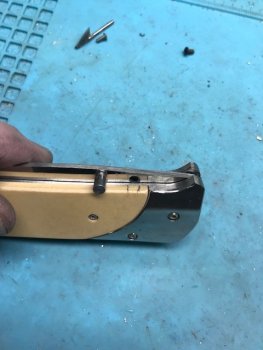
IMG_4400.jpg

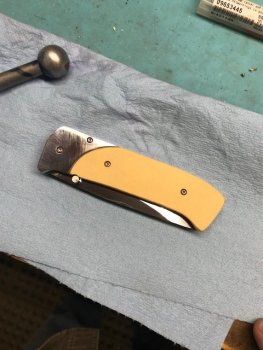
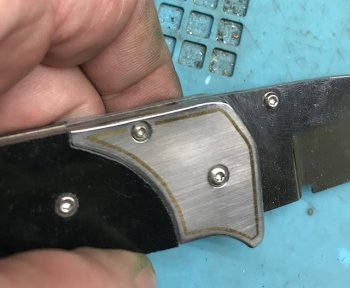
Here it is mostly finished. I left the bolsters flat and polished to 600 grit. I intend to engrave them for the practice even though this knife is a dead to me.

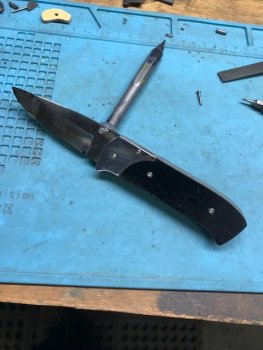
I think the ricasso is a bit too big here and will shrink that on the next one.
The ivory colored material in bone paper epoxy. It has been discontinued and I snagged one of the last pieces. I have mixed feeling about it. I like the ivory color. I dislike how it shows dirt. I'll use something else next time and save the rest of this for bolsters or spacers.

The little notch for the thumb stud is distracting and has to go.
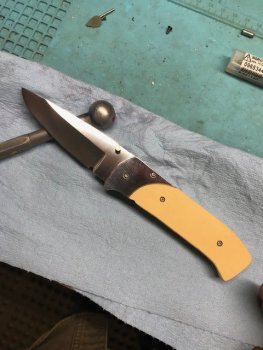
IMG_4402.jpg

IMG_4403.jpg

Live and learn. I'll make some changes and start another one next week as I do like the profile and feel. I wish I didn't screw these things up but that is how I seem to grow my meager skills.
 
Last edited:
Nice job! And thanks for posting how you do things. I always appreciate seeing different guys’ processes. I know it would be a different look, but for the thumb stud, you could try a larger semi-circular relief for it. It then doubles as an easier way for the thumb to push the lock bar out when closing the blade. For some reason (at least for me...), the larger cut out is less distracting than the smaller one.

Again, I think you did great and can’t wait to see the next one.

Jeremy
 
This one sat on my bench for a couple months as punishment while I worked on other things.
I modified the bolsters a bit and put on some new scales.
IMG_4691.jpg

Here the scales are roughed in. I'll profile them flush now.
IMG_4696.jpg

It's mostly done. Some cosmetics left and a little clean up here and there and then I'll pull the bolsters and see how they engrave.
IMG_4700.jpg
 
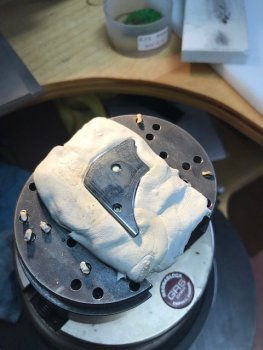
I have the back side bolster mounted in Jet Set for the engraving vise. This is a plastic that is heated in the microwave with water and then molded to the part. It holds it rock steady with no jaw marks from the vise.
IMG_4701.jpg

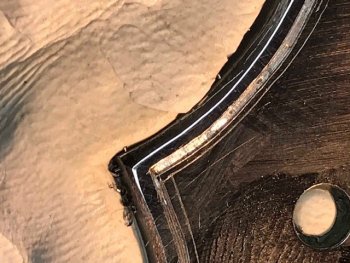
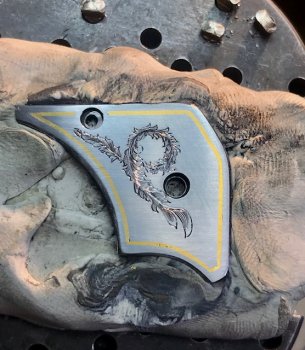
One channel is cut here. The scribe marks will be sanded away once the gold border is in place.
IMG_4702.jpg

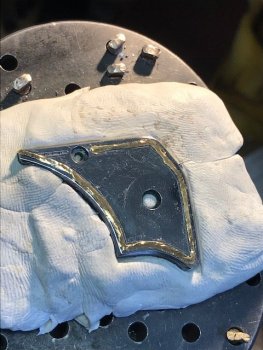
Here I've gotten most of this side rough in in-layed. I tried to lay this up with one wire and probably won't do that again. It keeps expanding lifting the work that is done so far. Gold in this diameter runs about $10 an inch. It won't be all that much but it is a lot of extra time - especially when you aren't quite sure you are doing it right. I have a sketch ready to stencil on and engrave after this. Once I get the back side done, I'll make any changes I want and do the front side.
IMG_4703.jpg
 
Back side bolster border done. Now to the front. After the borders are done I'll engrave in a design I have
This was using 22Kt wire I ordered by mistake. I ordered in some 24kt and did most of this in 22kt and it was a HUGE pain to get it in there. I did a small section in 24kt and it went in like a dream. Live and learn.
IMG_4705.jpg

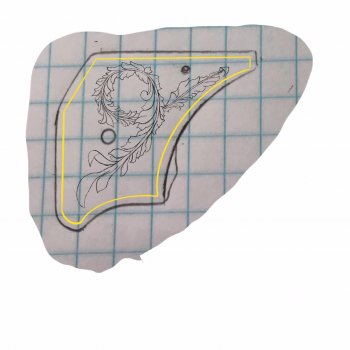
Below is my sketch. This was done on an Ipad using Procreate. It's what all the cool kids are using for sketches like this.
I did not bother to sketch in the shading. I'll do that on the piece when I engrave it.

bolster sketch.jpg
 
I admire your tenacity and perseverance in doing the engraving. It looks great.
I'll not be surprised to see this become part and parcel of your work in future.

Thanks John. That is pretty much where I am heading. I've always admired a nice engraved gents folder and that has been my goal for some time. I hope to get there some day.
 
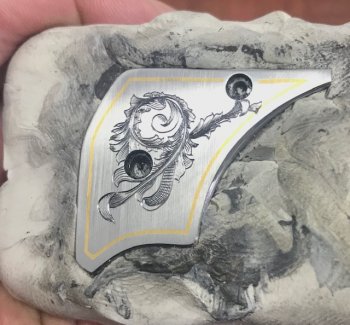
Here is the other side. I change the sketch up quite a bit. Same shape but quite a bit bigger for less negative space. I ignored the screw holes this time. The composition is terrible but I wanted to push through this one for the next. Sketching maybe the hardest part of all this which I didn't see coming.
68658

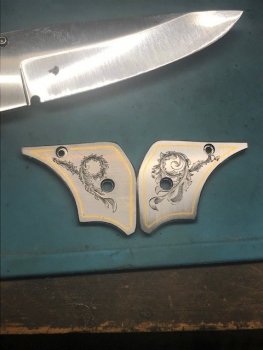
Here is both bolsters side by side. The one above is on the right below.
68659

Plenty of clean upleft but this is where it is headed.
68660
 
Boss, how long you been engraving? To my eye I don't see anything wrong but, I am jealous!! I have tried some engraving work on wood and it is them dang oh oh's that get me!!! That and my eyes ain't as good as they used to be!!

What kind of tools to you use when doing that kind of engraving?? I'd like to see a pic of what you are using!!!
 
Back
Top