This WIP will be slow. It's going to start out as an entirely hand made liner lock. Once I make a few and like the design, I'll move it over to CNC.
I am looking to make a slim, small gents liner lock with bolsters. I have not even looked at what the pocket clip will be. That can wait.
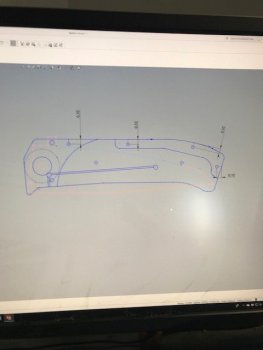
I start off with Solidworks and draw up the knife.
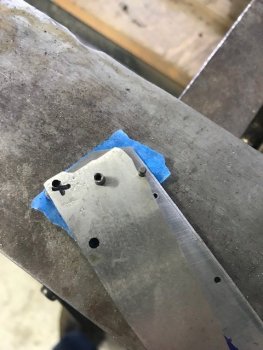
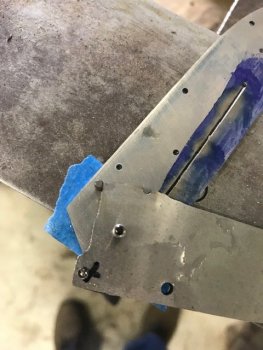
I've already planned on a 1/8" pivot and 1-72 screws so those are drawn to scale for the through holes. You should be able to see two square tabs on the blade. One by the stop pin, the other on the cutting edge. These will be used to drill through for setting the stop positions in both open and closed. After the positions are drilled, most of these tabs are ground away.
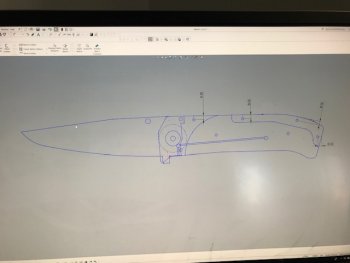
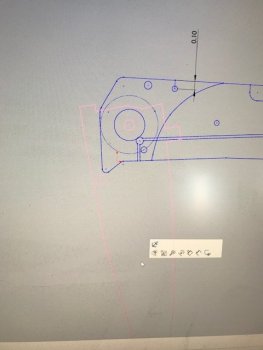
You can barely see the blade since it turned pink on the screen when I rotated the blade to see how it will fit in the closed position.
Here I check the clearance for the thumb stud in half closed position.
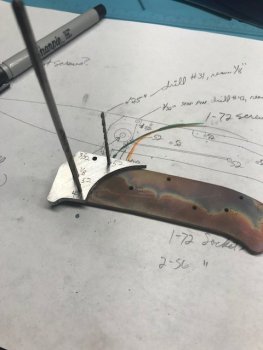
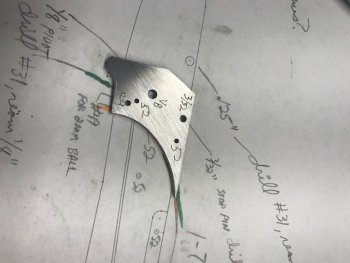
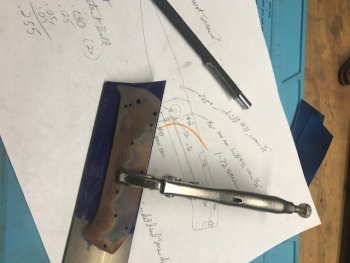
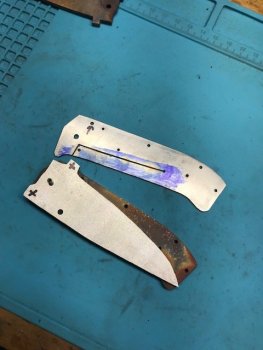
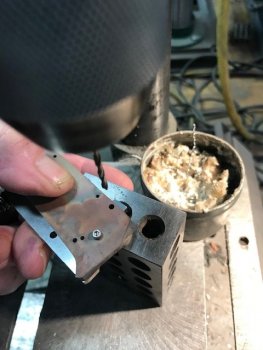
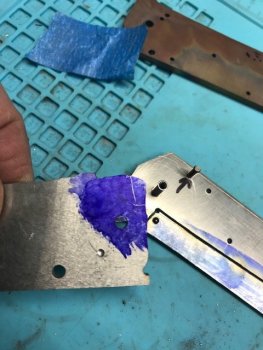
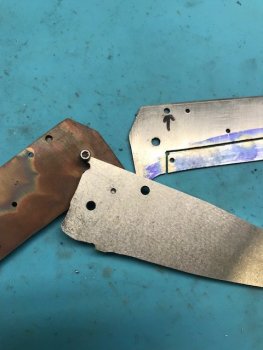
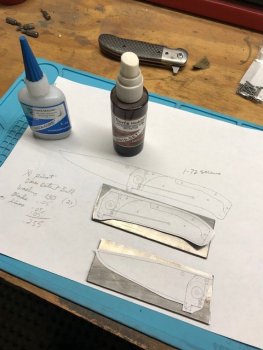
I printed out the drawings actual size. They are glued to some clean AEBL (.125" thick) and I will used these as drill templates/patterns. It's much better to make a drill template for the time you you need to make another part. I'll show how it's used later. These templates will be fully hardened when I have them done. I don't make a template for the back spacer bar. I just use the liner pattern for that.
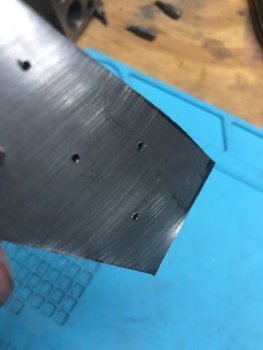
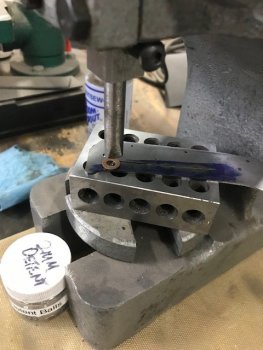
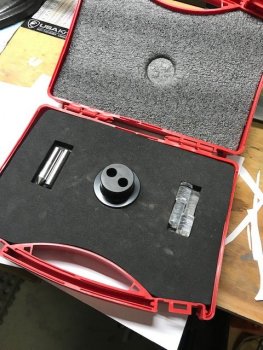
Here I am using an optical punch to center punch the drill holes more accurately.
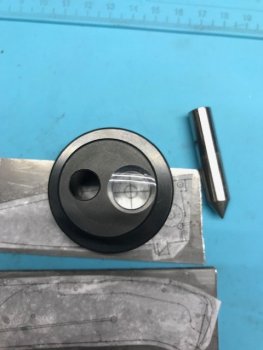
These are available at Grizzly tools for around $50 and are awesome to use when you want your holes located as closely as possible to the drawing.
And here is a picture of my one day old grand daughter Adaline, which now makes me a grandpa.

I am looking to make a slim, small gents liner lock with bolsters. I have not even looked at what the pocket clip will be. That can wait.
I start off with Solidworks and draw up the knife.
I've already planned on a 1/8" pivot and 1-72 screws so those are drawn to scale for the through holes. You should be able to see two square tabs on the blade. One by the stop pin, the other on the cutting edge. These will be used to drill through for setting the stop positions in both open and closed. After the positions are drilled, most of these tabs are ground away.

You can barely see the blade since it turned pink on the screen when I rotated the blade to see how it will fit in the closed position.

Here I check the clearance for the thumb stud in half closed position.

I printed out the drawings actual size. They are glued to some clean AEBL (.125" thick) and I will used these as drill templates/patterns. It's much better to make a drill template for the time you you need to make another part. I'll show how it's used later. These templates will be fully hardened when I have them done. I don't make a template for the back spacer bar. I just use the liner pattern for that.

Here I am using an optical punch to center punch the drill holes more accurately.

These are available at Grizzly tools for around $50 and are awesome to use when you want your holes located as closely as possible to the drawing.

And here is a picture of my one day old grand daughter Adaline, which now makes me a grandpa.


