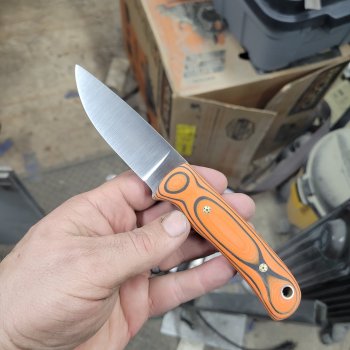
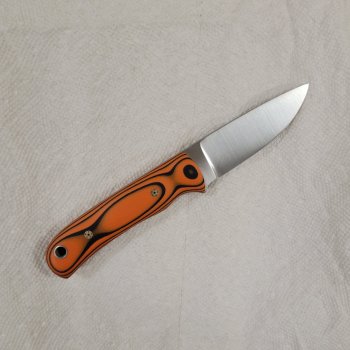
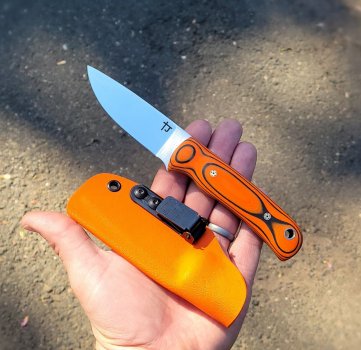
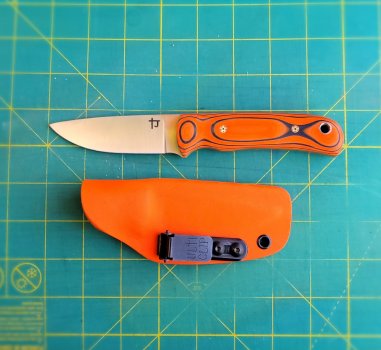
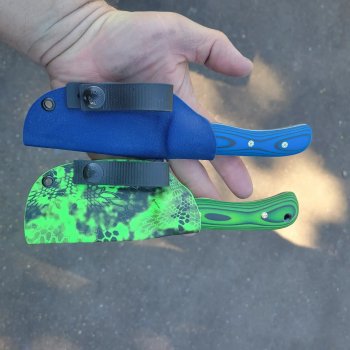
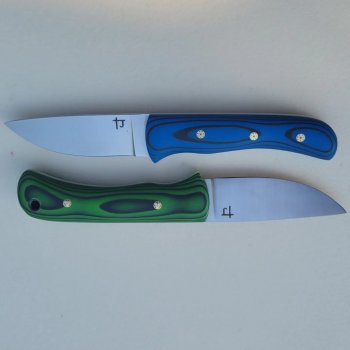
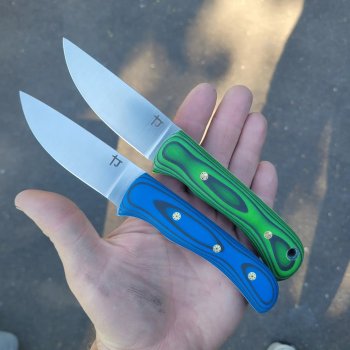
I found out that a company in CT, Current Composites, makes phenolic (micarta) and Fr4 (G10, but it is actually an insulating grade), carbon fiber and a brand new product just announced this past Wednesday called AmeraGrip! AmeraGrip is a laminate of FR4 and Nitrile Rubber, so it is similar to G10 SureTouch. Gives a nice grippy handle! I found out that the grand daughter of the guy who started the business works there and lives about 5 minutes away from me! She stopped by to drop off a set of blaze orange AmeraGrip scales on Wednesday evening, so I decided to make a knife for them! I was going to use a premade blank, but decided to do a full custom for them instead!
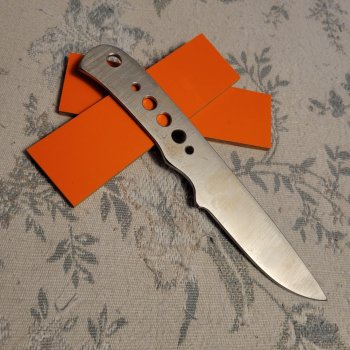
So I got a 62 HRC AEB-L blank that was drilled, but unground other than the profile. I figured it would make a nice EDC type blade for her to try the material out on! I epoxied toxic green liners to one side of each of the scales since they were only 1/4" thick, but the pic was taken before the liners were epoxied on. Once the epoxy cured last night, I trimmed the excess liner off, so I started with the blank and the rectangular handle scales with liners on them at 7:15pm last night:
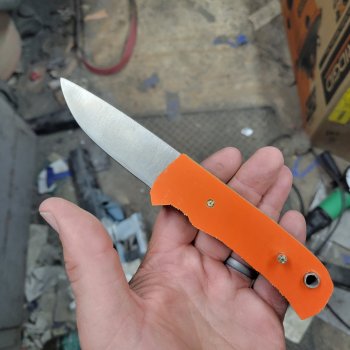
7:27 PM, I had the handle scales rough shaped out, drilled for the mosaic pins and the SS lanyard tube and the pins and tubes cut down:
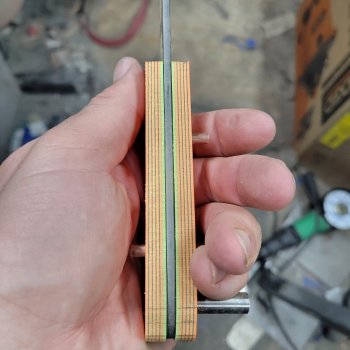
I cleaned up the front of the handle scaled to 320 grit on the belt sander and then switched over to the blade work! AEB-L is still really easy to grind, even when hardened to 62 HRC, so I was curious to see how long it would take! The cutting edge is 3 1/8" long. I started grinding with a 60 grit belt at roughly 7:30pm after marking out the edge center and where I wanted the plunge cuts. At 7:44, I took this picture after I cleaned the blade grind up with a 100 grit belt and started cleaning up the ricasso area. I also added in a fuller to the handle to reduce some weight and give an area for epoxy to build up in:
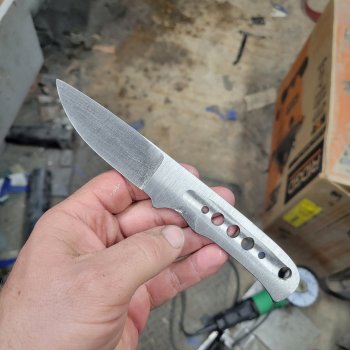
And at 8:01, I took these pics! I worked from the 100 grit belt up to a 120 and 220 grit flexible ceramic grit belt to even up and round out the plunge cuts, clean up the blade bevels and clean up the ricasso some more, then went to a Trizact ceramic A45 belt. After that, I dropped down to a 180, 240 and 400 grit Compact Grain AO belt, which gives a nicer satin finish, and then used a Fine Grit Scotchbrite belt for a nice satin finish! 30 minutes from start to finish to grind out the blade!
After blade grinding was done:
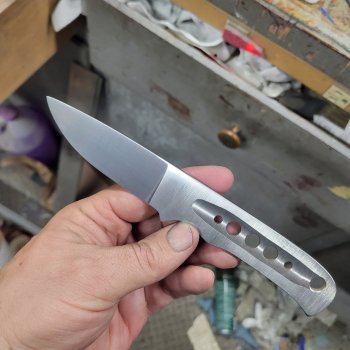
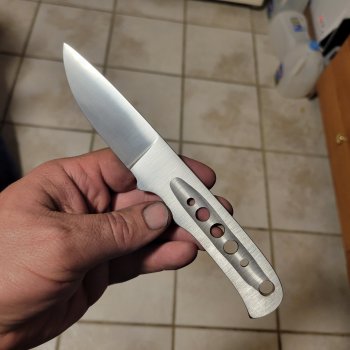
I roughed up the back side of the liners, got the pins and lanyard tube roughed up for gluing and at 8:23 pm, the handle was all clamped, front of the scales cleaned off and the JB Kwik Weld starting to cure.
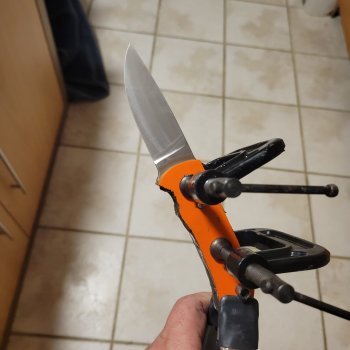
At 8:37, the epoxy was cured, so I went into the garage to trim down the pins and tube and start shaping the handle!
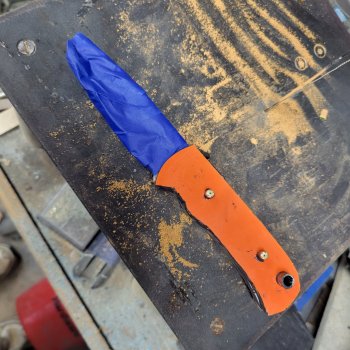
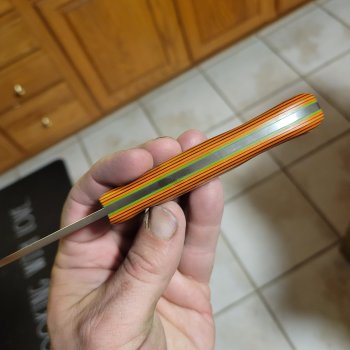
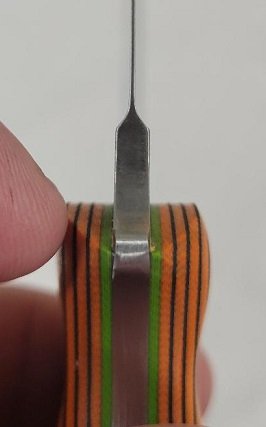
8:37 PM, I started with an 80 grit belt to get the scales flush with the profile of the tang and started some contouring. Worked up to a 120, 220, 320 and 400 grit belt and then some quick hand sanding on a hard EVA foam backer with some 600 grit and at 8:59, took some pics after rinsing the dust off in my water bucket!
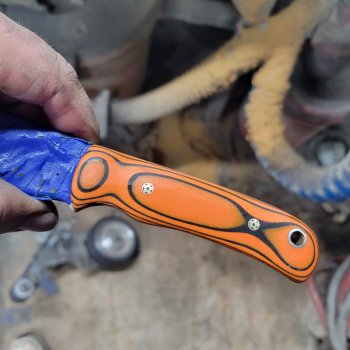
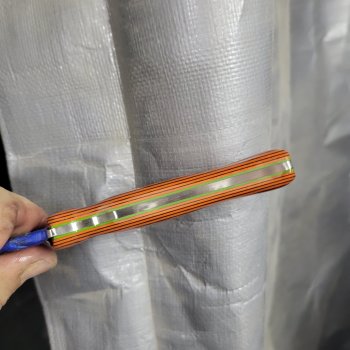
So I got a 62 HRC AEB-L blank that was drilled, but unground other than the profile. I figured it would make a nice EDC type blade for her to try the material out on! I epoxied toxic green liners to one side of each of the scales since they were only 1/4" thick, but the pic was taken before the liners were epoxied on. Once the epoxy cured last night, I trimmed the excess liner off, so I started with the blank and the rectangular handle scales with liners on them at 7:15pm last night:

7:27 PM, I had the handle scales rough shaped out, drilled for the mosaic pins and the SS lanyard tube and the pins and tubes cut down:


I cleaned up the front of the handle scaled to 320 grit on the belt sander and then switched over to the blade work! AEB-L is still really easy to grind, even when hardened to 62 HRC, so I was curious to see how long it would take! The cutting edge is 3 1/8" long. I started grinding with a 60 grit belt at roughly 7:30pm after marking out the edge center and where I wanted the plunge cuts. At 7:44, I took this picture after I cleaned the blade grind up with a 100 grit belt and started cleaning up the ricasso area. I also added in a fuller to the handle to reduce some weight and give an area for epoxy to build up in:

And at 8:01, I took these pics! I worked from the 100 grit belt up to a 120 and 220 grit flexible ceramic grit belt to even up and round out the plunge cuts, clean up the blade bevels and clean up the ricasso some more, then went to a Trizact ceramic A45 belt. After that, I dropped down to a 180, 240 and 400 grit Compact Grain AO belt, which gives a nicer satin finish, and then used a Fine Grit Scotchbrite belt for a nice satin finish! 30 minutes from start to finish to grind out the blade!
After blade grinding was done:


I roughed up the back side of the liners, got the pins and lanyard tube roughed up for gluing and at 8:23 pm, the handle was all clamped, front of the scales cleaned off and the JB Kwik Weld starting to cure.

At 8:37, the epoxy was cured, so I went into the garage to trim down the pins and tube and start shaping the handle!

8:37 PM, I started with an 80 grit belt to get the scales flush with the profile of the tang and started some contouring. Worked up to a 120, 220, 320 and 400 grit belt and then some quick hand sanding on a hard EVA foam backer with some 600 grit and at 8:59, took some pics after rinsing the dust off in my water bucket!


Last edited:

