First Timer - Double Bit Axe Mask

Steven Long

Well-Known Member
Today I decided it was time to finally learn how to work on some leather.

I started this project a few hours ago and rushed my way through it, thinking the whole time that it wasn't going to work. It was a great learning experience and I believe it actually came out pretty decent looking. This was the first time to make anything out of leather so cut me some slack when you see the pictures.

I have a double bit Nessmuk axe made by Two Hawks and the sheath is lacking in a lot of ways. Months ago I drew up a sheath design for it and never got around to making it. Well, the other day, the snap broke and the sheath just flops around now. Since I have been attempting to make knives, the logical thing to do was to learn how to make a good sheath to go with them. So here is the beginning of the leather journey.

This is the drawing and design I had come up with...
LeatherworkingProgress003_zpscd90819a.jpg


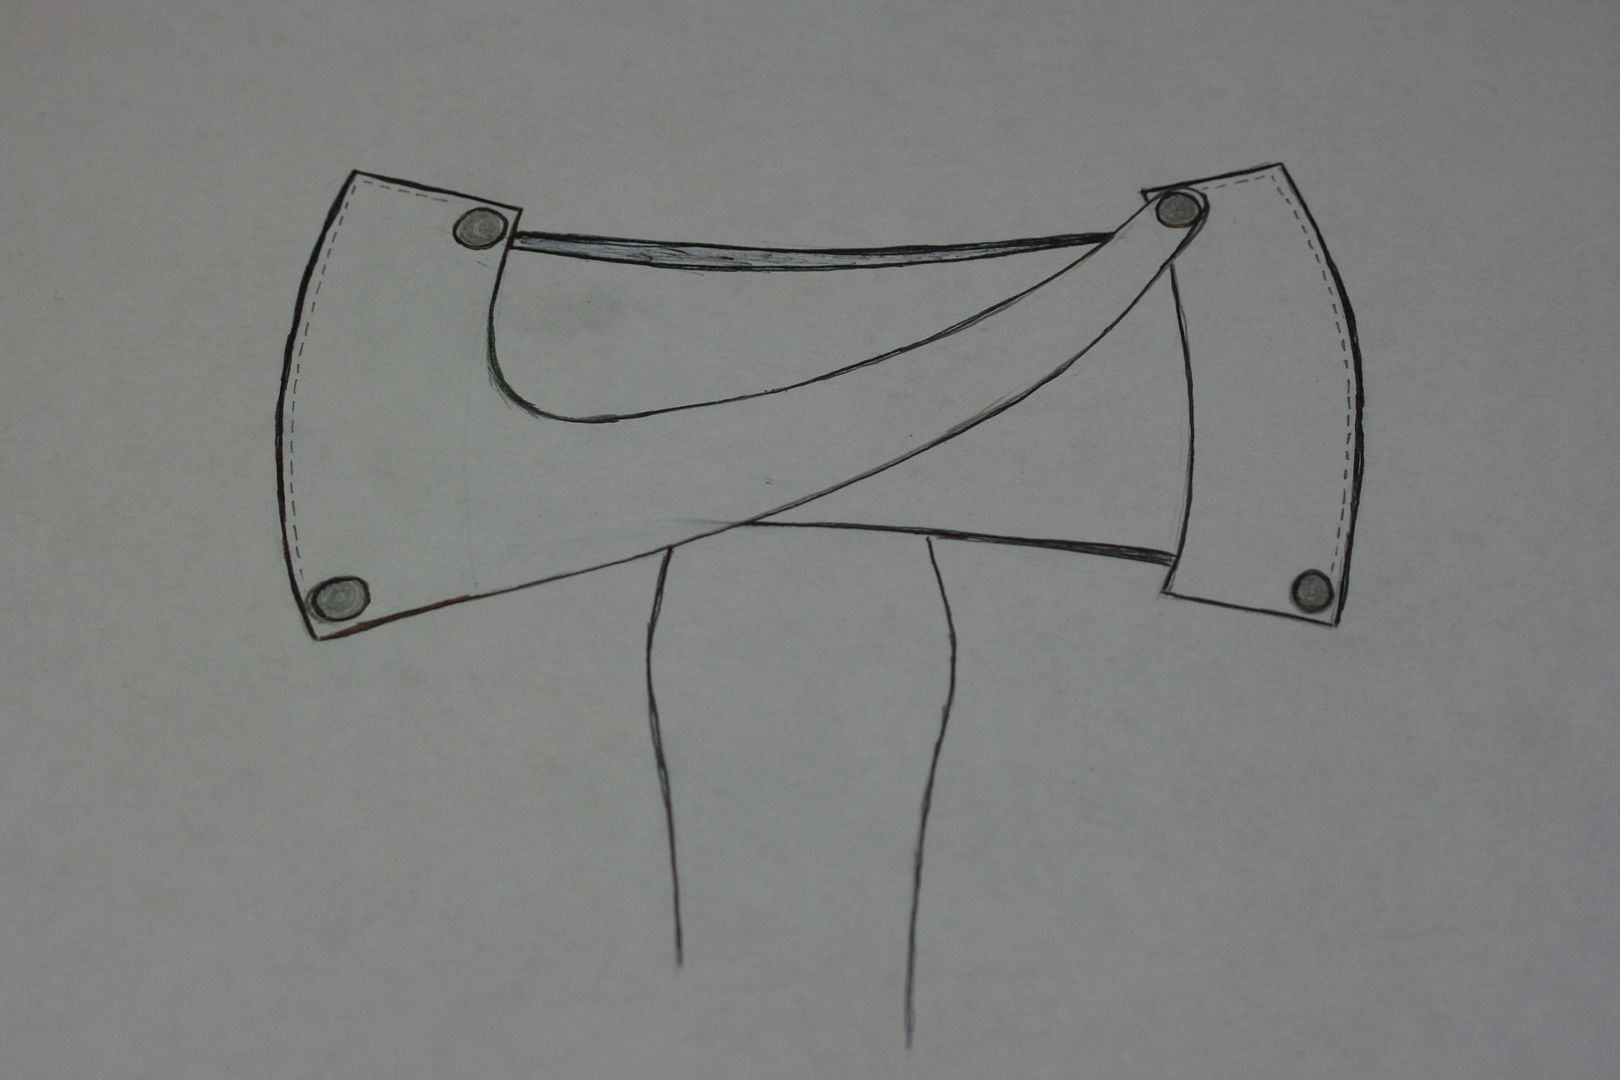
It is a two piece sheath that stays attached by snapping together. I wasn't sure that it would even stay on the axe, but I thought it looked cool. I wish I would have taken pictures during the process but I was certain it was going to be a failure.

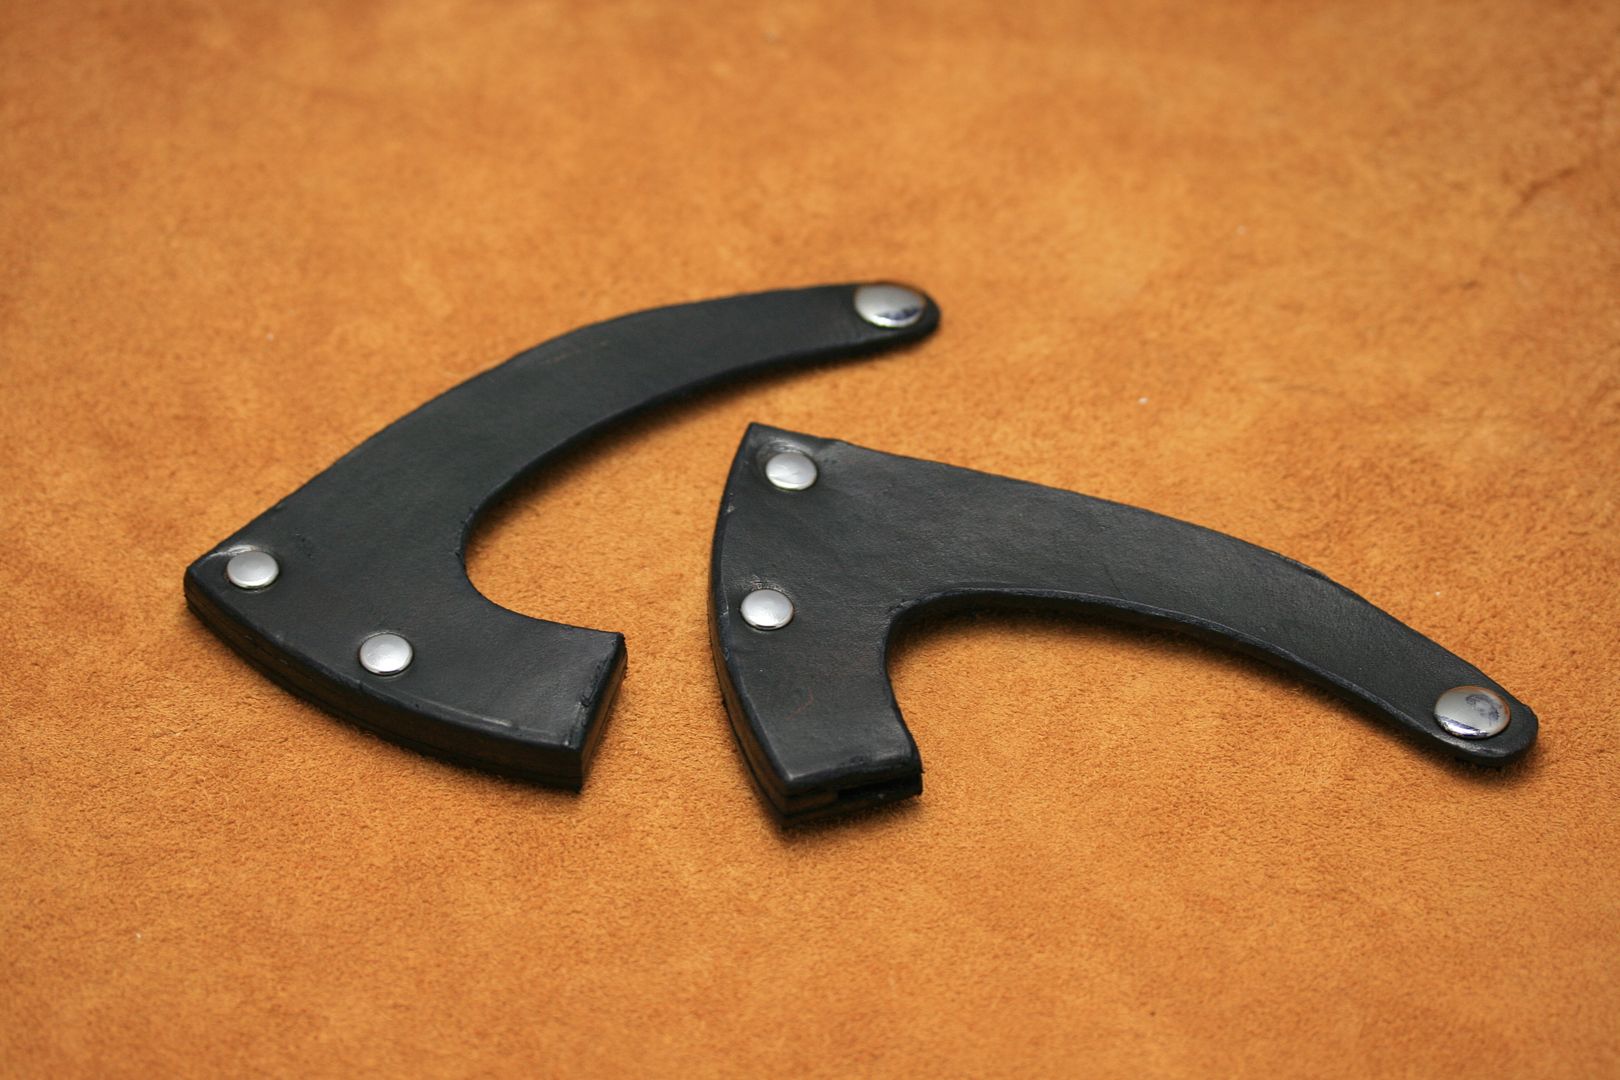
This is what the axe came with...
LeatherworkingProgress008_zps17422841.jpg


LeatherworkingProgress009_zps6c059fcb.jpg


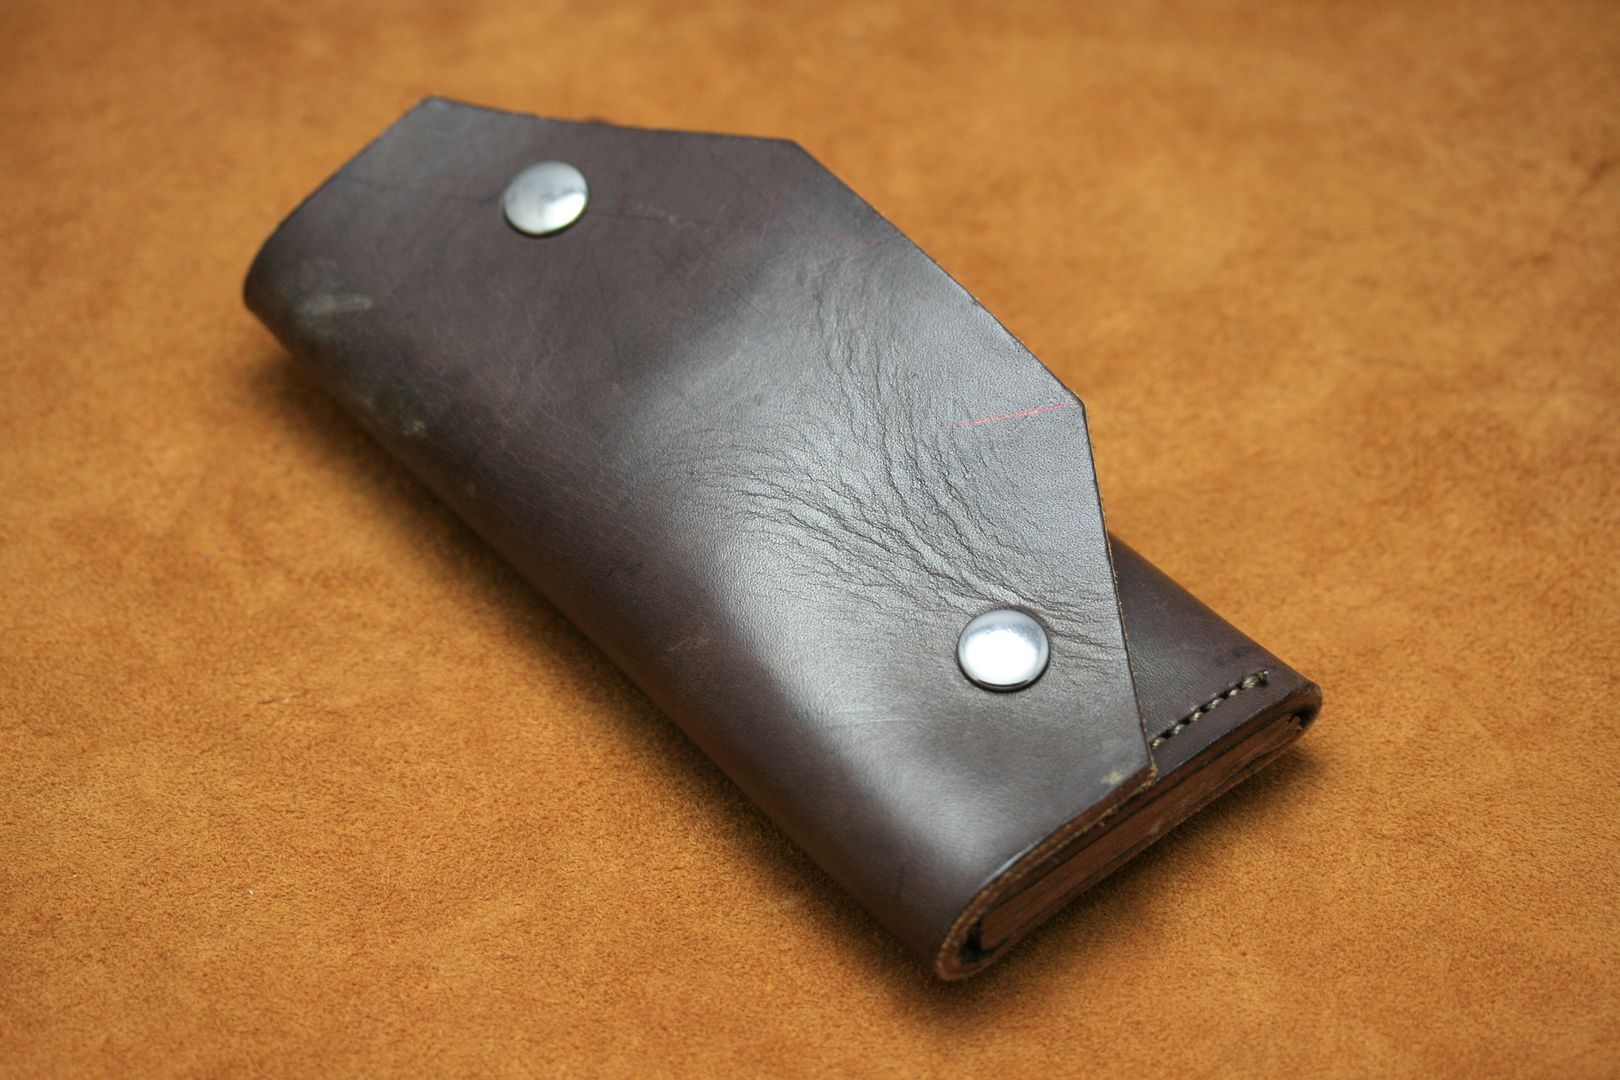
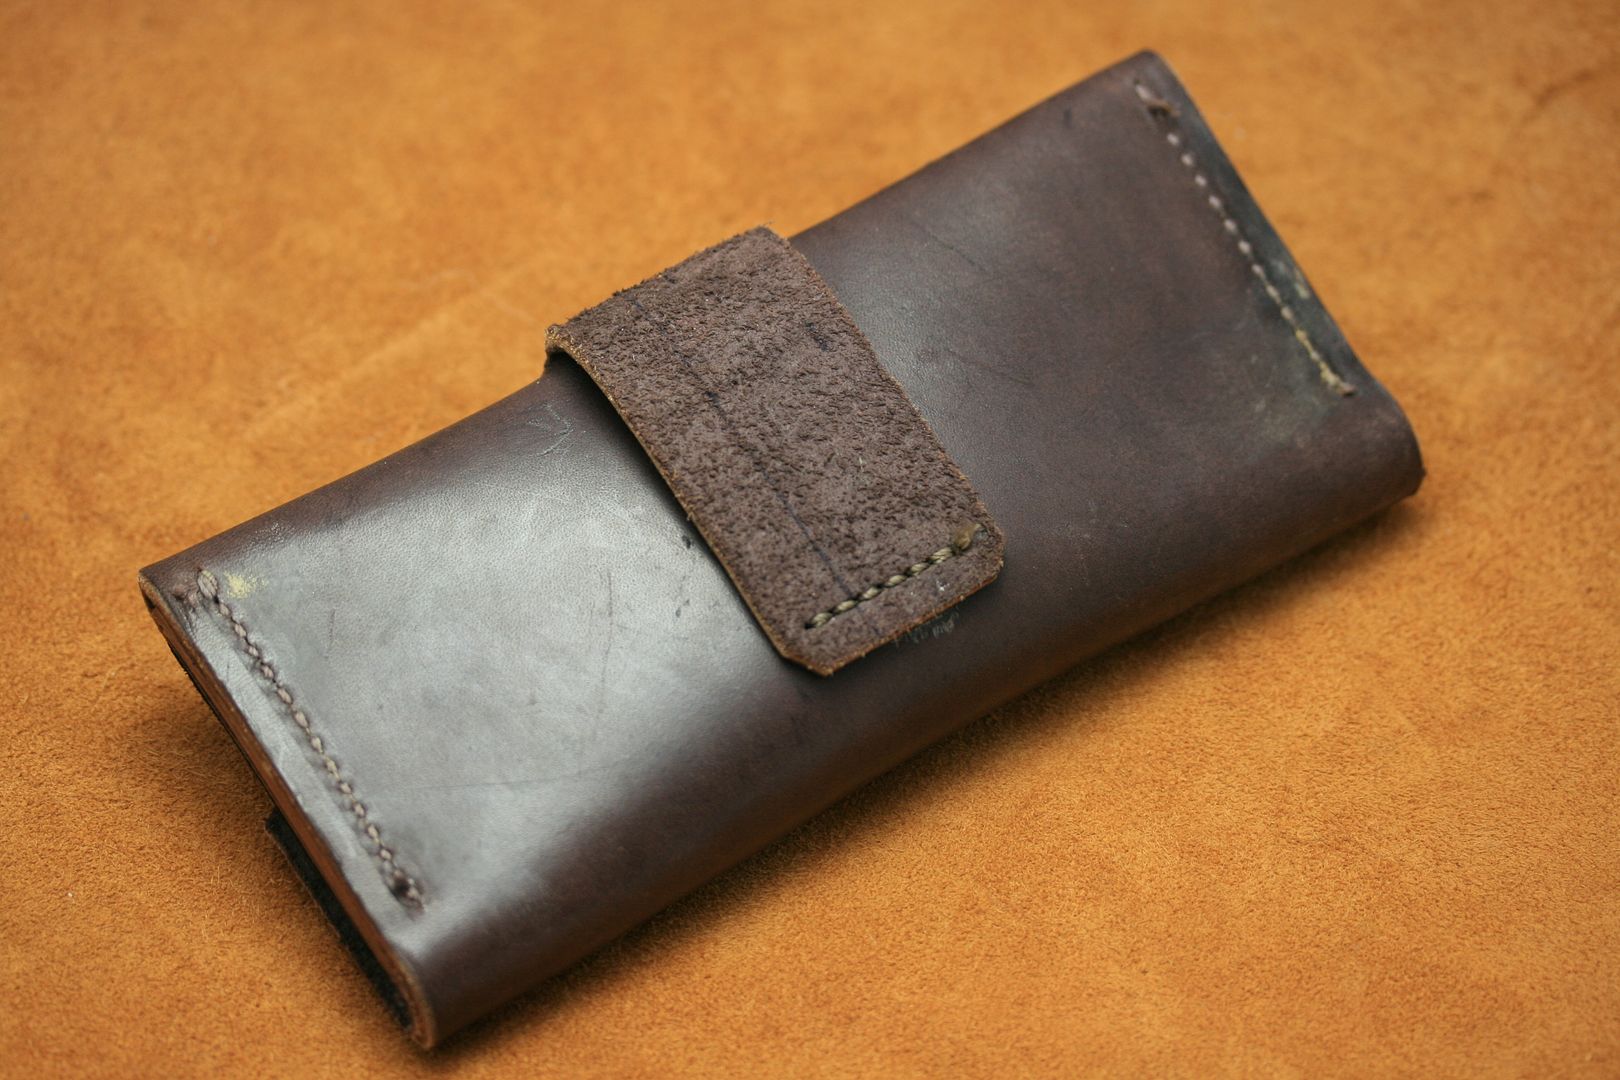
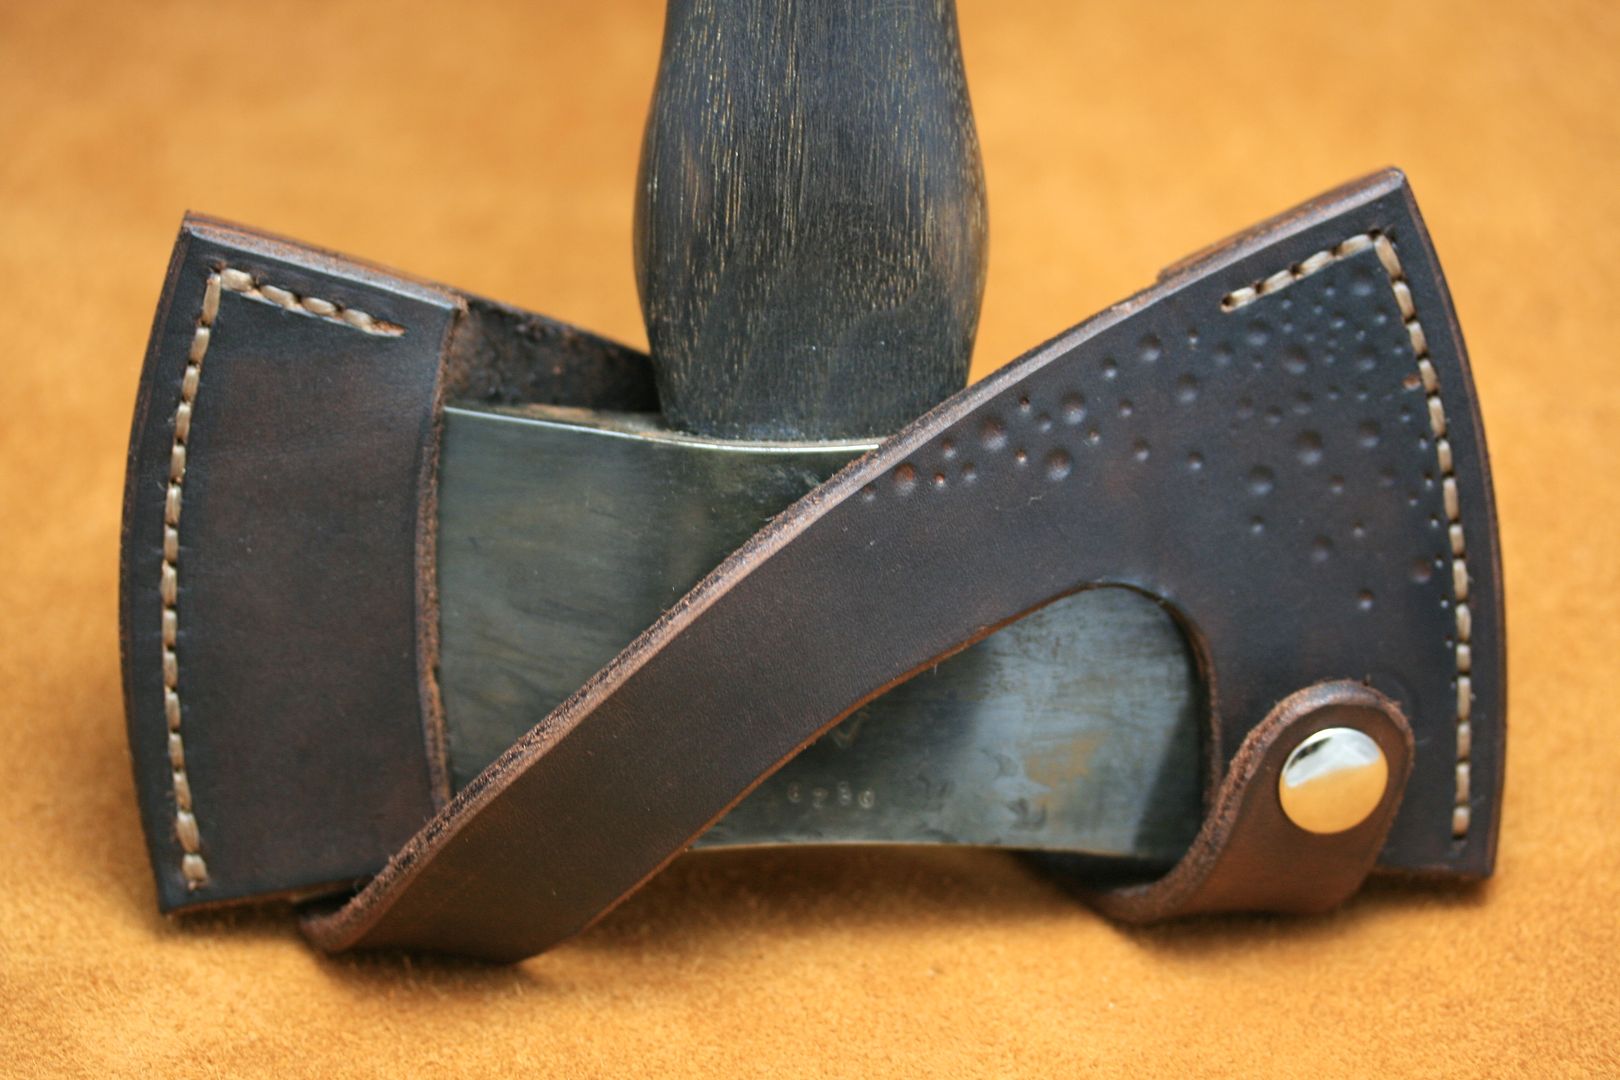
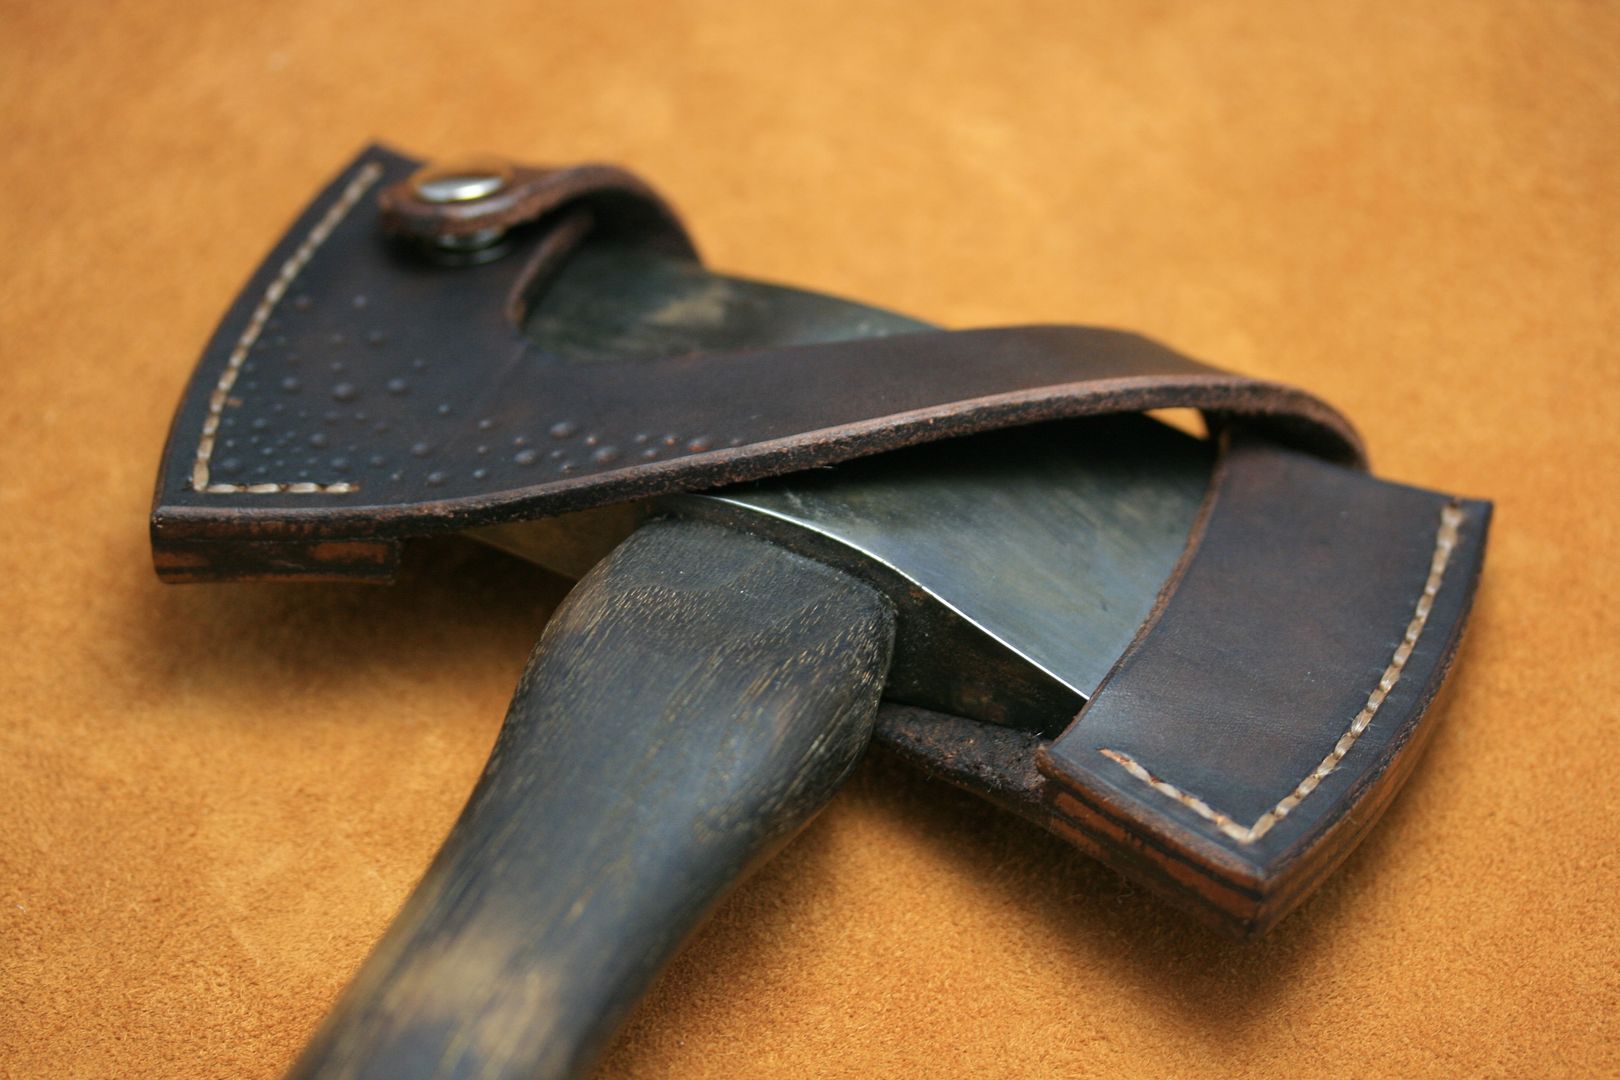
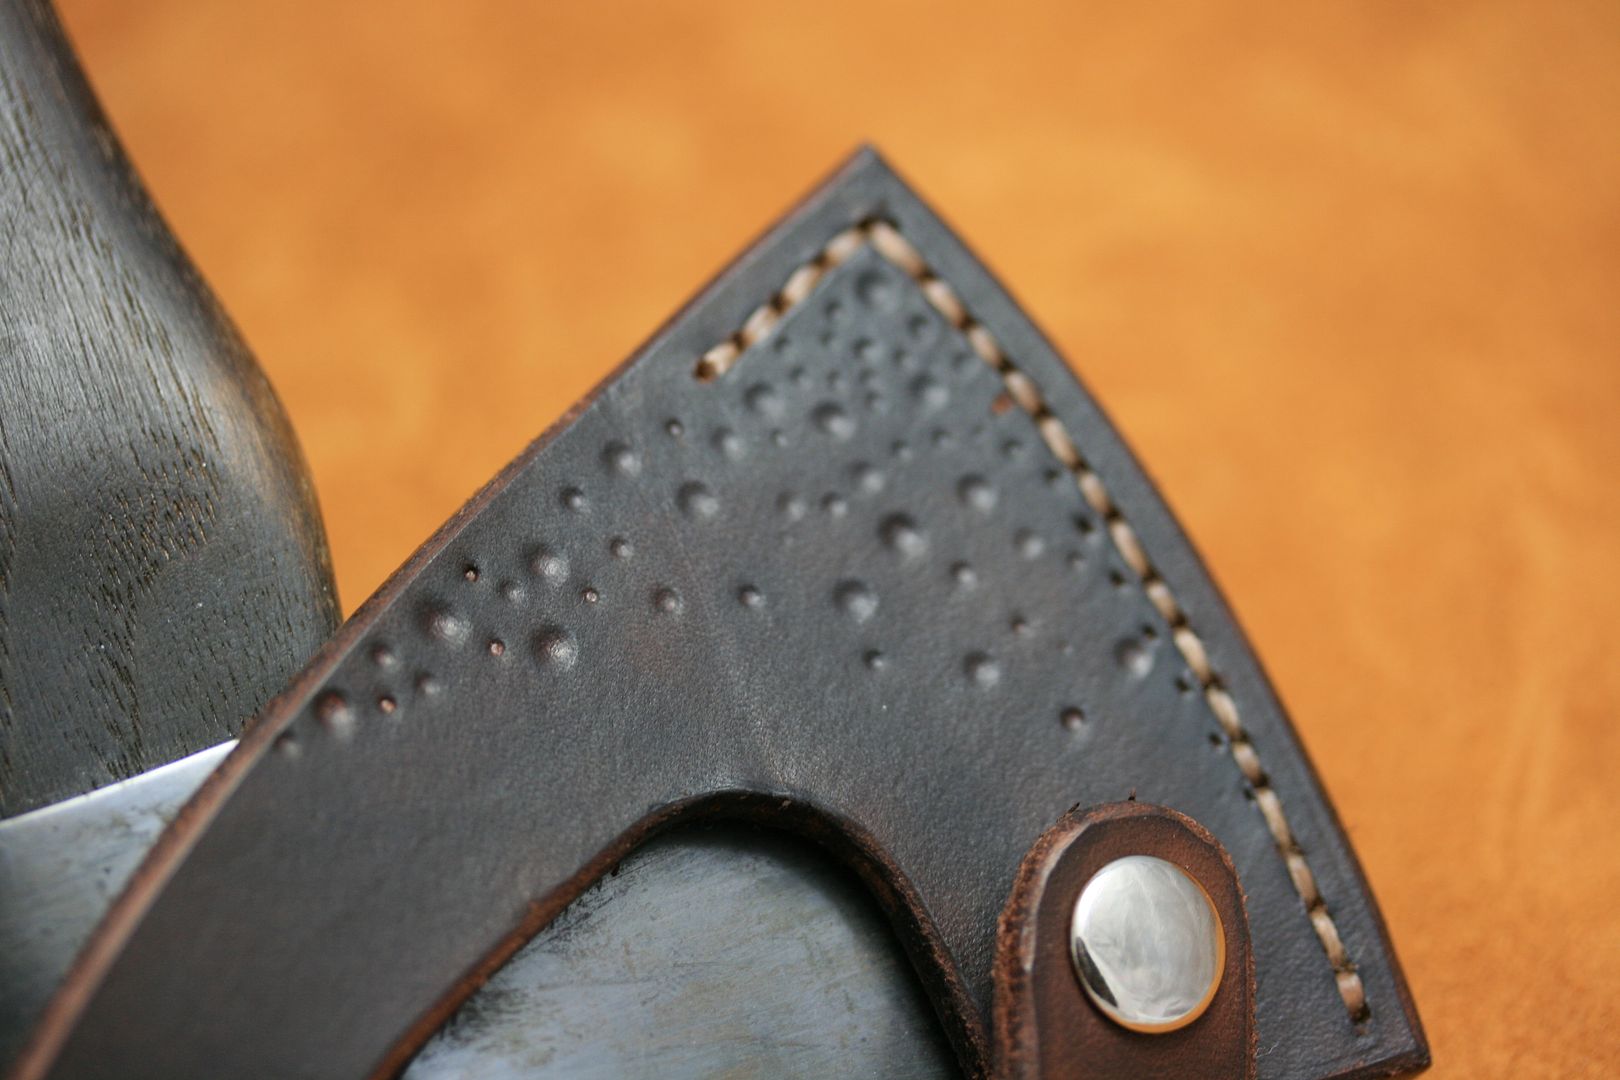
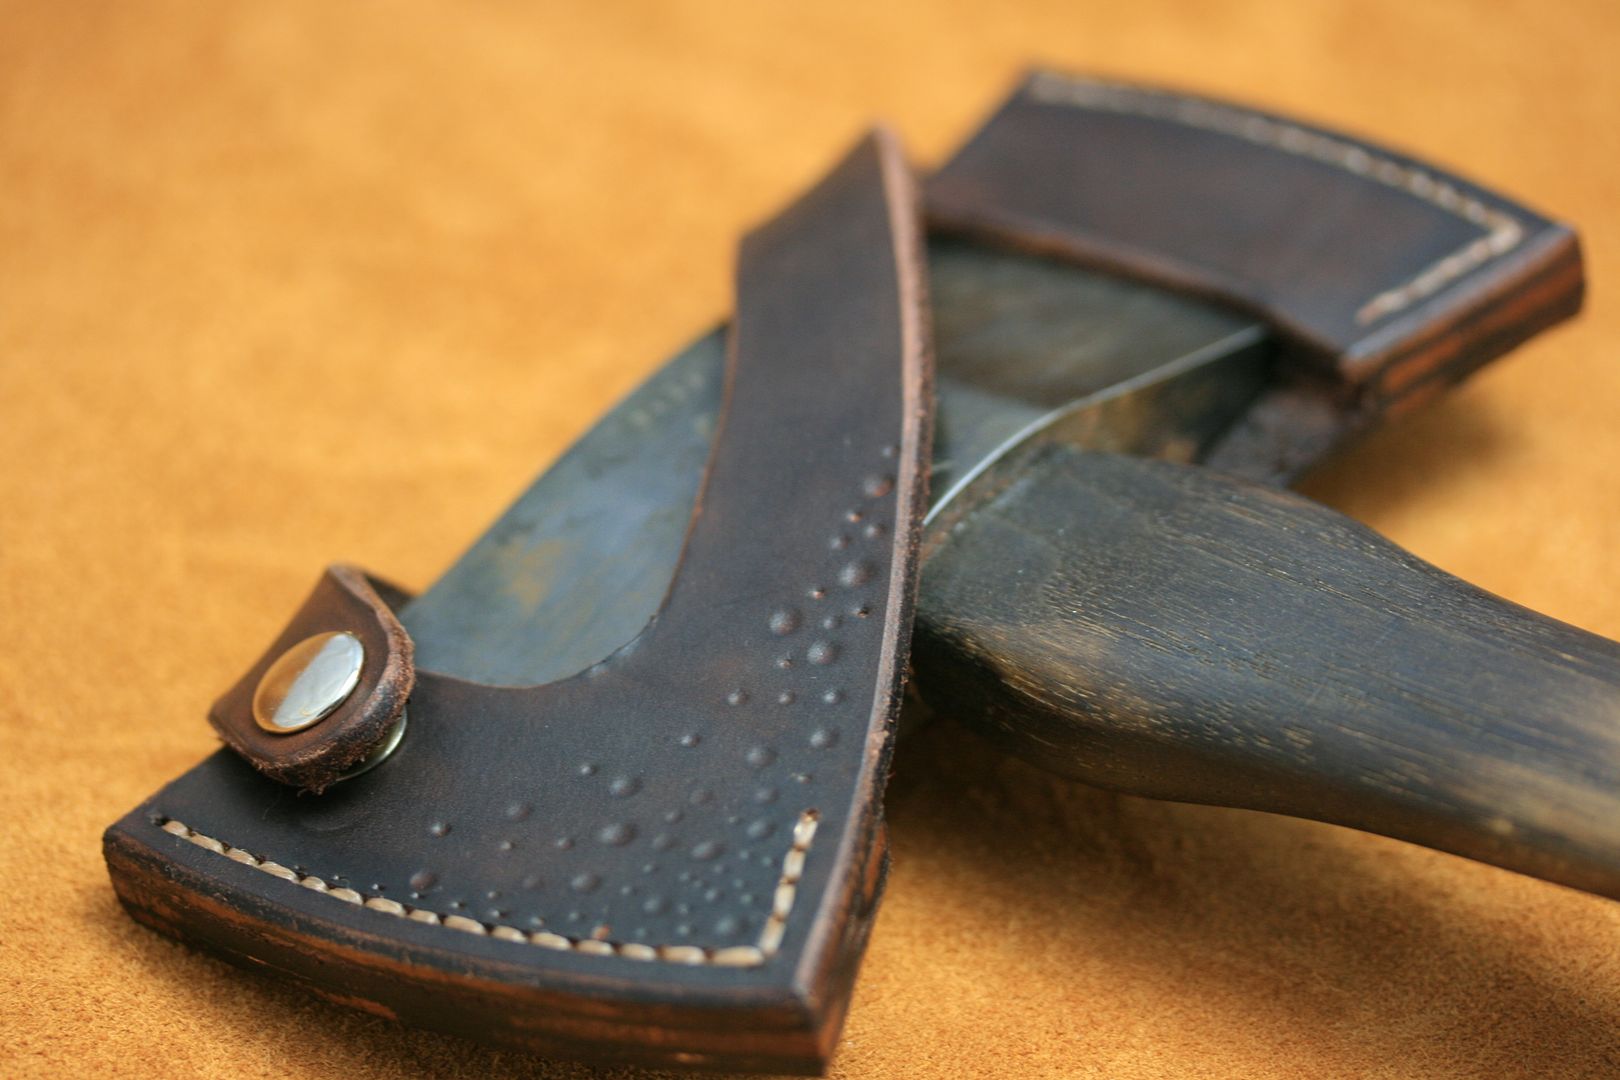
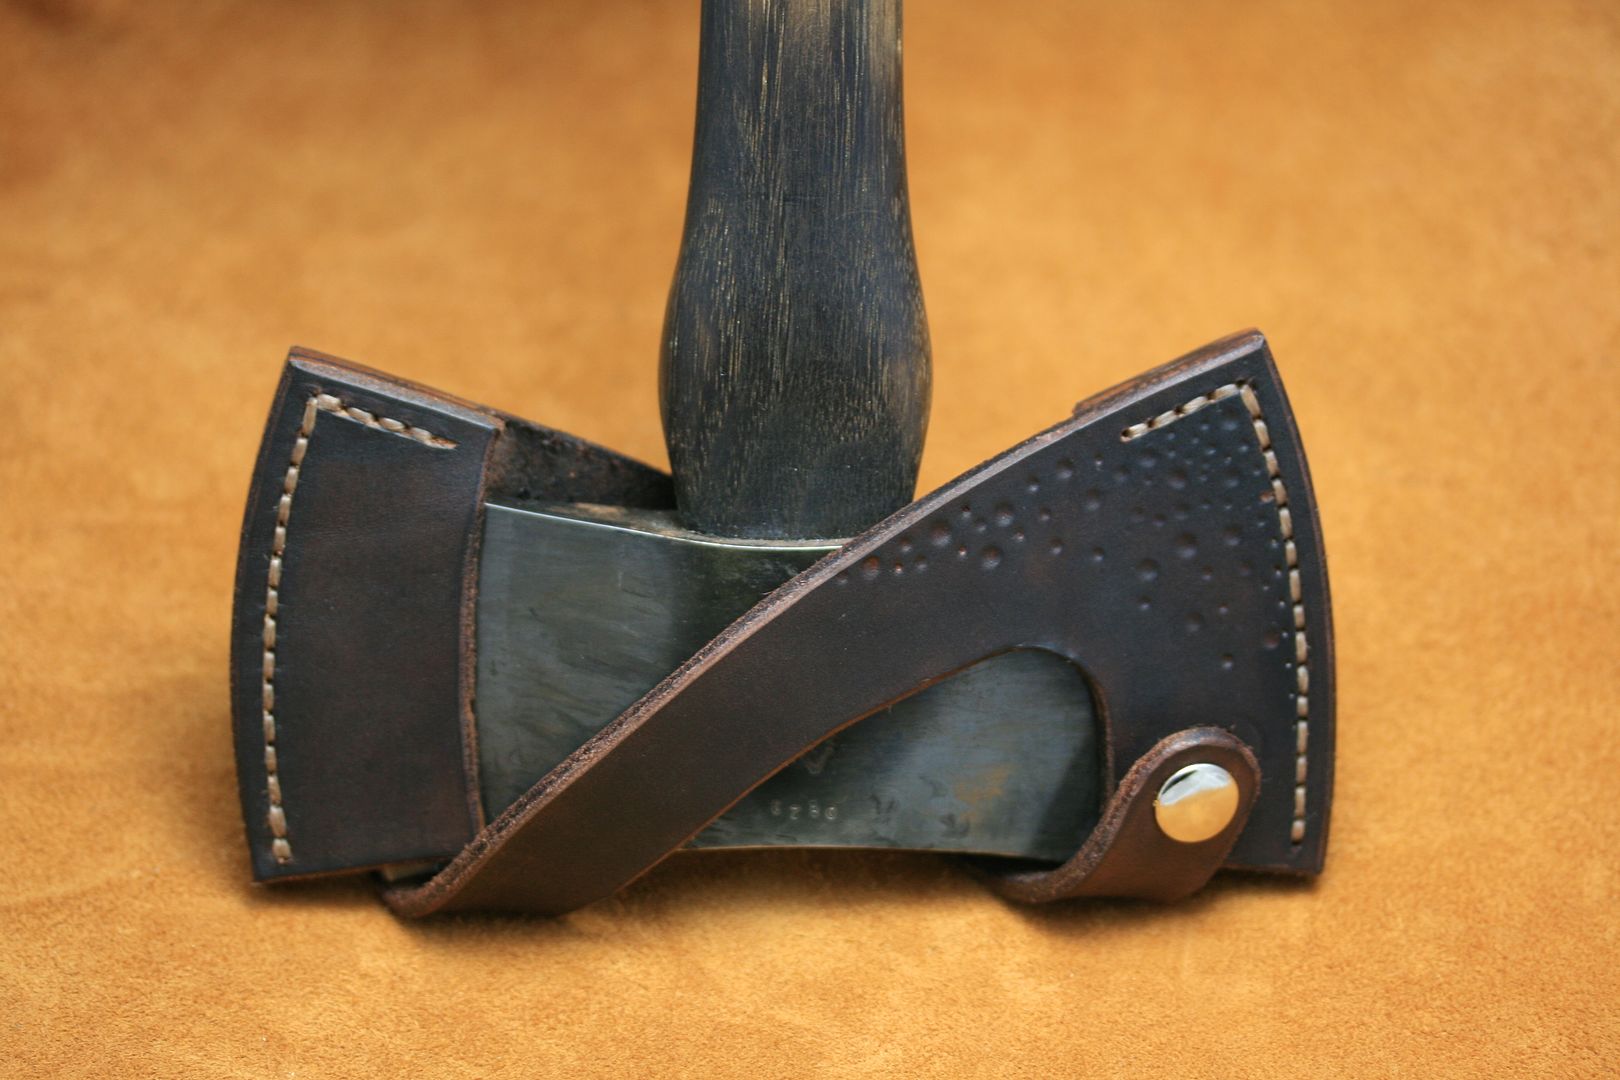
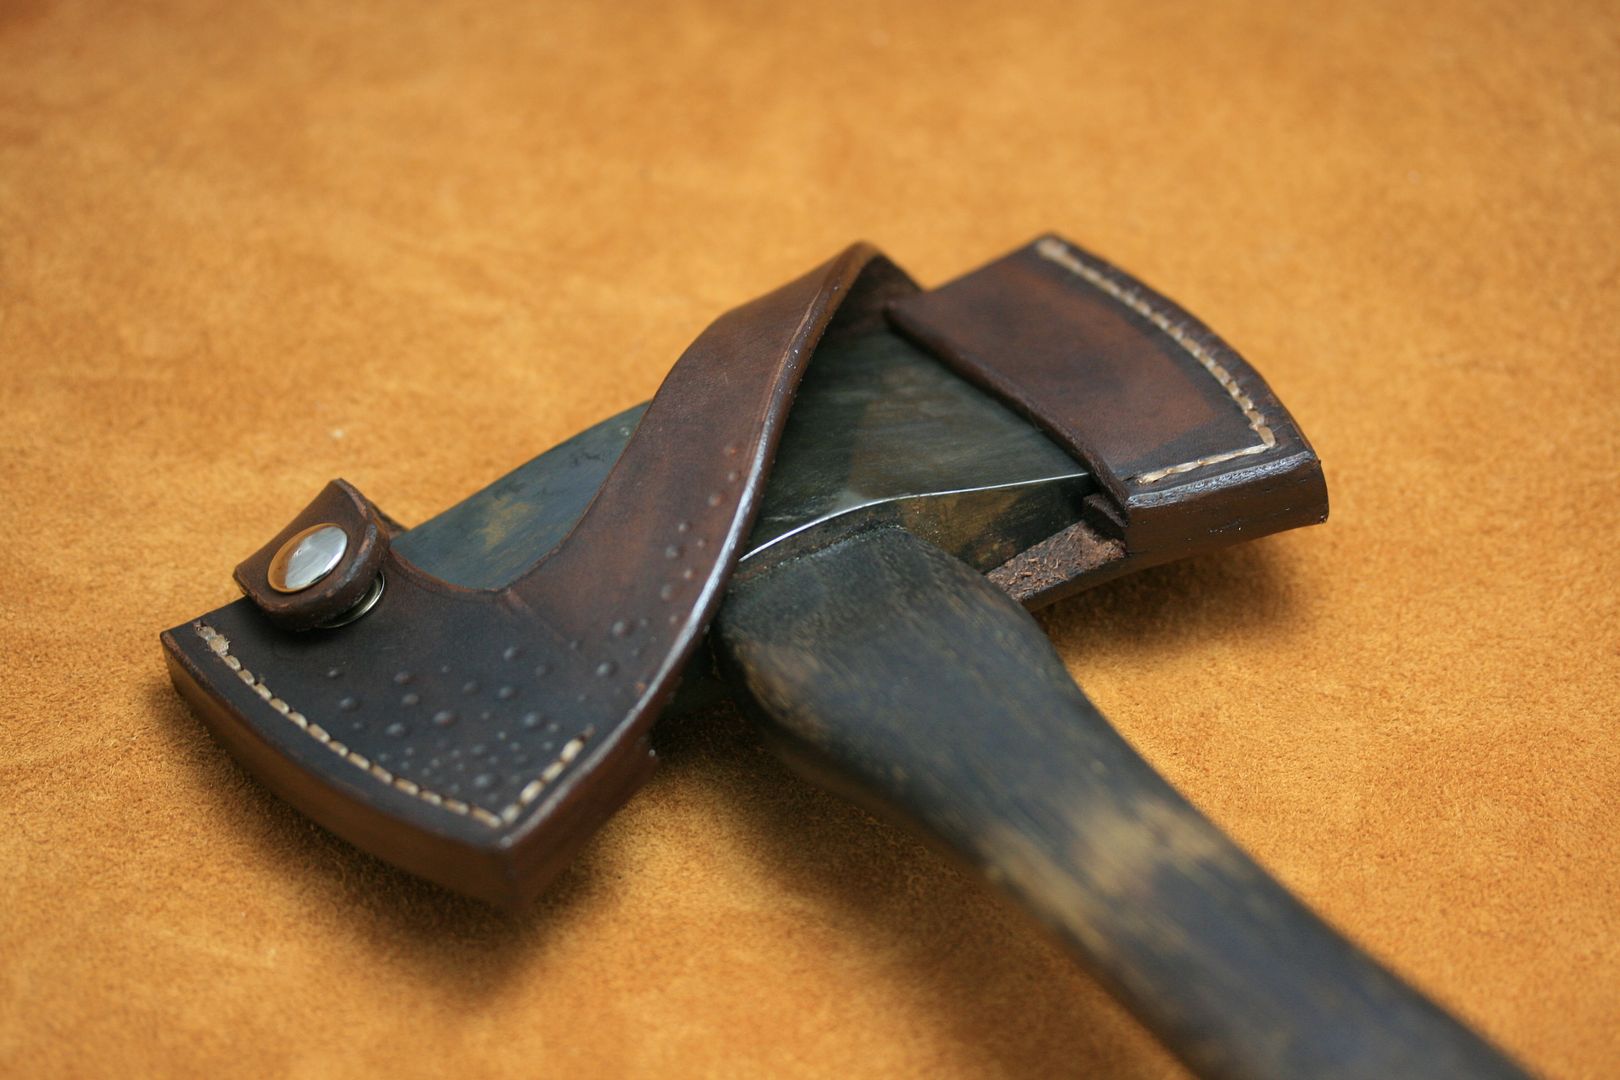
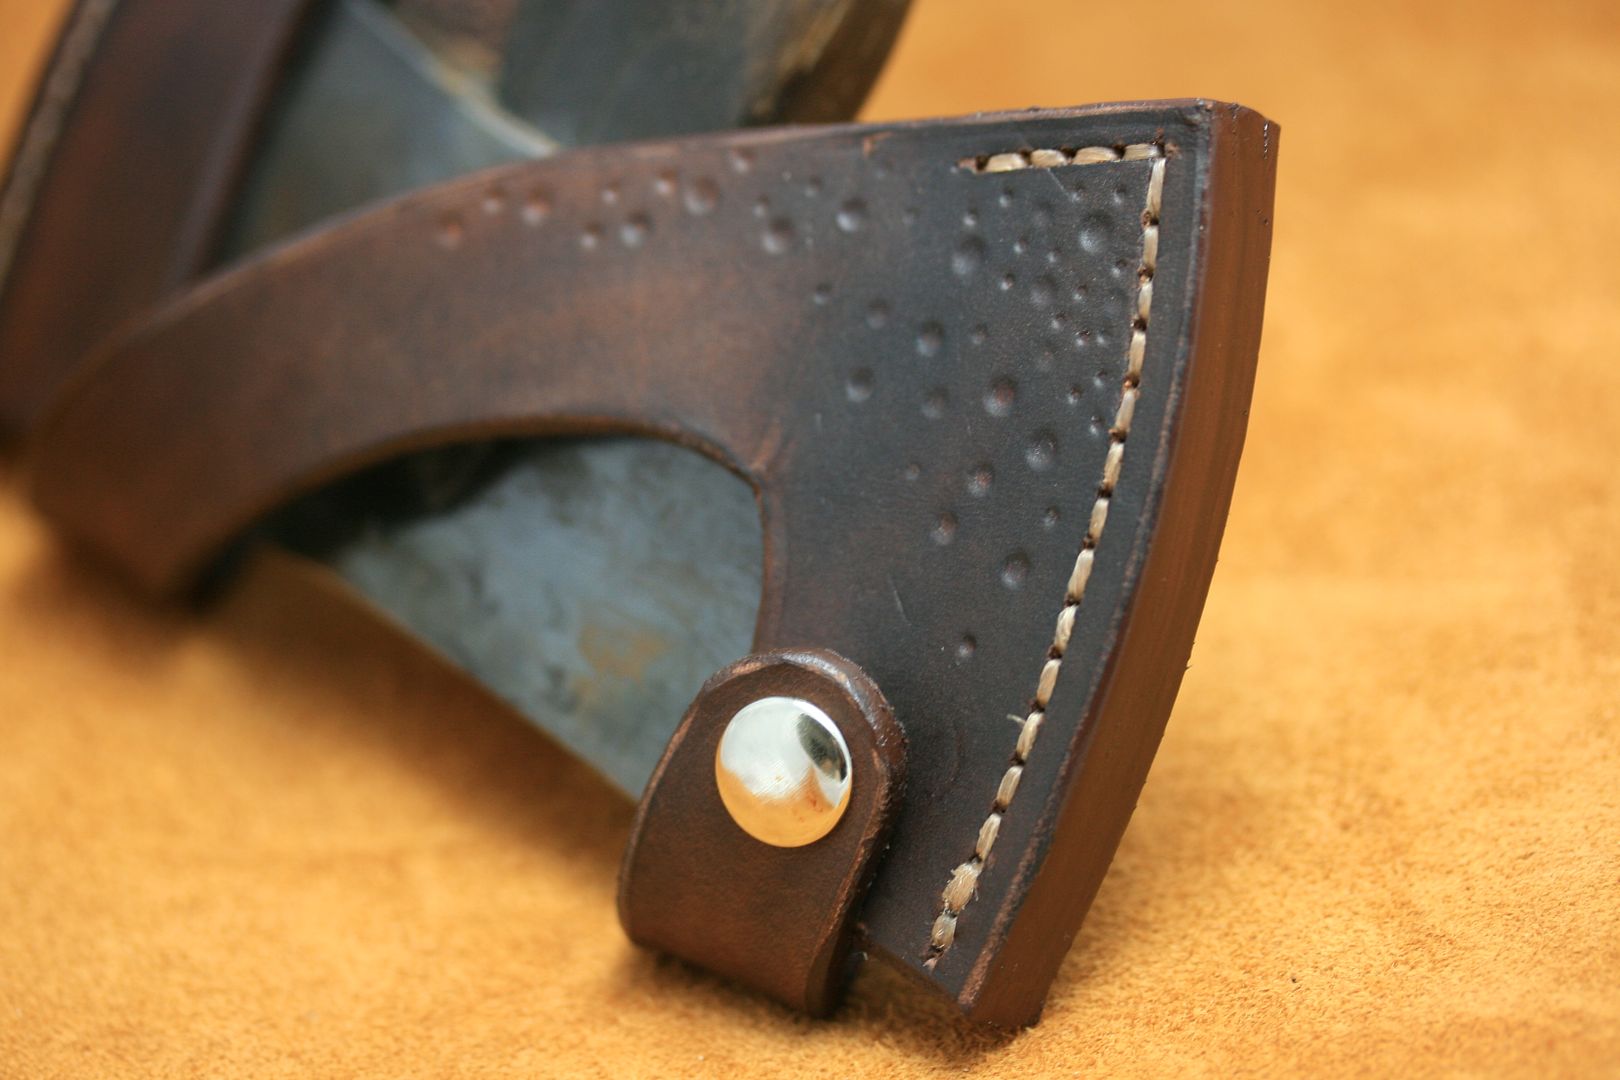
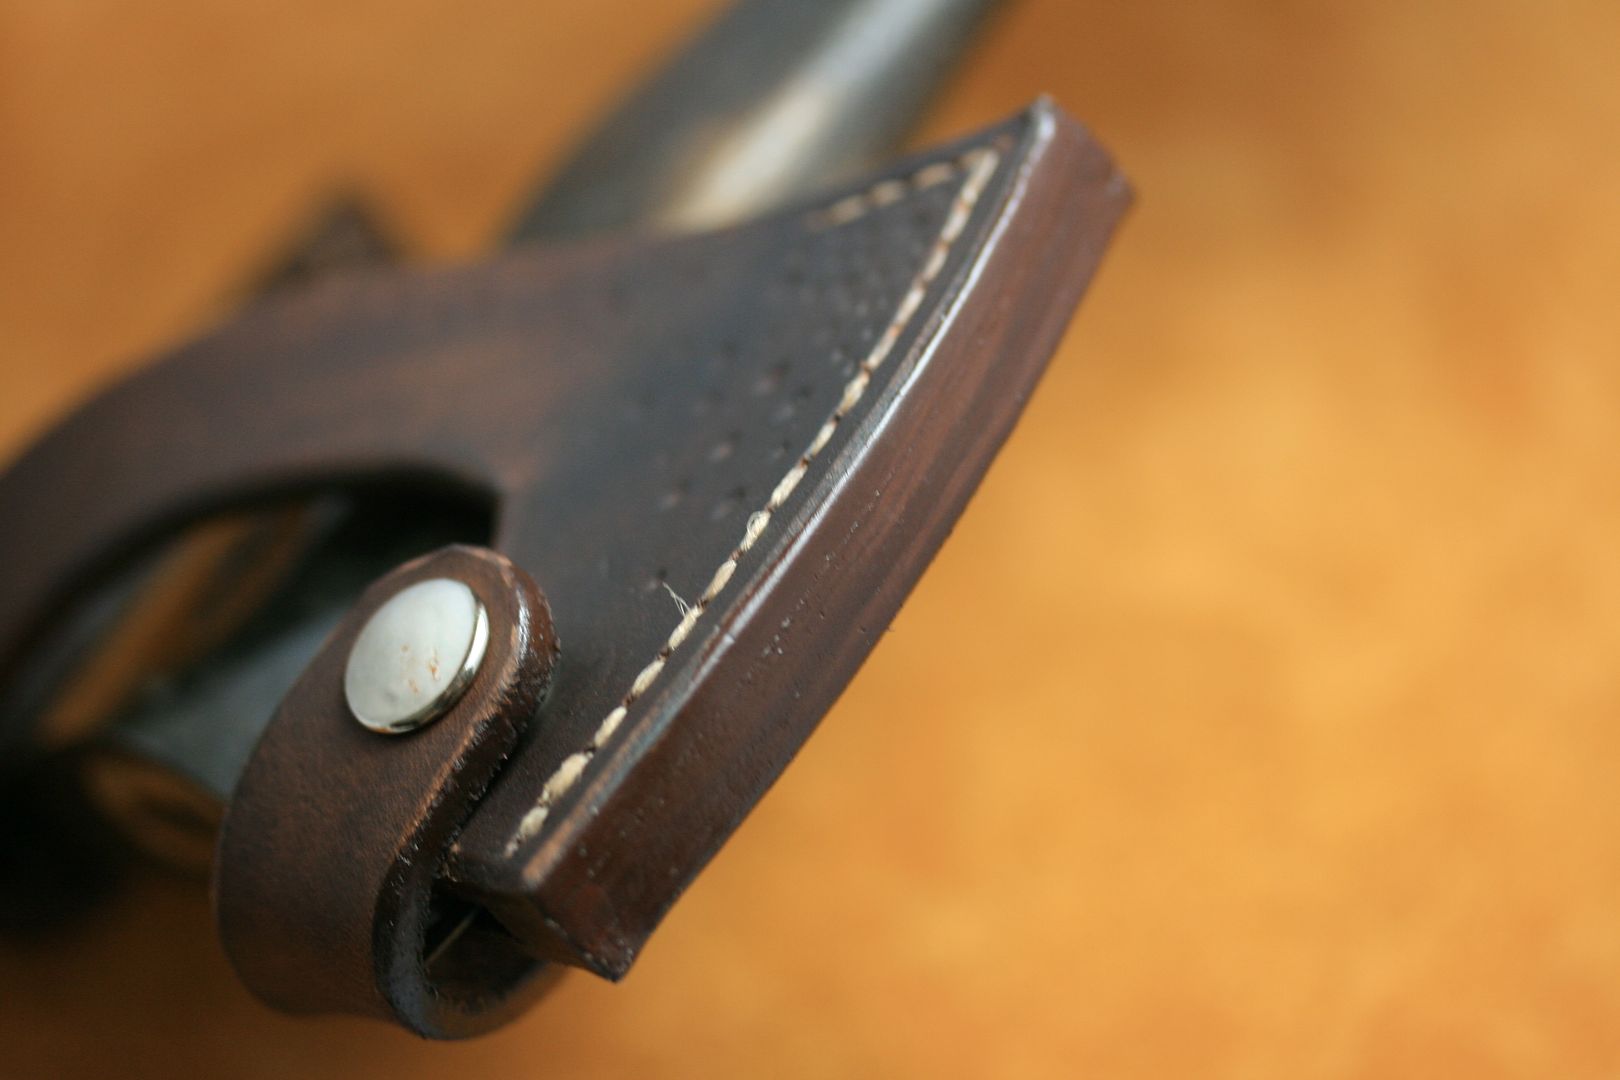
This is what I made for it. There are many mess ups, but they all taught me something...
LeatherworkingProgress004_zps76478fb7.jpg


LeatherworkingProgress005_zps4efbe2f6.jpg


LeatherworkingProgress006_zpscba011b8.jpg


LeatherworkingProgress007_zpsb5c322ec.jpg


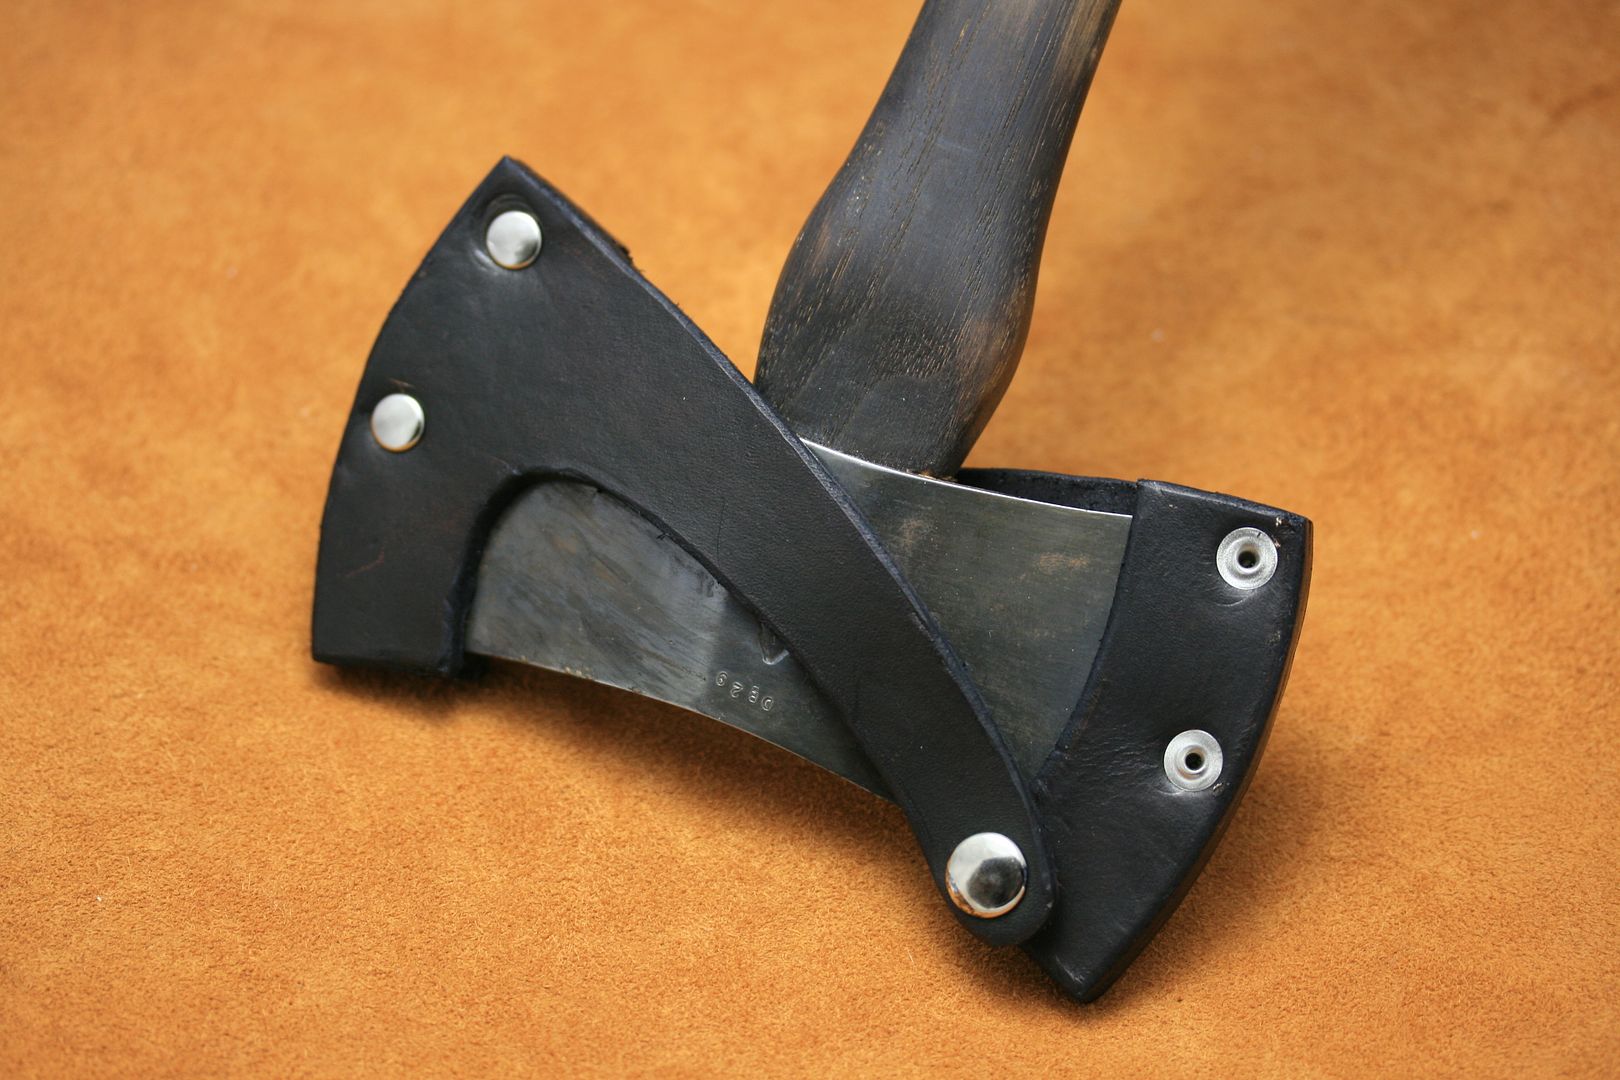
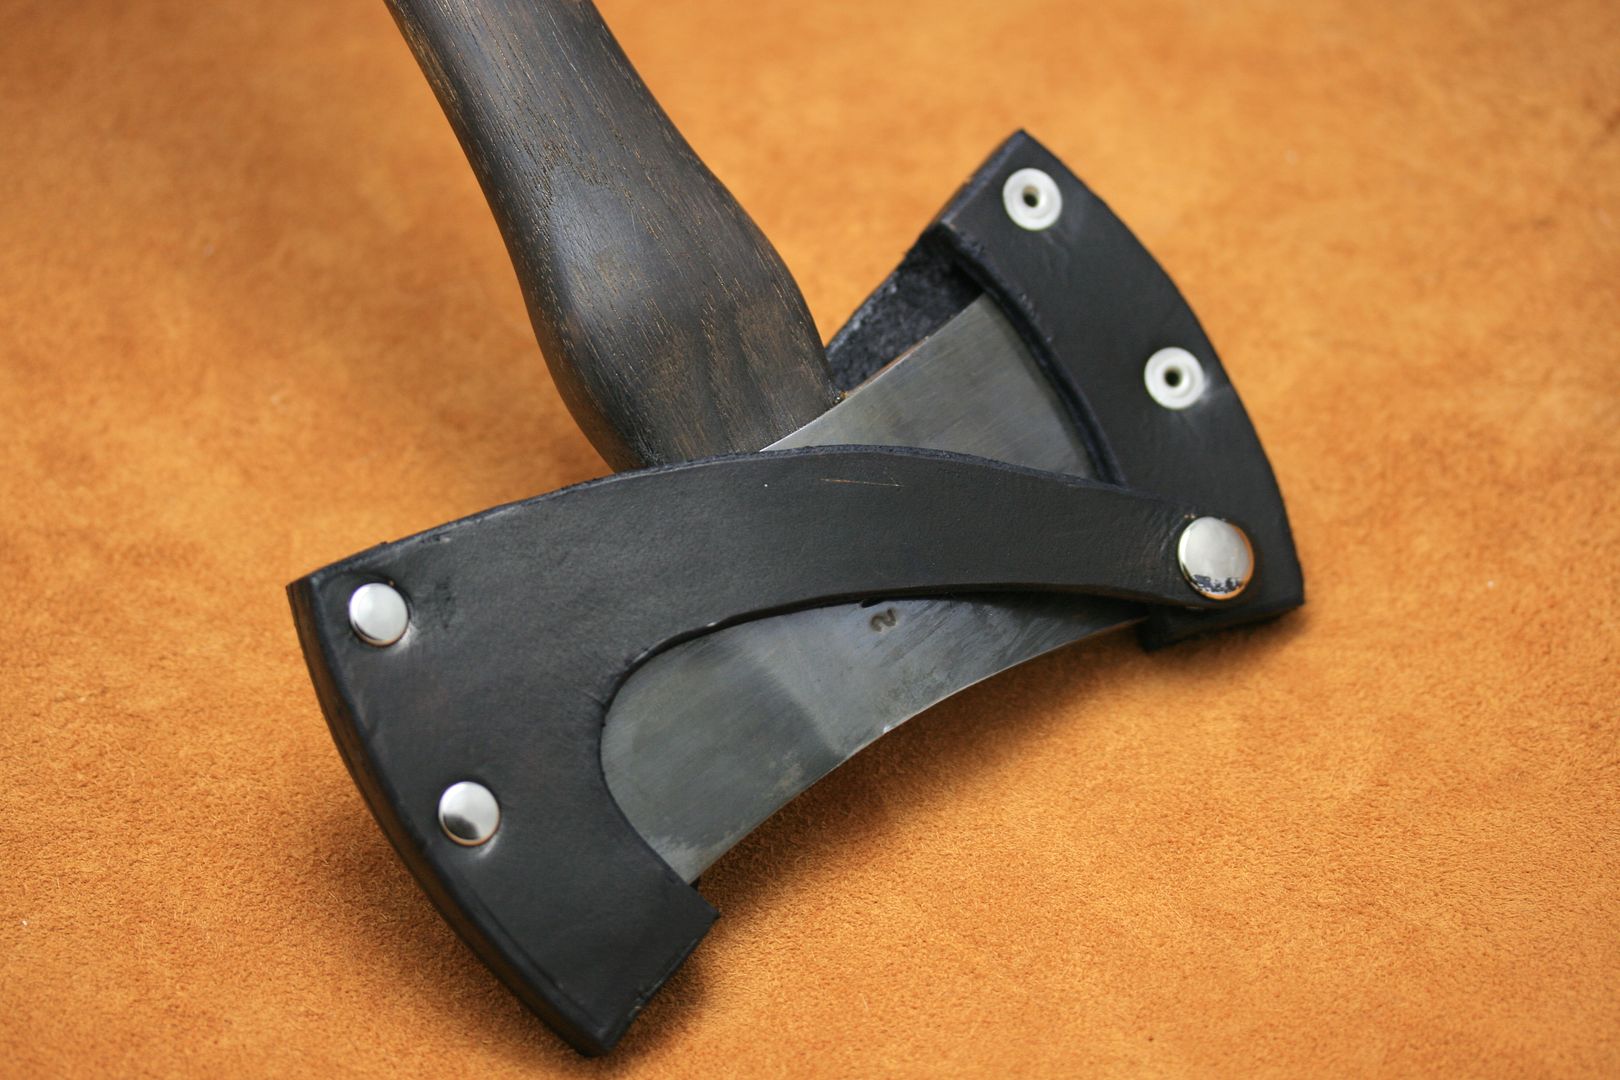
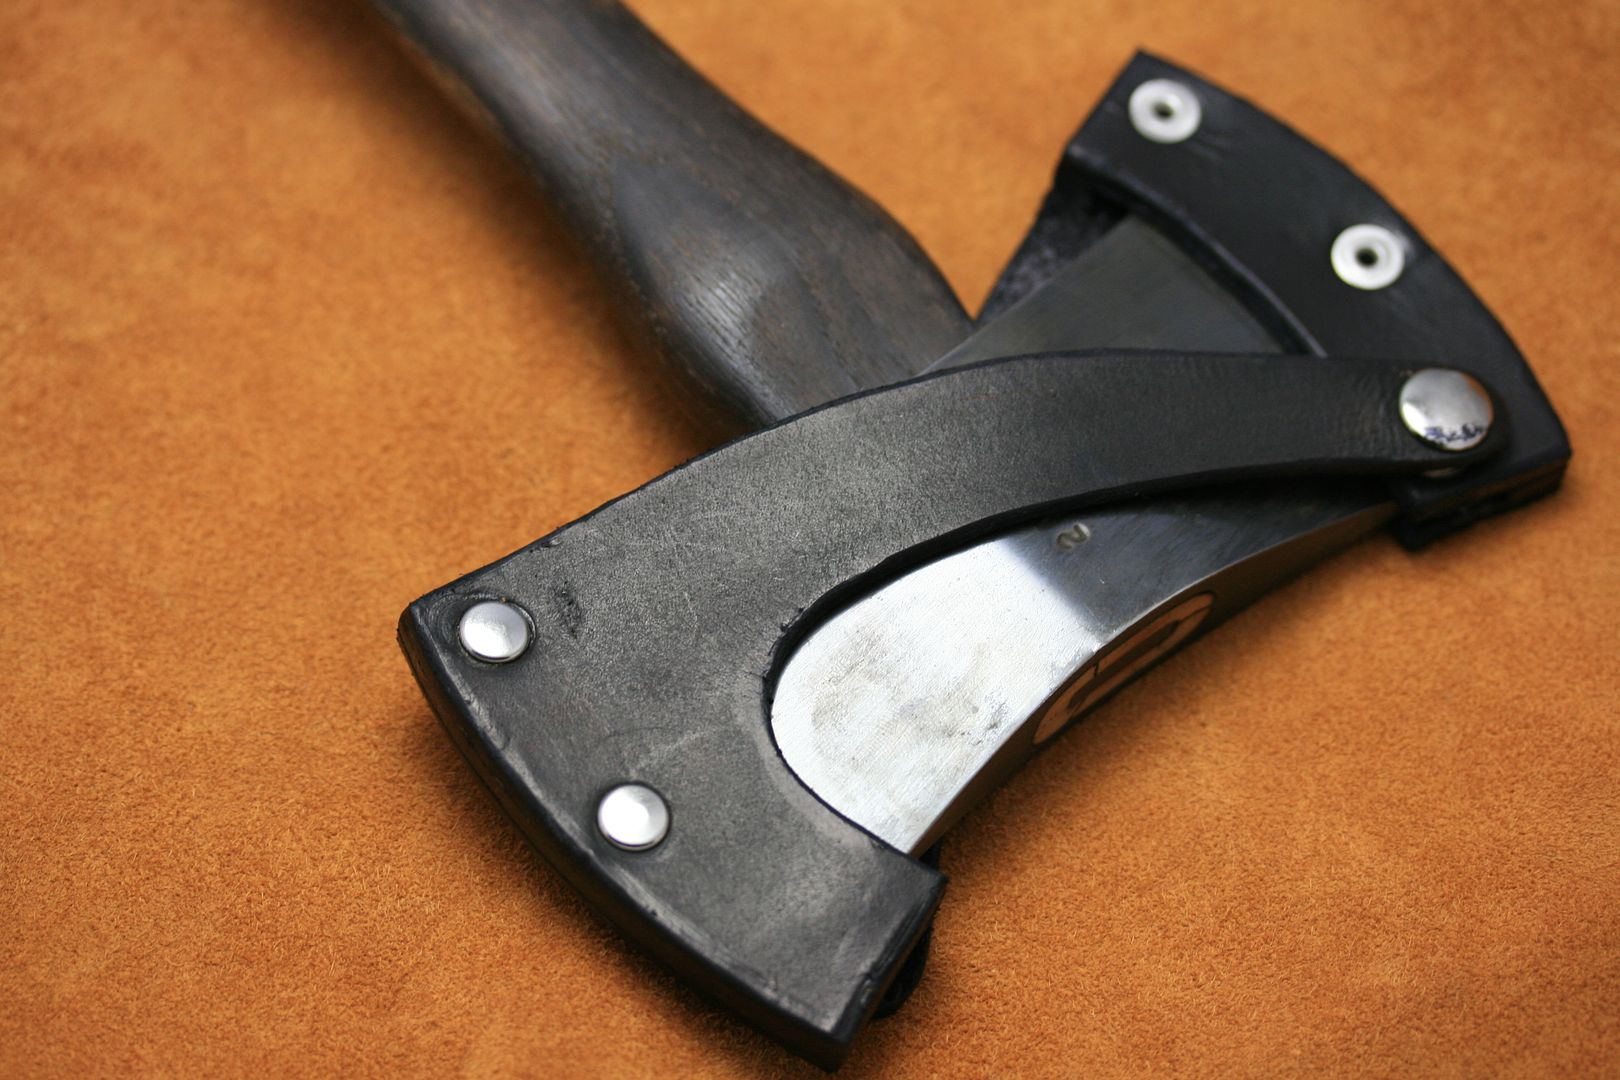
I am thinking about making another one to see if I can fix the mistakes I made and do a few things I wanted to do. It really needs to be stitched, the snaps are ugly on one side (I am sure they sell better ones), I scratched it up a bit and rushed the stain (my hands are pretty black right now).

Other than the cosmetics and it not being stitched, it fits nice and snug. I think it would be better if it were one piece with one snap holding it all tight around the axe.

Let me know what you think...

Thanks for looking!
 
I wish my first several leatherworking projects had turned out that nice. I'd have been happy if they were usable, even. That is some very good work for a first...leather is a different animal than steel for sure and nowhere near as forgiving. Good planning and execution!
 
I like it. I see areas that I would change, but overall I dont think it is as bad as you say it is. I'm not a fan of black....anything, but that isnt important.
The biggest thing when working with leather is to keep all of your cuts clean and sharp, bevel the edges, burnish them, and keep everything as symetrical as possible. From this work, and what I have seen of your other stuff, this isnt going to be a problem for you. Keep it up!
I must say that the design is one I have never seen before, and is appealing to me. I've made a couple of hawk sheathes but never a double headed axe sheath. I will keep this idea in mind for sure.
Thanks for sharing Steven.
 
I really appreciate the comments guys.

Frank, you are so right about leather not being forgiving. One little slip and you scratch the surface, get too excited when setting a snap and the setter moves and leaves nasty marks around the head, beveling the edges around a corner and it digs in and ripples the leather, my list goes on and on.

Eric, I am really not a big fan of black leather but with the handle being so dark, I thought it would match better. I am going to start on another one tonight and see if I can't mix some brown with a little bit of black to darken my brown up. Colors are not my thing, so not even sure it would come out darker or just black. I really don't like the look of the rivets either. Do they make ones with two good sides? After seeing your work, I would love to see your version of a double bit axe sheath.

Things to try on the new one...
- Stitch instead of rivet
- Color (dark brown)
- Make the pattern a little bit bigger
- SLOW DOWN

Questions...
- Is there a technique for beveling the edges around tight corners? I just kept digging into the leather and getting a ripple effect.
- How do you guys cut out your leather patterns? I used scissors and an exacto knife, now I have blisters from the scissors and almost stabbed myself with the exacto knife a million times.
- Is it possible to get a color that would match the handle of this axe? Sort of a brown and black mix?


Thanks again guys. Without your input, I would be running in circles chasing my tail...
 
I am self taught on the leatherworking end of things and have only ready one or two books on it. My advice is nowhere as near as strong as a lot of it that you'll find here. With that said-

-I use my 2x72 grinder to bevel the edges, breaking them about 3/32 with a sharp 120 grit Blaze belt. It leaves a burr that I then flip over and lightly skim off the other way. Or, I'll use a sharp large handle small bladed very keen and buffed edge wharncliffe utility knife I made to skim the burr. I still break the edges while wet with dye with the back of that knife but the material removed makes it a cleaner finish that doesn't bunch up as bad.
-I do my leather cutting right on my well-used 3/4" plywood workbench. Flesh side down, I lay out my straps, strips, spacers or whatnot with pencil then that 2" .080 thick wharncliffe gets used in a pulling stroke, holding it in my fist blade down towards me. Lots of control and pressure, two cuts and it's through even 10 ounce. I tried scissors and tin snips when I started too and that didn't work.
-I mix dyes on occasion and have had good results. Only takes a few drops of black into a brown to darken it. Your dye will dry slightly lighter than the wet finish and the color will then darken again if you apply any waterproofing over it.

One final thing, if you use the grinder to shape your sheaths like I do, be watchful. I add a spacer the inside of my some of sheath backs right at the ricasso to allow the sheath less flex at the throat, I taper this spacer from full thickness down to 0 using a sharp 40-80 grit and the grinder running at least medium speed. Make sure your leather cement is dry and set well when you do this. Last week I had the little rectangular spacer surprisingly unbond, swivel slide almost completely off the sheath and grab ridiculously hard against a wide-open 40 grit belt. I'm regrowing the fingerprints on the last two fingers of my left hand right now. It's not a pinch point where I thin the leather at so it's just a matter of not getting meat against the belt, just underneath the bottom platen wheel on the KMG but I still whacked my fingertips good enough I feel the need to give a warning.
 
Steve, design work and paper patterns are about 90% of what causes success. You did extremely well on both counts. The rivets you mentioned are called double cap rivets and they are finished on both sides. Available almost any place that sells rivets. Keep up the good work and post your results often. Good LUCK!!

Paul
 
Thanks guys!

I went to Tandy today and picked up a few things. I found the double cap rivets (thanks Paul) and picked up a few stamps and dying materials. Decided I was just going to use a razor blade to cut the leather for now and it seems to work pretty good.

So, I took all of you guys' input and used it on another try at the axe mask. This one came out way better...
LeatherworkingProgress008_zps07a2fdbf.jpg


LeatherworkingProgress009_zps6c556bb6.jpg


LeatherworkingProgress010_zps31c9cbd3.jpg


LeatherworkingProgress011_zpsc66b0362.jpg


LeatherworkingProgress012_zps757430c1.jpg


Thanks for the pointers guys!

It is going to be tough juggling my free time now. Play with leather.... or steel.
 
This second one shows remarkable improvement. You learned a lot on that first one. It only continues to get better from here.:s11798:

Paul
 
You all just made my day :biggrin:!!! Thank you so much!

Eric, I do have some Fiebings edge finish. I thought the edges might make it look a little distressed, but after looking at my pictures, and you mentioning it, I am going to go ahead and finish them (they don't look too good). Thanks for the critique! By the way, have you received my letter yet? When you do let me know, I wanted to talk to you about one of the designs.
 
Steven wow you improved alot just from a few honest comments. I wish I could improve that fast lol i m old I guess lol kellyw
 
Everything is A+

Thanks Mark! Hope I can do a good job when the knife sheath making starts.

Steven wow you improved alot just from a few honest comments. I wish I could improve that fast lol i m old I guess lol kellyw

HELLGAP, I couldn't have done it without the help from you all. Thanks for the encouragement and remember, you older fellas paved the road for us younger guys. If it wasn't for the time you guys take to share your information, I would still be at the stage I was 6 months ago. For that, I am greatly in debt to this wonderful community.
 
Back
Top