You are using an out of date browser. It may not display this or other websites correctly.
You should upgrade or use an alternative browser.
You should upgrade or use an alternative browser.
First liner lock
- Thread starter D Whitt
- Start date
Sean Jones
Well-Known Member
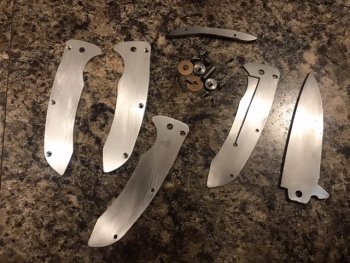
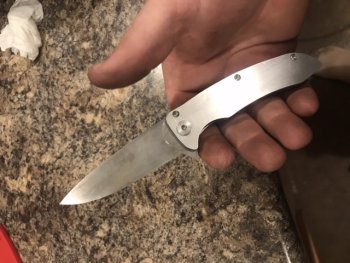
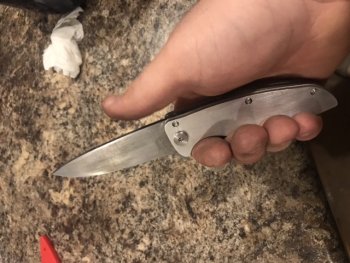
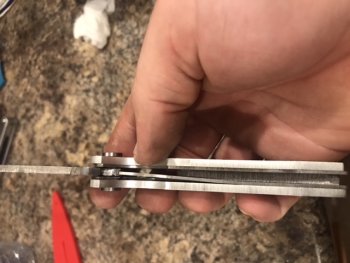
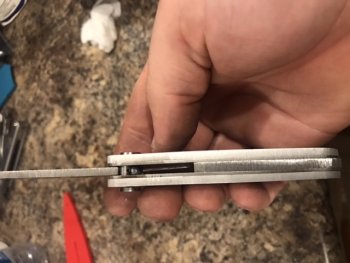
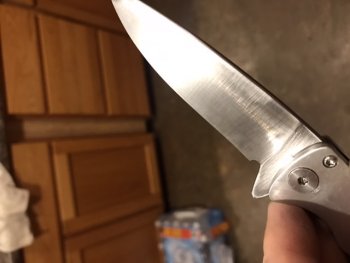
Nice!Still got a lot of work left to do but I thought I would show some pics of the first fit up.... still got a lot of profiling left but this is the coolest knife I built yet couldn’t stand it had to show some pics View attachment 72472View attachment 72473View attachment 72474View attachment 72475View attachment 72476View attachment 72477View attachment 72478View attachment 72479View attachment 72480View attachment 72481
Randy Lucius
Well-Known Member
Looking at your exploded view everything seems to be very well done. That’s gonna be a nice one. Thanks for sharing and keep is posted.
EdCaffreyMS
"The Montana Bladesmith"
Looking good! The only thing I see in the photos that will need attention in future folders is the lock engagement..... in the photo is apprears it might be about a lock's width engagement on the blade? If so, depending on the lock angle on the blade, it will likely "wear in" to the point it either won't function, or will be hitting the opposite liner. Nothing bad...just food for thought. My first several folders I did the same thing......and within a couple hundred opening/closing cycles, the lockbar was against the opposite liner.
Personally, I use a 7 1/2 degree angle on the blade, and leave the lock face square, with a 120 grit finish running vertically on the lock face.
Personally, I use a 7 1/2 degree angle on the blade, and leave the lock face square, with a 120 grit finish running vertically on the lock face.
bladegrinder
Well-Known Member
To add to what Ed said, setting the lock should be the last thing you do. when I build liner locks that is the very last thing I do, then carbodize the face of the liner at the lock face.
Looking good! The only thing I see in the photos that will need attention in future folders is the lock engagement..... in the photo is apprears it might be about a lock's width engagement on the blade? If so, depending on the lock angle on the blade, it will likely "wear in" to the point it either won't function, or will be hitting the opposite liner. Nothing bad...just food for thought. My first several folders I did the same thing......and within a couple hundred opening/closing cycles, the lockbar was against the opposite liner.
Personally, I use a 7 1/2 degree angle on the blade, and leave the lock face square, with a 120 grit finish running vertically on the lock face.
Thanks I used a cam style stop and it’s in the shortest setting I can rotate the cam to the point where it won’t lock at all so I hope I will be fine you got me worrying now though ..... I’m not certain of the angle but it’s somewhere in the ballpark of 8 degrees thanks for the feed back
To add to what Ed said, setting the lock should be the last thing you do. when I build liner locks that is the very last thing I do, then carbodize the face of the liner at the lock face.
How do I go about hardening the lock face
bladegrinder
Well-Known Member
You can do a thread search on carbidizing, I know it's been brought up here in detail before, it's putting very thin coat of carbide on the titanium lock face to prevent sticking and galling of the lock. it works great but I'll give this advice, right before you apply it to the knife lock run it across a piece of scrap titanium to make sure you have the power dialed in.
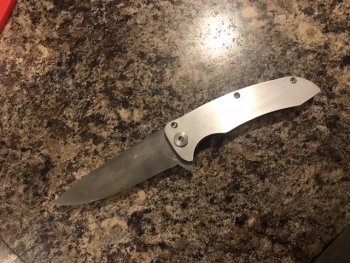
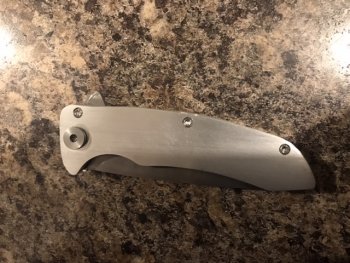
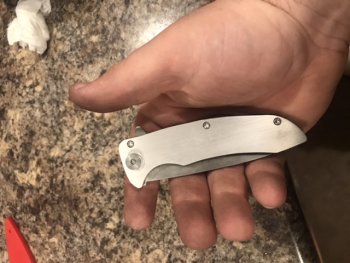
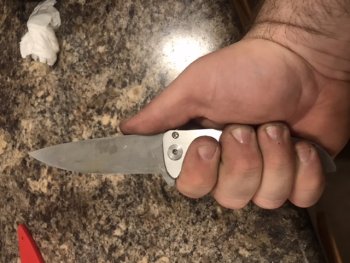
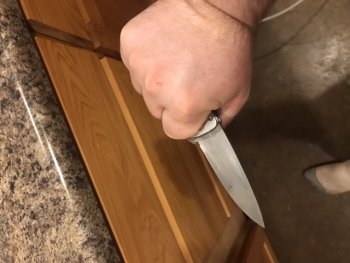
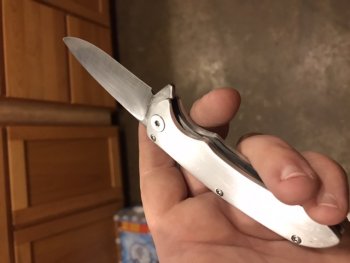
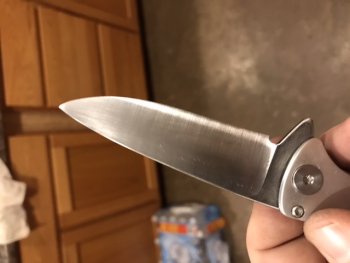
Ok guy I got an update got the blade fitting in the closed position without hitting the back spacer got the scales ground flush with the liners and profiled got it all taken to 220 grit and edges rounded off all I got left is heat treat, bevel , countersink the pivot screws and install the detent ball it’s all coming together dropped my pilot for my countersink and stepped on it while looking for it and it broke so I gotta wait for a new one to come in before I can finish .......
What y’all think???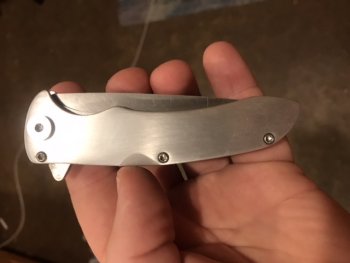
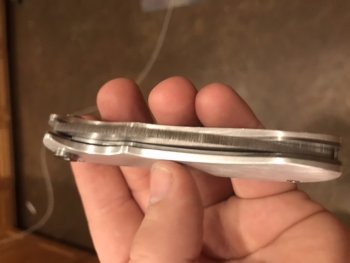
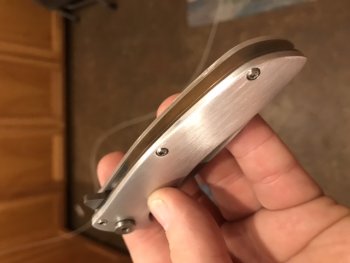
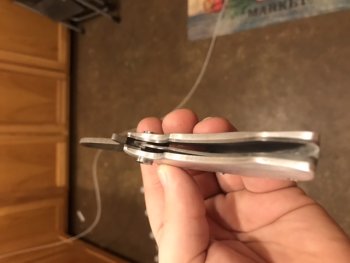
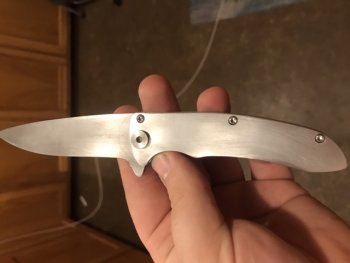
What y’all think???


