Double guard and framed handle, rear bolsters too

very cool...this gives me lots of ideas.

Bruce can you bend brass the same way you bent the 416?
Brass will snap if its not heated. It's best to test a piece of scrap brass first. I believe it can be softened but I,d have to look it up to see what the method is.
 
Last edited:
Yep, to anneal brass, heat to red hot, then dunk in water. That's how we annealed carteridge brass - sit upright in a pan of water, heat necks slightly red, then knock over into water.

Bruce, I'm such a neophyte I'm always hesitant to comment, but I learn so much from your WIPs. I review them several times really examining the photos. You do a GREAT job. It's good to see I wasn't cheating when I pressed my guard so it would fit tight to tang - just like you did<)

Keep up the GREAT work - I've learned so much from you and the other knowledgeable folks here who share so freely hard learned knowledge.

Ken H>
 
Bruce,

Squeezing the guard is an EPIC technique. Thanks for sharing that with us :)

As these guys said for brass, bronze, nickel silver, heat to cherry and water quench to anneal. They do work harden rather quickly too so often its wise to anneal multiple times if forming a lot.

You are a Master's Master Buddy. Many thanks for sharing with us :D

-Josh
 
Thanks guys for watching and commenting. I enjoy doing these projects and the feedback from them. I feel bad for some of the new makers who simply dont have the tools I'm blessed with but I didnt always have them either. My business plan started very very small with selling my first knife and buying belts for the next one. Every tool in my shop was purchased with knife sale money. Its really tough to make a living and buy tools at the same time so I recommend to keep your day job and use knifemaking as the best hobby in the world.
 
Looking forward to seeing how another great WIP progresses! Thanks for taking the time to do this Bruce.
 
My business plan started very very small with selling my first knife and buying belts for the next one. Every tool in my shop was purchased with knife sale money. Its really tough to make a living and buy tools at the same time so I recommend to keep your day job and use knifemaking as the best hobby in the world.

Preach. On. Not only is this financially responsible, it's also self-motivating. Besides that, there's no quicker way to kill the joy in something you love doing than to start depending on it for your daily bread.
 
This is great stuff, Bruce, even for a guy like me who only does liner locking folders !!! Your press fitting has to be the best. I have a friend who years ago told me he was using a vice to this job. He had a very well made vice but broke it trying to accomplish a good fit. Frank
 
I got to work on our bowie for a little while today.
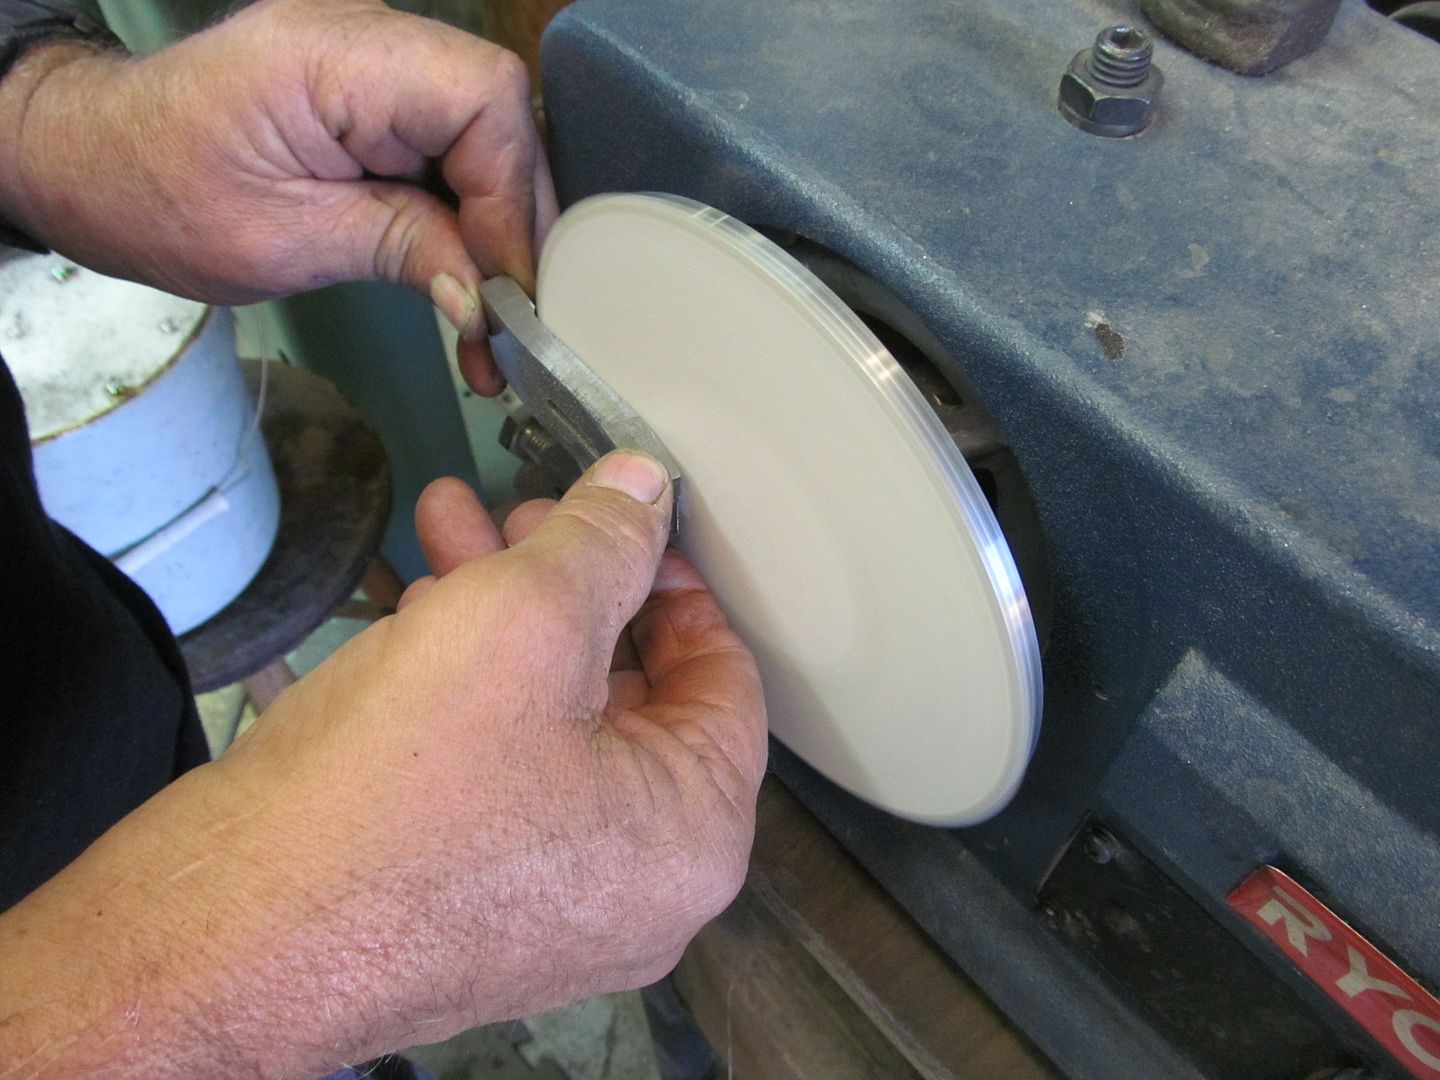
More work on the guard, I needed to flatten the back side for the spacer. The front of the guard was cleaned up on the big wheel. I call this guard a "Lazy S" double guard as it is just barely "S" shaped.

IMG_3521_zps793b7560.jpg


IMG_3523_zpse832ce55.jpg


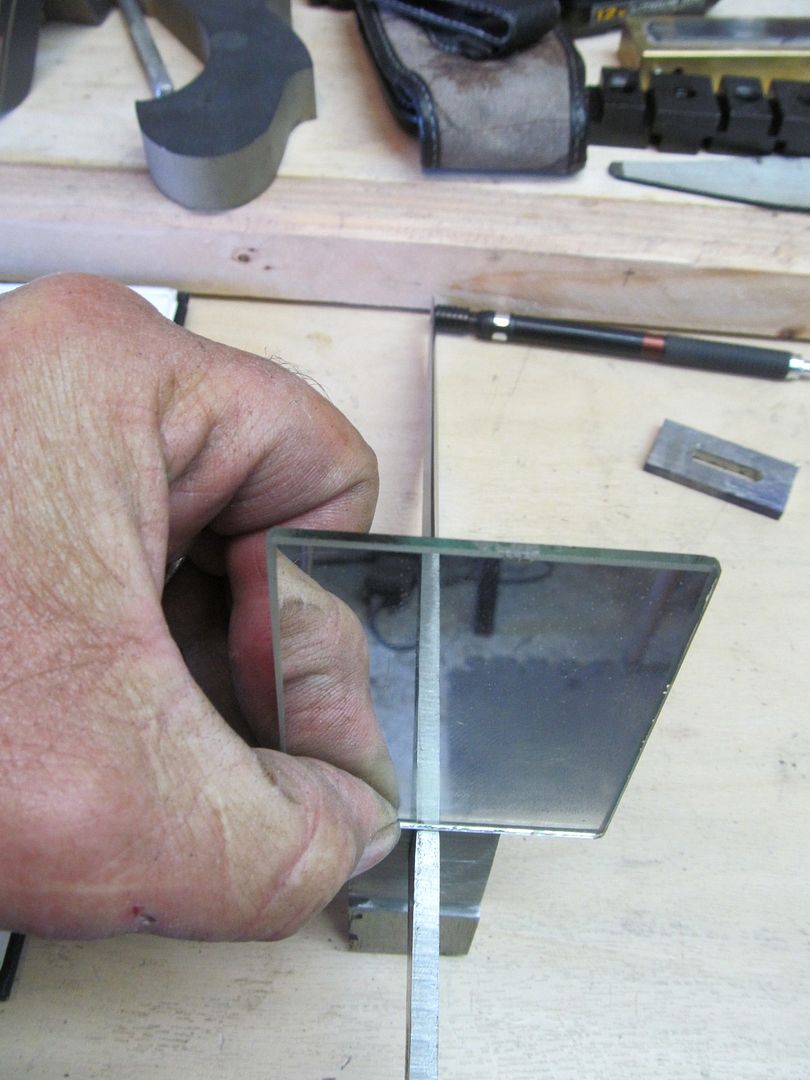
Because the guard was squeezed in the press the front and the back side have to be trued up to a true 90 degrees from the ricasso. This mirror is held flat against the front of the guard so I can see the reflection down the blade and over the top of the mirror to see the tang. As you can see in this shot the front of the guard is indeed bent. I marked the high spots and will grind just those places until the guard lines up perfectly with the blades spine. On the back side of the guard I'm going to to the same mirror trick.
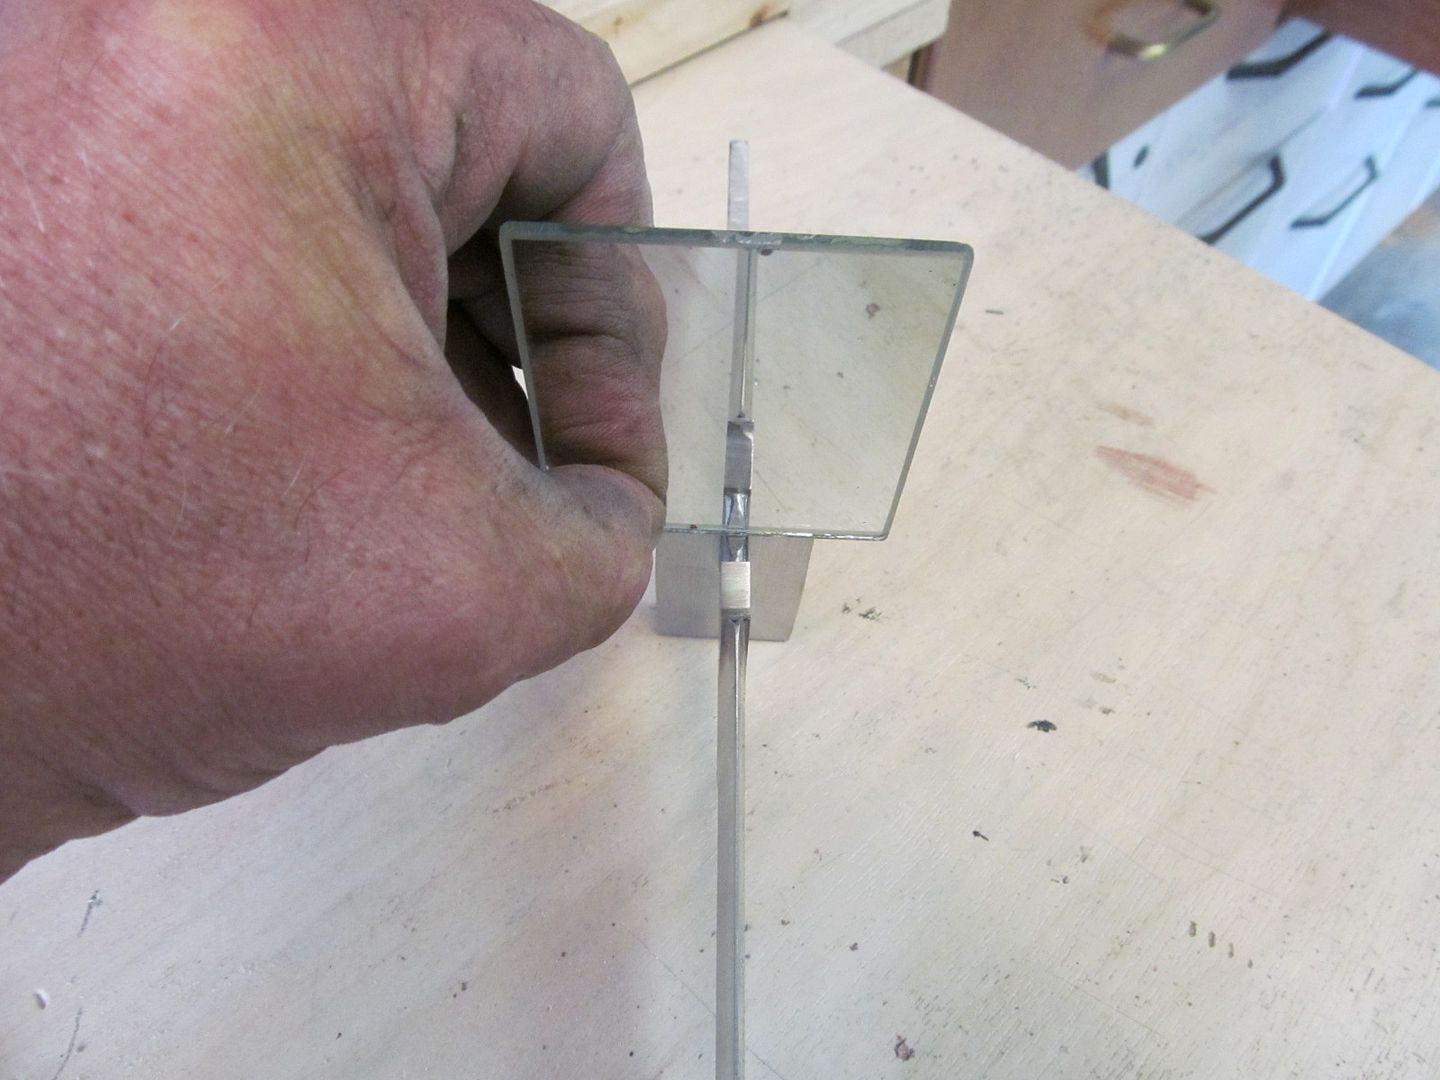
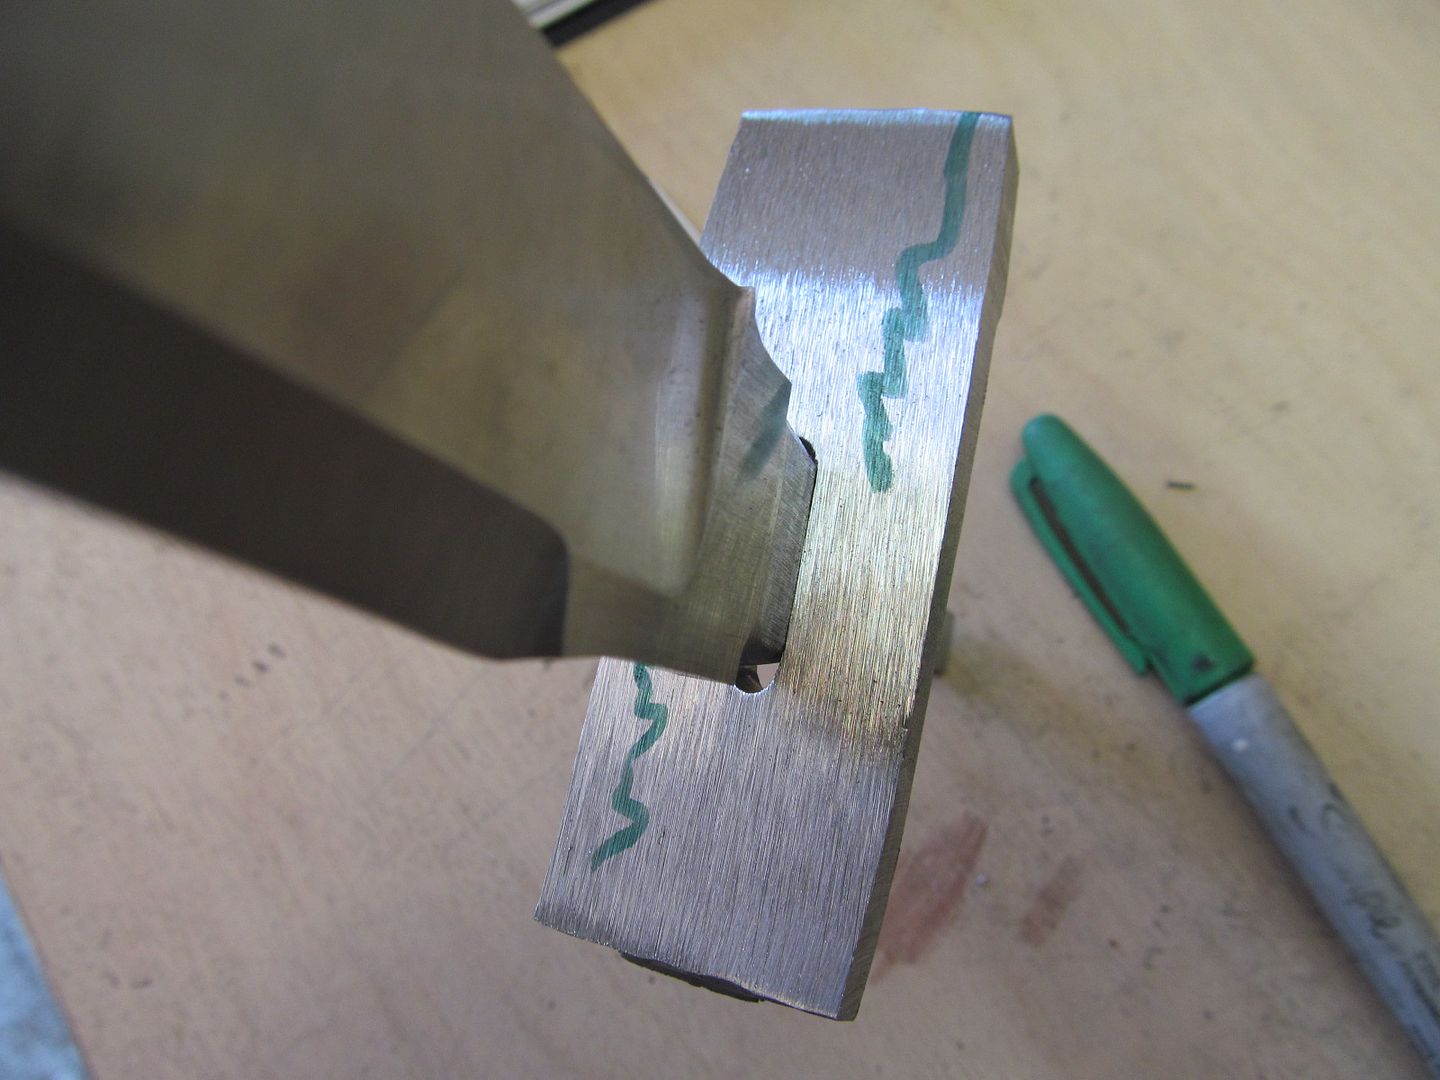
IMG_3526_zpsdbe02cec.jpg


IMG_3530_zps6bca155f.jpg
 
Last edited:
Because the guard was squeezed in the press the front and the back side have to be trued up to a true 90 degrees from the ricasso. This mirror is held flat against the front of the guard so I can see the reflection down the blade and over the top of the mirror to see the tang. As you can see in this shot the front of the guard is indeed bent. I marked the high spots and will grind just those places until the guard lines up perfectly with the blades spine. On the back side of the guard I'm going to to the same mirror trick.
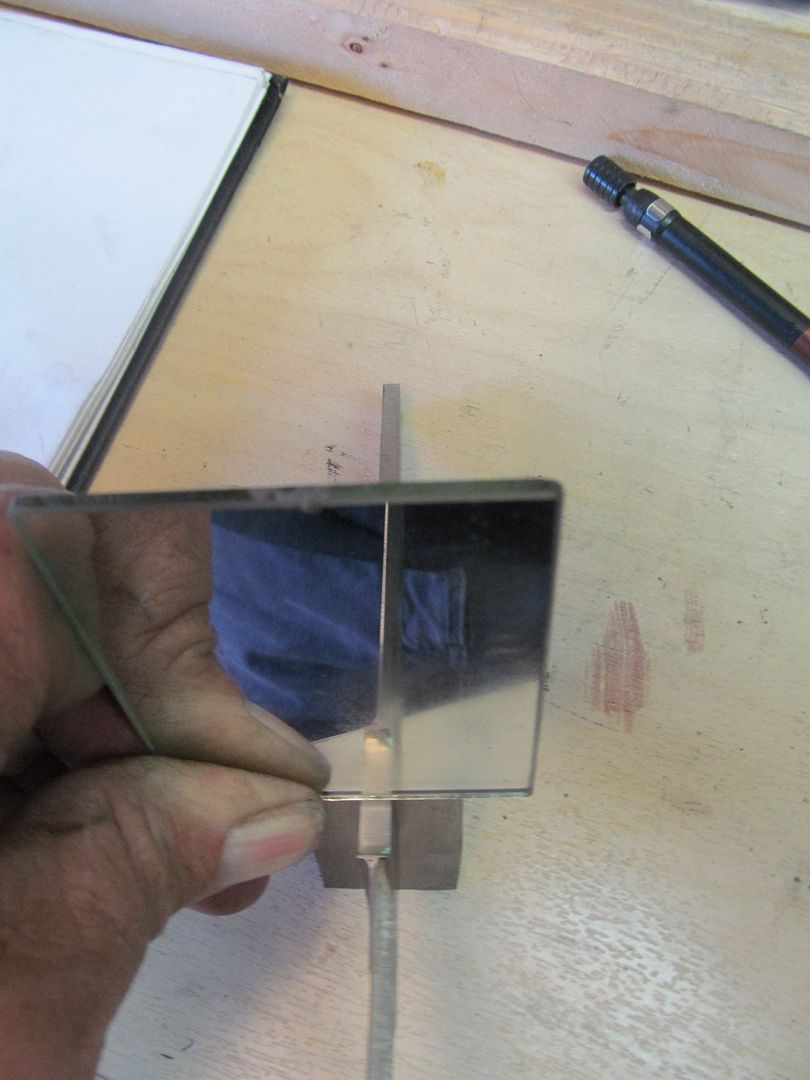
IMG_3526_zpsdbe02cec.jpg


IMG_3530_zps6bca155f.jpg


OK as usual I am late to the p a r t y again Bruce, but I am here. Or at least I think I am I have been reading over this WIP and have been fascinated and learning new stuff all the way!

Right up till I got to this, "This mirror is held flat against the front of the guard so I can see the reflection down the blade and over the top of the mirror to see the tang. As you can see in this shot the front of the guard is indeed bent. I marked the high spots and will grind just those places until the guard lines up perfectly with the blades spine. On the back side of the guard I'm going to to the same mirror trick."

So Bruce I got to ask the stupid question here! Huh, I have read this several times and maybe its because I have a bad headache today but, for some reason I am just not getting the mirror trick! What is it you are looking for that required the mirror?????

Man I really hate to ask stupid questions and especially where I have to put it in print!!!!!!!!!!!!

Could you humor me and explain this one more time for us less smart folks!!!:what!:

Are you trying to say the guard is actually bent or that after the guard was press fit it is not actually laying true 90* on the face to the ricasso of the blade??

I am just a little confused, OK some who have met me have described it as "touched"!:what!::3: Not sure what they meant but they always smiled and said, Bless his heart, when they used that term!

Waiting in Florida!:13::drool::7::lol::biggrin:

EDIT:

OK my headache is a little better now and I have reread this again and looked at the pic and I think I get the mirror trick!!! What ever the cause whether actually bent or that is how the press fit made it end up, the guard is not square to the ricasso! DUH !

I never thought about the trick of sitting the mirror parallel to the face, "allowing you to line it up to the spine" thus showing if it is square or not!

NOW THAT I GET IT, THAT IS ONE OF THE NEATEST TRICKS I HAVE EVER SEEN!!!!!! I just finally got my light bulb lit up!!!!!!!!!!!! :les::biggrin: Did I just hear someone say "Bless his heart" !
 
Last edited:
Mr Craft, Words are important and used incorrectly can make your head ache worse. I should have used the word "perpendicular" or "90 deg." to the spine but I said "bent" because it was perpendicular until I bent it by pressing that pesky gap closed.
Don't ever apologize for asking seemingly silly questions. I flunked English because I was too chicken to raise my hand and look stupid. I,m sure you just helped several folks here that wondered the same thing.

The mirror trick was taught to me by one of the finest makers in the USA, Tim Hancock. I suggest trying it and you'll quickly see how cool it works. The eye is good enough to see a mere .010" off on a guard fit and a poor fitting guard is like taking $100 dollar bills and setting them on fire.
 
Thanks Bruce I am just tickled to learn a new trick! :35: That helps to take all the guess out of whether you got it right or not! There has been times when I eyeballed it and thought I had it right and went on to the next step and that little unseen thing that is wrong becomes glaringly evident when you add in the next piece/part!!! I use to do construction and it is amazing what the human eye over looks till it has something else to compare it too!

I have got to tell you a quick story. It doesn't really pertain but in a way it does!:what!:

I talk to myself all the time when I am working, sometimes I do real good about guiding myself into a good finished product, and sometimes I get some strange looks from anyone who happens to be within ear shot! :31:

However here is the story. I use to work with a guy who went beyond that! We were doing a remodel job on a house and I was putting up new trim and my co-worker David, was painting in the other room from where I was working.

All of the sudden I heard him say, "Dang-it David you got paint on the floor", then I heard him say, "David get a rag and clean up the paint", ................................."then I heard him say OK I am getting one, leave me alone"!

I busted out laughing as I stepped around the corner and told him I had heard it all now! I told him,........... I had heard him talk to himself, I had even heard him answer his self, but that was the first time I had ever heard him be-little himself!!:what!::biggrin::biggrin::biggrin::biggrin:

Can I get a "Bless his heart"!!!!!!! That is a true story so help me God!
 
:) Thats a good story. My dad alway said its ok to talk to yourself but when you start answering yourself something is wrong. I,m never alone in my shop with all the voices in my head.
 
Back on the double guard

Now that I ground away the high places I rechecked it with the mirror and had to do this a few times before I achieved perpendicular.
This is what it should look like if the guard is 90 degree from the ricasso:

IMG_3536_zps7c287177.jpg


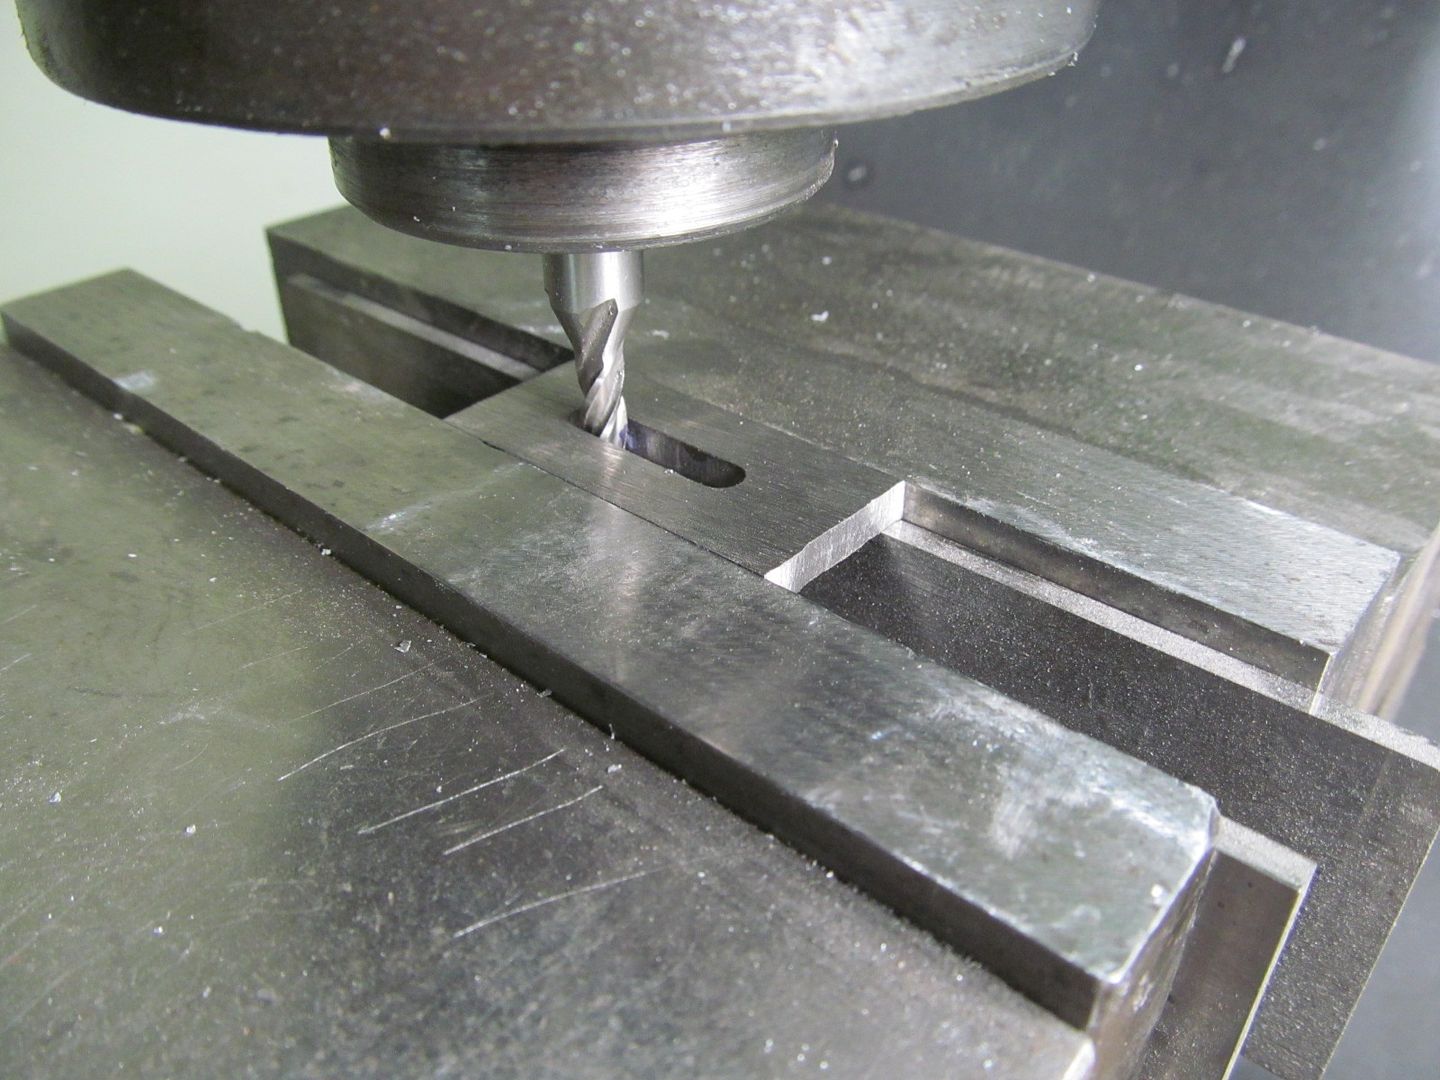
The spacer is also made of 416 stainless and has a slot cut the same length. It will be superglued to the back side of the guard and put back in the milling machine for milled a little longer and wider. You'll see in a minute.

IMG_3540_zps1dcc4bfb.jpg


The back off the guard needs to flattened and perpendicular to the ricasso too.

IMG_3538_zpsa291bbc1.jpg


IMG_3539_zps52494302.jpg


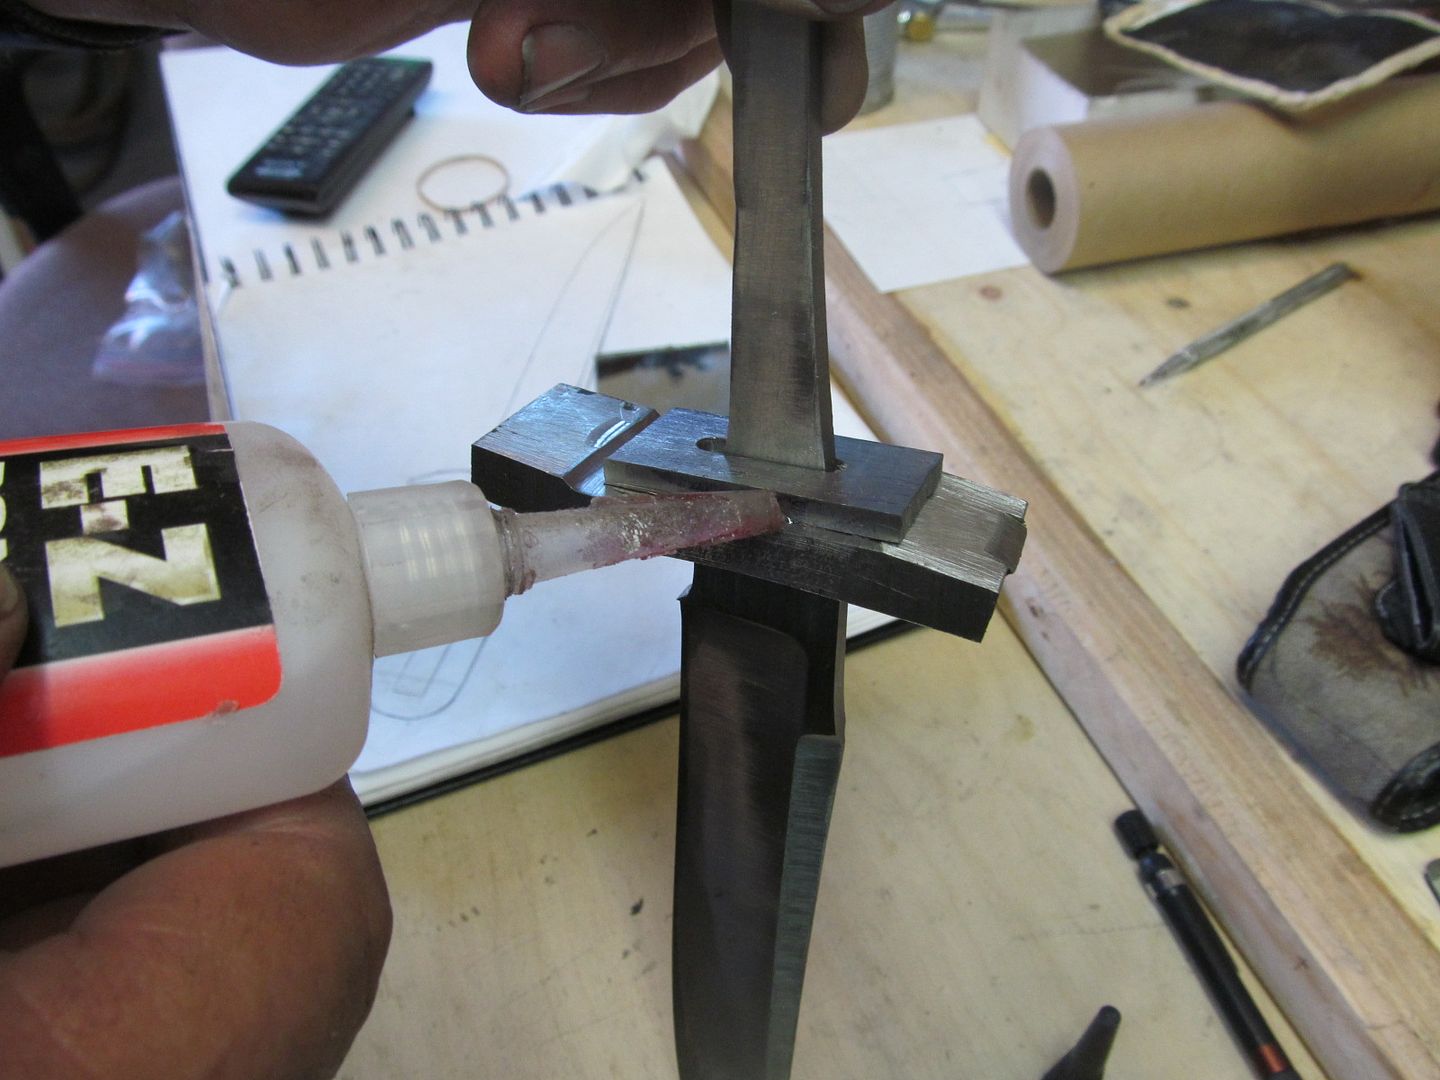
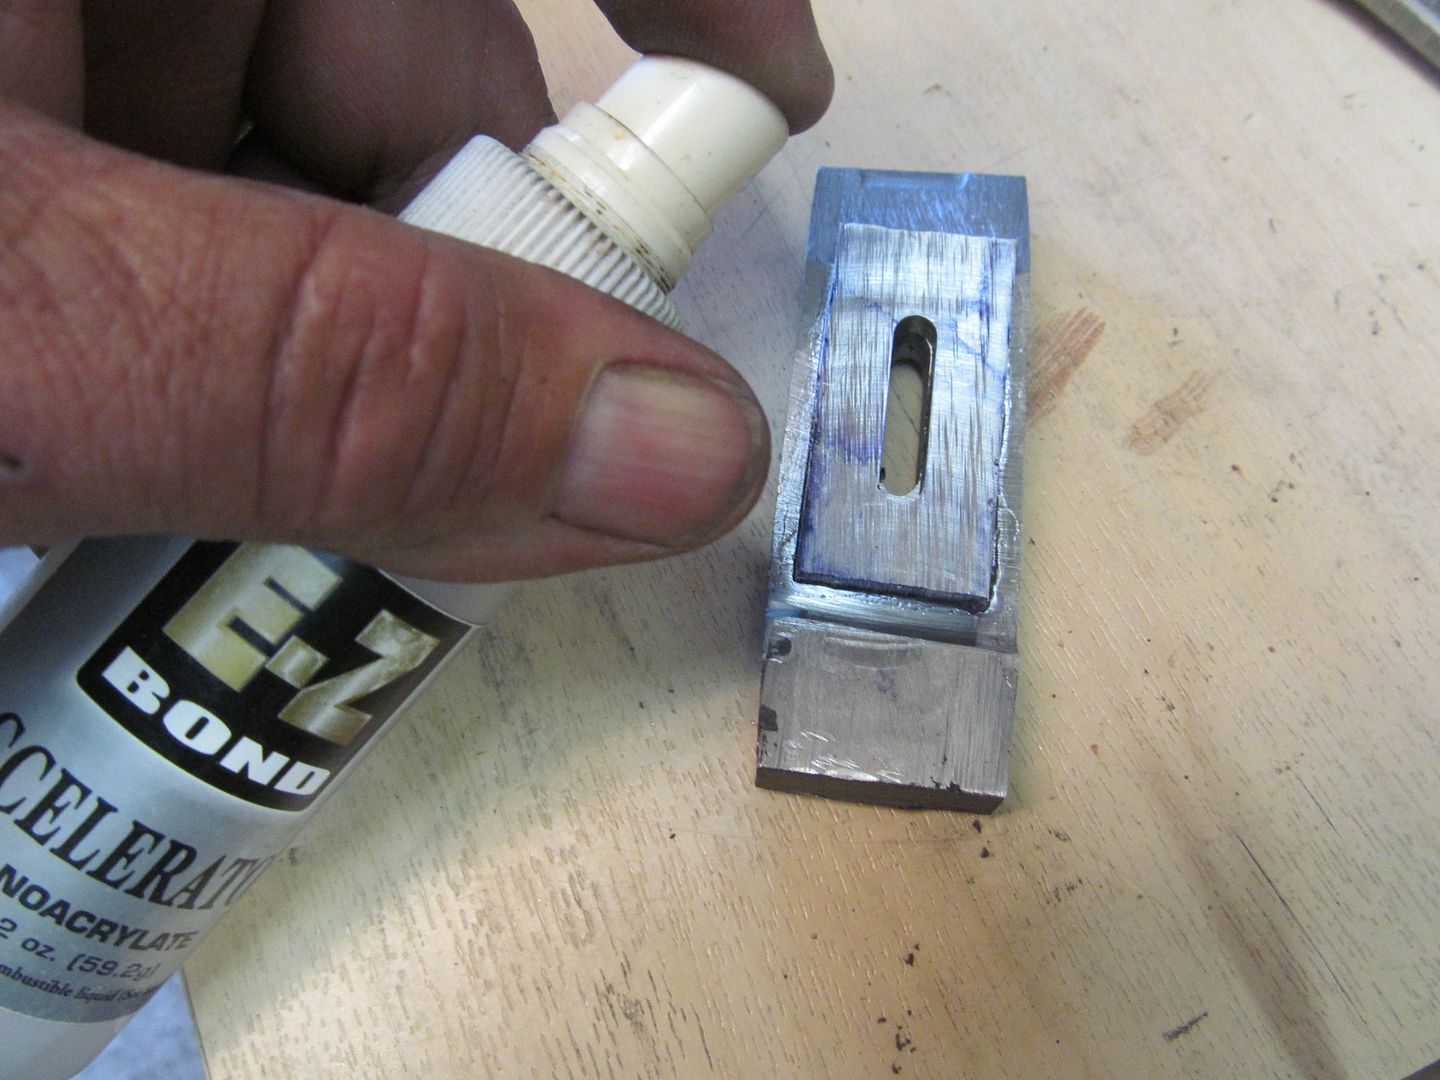
Here is a shot of the spacer and the guard temporarily attached with super glue. Super glue is wonderful stuff for knife making. I have glued parts directly to the top of my vice and milled them before although its reccomended that they be clamped down securely. Be sure the surfaces are clean and dry and a shot of accerator assures it is ready.

IMG_3542_zpsfad5ef9e.jpg


IMG_3543_zpsaf1b9627.jpg


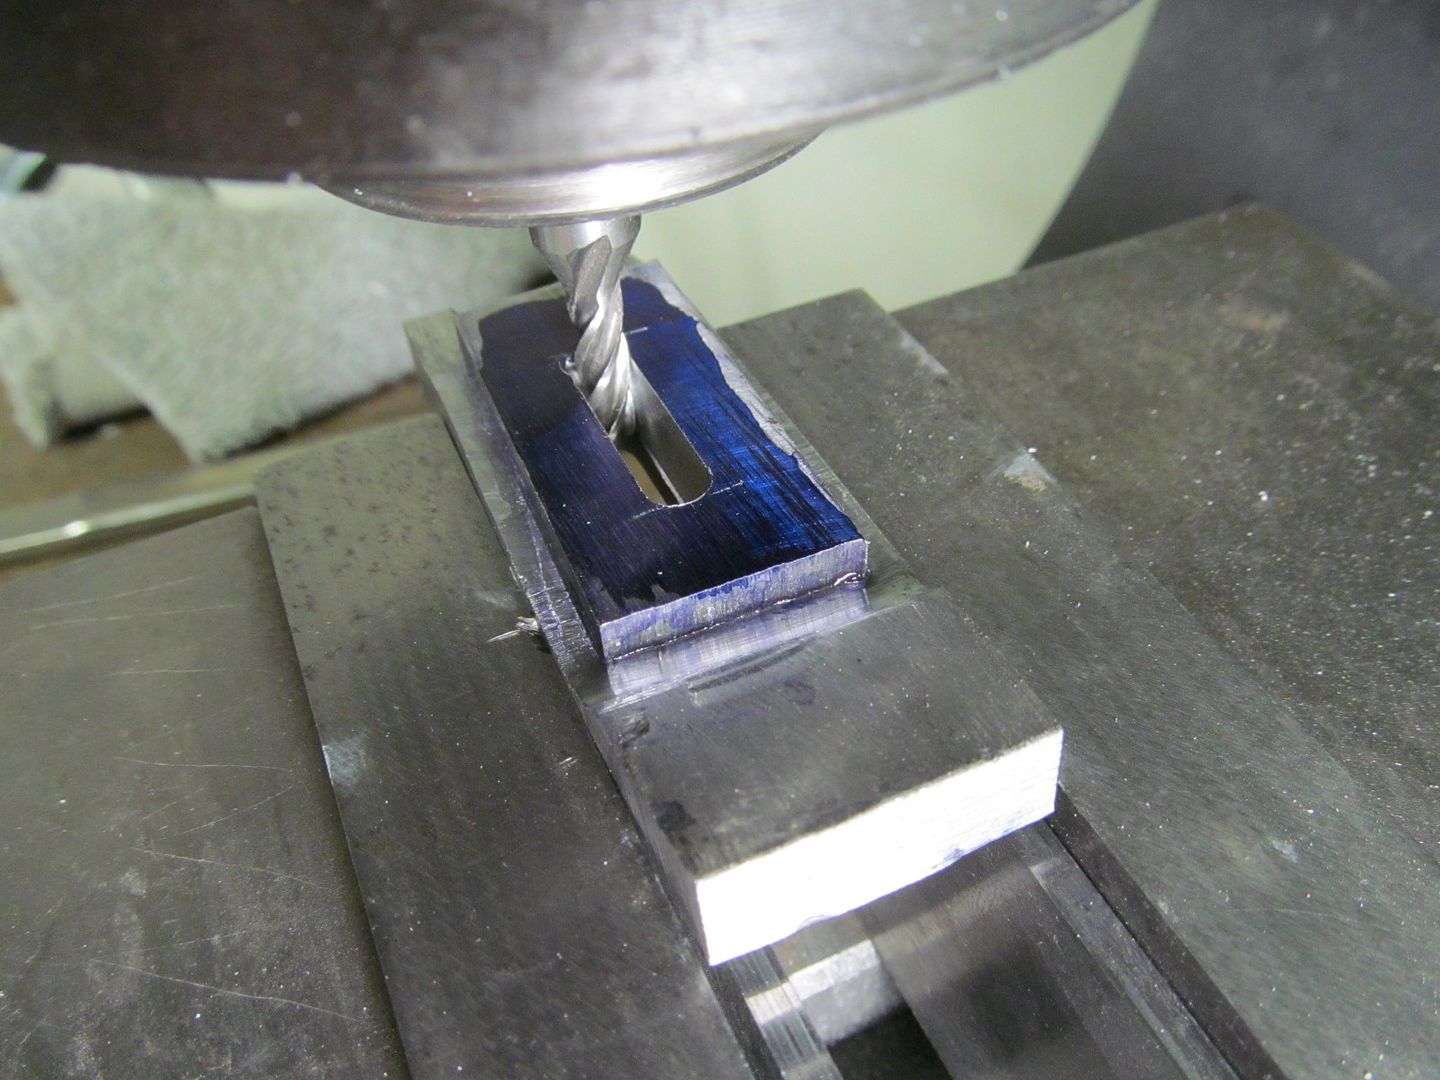
The slot needs to be recut on the spacer and only about 1/2 way into the back side of the guard. Go slow as not to allow the spacer to pop off as its only glued remember?

The length of the slot is determined by the blueprint. The width of the slot is only about .010" wider on each side than the slot is now. The slot is .187" now so .010" on each side will give us a .207" wide slot right? Dont get worried about these figures as they arent really too important because the frame thickness can be adjusted to match the slot thickness. Stay with me and you'll see what the heck I'm talking about in a minute

IMG_3544_zpsd319bca0.jpg


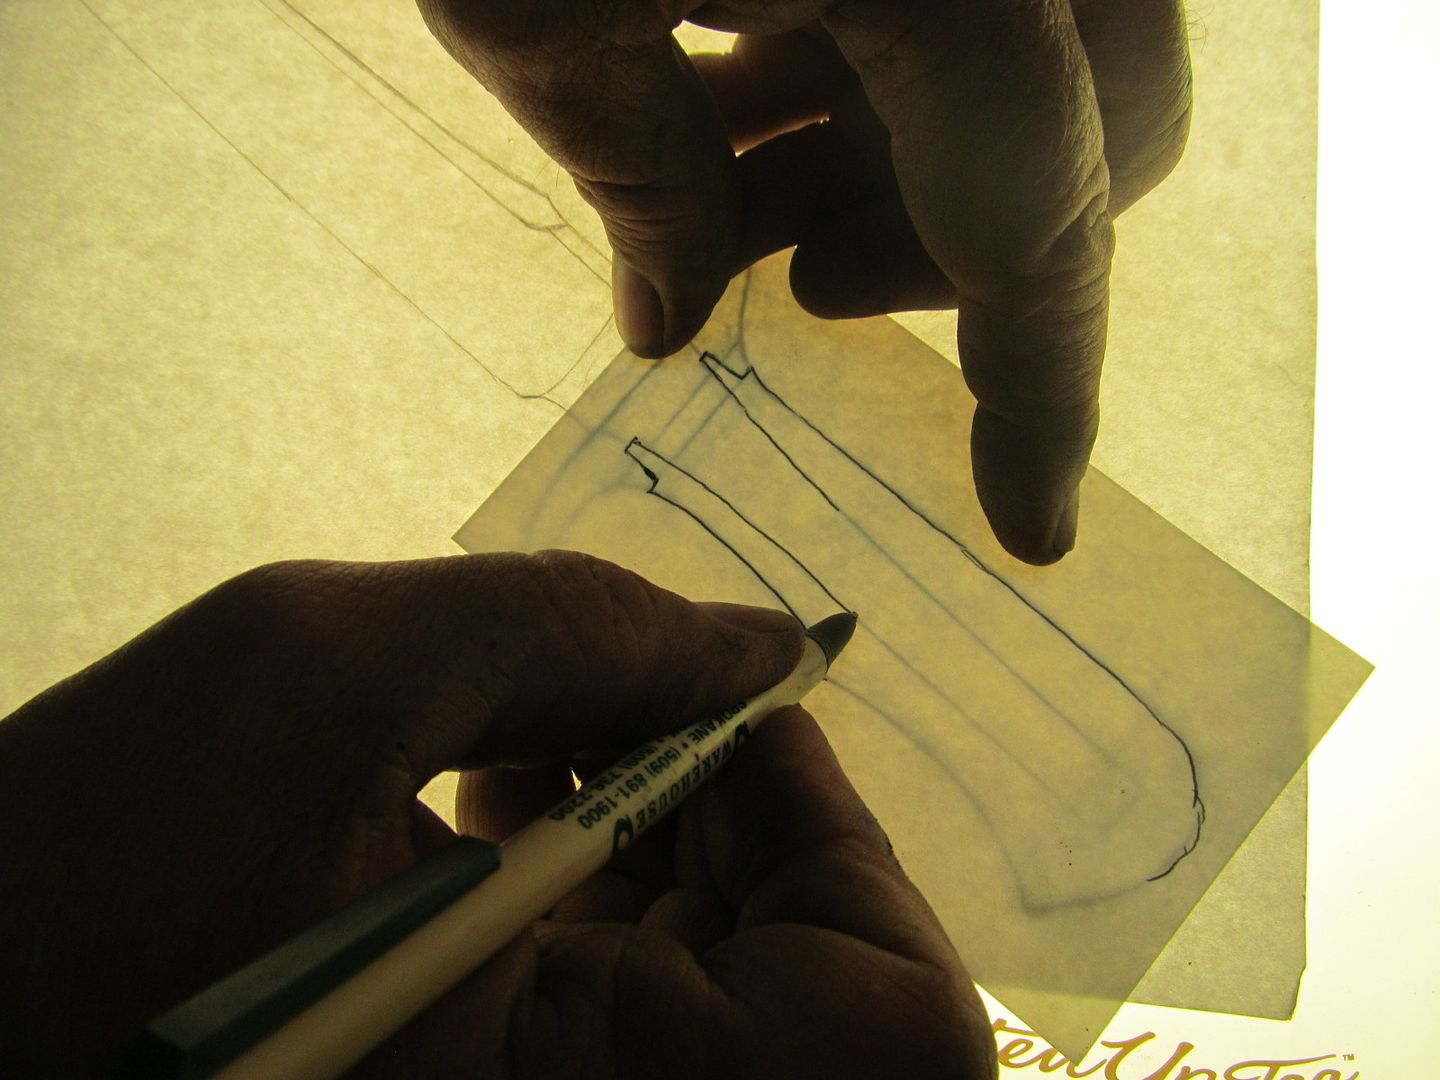
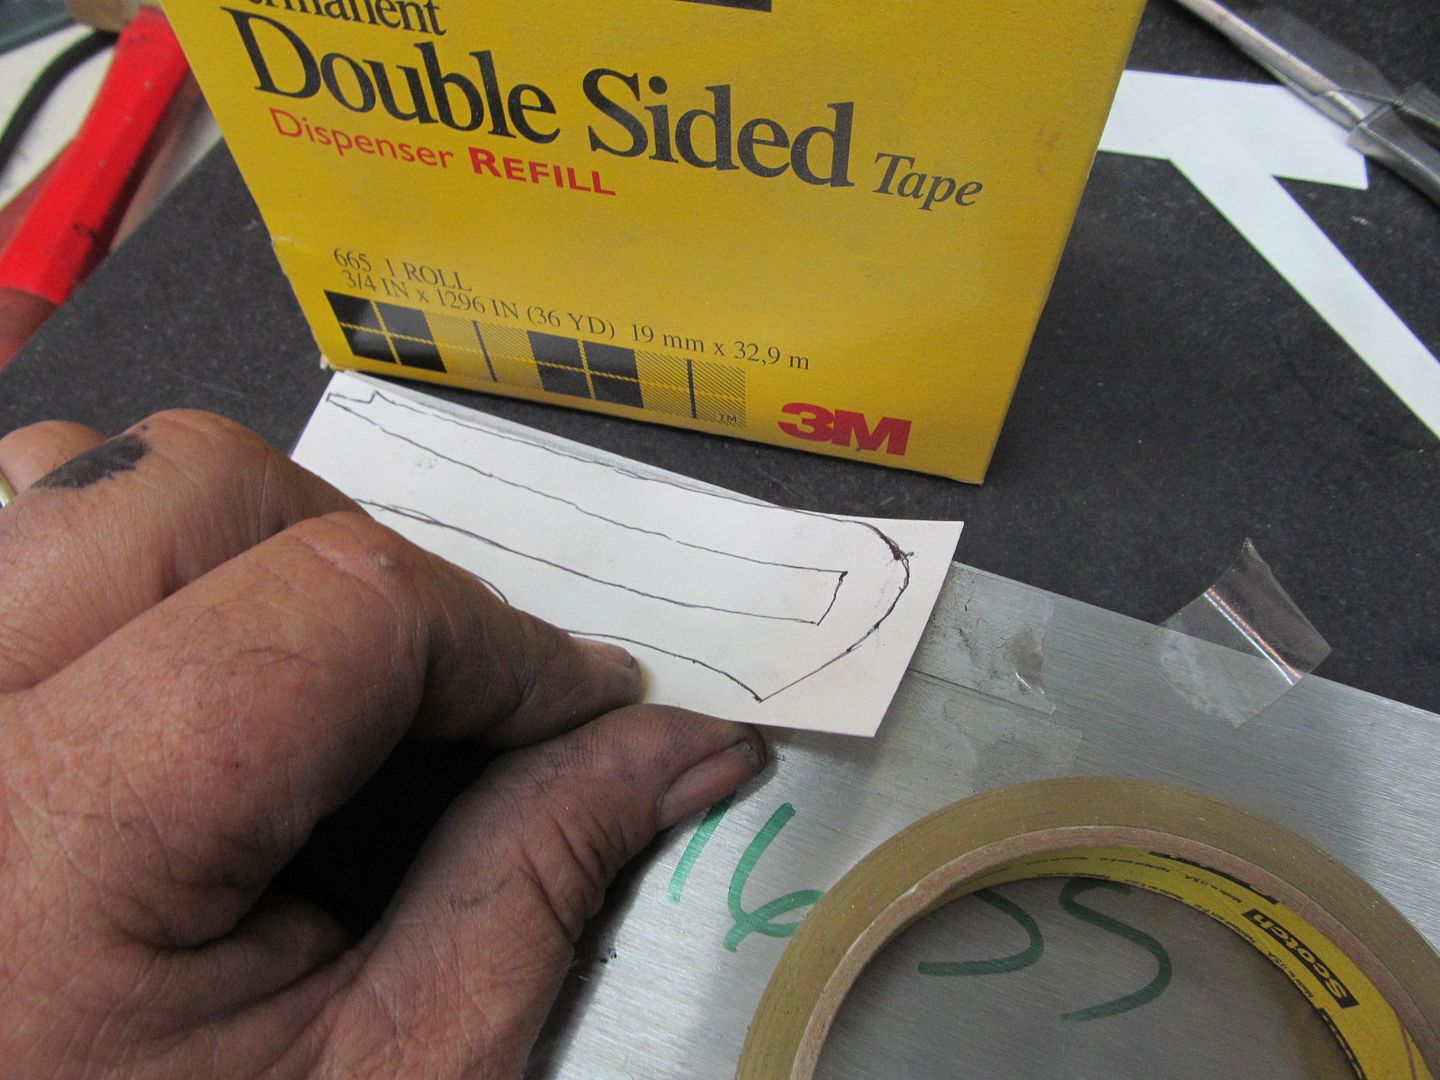
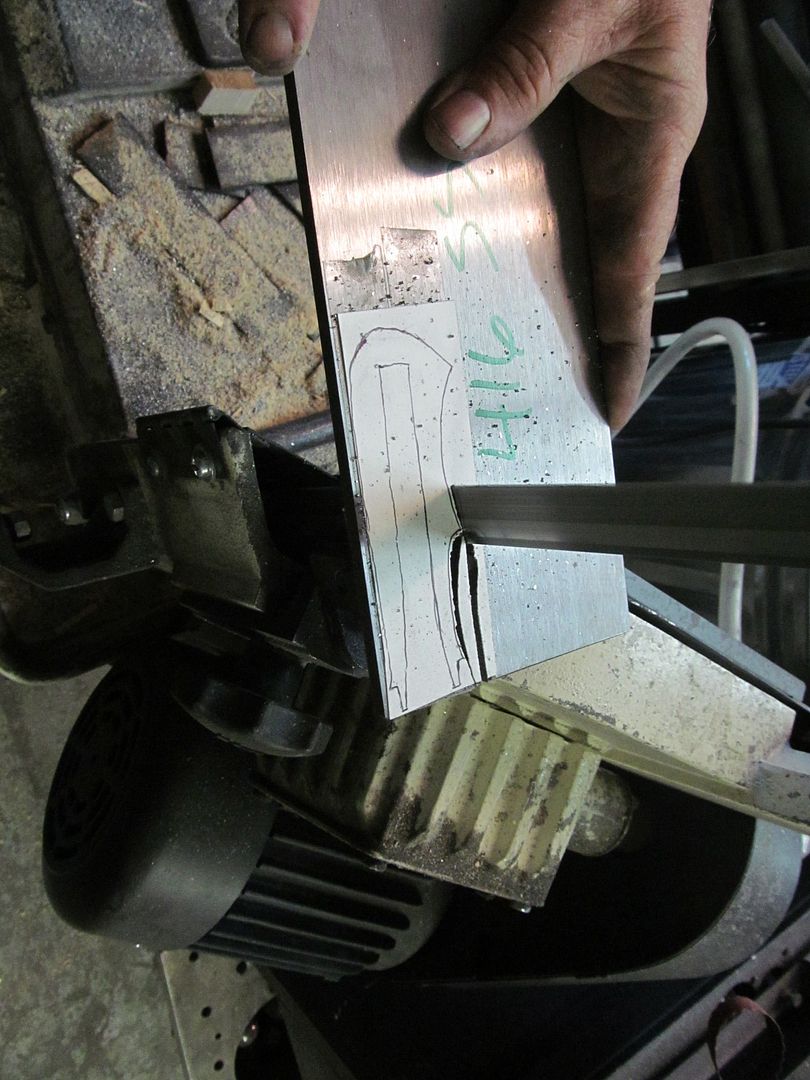
I use card stock thickness paper and a light box to trace onto. I bought this light box at a yard sale for $2. Pretty handy if I'm too lazy to make photocopies. Anyway the frame needs to be transferred onto heavy paper and glued or double sided tape onto the 416 steel.

IMG_3547_zpse380c78d.jpg


IMG_3548_zpsd2d3b879.jpg


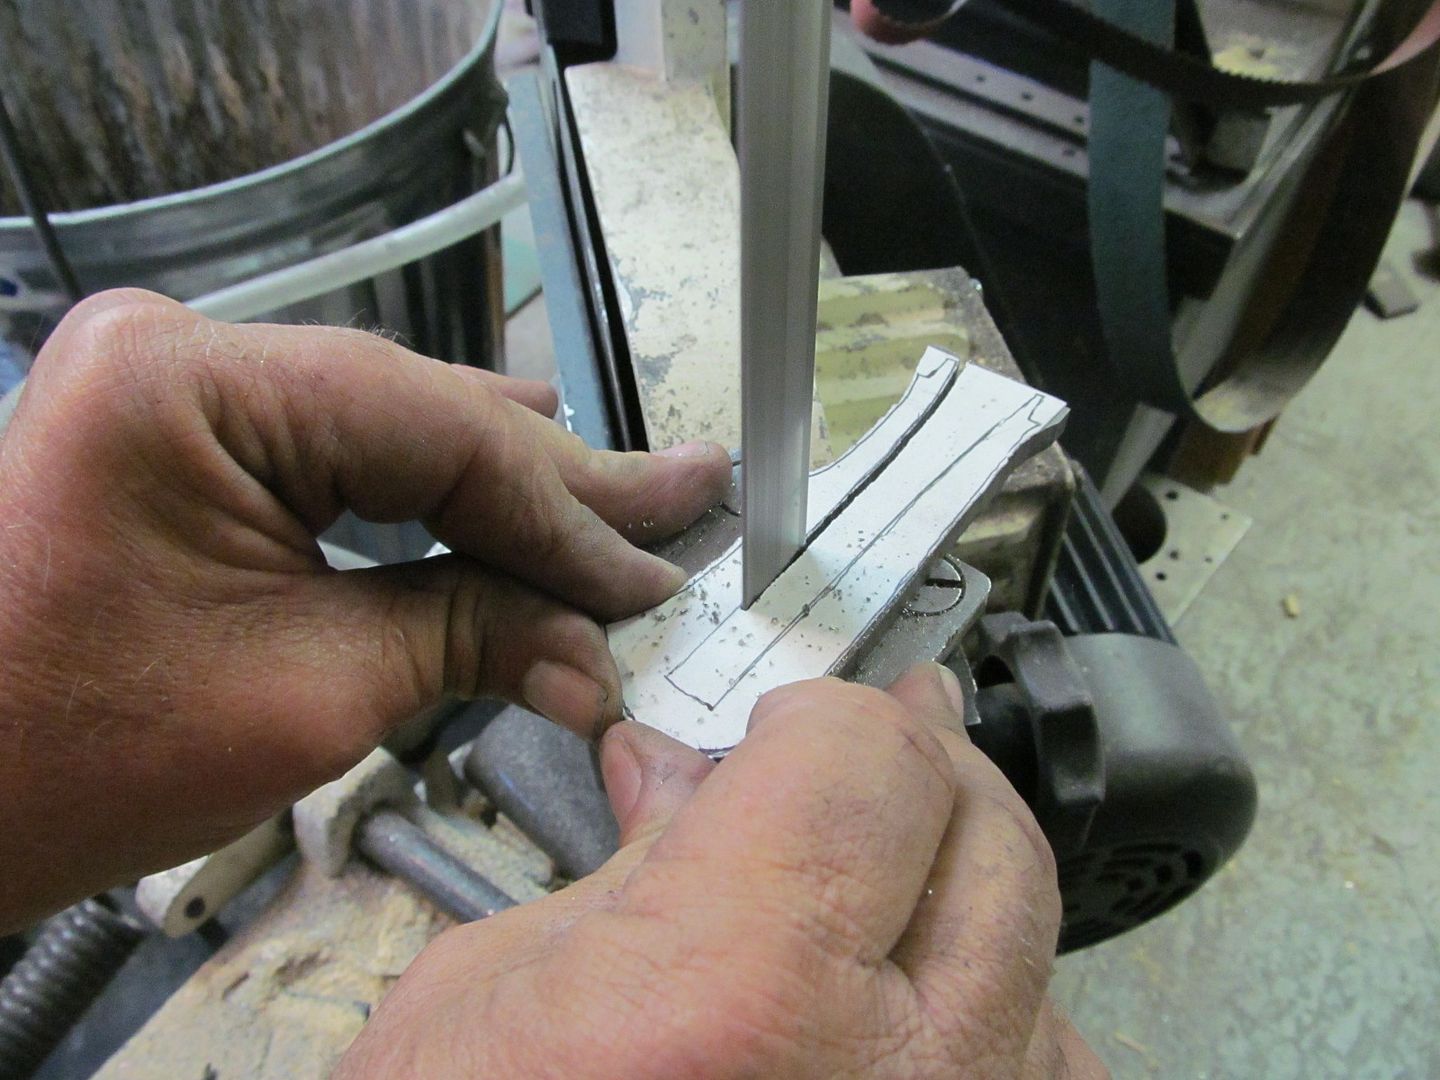
Now simply cut out the frame on the bandsaw carefully of coarse. Stay very close the lines as it was taken from the blueprint so theres no guessing if it will fit.

IMG_3549_zps1a8c8b81.jpg


IMG_3553_zps15ae62e7.jpg
 
Last edited:
Bruce, it is never so plain as when the master shows you, how they do it and all of the sudden you can see the light!:what!:

It is like the gates just opened up and now I can see the way I have been approaching some of the operations of knife making, was the hard way. Not necessarily wrong but, the hard way of doing it!

That mirror trick is a great one and just showing the way you approach things, just opens all kinds of doors for me. I don't have a mill but just seeing how you mill things gets my brain going on how I can approach the same operations in my shop, with what I do have to work with!

Thanks for sharing this build with us!:35:
 
Back
Top