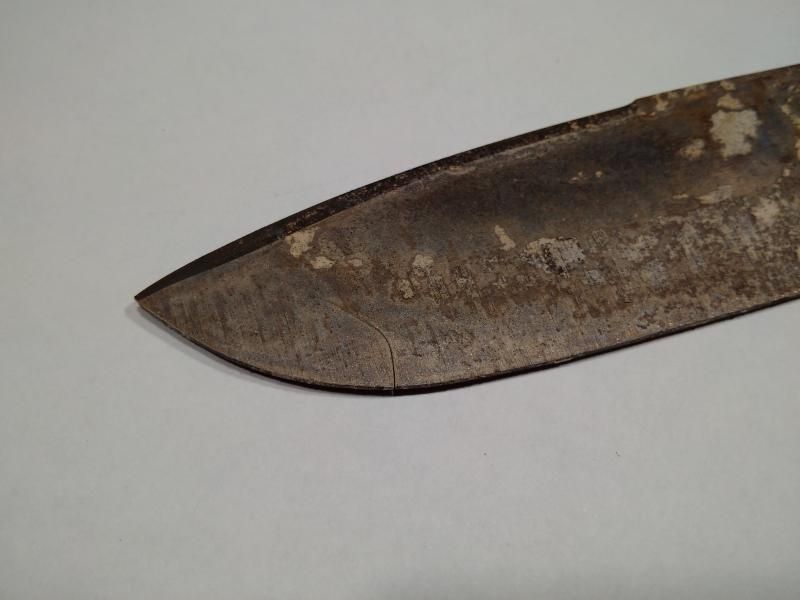
I agree, don't give up. I posted a brief tutorial in the Hammond hamon thread that describes my process, and you will find yours. Its a great first effort. Put a handle on it, and put it in the knife drawer in the kitchen, or in the tool box. If you want to fix it up, you need to get out the sandpaper, and sand lengthwise to at least 600g, preferably 1000g or better, then etch. There should be no vertical grind marks left.
Here is my post:
Here's what I do. Its what works for me, and you will find what works for you may be different, as it is for each smith.
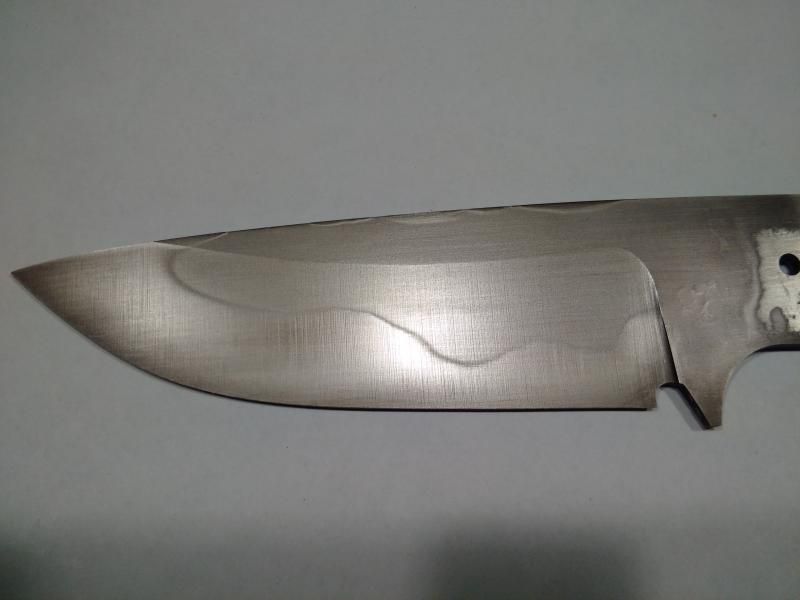
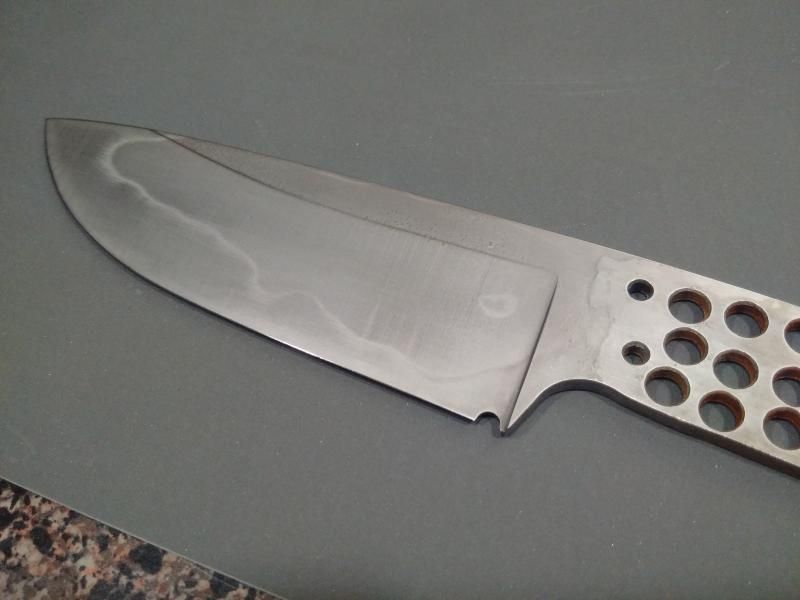
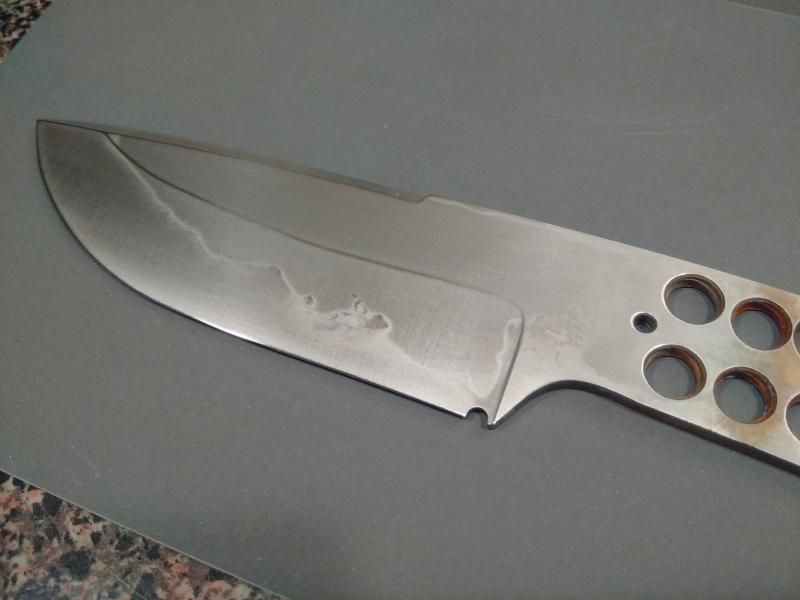
I rough grind the knife. I get the edge to about 0.040", and have the blade evenly sanded to 120g. The clay doesn't pop off too early for me when I stay at 120g. It was hit or miss when sanded at 400g. Clean all oil, wax, fingerprints before applying clay. Make sure there are no rough edges or gouges, especially around the plunges/ricasso. Make sure there are no leftover scratches from the 60 or 36g belts. They may rear their head during the etch. Some people coat the entire blade with a wash of clay. That doesn't work with me for the brand I use. Try it with and without to see for yourself which you prefer. You don't need a lot of clay, max 1/8" at the thickest.
I let the clay set while I bring the oven up to temp. I use 1460f for W2 and 1095, 1465 for 15N20, and 1440for Hitachi White. I have only done two blades in 1075, and am still experimenting. I found 1450 too cool, and 1475 a bit on the warm side. My next one will be 1460. As a note, the 1075 blades are 1/4" thick, compared to the much thinner kitchen knives. This will affect soak and quench times. I use Maxim DT-48, which is similar to parks 50. In the kitchen blades, I use very thin clay, and I quench 2 seconds, out for three, in for three, out for 5 then finish the quench. I find this really enhances the drama in the ashi. Its safer to use a slightly thicker clay and just quench, but the drama is more subdued. The top kitchen knife in my previous post was done this way. It gives a mix of clay and time/temp activity, with extra cloudy action. You can do the same thing without a commercial oil, by using brine for the first quench to beat the pearlite nose, then subsequent dips in heated canola oil. You will risk a cracked blade every so often, but its mostly safe, maybe...
As the steel gets thicker, it gets a bit easier as a wedge cross section will try to naturally form a hamon. You will need to adjust the heat, amount of clay, and time in and out of quench to get the desired effect.
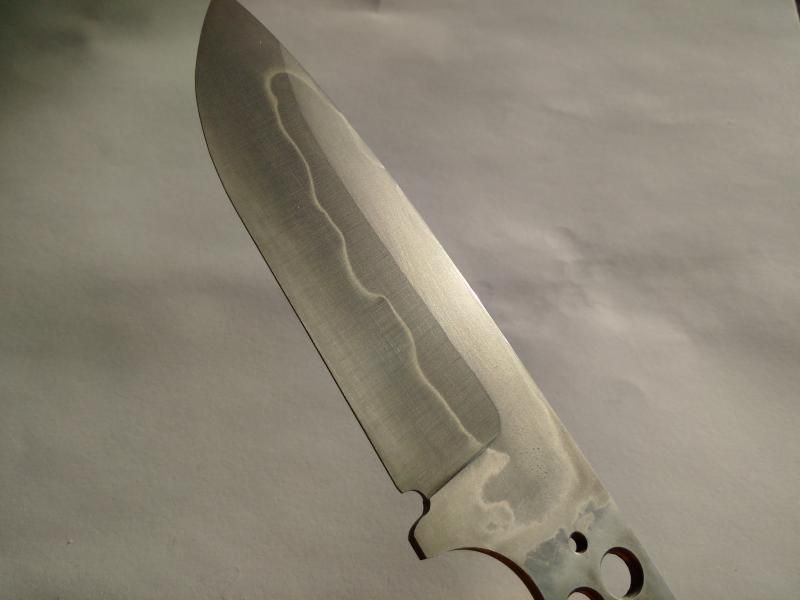
After tempering. I go back to 120g on the grinder, and clean everything up, then go to structured abrasives in u200, u100, u65, then u45. (approx 150, 220, 320, 400g) I can see the hamon clearly as soon as I get through the decarb in steels that do a hamon well. The 15N20 shows between 220 and 400g, depending on something I haven't quite figured out. The finer you hand sand, the more detail that will come out. The kitchen knives were only sanded to 1000g, as they are users. The finer you go in the kitchen, the more you have problems with food stiction.
I do the first etch in heated white vinegar, about a 15 min soak, then neutralize with windex. Polish with the powdered abrasives mixed with water to a toothpaste consistency. Clean then etch with a makeup pad and heated lemon juice. Focus on the fully hard parts of the blade. Oh, I forgot, put a few drops of dishsoap in the vinegar and lemon juice, it acts as a surfactant. Repeat until you are happy, or are worried you are losing your mind. If you don't have powdered abrasives, you can use rubbing compound from the auto store.
Don't get too obsessed. Its definitely a process that either wows you, or makes you want to quit.
There are some pics of the hamons I get in the process in that thread. I'm no expert, but I can get some pretty effects as I learn.
http://knifedogs.com/showthread.php?39428-I-wanta-make-a-Hamon-because-my-name-is-Hammond/page2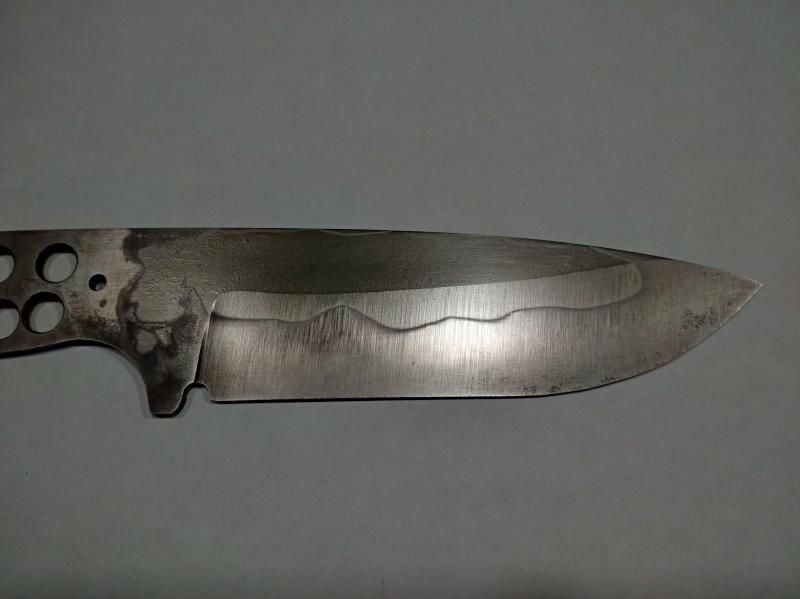

")