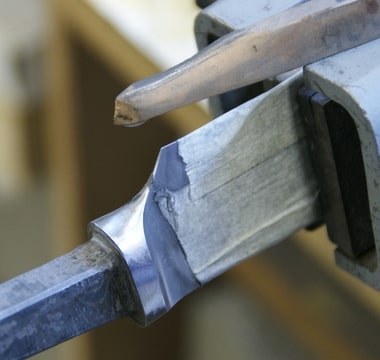
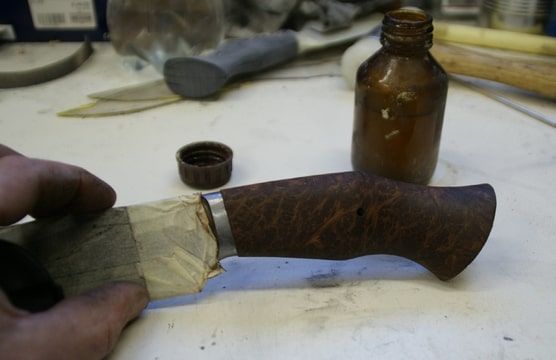
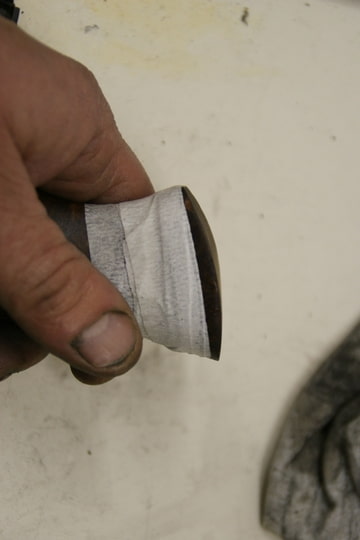
To make the handle to it's final shape I like to have a small step between the handle and the bolster.
I do this by cutting a narrow strip of masking tape and wrap that around the bolster.
I grind close to the maskingtape and do the rest by hand until the fourth layer of tape starts coming off so I get a even step of three layers all around the bolster.
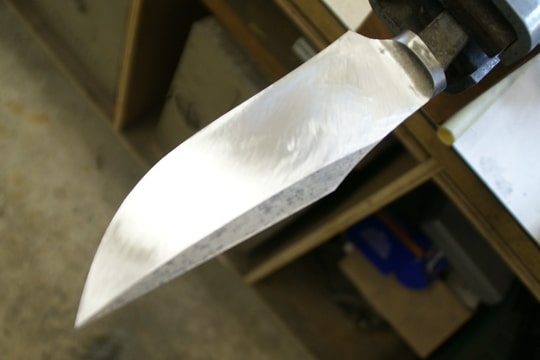
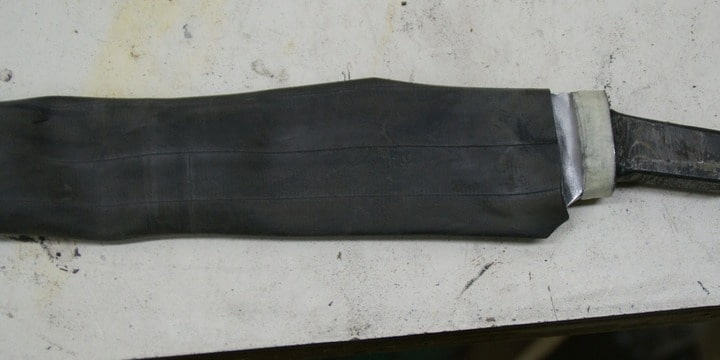
Cover the blade with a piece of bycicle innertube because accidentally hitting an almost finished blade with a fast moving 40 grit belt is not funny......
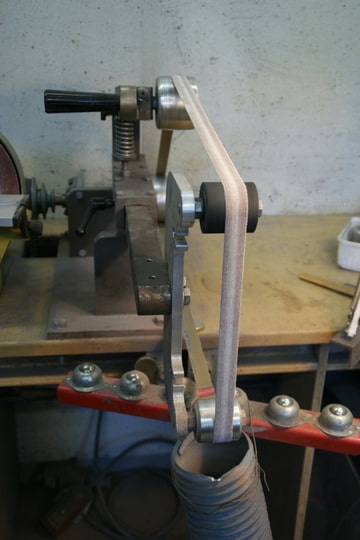
Getting ready to grind the handle close to the maskingtape.
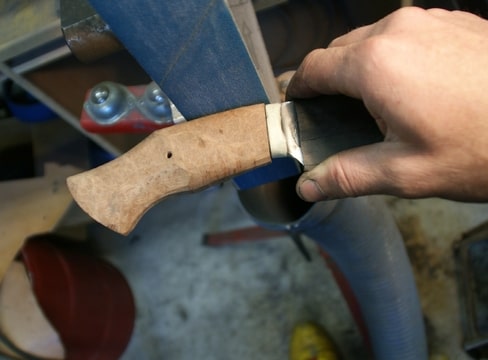
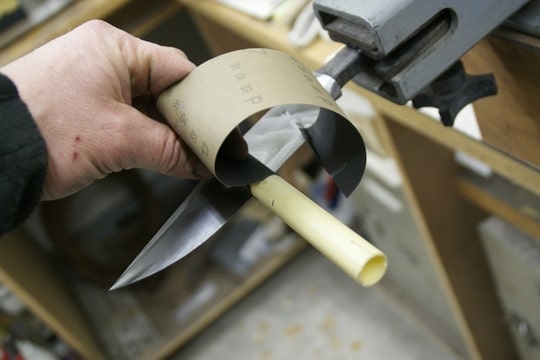
I have split a 220 belt to about 3/4" to get into the tight curves of the handle.
Make sure to break the edges of the split belt so they do not dig into handle.
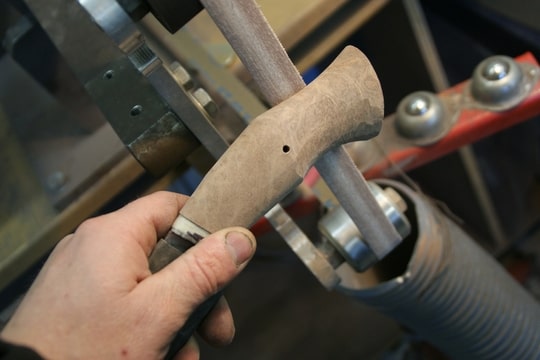
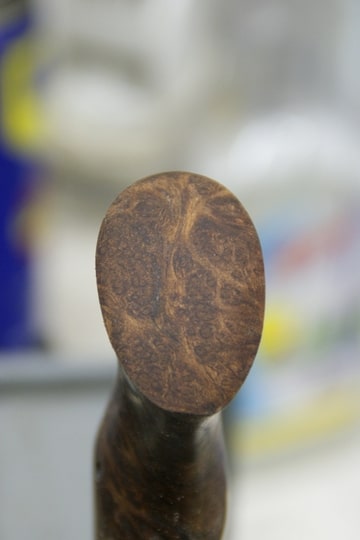
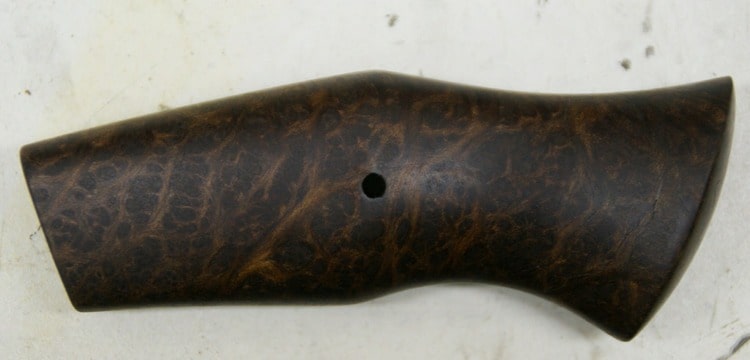
Handle roughly shaped.
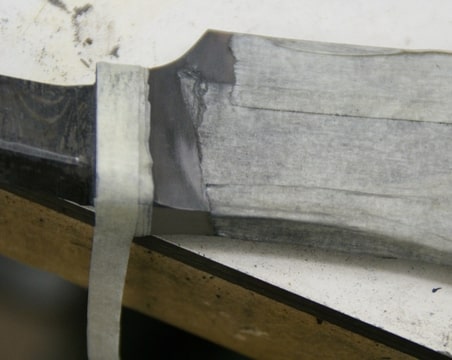
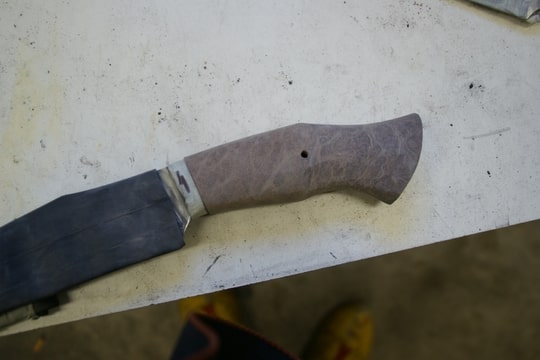
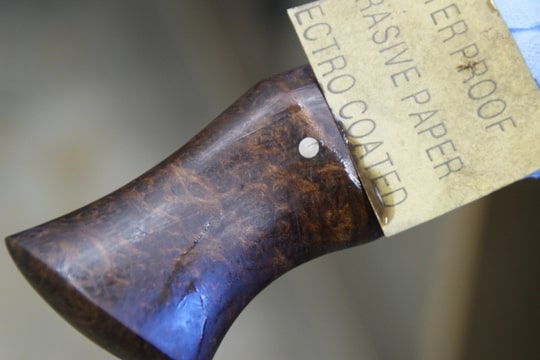
Hand sanding to the maskingtape with 120 grit.
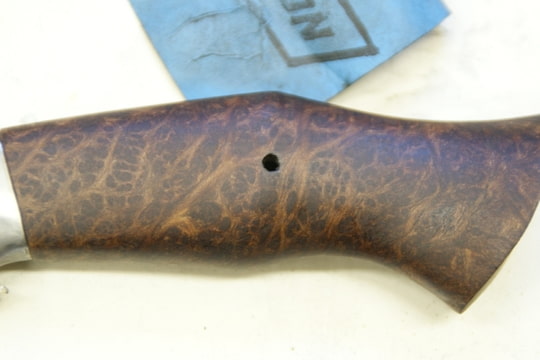
I will peel off the first layer of tape with 400 grit.
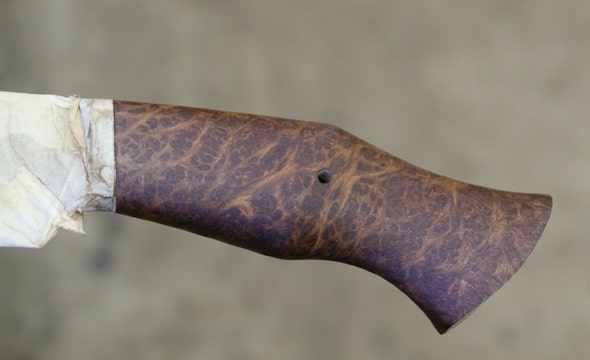
Handle sanded to 400. I do not like highly polished handles so I use an oil I got from a dutch knife maker that really pops the grain and fills any voids or checks in the wood with the oil and sandingdust.
You can see the first layer of tape coming off.
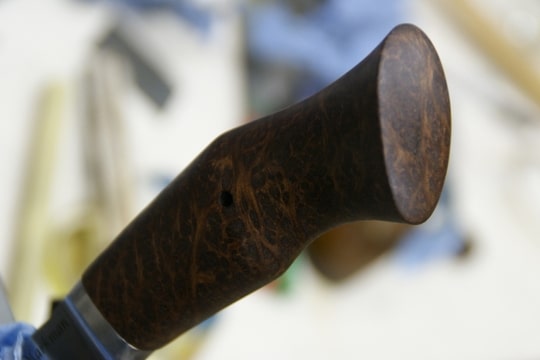
Handle at 800 grit with the magic oil. It has a bit of resin in it so it hardens with time and gives a very nice satin finish.
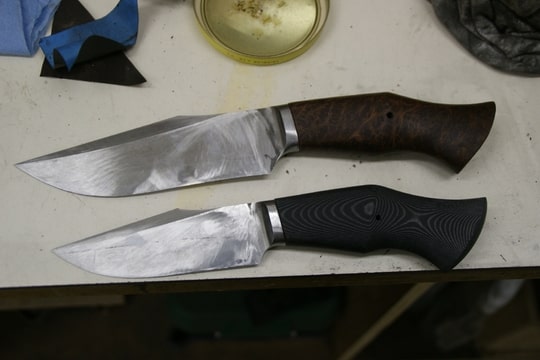
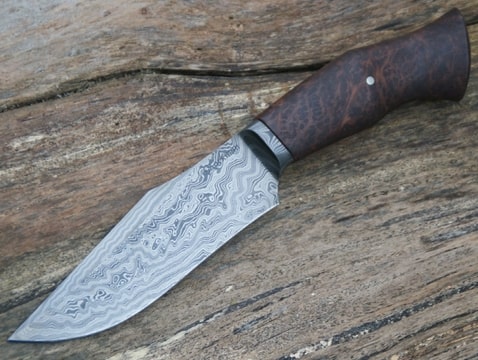
Overall vieuw with it's little brother wich I am making for myself.
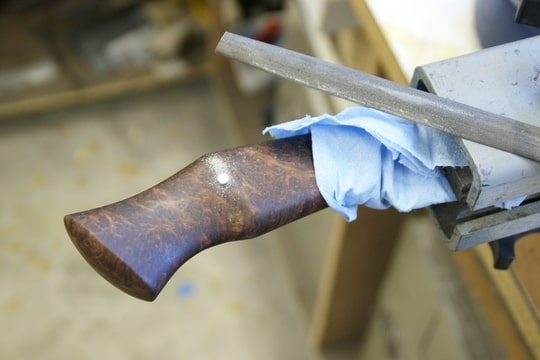
Now comes finish sanding.
I use a piece of plastic tube because it fits the transition to the bolster and it sands faster.
I do not have to readjust the paper everytime, I just turn the tube a little while sanding.
It also gives more pressure on a smaller surface wich gives the paper more bite.
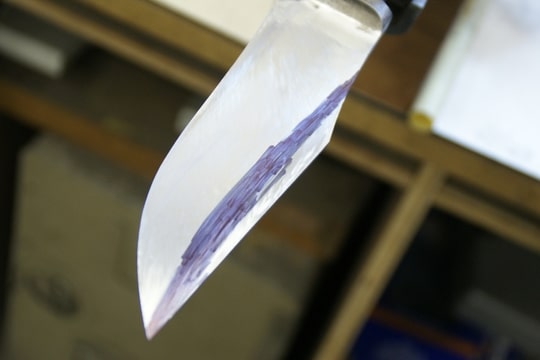
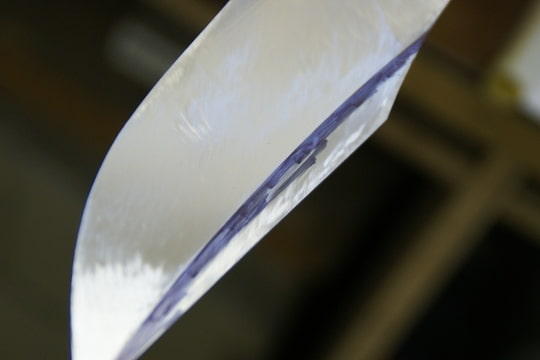
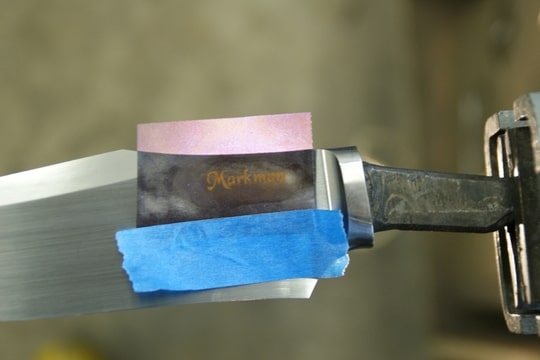
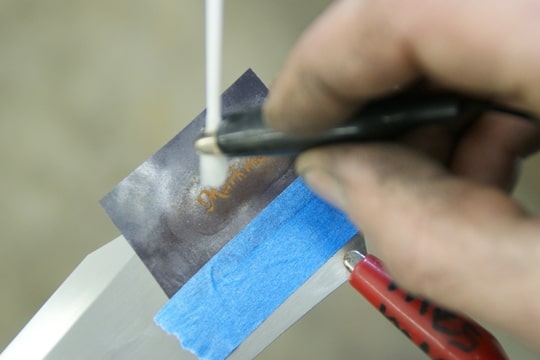
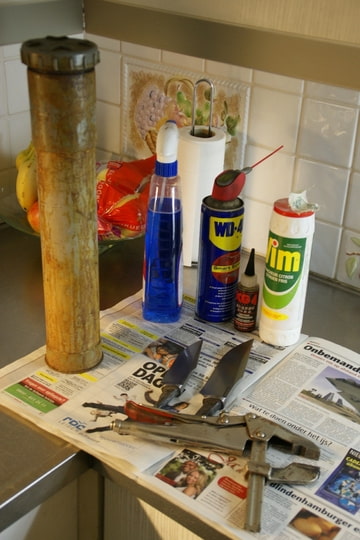
A tube of ferric chloride, Vim for degreasing windex for neutralizing, WD40 for rubbing off the oxides and gunoil for protection of the etch.
Vice grips for holding the blade in the tube and not dopping it on the bottom or through the bottom.....
The Vim is the best degreaser I have found, it leaves absolutely no white streaks when you pull the blade out of the etchant to see how it's doing.
Blades etched and oiled up, tomorrow is assembly day!
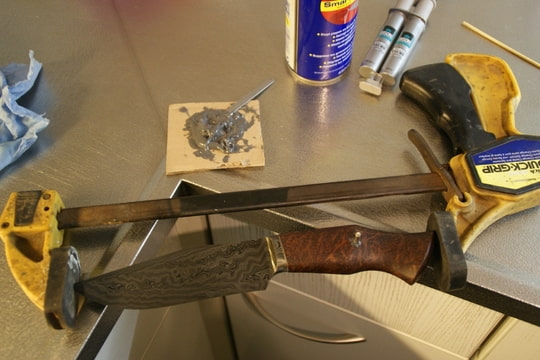
Time to glue it up.
I degreased the tang, pin and front of the handle.
Normally I do this in the shop but it is far too cold there to the epoxy any good.
The clamp is not really there to press the handle and blade together but more so i can hold it to do the clean up with WD40 and a bamboo stick.
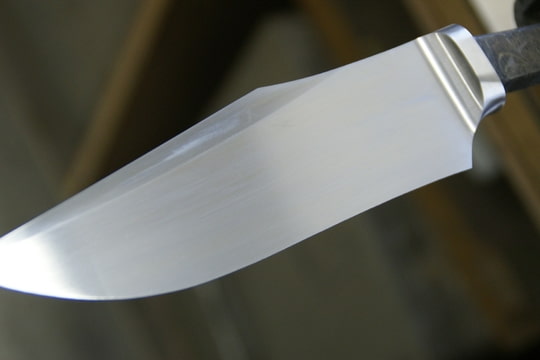
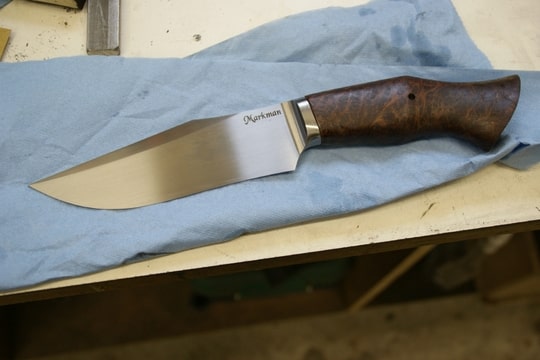
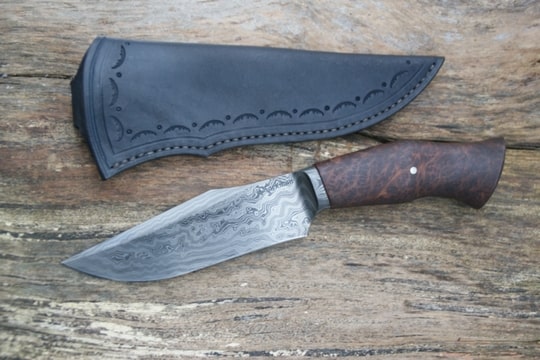
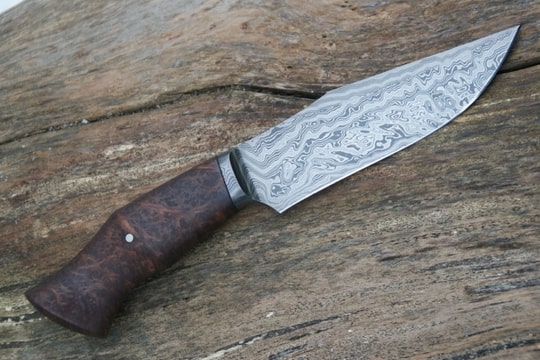
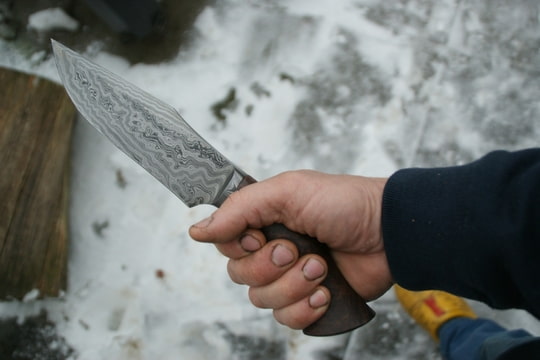
The final pics......
The knife is completed and sharpened and the sheath only needs a bit if leathergrease.
It will be shipped early this week. I hope Mark likes it.
I want to thank you all for your nice comments and especially Mark for asking me to make him this knife.