J S Machine
Well-Known Member
I'll do it Rex. Thanks
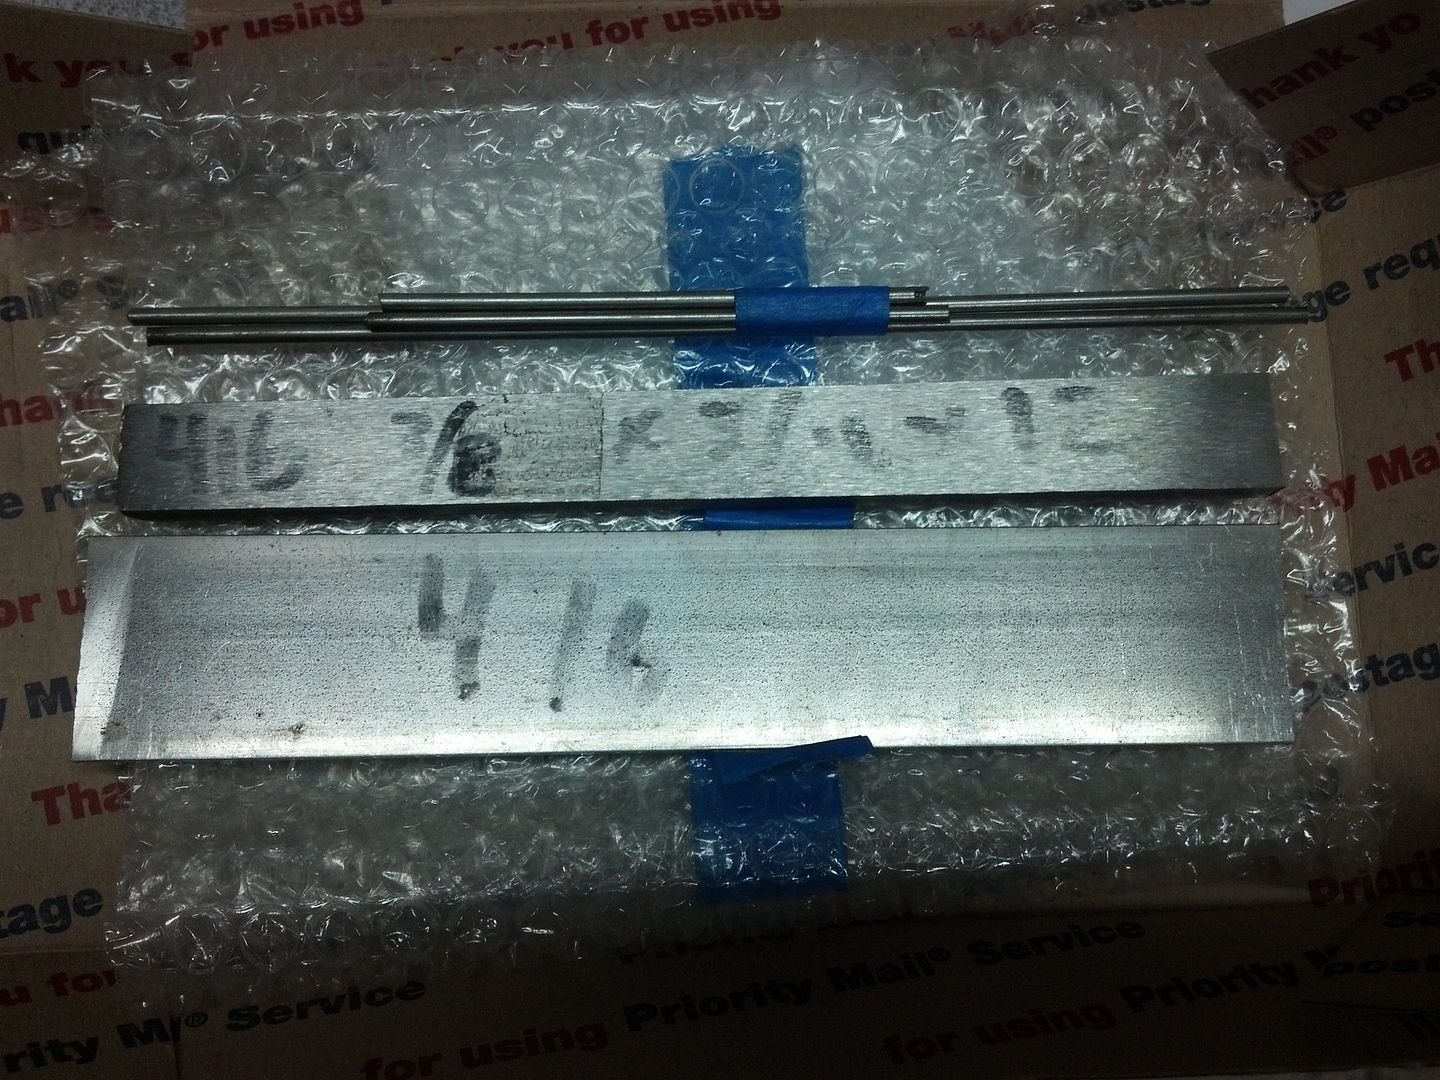
Started working on th guards tonight. Thanks To forum member Josh Dabney, I have some 416 stainless to work with")
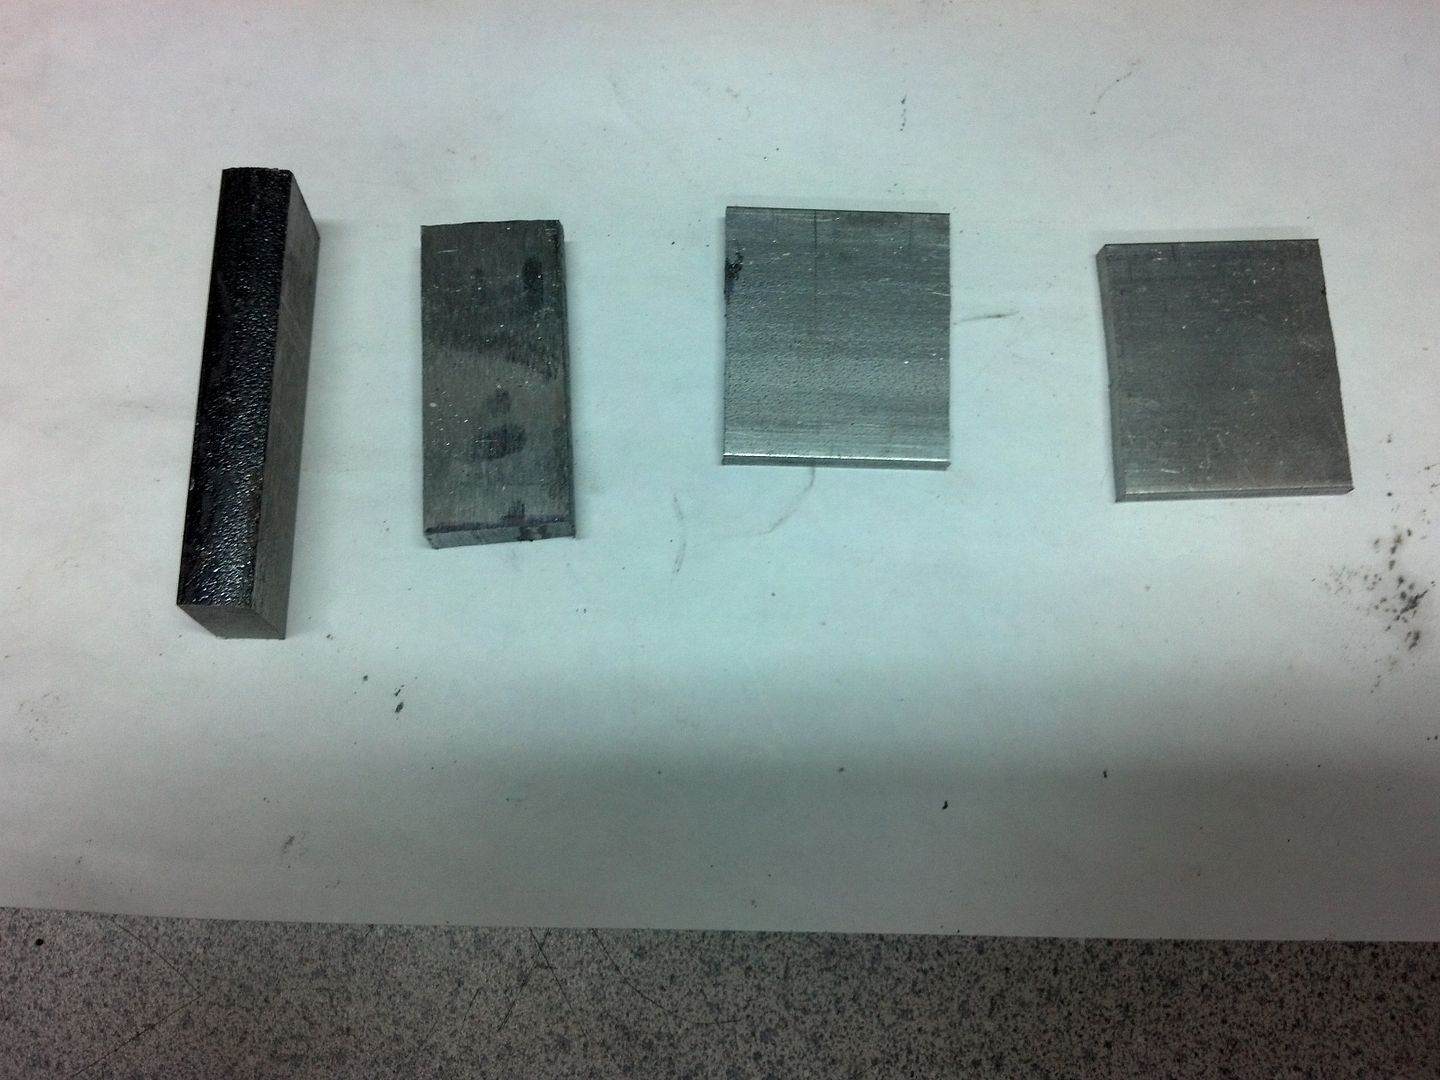
First thing to do is to measure some of it out and cut the pieces for the guard and the sub hilt. I just eye it out to what looks about right, no specific measurement here. First is the main guard-
Then I move the piece up to mark what I need for the sub hilt
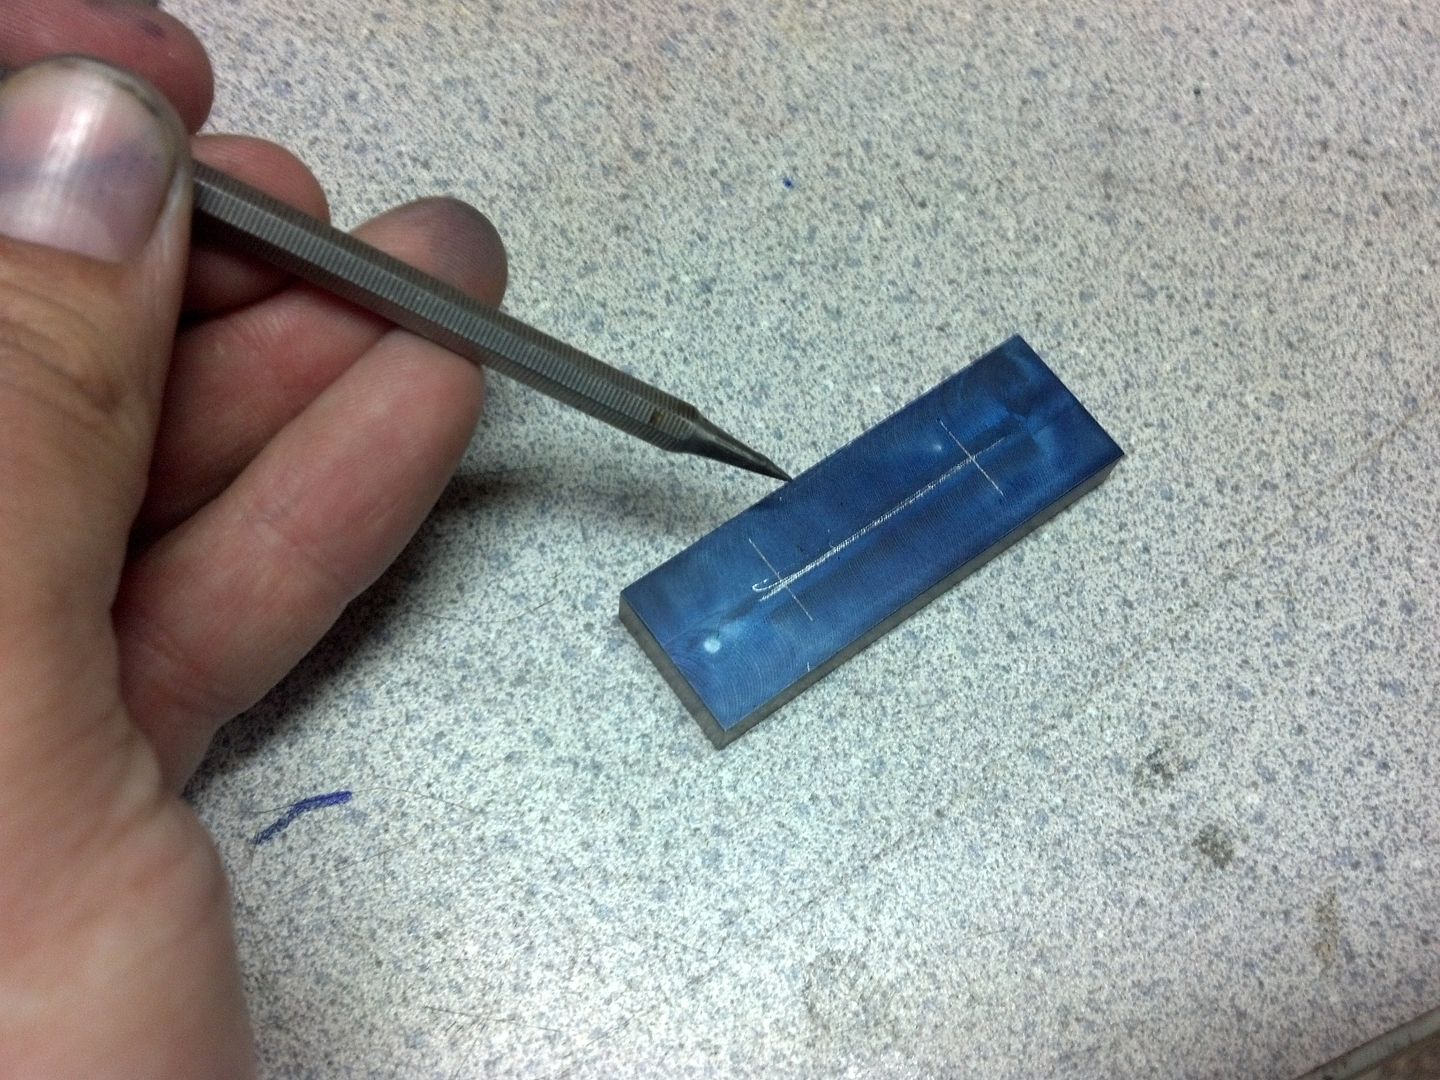
Then I take the flat stuff that will be the rear bolsters and mark a general idea line for a piece bigger than it (they) will be-
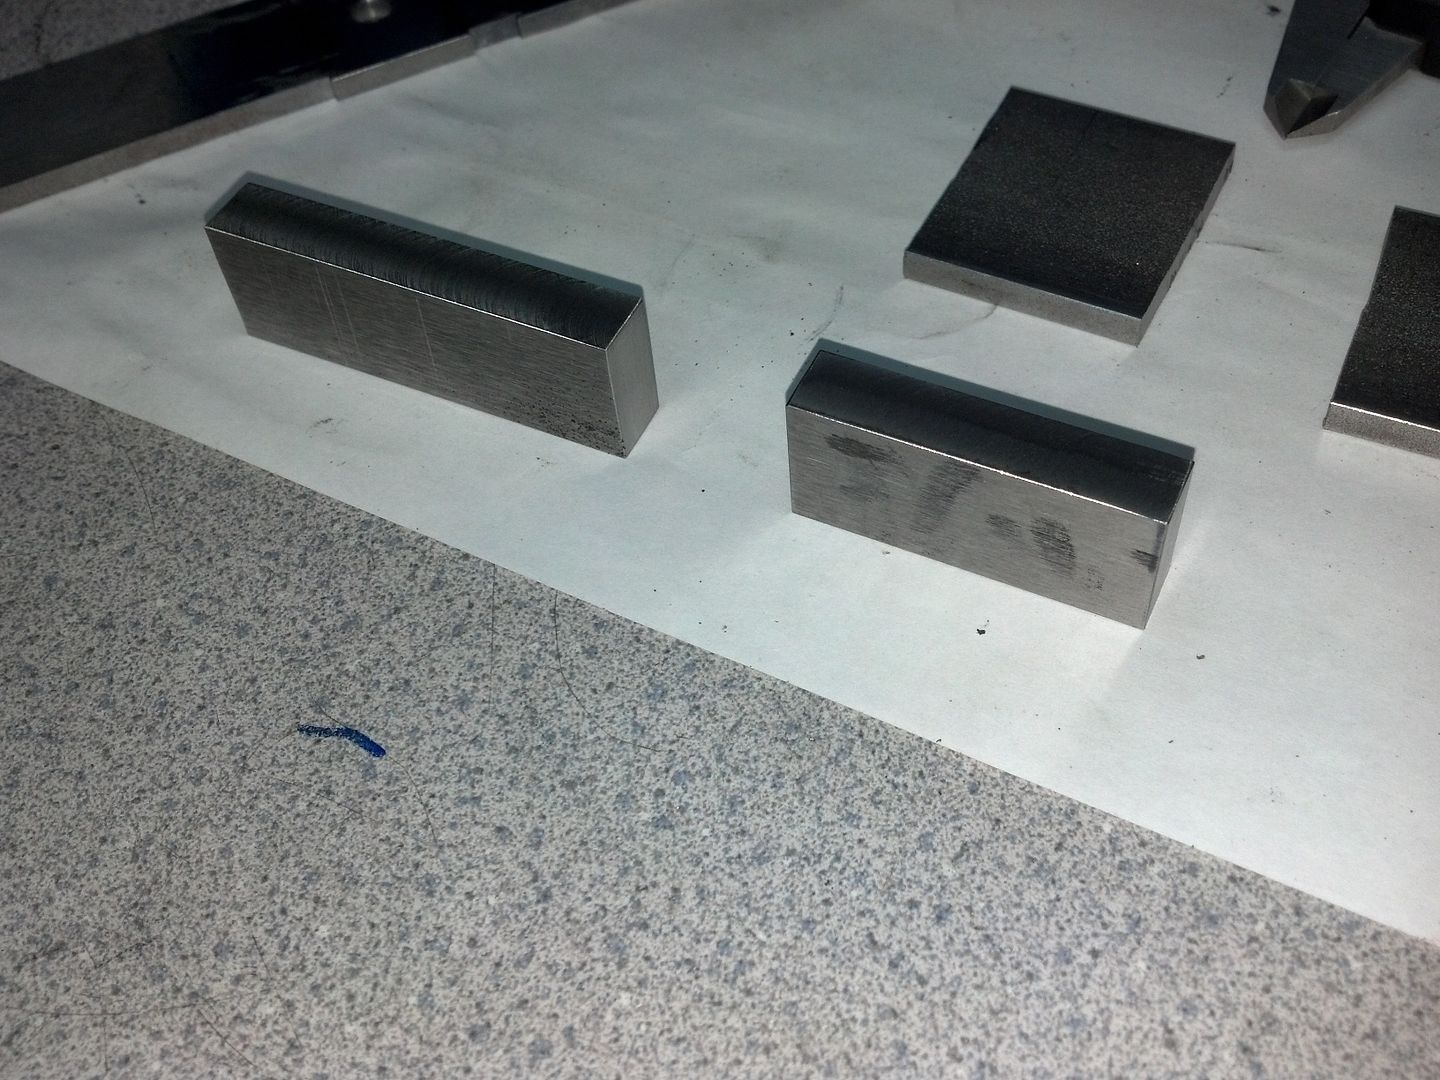
I really need to get a new sharpie..mine is about dried up..When I get done, here are the sawed pieces-
Now we have to do some squaring up in the mill. This stuff has to be straight before we can do anything with it.
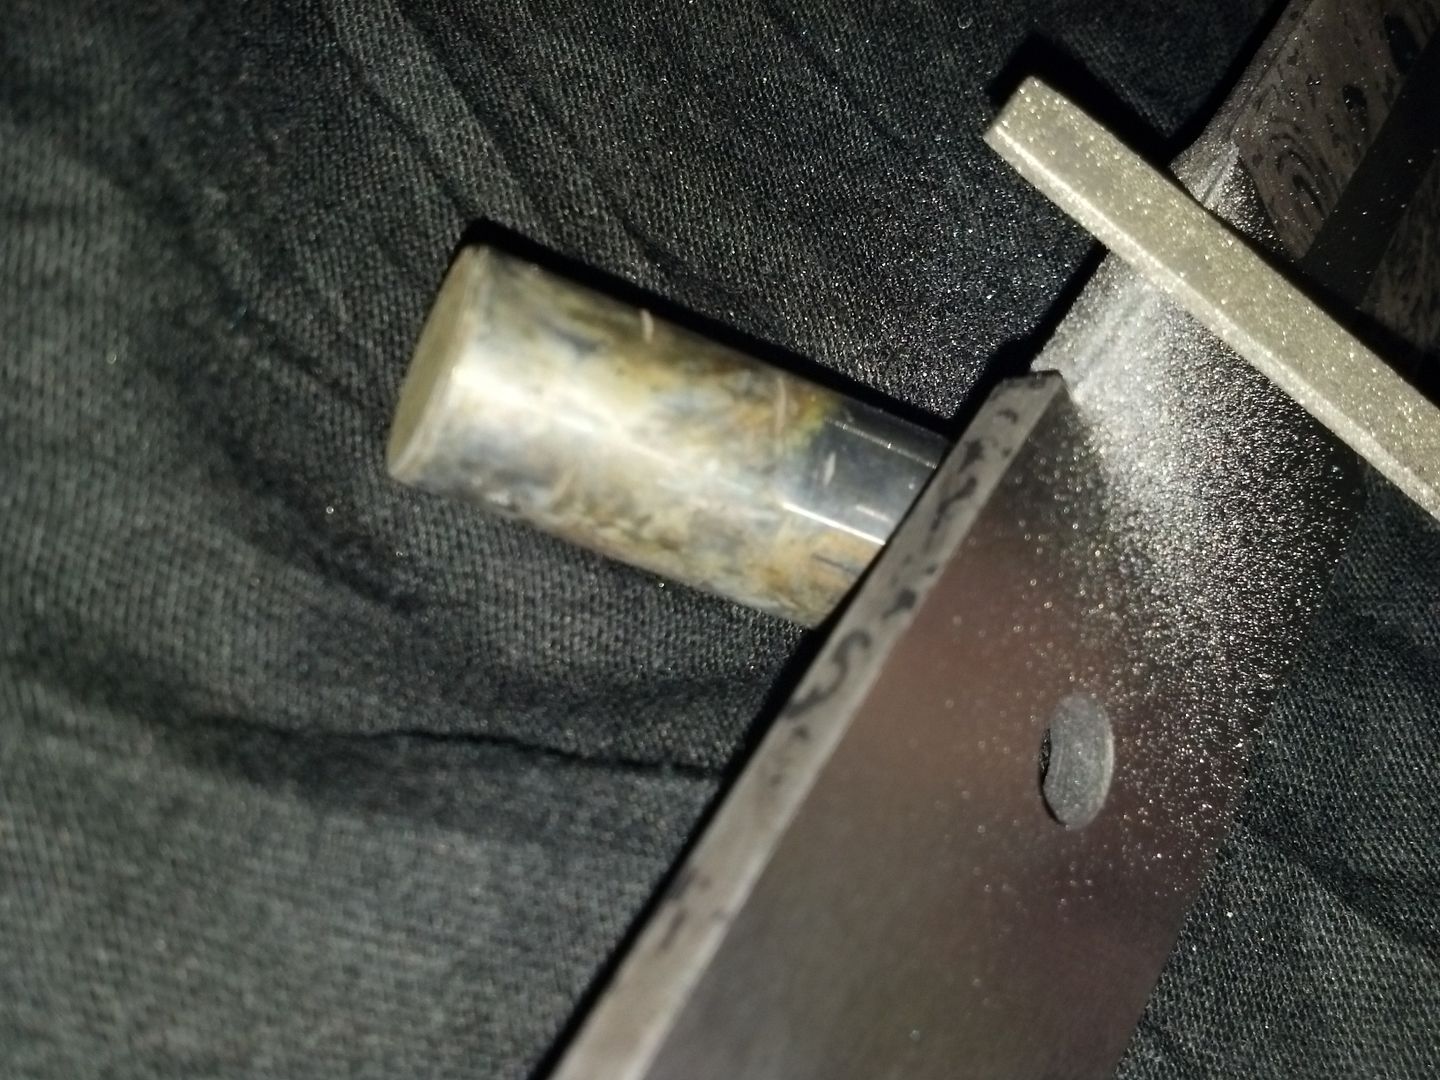
You can see the scale left here on the convex edge of this piece. This is what most steel looks like when it is hot rolled from the mill. It ususally has a full smooth finish if it is cold rolled..at least mild steel does anyway.
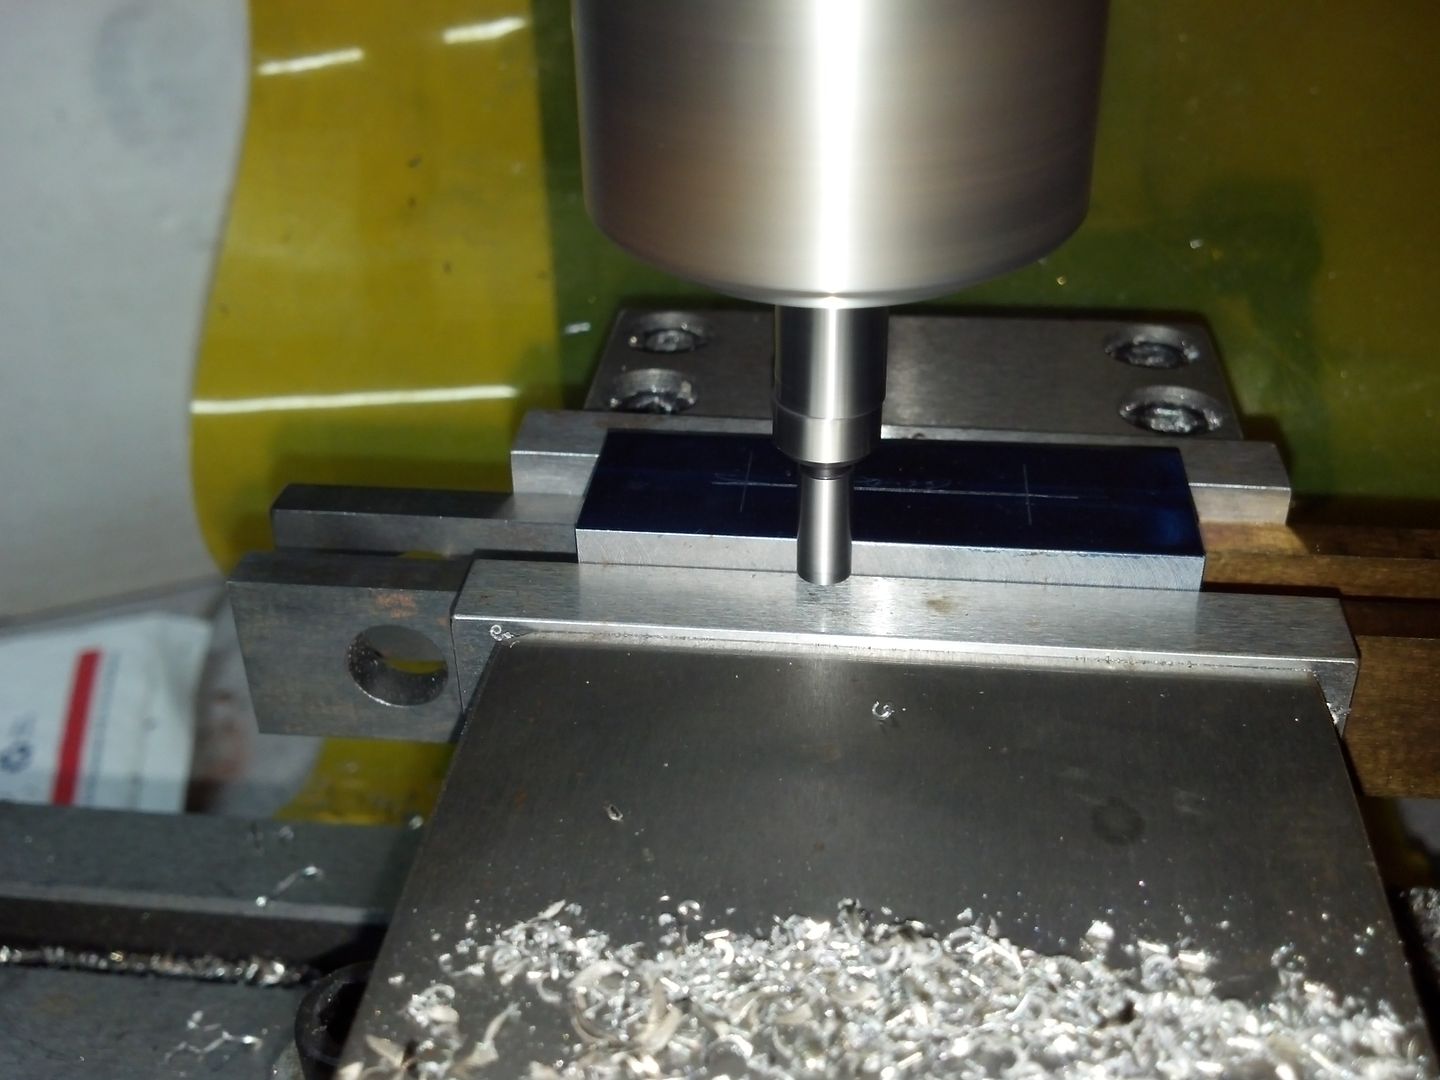
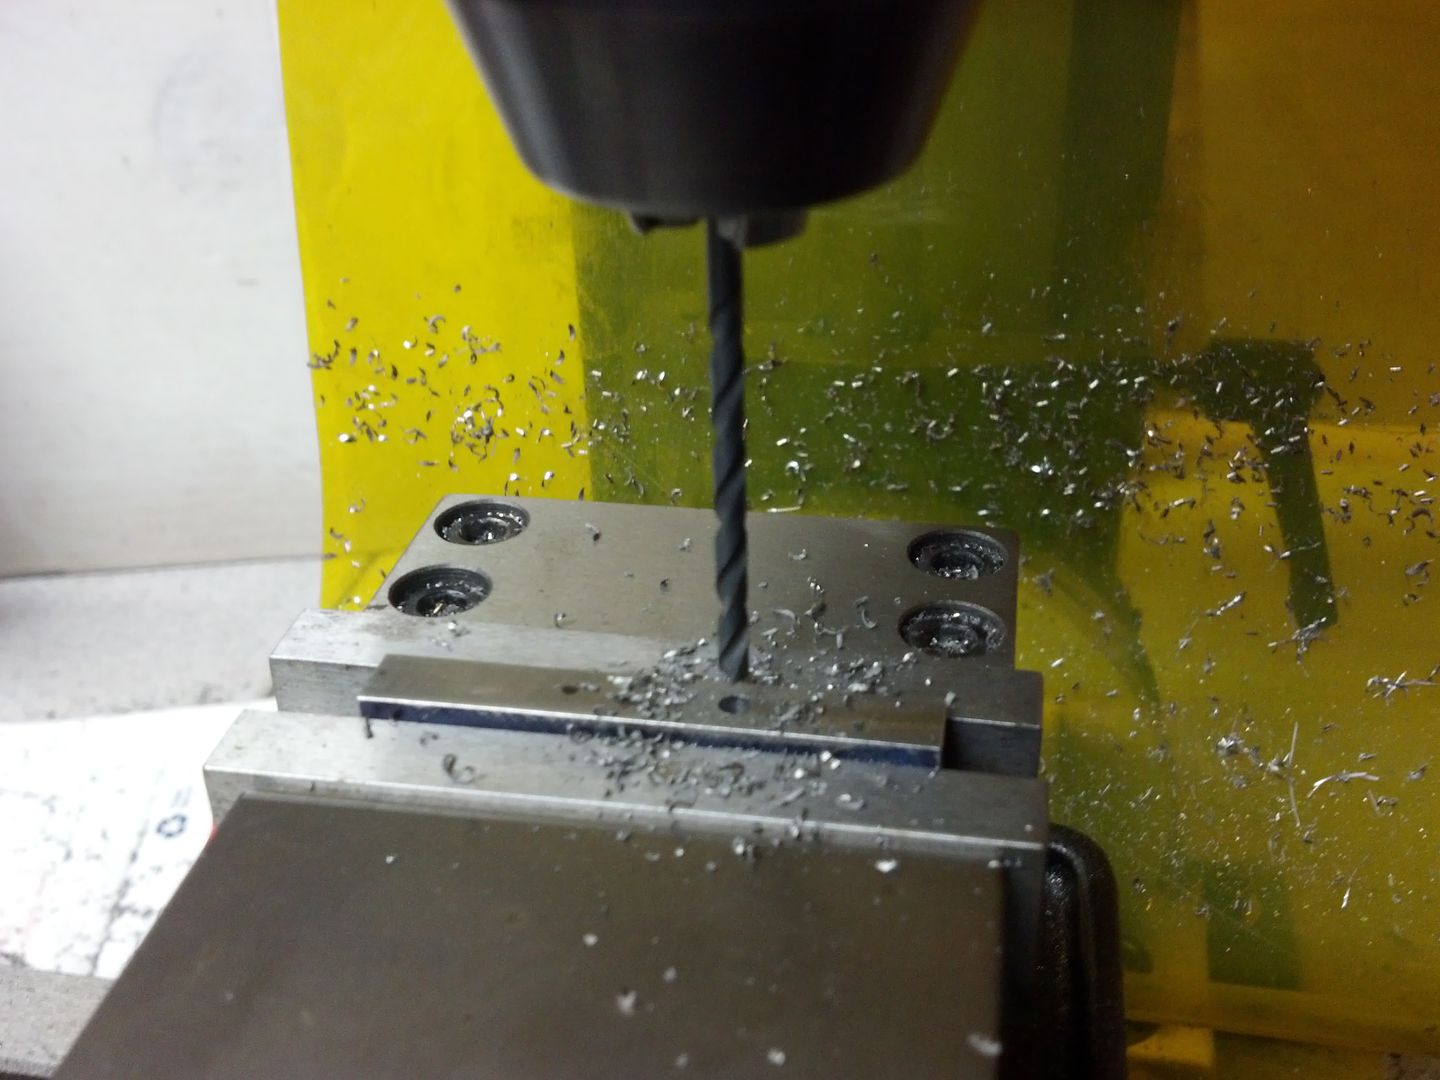
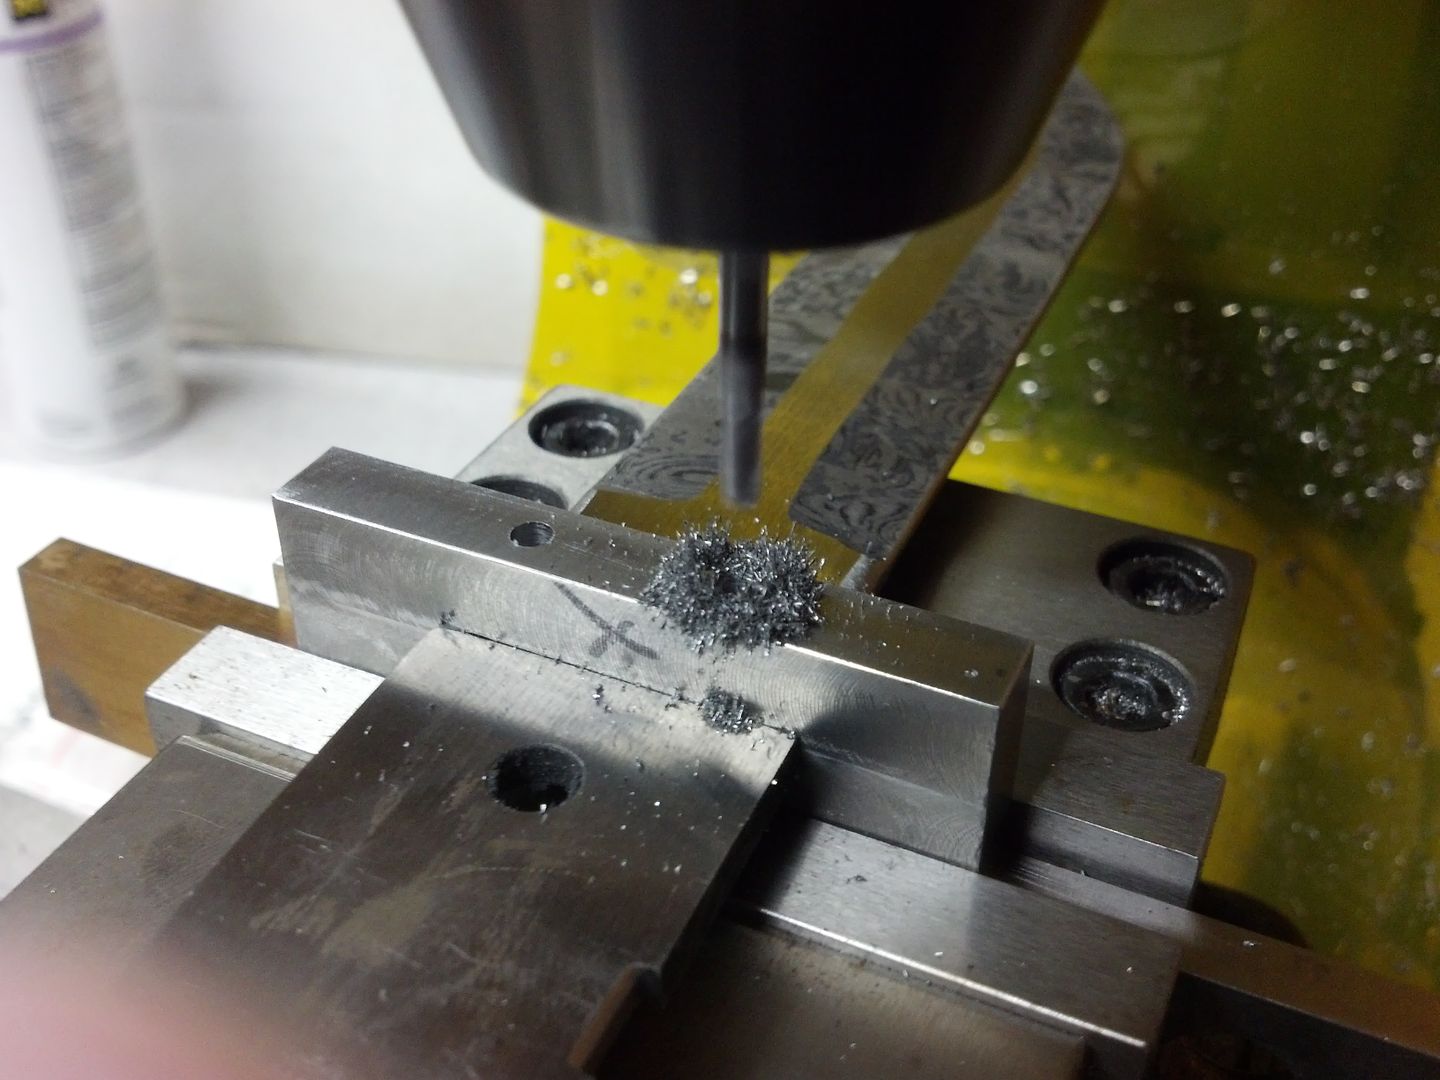
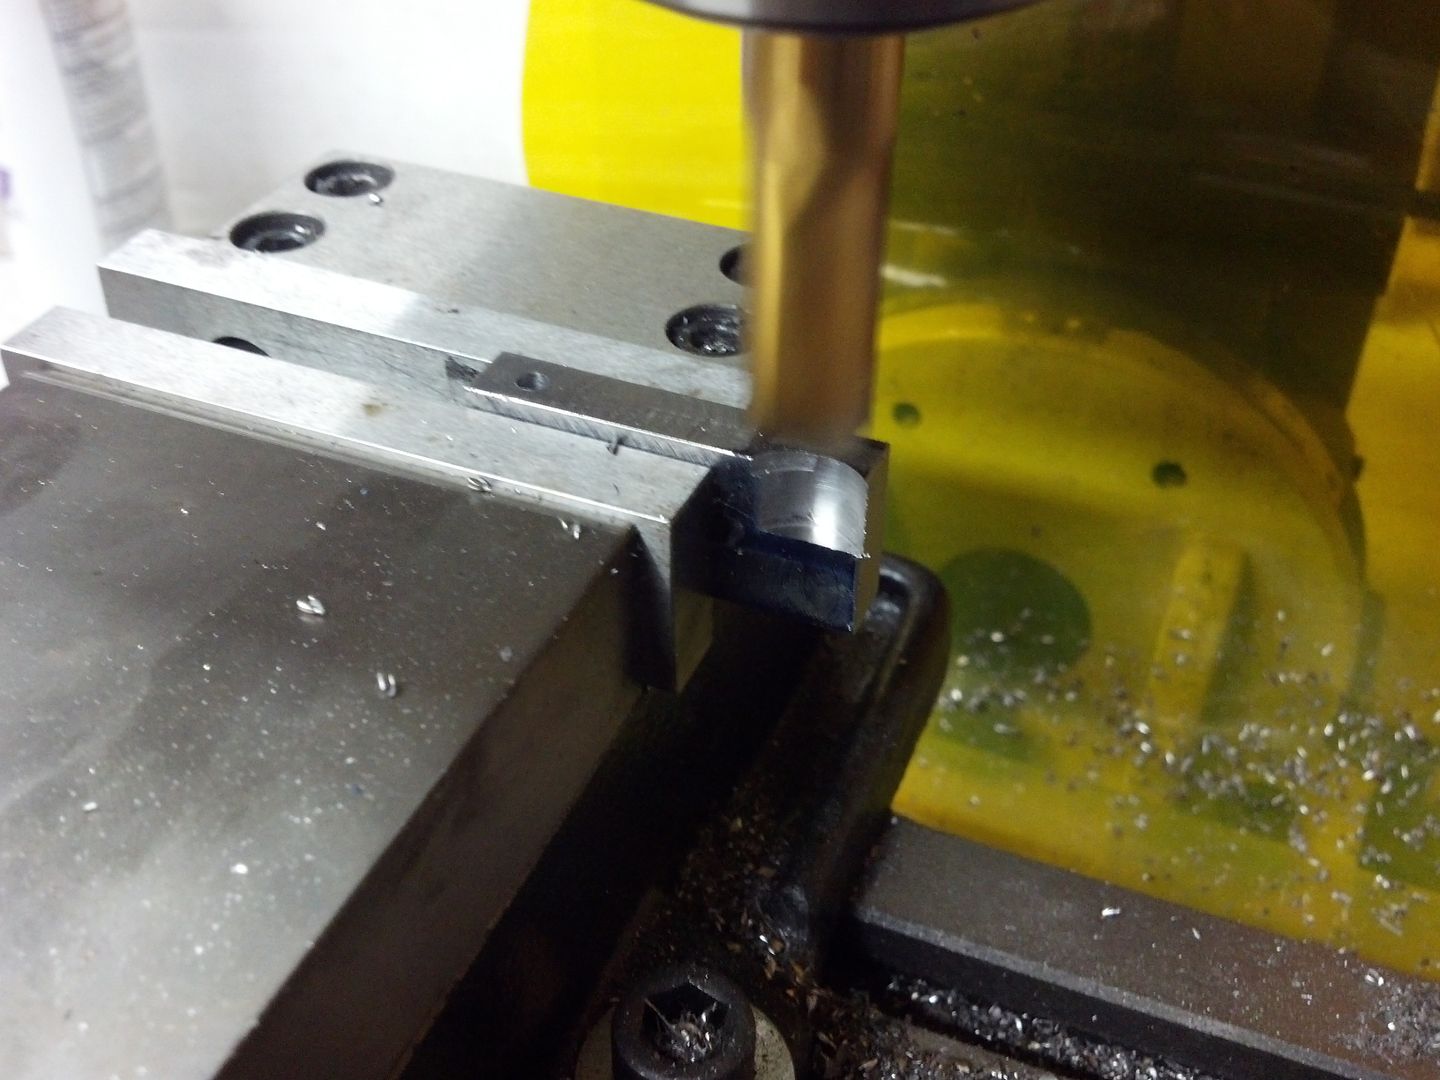
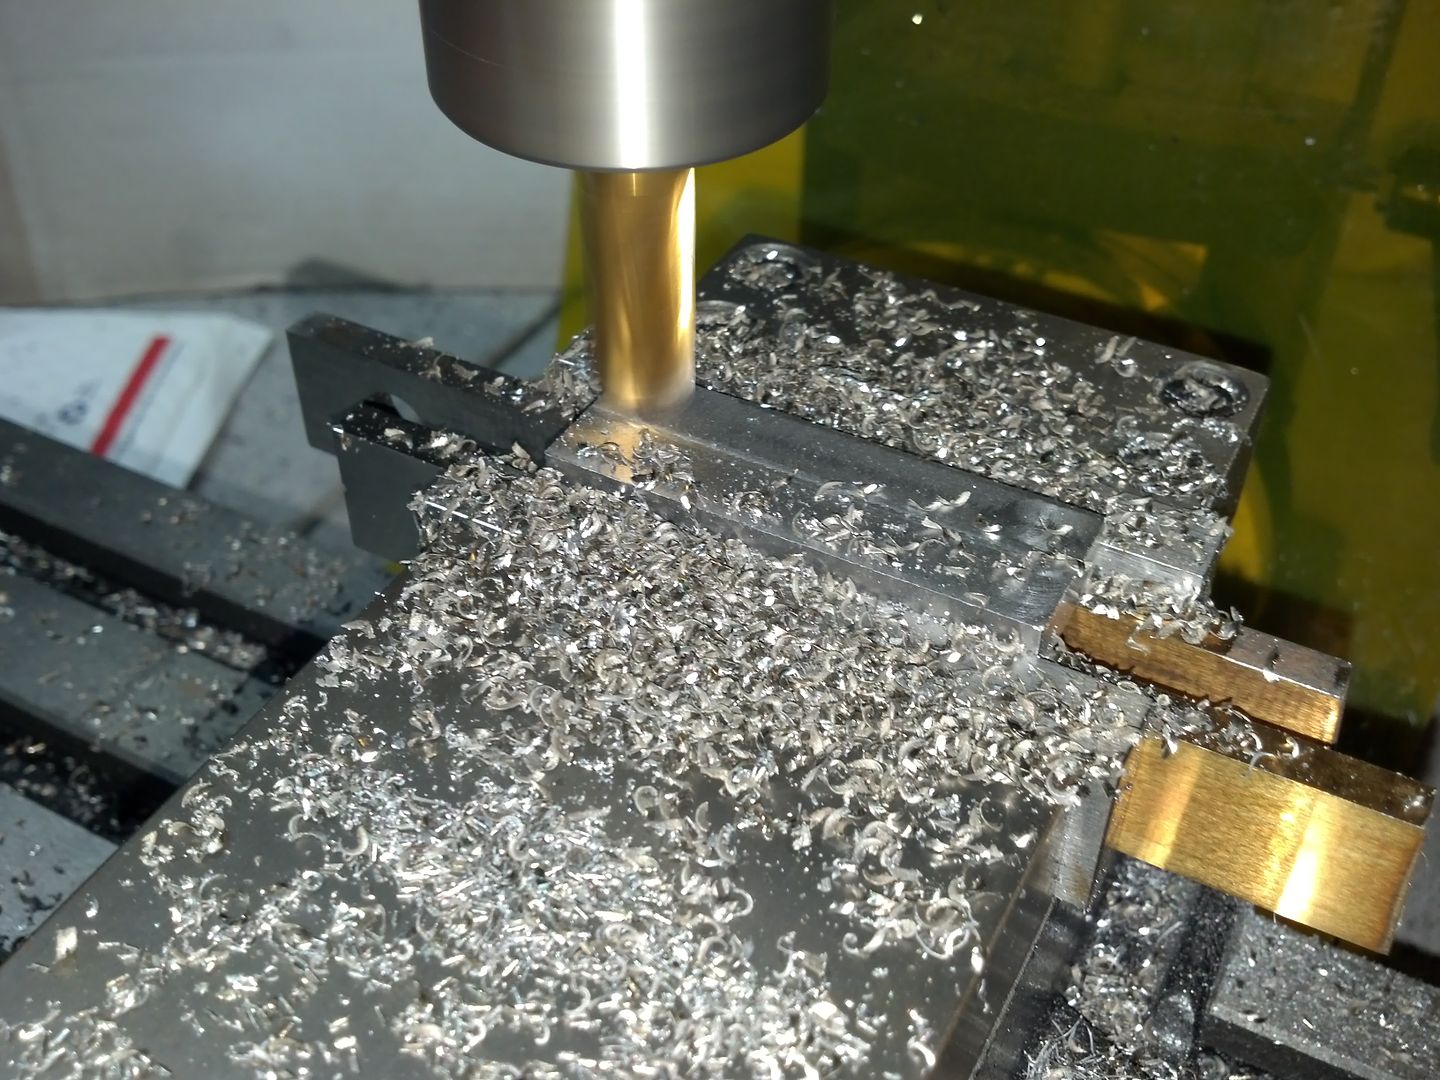
In this pic I am squaring up the end of one of the pieces. They basically have to be hit on all sides to get them perfectly square, and then I'll work to my dimensions after that.
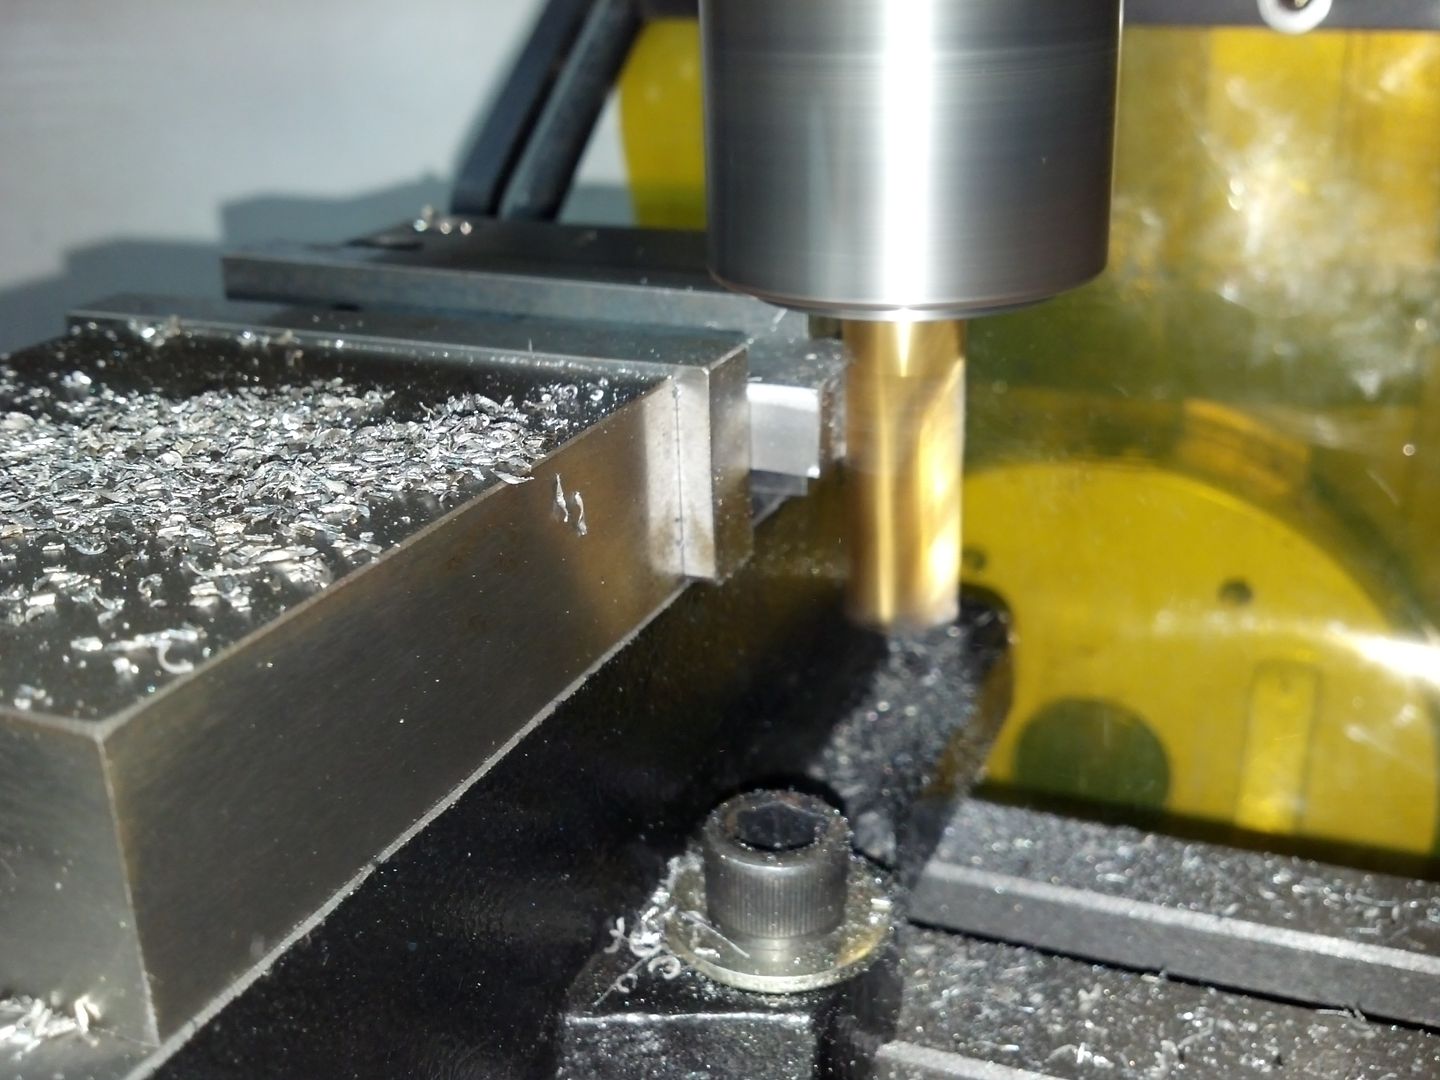
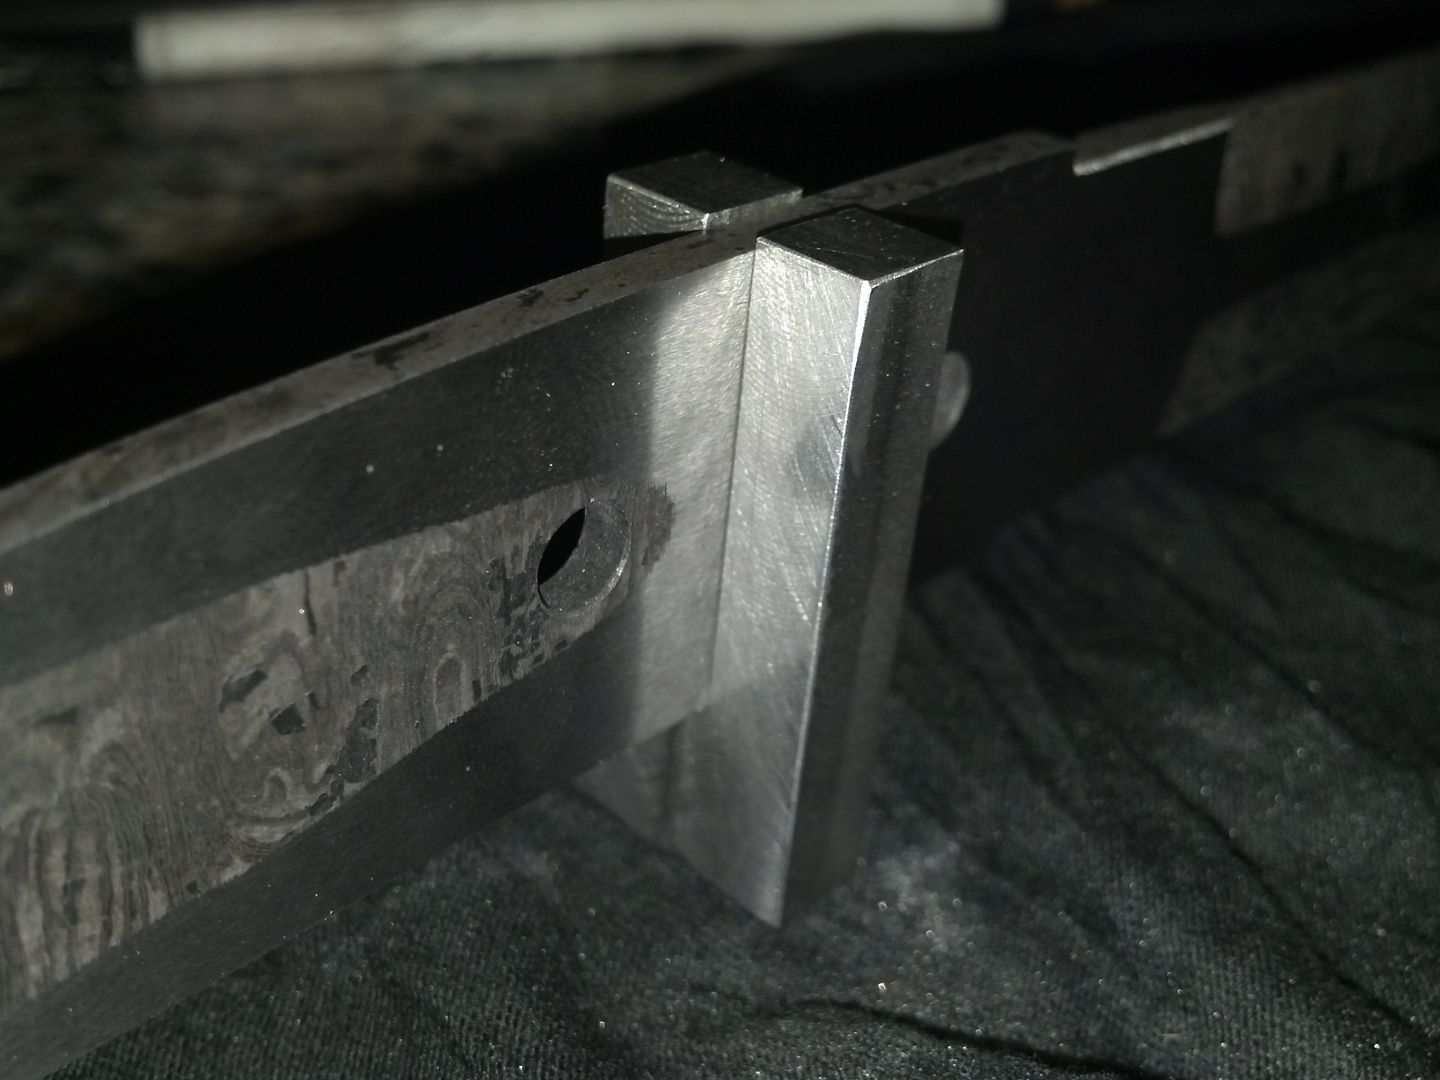
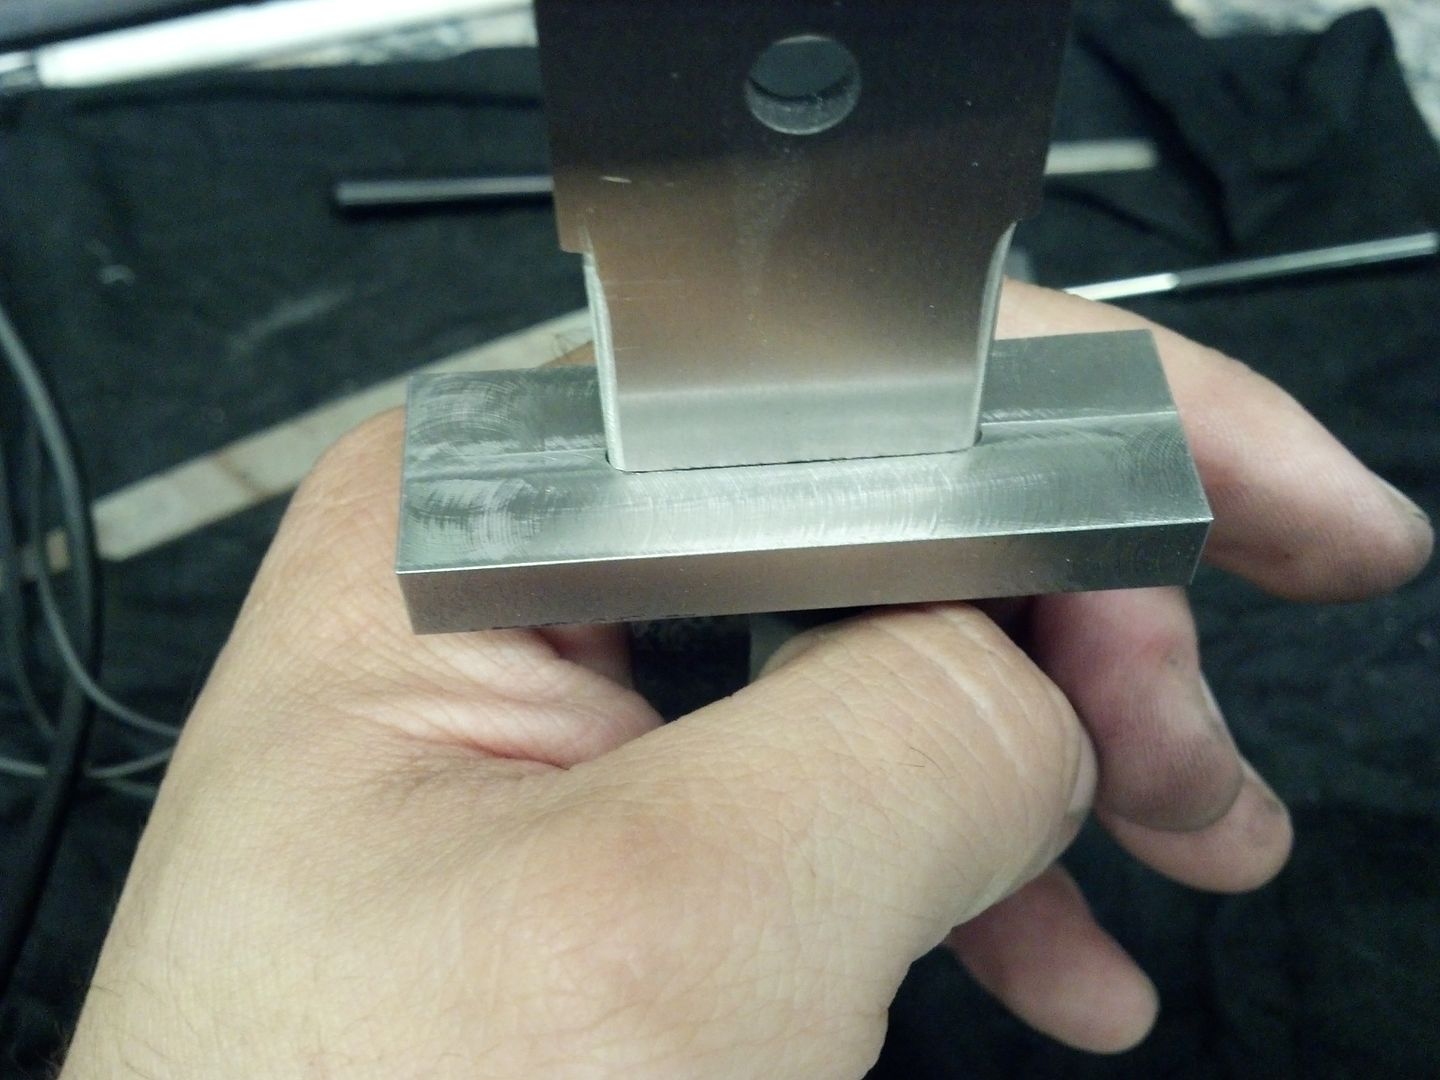
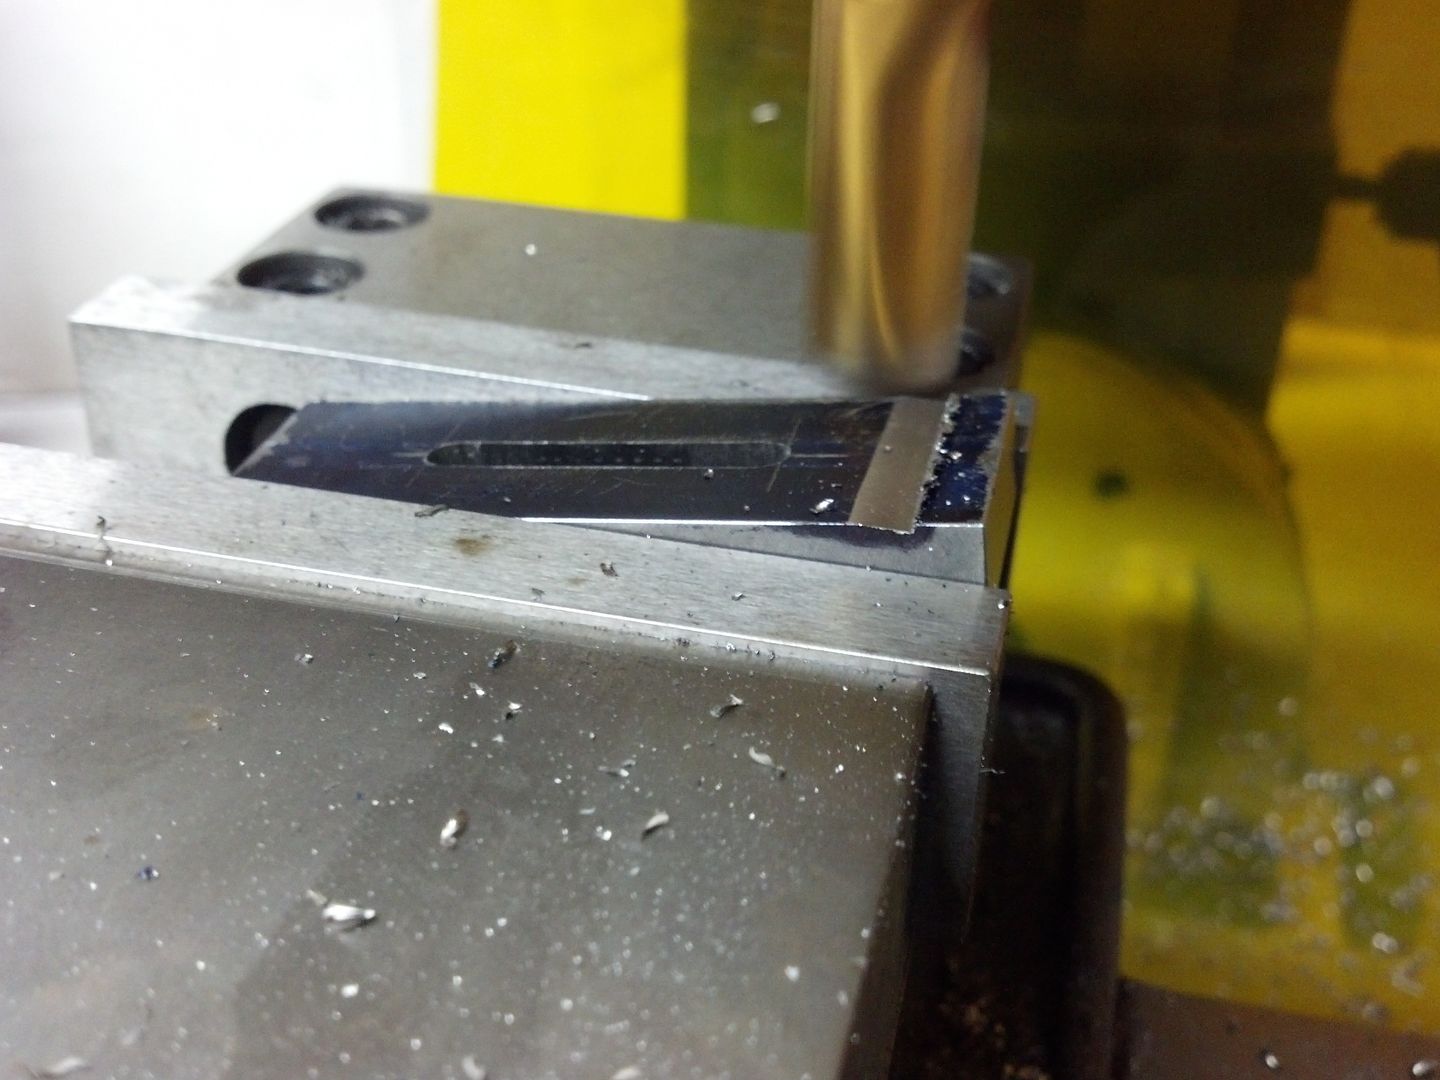
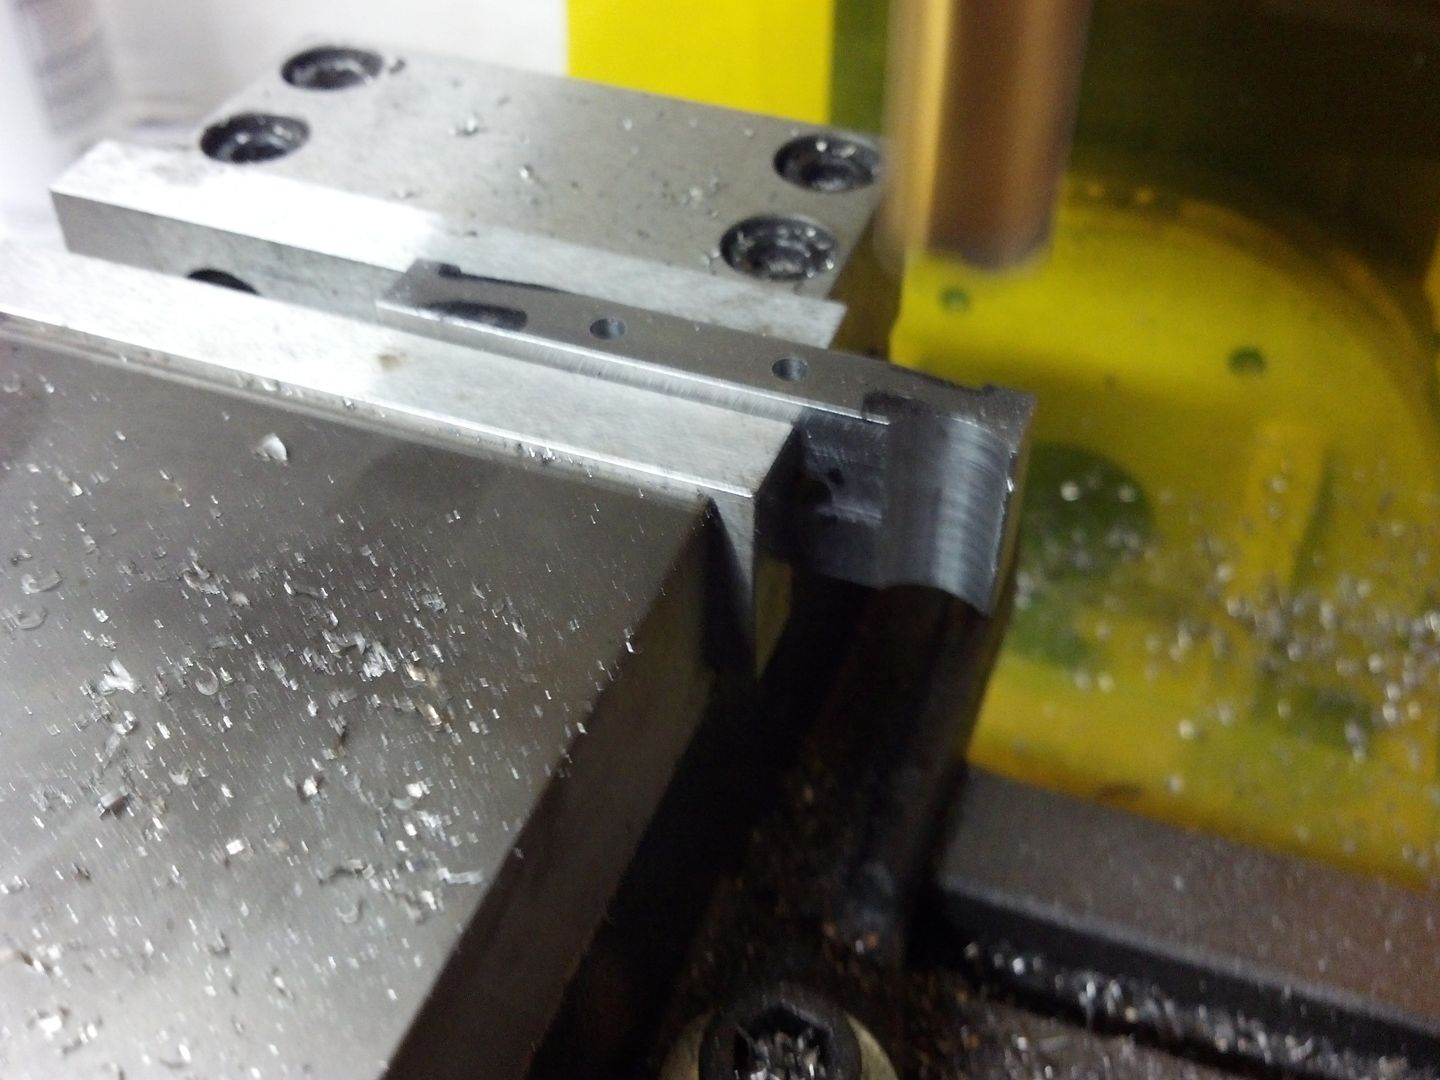
I'm only working on the guards for this particular step. The flat pieces for the bolsters will have a different process. The guards are now square-
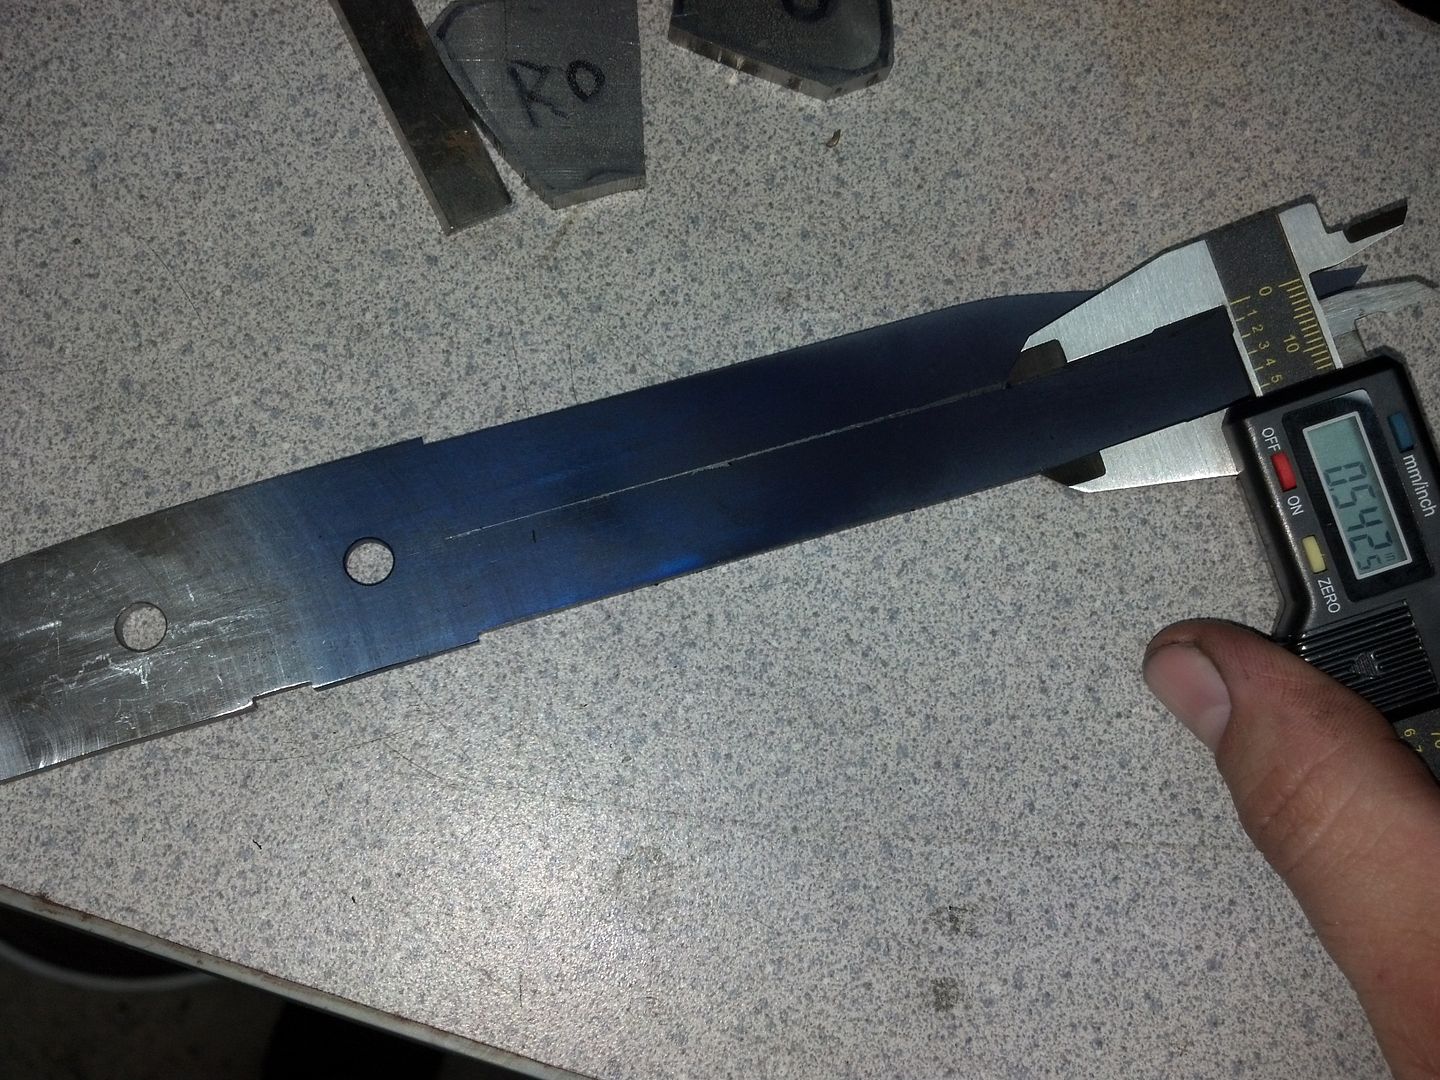
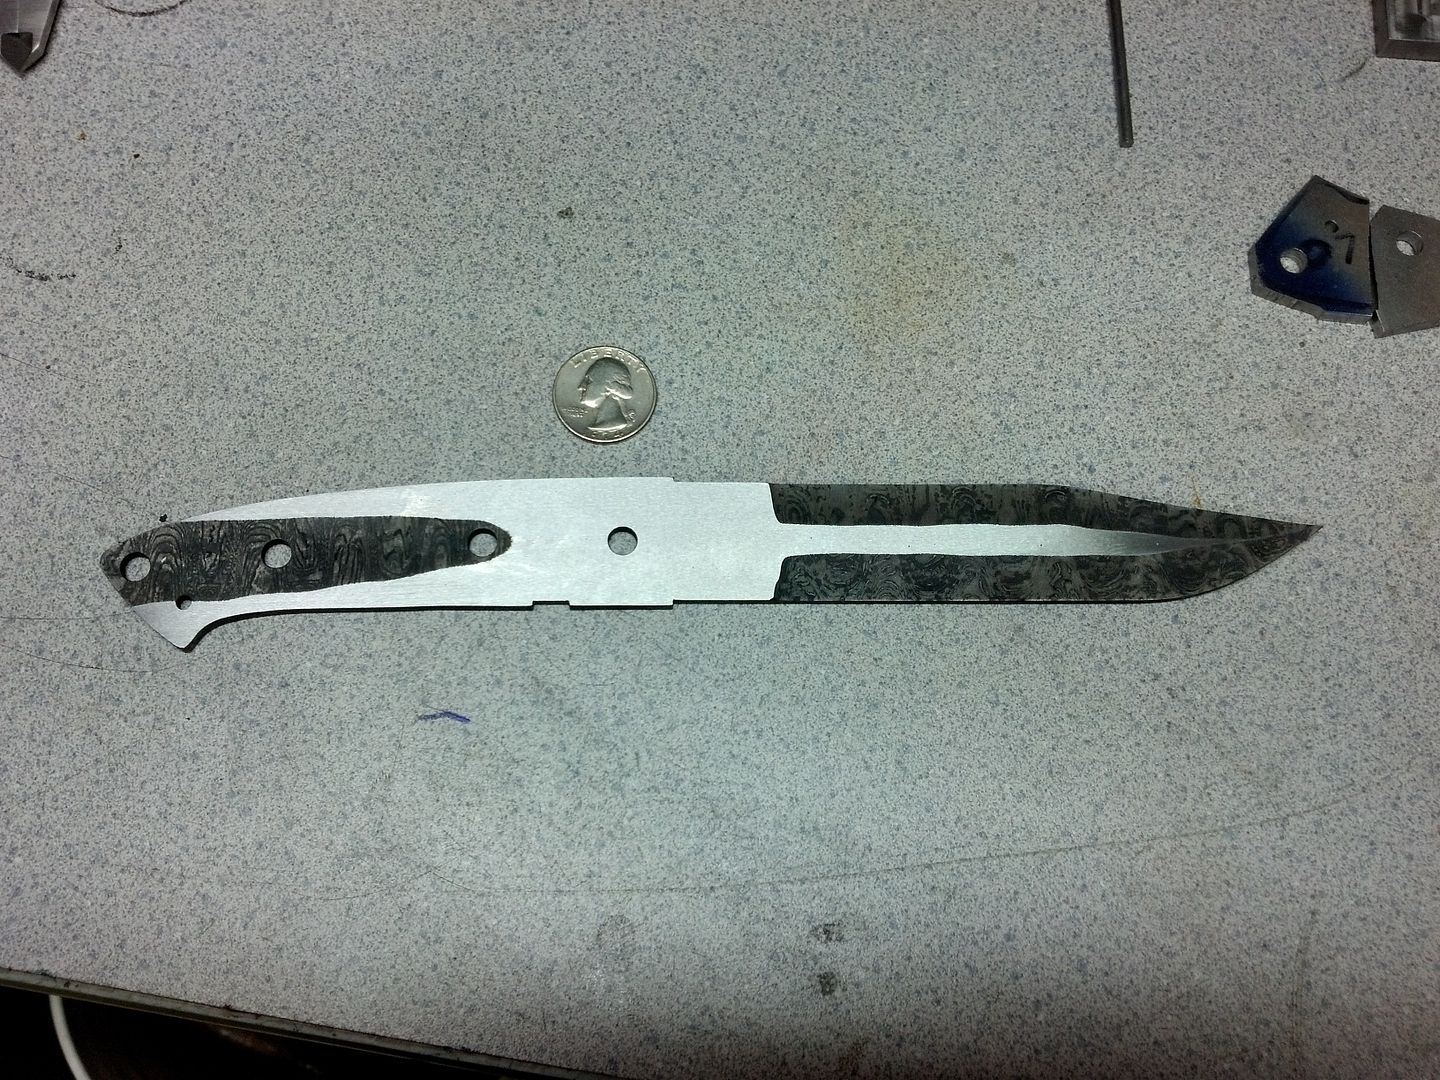
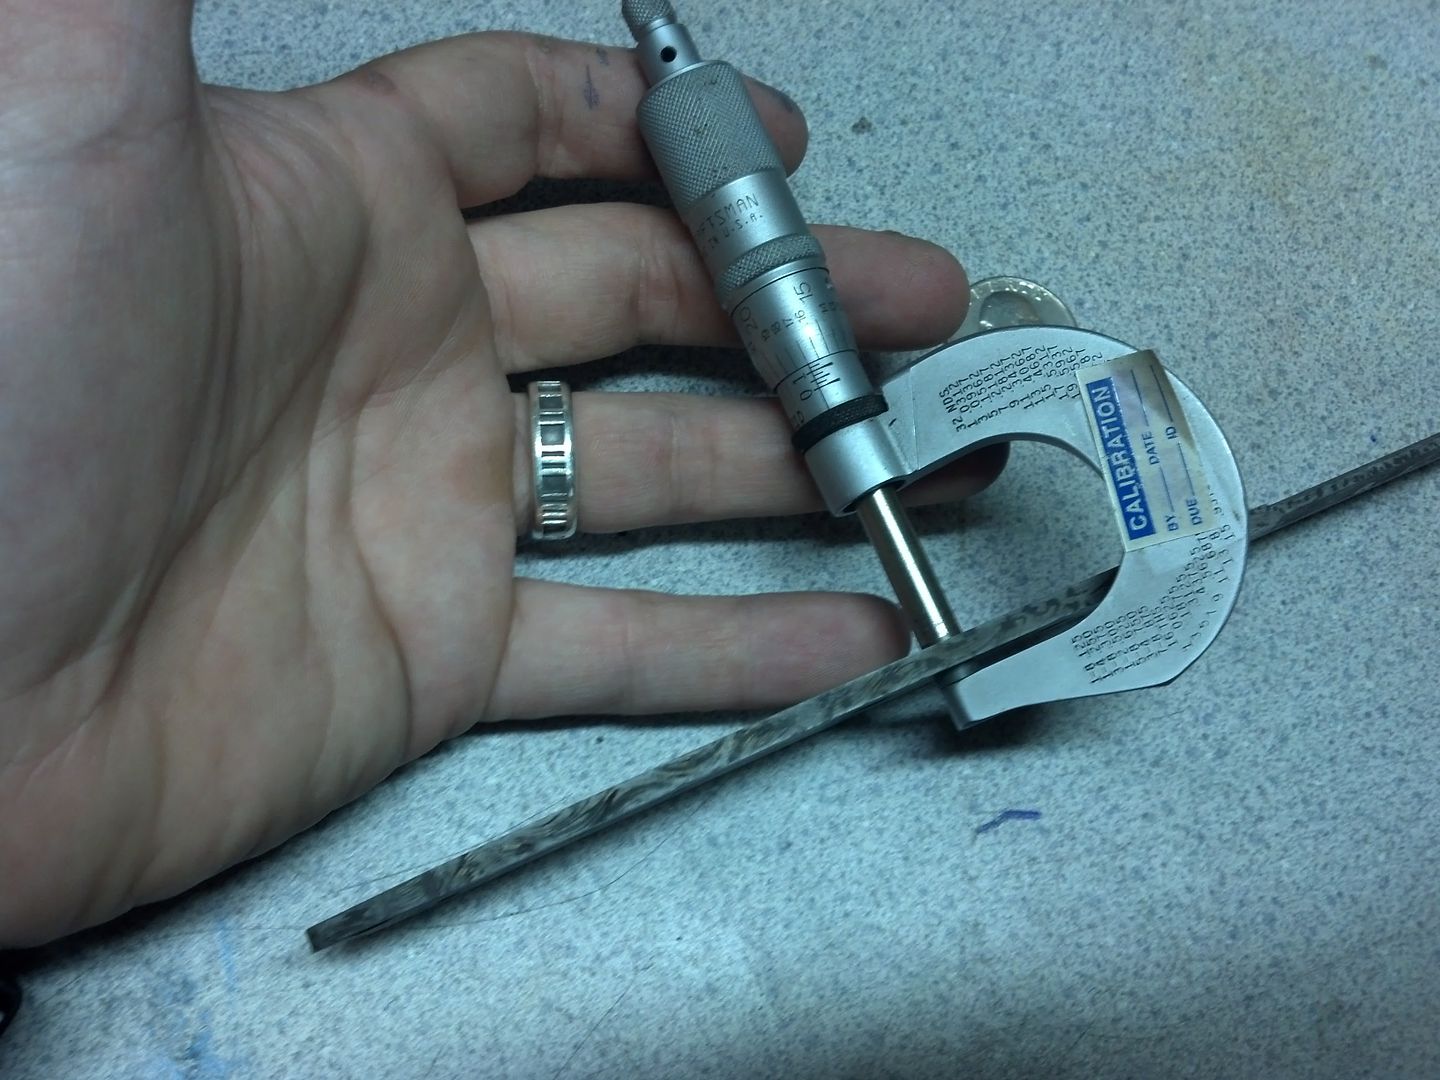
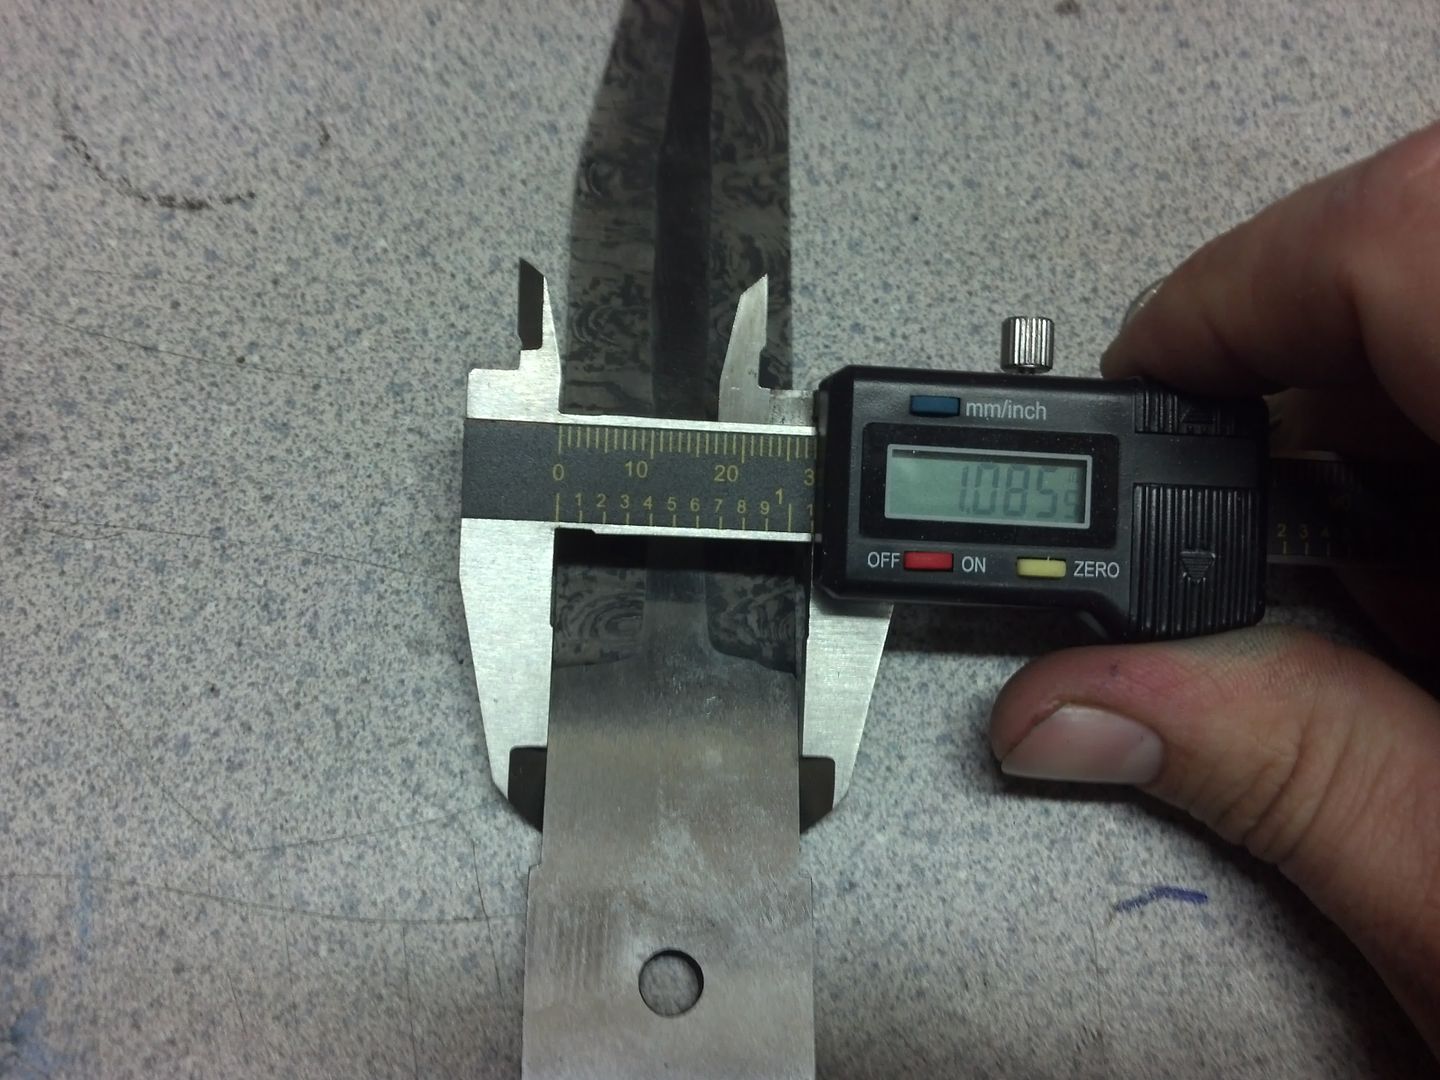
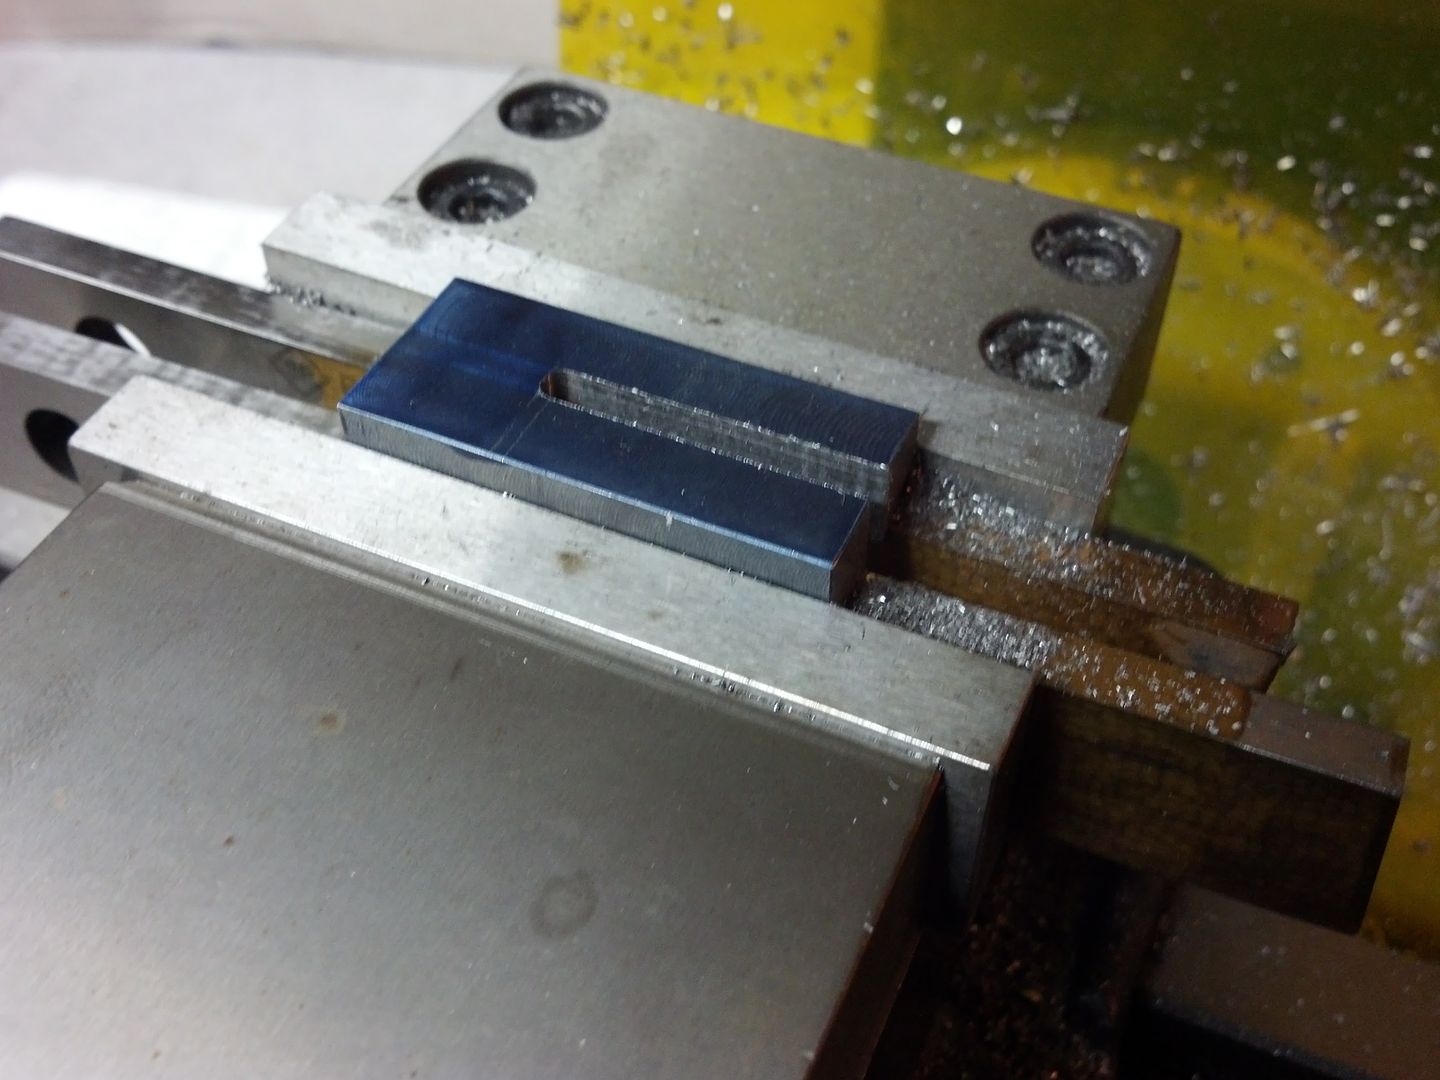
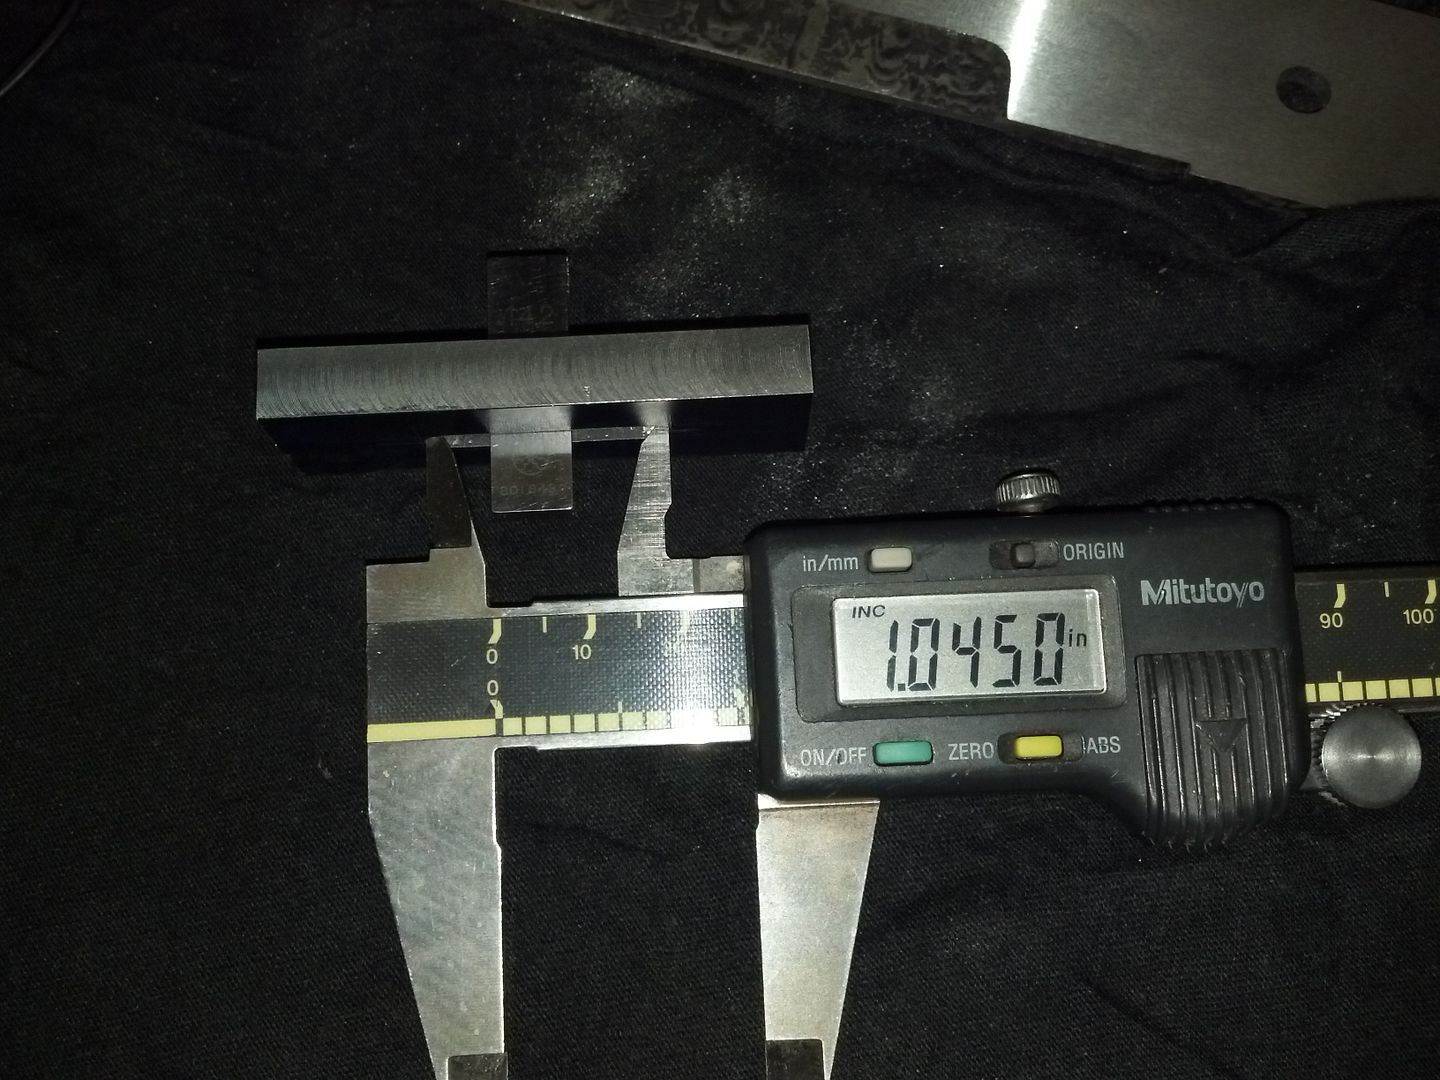
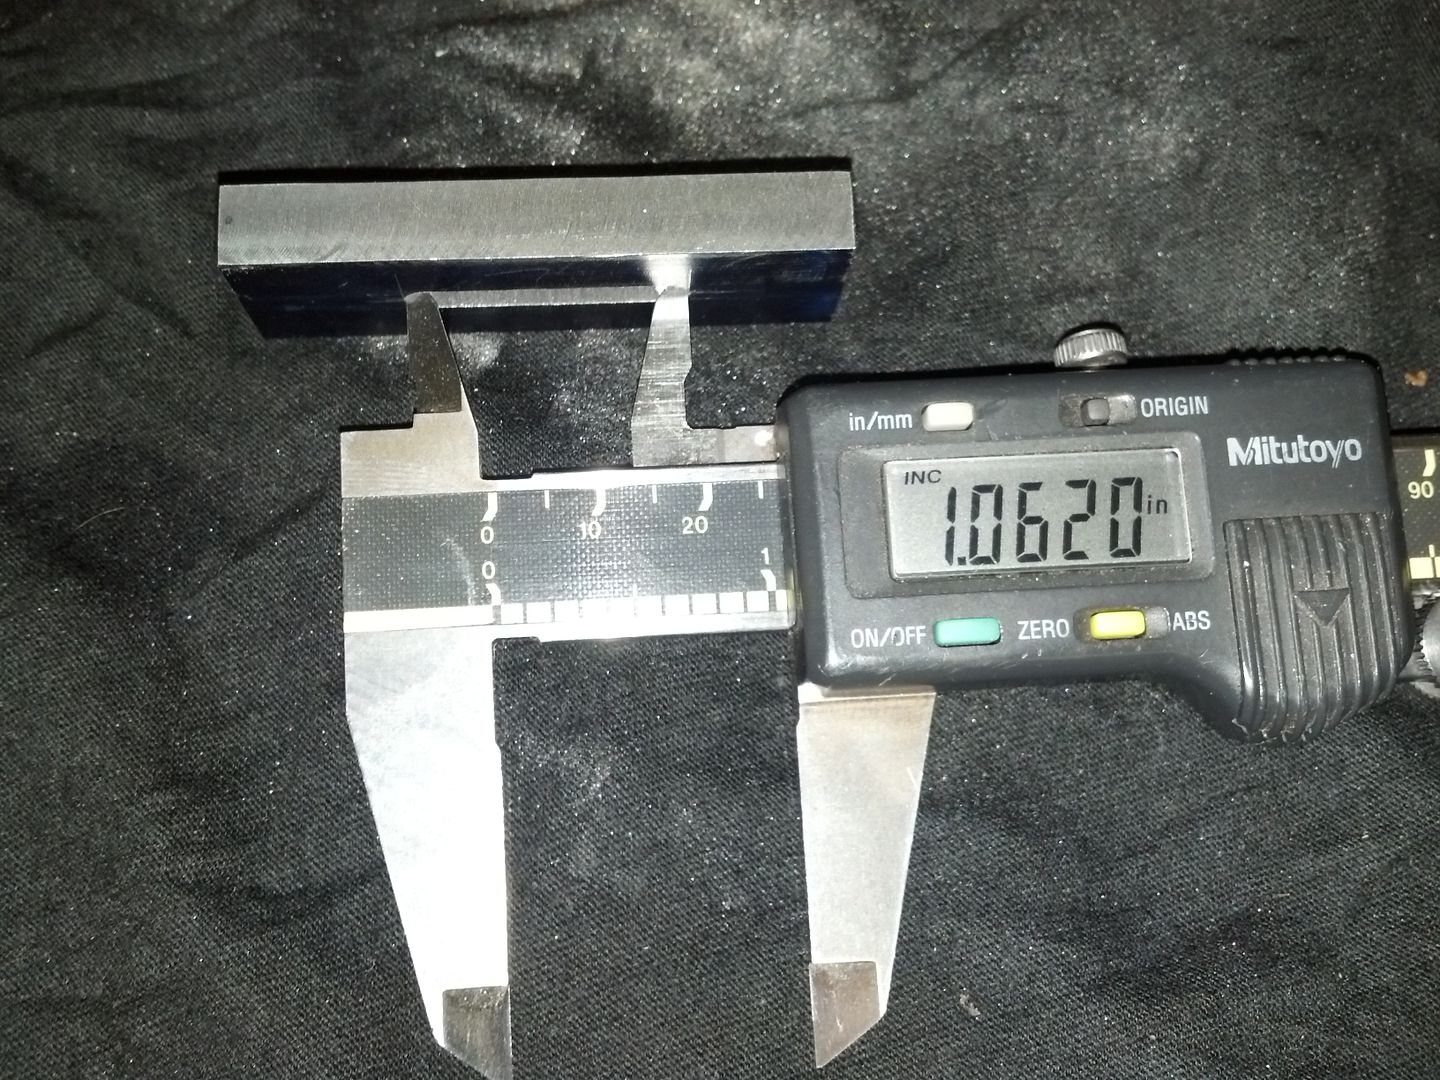
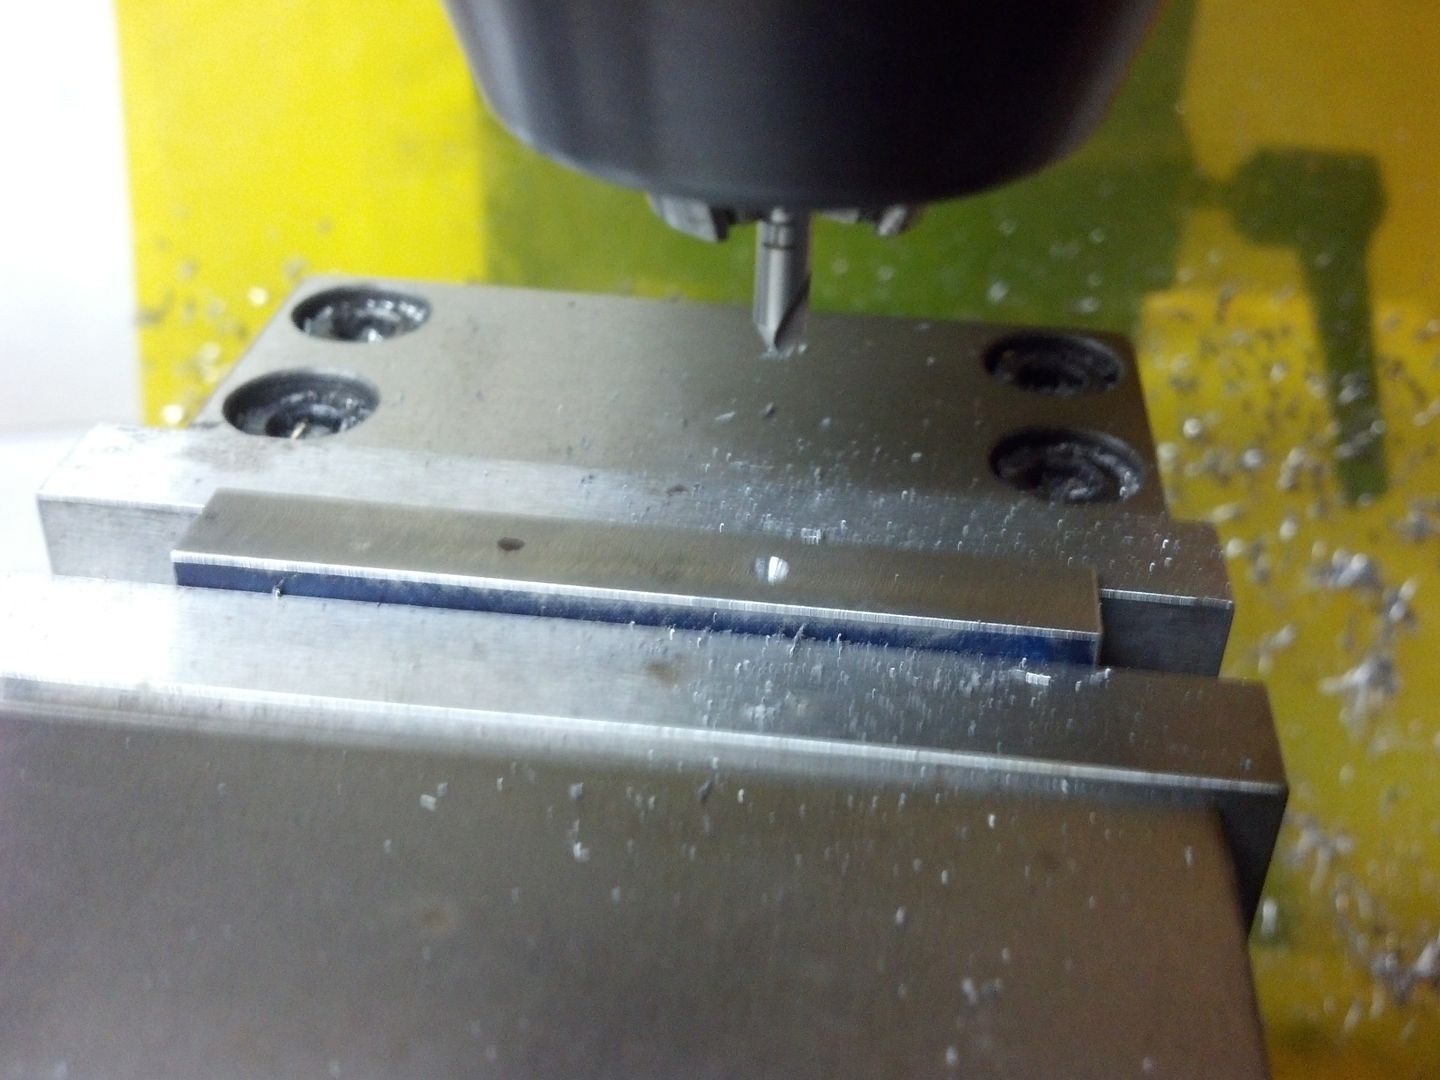
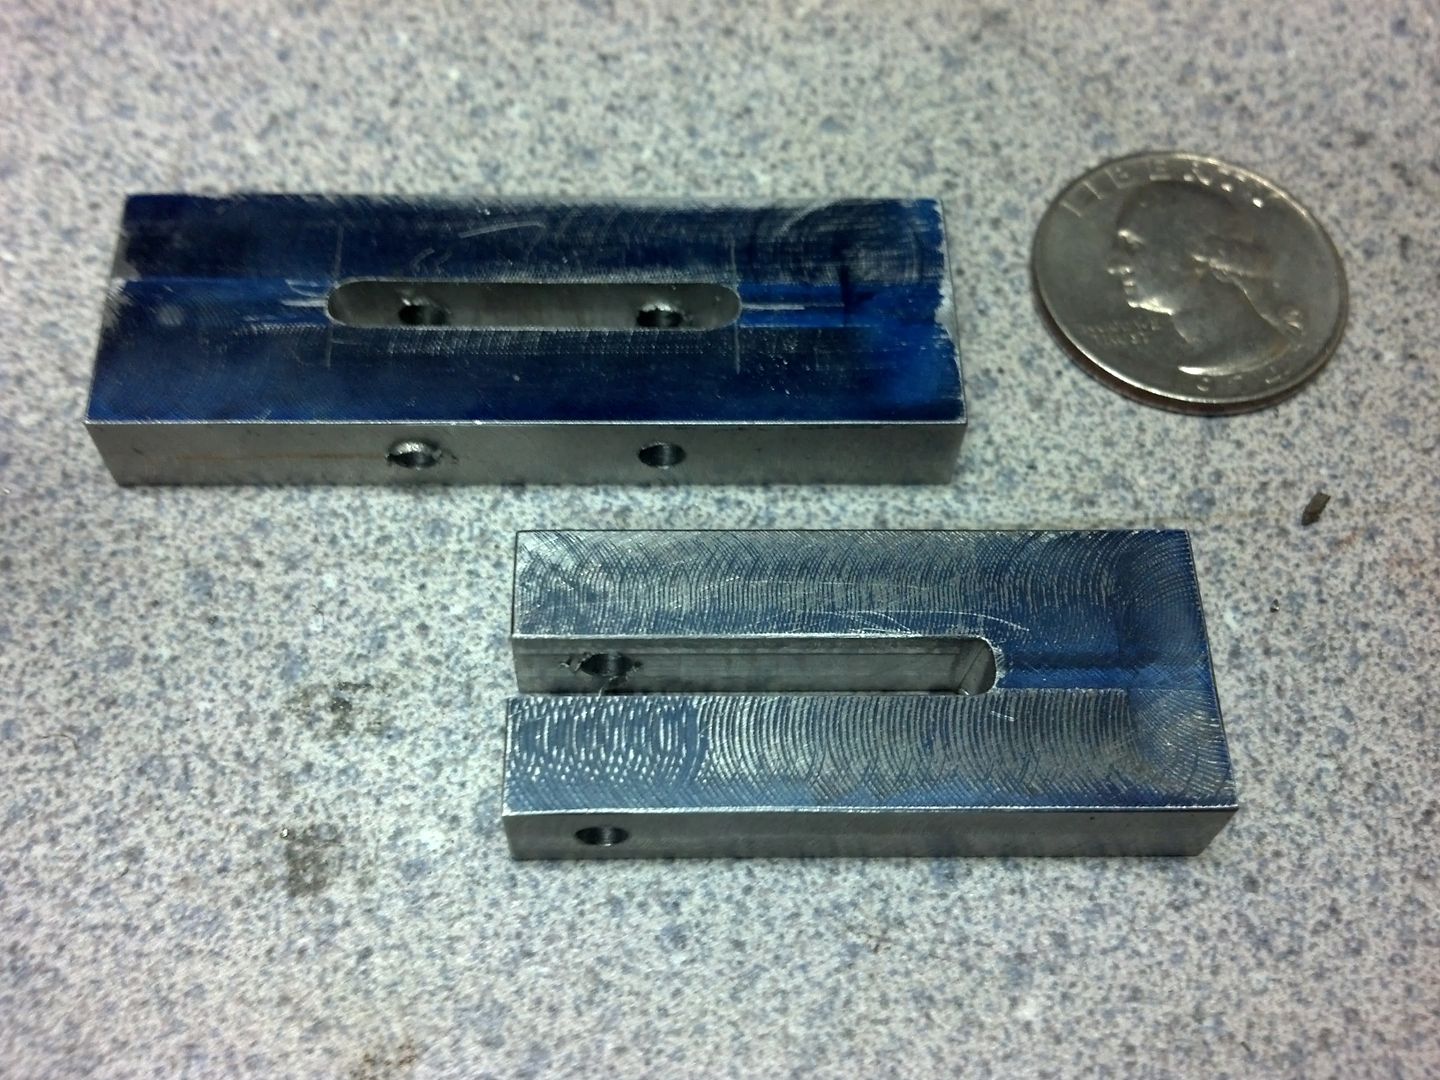
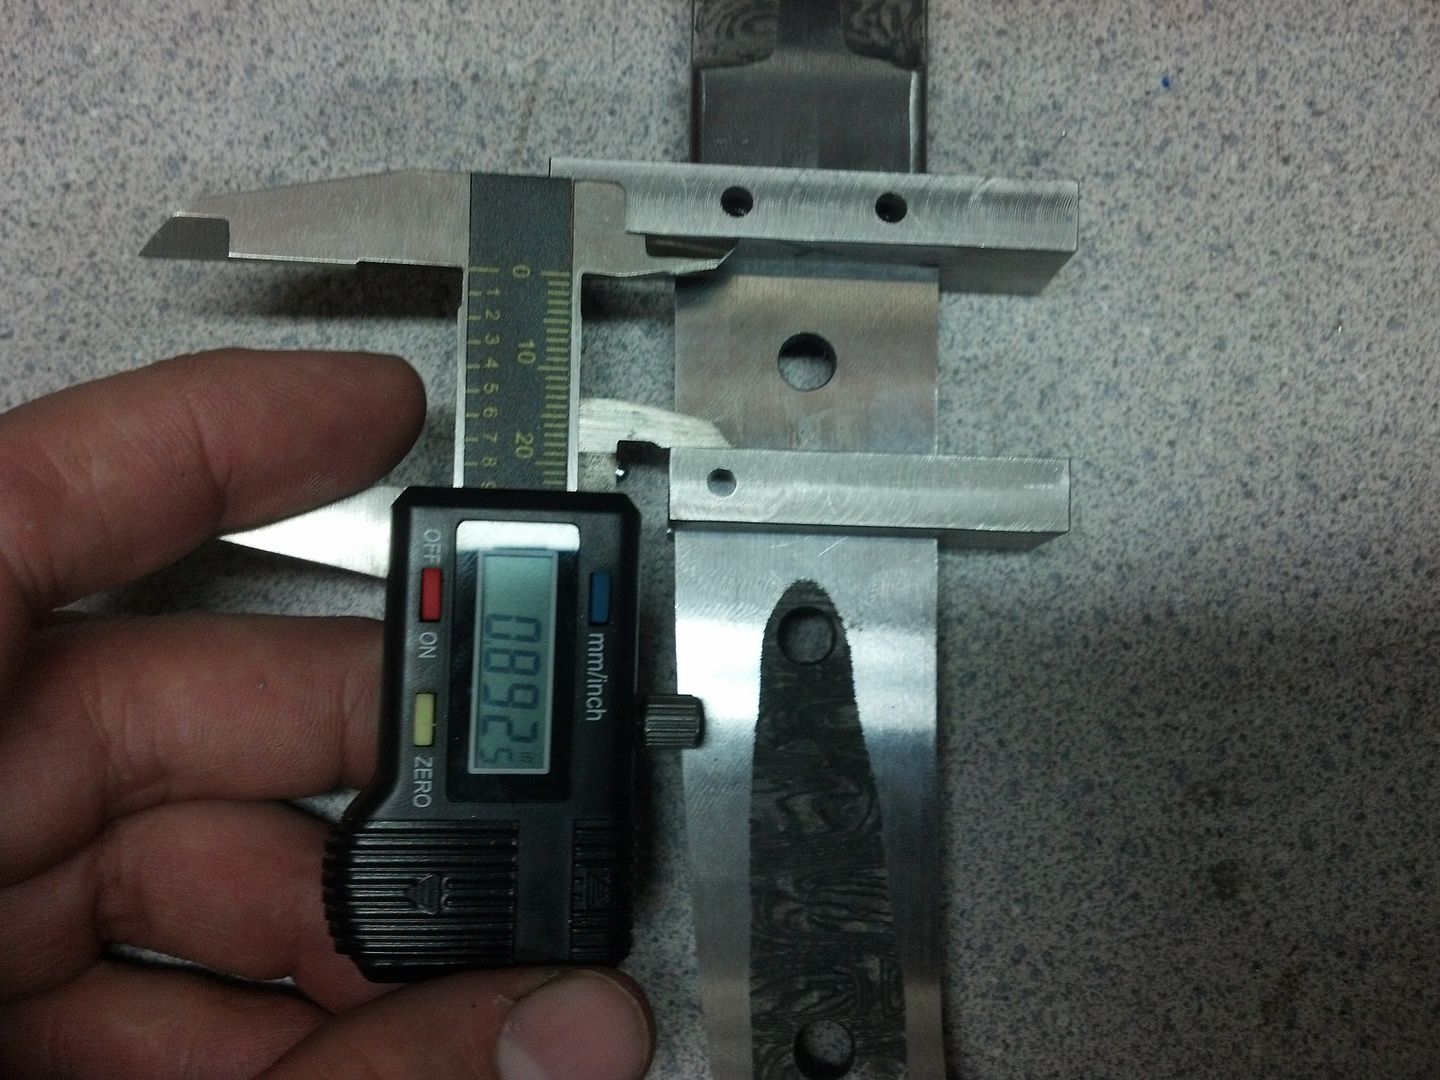
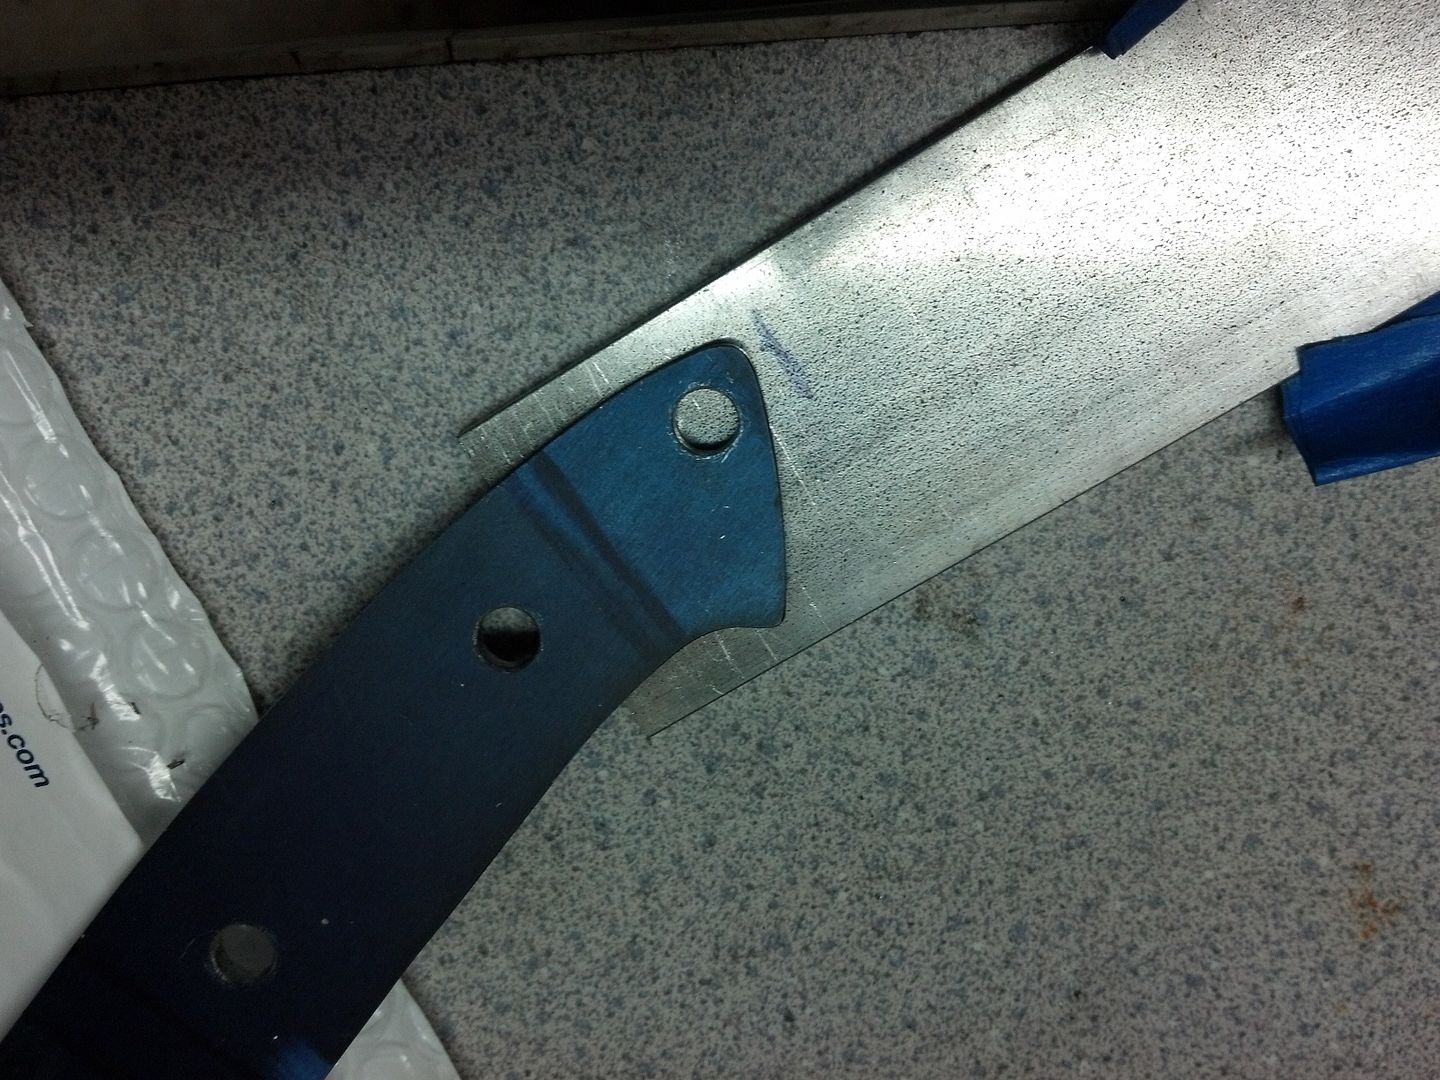
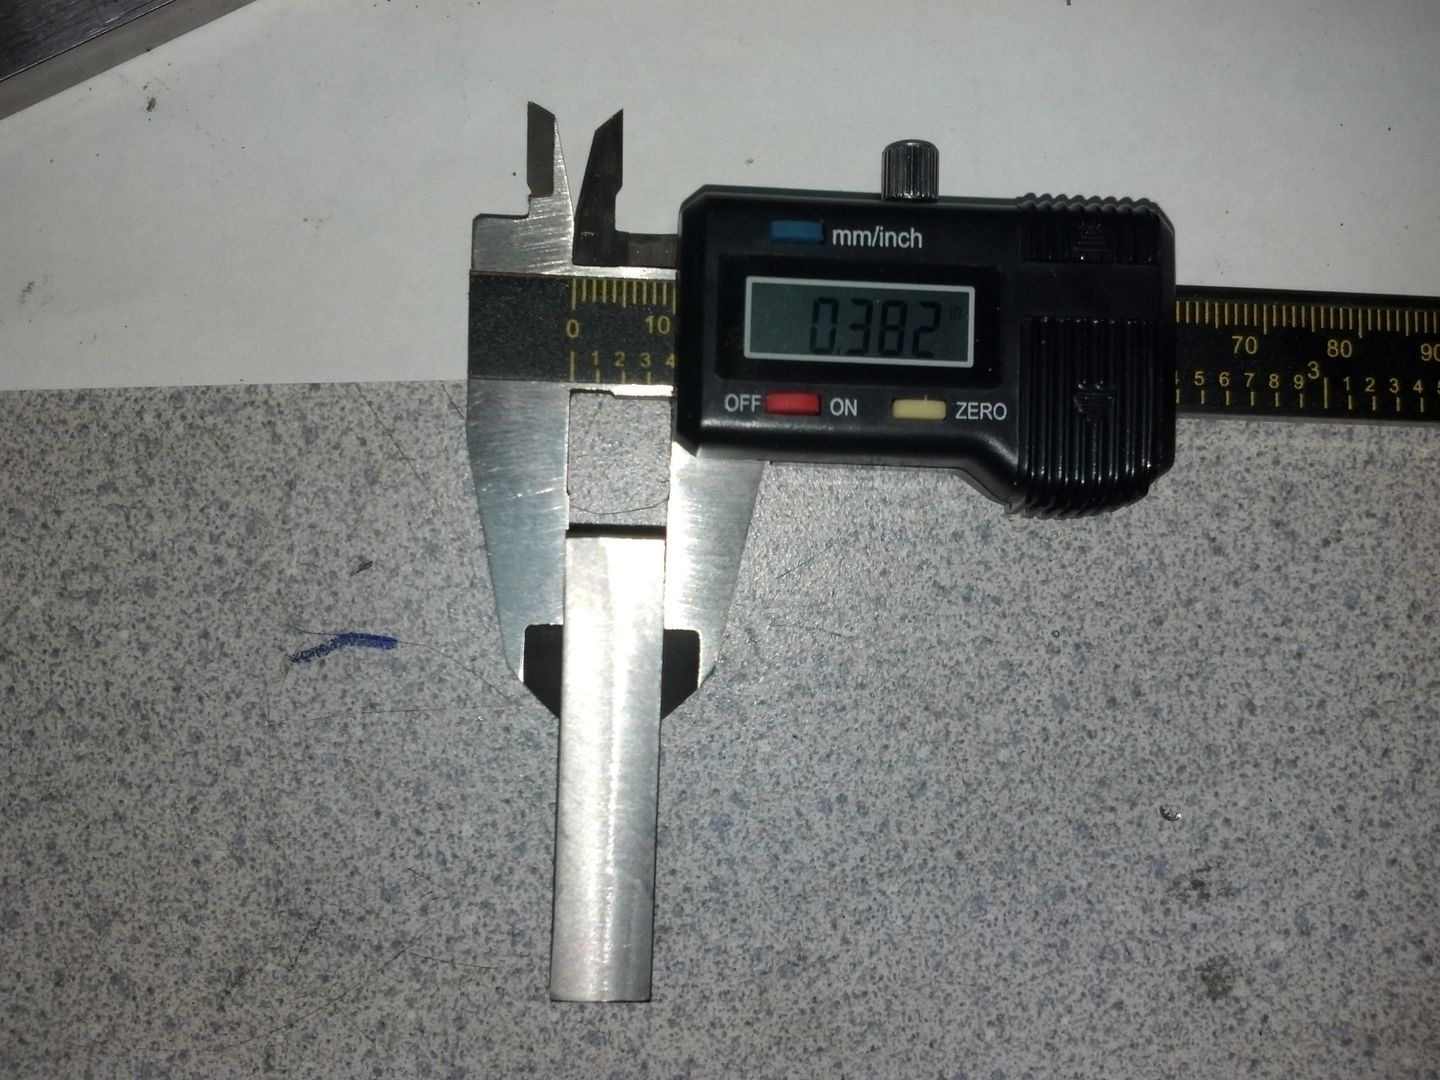
Next step is to get the guards to the same thickness. When I looked at Bruce bump's pics of his Sub Hilt, the guards appeared to be about the same. I had previously cut the slot in the bottom of the blade blank to 5/16 (.313") that holds the sub hilt in place. I need to get both pieces down to about that. First I take a measurement of the steel before, and it is .380"+
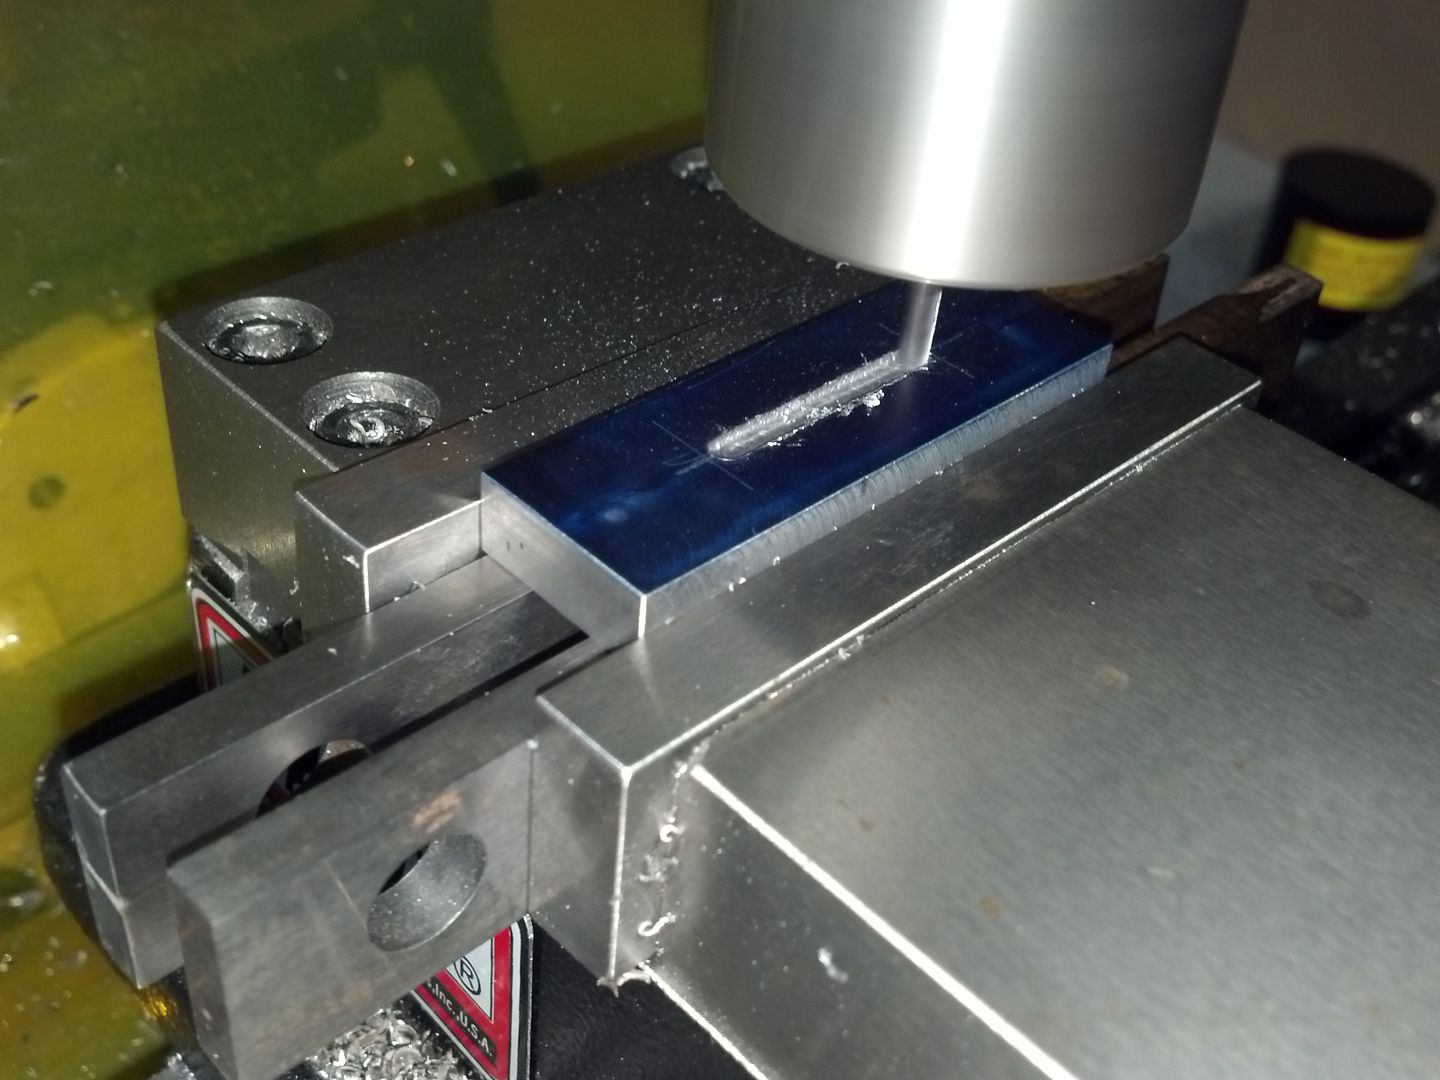
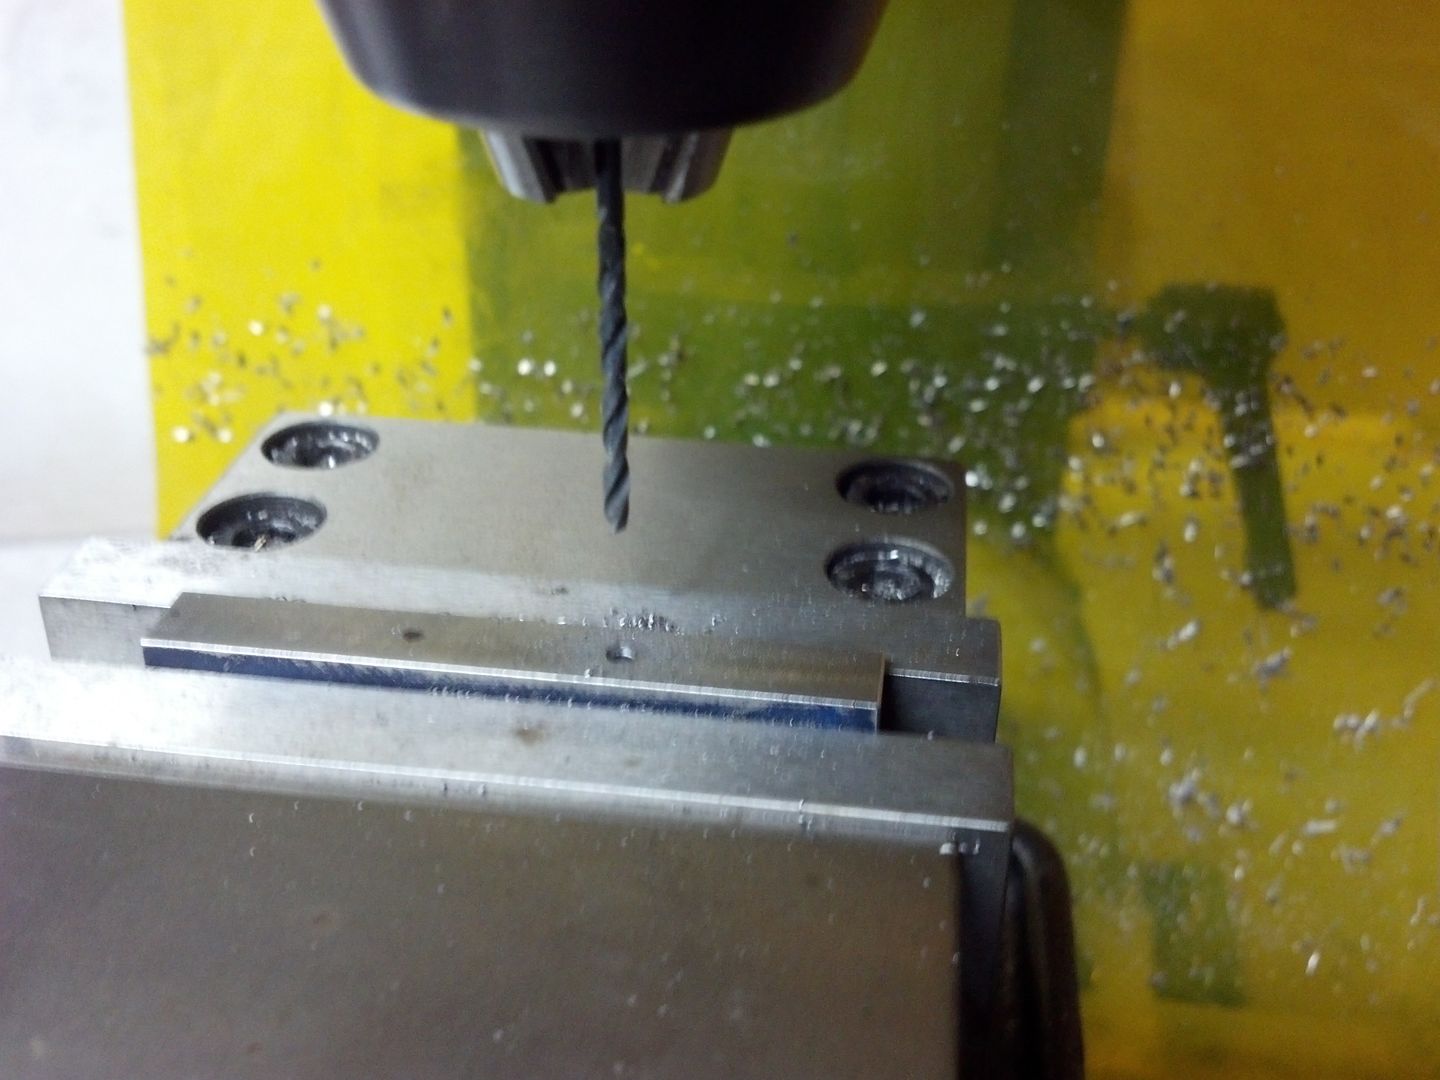
So then we do some face milling. That's the same 1/2" endmill I was using to square everything up..I'm too lazy to change it to something more practical, lol
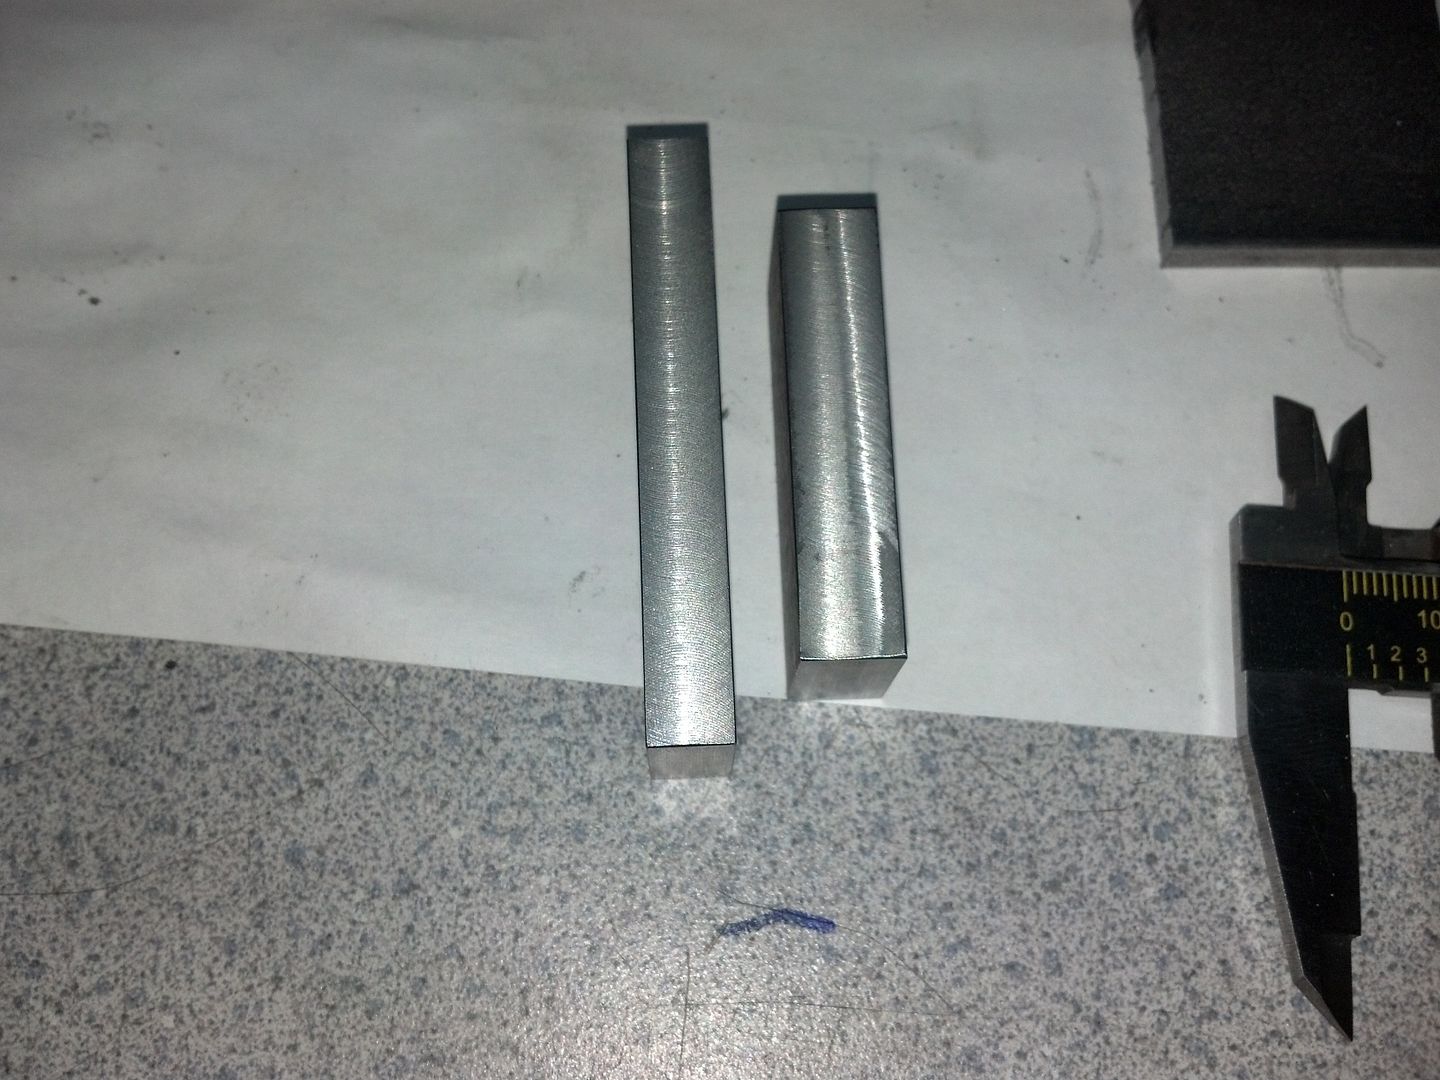
So in this next pic you can see what they were and what they look like at 5/16" thick.
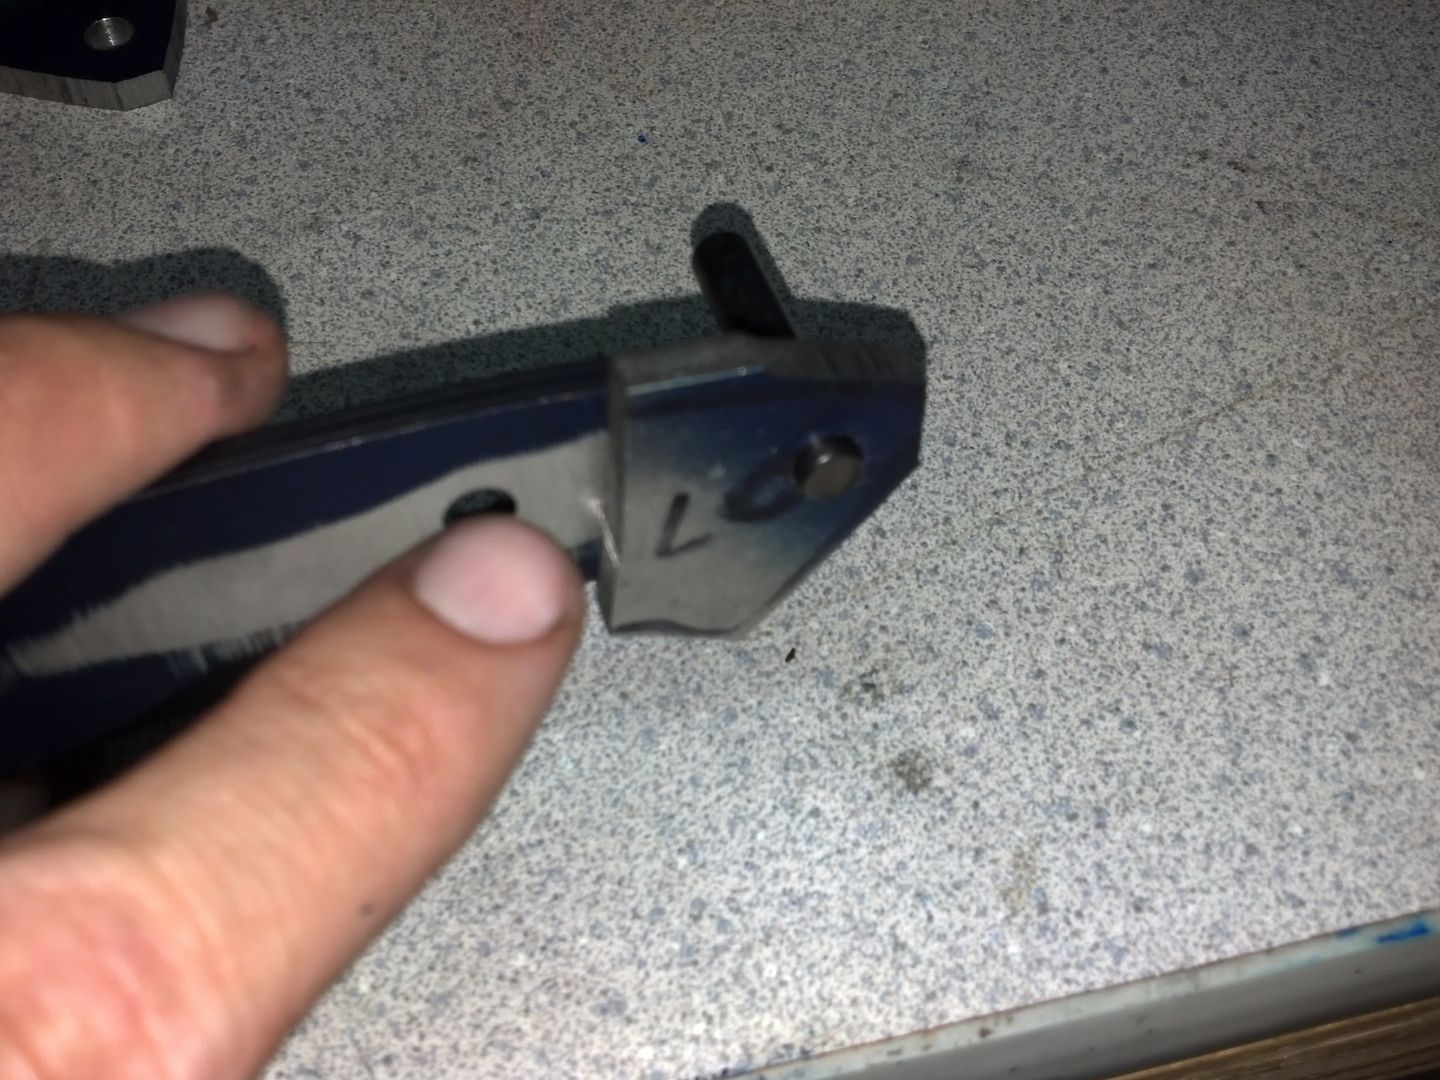
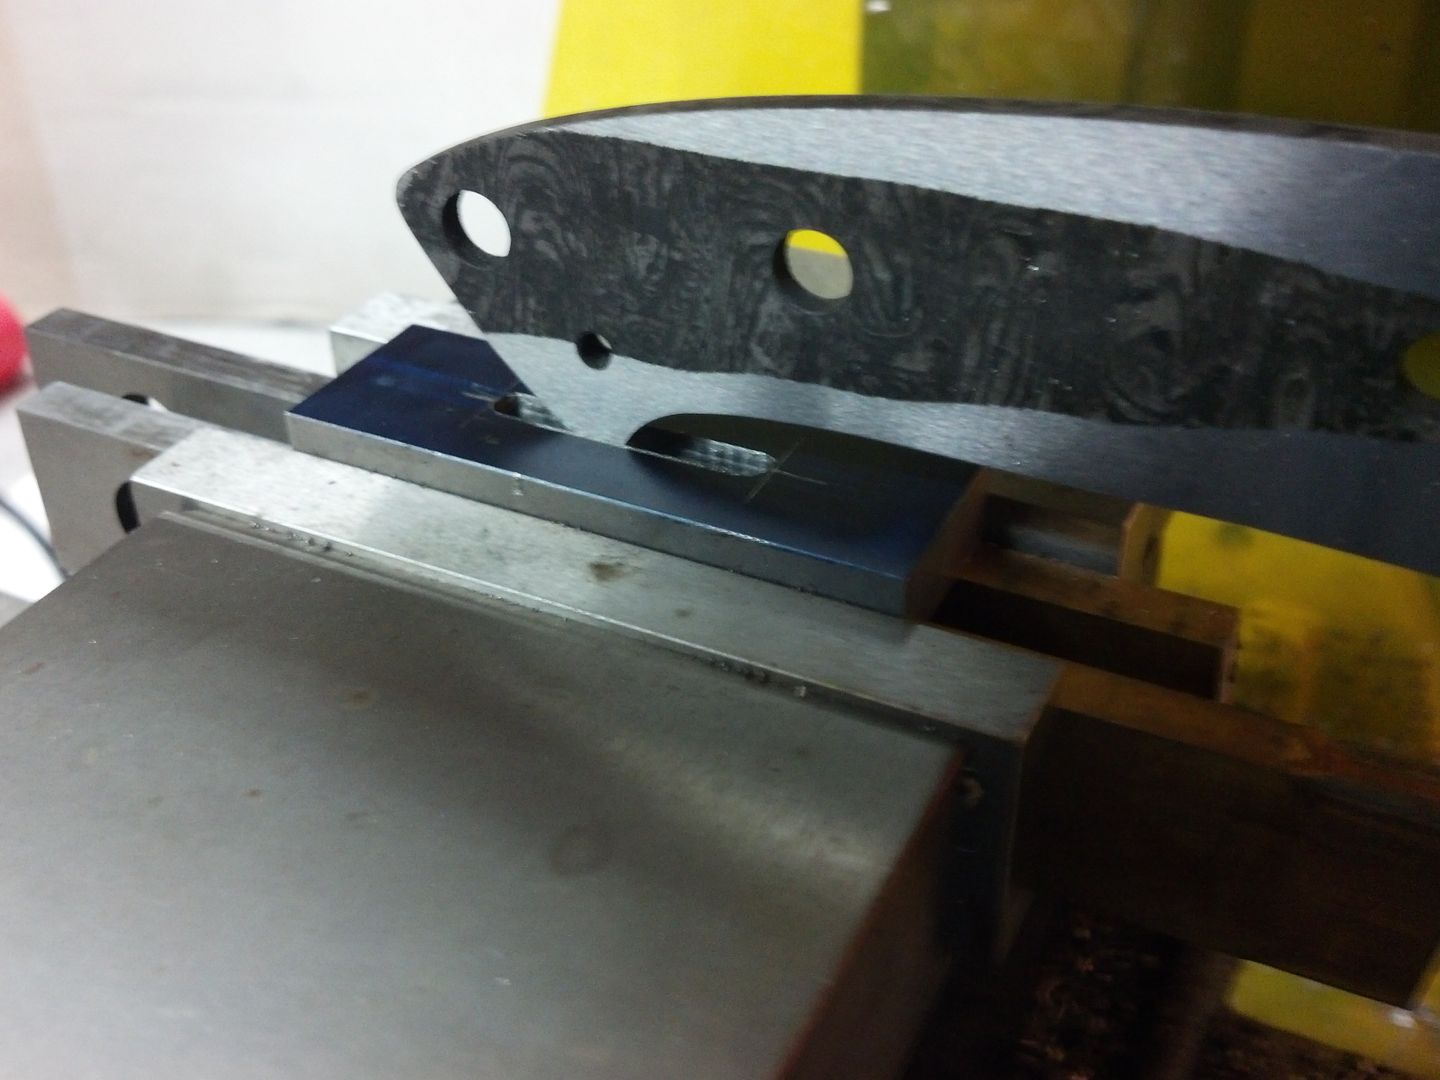
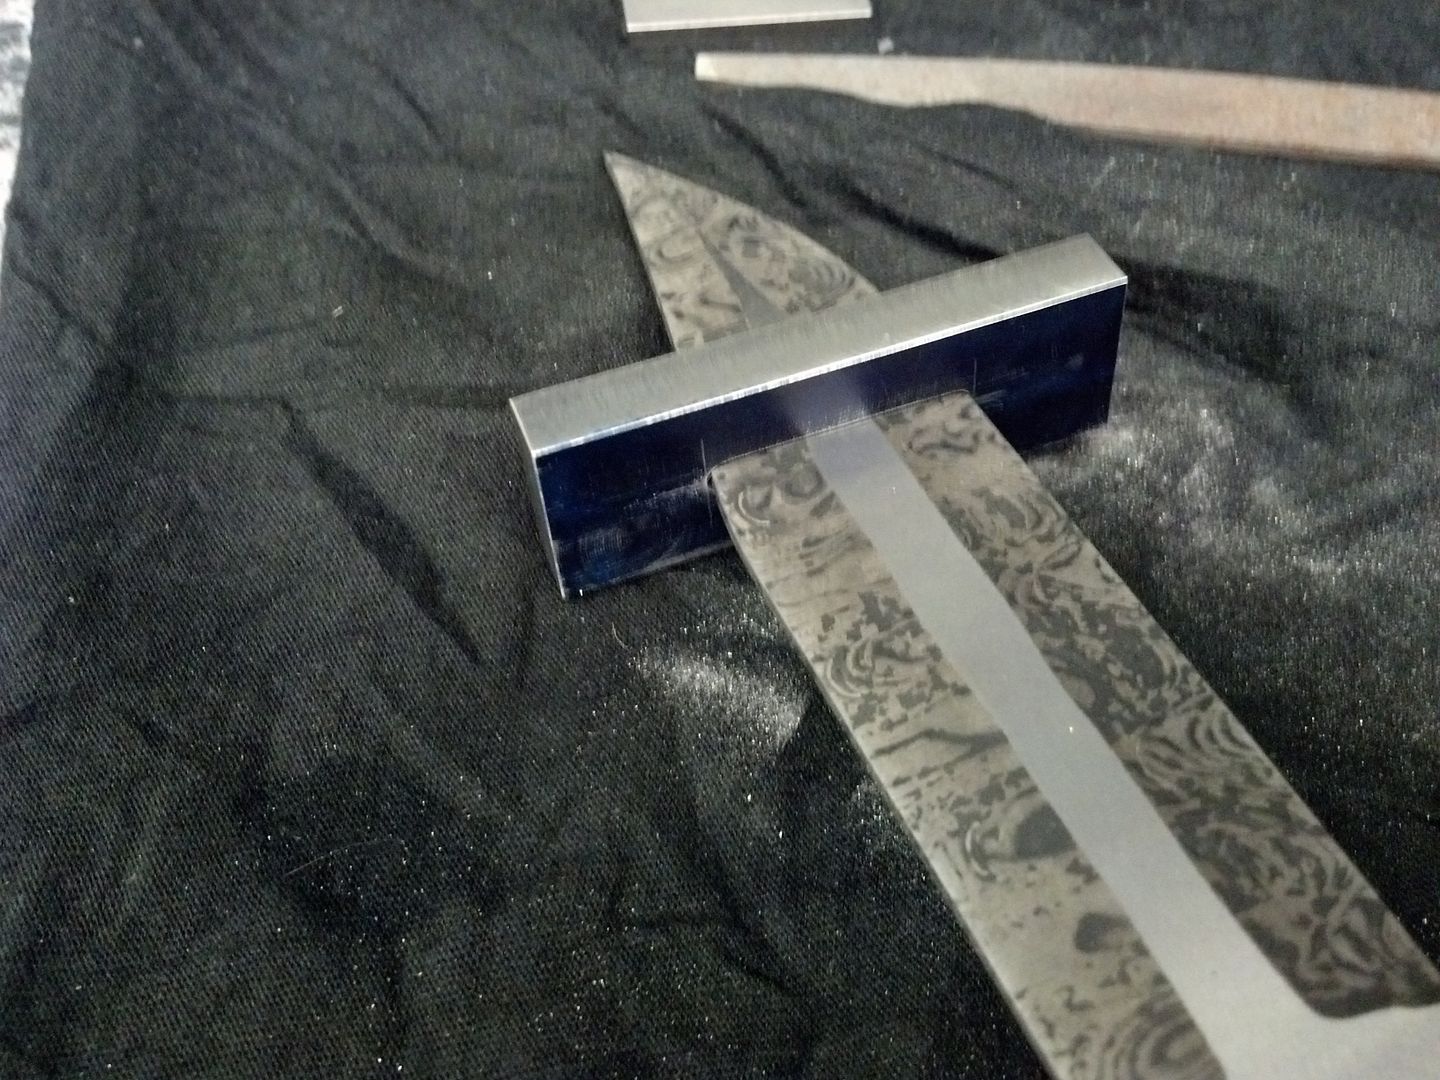
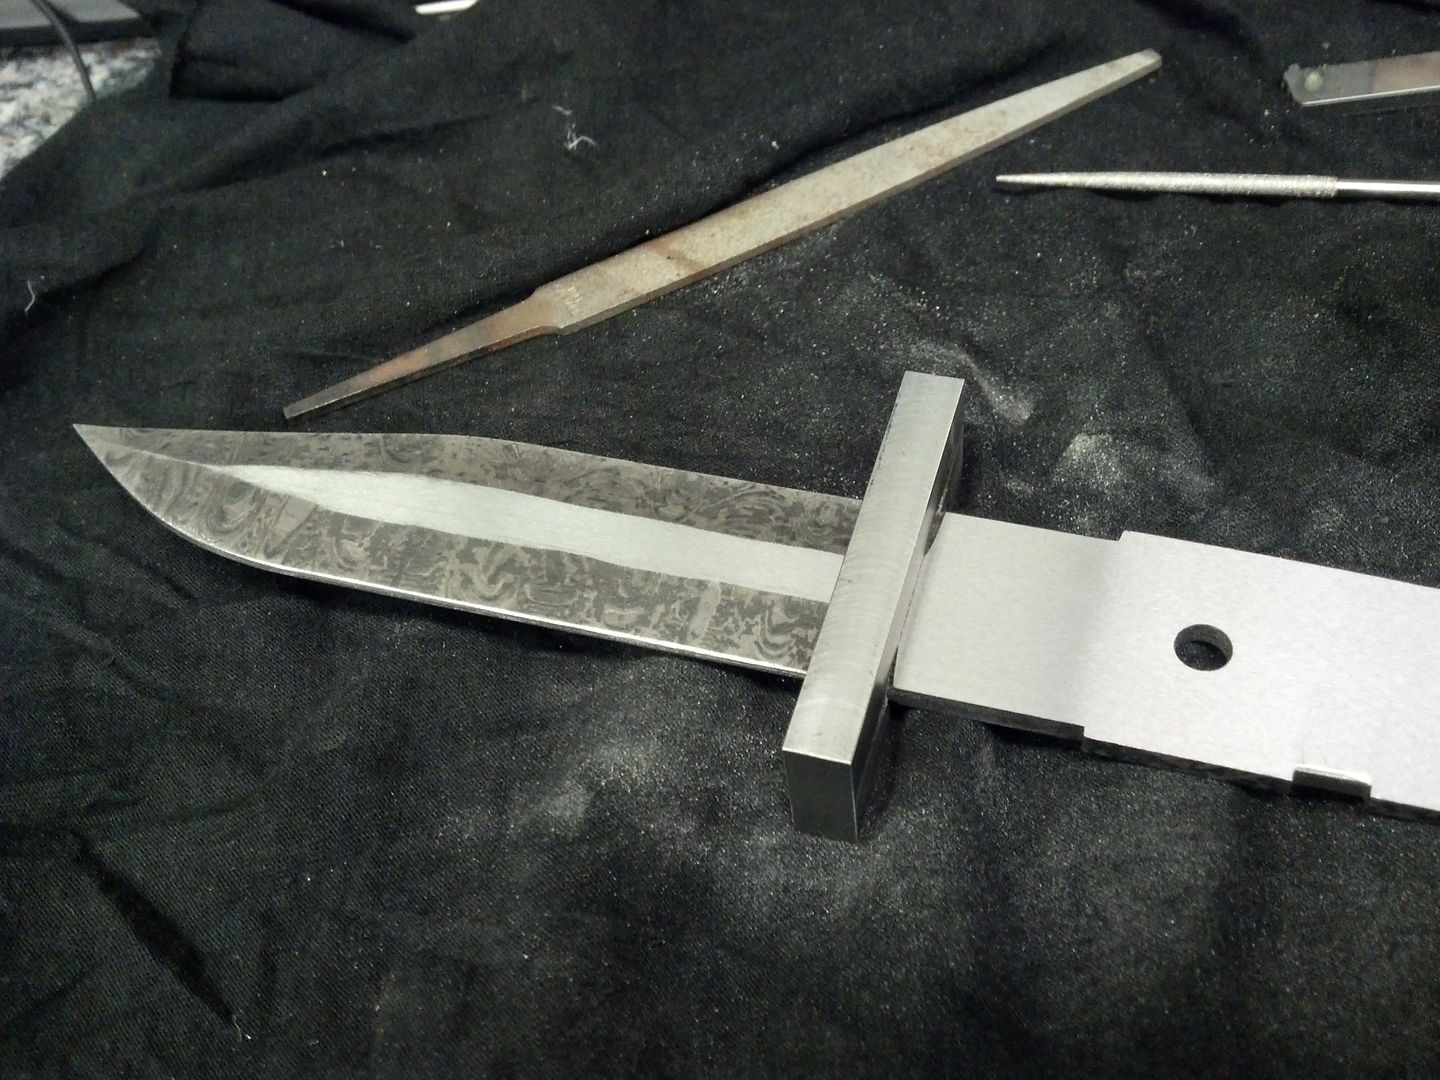
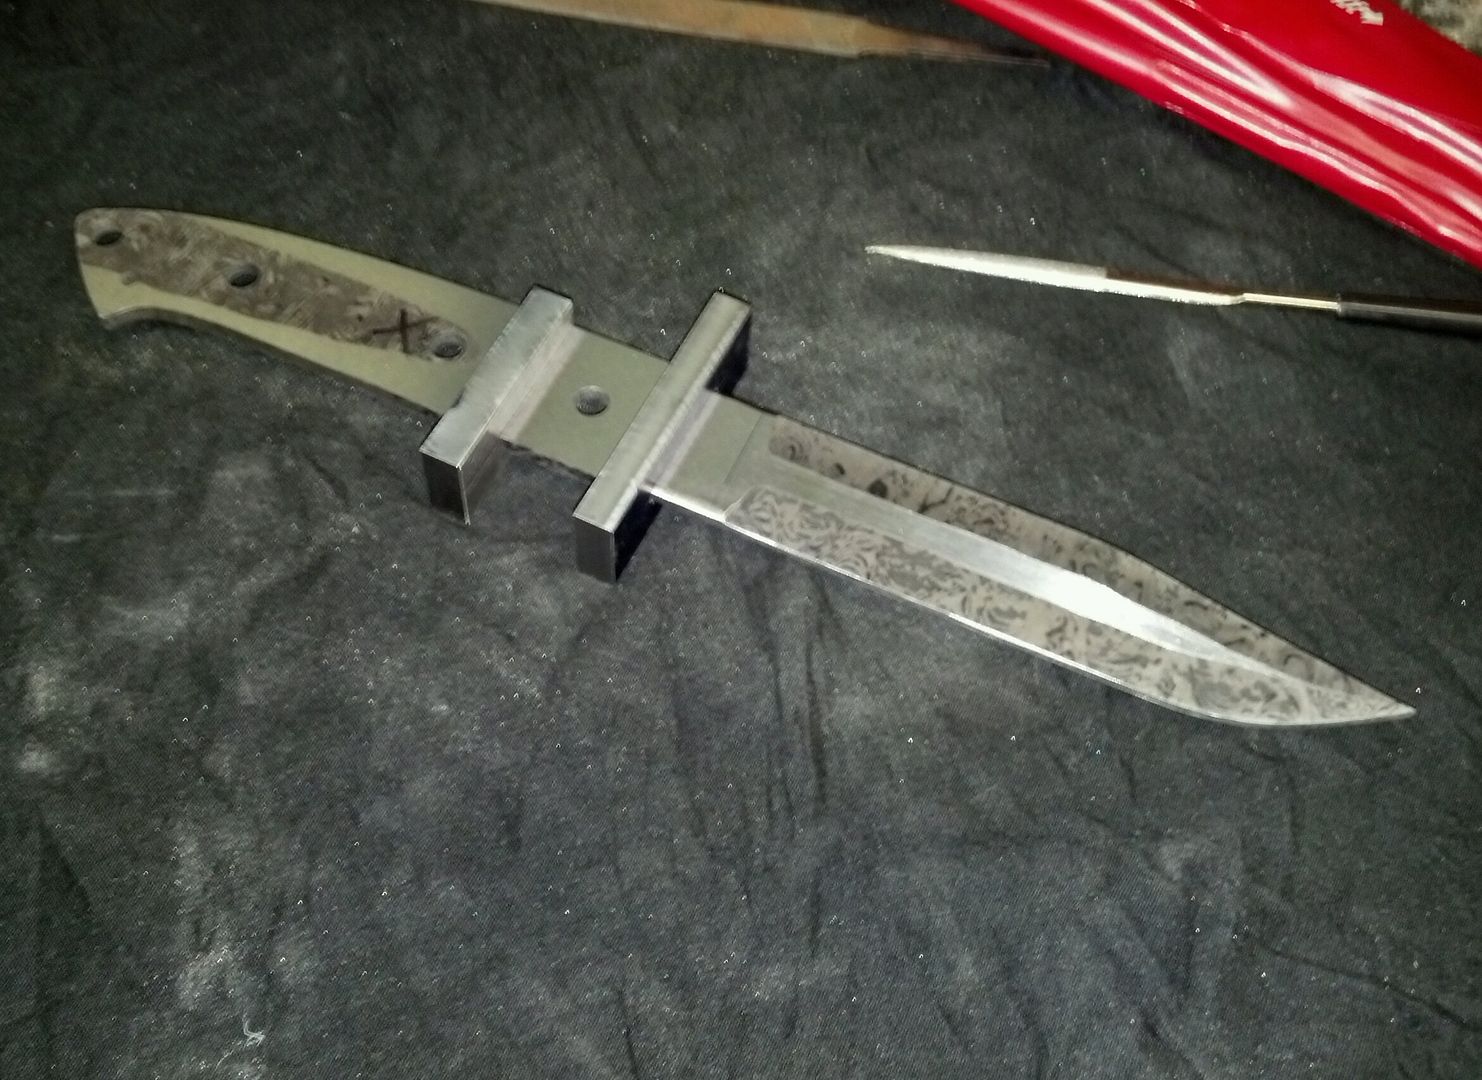
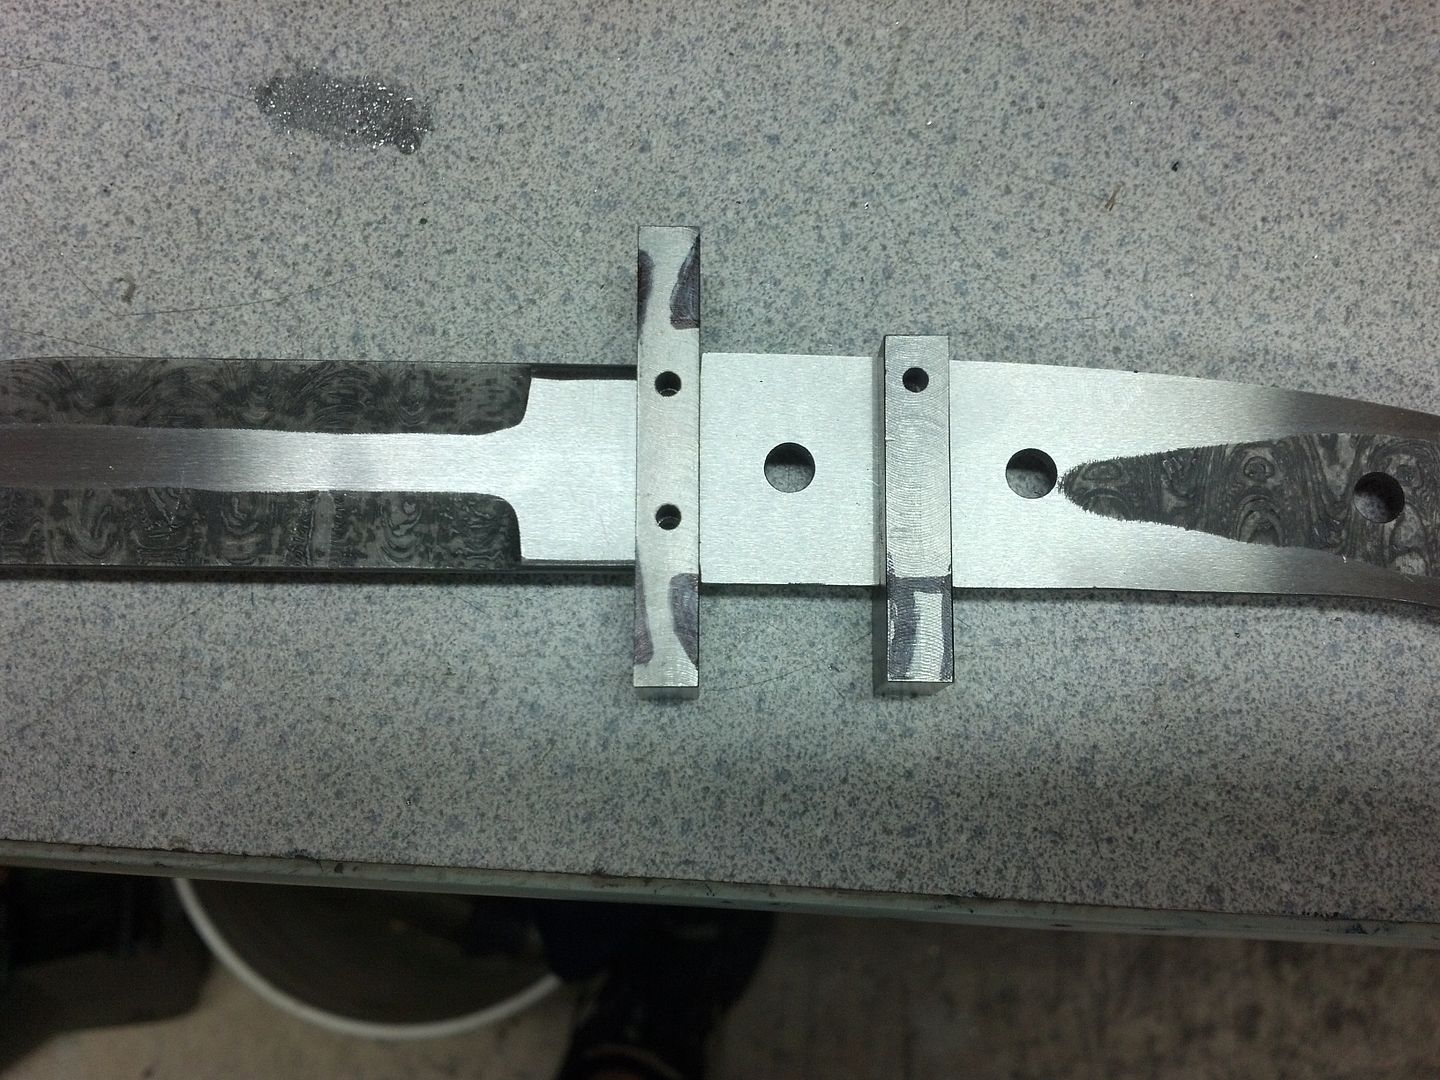
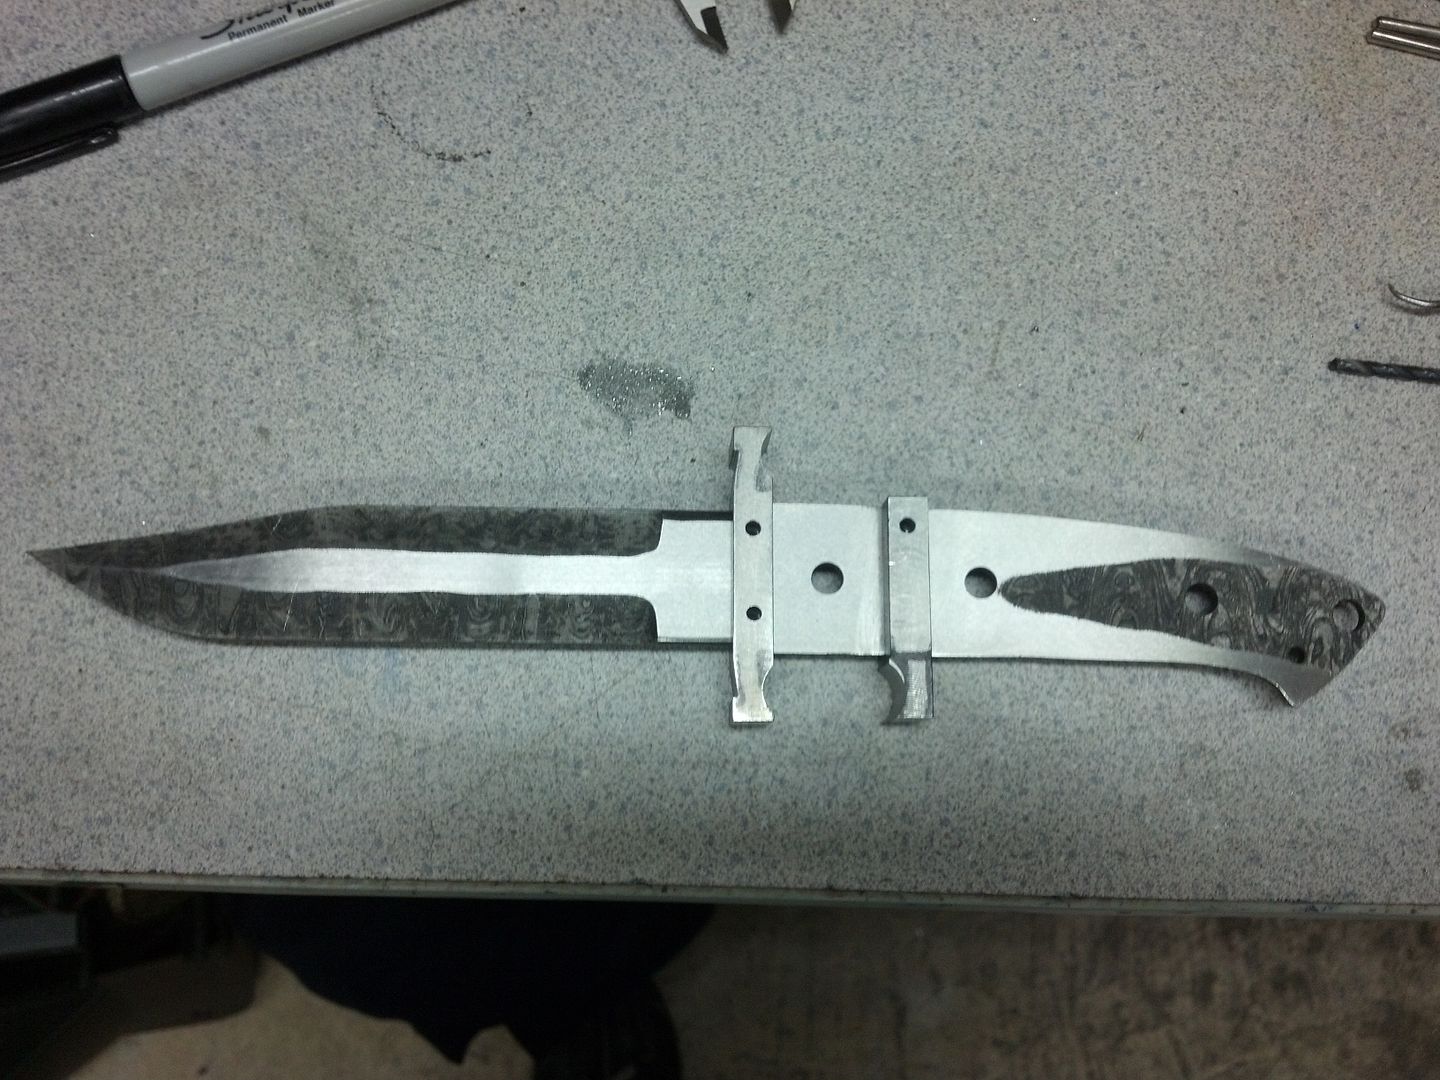
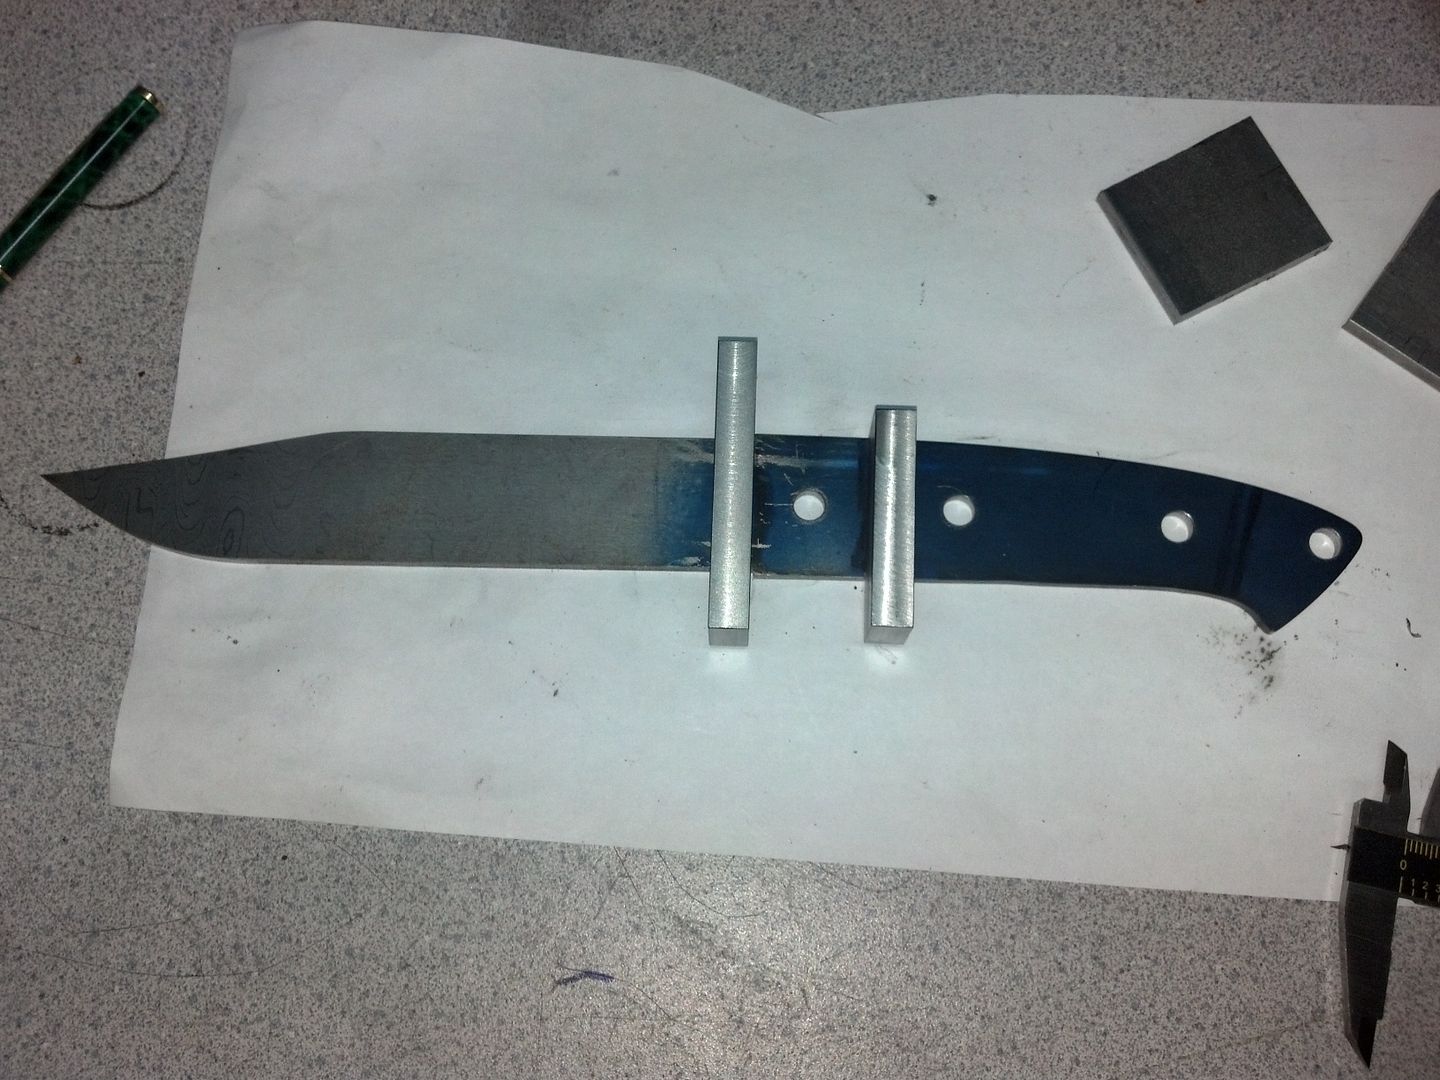
When they are both finished, I lay them on the blade to get a general idea of the look.
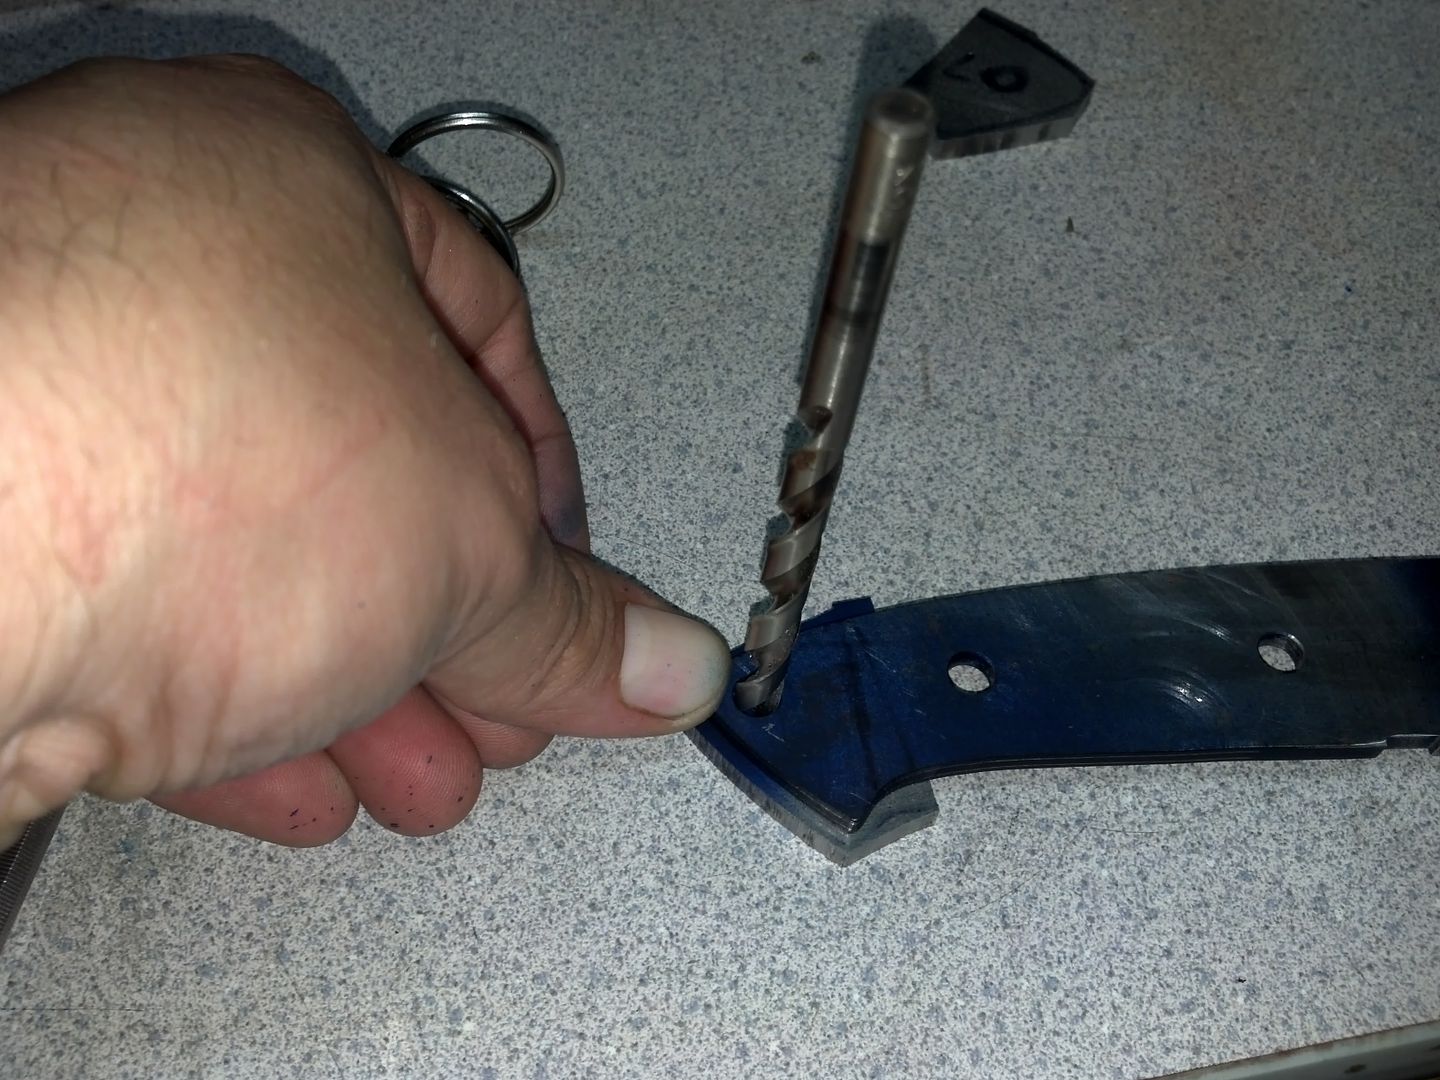
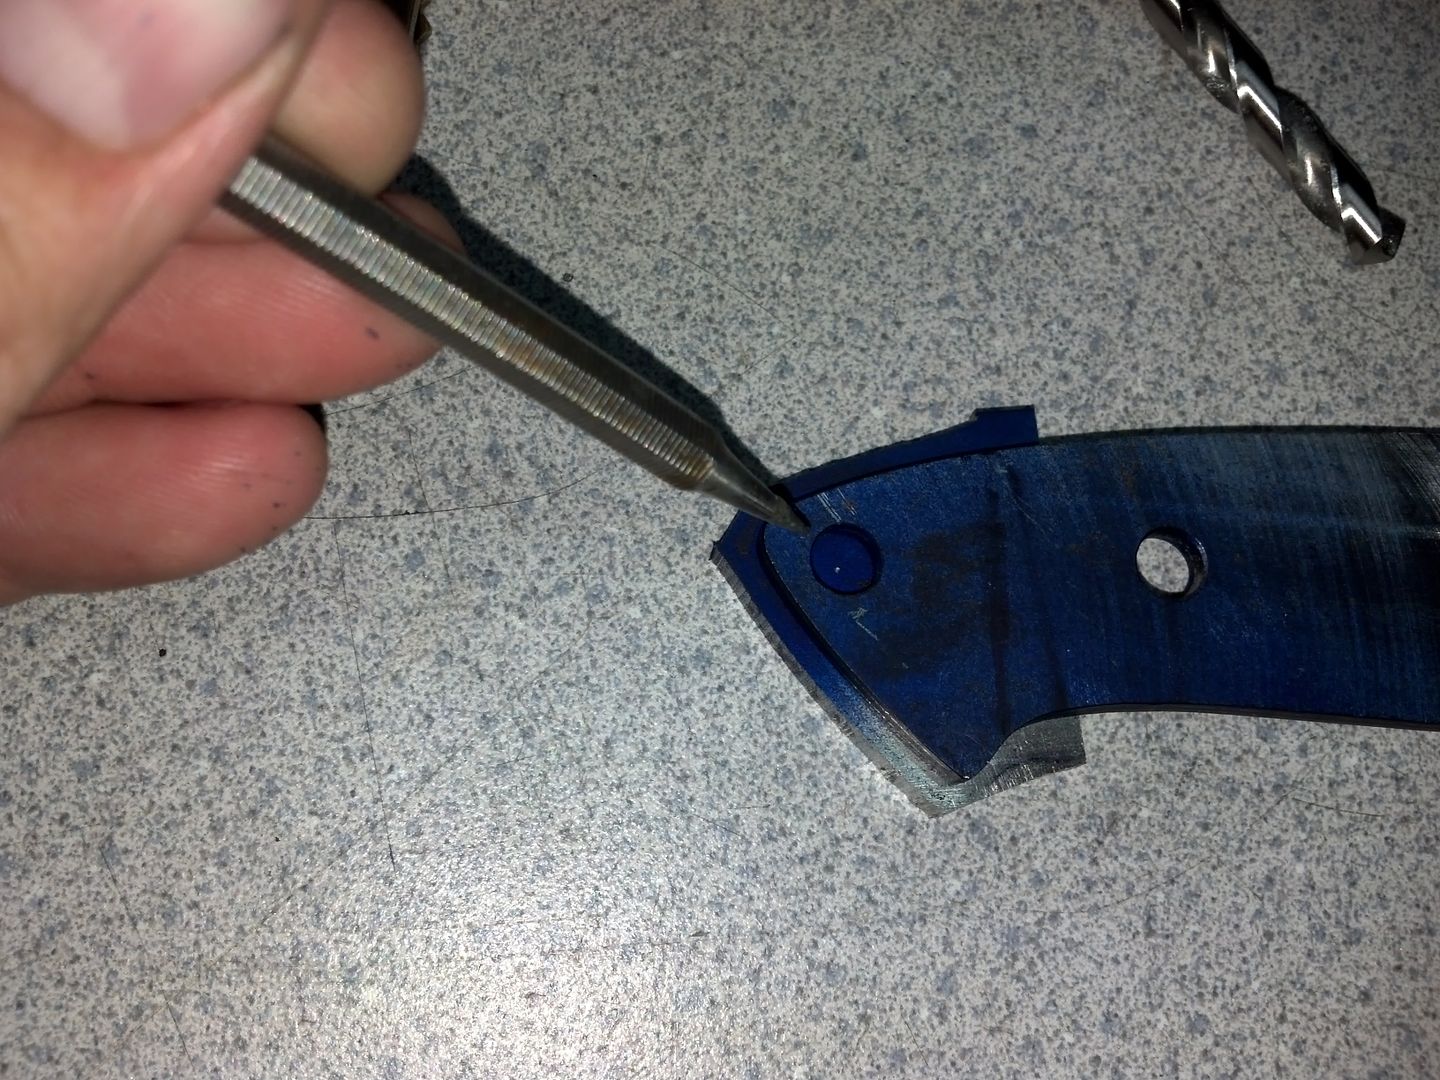
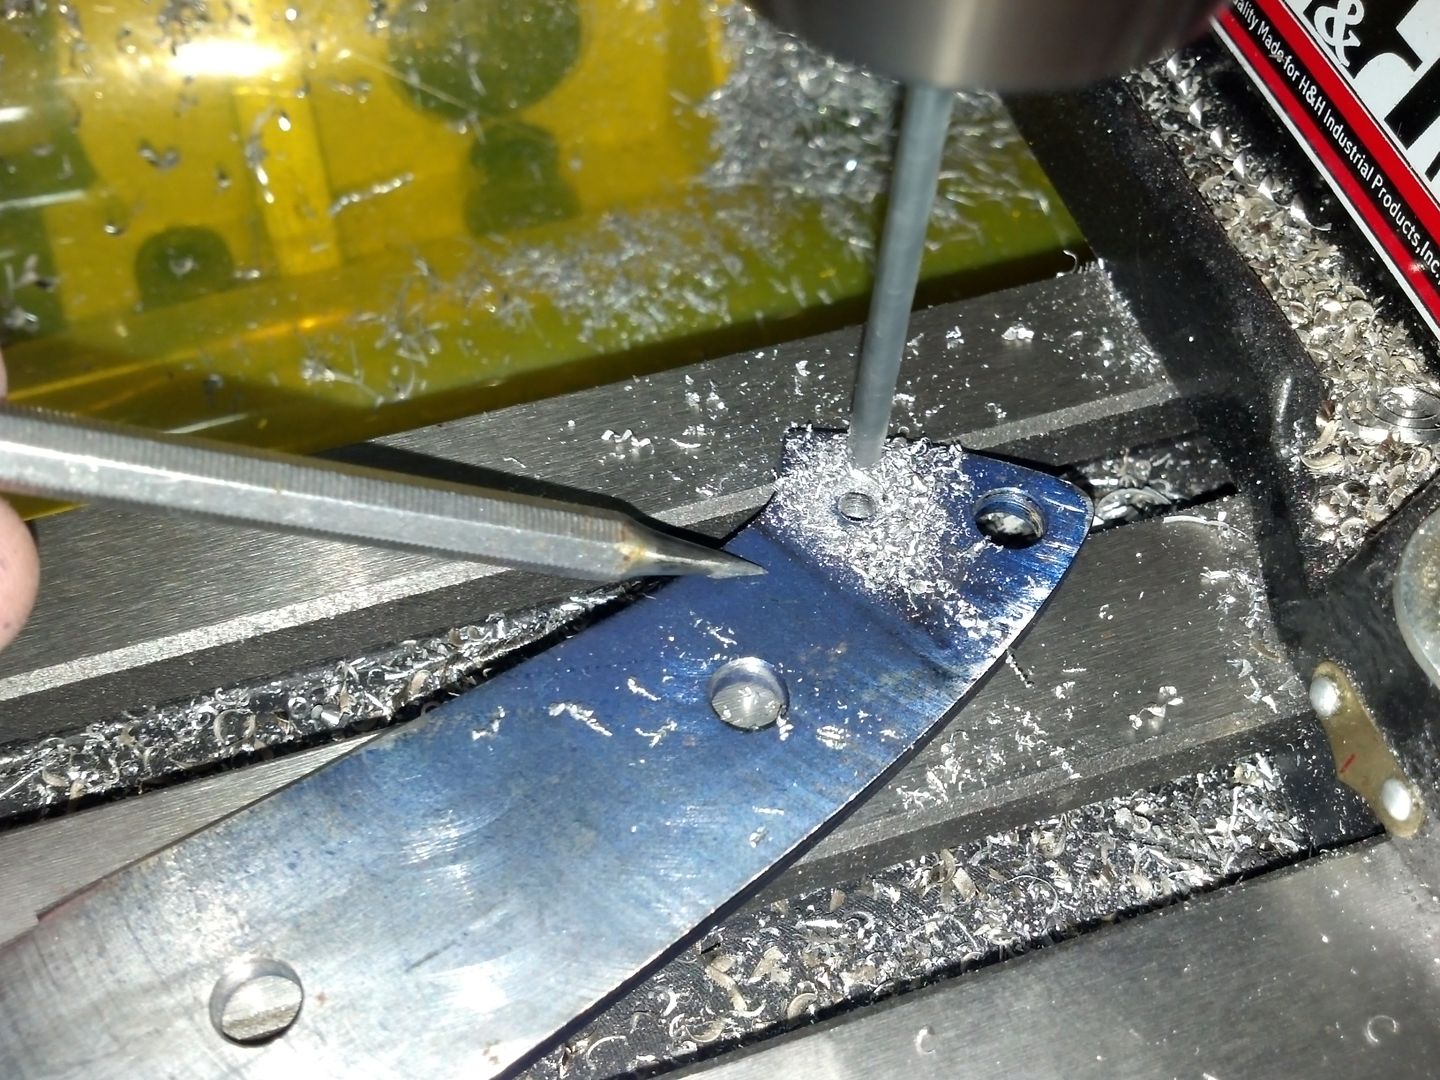
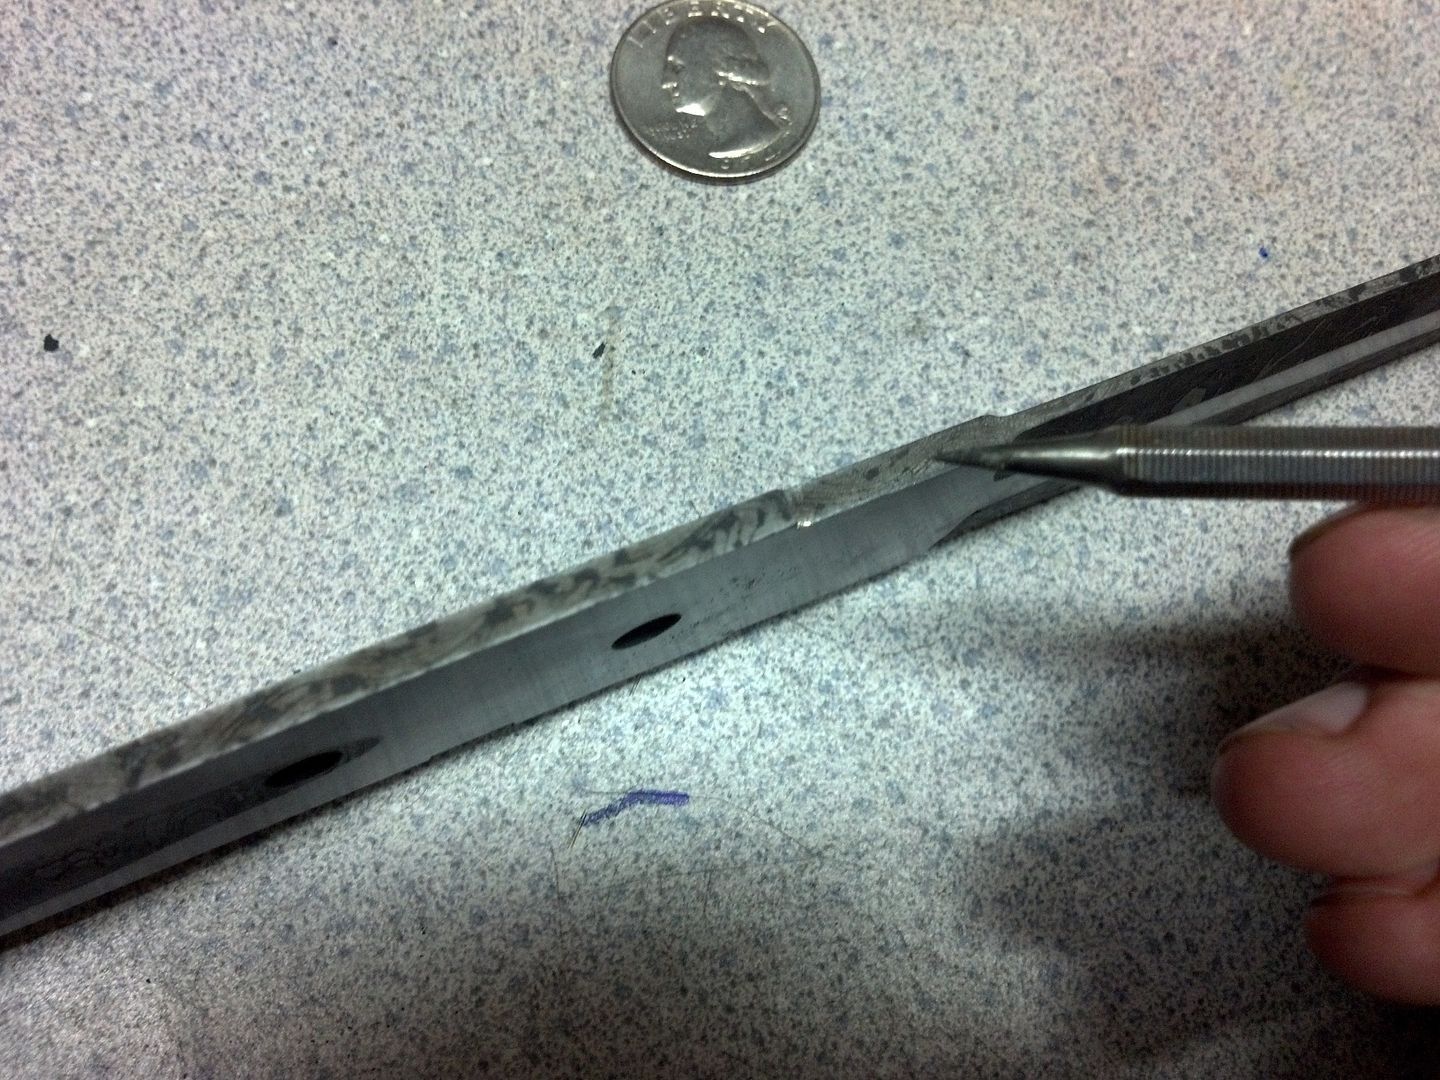
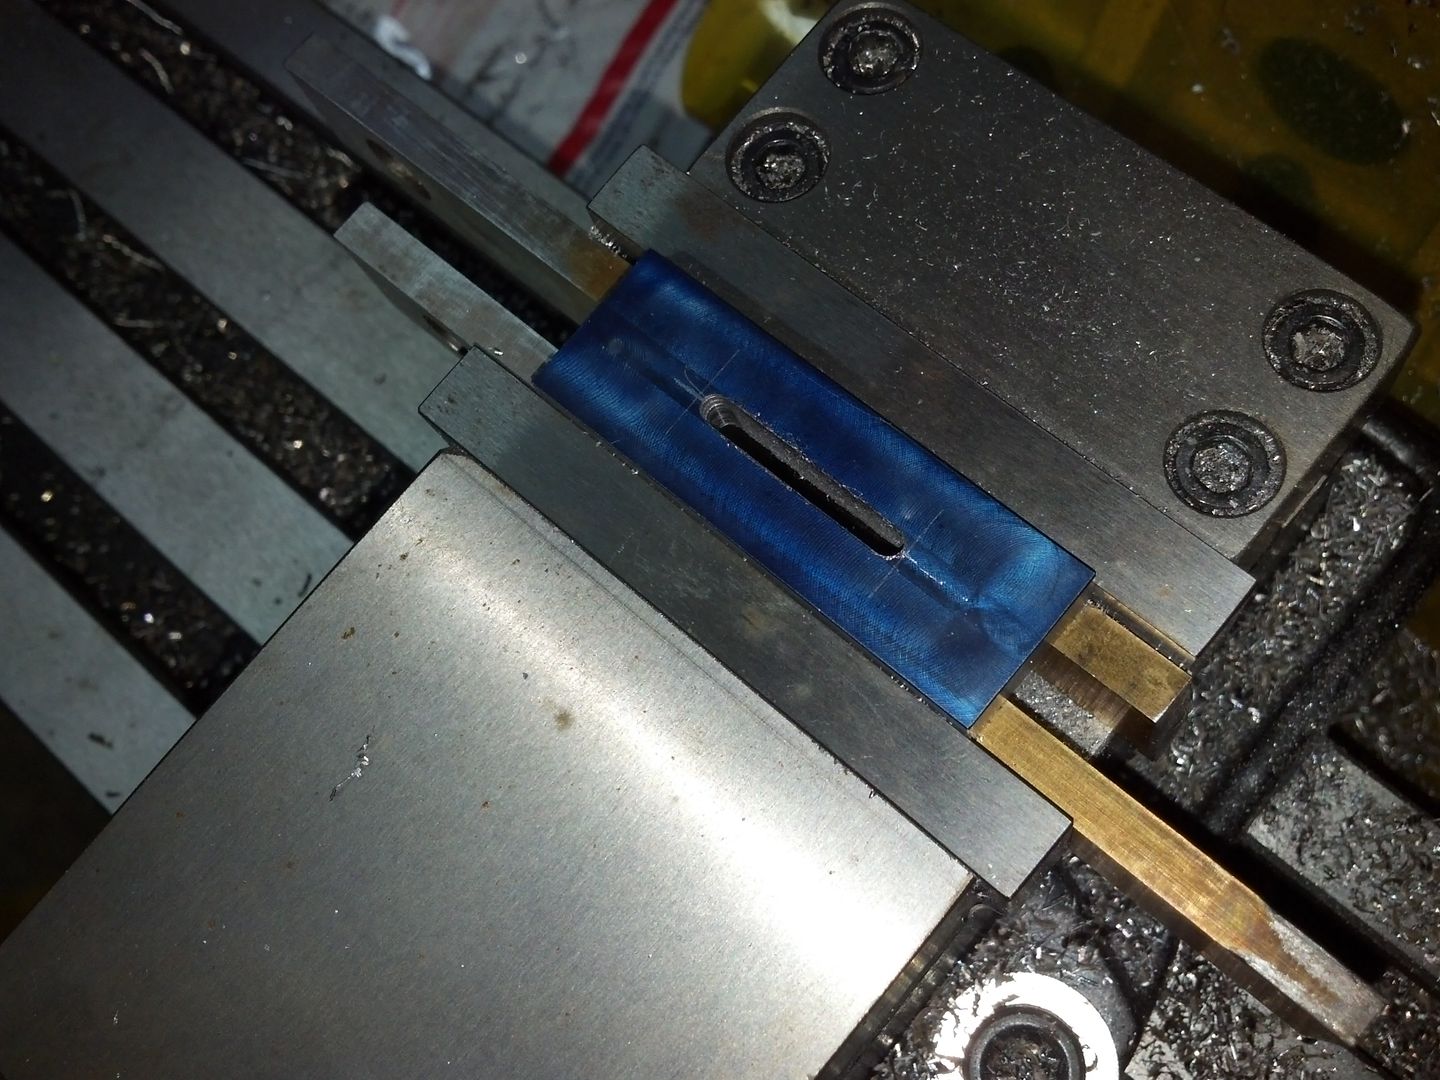
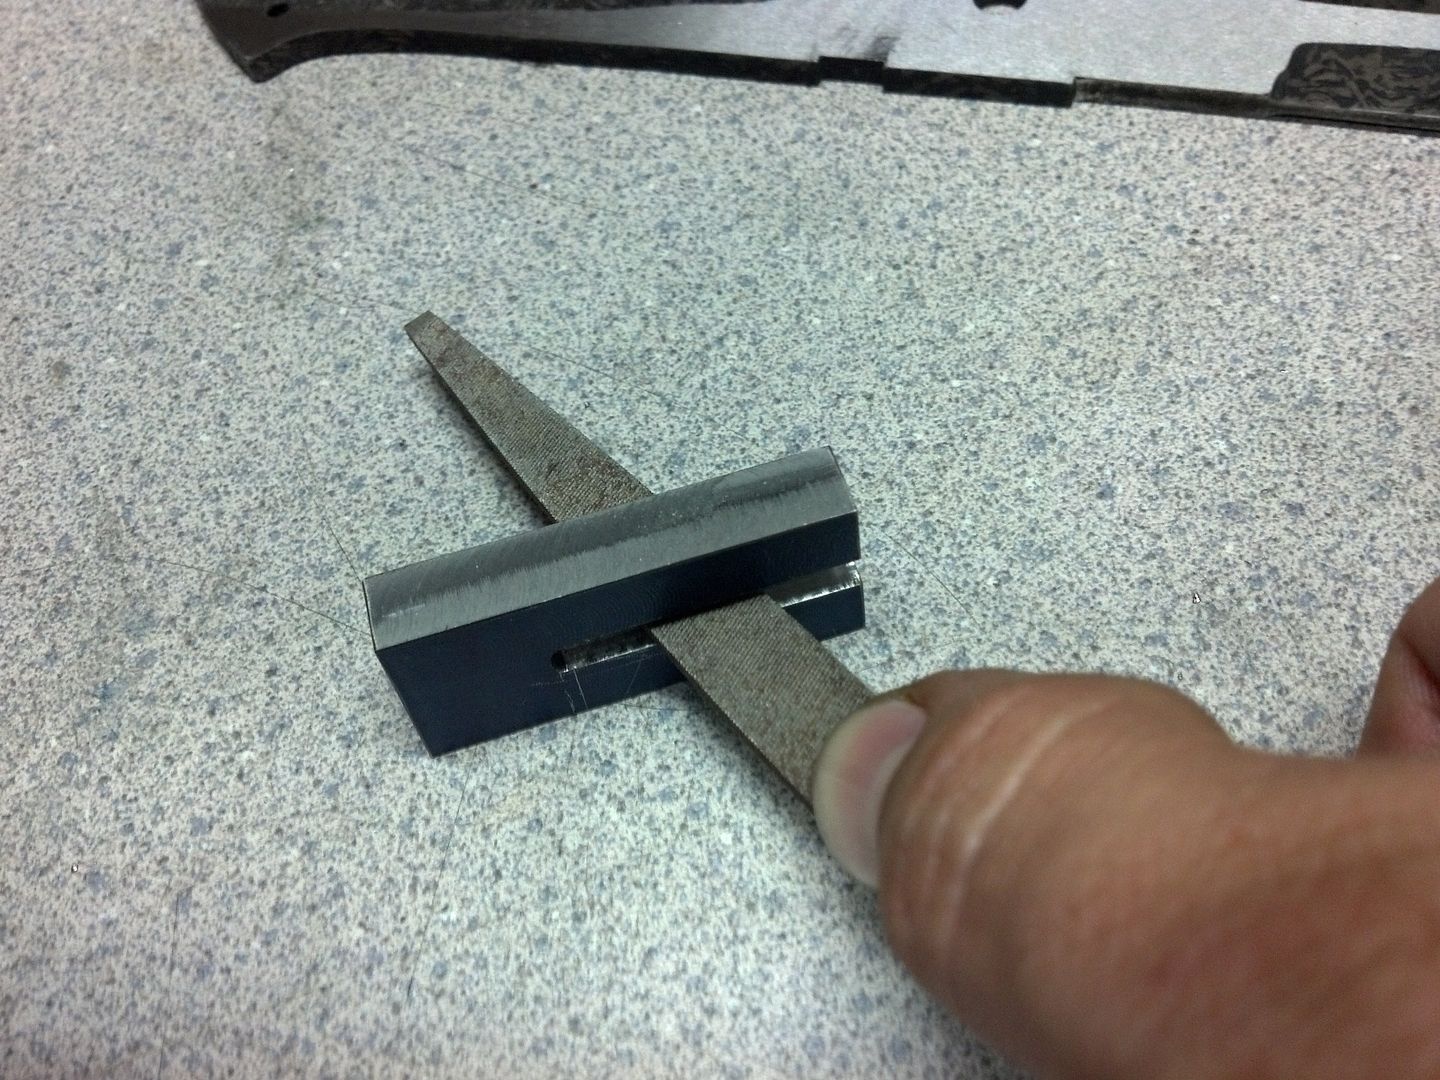
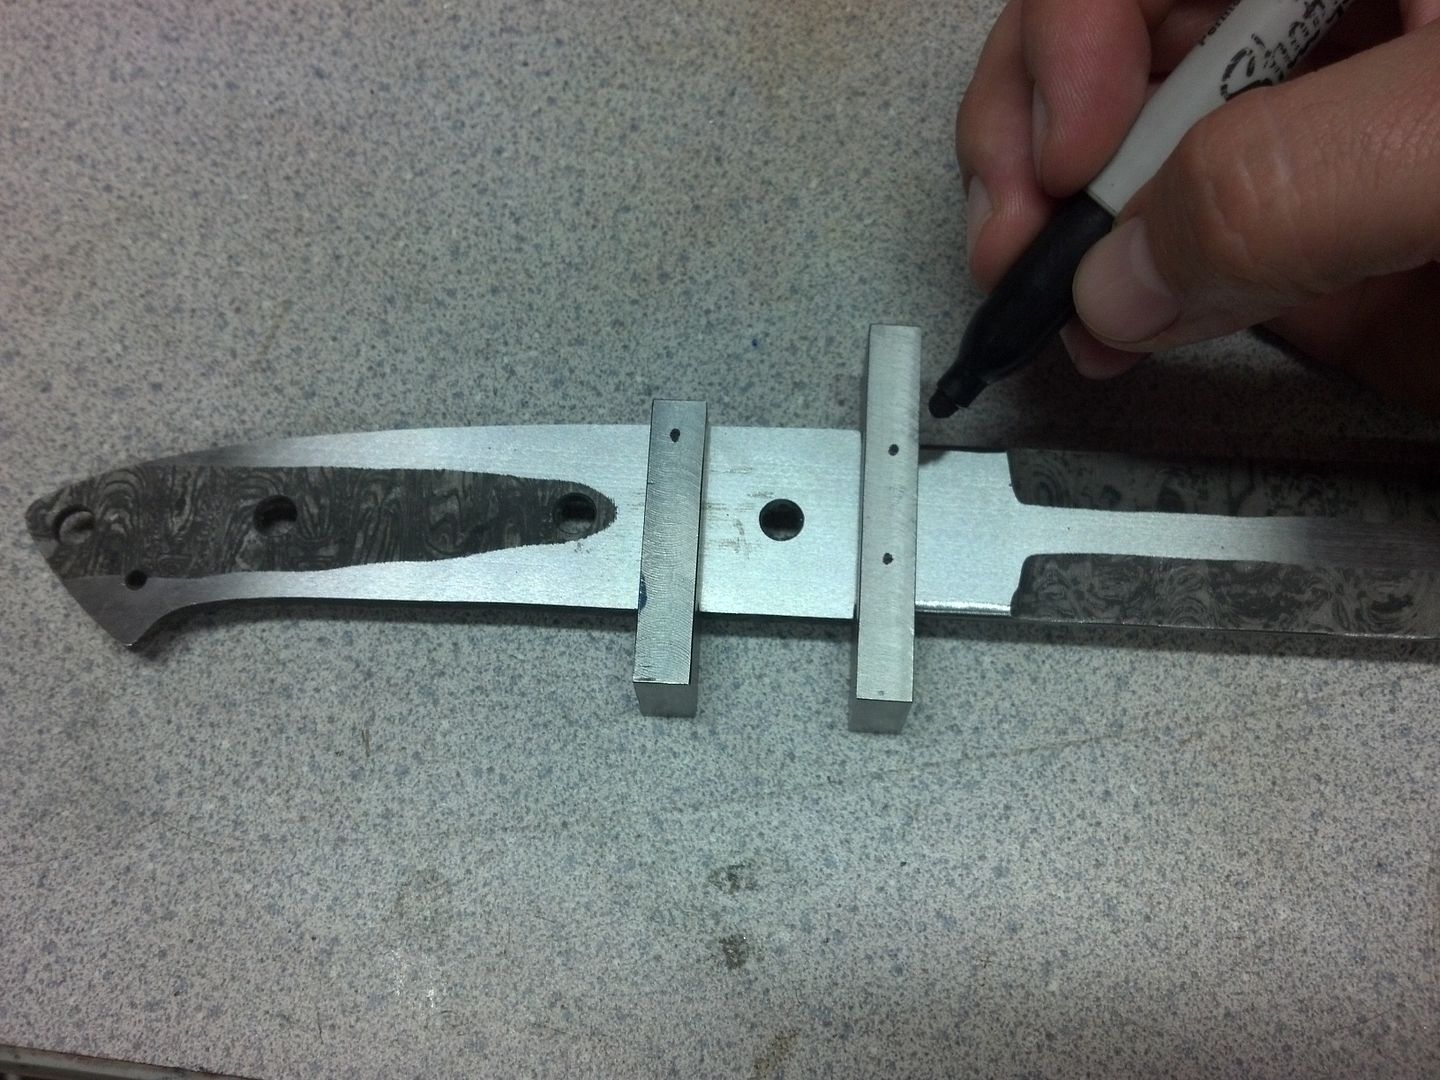
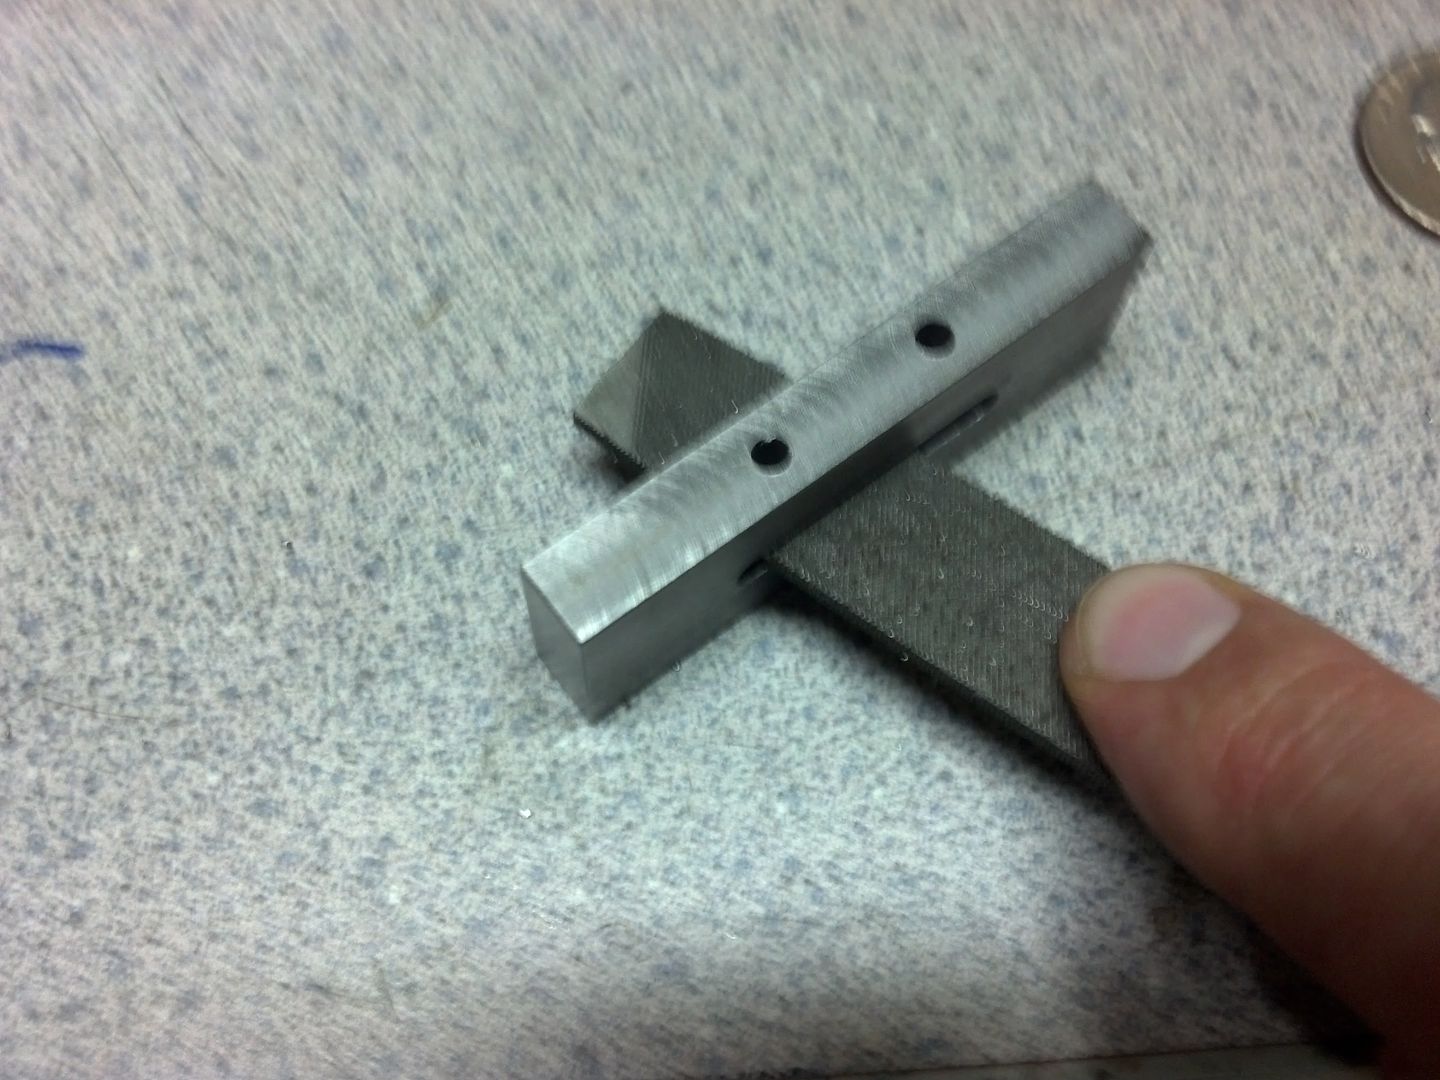
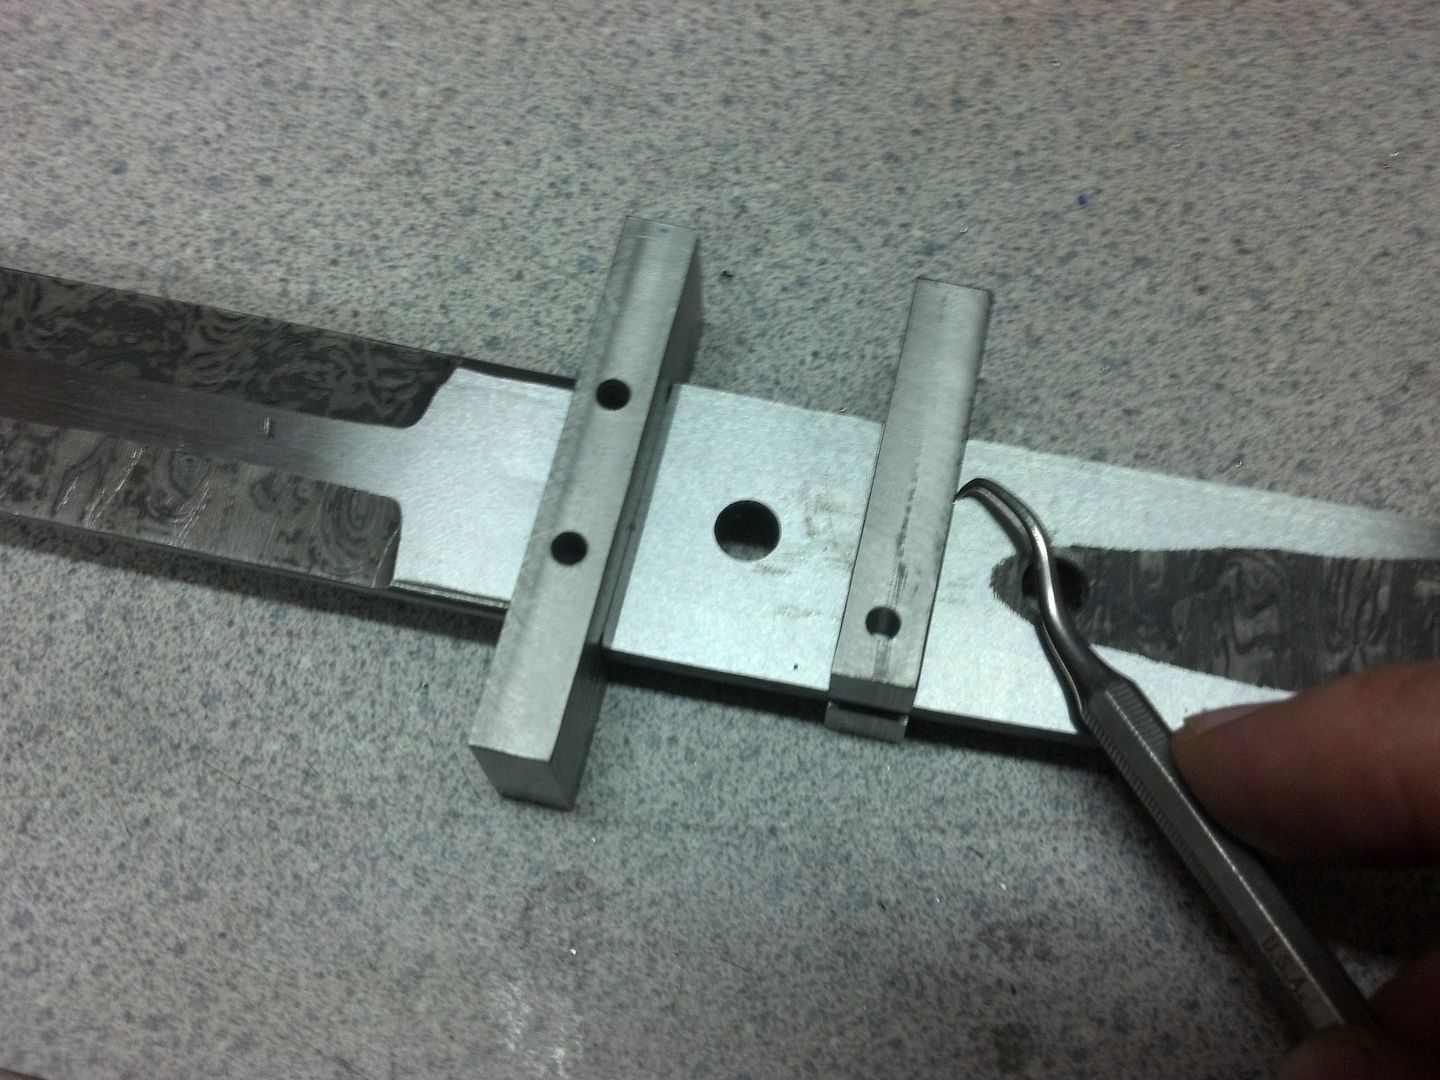
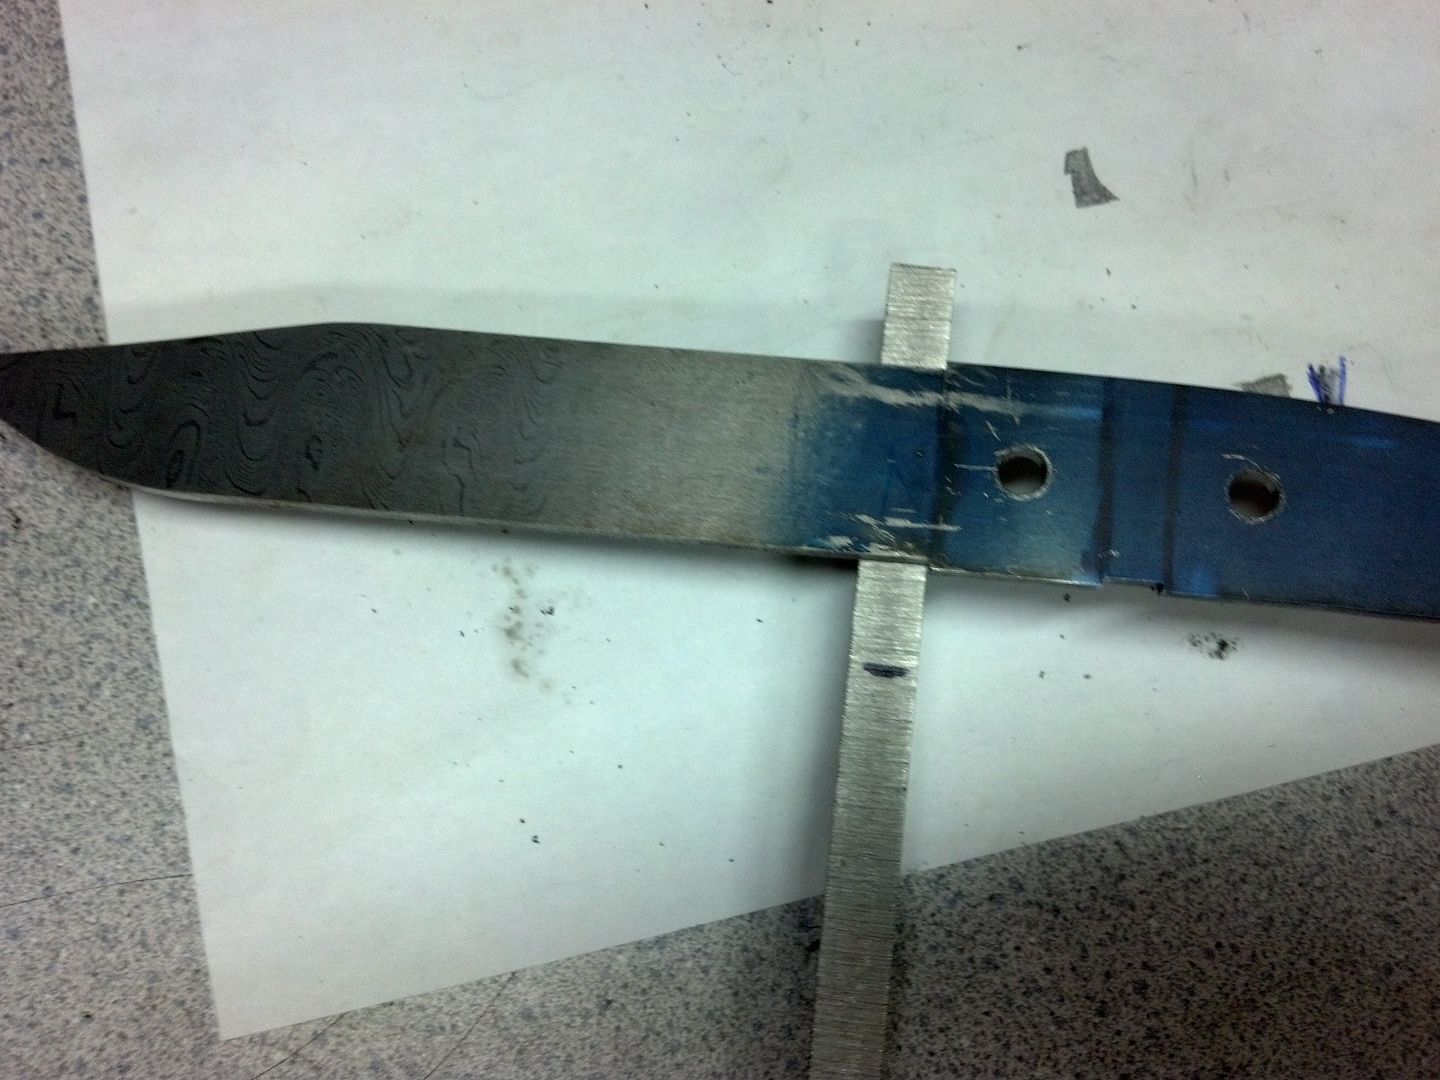
Next step is to lay out and cut the flat pieces to start the rear bolster roughing. What's important here is to be sure I leave enough material to grind away. If I cut to short, I will have to redo something. First thing I do is lay the large pieces of ivory on the blank and look at where I picture that rear bolster to come to. Those two faint marks you see on the rear of the blank are my lines. To be sure, I'm going to put the sub hilt in place and put the scale there to double check. First, I need to be sure the scale is square where it will come in contact with the sub hilt, because that could possibly change the length a tad and throw off my checking on the bolster end..
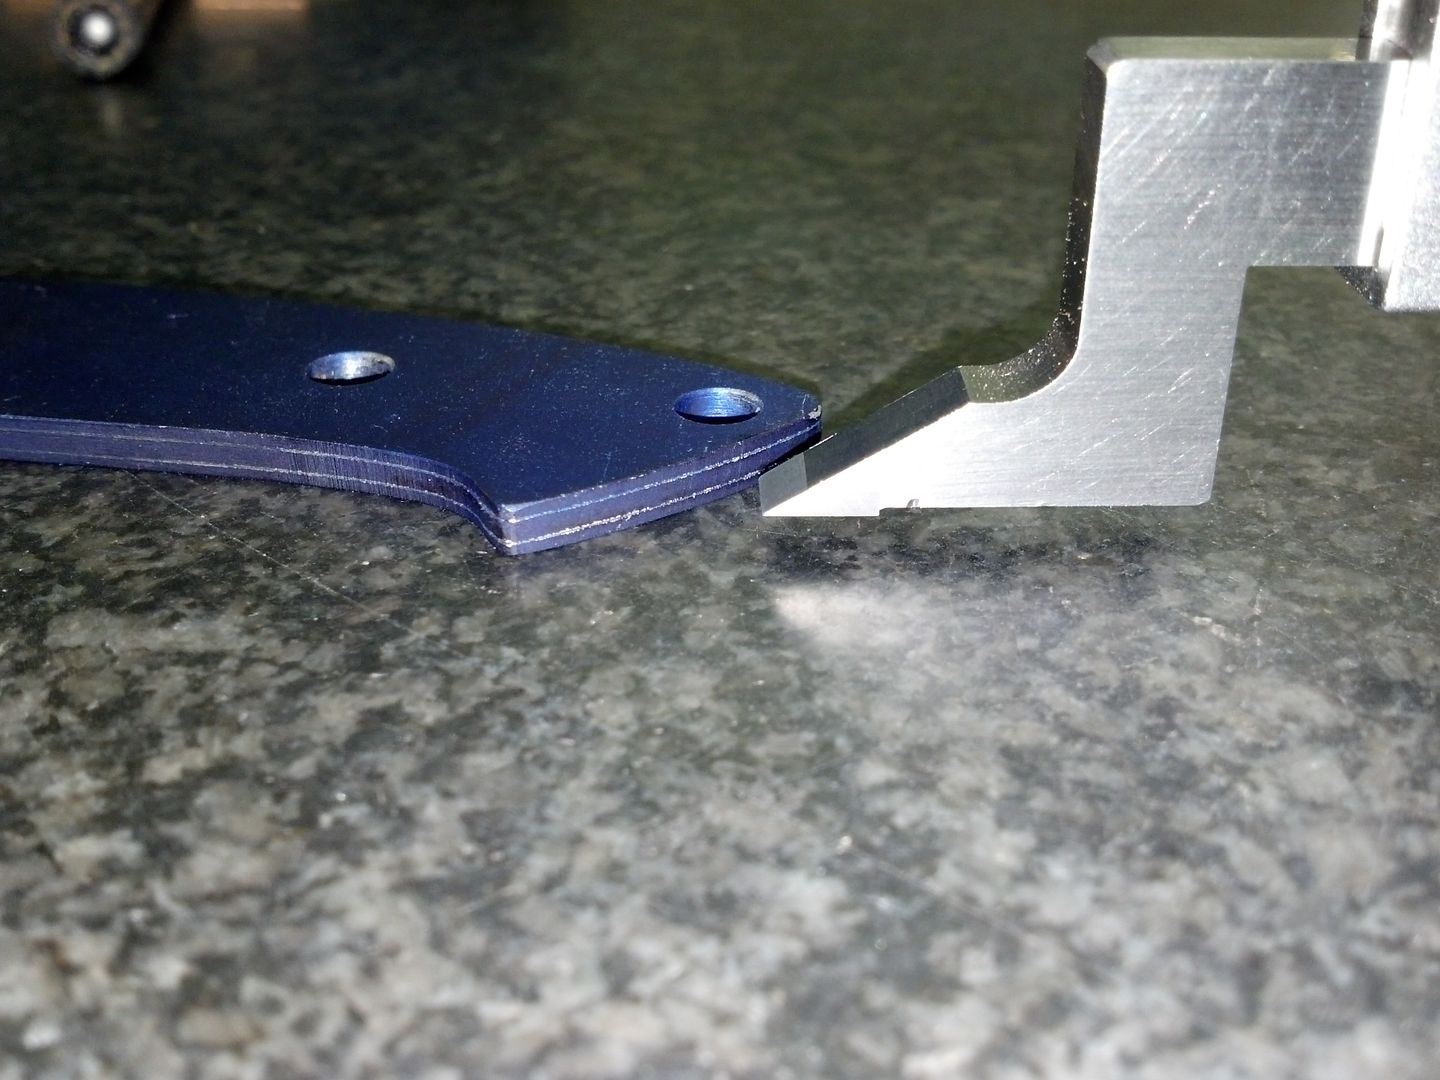
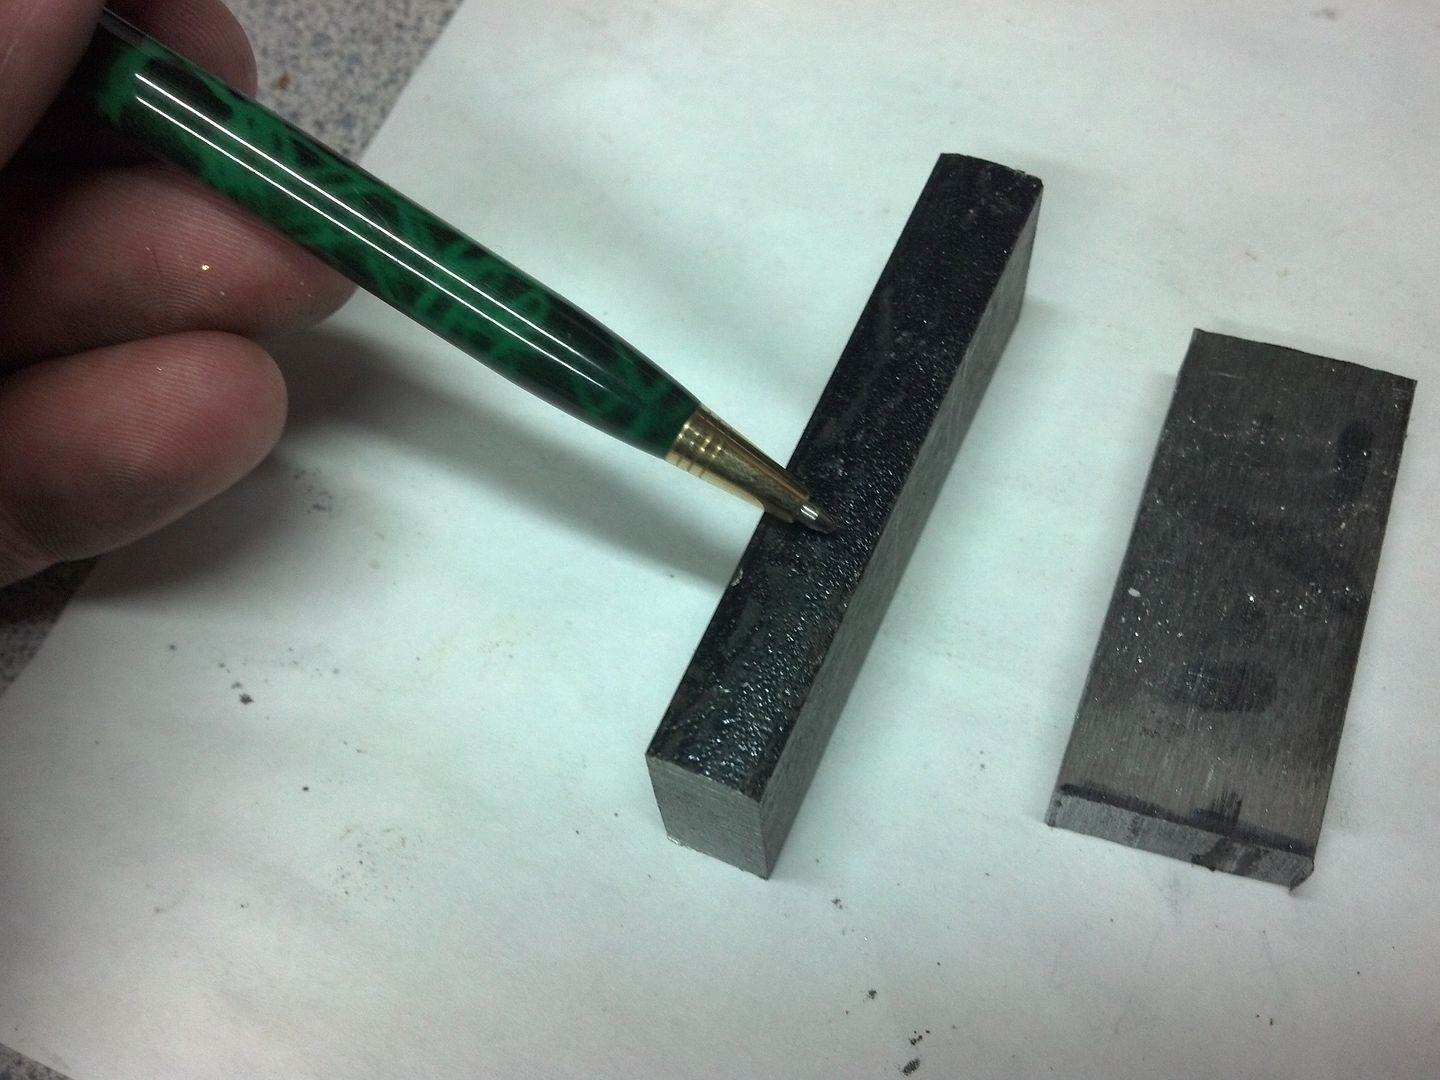
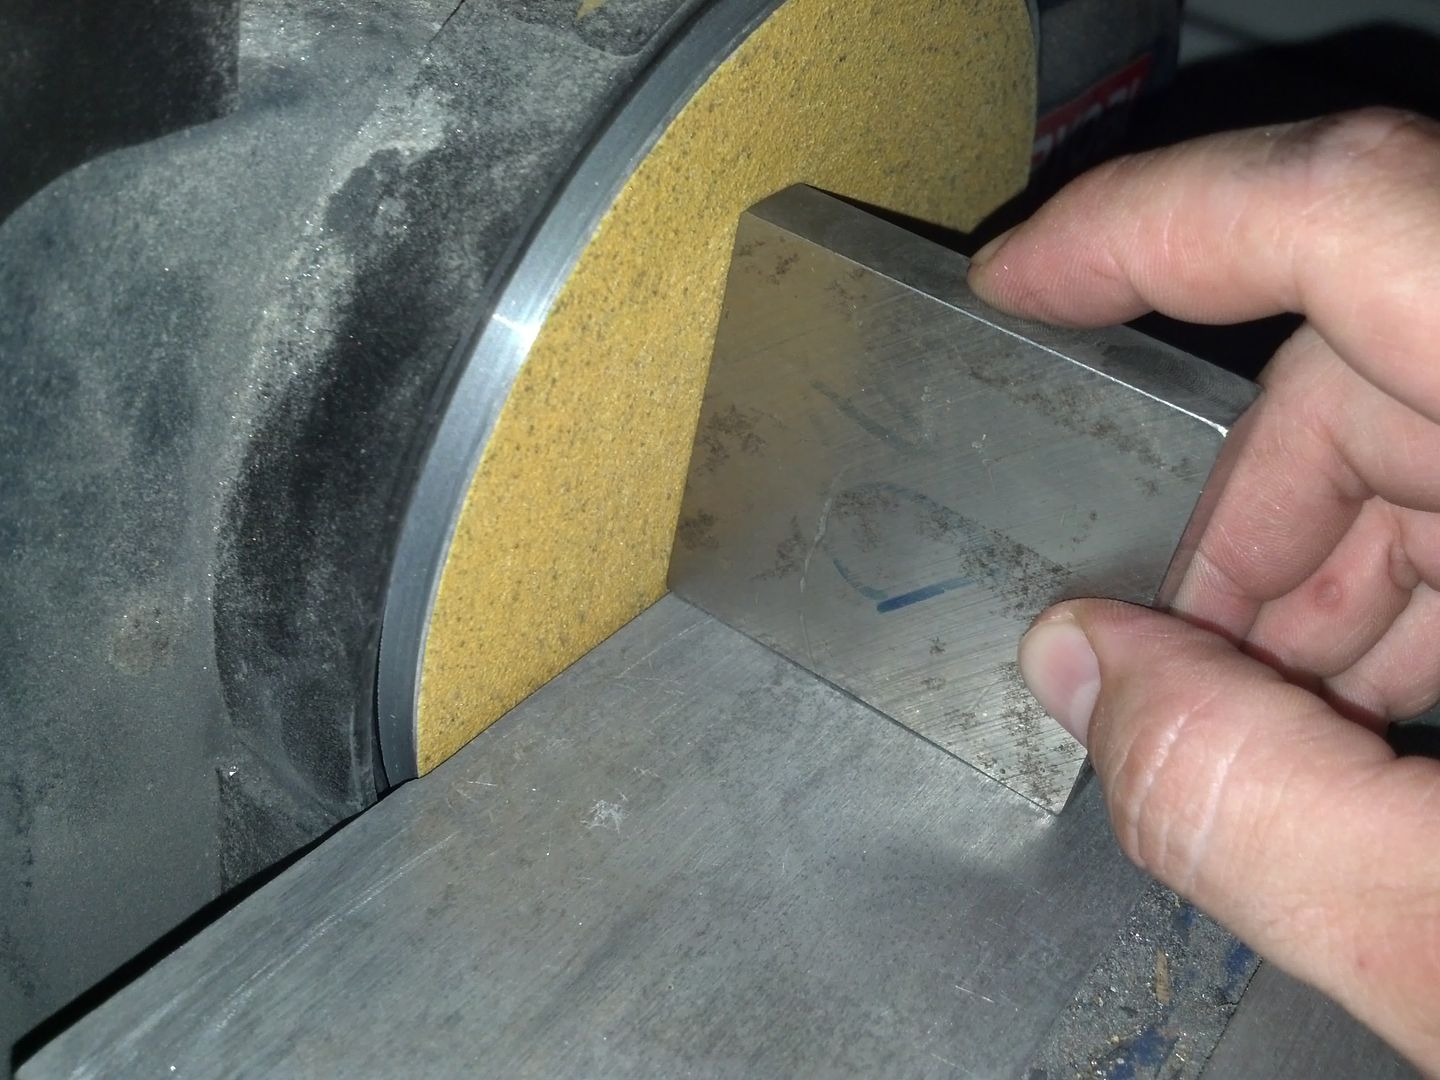
So I use this little piece of steel I have that is square to check the disc sander..
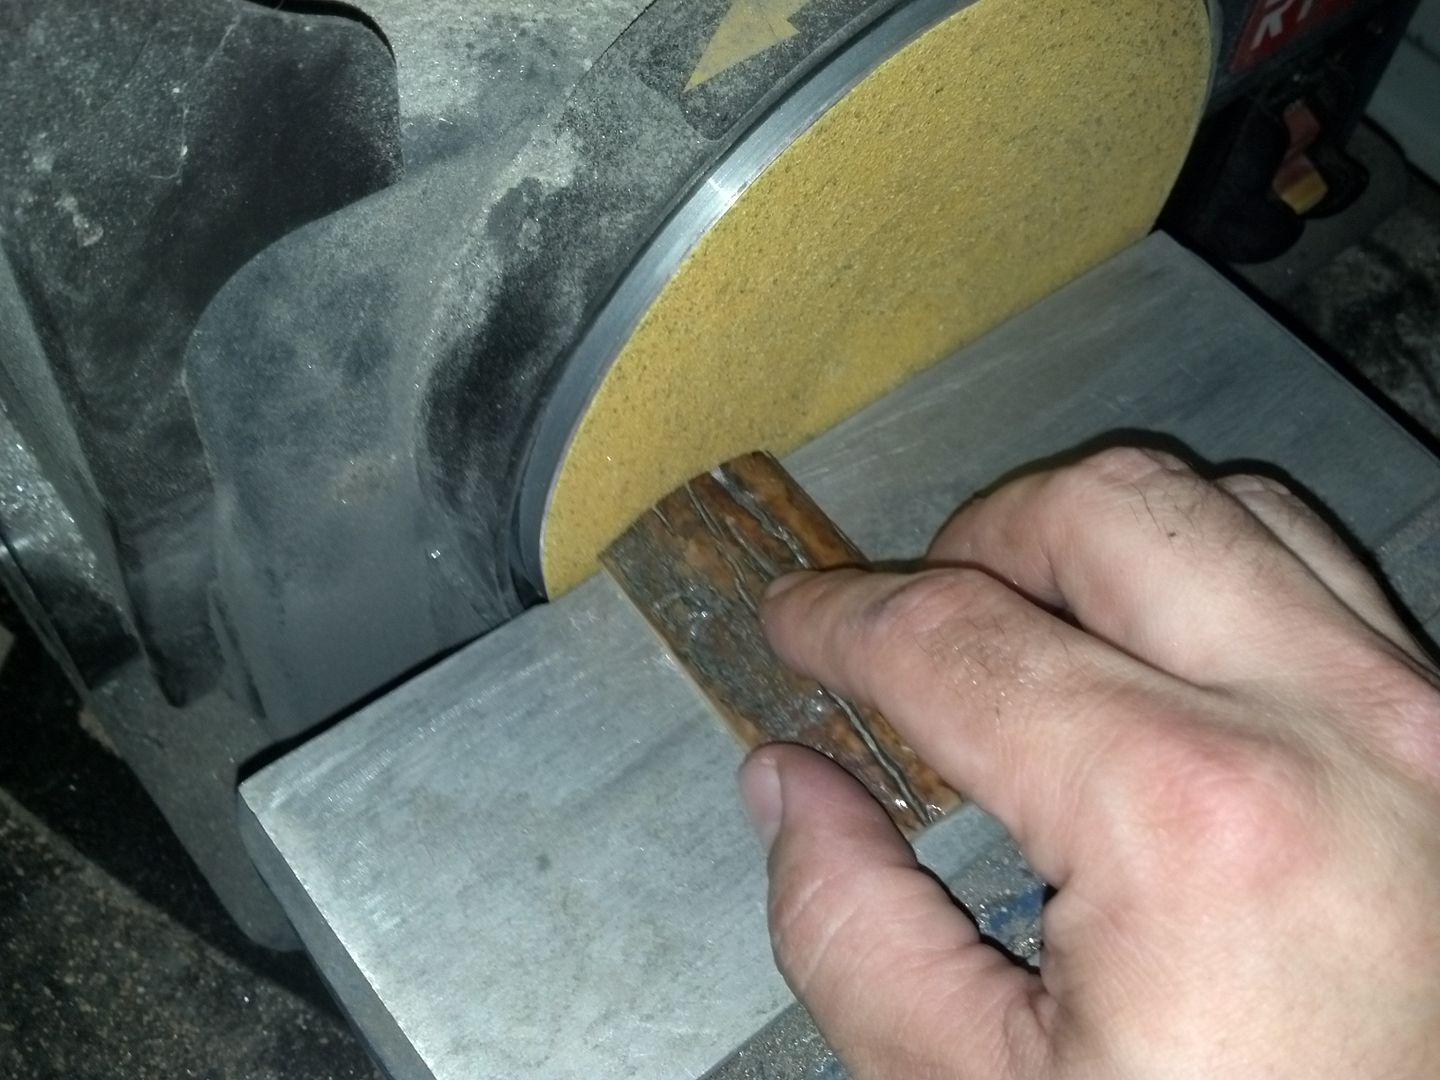
Then I lightly hit the end of the scale..Gosh this stuff stinks.... haha
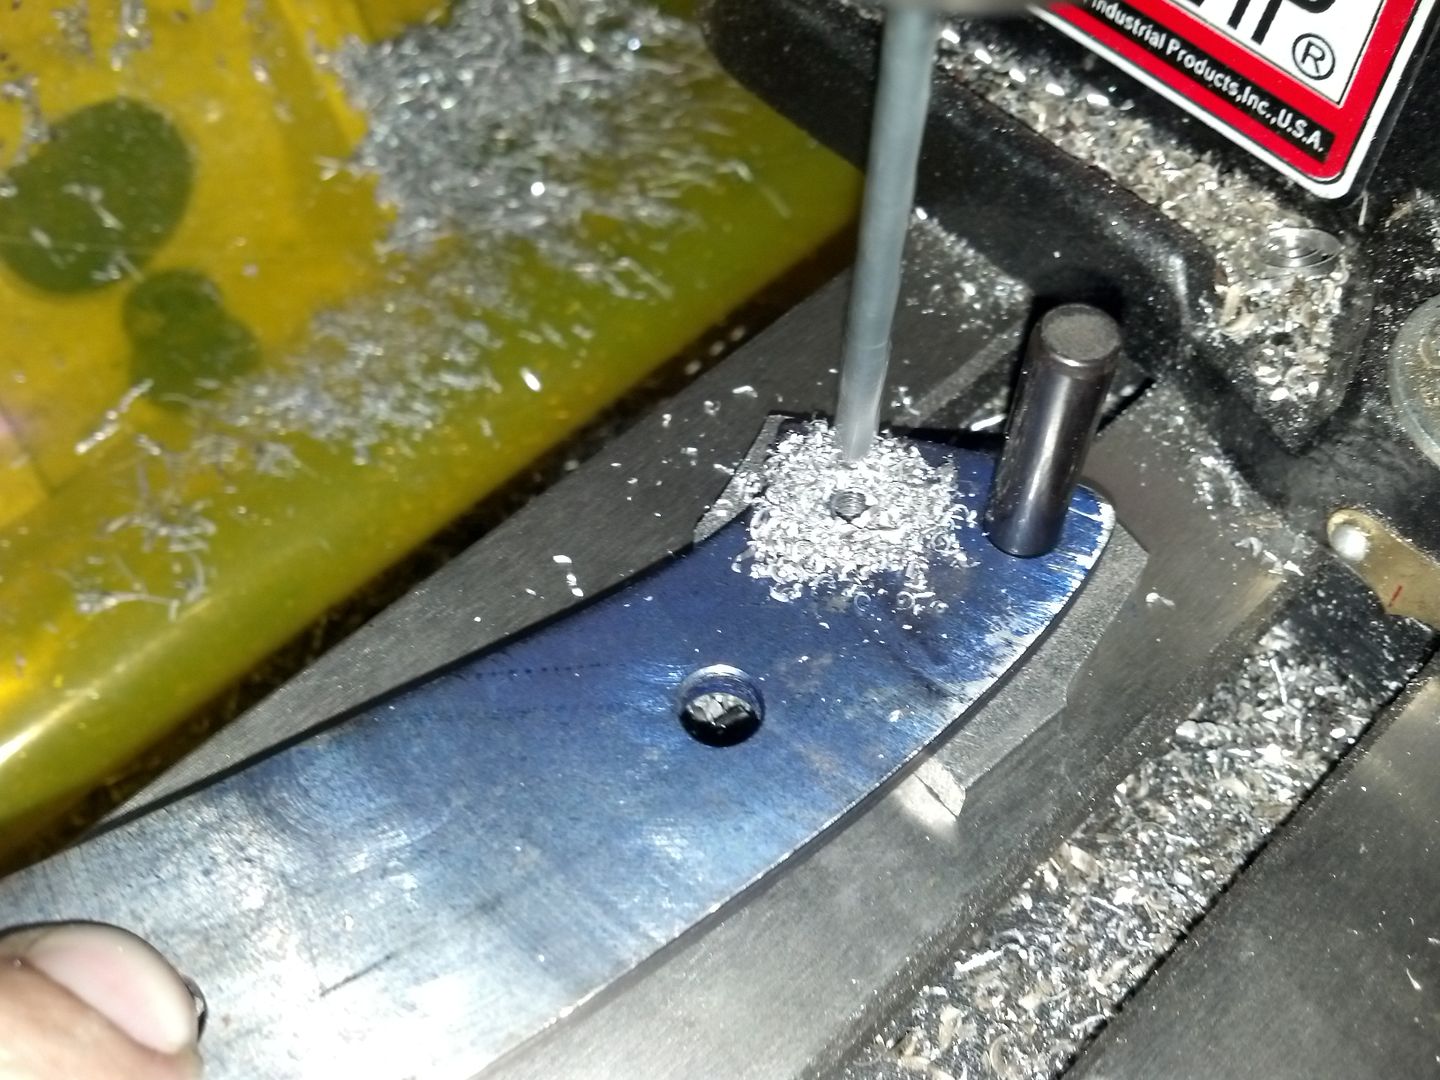
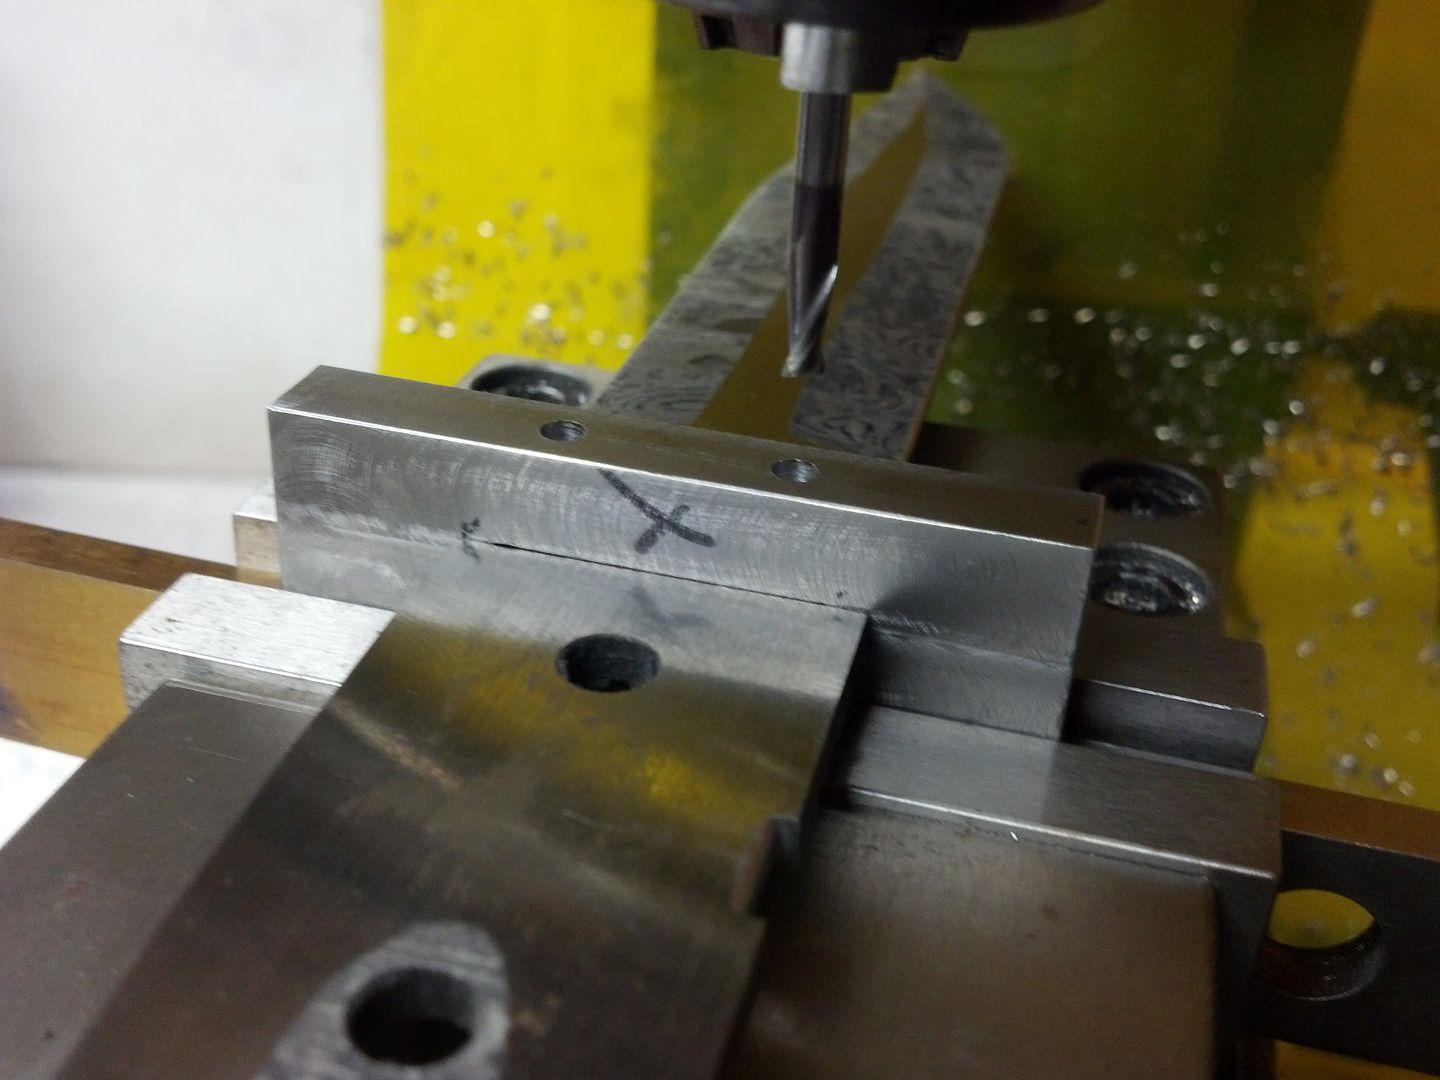
So then I can set every thing up as previously described and double check the rear..
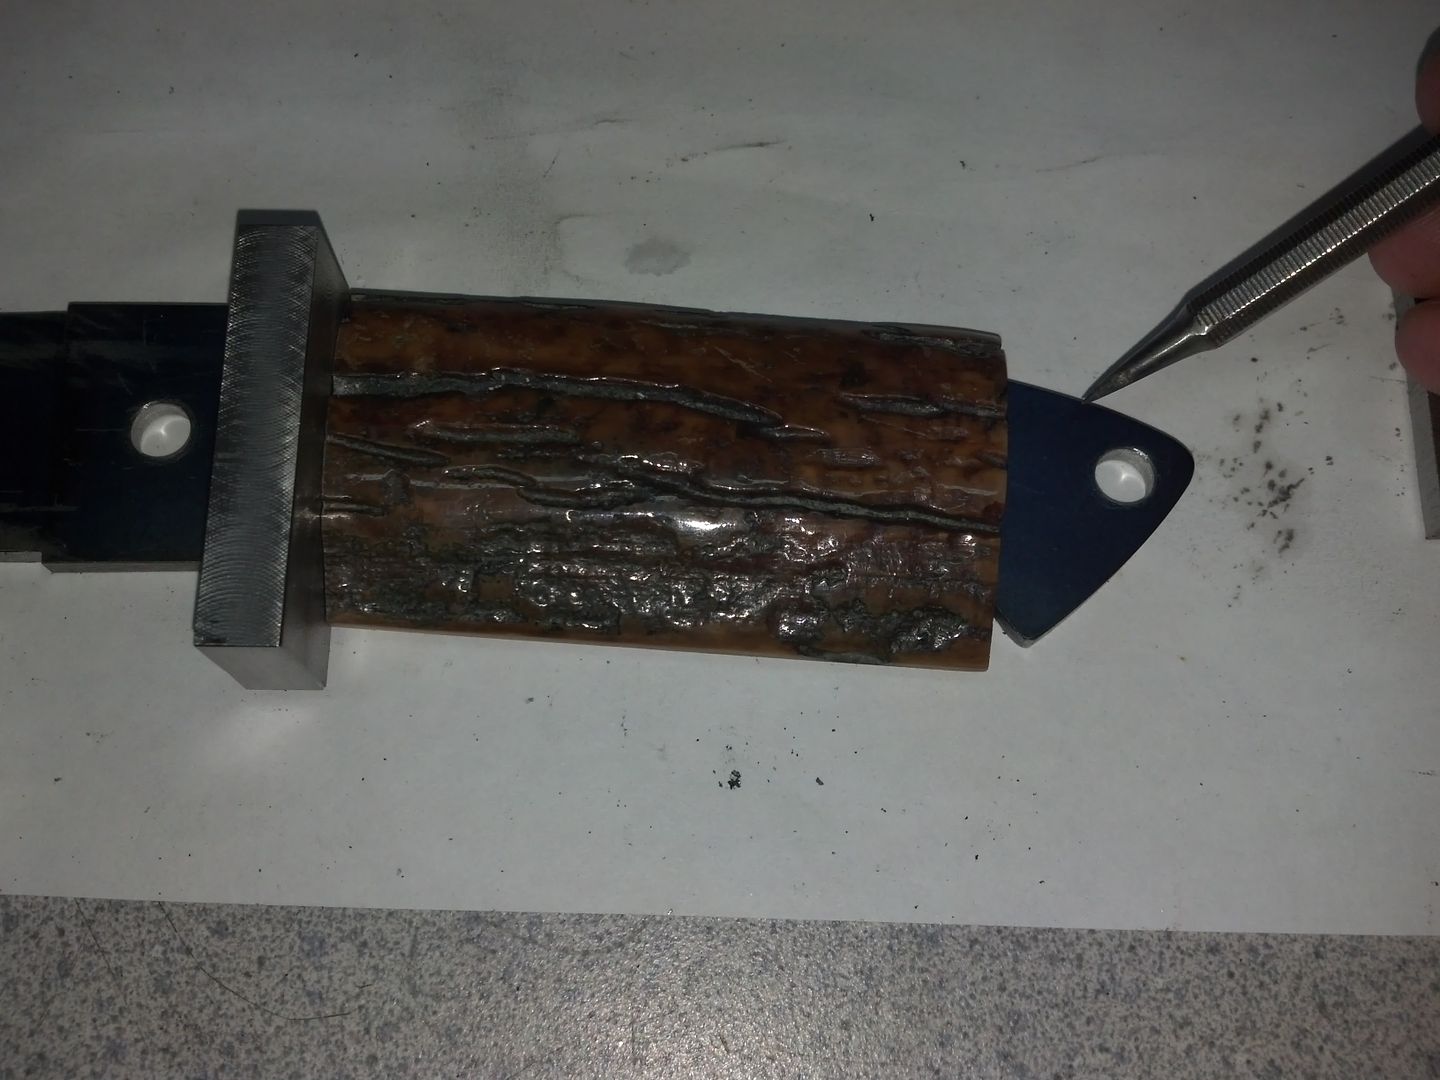
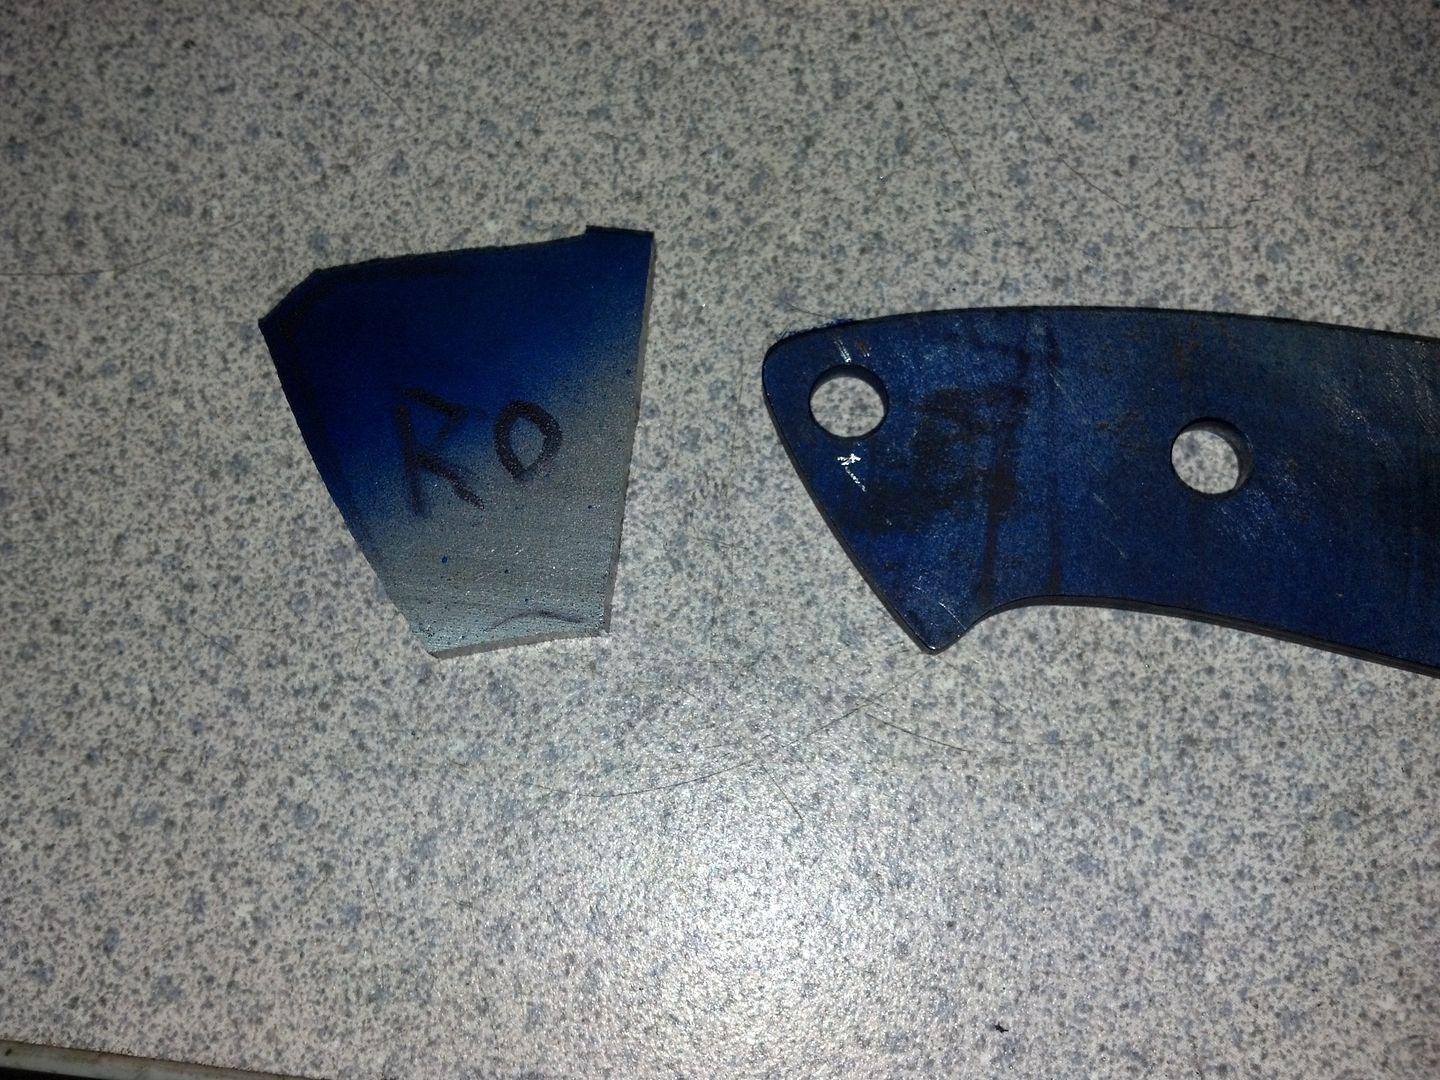
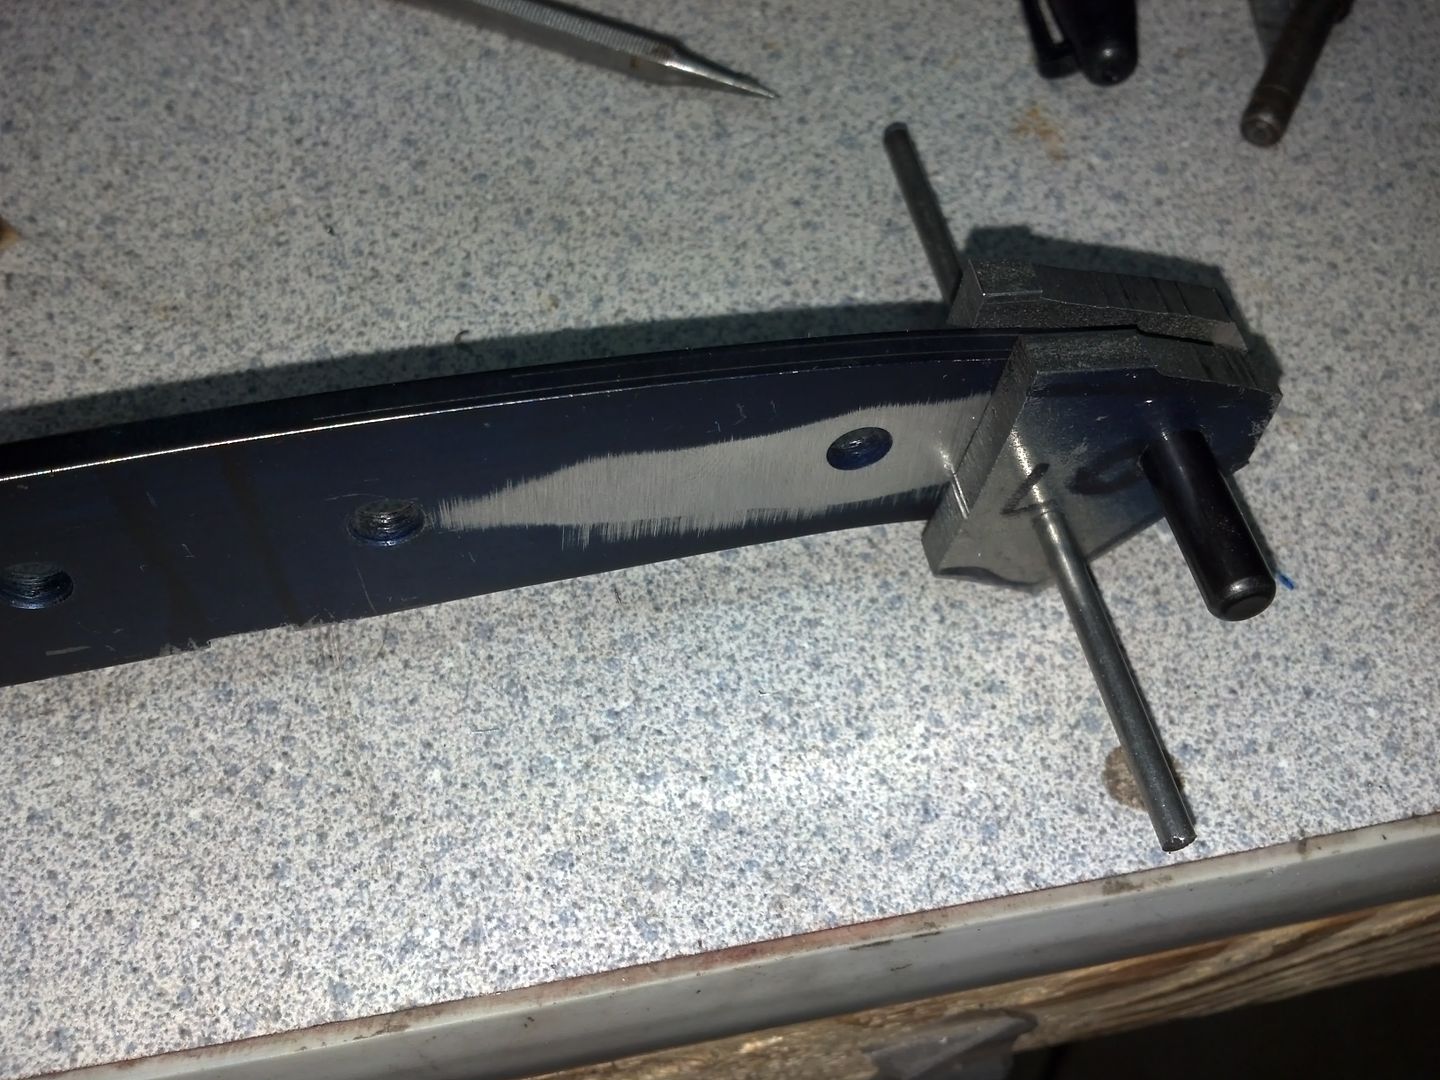
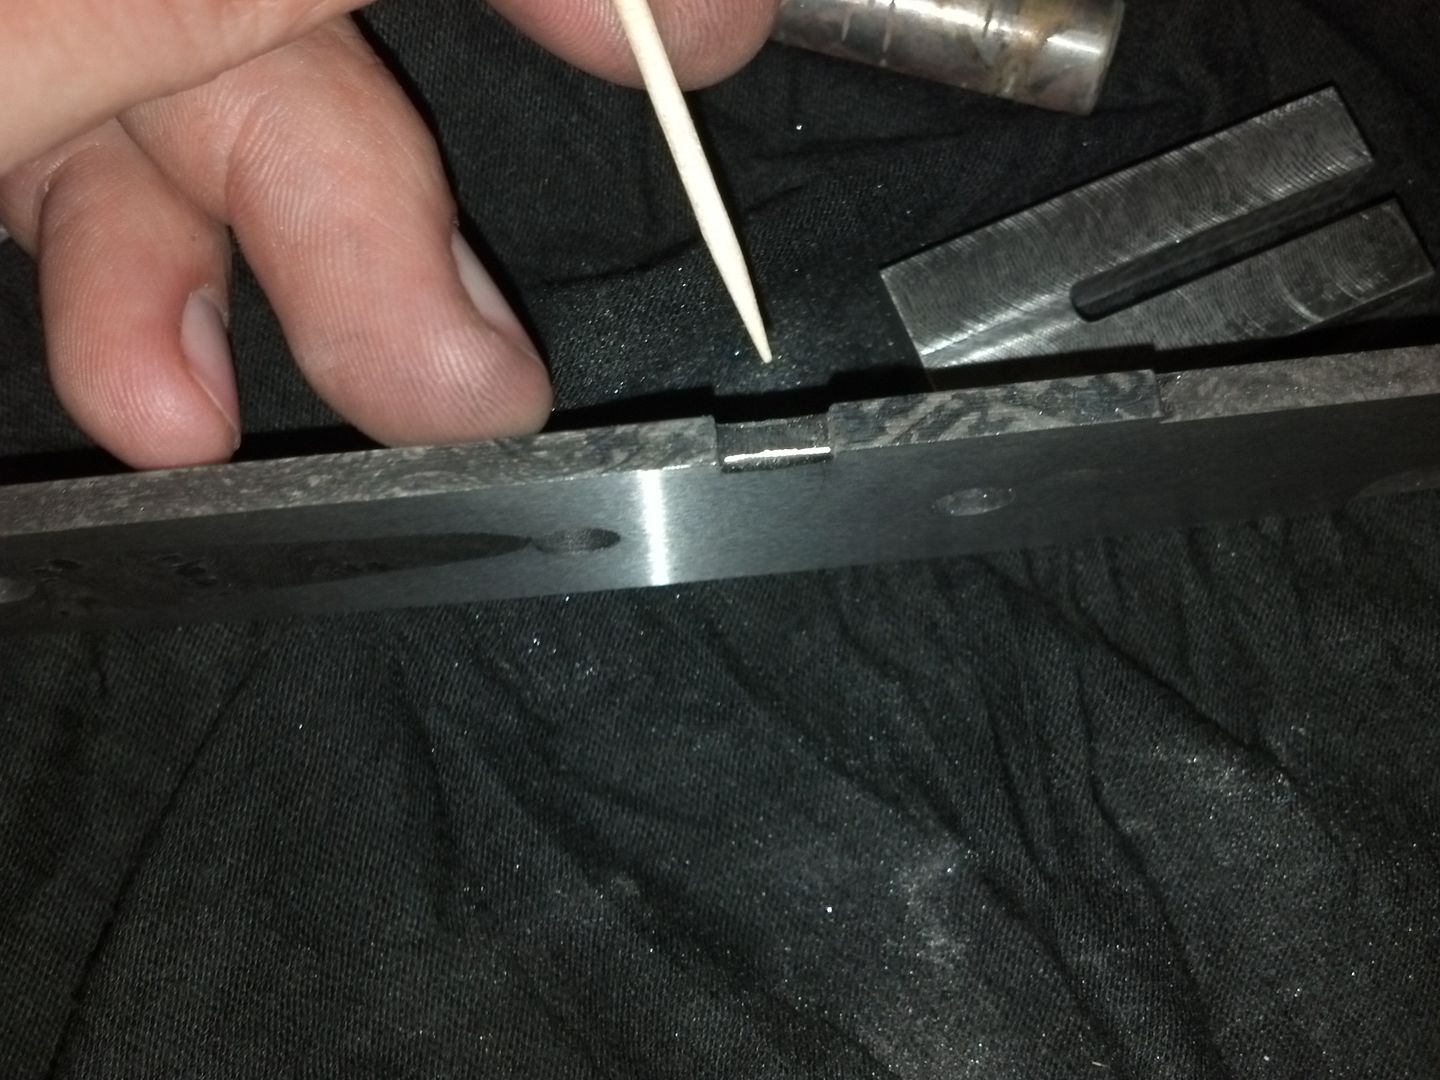
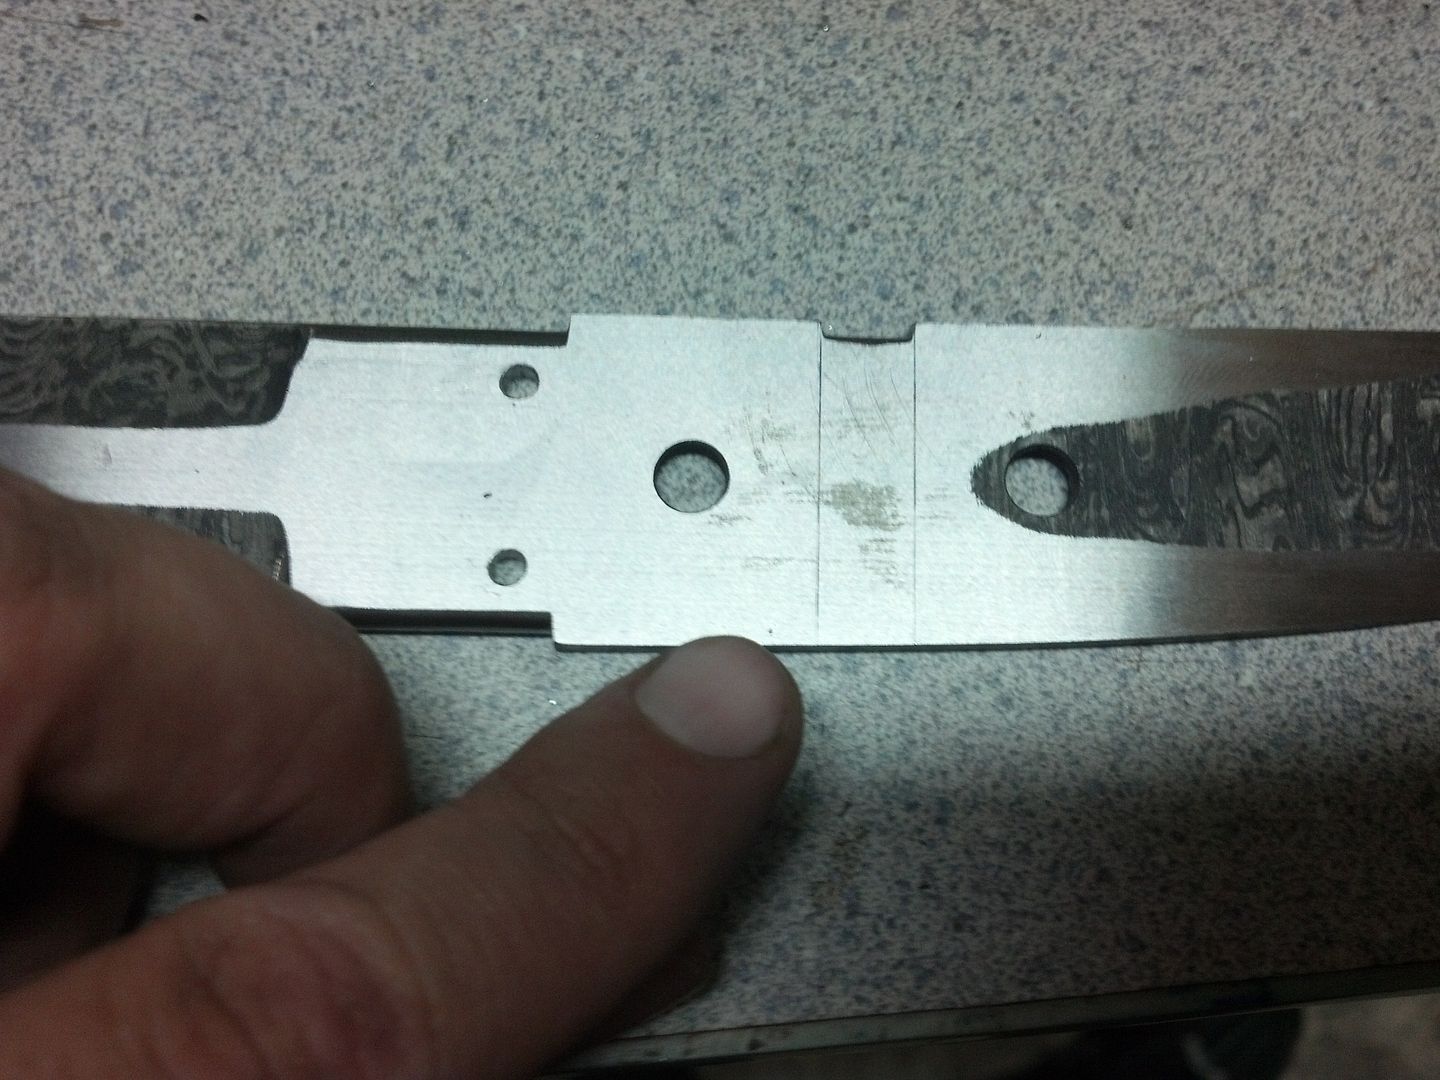
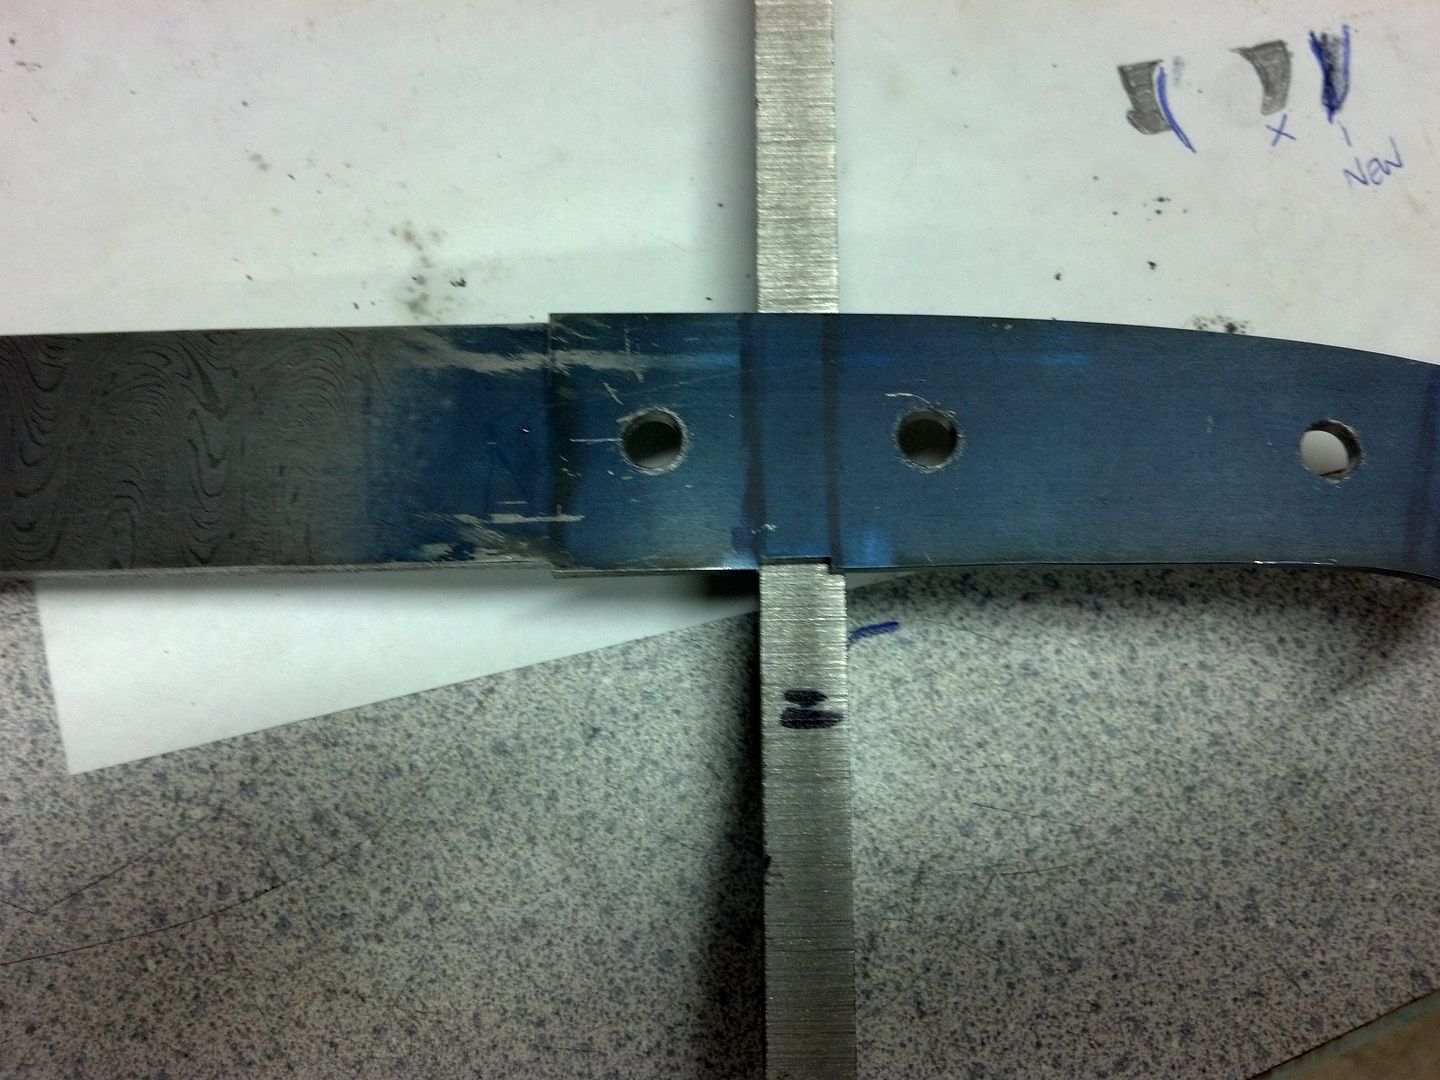
Since I know the scale will go past the second mark (the one closest to the rear,) I know that when I lay this flat piece under here to mark it and go to the first mark, there will be plenty there. Note the struggling sharpie line that traces the tang :lol:
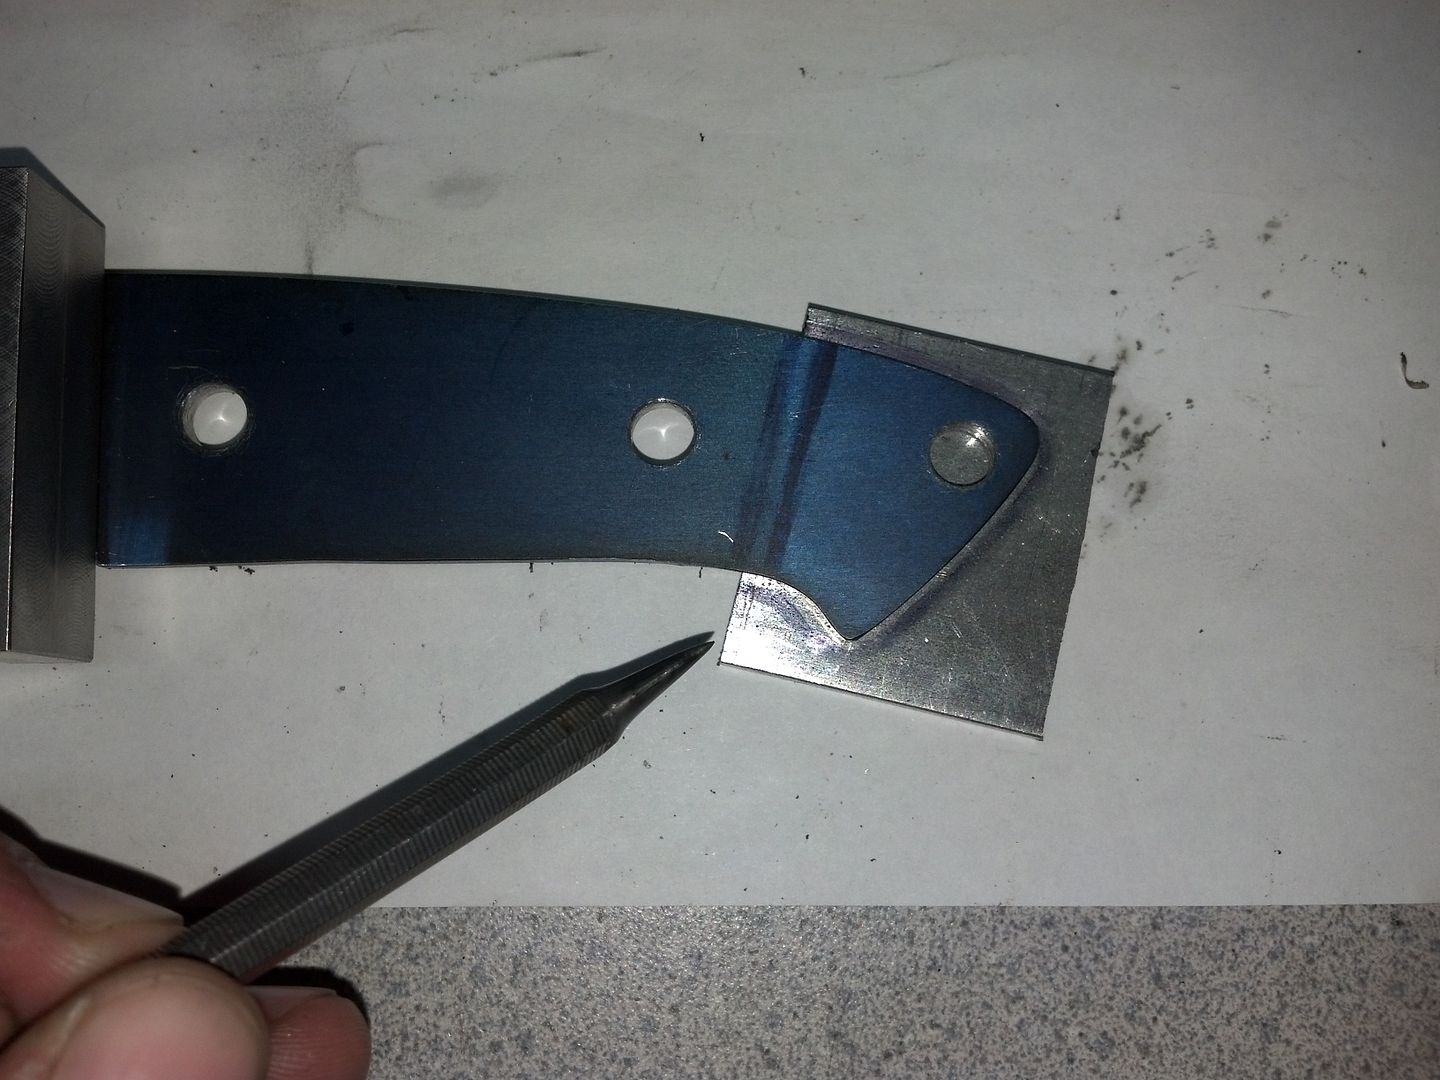
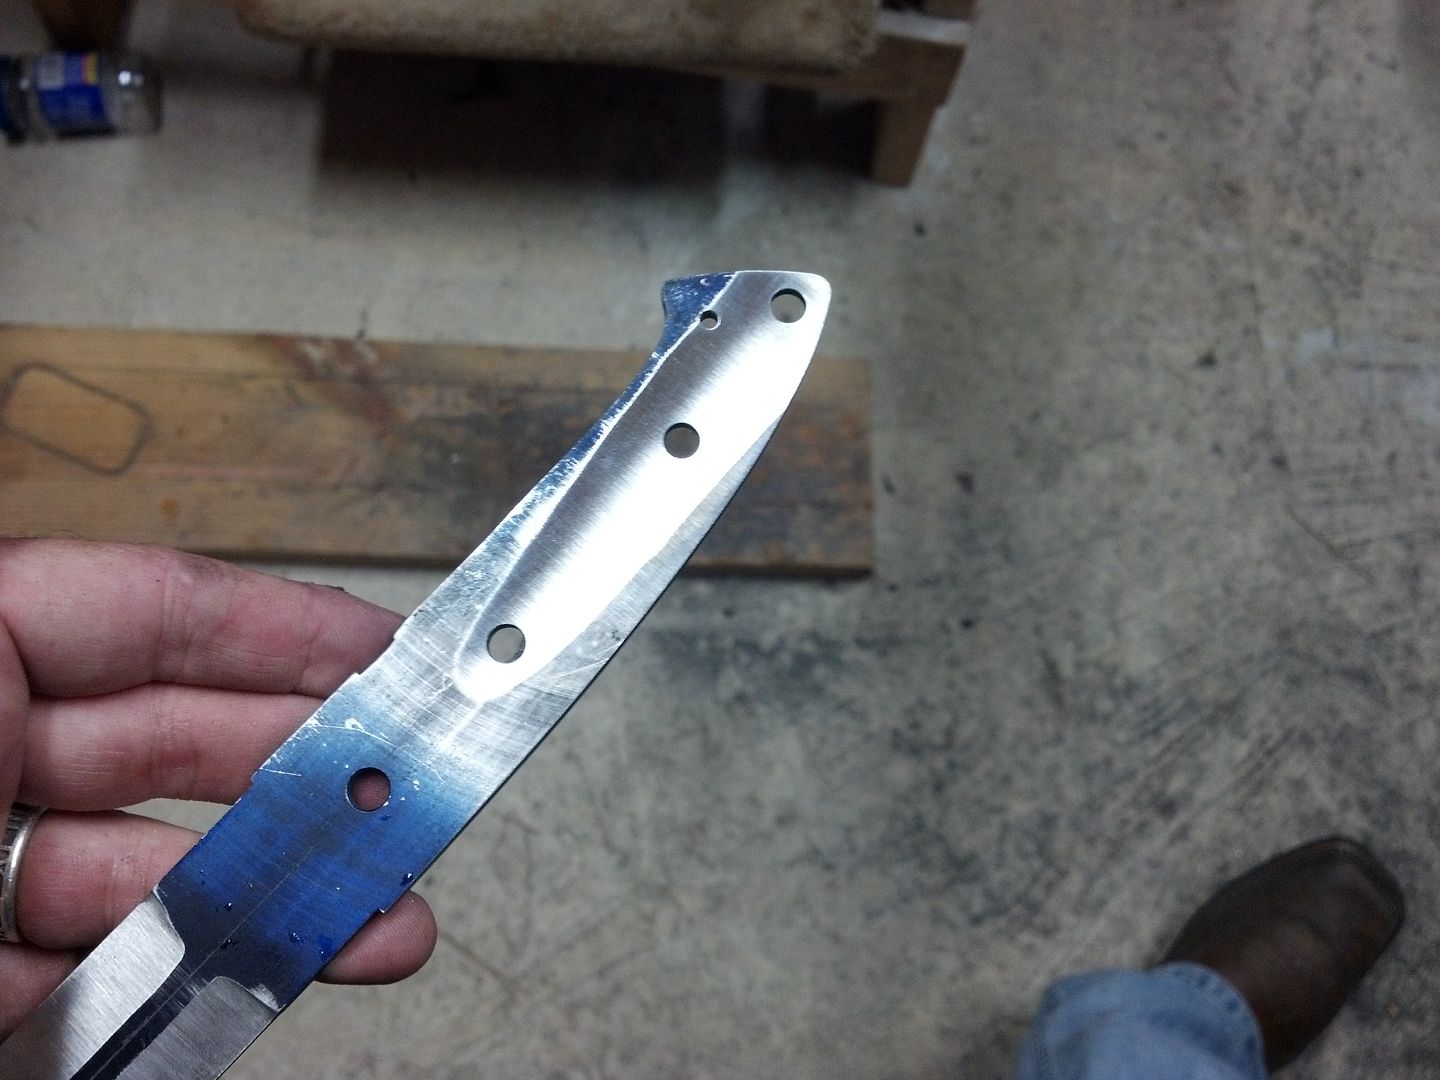
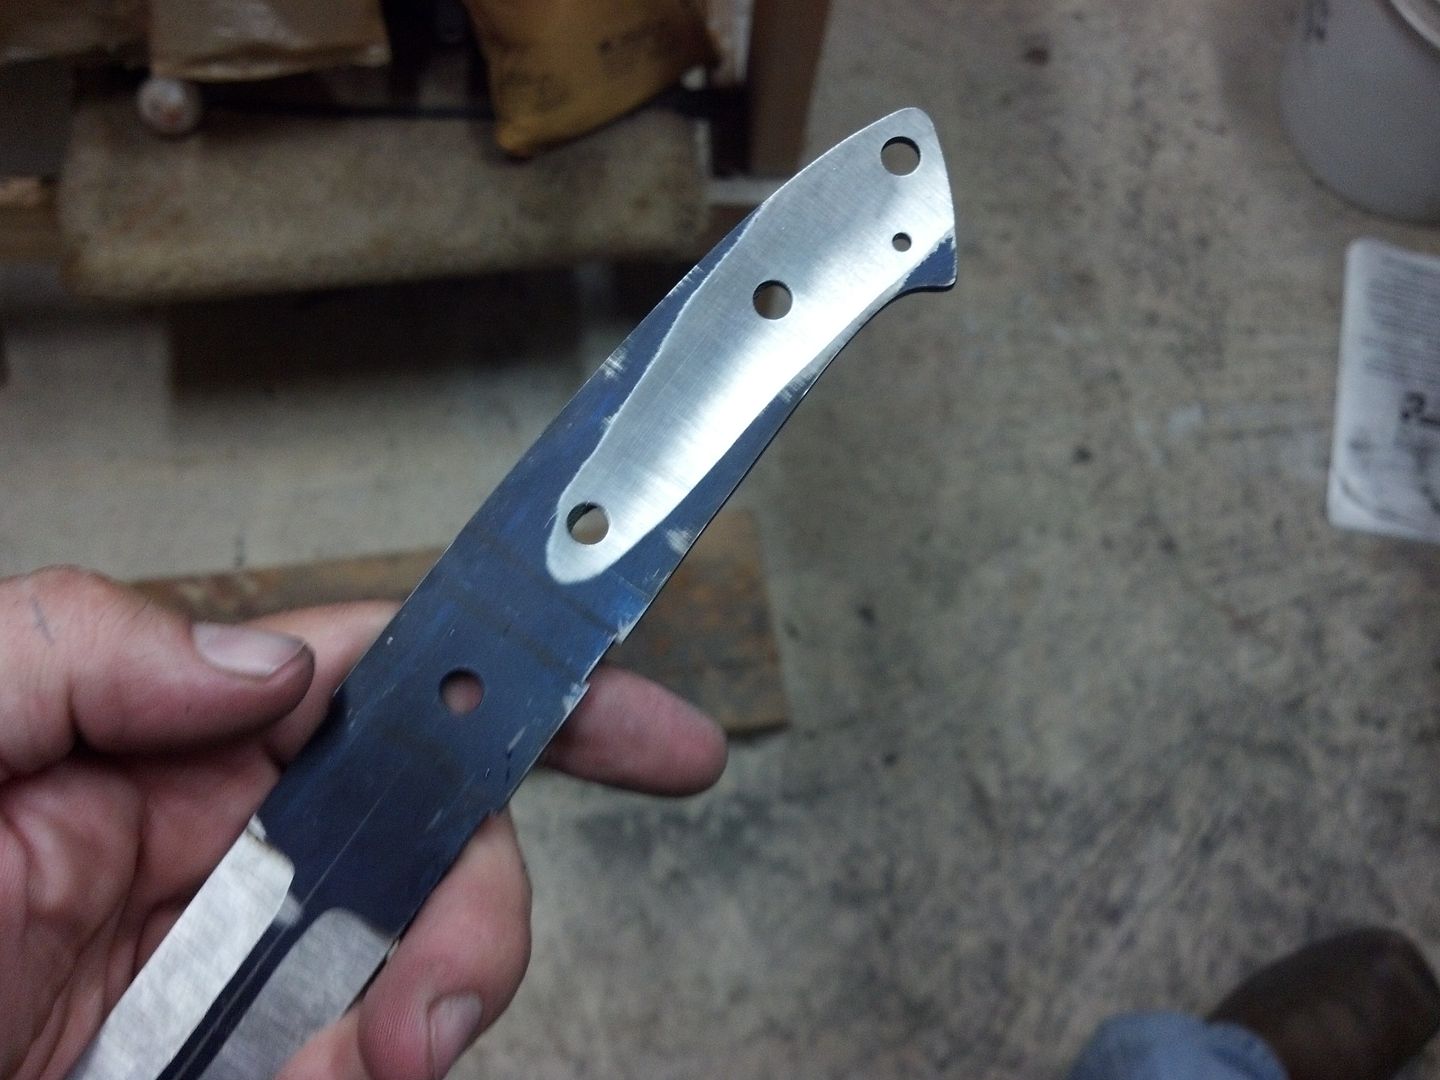
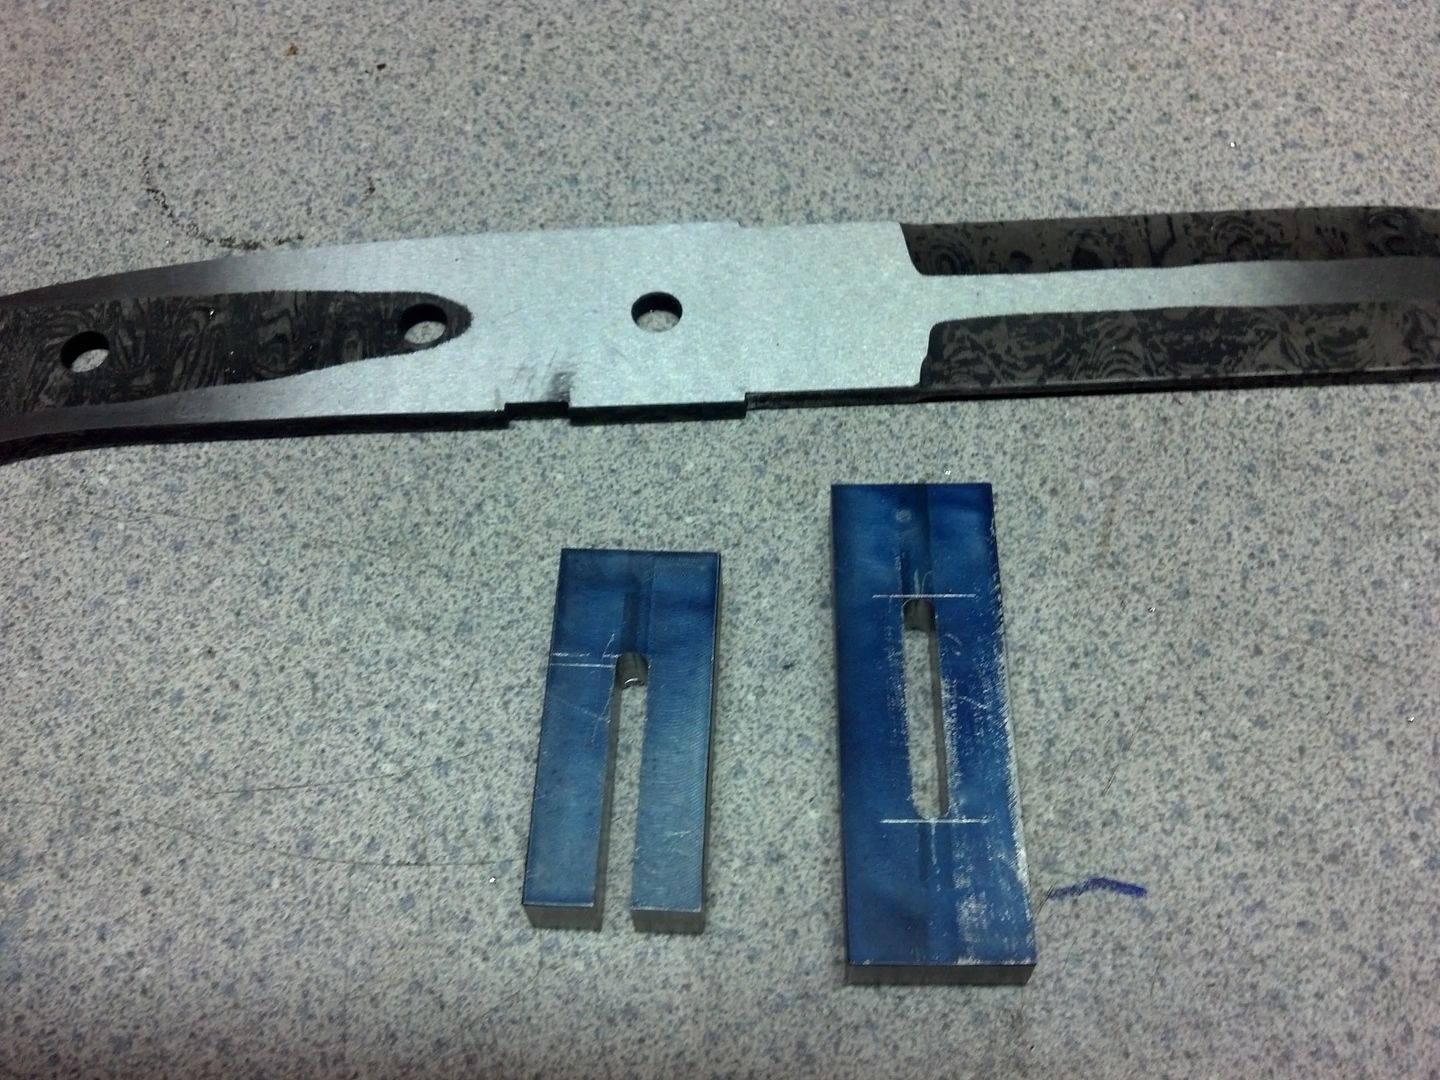
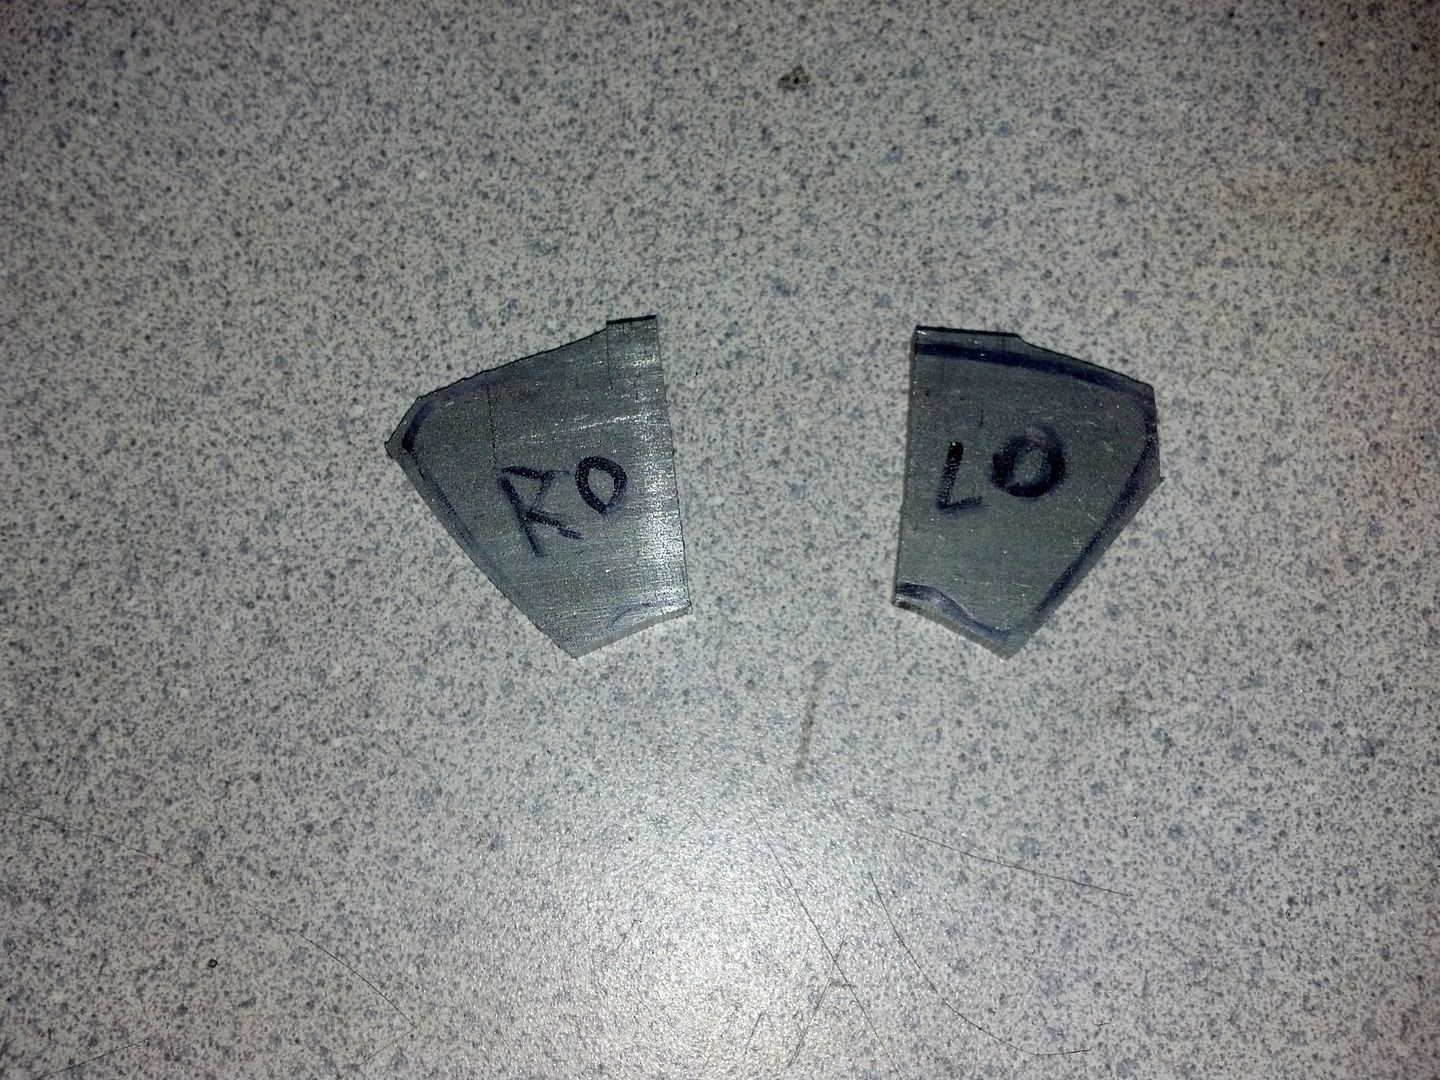
After marking each piece for each side, we cut them out and are left with these. The letters mean Right Outside and Left Outside
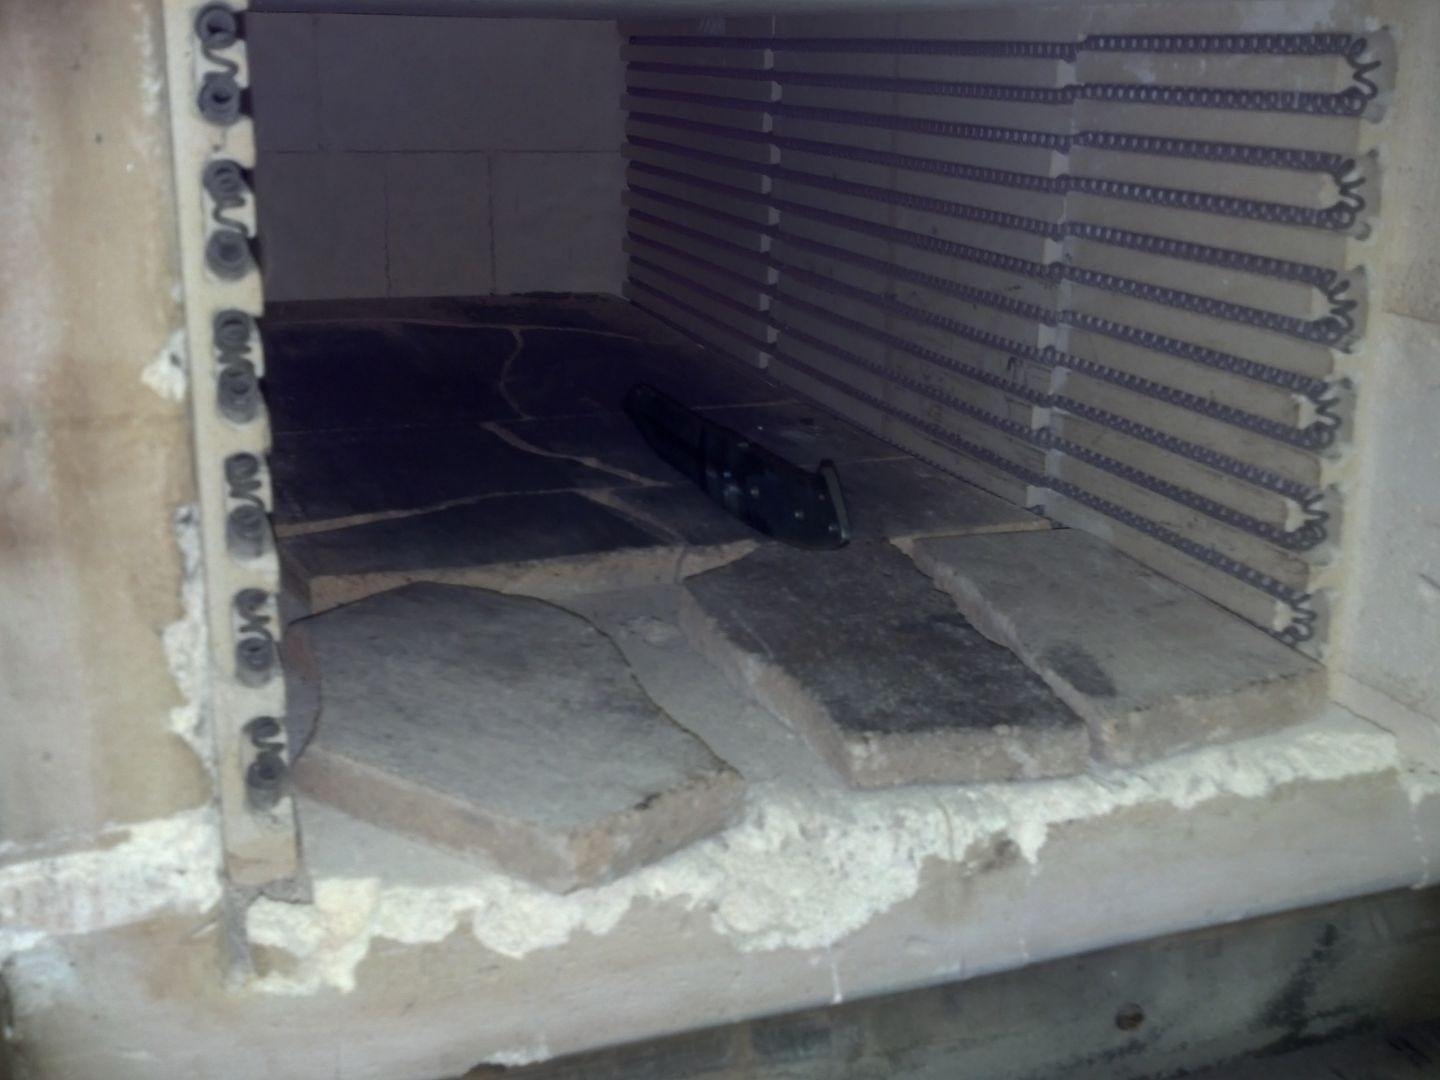
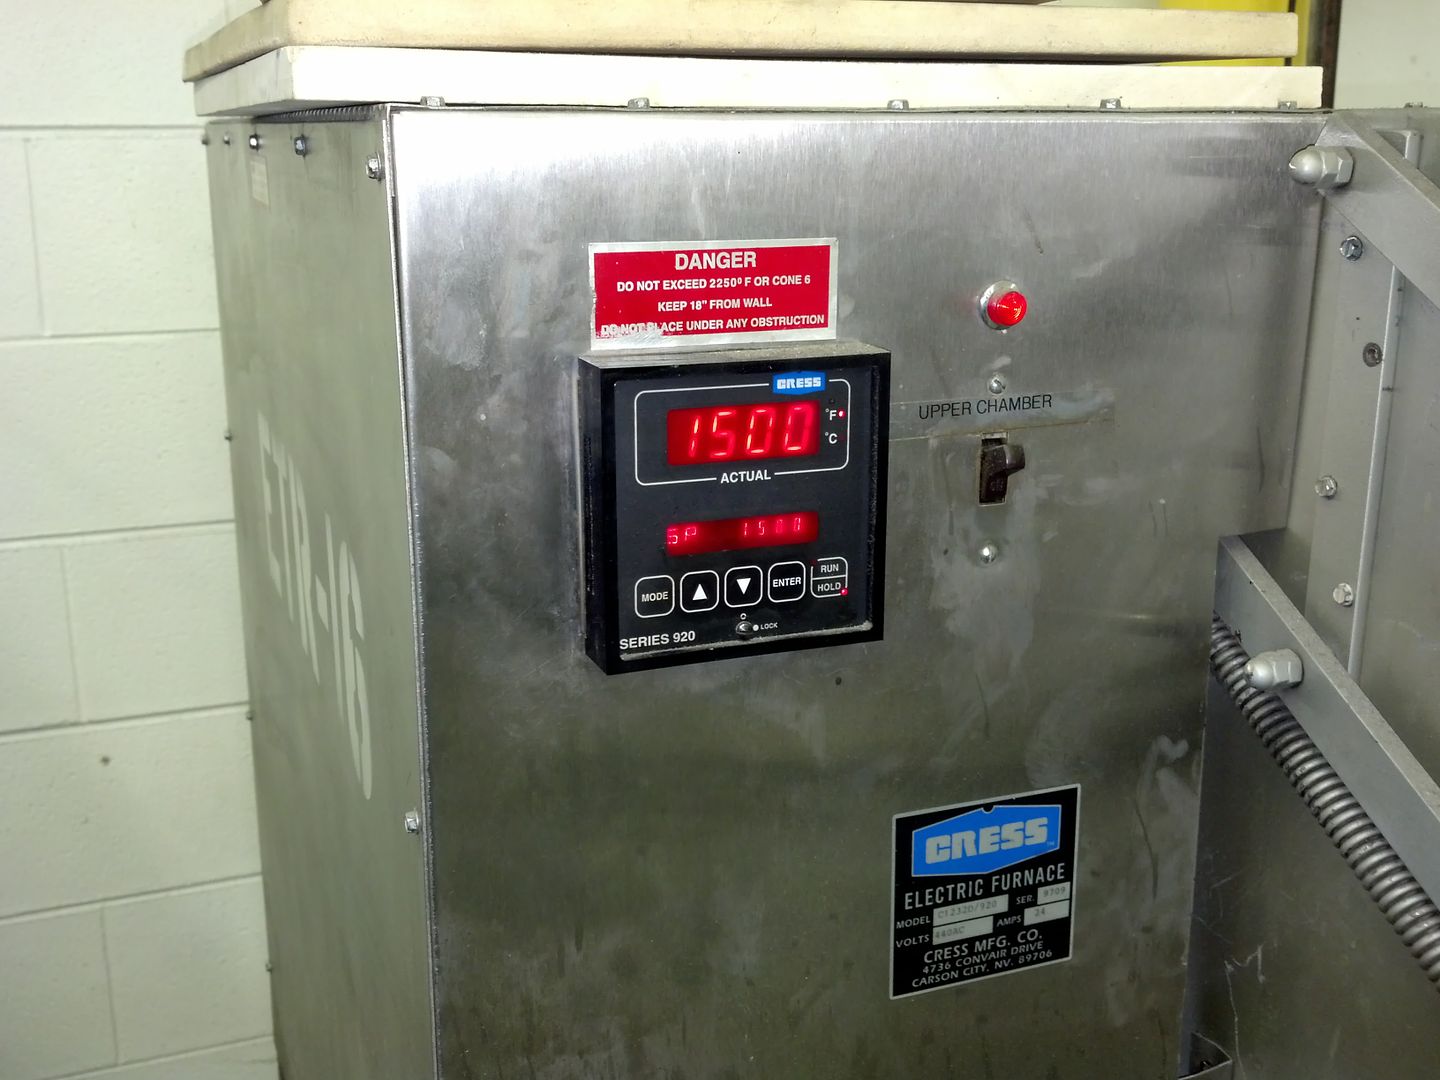
More to come.
Started working on th guards tonight. Thanks To forum member Josh Dabney, I have some 416 stainless to work with
First thing to do is to measure some of it out and cut the pieces for the guard and the sub hilt. I just eye it out to what looks about right, no specific measurement here. First is the main guard-
Then I move the piece up to mark what I need for the sub hilt
Then I take the flat stuff that will be the rear bolsters and mark a general idea line for a piece bigger than it (they) will be-
I really need to get a new sharpie..mine is about dried up..When I get done, here are the sawed pieces-
Now we have to do some squaring up in the mill. This stuff has to be straight before we can do anything with it.
You can see the scale left here on the convex edge of this piece. This is what most steel looks like when it is hot rolled from the mill. It ususally has a full smooth finish if it is cold rolled..at least mild steel does anyway.
In this pic I am squaring up the end of one of the pieces. They basically have to be hit on all sides to get them perfectly square, and then I'll work to my dimensions after that.
I'm only working on the guards for this particular step. The flat pieces for the bolsters will have a different process. The guards are now square-
Next step is to get the guards to the same thickness. When I looked at Bruce bump's pics of his Sub Hilt, the guards appeared to be about the same. I had previously cut the slot in the bottom of the blade blank to 5/16 (.313") that holds the sub hilt in place. I need to get both pieces down to about that. First I take a measurement of the steel before, and it is .380"+
So then we do some face milling. That's the same 1/2" endmill I was using to square everything up..I'm too lazy to change it to something more practical, lol
So in this next pic you can see what they were and what they look like at 5/16" thick.
When they are both finished, I lay them on the blade to get a general idea of the look.
Next step is to lay out and cut the flat pieces to start the rear bolster roughing. What's important here is to be sure I leave enough material to grind away. If I cut to short, I will have to redo something. First thing I do is lay the large pieces of ivory on the blank and look at where I picture that rear bolster to come to. Those two faint marks you see on the rear of the blank are my lines. To be sure, I'm going to put the sub hilt in place and put the scale there to double check. First, I need to be sure the scale is square where it will come in contact with the sub hilt, because that could possibly change the length a tad and throw off my checking on the bolster end..
So I use this little piece of steel I have that is square to check the disc sander..
Then I lightly hit the end of the scale..Gosh this stuff stinks.... haha
So then I can set every thing up as previously described and double check the rear..
Since I know the scale will go past the second mark (the one closest to the rear,) I know that when I lay this flat piece under here to mark it and go to the first mark, there will be plenty there. Note the struggling sharpie line that traces the tang :lol:
After marking each piece for each side, we cut them out and are left with these. The letters mean Right Outside and Left Outside
More to come.
Last edited: