Going for the plunge?

Mark Barone

Well-Known Member
The belt overhangs the platen a smidge. I understand why. If I use my clamp as a plunge guide, do I just press it up against the edge of the belt or am I trying to have the belt curl toward me and press the guide against the platen. Am I overthinking this?
 
Clamp???
Do you have a file guide. One that will clamp to both sides of the blade at the same time. That would work the best for keeping the plunge lines straight.
 
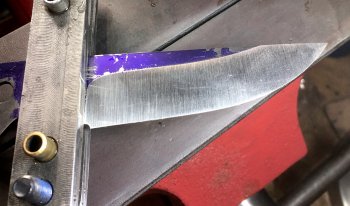
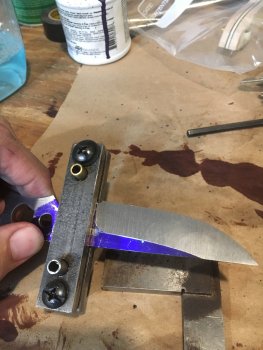
I grind all freehand, so this advice might not apply if you're using a jig.

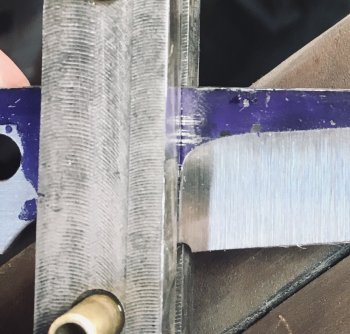
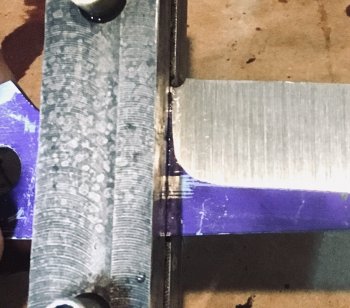
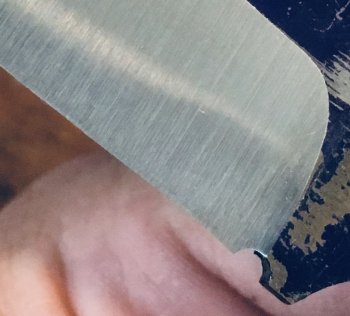
Personally, When I start grinding a blade, the plunges are always "set" a fraction of an inch further forward than where I want them to end up. I then grind the blade, and the LAST thing I do is to run the edge of the belt past the edge of the platen, then, A LITTLE AT A TIME, I "walk" the plunge to it's finish location.... changing sides as I go. I ALWAYS do this with a J-weight belt....because it will "roll" over the edge of the platen, and give the bottom of my plunge cuts a nice radius (which I like much better than square cuts).

I don't pay much attention to where plunges are during rough grinding (pre heat treat), as long as they are FORWARD of where I want them in the finished blade. After heat treating, I finish grind the blade, then then treat the plunges as described above.
 
"set" a fraction of an inch further forward than where I want them to end up.
Never ever would have thought of that. I use a file guide and put them where I want from the beginning. As a result I chase plunge lines often, holy crap I am doing this from now on. I normally place my plunges in the middle of my choil and I often have a bear of a time putting my file guide back exactly where it was pre-HT. This totally solves that problem because it no longer matters, I just place the file guide in the middle of the choil post HT. Man, I feel stupid. Thanks for posting that guys.
 
Every new maker chases plungelines until you learn what Ed was talking about. Even if you got your plunge lines perfect at 60 grit, you’ll booger them all up trying to clean up those rough scratches with the higher grit belts. Each grit belt brings the plunge back toward the ricasso a hair. But I don’t want a single scratch in my final plunge rougher than 120 grit. 220grit is even better. You’re only talking about bringing the plunges back a few thousandths of an inch- you can cut that with a few touches. There’s no need to hog the plunges in from the get-go.

Speaking from my own experience- I had to force myself to stop obsessing over the plunges on every pass.
 
These ideas are very helpful. I will definitely try finishing the plunge at the end. I would love to see a video on just that process. Thanks guys
 
I don’t have a video, but I took some pics just now as I ground this knife.

I use a knackered out file guide clamped to the blade as a “stop” for my belt. This is a good cheat to make sure both plunges are in the same place and at the same angle. Notice the sharpening notch / choil. That’s my reference point. I put the guide at about the middle of the notch to start. The first pics show the grind line bumping right up to the guide.
 

Attachments

  • E96D5555-DE87-4886-9D35-A191A4123EFE.jpeg
    E96D5555-DE87-4886-9D35-A191A4123EFE.jpeg
    1.3 MB · Views: 27
  • 9370AB65-A4BB-4161-9860-DC360DAF8466.jpeg
    9370AB65-A4BB-4161-9860-DC360DAF8466.jpeg
    443.7 KB · Views: 26
After I’m done at 120 grit, I stop and scoot the guide back a tiny hair. (See how more notch is showing, and the layout dye is poking out?

I’ll now go to a 220 belt and bump up to the guide again. This will grind away all of that previous stick-out, and take those 60/120 grit scratches away with it.
 

Attachments

  • 5B99AF99-F694-4302-9075-60953A031450.jpeg
    5B99AF99-F694-4302-9075-60953A031450.jpeg
    365.3 KB · Views: 19
  • 11469C86-9E32-4C82-824C-0511DFB4F73D.jpeg
    11469C86-9E32-4C82-824C-0511DFB4F73D.jpeg
    1.5 MB · Views: 19
Take off the guide, and there are your 220 grit plunges right off the grinder.

I’ll start my hand sanding at 320 and those 220 scratches will clean right up. No more digging in the crack to get rid of deep scratches. That little scoot of the file guide eliminates that hellish ordeal.
 

Attachments

  • 43DB5528-348D-4CD3-9AF5-5643237C2CEB.jpeg
    43DB5528-348D-4CD3-9AF5-5643237C2CEB.jpeg
    203.8 KB · Views: 21
I'm sure John and I did the same thing.....fumbled around with it until we found a way! :)

I've often read how folk say that my responses are so detailed...... I just wanna make sure I can spare others the grief I've already experienced! :)
 
Back
Top