Couple of slip joint WIP

Very good WIP. I cant wait to see the finished knife.I have always wanted to build a slip joint folder and now you have givin me the inspiration to do it,but it will be awhile before I can.I'm in the middle of moving from Kentucky to Georgia and have to get a shop build before I can do any more knife making.I hate moving and I swear this is the last time I am moving.
 
LOL.... My plans are to build a shop with half of it for my knife and woodworking working tools and the other half a garage where I can work on my vehicles since our house has a car port I may utilize part of it to set up a couple tools until I can get my shop built.Gotta get everything moved and takin care of first though.
 
Shop? They're overrated......Mine's only aboue 6 by 7 feet. Maybe a hair bigger. One of these days it'll be ALOT bigger.

Ok. Today wasn't my day. I chipped the blacklip around a pin hole. I had the knife together and taking the middle pin out I saw a flake fall and it took me ten minutes before I could flip the knife over. The chip was bad, but I got most of it sanded back out. The words I said aren't even appropriate for a sailors forum, but I guess this is part of it.

knives951.jpg


The reason the knife was together is because the more I looked at the corner of the bolsters the more I disliked them. I thought they were too rounded so I squared them off a bit. I still have a hair more to go.
Before
knives906.jpg

after
knives953.jpg
 
Waiting to see this one finished ryan. I got my st. jude knife done and it is in Paul Long's shop at the moment getting a sheath made. I am now ready to start on a few slip joints myself. I ordered some blade steel yesterday and some SS bolster material as well. This tutorial as well as a few others have been very helpful in getting me pointed in the right direction.
 
Well I'm baaaccckkk. The computer got nailed by a virus and i've been without for a while.

Got some new pictures to show.
First off is the polishing. I took it to 2000 grit first with oil, then with windex. From there I used a microfiber cloth and rubbed flitz polish on the blade.
2000 grit
knives036.jpg

flitz
flitz on the worn 2000 grit paper
knives038.jpg

As of now I do not own a buffer, mainly due to I don't like buffers. I work around all kinds of dangerous stuff and yet the buffer still scares the crap out of me.
Instead I rub a little buffing compound on a microfiber cloth and rub that on the blade. Sometimes I will run a torch over the compound for just a second to warm it enough to wipe onto the cloth.
knives038.jpg

knives040.jpg

after rubbing
knives041.jpg

knives042.jpg
 
Once both sides are done I will start getting ready to make the gold domed nail studs.
In order to start I will use 1/8" brass rod. Cut 4 rods approximately 2". Flatten one end then I drill them out.
For the smaller 18 guage wire I use a 1/16" drill bit to drill the end of one brass rod. You only want to drill down far enough to hide the bevel of the point of the bit. Hopefully these next few pictures explain this.
knives048.jpg

knives049.jpg

Hopefully you can see in this next picture what I was talking about by only drilling in far enough to cover the point bevel.
knives050-1.jpg


Mine rods were done before this but you can tell I took them to the grinder and removed some excess on the ends.
knives047.jpg


For the bigger 14 guage wire I used a 3/32" bit and repeated the process.

Tomorrow I'll go through actually making the domed pins.
 
That's an impressive finish on that blade Ryan. well done man. try using a camois or some leather for your final rub. and then use a clean camois or piece of leather to buff it out. It works well.
 
Welp getting closer by the minute. I have the gold hammered into the holes now. I just have to ectch, sharpen, and hammer the knife together. The last one gets me hammering on pearl and all.

Here's the process I used getting the wire into the holes domed over. First off up above I mentioned how to make the brass punches.
1. Measure the thickness at the center of the whole. My picture shows me measuring the top of the hole, it slipped while I was taking pictures.
knives092.jpg

2. Draw a diagram and write that measurement down with the corresponding hole. Also add .050" this is how long the gold wire will be for that particular hole.
knives091.jpg

3. Cut the wire at the approximate length and you may have to touch it up on the grinder. I held mine with needle nose pliers. Make sure the ends are flat. In this picture you can kind of see it sticking out both sides.
knives093-2.jpg

4. Put one of your brass punches in the vice. I like to put mine down low so that the vice can help support the blade during all of this.
knives094.jpg

5. Lay the blade on top so that the wire is in the brass punch indention. Then place the other punch over the top of it and start hammering. I do one light hit and check. I check after just about every hit to make sure it's even on both sides and not gouging the gold.
knives095.jpg

6. Here's a bad pic right after tape was removed. I tape my whole blade up in case it anything slips and scratches the finish.
knives097.jpg

7. Next using the same hand buffing method I used on the blade I do the studs. This really rounds them out and polishes them up.
knives098.jpg


Also notice BEFORE i put the studs in I ground a small swedge in with a 220 grit belt. I just like the way it looks.
 
Last edited:
Thanks John, hows yours going? I haven't got a peek at the thread in a few days.
Well my nerves are shot for tonight. I got the knife peened together, it's a little stiffer in the action that I want. I will work on that tomorrow.

First off I etched my name on the spring so you can see it down in the knife when you open the blade.
knives099.jpg

Next I used a tapered pin reamer to ream the holes. I did the pearl in hopes that it wouldn't shatter when I peened those pins.
knives101.jpg

Next I cleaned off all my pins with 600 grit and acetone. I paid really close attention to the pivot pin hoping that I didn't have any smudges that would help it show up in the bolsters.
(after cleaning shot)
knives100.jpg

From here I assembled the knife like I have been.
You will notice that I used a jewelers saw to cut the pins down close to the material. I then touched them up on the grinder as well. This will eliminate the pin from bending. I wanted just enough pin showing to hit and swell in the hole.
knives105.jpg

Next I used brass shim stock and using scissors cut two pieces out to go on the pivot pin.
knives102.jpg

knives103.jpg

knives104.jpg

At this point my nerves were shot so I didn't take pictures throughout the peening process. I did the end pin first then the middle then pivot pin last.
knives107.jpg

Tomorrow Hopefully I'll get the knife final polished and it will be done.
 
And just cause here is some scrimshaw I've done. I tried working on knives (these two to be exact) in the truck while waiting on guest at work. I lost pieces nearly broke pieces and generally couldn't get anything set up to do any decent work with. Instead I started trying to scrimshaw with the prompting of Jerry Mcclure. I've done a total of 8 scrimshaw pictures and here they all are. I've done all of these in the last month.
knives045.jpg

knives055.jpg

knives051.jpg

knives043.jpg

knives052.jpg

knives058.jpg

and in progress
knives057.jpg
 
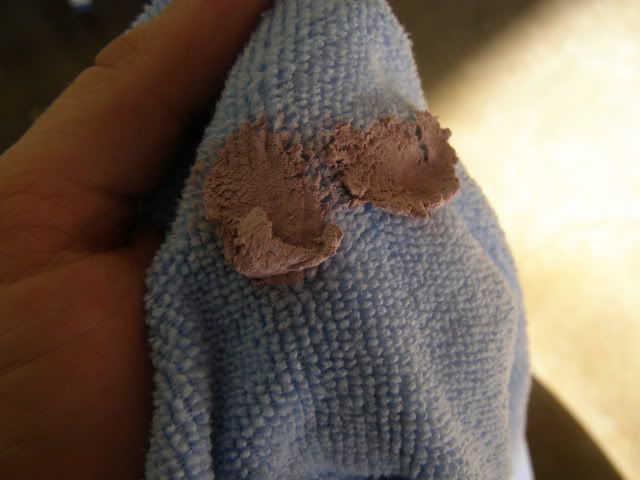
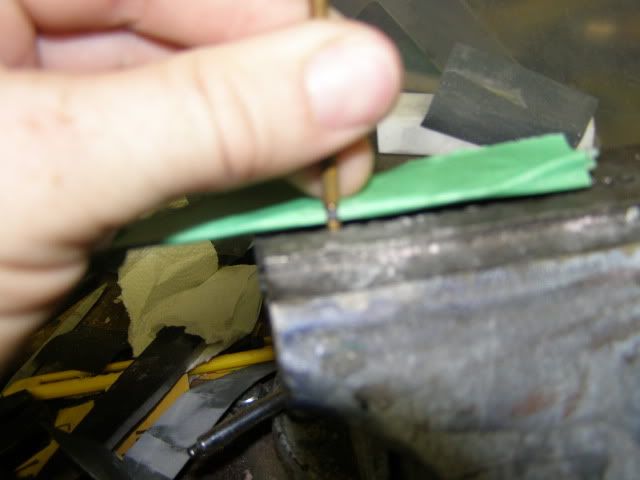
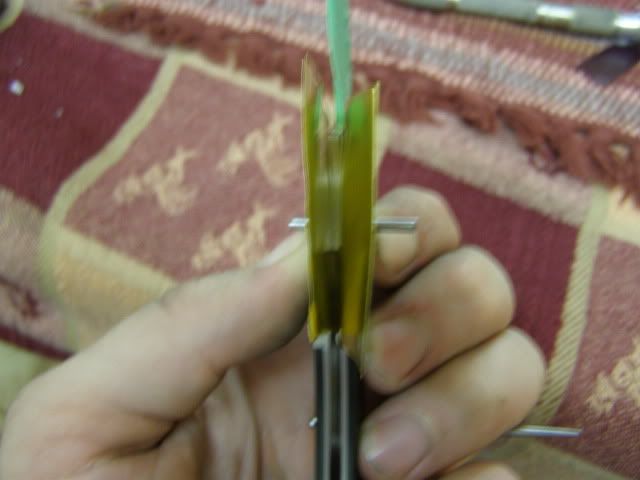
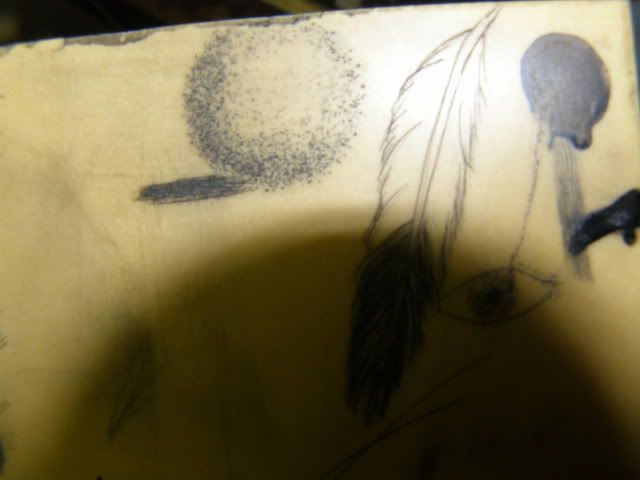
Ah final polishing. I'll admit I got a little excited and didnt' take as many pics here as I should have. First off stuff the opening with toilet paper or something. Helps keep grit from getting down in the knife.
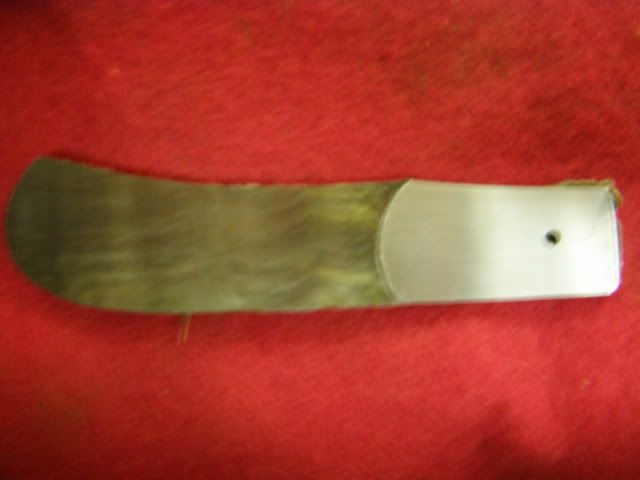
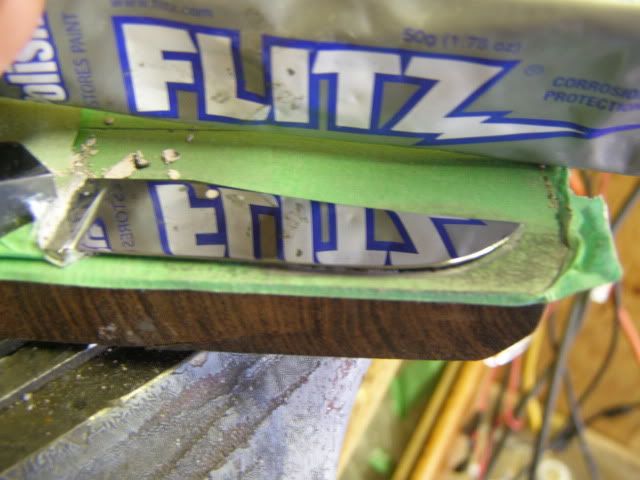
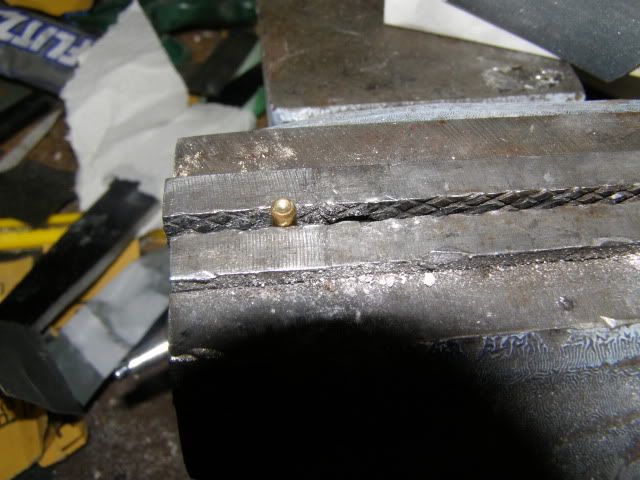
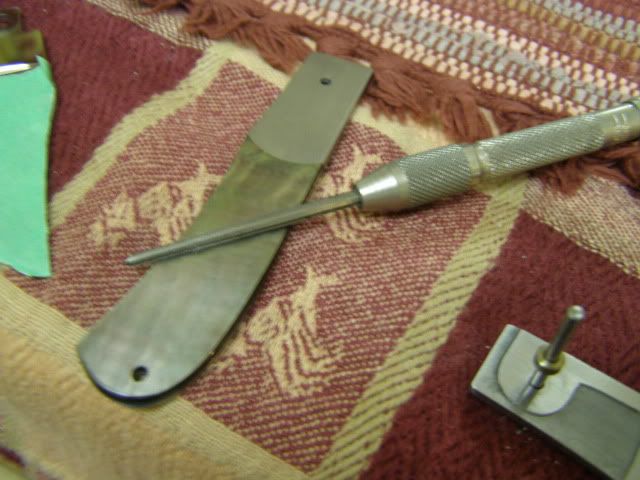
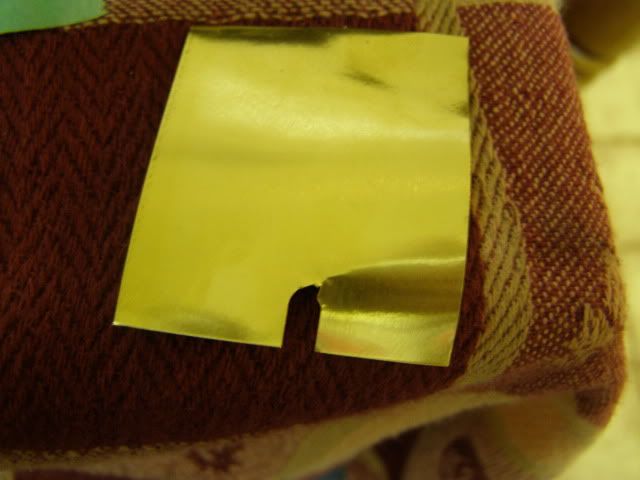
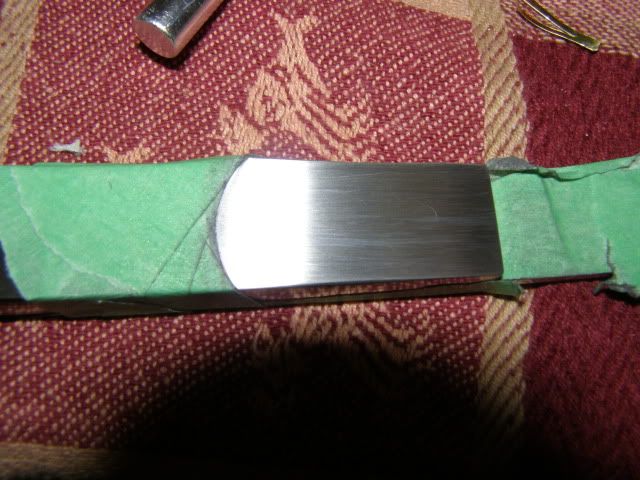
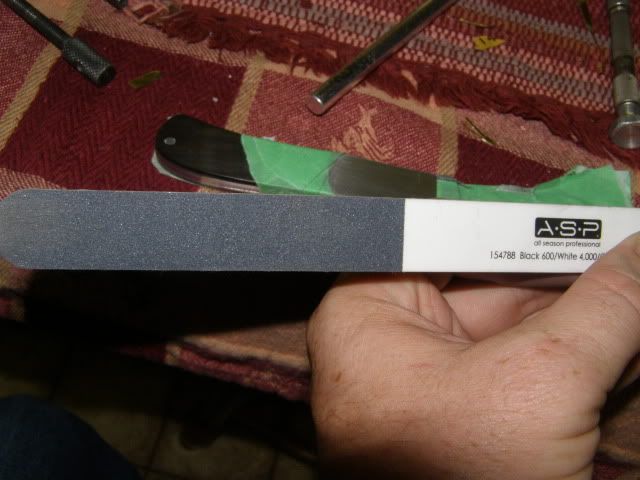
Next after final polishing of the pearl I taped off the pearl and used a 600 grit foam emery nail board to even out my bolsters. I got this tip from Jerald Nichols. This part wasn't AS crucial as it normally is because they will be engraved, but I still want em nice before hand.
knives109-1.jpg

knives110.jpg

knives112.jpg

knives115.jpg

knives114.jpg


DONE (at least on my end)
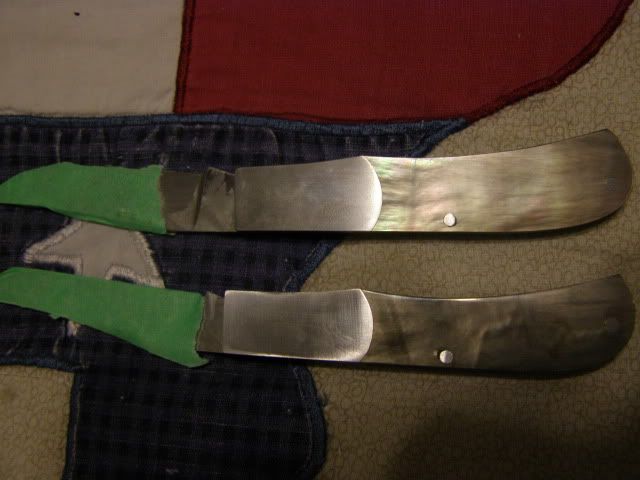
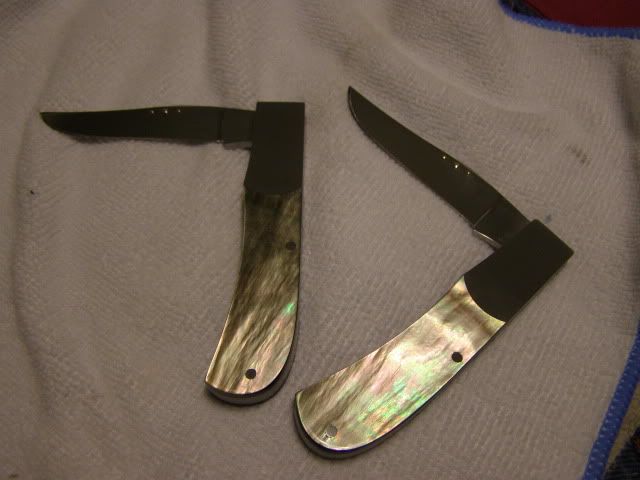
These took way longer than expected or than I wanted to, way longer. I"ve learned quiet a bit though. I've made very few slip joints and these maybe some of the last for a while.
Things I learned
1. When you have an extremely crazy job, don't quote times
2. Slip joints will cause you to lose hair
3. Don't make a slip joint at least one hammered together out of nearly solid pearl. It will crack. It will tick you off.
4. See above.
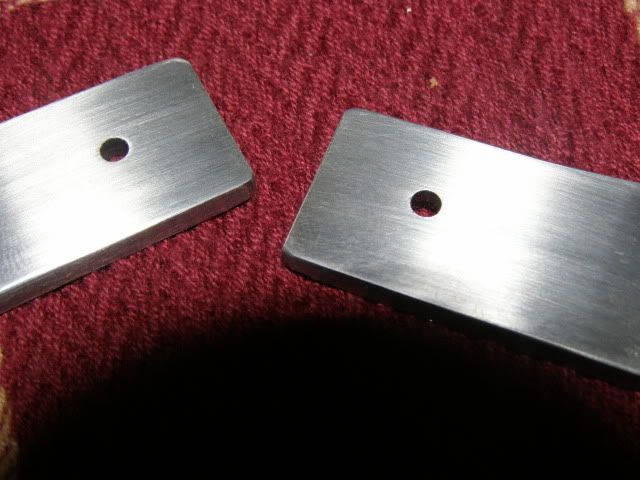
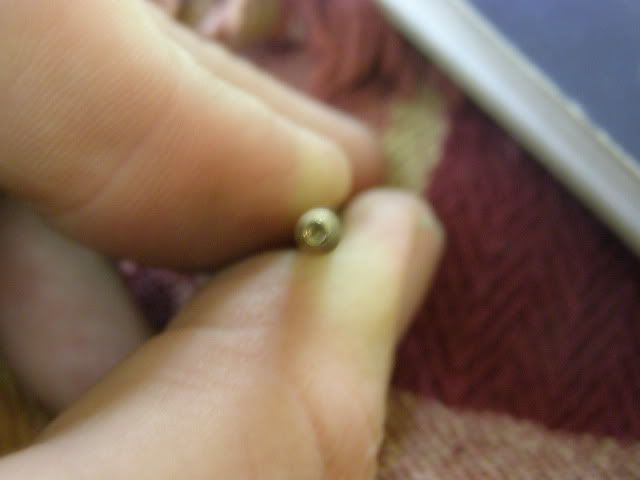
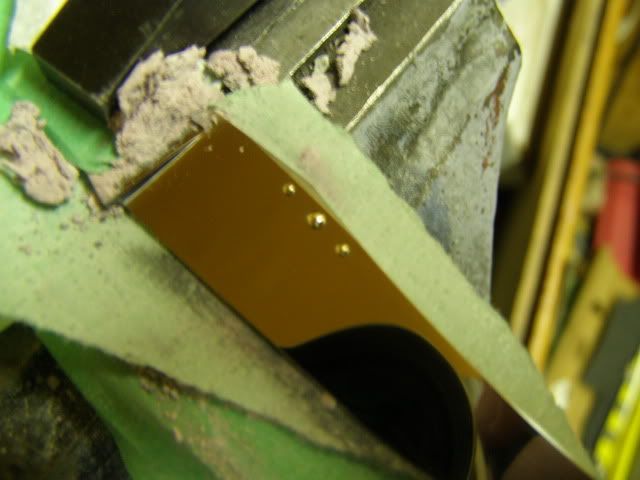
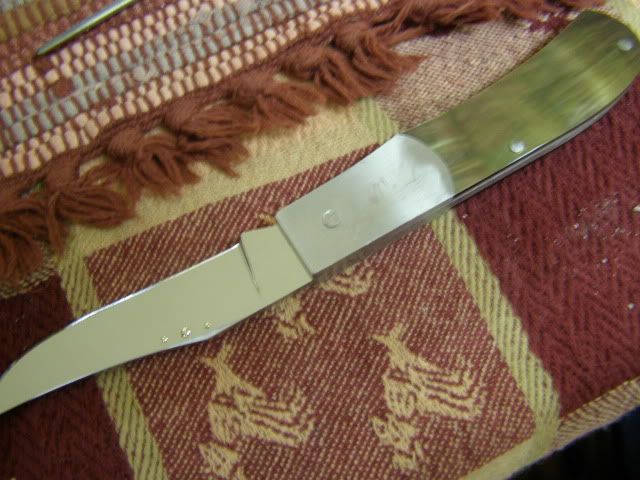
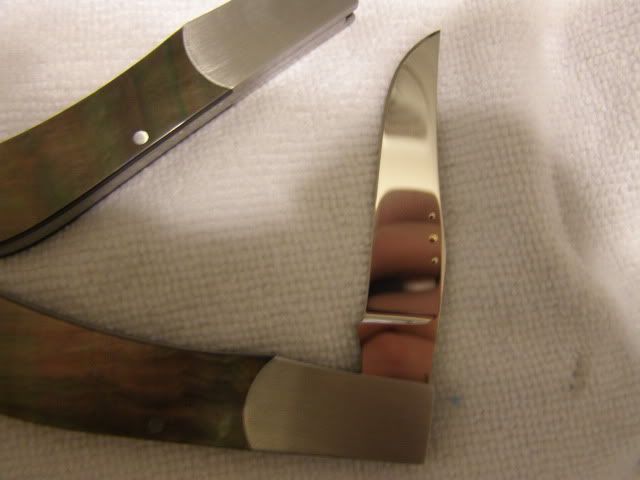
5. My pivot pins are showing, but I do think the picture is exaggerating it. I'm admiting this? yup I wasn't claiming these knives would come out perfect. And to be honest I practiced on several different scraps trying to hide my pivot pins. Several makers have looked it over and they all offer advice, but I think it's something in my technique and the bushings. These are not the first to have this problem.
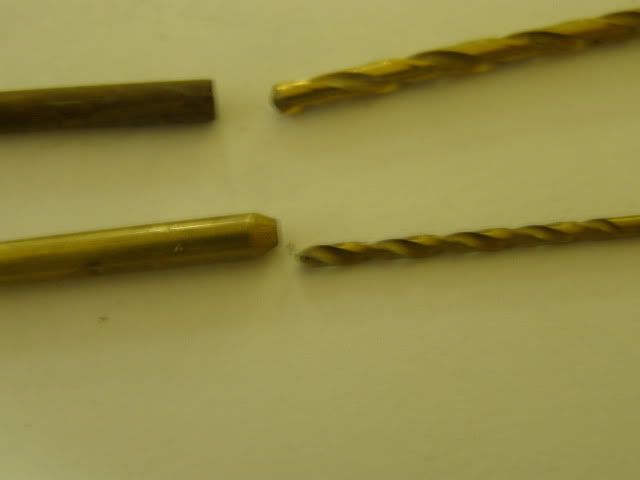
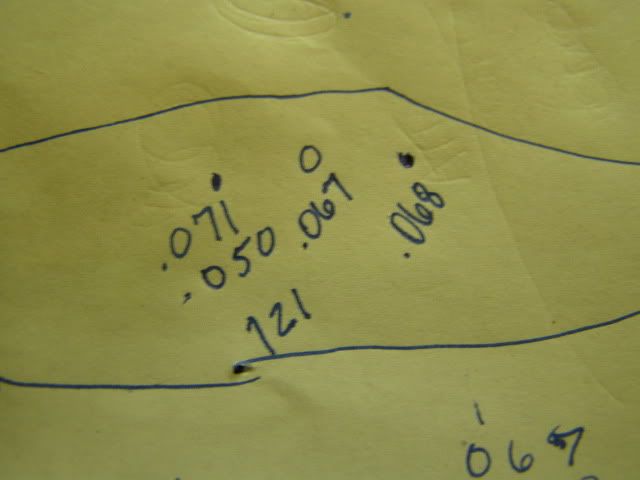
6. Bronze bushings suck. No i'm not bashing anyone who uses them. I think thats one of those things in knifemaking that everyone has a different way of doing. I don't like them for several reasons one is that the next one is NEVER close to the same size as the previous. They are way too out of round. I spent way too much time on the bushings and to be honest I think they are part of my showing pin problem. I've never had them show until I tried bushings. So its either coincidence or I got lucky on the first couple. I think a #41 pivot pin hole in the blade is the way to go for me. I've seen the results and I like em.
7. Pearl will tick you off.
8. Slip joints will cause you to pull your hair out.
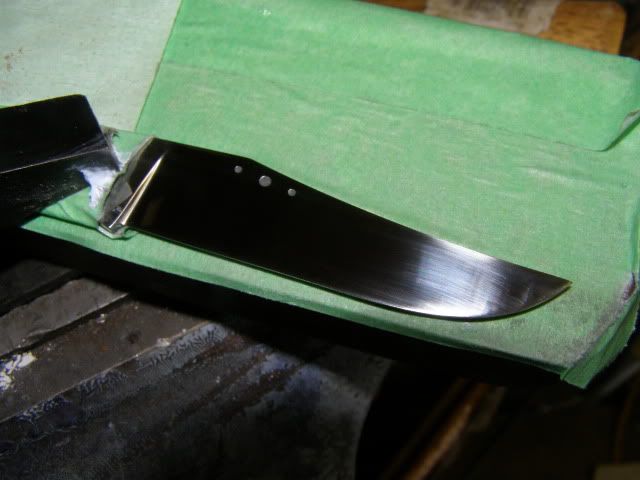
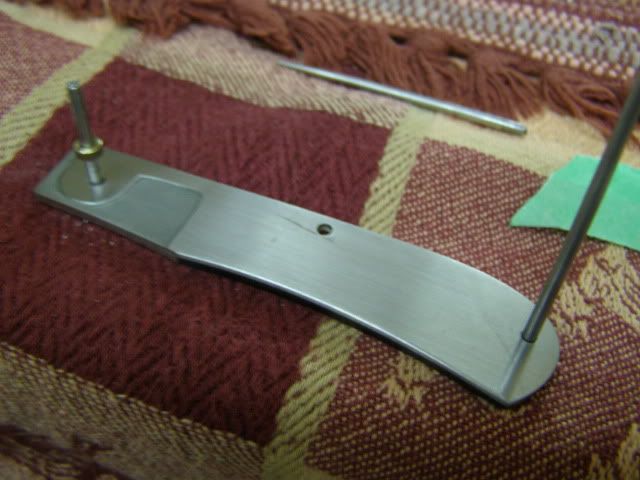
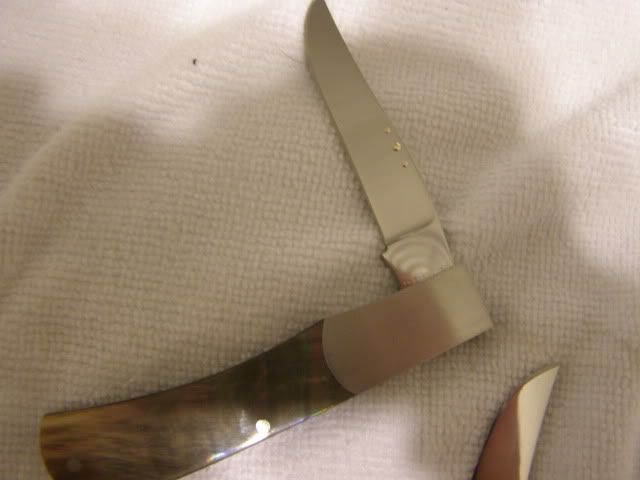
9. I have some very small scratches that showed up on the tang tonight. I will try to get those out tomorrow.
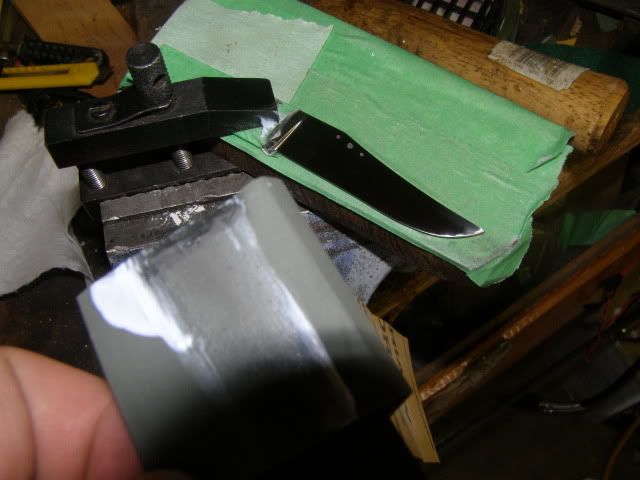
10. I need to get a buffer and refine my mirror polish technique. I'm not happy with it.
11. Are there flaws in these knives? Yes. Why do I admit it? Makes me feel better. I had a conversation one time with a maker about not letting flaws out, he said no way. To be honest every knife before the next has a flaw. I strive to make each one better. 12. Pearl will piss you off. When I get perfect at making knives I'm quitting. I'll strive for it, but I hope I never hit perfect.
13. One of these is stiffer and slower opening than the other. Good? Bad? I looked at several different known and unknown makers slippies over the last year. THey were all so varied it was insane. Some makers you could flick open with a wrist because they sold more that way. Ok maybe that was an exaggeration, but my point is they were light.
Some needed vice grips to open. But I talked to collectors and got opinions both ways. So I figure I'm making two I'll try it both ways, but even my light one isn't as light as some I felt.
14. Don't fit pearl curves by hand, get a pantograph (mine came into play a little late lol)
15. Mirror polish will scratch if you blink, saw it with my own two eyeballs or maybe it was just one.
16. Dunno what else to say, I've been frustrated with these and excited with these.
 
Last edited:
Thanks for the blade finger pull pin lesson and info. I've got to give it a try ---- sometime.
Your folder has come out "ever so lovely" as I love to say when I see the great ones !!! I know it is a credit to youir abilities and a pleasure for others to view !!! FRank
 
Back
Top