Couple of slip joint WIP

Well after taking a haitus from everything but work I'm back. I hope everyone had a Merry Christmas and a Happy New Year.

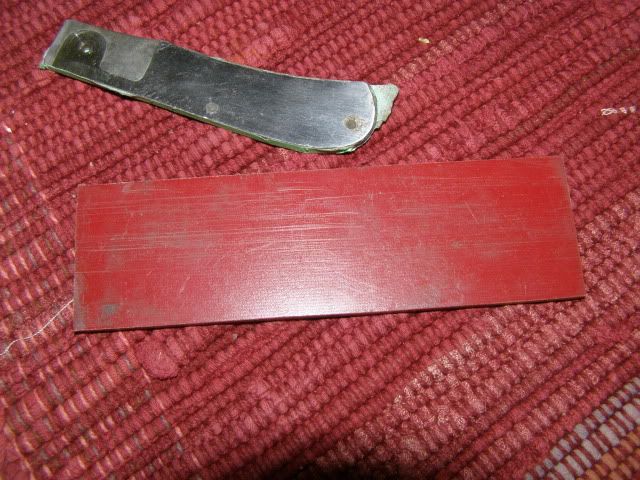
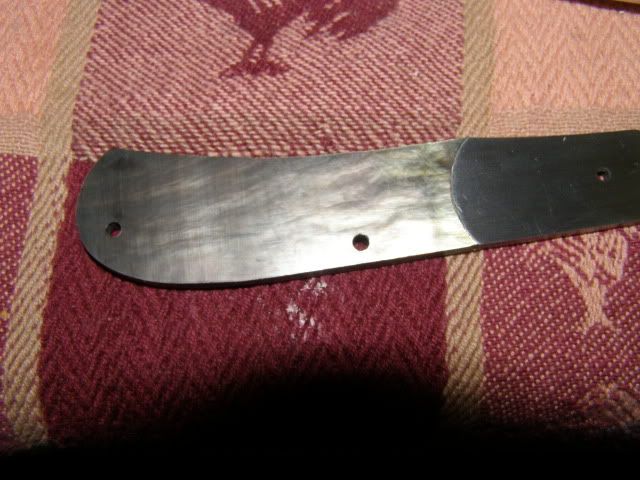
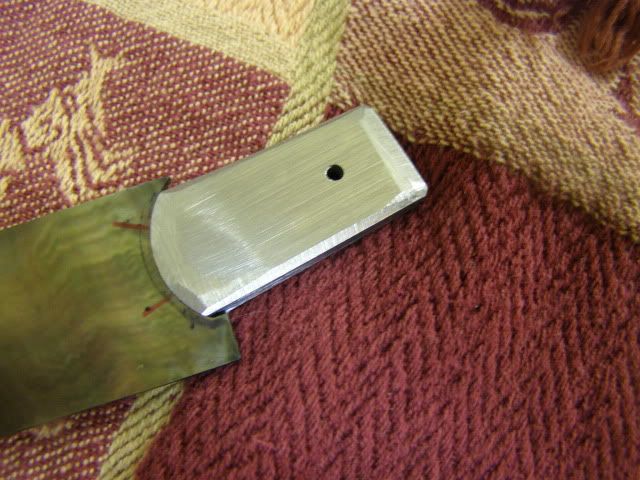
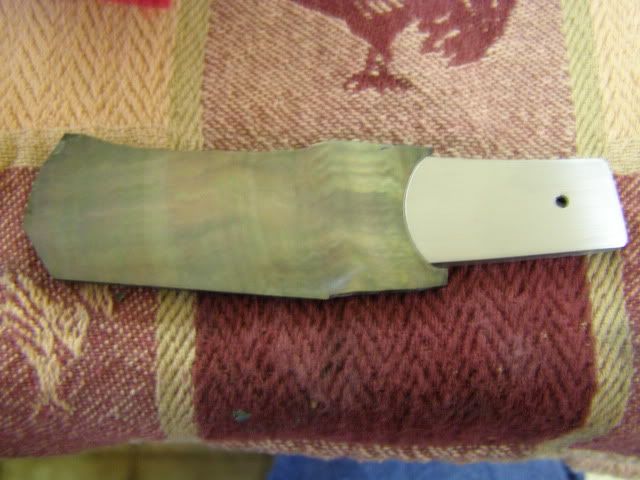
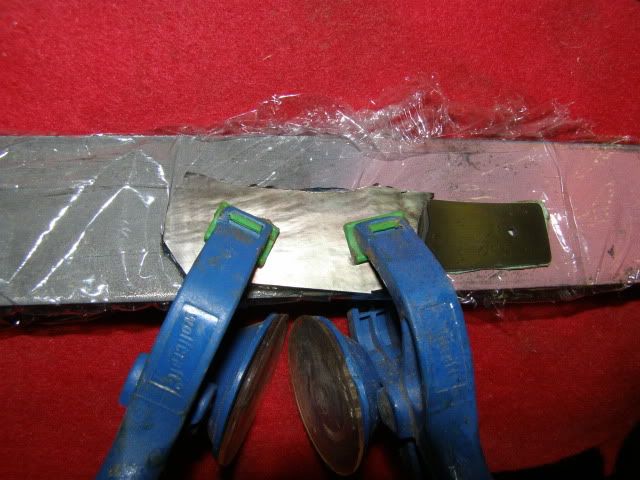
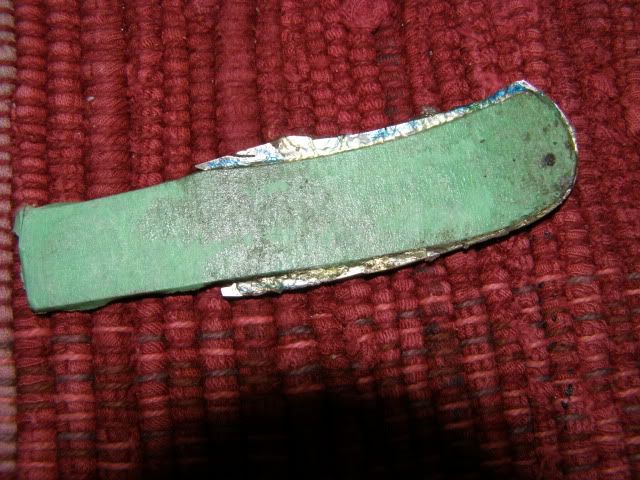
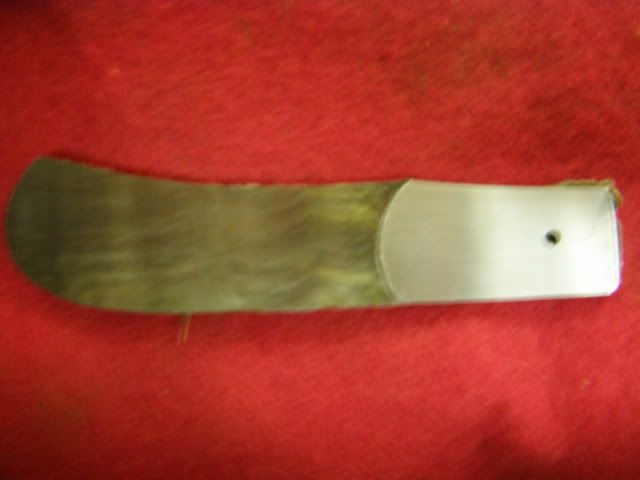
I got the bolsters flat sanded. I wanted to get them just a hair thinner than the mop so that they could be sanded flat together and the mop would be more soft than the metal.
knives886.jpg

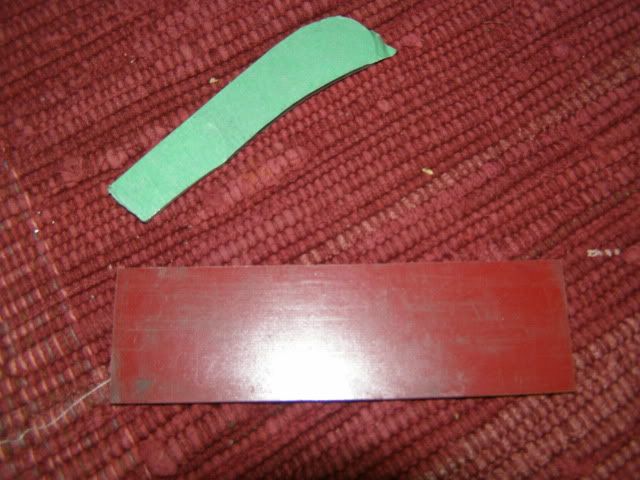
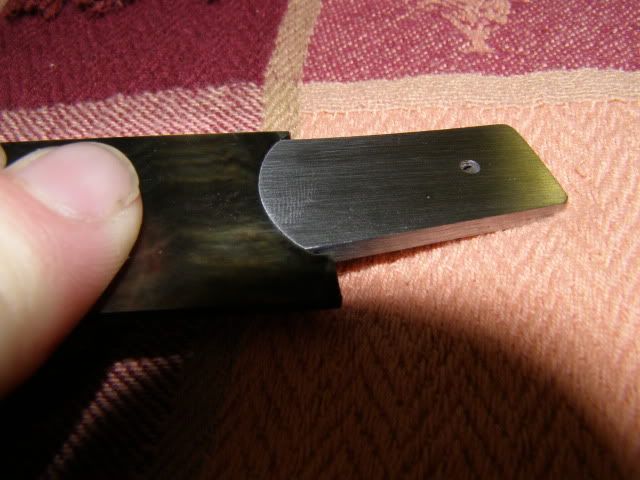
here you can see the bolster is still higher than the mop
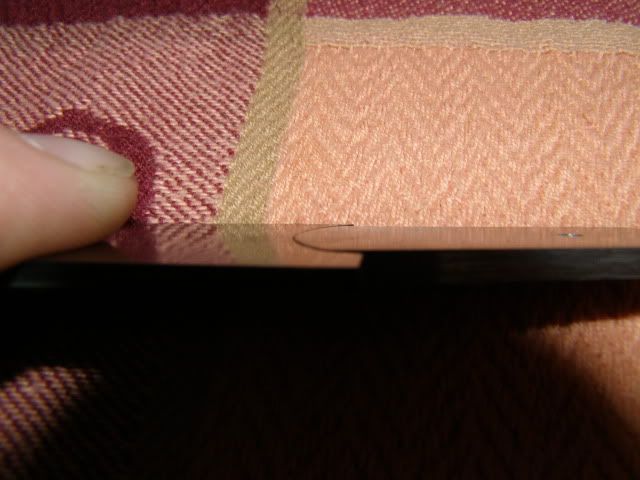
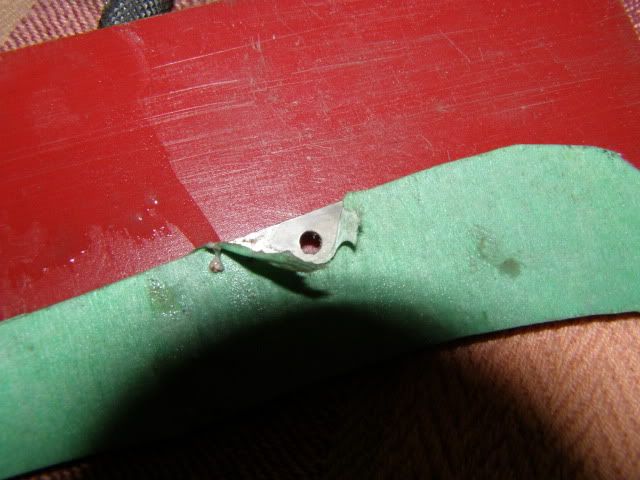
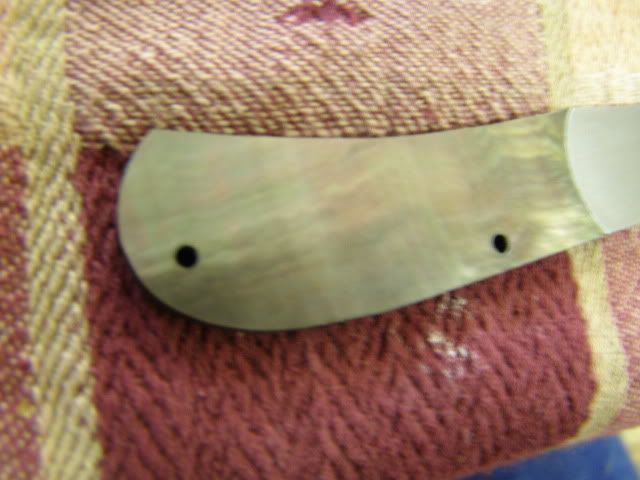
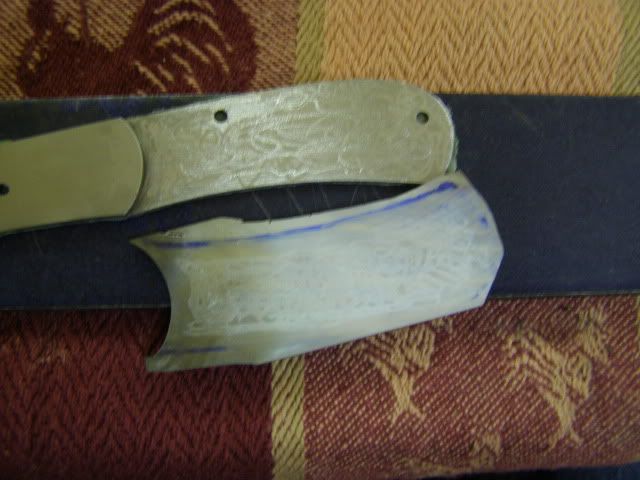
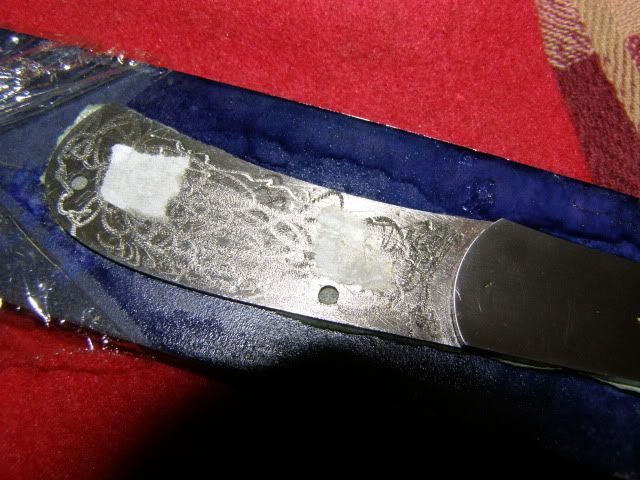
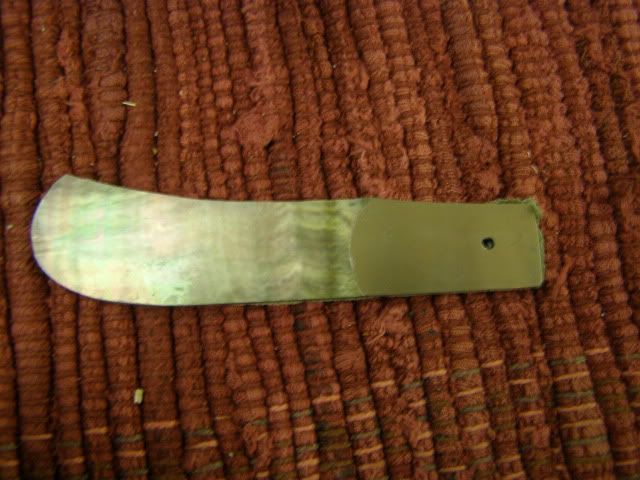
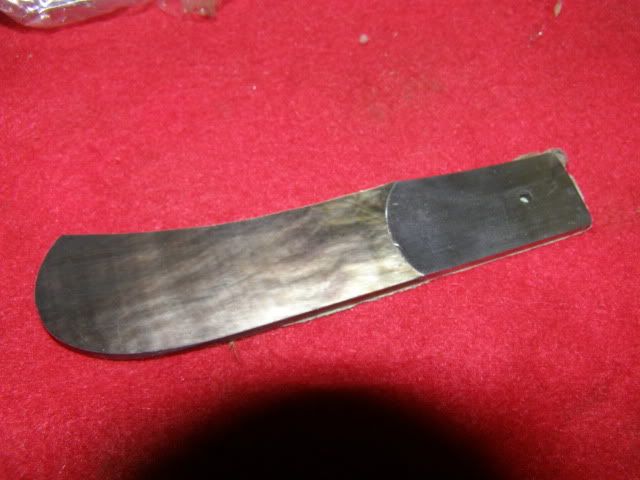
knives891.jpg

closer
knives890.jpg

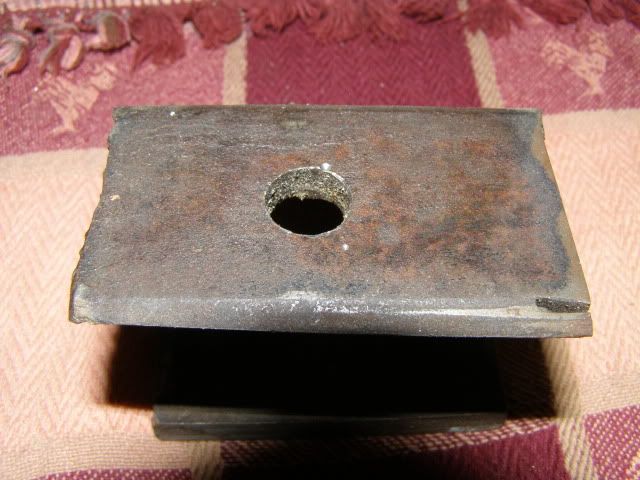
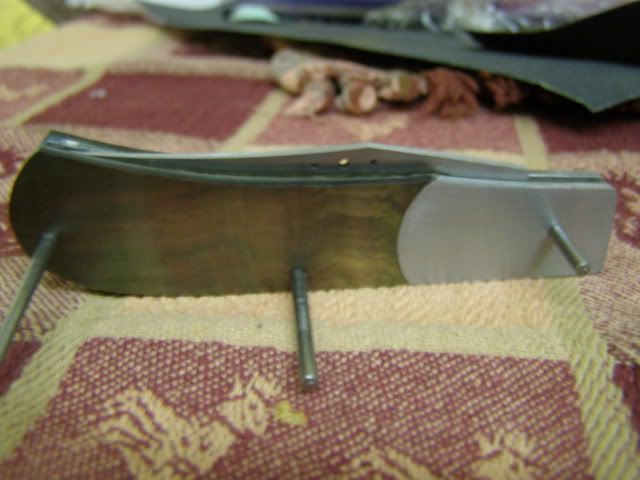
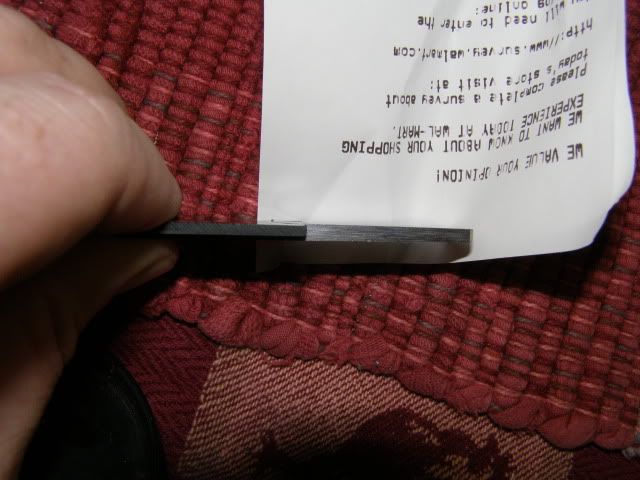
and it doesn't show it well here but the mop is actually taller than the bolster
knives889.jpg

knives888.jpg

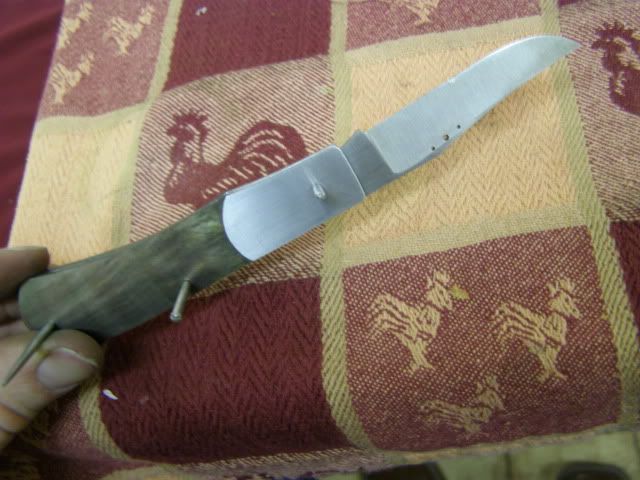
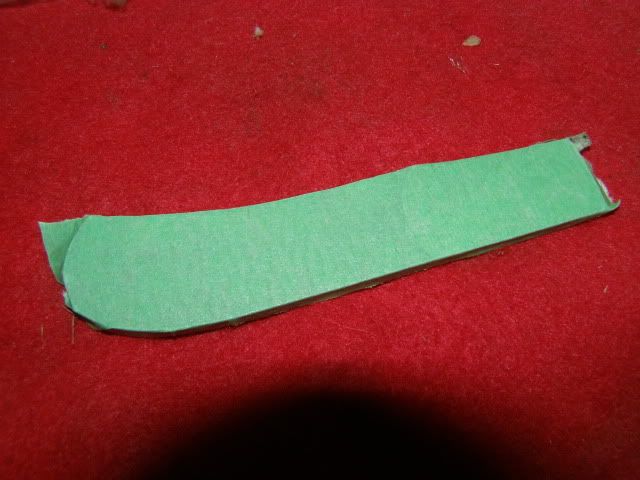
Next I'll be taking the bolster from the 220 grit it's at to a 600 grit hand polish, then rough cutting the mop, glueing the mop up to the liners, drilling holes, then shaping the mop to the liners better. That's the plan for the weekend anyway. Take care
 
Ryan, Great Chatting with you tonight. Looks like you are off to a great start this New Year. I just finished reading this entire thread and sure wish I had all the equipment I needed to start a project like this. Here's to hoping! I can't wait to see how it turns out.

Dave
 
Well I got the bolsters up to 600 grit before glueing up. This wasn't really necessary because I had the MOP a little proud of the bolster so that I could sand it down flush and get rid of any surface chips. It was more to let me know that the spot weld spots weren't going to show when polished. Once the mop was applied and polished up it would have been too late.
knives892.jpg

Next I used 60 grit sandpaper and a dremel to rough up the scale and the liner.
I think you can see both pretty good here.
knives894.jpg

Afterwards I gave it a good swipe with acetone, and made sure I marked my outline with an xacto knife so I could remark it with a sharpie. Forgot to take pictures here.
Next I wrapped a piece of flat steel with saran wrap, I would have used wax paper but we didn't have any in the house. From here I sprayed down the liner and the MOP with Loctite 7075 and let it set a few minutes.

Next step was to place a couple of pieces of thin paper on the liner. I used this so that I did not squeeze out all of the glue with the clamps.
knives898.jpg

Next I applied 324 Loctite glue and glue it up and placed it on the flat steel. I don't know if it could warp, but I didn't want to take any chances.
knives901.jpg


It adheres in just a few minutes, but I"m going to go ahead and leave it overnight before I try the drilling tomorrow.
 
I also have a new toy I have no idea how to use just yet. It's a Kuhlmann 1/2 milling pantograph. I"ve got a couple of ideas for some slip joints with no pins showing. Jerry McClure is going to be giving me some lessons.
knives897.jpg
 
Great WIP. This really gives people like me who don't know a lot about slip joints some great tips, ideas, instruction,... Thank You for your post. Phil
 
Ryan, Great Chatting with you tonight. Looks like you are off to a great start this New Year. I just finished reading this entire thread and sure wish I had all the equipment I needed to start a project like this. Here's to hoping! I can't wait to see how it turns out.

Dave


Hey glad to see ya over here, great talking with you too. Stick around here, it's a great forum.

Phil thanks for the comments. I'm still learning at this as well, it's been one big learning process.

Well I have some more done tonight. First off I put masking tape on the back of the liner last night before I glued it, I should have shown that. But here it is all glued up and dried.
knives902.jpg

Next I went about shaping the pearl to the liners. I've been told work it slow, work it wet, and work it with 220 grit or higher to avoid chipping. I also wore my respirator.
To work it wet instead of plumbing something onto my grinder I took a wad of rags wet rags and dampened the belt, kept a bucket of water at the grinder, and after every two to three seconds of being on the grinder I would use the sopping wet rags to wet down the pearl. I thought it would be slow, but it was actually a quick process. I took my resirator off to see if I was smelling any of the pearl and it seemed I was keeping it wet enough to keep dust down.
knives903.jpg

Here it is roughed in, I'll get it exact when it's semi together with the other side.
knives904.jpg

knives906.jpg

knives907.jpg


Last step of the night I got ready to drill the holes. Notice I did sand down the pearl to meet the bolster, I"m wanting to drill the holes first. This way if I chip any of the holes I have a little material to take off to get rid of the chips.
I used masking tape and applied it over the pearl. I rubbed my fingers over the tape several times to really bond the tape to the pearl. In the next couple of nights I plan on drilling holes in the pearl on both sides.
knives909.jpg
 
Salute

After following Ryan's excellent tutorial . I decided that I could build one ,too. Here is my 1st slipjoint . I decided I would start off simple eith a linerless. I used G-10 & ATS-34 . It actually works !!! Thanks , Ryan . I could not have done it without your help.

Joe Sangster

standard.jpg


standard.jpg


standard.jpg


standard.jpg
 
Ryan this is a good looking knife, and a fine job on the WIP. Now you have several getting hooked on the slipjoints.

2thumbs
 
Ryan after I get my shop wired I am going to have to call you. Getting an itch that I can't scratch and will need some talkin to.
 
Joe awesome first attempt. How much hair do you have left? lol
Thanks Craig, it's slow going with my job, but I'm getting there.
James sounds good, give me a hollar when you are ready.


Well the big day has come drilling. This whole WIP has made me nervous as can be, at least when I'm not taking pictures I can hide my attempts and no one can see what I screwed up before I got it right. Today I drilled 2 of the holes, this has made me more nervous than anything, I didn't want to blow a hole in the mop I couldn't fix. Plus I've already messed up one set earlier on that I mentioned, that gets expensive quick. I read and reread directions on the net and talked to a good friend of mine Jerry Mcclure about it.
Run the drill fast, put masking tape on it firmly, back it with wood or micarta, and keep it wet.

First I pulled the masking tape off of the liner side and made sure the tape on the MOP side was stuck good. I also gathered up a piece of micarta to back it with.
knives910.jpg
\
knives911.jpg

Next I gathered my piece of square tubing to clamp the liner and micarta to. I use this to have more flexibility when clamping down to the drill press table and it also helps when dealing with not flat surfaces.
knives912.jpg

Here it is after the drilling operation, I got a little excited and nearly had it off the table before I took a picture. I used a spray bottle and sprayed the bit a couple of times and pulled it up and down several times to clear chips out.
knives913.jpg

Now I couldn't just drill another hole without peeking so here goes nuttin
knives914.jpg

WOOHOO one very small shallow chip, but that didn't hole true for the next hole......
The next hole did chip out some, but earlier on I said I left the mop a little thick and proud of the bolster for this reason. I didn't take a picture because I was a little frustrated, but I sanded it down on the grinder slowly using a wet paper towel and a 320 grit belt. It removed the chip out and looks nice.
knives915.jpg

knives916.jpg


What stinks is I have only done one side, I still have to do the other.........
 
Ryan
Looking real good. Ive never used MOP, but you make it look easy.:)
Doing a WIP is kind of nerve racking aint it? Cant wait to see this one done.

Sean
 
Looks awesome :)
Mop and other pearls can be a ***** to work with, but the end result is definitely worth the trouble, i'm sure the knife will look superb when you're done with it

Ondrej
 
Thanks Papi,
I've done a little work shaping the pearl closer to the liners, and also catching the second knife up to this point. Might get a little shop time in this weekend.
 
Great WIP Ryan. Thanks for sharing this with us. It's always nice to see the procedures other makers use to make their knives.
 
Back
Top