Surthriver
Member
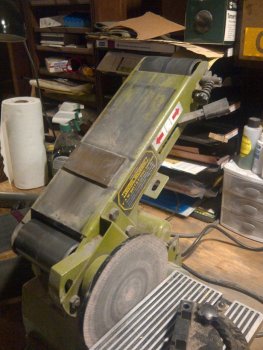
Anybody know of a good way to flat grind on a 4x36? All I've been able to do so far is kinda a scandi/convex grind and its really to thick for good cutting.
I have a Harbor Freight 4x36 grinder that I use. I had a terrible time getting anything remotely resembling a good grind until I did two things. First I bought the Bubble Jig from Fred Rowe. An excellent investment, well worth the money.
by any chance do you have a pic you can post like i said im a mutt useing file,s & hand sanding to,, slowI ground my platen on the sides to match belt width. This does the same as mentioned above.
( droppoint) graveyard agin how dos these work .i take it i need to take it to both edges
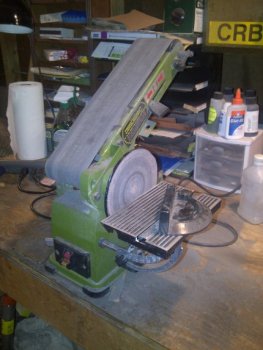
I'm not sure how the 4X36 works, but on my 6X48 sander, there is an adjustment at the top where the belt is tightened that allows moving belt from side to side. Adjust belt so it moves to left side, then re-adjust so belt moves to right side. Of course, having a platen that's say 3-7/8" wide allows moving from left to right without having to re-adjust belt.
Ken H