Couple of slip joint WIP

I don't know of any alternative sources Dave, but he didn't have them on his website when I ordered mine. Everyone kept telling me to order one of his website, but it said coming soon. I thought I was losing my mind.

Thanks Ryan, I did send him a note so we'll see how it goes. I guess the worst that could happen is I don't get the bushing completely flat sanding it by hand. ;)
 
Dangit, dangit, dangit. I shaped liners for one last night got nearl done, and had a pivot hole in the liner wasn't going to cut it. It was oversized and not that round creating too much slop.
 
Dangit, dangit, dangit. I shaped liners for one last night got nearl done, and had a pivot hole in the liner wasn't going to cut it. It was oversized and not that round creating too much slop.

Ryan
Its good to know Im not the only one fighting with liners. The knife Im working on right now is currently on its third set of liners. (fingers crossed)
So far so good just neet to attach the bolsters.

Sean
 
I'm right there with you Sean. I ruined a couple more, I had to walk away. I have rethought my game plan and I'm going to do it again tomorrow. No more for tonight.
 
Sorry to hear about your frustration Ryan, I'm glad to know (in a way) that I'm not the only one who has problems once in a while. Hang in there. :)

Meanwhile, Bill Vining isn't able to come up with a bushing fixture. I've been thinking about it and wonder if I could make my own. So would you explain how it works? What my imagination suggests is that it has a pocket to hold the bushing, the shims support the fixture to ensure the bushing taken down to the desired thickness only? The shims have a hole in them the bushing extends through to the abrasive surface? I'm just trying to imagine how this works never having done it or seen it done. Really, no freakin clue whatever. But I don't see any reason I couldn't make my own if I knew what I needed to do. Thanks for any ideas.

Good luck with your liners.
 
Thanks guys. Been getting off late and not getting pics posted after working on the knife.

Dave tomorrow ill post pictures of the fixture, should be able to make one.
 
Excellent!

Ryan I know what it's like working late, and no one could expect you to do more than you do. Honestly, I don't know how makers who come home from work and go into the shop do it. Aside from my wife freaking out, I'd just be too danged tired to do good work after a day at my job. So I end up in the shop on weekend mornings only, pretty much. I envy you guys who can build knives during the week; you have more guts than I do, for sure.
 
Excellent!

I envy you guys who can build knives during the week; you have more guts than I do, for sure.


I think I just don't have enough sense lol. I work 7 days a week during hunting season which is right now through April in Texas. Many days are 14-18 hour days, it's not fun. Most nights I work 14-18 hour days I usually go in the knife shop for at least an hour then grab a couple hours of sleep then back to work. Those long days I don't see my family they are asleep when I get home and when I leave. The days I do have time to see my family I spend as much time as possible with them. If I don't whittle on projects an hour at a time I would never get done.

Here's some pictures of the bushing lap for you. It's a round piece with a 3/16" hole drilled through it. It doesn't show it in the picture but once the pivot is lapped it will fit over the ram piece along with a .001" piece of shim stock.
Then placed in the 3/16" hole along with the bushing. Any excess sticking out gets ground off. Let me know if you need some different pictures I'll snap some more for you.
knives733.jpg

knives734.jpg

In this next photo you can see that the blade is just setting next to the ram. I hadn't lapped this pivot hole yet so it didn't quiet fit over the rod.
knives736.jpg

Bushing in the end. I grind off excess if there is alot then lap it on 800 grit
knives737.jpg


Ok here's one of the knives with the liners rough cut.
knives702.jpg

My next step here is to make sure there are no burrs around the edges and glue them together with super thin super glue. I just place them together then run super glue around the edges
knives703.jpg

Next I laid out the pieces roughly how I wanted them in the open postion. Mainly to see where I needed to start drilling holes.
knives704.jpg

I used a pencil and marked where the pivot hole needed to be. I then drilled it out with 3/32" bit.
knives707.jpg

I then placed a 3/32" bit in the hole and placed the bushing and blade over it. and then placed it on top of a vice with the bit in the vice jaws. It's just giving me an extra set of hands. I lay the blade approximately how I want it in the open position and lay the spring on there where I wanted it.
knives709.jpg

I had to make sure the run up/lock up area of the tang and the spring were clean. Dirt and what not in this area threw my fit up off a time or two doing this.
 
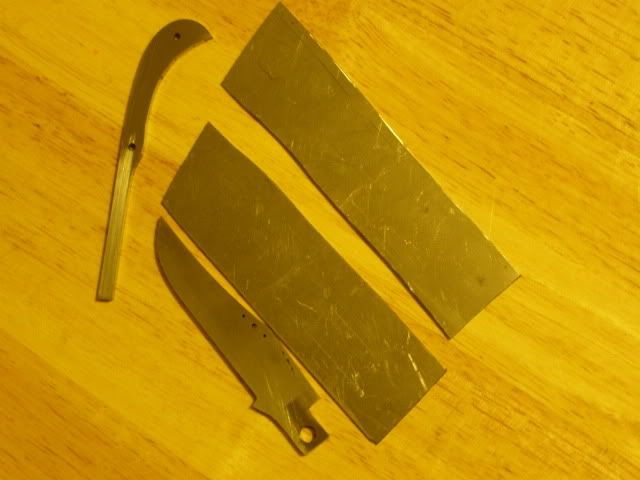
Once I got the spring where I wanted it in relation to the blade. I made sure I was pressing up snug and applied the super thin super glue to hold the spring in place for drilling. After screwing up two sets of liners doing these knives I changed my method.
Old method
1 fit spring and super glue in place on rough liners
2. drill end pin
3. remove spring with tap from mallet.
4. clean area with acetone
5. mark spot for middle pin

When using the thin super glue I would either use too much and glue the blade, bushing, pivot pin, spring, and liners all together in one big mess. It was a hassle and if I used too much while drilling the spring my pop loose and I would end up drilling the hole just a hair off.

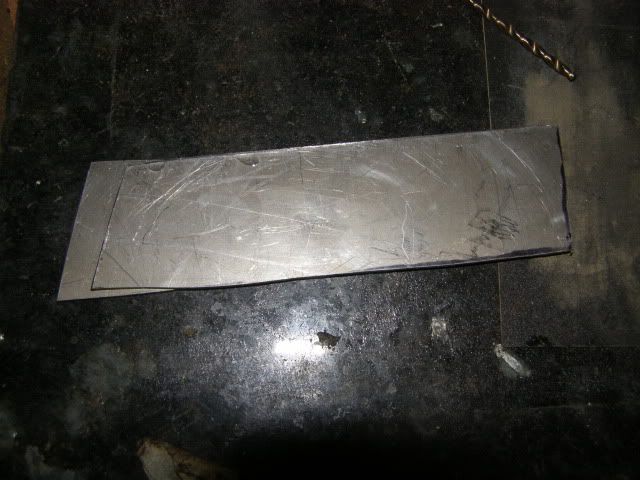
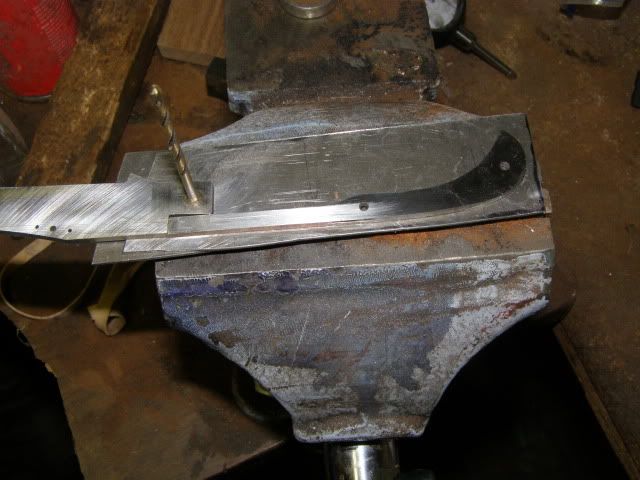
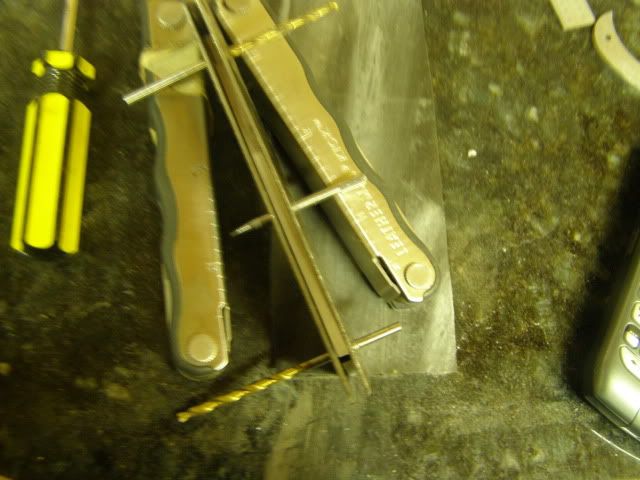
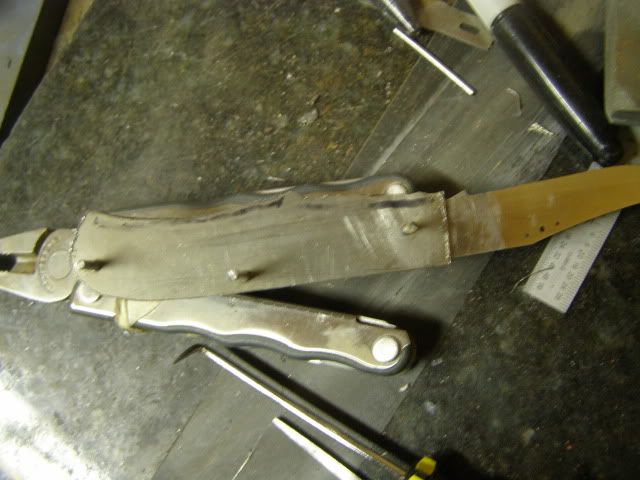
Now I use parallel clamps
I clamped the blade in place first, then clamped in the middle of the spring. This left the end pin open for drilling.
knives727.jpg

I had to do some manuevering and re zeroing of my drill press to let the screws from the clamps hang down but I got it done.
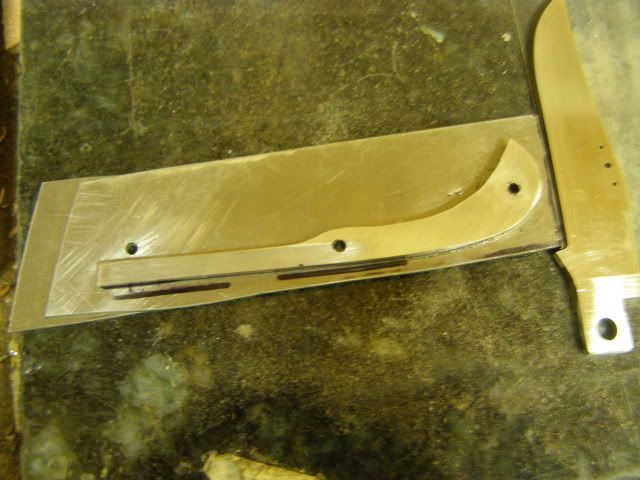
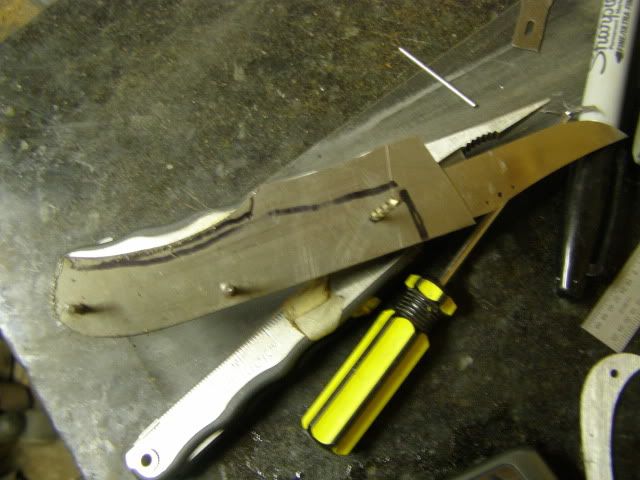
Now with the pivot pin and the end pin drilled I had to worry about the middle pin. The middle pin is the pin I drill offset to load the spring. I've read and talked to other makers about how they do their loading and I have gotten different answers. Some makers do it off the pivot pin, some off the middle, and some off the end pin.
I also don't have a good forumula of how much to load the spring. Like I've said before I've only made a hand full of slip joints and they have all been a litte different, but I'll show you what I've done on these knives.
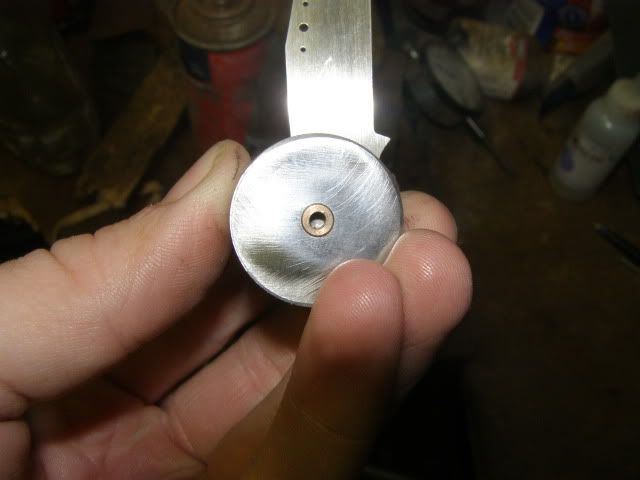
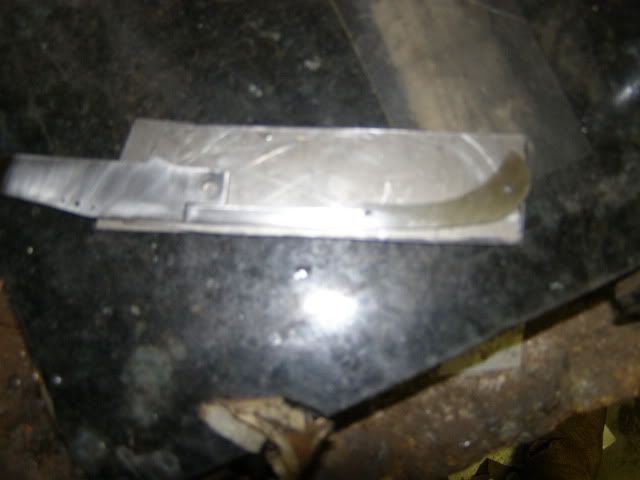
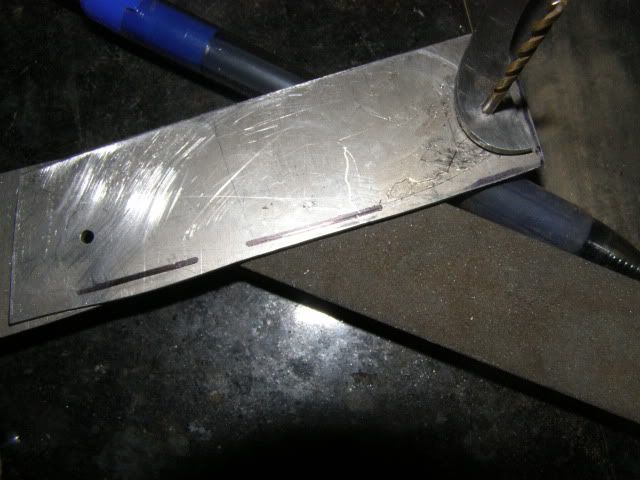
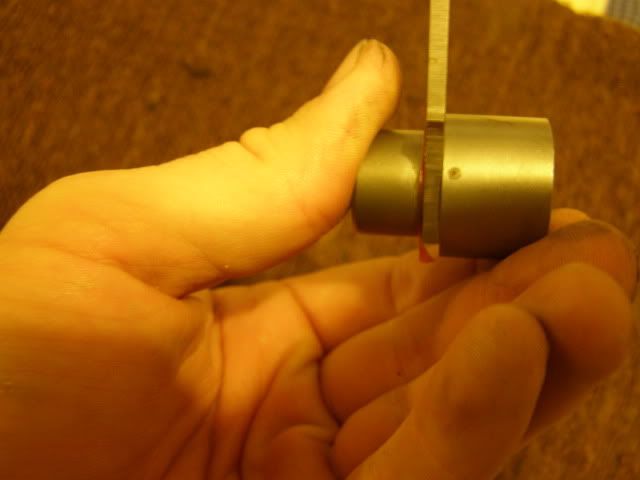
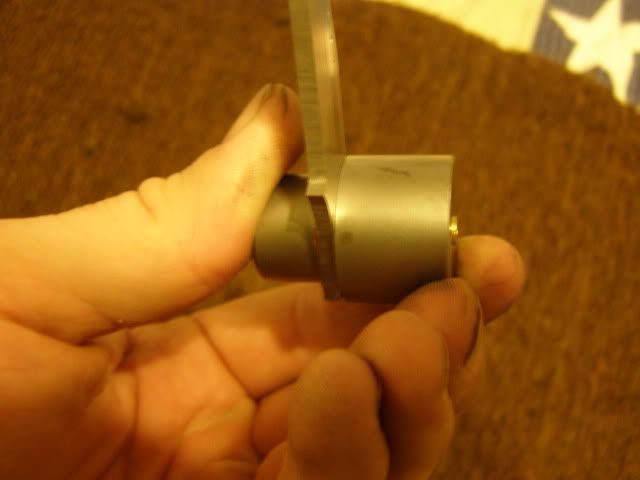
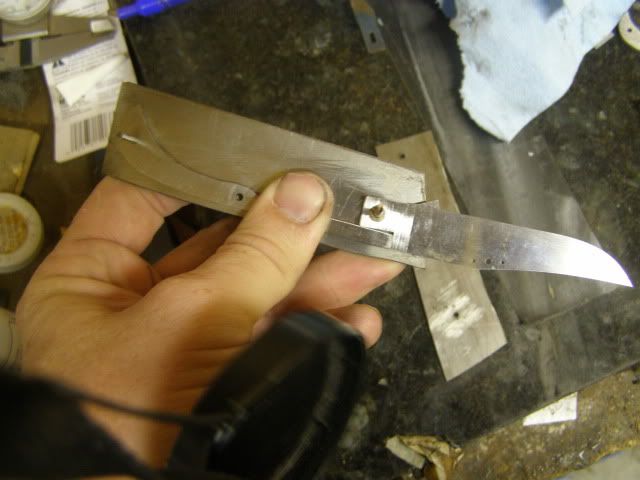
With the blade and spring in place on the liners with pins in the drilled holes and the blade in open position I use an exacto blade to mark a line on the back side of the spring. I made sure I was right up against the spring because I was going to measure off of this line.
I could't get it to show up well so I highlighted it with a marker
knives710.jpg

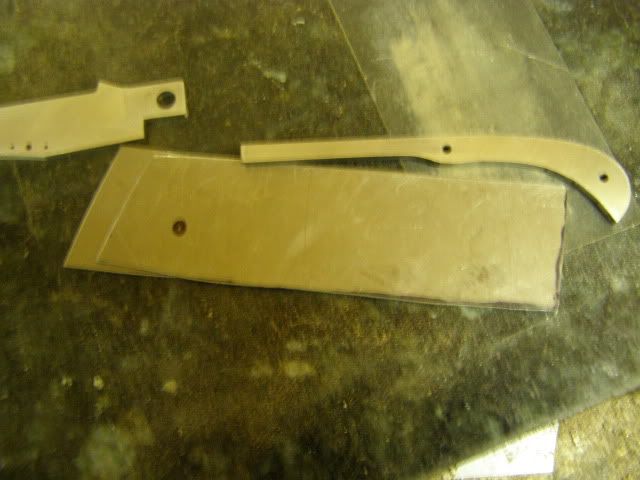
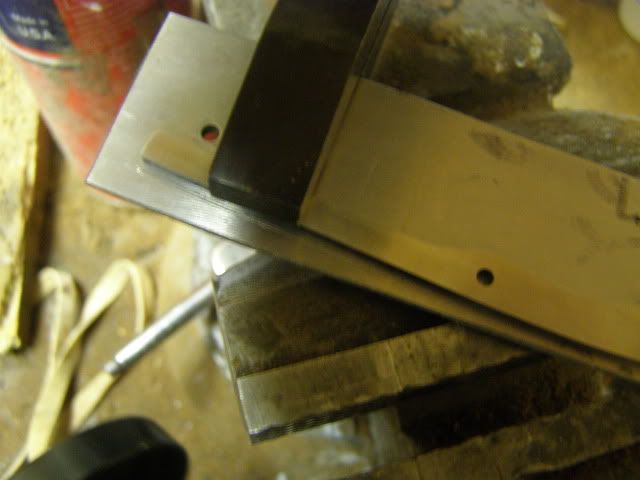
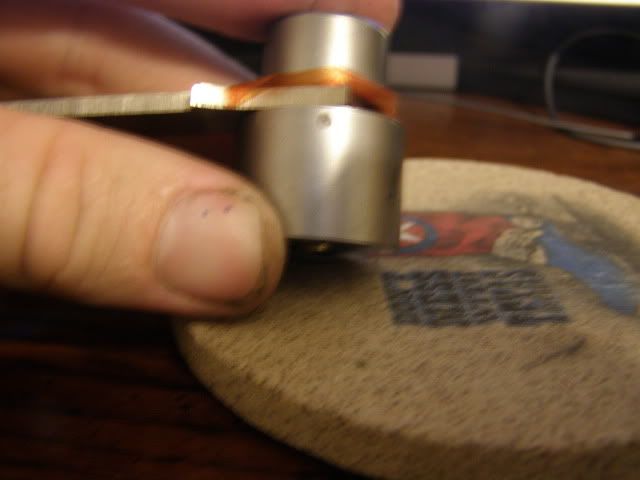
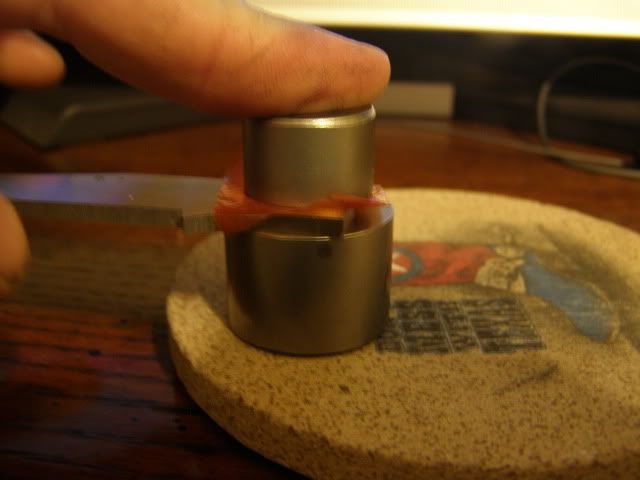
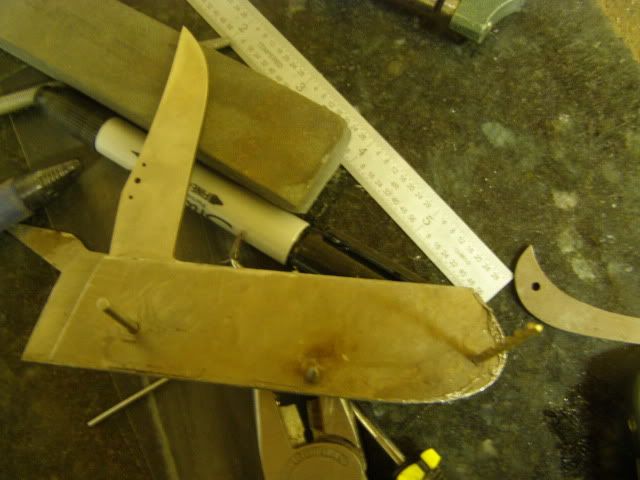
From here I left the end pin and removed the blade. Next in the pivot area of the blade I measure up 1.5mm from the scribed line. I then clame the spring down in this position. The spring is 1.5mm from where it used to set on one end and closer to the middle pin it is less than that. I think the Tony Bose tutorial is 1/3 of the hole. Once I got the spring where I wanted it I clamped it down.
knives731.jpg

I then drilled the 3/32" middle pin hole.
knives712.jpg
 
The first set of liners that I super glued went great. That is until I rough ground them to shape and removed too much material, then noticed I had a hole that was not at tight as it should be. The next couple three sets of liners I used super glue to hold the spring in place and had problems all the way around.
I'll try to post some more pictures here in an hour or two.
 
Ryan this is great. Loading the spring is something I've always wondered about. That makes perfect sense to me, though finding a way to measure 1.5 mm accurately is a puzzlement. I'll have to look around to see how I might do that. All I have are inside calipers; no rule that I can think of right now. Are you using 3/32 pins for the spring/liner holes too?

I'm afraid I don't get how the bushing lap works. I thought I had it all figured out in my head, but the ram threw me. :eek: Does the ram press the bushing down against the abrasive? What does the blade rest between the two parts for? Sorry I'm dense, but this is something I really want to figure out. It looks like something I could make if I knew what I was trying to do. :)

This is a fantastic WIP man. Thank you for using even more of your valuable time taking these pictures for us; I know that it more than doubles the time it takes you to do this work. Everyone here appreciates it, believe me. I don't know how you can put in the days you do, but I'm sure thankful you do! 2thumbs
 
I'm afraid I don't get how the bushing lap works. I thought I had it all figured out in my head, but the ram threw me. :eek: Does the ram press the bushing down against the abrasive? What does the blade rest between the two parts for? Sorry I'm dense, but this is something I really want to figure out. It looks like something I could make if I knew what I was trying to do. :)


I do use 3/32" pins for the middle pin and end pin also. I used a metal ruler to measure the 1.5mm. It's probably not dead on accurate, and it actually loads the spring a little hard, but I'll show later a way I combated that problem on a previous knife.

I'm not sure if ram is the correct name, but thats all I could think of to use lol.
I have some more pictures and I'll see if I can explain these. I agree you'll be able to make this part once ya figure it out.
In this first picture you can see the pivot bushing lap in it's two parts. You have the bigger round piece. It has a 3/16" hole through the middle. The second smaller piece with the "ram" sticking out. You can also see the blade with the 3/16" hole drilled for the pivot. There is the phosphorus bronze bushing and the orange paper is .001" shim stock. It came with the bushing lap but you can buy it at msc.
knives744.jpg

This "ram" fits perfectly into the hole in the bigger piece.
knives745.jpg

Also an important note, the ram is EXACTLY as long as the big cylinder. Here is is beside the big piece.
knives749.jpg

With the two pieces together the end is flat and you can see the end of the ram here. Ther is no way to get a bushing there because there is no room for it.
knives747.jpg

Now if you take the two apart and put the ram through the 3/16" hole in the blade and then slide the shim stock next to the blade and put it back in the ram. This creats a spot to put the bushing. I do like Tony Bose did and lapped my bushings .001" over the thickness of the blade. So with the blade on the ram and a .001" piece of shim stock the ram is sticking up on the blade end by that exact amount.
knives751.jpg

You can see in the next picture there was a place to put the bushing. The bushing was .125" thick and my blade is .092" I believe. So doing the math .125" minus .093 (.092 plus .001) there is approximately .032" that you can see sticking out. It's excess and can be ground off.
knives750.jpg

In the next picture pretend the coaster is my granite plate and sandpaper. I'm laying the bushing over to grind the excess sticking out.
knives753.jpg

I'm just using one hand to push down on the top "ram" and the other hand to move the whole thing around
knives754.jpg


Hope this helps!
 
Thanks Ryan, I get it now. Makes perfect sense. I think I'll take a shot at making one of these while I wait for parts to arrive. ;)

While you were posting that I've been looking around your website and reading your other WIP at the archery forum. You sure do nice work! Good stuff. Thanks for all your help.
 
Here's a few more for the night. Once I had the holes drilled I seperated the two liners using a razor blade and cleaned up the super glue with acetone. I also ran them accross some 320 grit sandpaper on the granite plate to remove any burrs.
Next I put a pin in the pivot hole and the end hole.
knives713.jpg

Then the other liner went on
knives714.jpg

In the last picture you can see the sharpened 3/32" pin. In the picture it has a short taper on it, but I put a long taper on it and polished it up to 800 grit in the drill press. I laid the knife accross the vice and slowly hammerd the pin into the hole. I found that if I tried to do it with one or two swift strokes it bent and burred up not letting it go into the hole. Tapping it lightly it slid right in.
knives715.jpg

knives716.jpg

Next I drew out my rough pattern and started shaping
knives717.jpg

knives719.jpg

knives720.jpg
 
Ryan,
After many blisters:( I found an easy way to put the pivot pin in. I put a piece of stock the same thickness of the blade and spring in the vice then put the liners and spring together with the center and rear pins, slide it over the stock and press down, this moves the spring up and you can slide the pivot pin through. Ill try to get a pic posted tomorrow. Hope this helps.

Sean
 
See, here's a 'problem' I'd never even thought about. I guess you have to do this stuff to learn what problems you have to solve but I've played through this process in my mind a lot and still missed some of the issues I'm going to face. This is invaluable information gents, thanks. I'm sure looking forward to giving this a try myself. I guess I don't really have to wait for a kit, do I? :D Hm.
 
See, here's a 'problem' I'd never even thought about. I guess you have to do this stuff to learn what problems you have to solve but I've played through this process in my mind a lot and still missed some of the issues I'm going to face. This is invaluable information gents, thanks. I'm sure looking forward to giving this a try myself. I guess I don't really have to wait for a kit, do I? :D Hm.

Nope just jump right in and get your feet wet. Ill warn you though this things are addictive.:D

Sean
 
Sean some makers will tell you not to load the spring that way. They say that is what causes the scale to crack on the pivot pin. Pin the pivot pin last and it will also affect your blade spring connection.
 
I load the spring by inserting the pivot and end pin. Then I put the knife in my soft jawed vise and close it enough to compress the spring. Then I just slide in the center pin.
 
Back
Top