
J. Doyle
Dealer - Purveyor
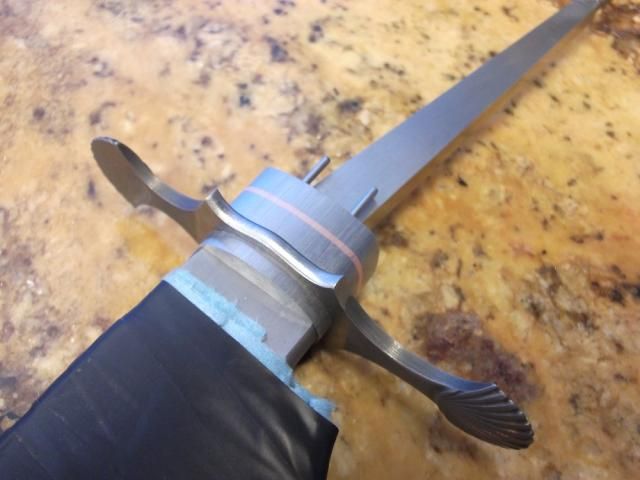
Okay....back to work for Monday morning. I have all the fittings to final dimensions in place on the blade and fitting as they should. There is still rounding, polishing and filework to do but that is all cosmetic. It doesn't affect the final outcome at this point.
So it's time to start on the handle. After CONSIDERABLE deliberation this weekend and more this morning, I have chosen an especially nice piece of African Blackwood. I know Big Rick has an affinity for ironwood and a nice piece of ironwood was the runner up. I hope Rick will trust my instinct here.") I chose blackwood for it's looks, both on it's own and how it will look with these fittings. But I also chose it for certain workability aspects for this particular handle and for strength and stability issues.
I chose blackwood for it's looks, both on it's own and how it will look with these fittings. But I also chose it for certain workability aspects for this particular handle and for strength and stability issues.
Here it is laid out next to a sketch of my handle.


So it's time to start on the handle. After CONSIDERABLE deliberation this weekend and more this morning, I have chosen an especially nice piece of African Blackwood. I know Big Rick has an affinity for ironwood and a nice piece of ironwood was the runner up. I hope Rick will trust my instinct here.
I chose blackwood for it's looks, both on it's own and how it will look with these fittings. But I also chose it for certain workability aspects for this particular handle and for strength and stability issues.Here it is laid out next to a sketch of my handle.


