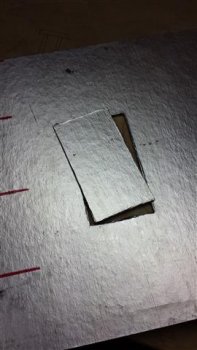
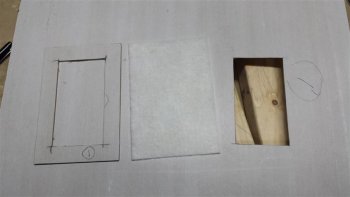
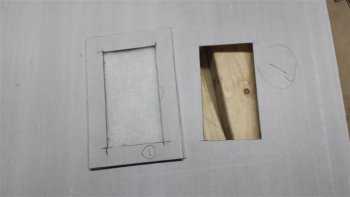
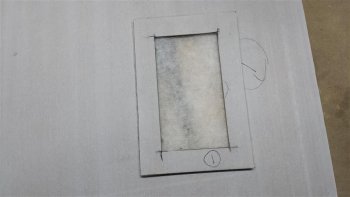
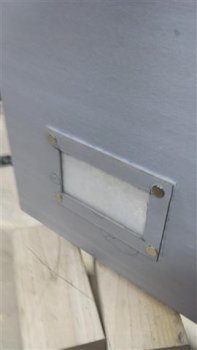
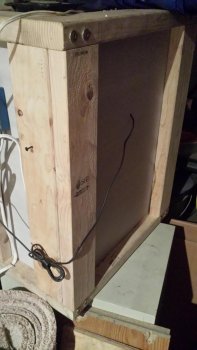
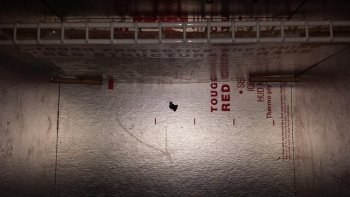
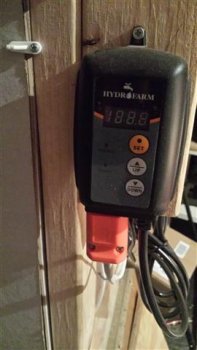
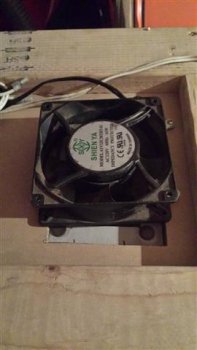
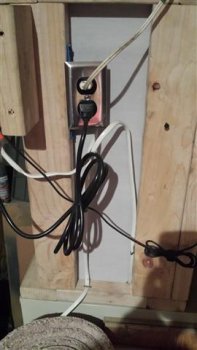
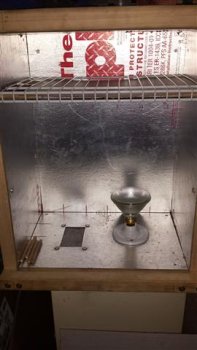
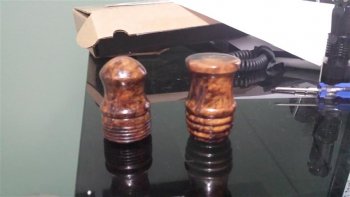
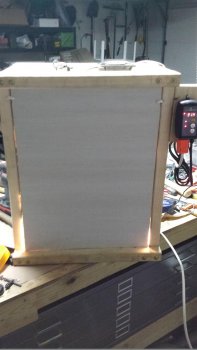
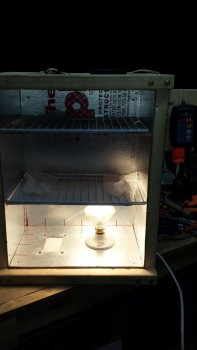
I thought this might be useful to folks on here since knife makers often send wood off to be stabilized, but it has to be dry first and who wants to wait YEARS for that? I created this with 2 purposes. First is to help dry wood faster, obviously. Second is as a 'parts' dryer since I often restore machinery and needed a clean place they could dry while I continued to work around them....but without nasty stuff screwing up my finish! Maybe you don't need to dry pieces of machinery....but what about finishes to your wood handles?
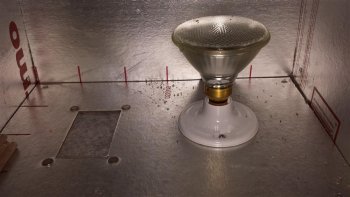
Obviously wood drys by being exposed to air. This alone isn't enough though for me since I live in Central Florida.....the state which seemingly doesn't hardly EVER drop below 90% humidity. So since this was dual duty purpose...I needed a way to help counteract the effect (practically double drying time on paints and polyurethane) that the humidity has. Heat is an obvious choice, but I don't want something dangerous so no heating elements nothing pricey. I'd researched many home made wood kilns already, but most of them wanted to use the sun. This is cool, but slow and wouldn't really help me with all the thunderstorms we get in Florida. While standing at my work bench thinking about what to use for heat, I realized my back was on fire though my chest was cool because I was too close to my Halogen light. And it hit me....a light bulb can produce a lot of heat depending on what type of bulb and wattage it is. I already had a fan which I could use, so I figured between a light fixture and the fan....I could be in business!!! Here is what I built....with some of my thoughts thrown in.
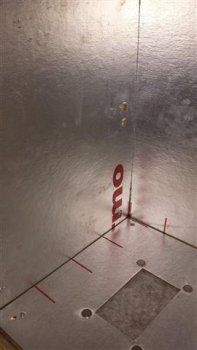
First thing is I didn't want a ton of cost, but who sets out to build something for MORE than they should? I didn't build some fancy cabinet of Cherry that could go unnoticed in your kitchen. I stuck to 2x4's for the frame and particle board since I had 2 identical pieces on hand to serve as the base and top. Also, I wanted to keep the heat inside and somewhat insulated so as to not worry about the frame getting too hot. Granted, a light bulb probably wouldn't catch a board on fire...but why risk it? Also, I wanted to contain the heat and direct the air, so the cabinet needed to be enclosed. Rather than more particle board and make this thing SO heavy I couldn't move it, I used a fixed insulation board called Thermo-ply....they have various names at the usual Home Improvement stores. It is a 1/8 inch thick, 4 foot by 8 foot sheet. One side is silver and reflects heat which for this purpose...works very nice and at around 14 bucks, its cheap!
Here come the pictures.....
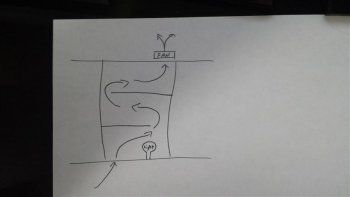
This is the rough sketch I had in my head. Base and top would be a frame of 2x4s,
with 3/4 particle board mounted flush so that the Fan could be mounted to the top
and the light fixture could be mounted to the bottom. The Thermo-ply is rigid...but
not stable enough on its own, so it would need to be screwed in to the vertical
supports. I wanted it to be fairly air tight to help with directing the air, so I had
the 'sides', 'front' and 'back' Thermo-ply recessed in the top and base so it could
sit around the particle board. I'll emphasize that in a later picture.
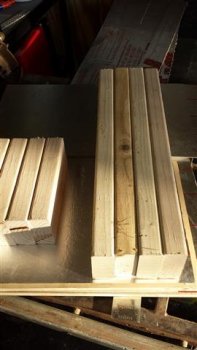
Here are the materials all cut out. Since I already had two matching pieces of particle
board, I adapted my design to use those. I have 23 inch vertical supports of 2x4,
21 1/4 inch horizontal pieces that would span the width and 8 1/2 inch pieces to span
front to back (these go between the horizontal pieces.
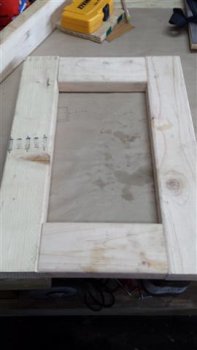
This is a side shot of the frame before assembly. Base and top match so it represents
either, but hopefully you understand the relation now of the 8 1/2 inch pieces to the
21 1/4 pieces.
The picture above shows how I needed the pieces to fit together, but a joint such as
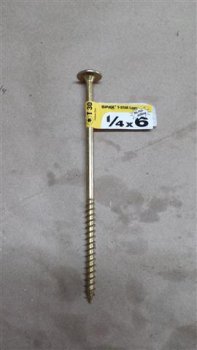
those above is HARD to make strong. I take no chances so I bought 16 of these bad
boys..... 2 x 4's are actually 1.5 x 3.5....so with 6 inch screws, I was able to grab
roughly 2 1/4 inches of the 8.5 inch piece. With 2 screws per joint....it will not give!
Here is the joint with 2 screws looks pretty stout doesn't it?
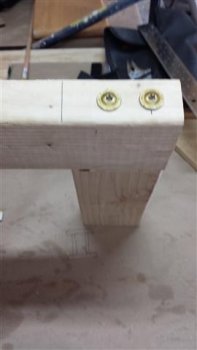
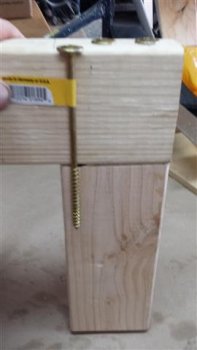
Side shot of the joint showing the screw and how deep it goes....along with the
joint already assembled. Maybe overkill, but I prefer to err on the cautious side!
Particle board has ZERO strength if you screw in to it from the side vs down
through that 3/4 inch dimension. So when I cut my pieces, I knew I would need
to router out 3/4 of an inch to allow the base (or top...remember, they match)
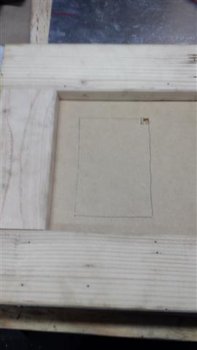
to sit flush with the top of the frame. Somewhat rough since I didn't have a router
table or guide, but not horrible. Keep in mind, the particle board has an extra 1/8
inch removed around the entire piece so that the Thermo-ply pieces can fit down
IN TO the base (or top piece)
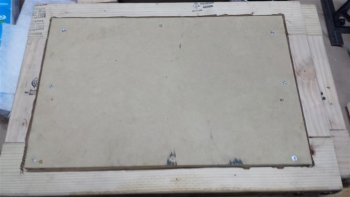
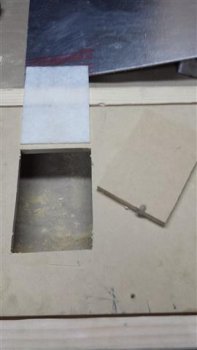
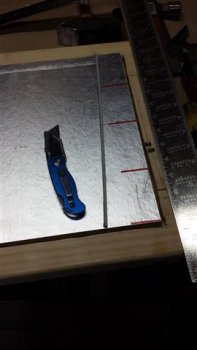
Thermo-ply was easiest cut by just a razor blade, so here I set the piece down,
screwed in 1 or 2 to hold it and then trimmed the edges so there was no overlap.
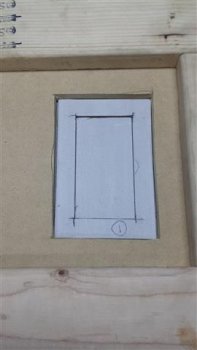
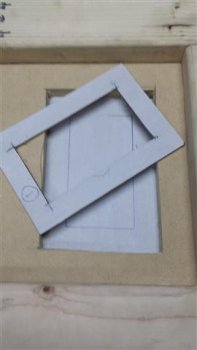
Next up...I get fancy....with FILTERS!!!!!
Obviously wood drys by being exposed to air. This alone isn't enough though for me since I live in Central Florida.....the state which seemingly doesn't hardly EVER drop below 90% humidity. So since this was dual duty purpose...I needed a way to help counteract the effect (practically double drying time on paints and polyurethane) that the humidity has. Heat is an obvious choice, but I don't want something dangerous so no heating elements nothing pricey. I'd researched many home made wood kilns already, but most of them wanted to use the sun. This is cool, but slow and wouldn't really help me with all the thunderstorms we get in Florida. While standing at my work bench thinking about what to use for heat, I realized my back was on fire though my chest was cool because I was too close to my Halogen light. And it hit me....a light bulb can produce a lot of heat depending on what type of bulb and wattage it is. I already had a fan which I could use, so I figured between a light fixture and the fan....I could be in business!!! Here is what I built....with some of my thoughts thrown in.
First thing is I didn't want a ton of cost, but who sets out to build something for MORE than they should? I didn't build some fancy cabinet of Cherry that could go unnoticed in your kitchen. I stuck to 2x4's for the frame and particle board since I had 2 identical pieces on hand to serve as the base and top. Also, I wanted to keep the heat inside and somewhat insulated so as to not worry about the frame getting too hot. Granted, a light bulb probably wouldn't catch a board on fire...but why risk it? Also, I wanted to contain the heat and direct the air, so the cabinet needed to be enclosed. Rather than more particle board and make this thing SO heavy I couldn't move it, I used a fixed insulation board called Thermo-ply....they have various names at the usual Home Improvement stores. It is a 1/8 inch thick, 4 foot by 8 foot sheet. One side is silver and reflects heat which for this purpose...works very nice and at around 14 bucks, its cheap!
Here come the pictures.....
This is the rough sketch I had in my head. Base and top would be a frame of 2x4s,
with 3/4 particle board mounted flush so that the Fan could be mounted to the top
and the light fixture could be mounted to the bottom. The Thermo-ply is rigid...but
not stable enough on its own, so it would need to be screwed in to the vertical
supports. I wanted it to be fairly air tight to help with directing the air, so I had
the 'sides', 'front' and 'back' Thermo-ply recessed in the top and base so it could
sit around the particle board. I'll emphasize that in a later picture.

Here are the materials all cut out. Since I already had two matching pieces of particle
board, I adapted my design to use those. I have 23 inch vertical supports of 2x4,
21 1/4 inch horizontal pieces that would span the width and 8 1/2 inch pieces to span
front to back (these go between the horizontal pieces.

This is a side shot of the frame before assembly. Base and top match so it represents
either, but hopefully you understand the relation now of the 8 1/2 inch pieces to the
21 1/4 pieces.

The picture above shows how I needed the pieces to fit together, but a joint such as
those above is HARD to make strong. I take no chances so I bought 16 of these bad
boys..... 2 x 4's are actually 1.5 x 3.5....so with 6 inch screws, I was able to grab
roughly 2 1/4 inches of the 8.5 inch piece. With 2 screws per joint....it will not give!

Here is the joint with 2 screws looks pretty stout doesn't it?

Side shot of the joint showing the screw and how deep it goes....along with the
joint already assembled. Maybe overkill, but I prefer to err on the cautious side!

Particle board has ZERO strength if you screw in to it from the side vs down
through that 3/4 inch dimension. So when I cut my pieces, I knew I would need
to router out 3/4 of an inch to allow the base (or top...remember, they match)
to sit flush with the top of the frame. Somewhat rough since I didn't have a router
table or guide, but not horrible. Keep in mind, the particle board has an extra 1/8
inch removed around the entire piece so that the Thermo-ply pieces can fit down
IN TO the base (or top piece)

Thermo-ply was easiest cut by just a razor blade, so here I set the piece down,
screwed in 1 or 2 to hold it and then trimmed the edges so there was no overlap.

Next up...I get fancy....with FILTERS!!!!!

