DoAll G-1 Hydraulic Surface Grinder restoration

That is a very cool find Josh! Congrats!

This thread is only a day old and filled with some really great information already.

Good luck and can't wait to see how you finish her up.
 
Hot Diggity Dog !

A little more digging on DoAll's website and I've located the Parts Manual for my exact machine !!!!!!!!!!! Whooop Whoooop !!!!

PDF free download !!!!!!!!!!!!!

The only filters are the one I mentioned and one labelled "filter assembly" that is on the end of the pick-up tube inside the tank. The one in the tank will have to wait until I'm ready to drain her but now I've got schematics for every single part of the machine with part #'s etc. !!!!!!!!!

This re-hab is ON boys !!!! :)

-Josh
 
Great to hear Josh!

Don't you just love the internet. I find stuff that you would never think someone took the time to upload.
 
The latest little tidbits of info to trickle in-

The DoAll was manufactured in 1947.

There is a seal inside the directional valve that I'm assuming is going to be the source of my leak so I'll have to take it apart to see what the seal looks like but I'm speculating I'll have to order a replacement seal. I do have a Grainger and a Fastenal in town so an off the shelf part would be great but no biggie if not.

-Josh
 
Congrats on the new grinder Josh. It looks great. :)

This thing will be a game changer for ya. I know mine was.

Its a KNIFE LIFE!
Randy
 
Managed to squeeze about an hour in the shop today so I went after the source of my leak.

The directional valve is actually called a Pilot valve. Anyway I tore into it and completely disassembled it.

The shaft that rotates inside the valve has two seals and both look in rough condition.

This flange slips down over the shaft and inside here is a rubber seal that looks to have a spring ring and a pressed in retainer to keep the works together. The rubber is in bad shape but replaceing it should be doable IF I can get a replacement seal. Going to check around town and call DoAll on monday

002_zps3848e722.jpg


The second seal goes underneath the shaft and is rubber with a paper ???? gasket on each side. The paper is obviously blown out but I could probably make a replacement if worse comes to worst.

003_zps289fd566.jpg


Of course there is an internal spring loaded detent ball inside the valve housing so now I gotta pick up an extra long hex key to remove the bottom of the housing so I can pull the body out the top of the saddle to get the valve back together. Fun fun fun !

-Josh
 
Here's the latest info-

Had a little time to tinker over the weekend so I managed to figure a few things out and get to know the machine a little better.

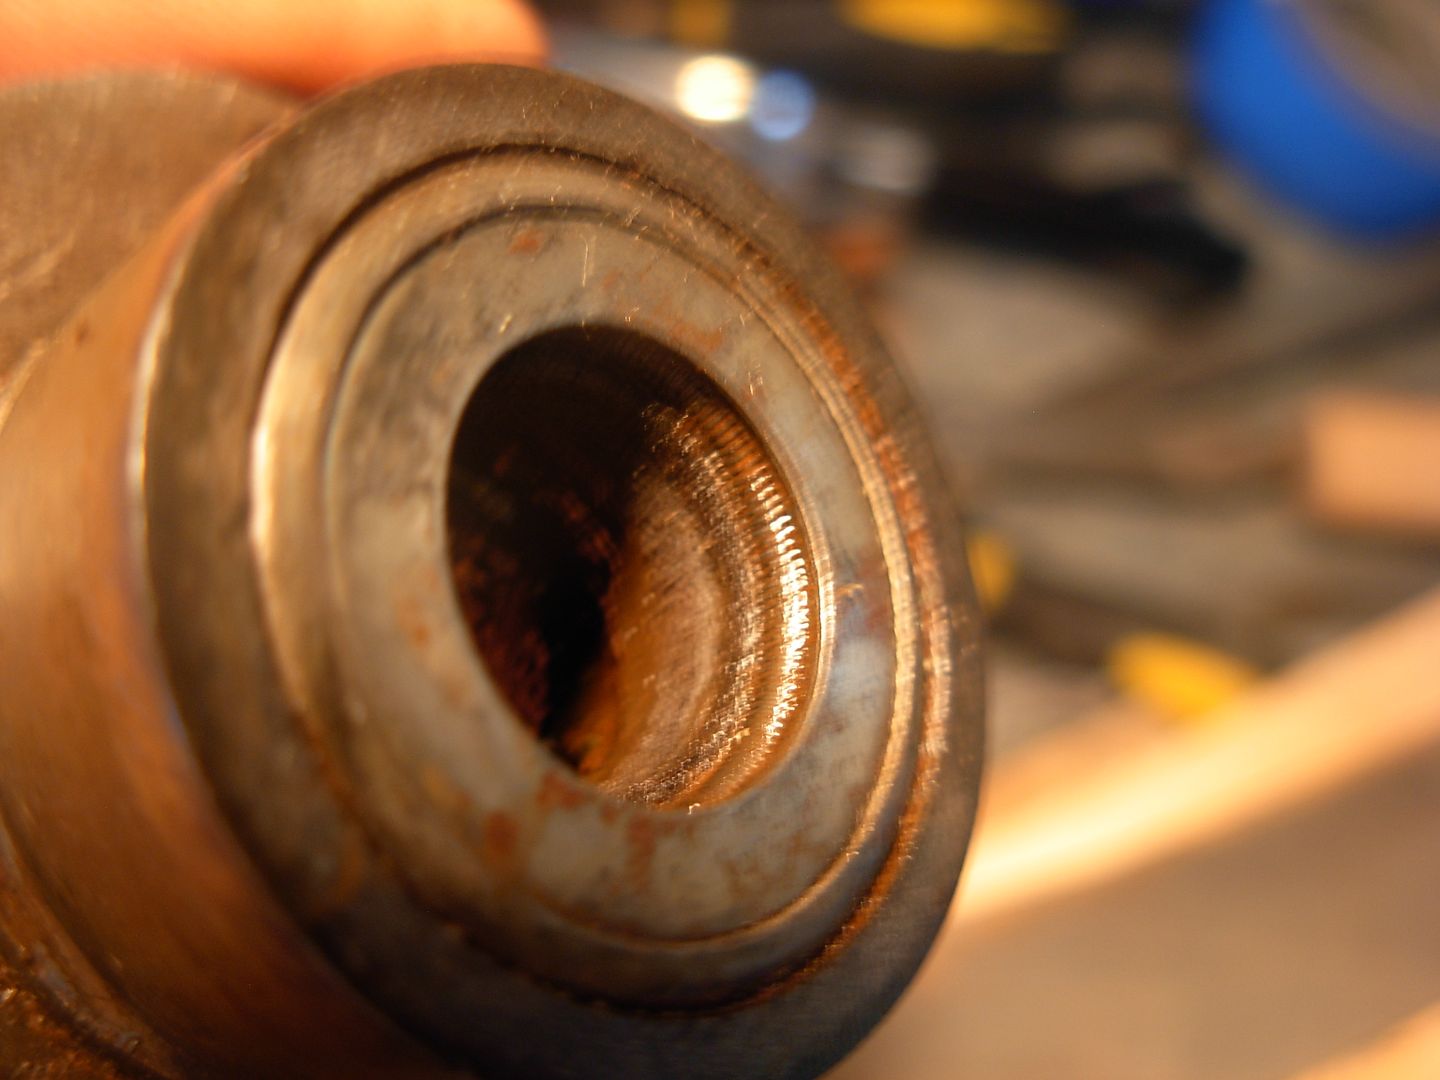
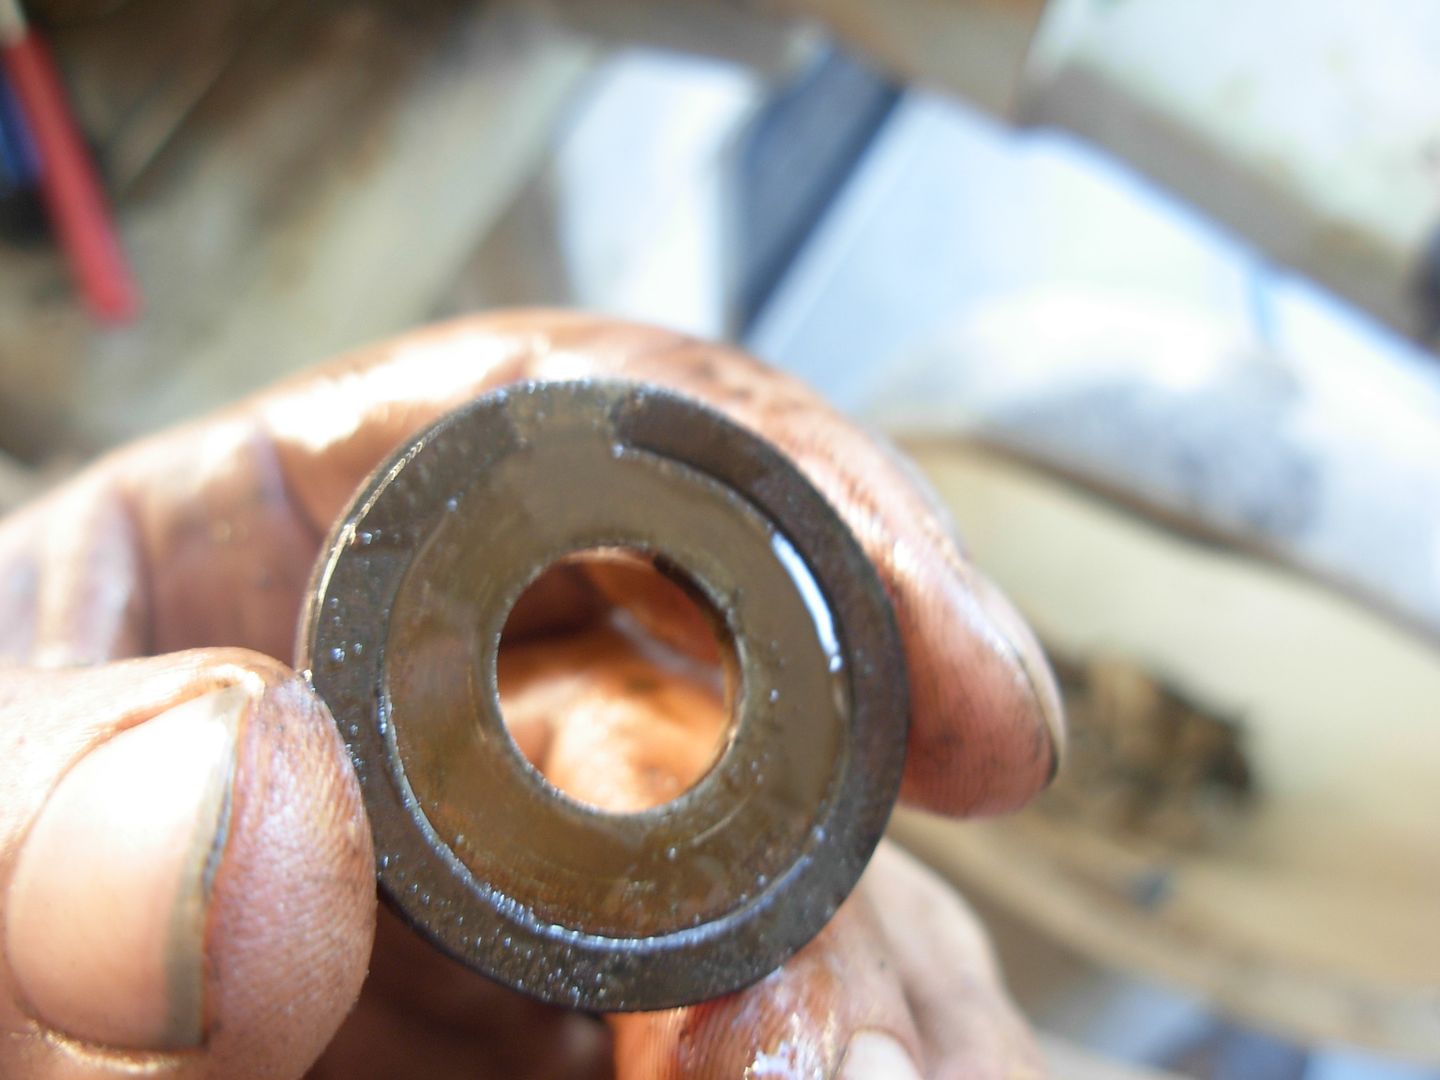
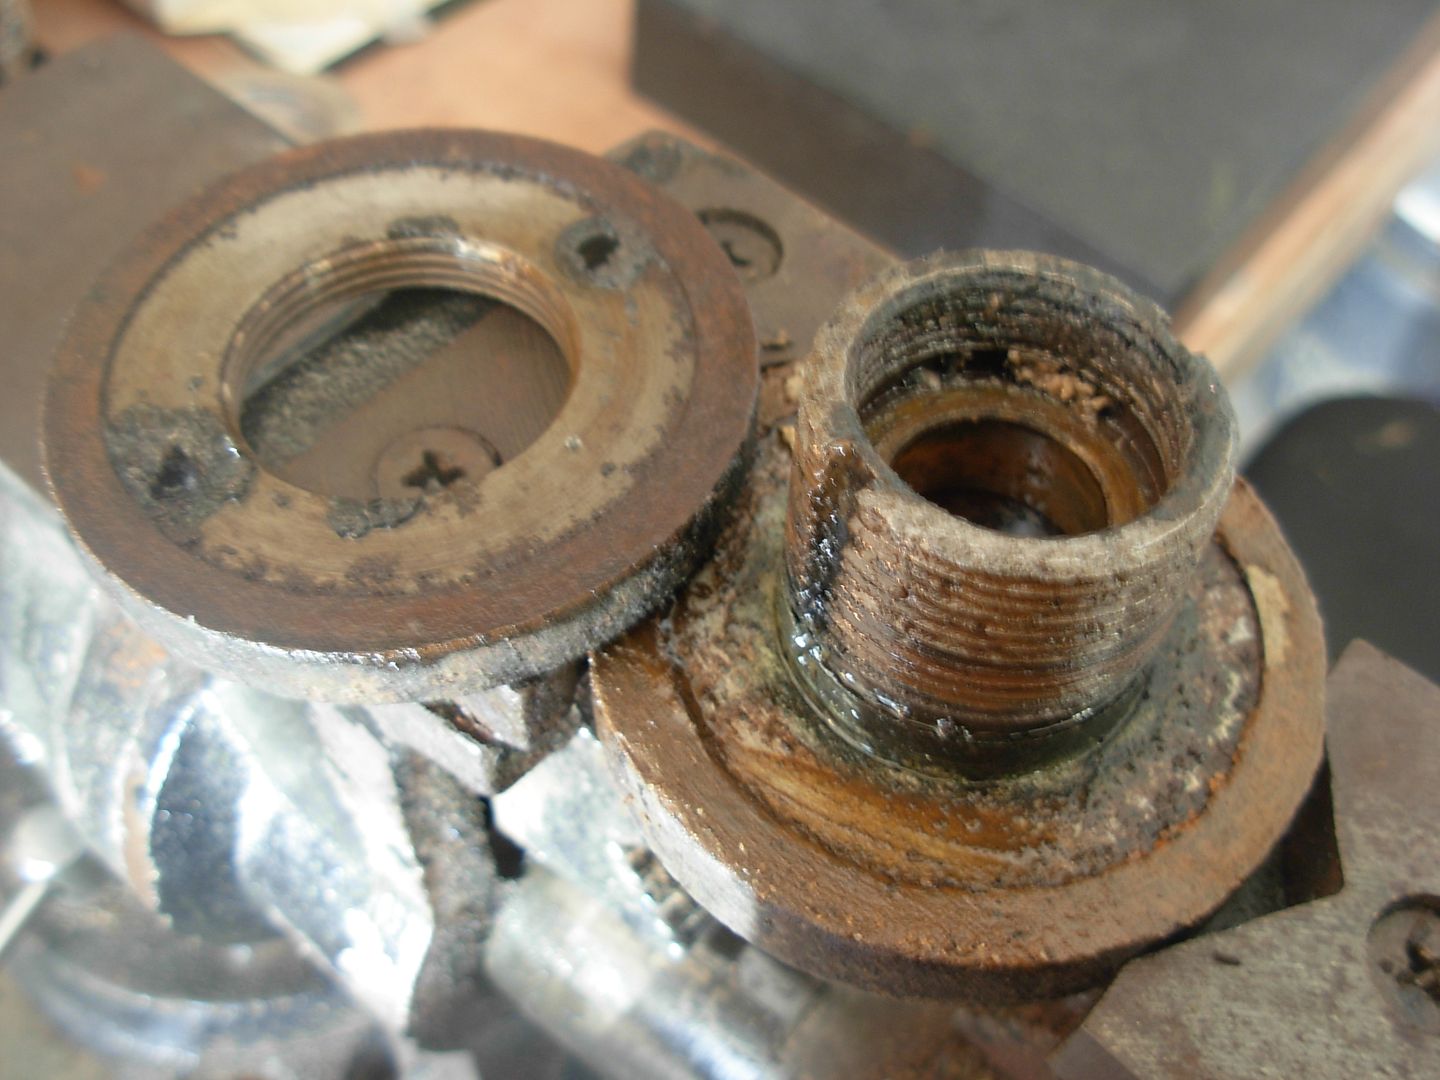
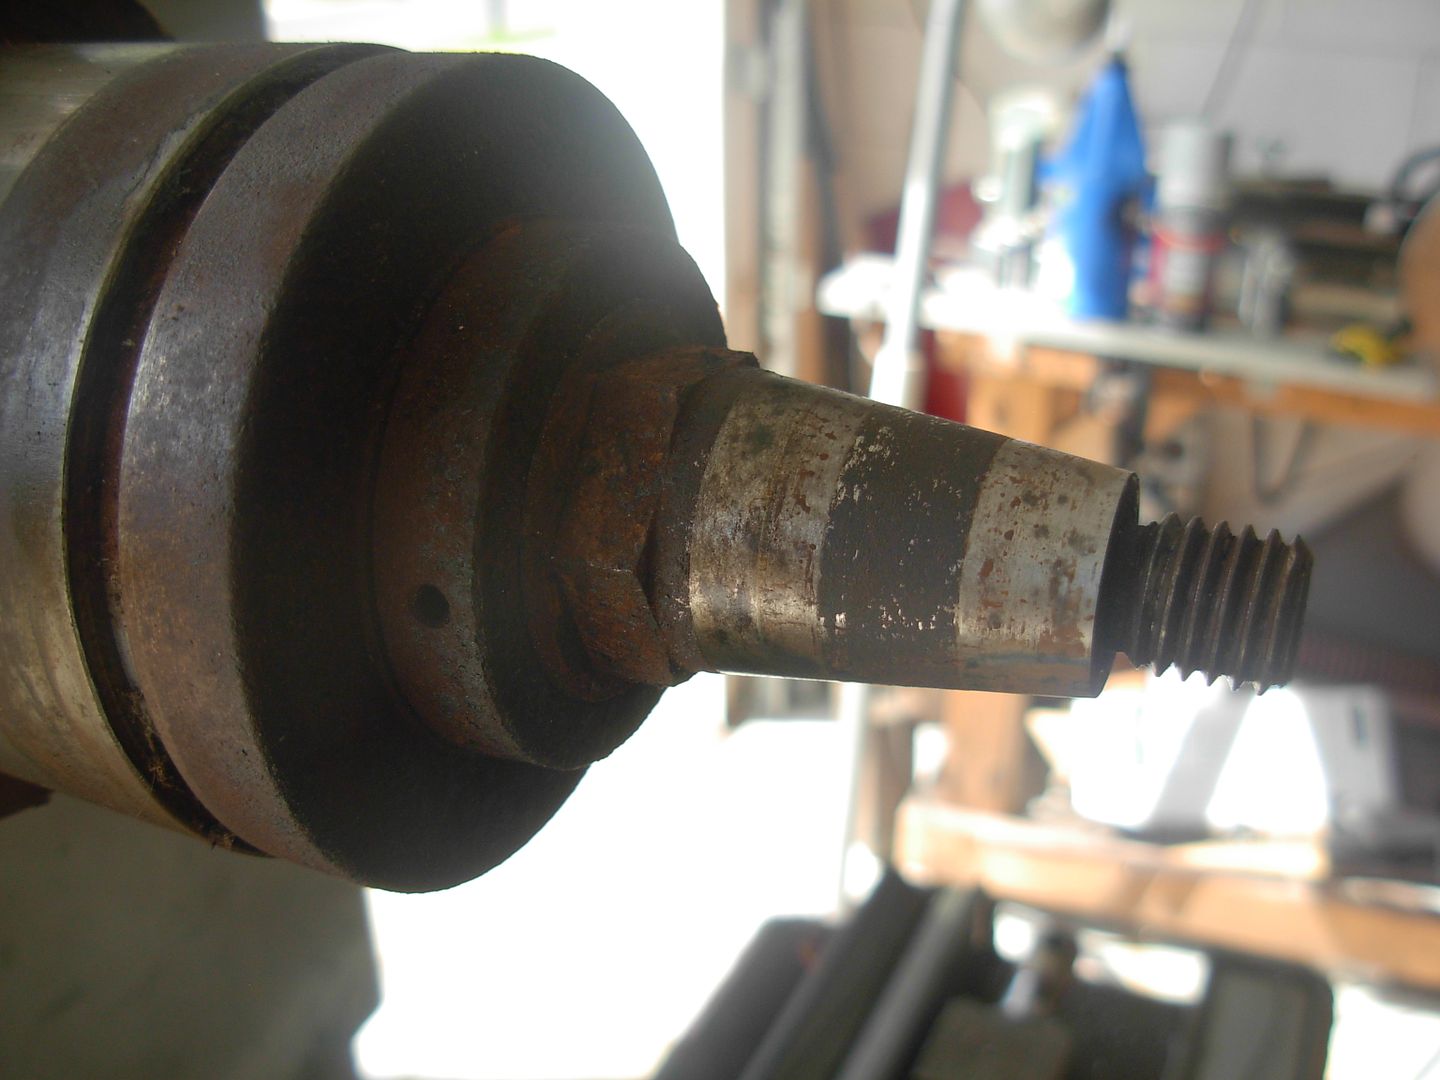
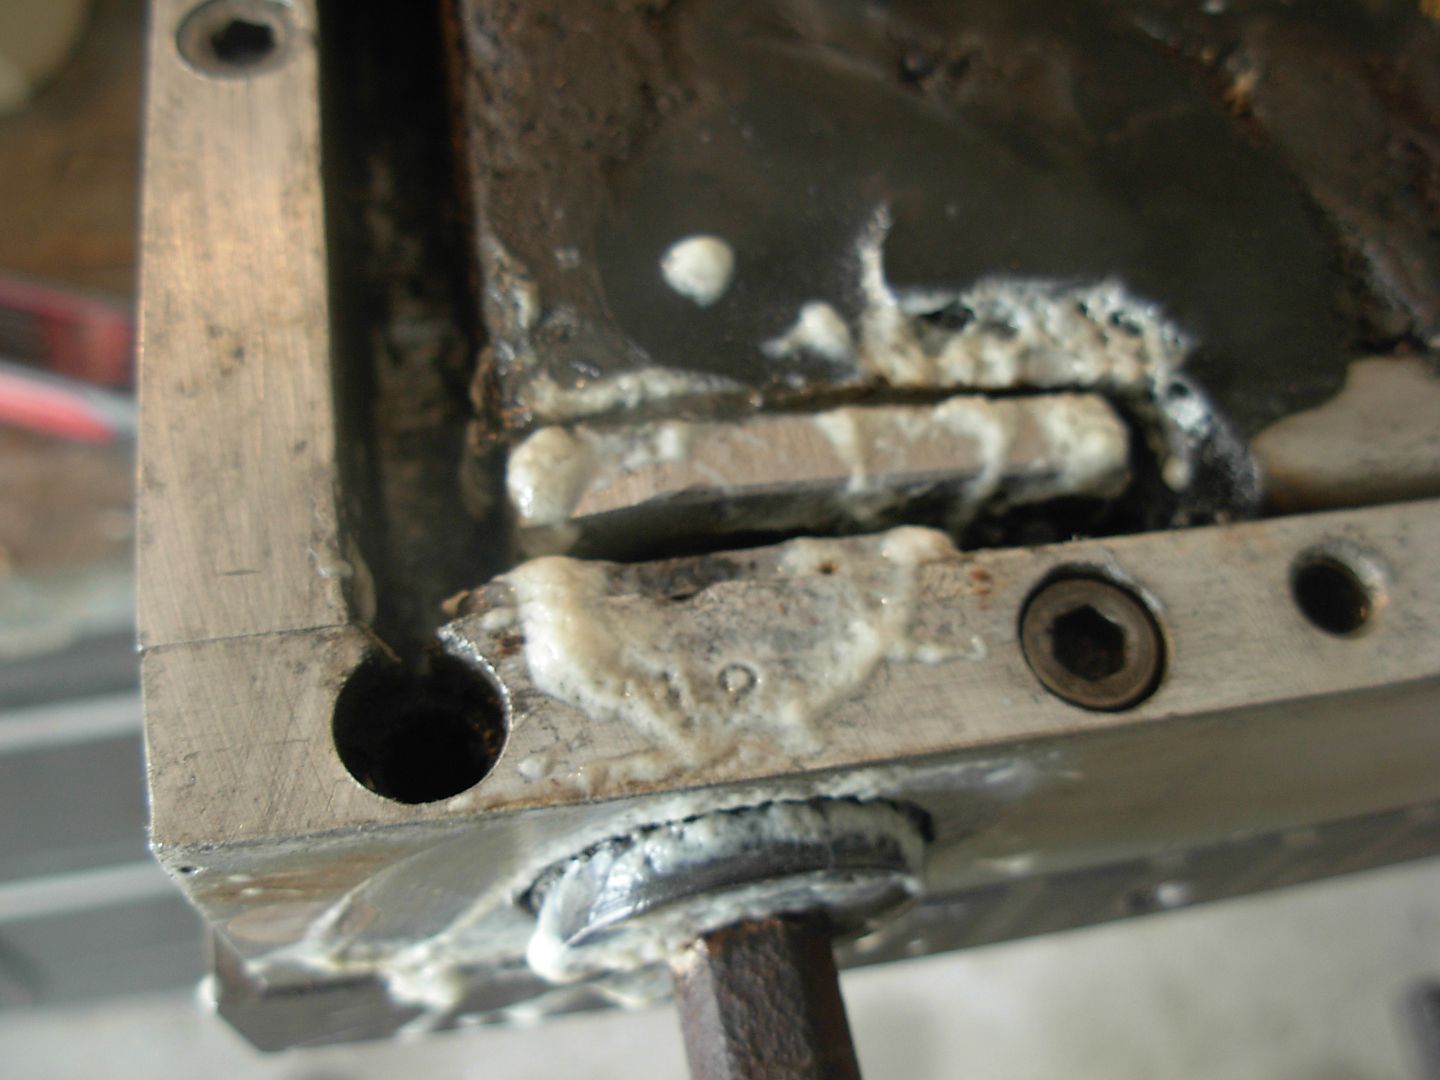
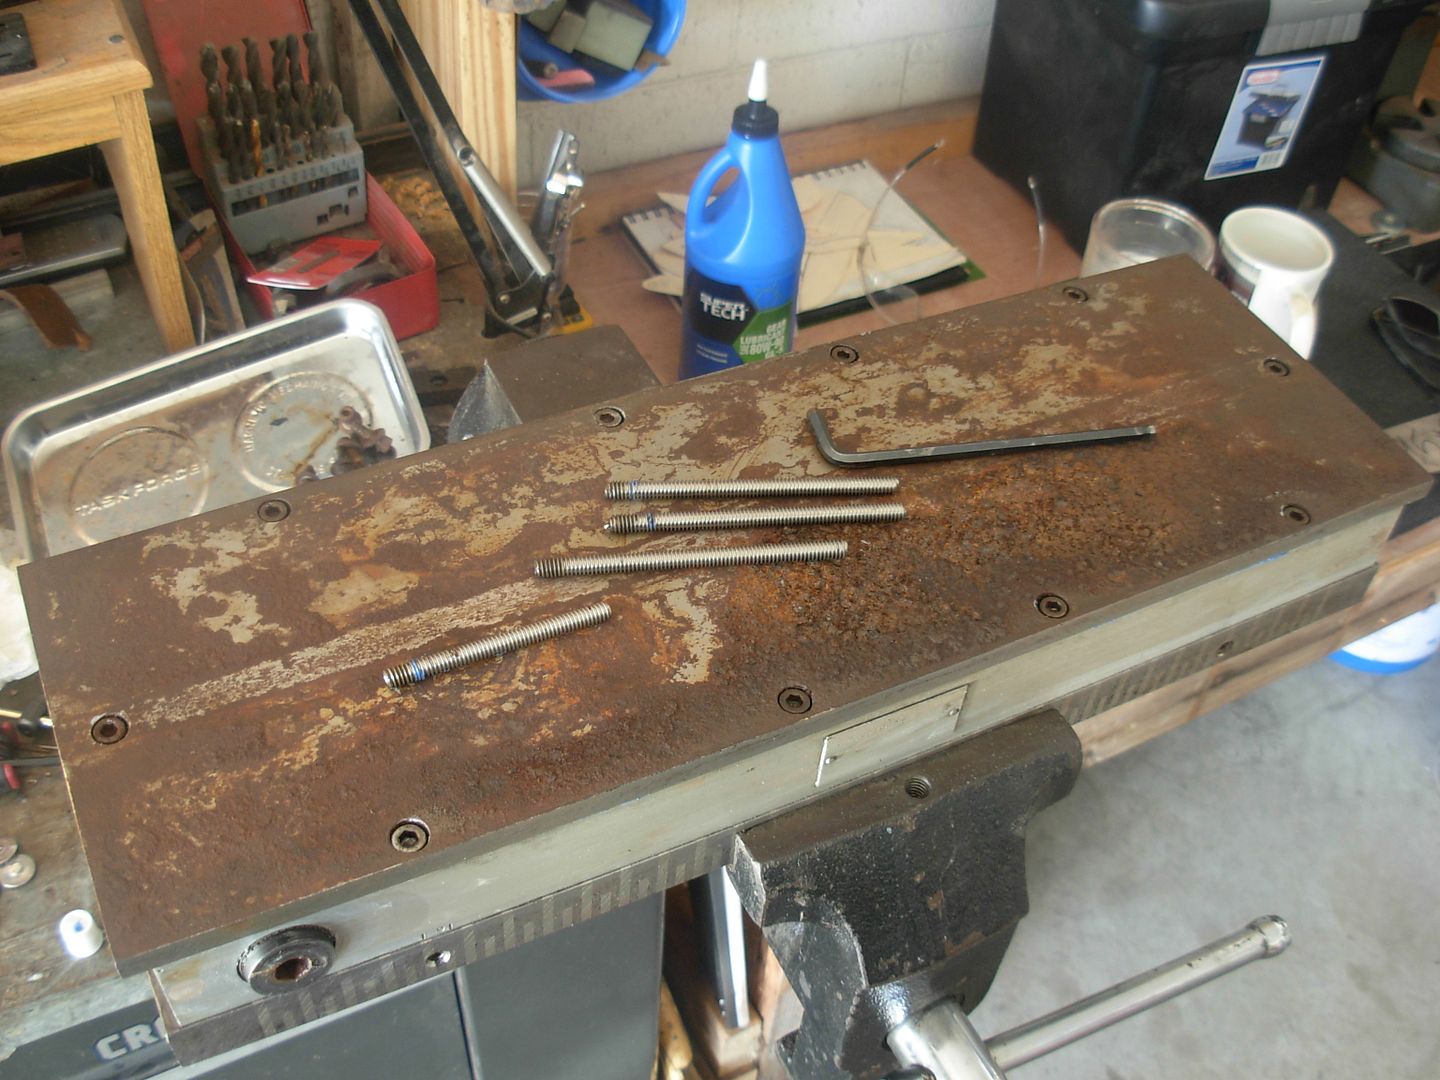
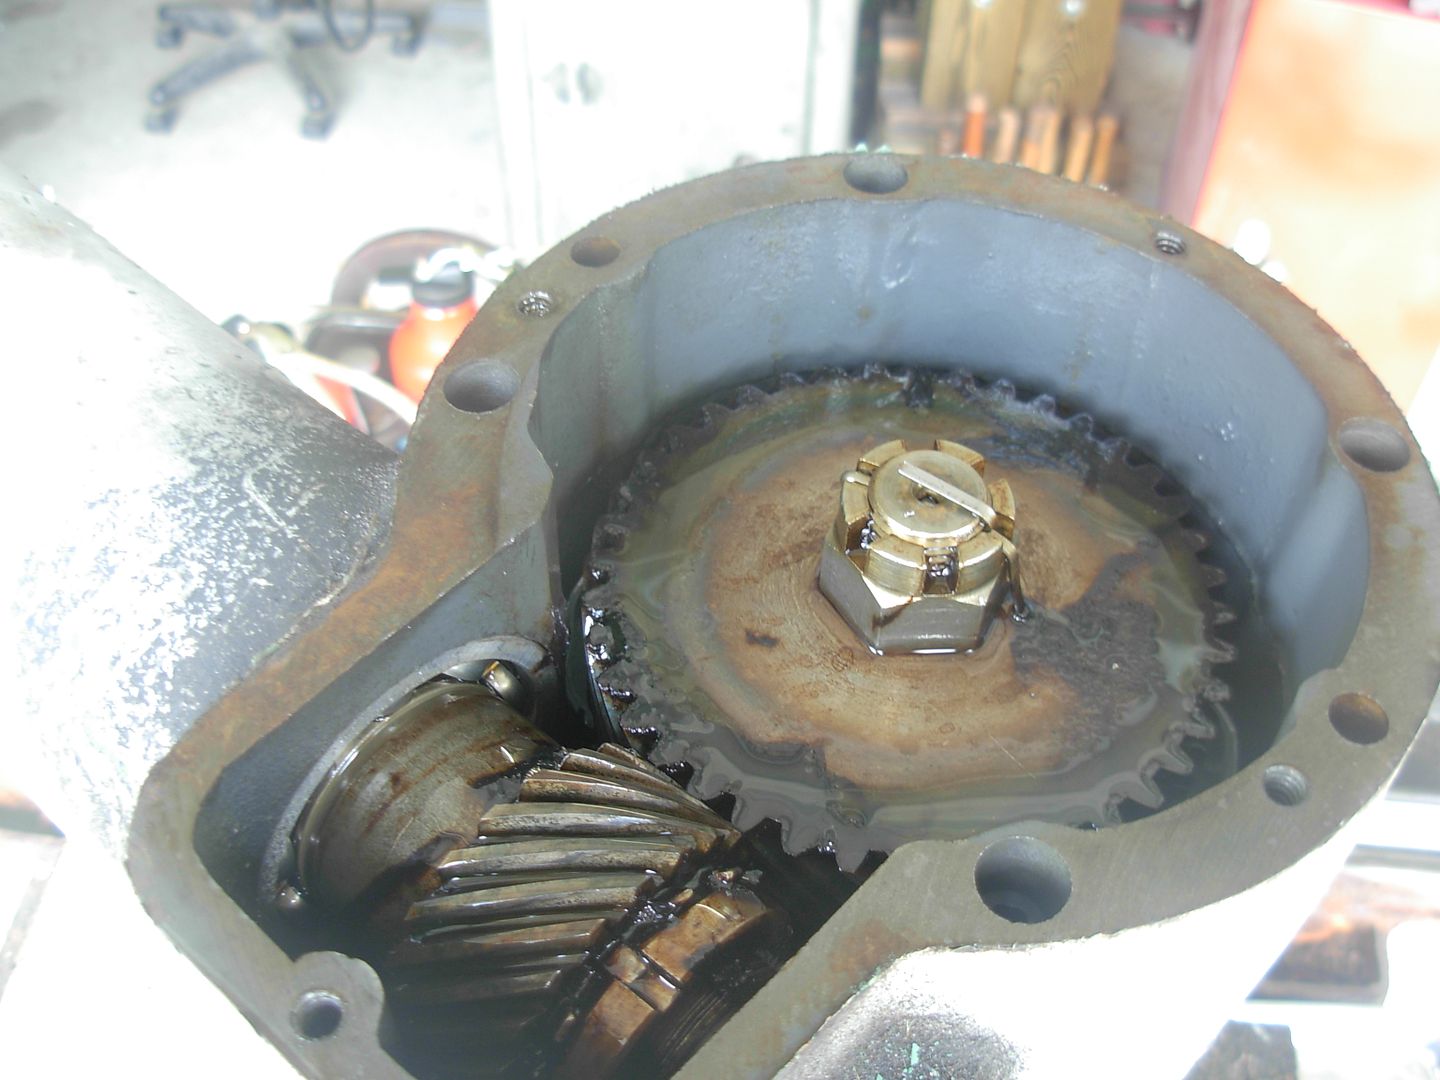
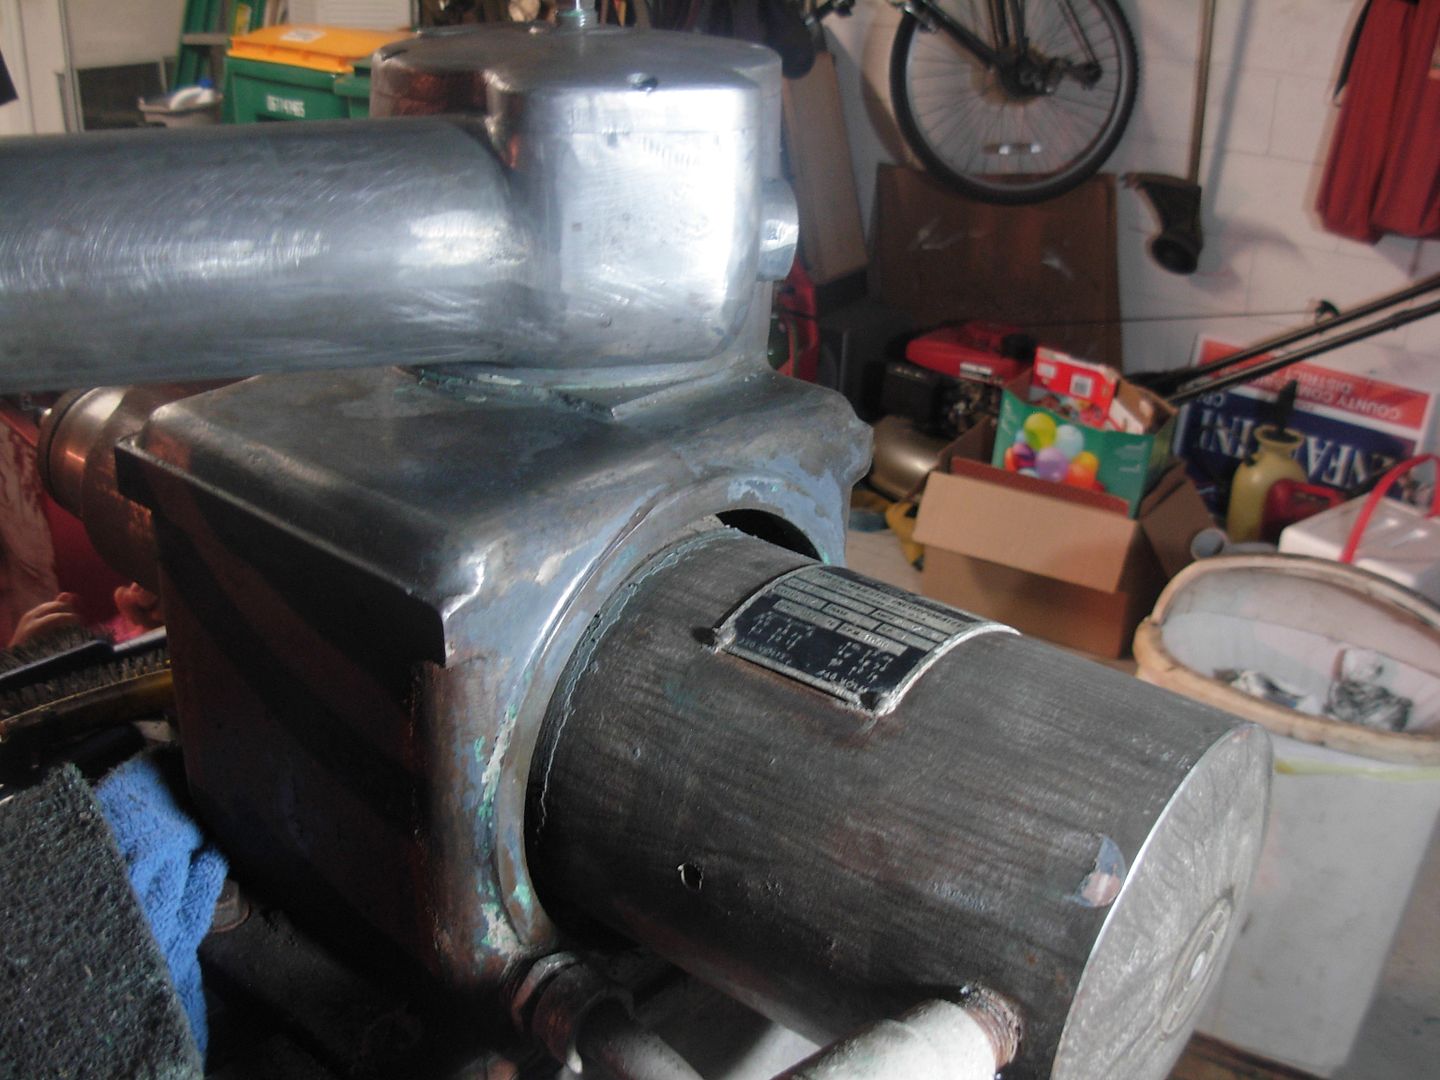
Pulled the crossfeed screw to gain access to the bottom of the pilot valve. This allowed me to put the detend ball in from the bottom and depress it while inserting the shaft from the top side. Fairly easy to do and I only dropped the detent ball twice.

I had no luck whatsoever finding replacement seals online but I'm pretty sure that DoAll could help me out. I figured I wouldn't be out anything by making replacement paper seals and giving it a try. I found some cardboard from a pack of sandpaper that was the appropriate thickness of .010 and made two new gaskets and saturated them with White Lithium grease then re-assembled the valve. To my utter amazement she did not leak on a short test run. Maybe they'll last maybe they won't but at least I'm now armed with the knowledge to disassemble and reassemble without issues so for future problems it'll only be a matter of getting the correct seals.

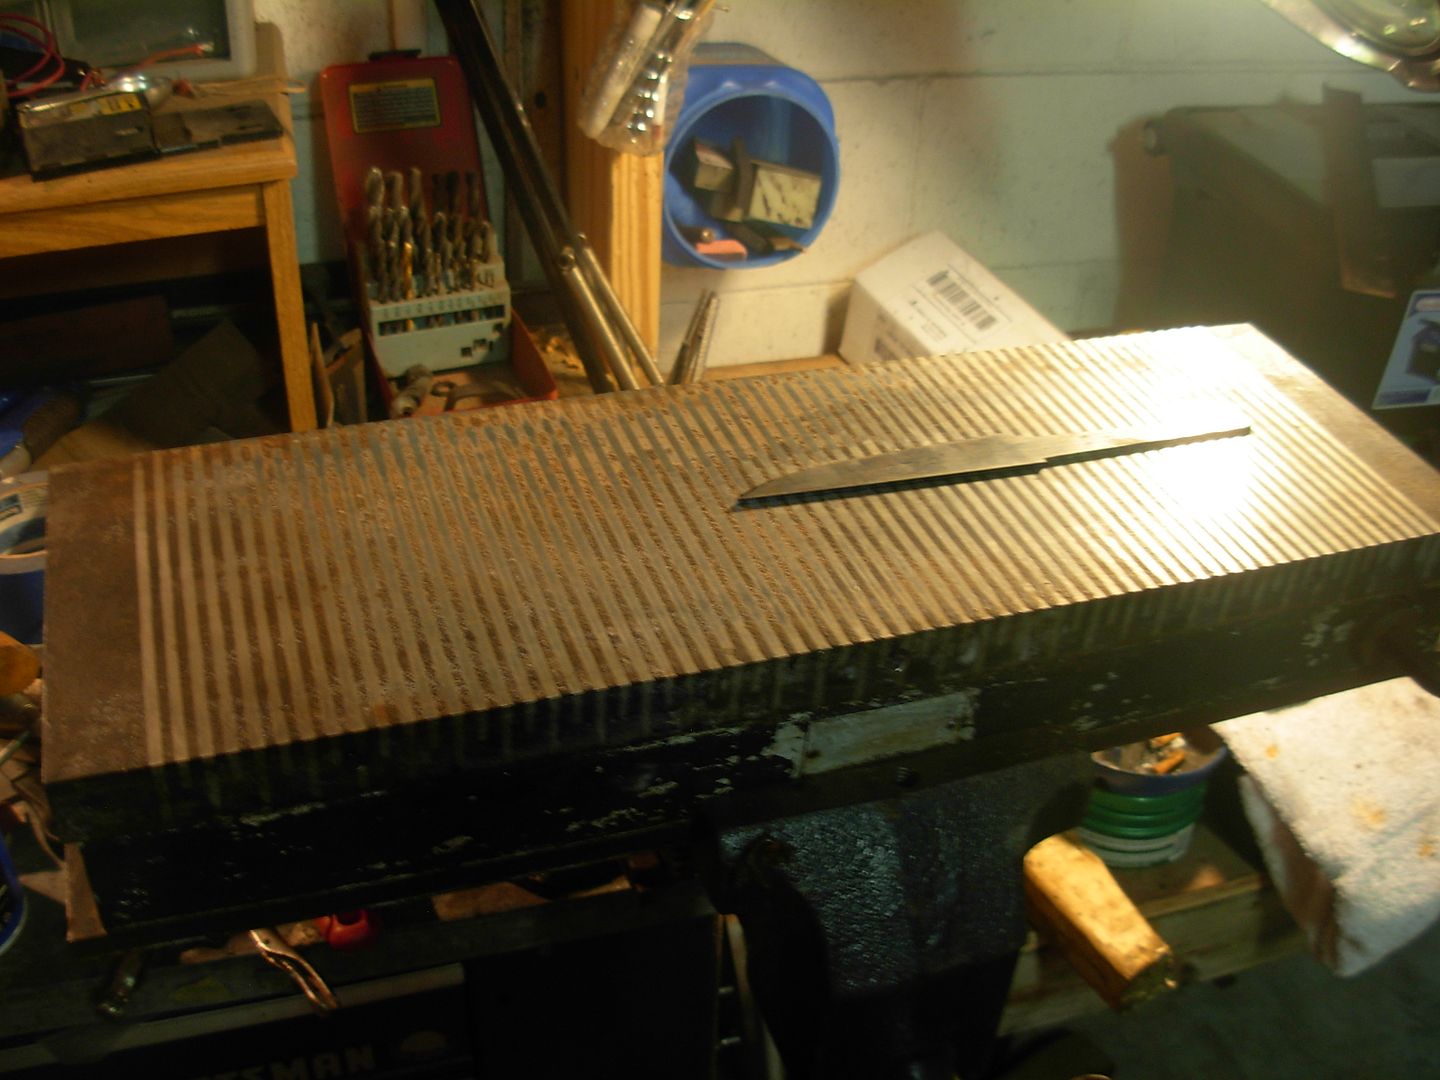
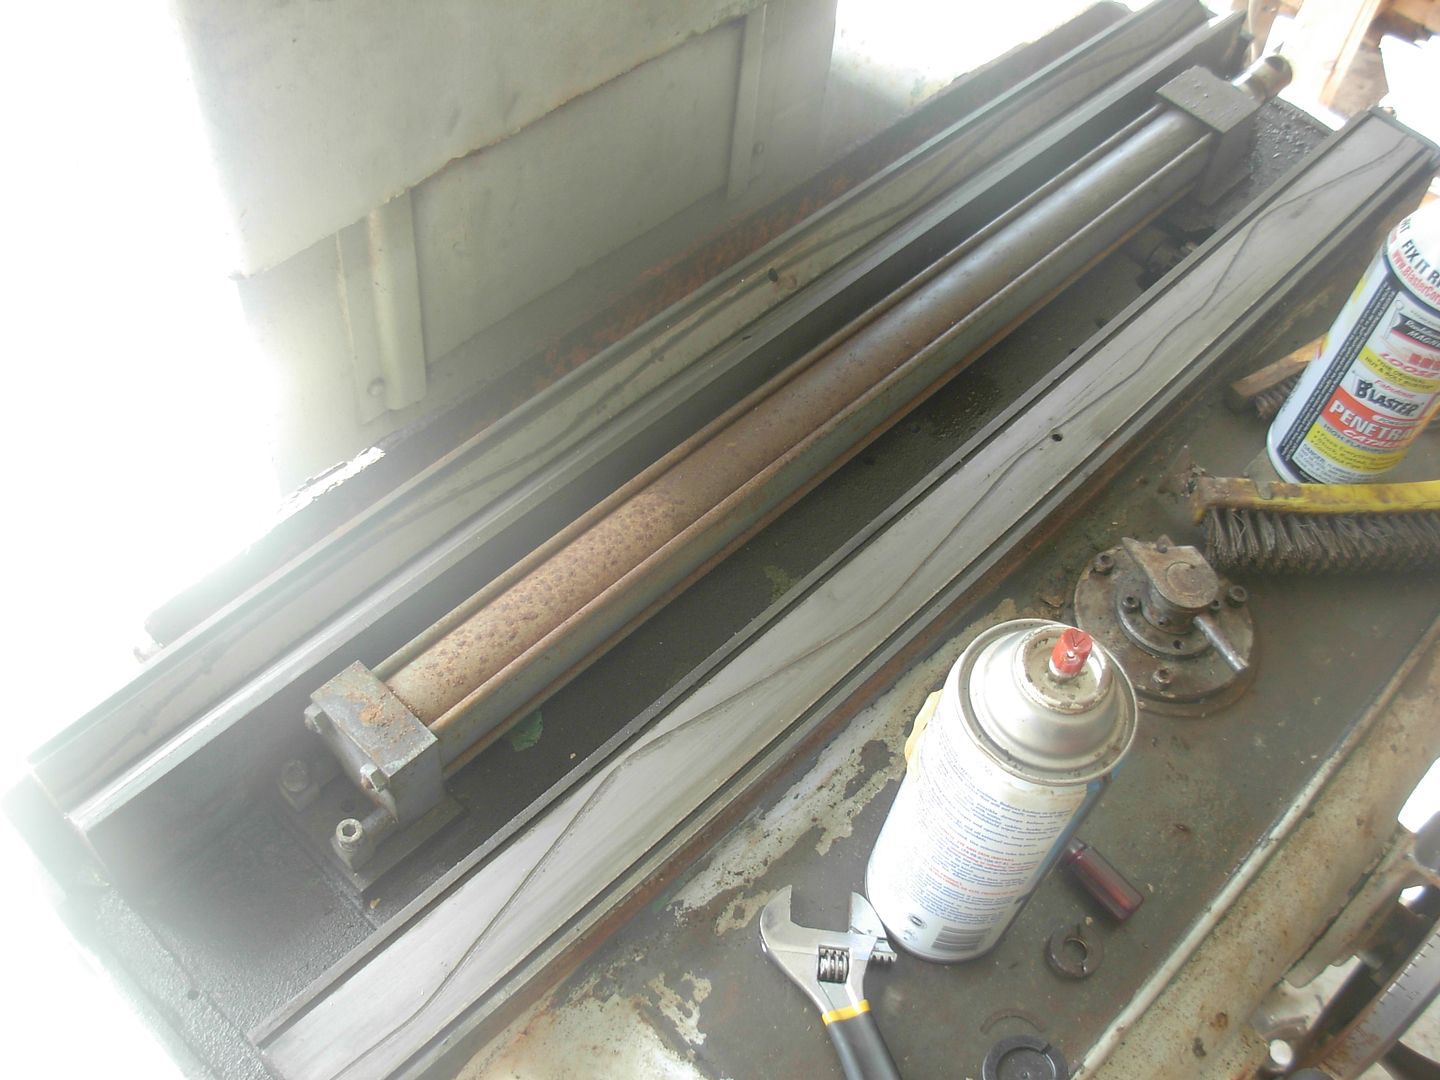
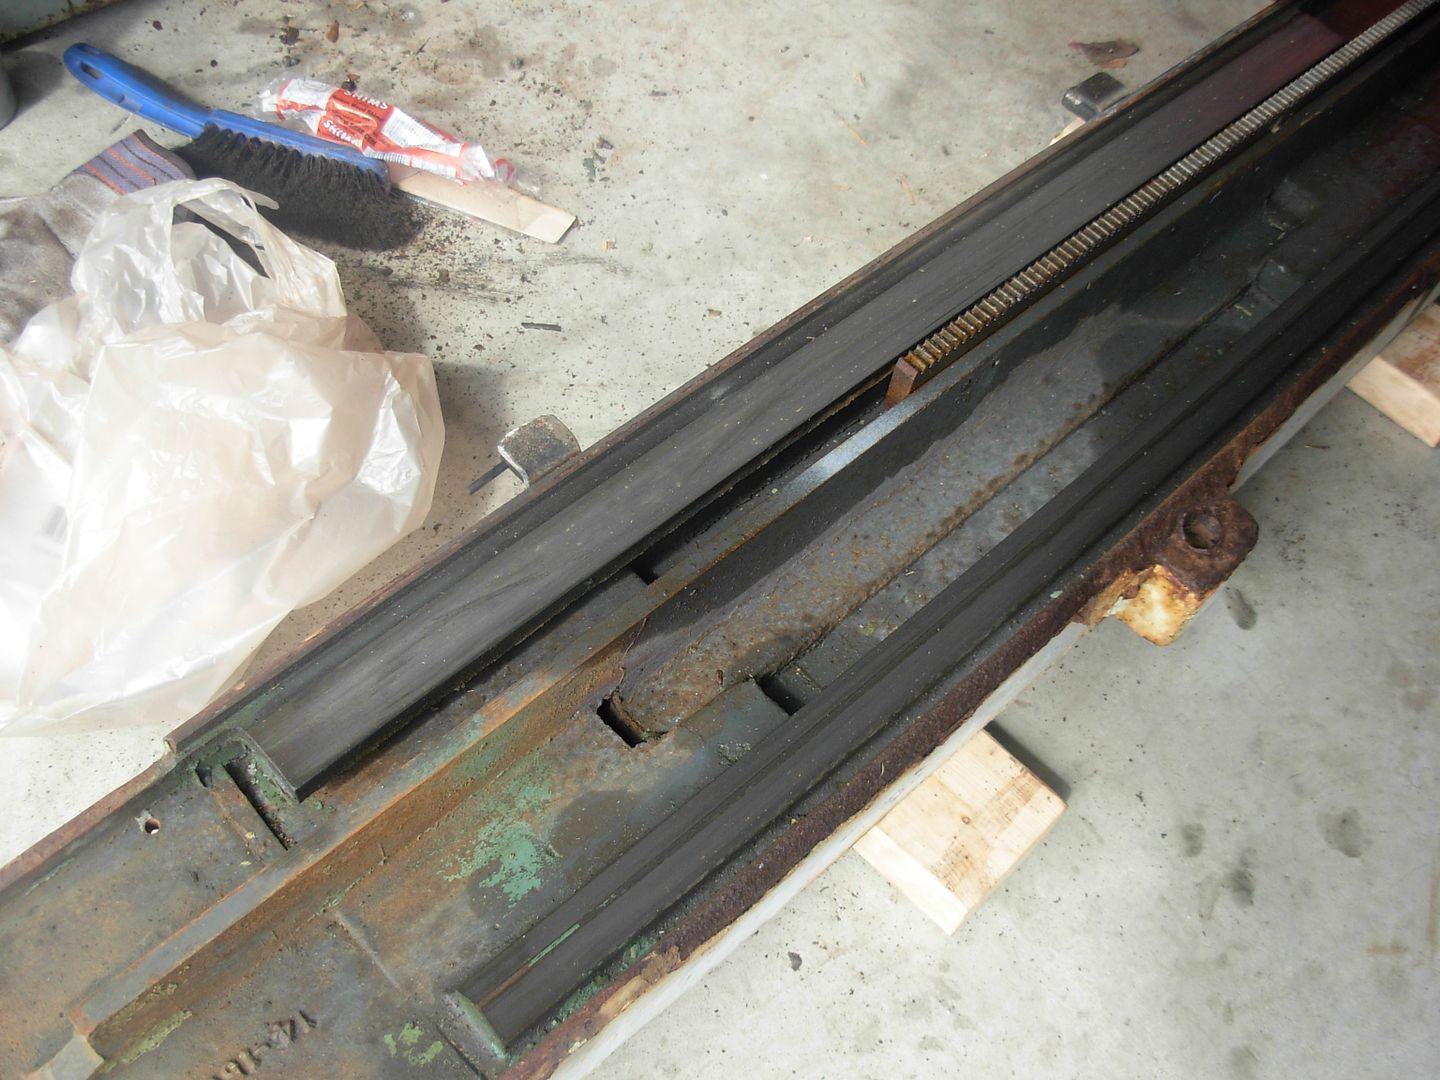
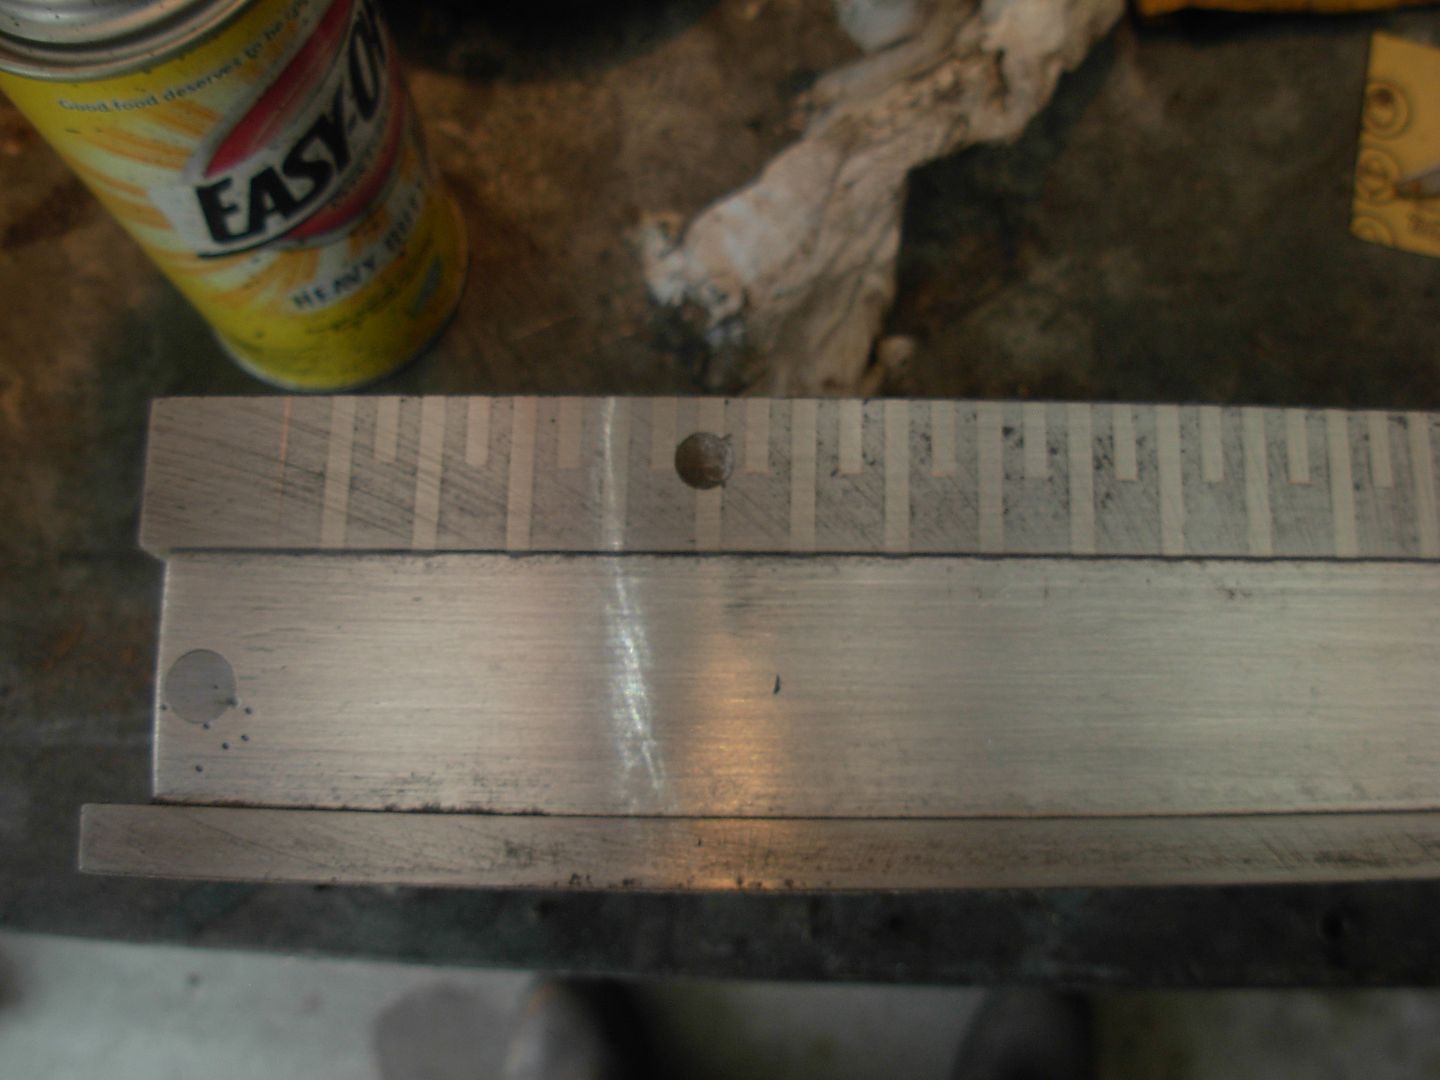
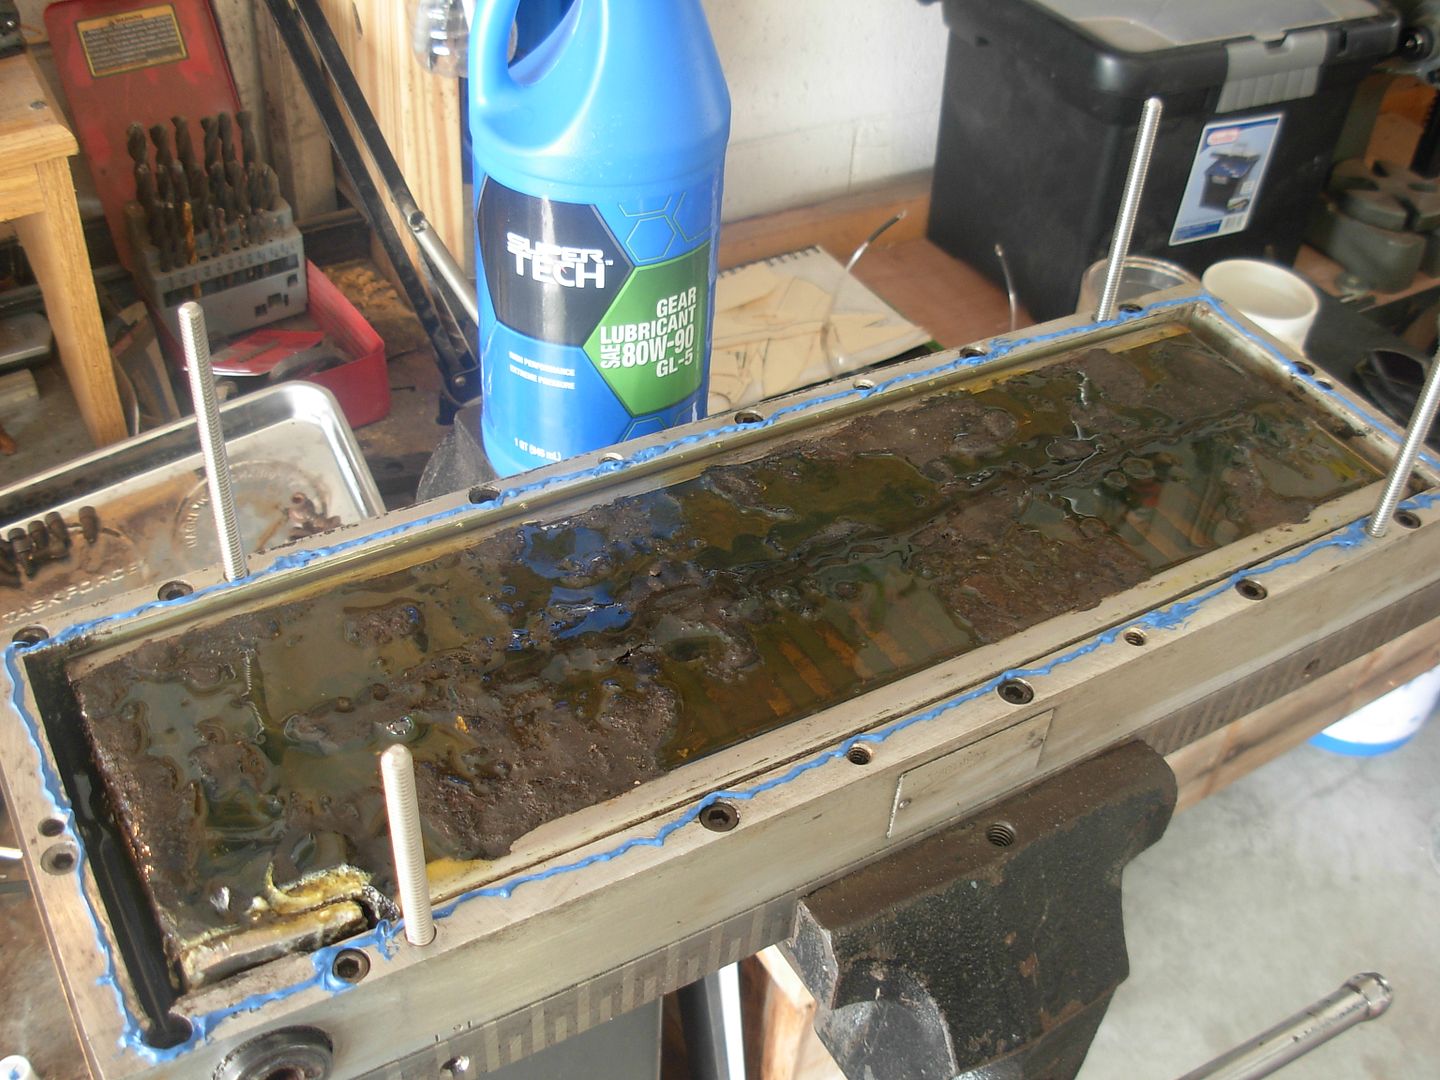
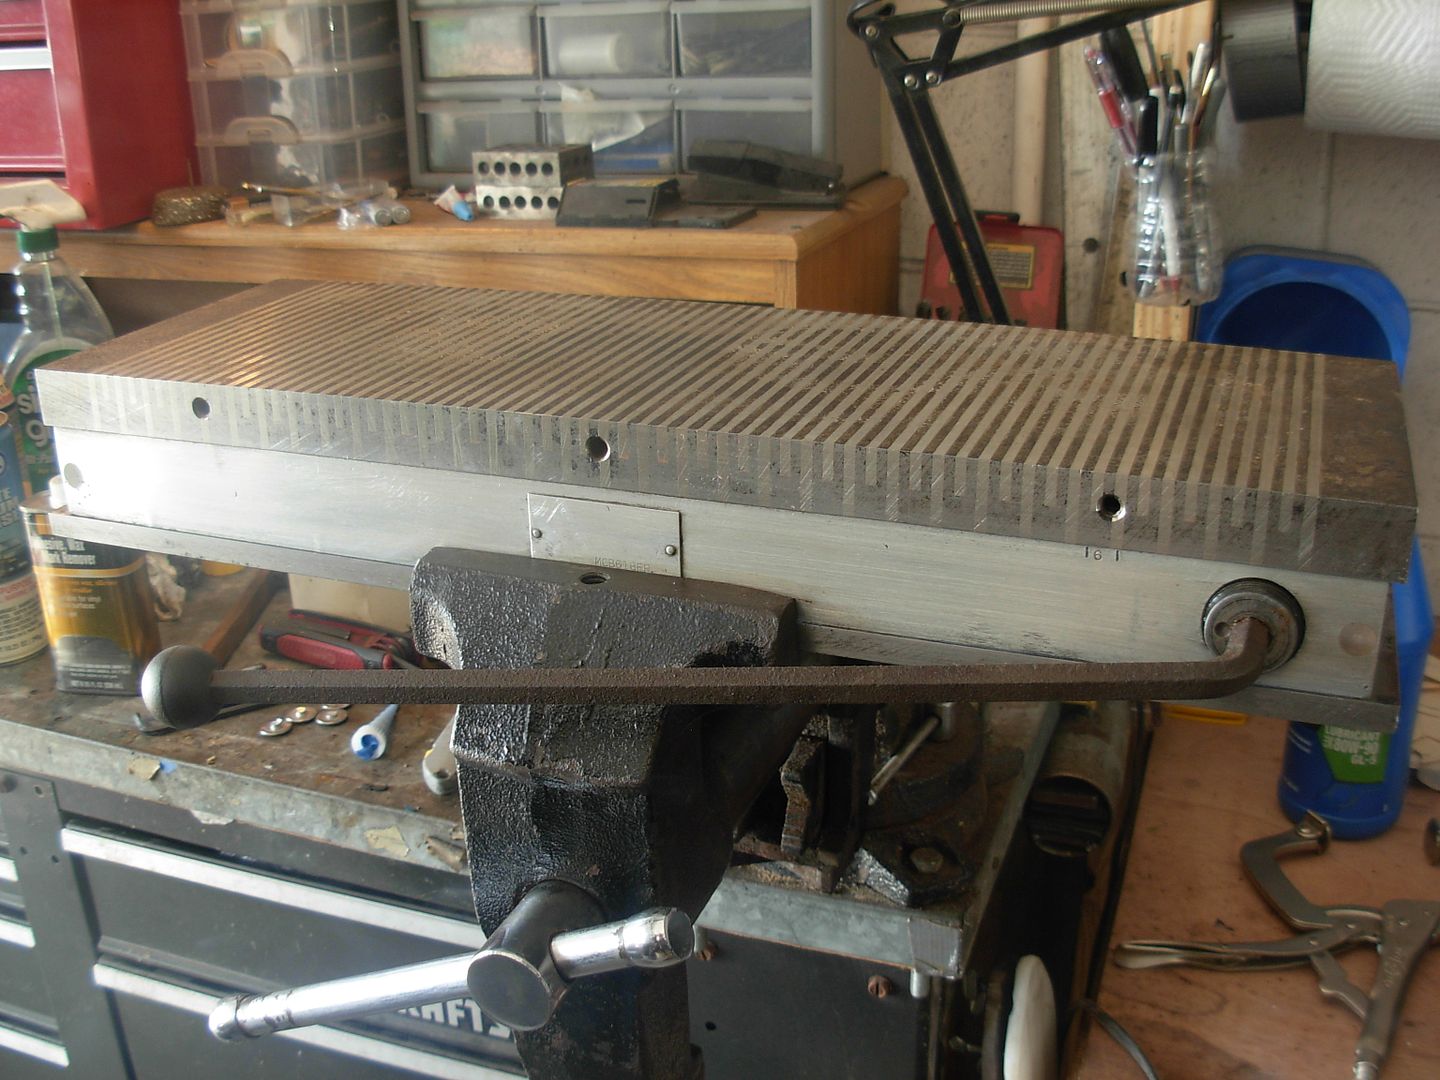
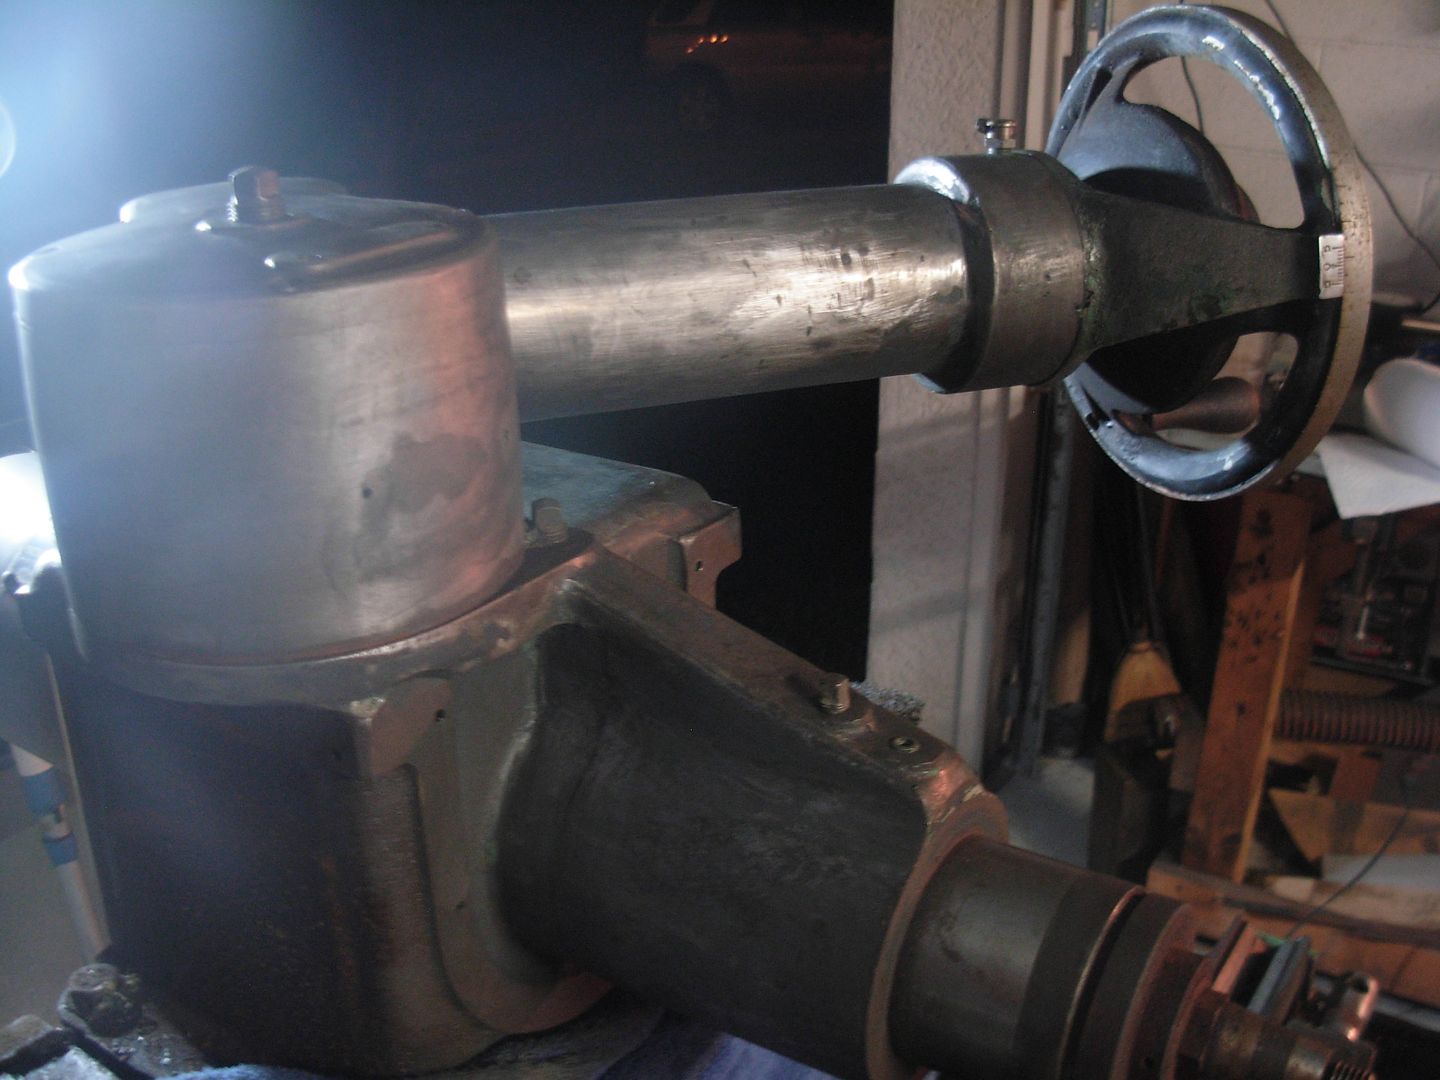
I managed to remove the table by myself. I'm not too suprised that the table ways are in pretty humble shape and worn smooth everywhere but on the very ends where there's still just a hint of scraping. I won't know how bad the machines accuracy will suffer until she's grinding steel but I'm hoping she'll hold knifemaker tolerances. Having the ways rescraped, reground, or converting the ways to roller ways are future options but on the spendy side. For the current time though I'll focus on getting her grinding and worry about the ways later but there are options for repair so she's not scrap even if the wear is significant.

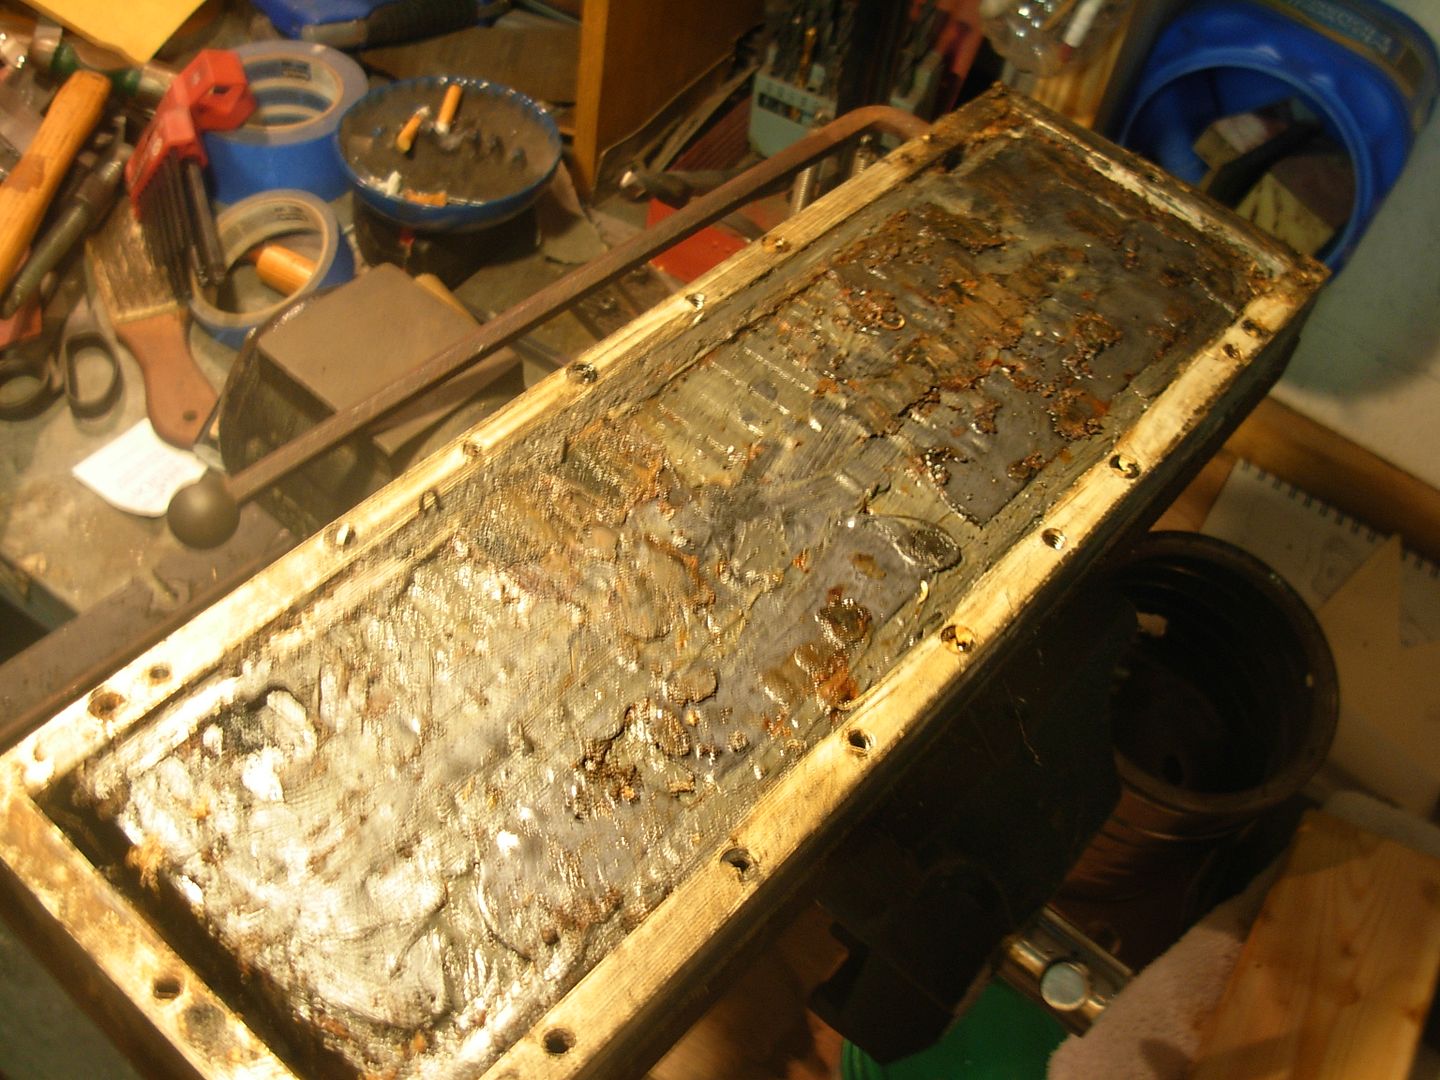
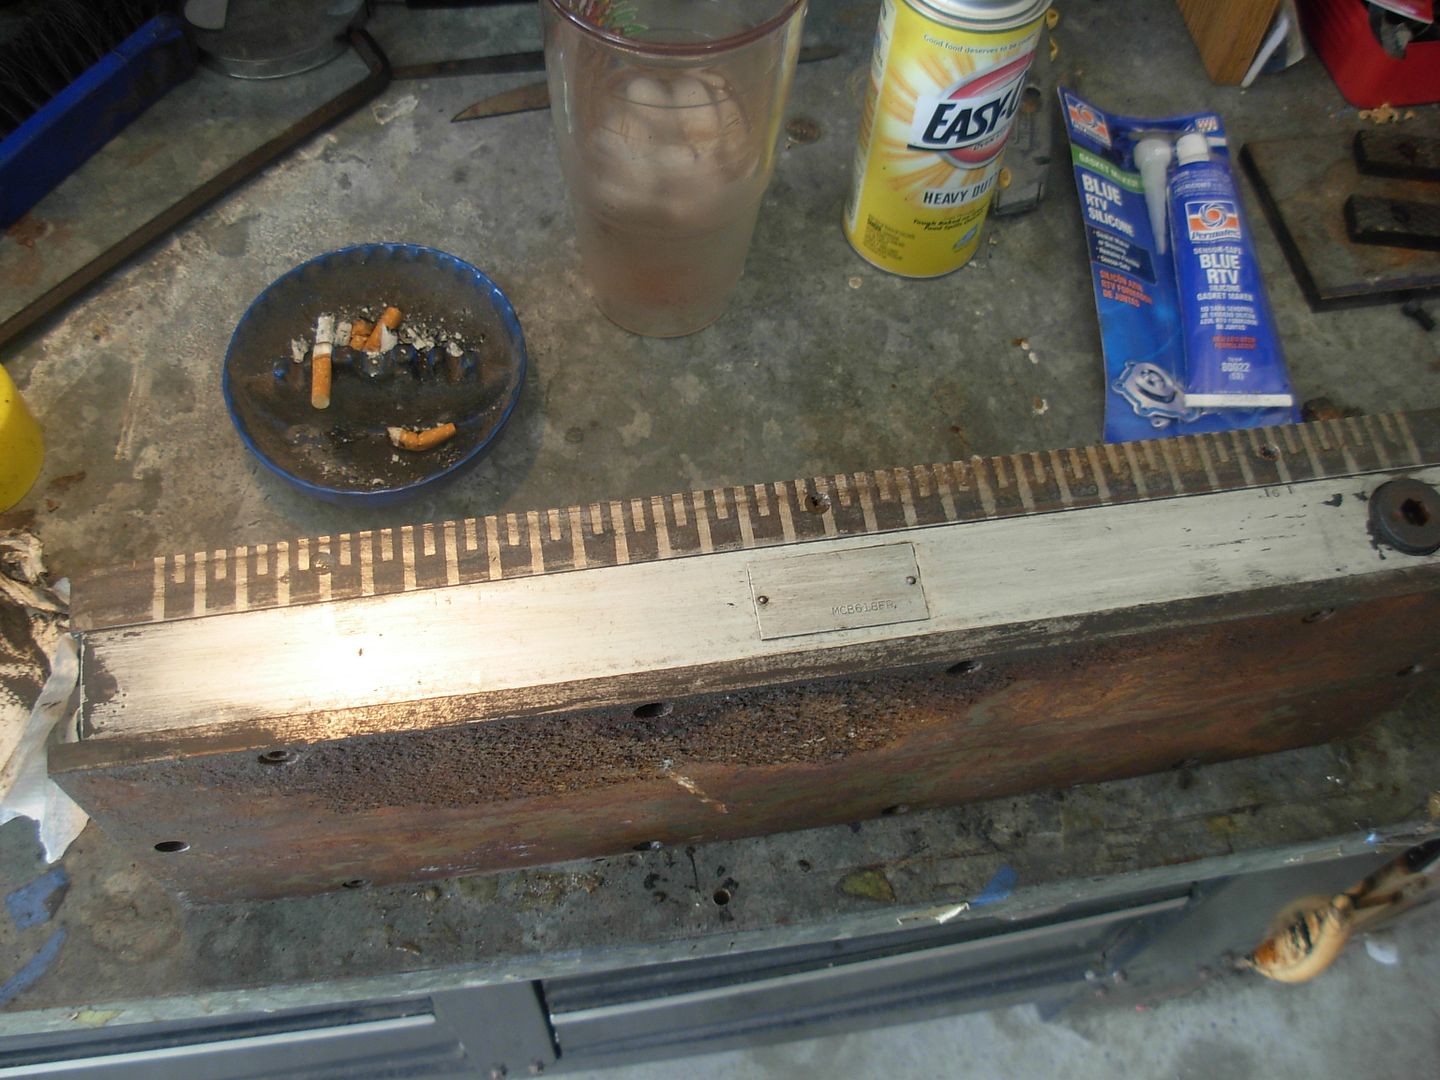
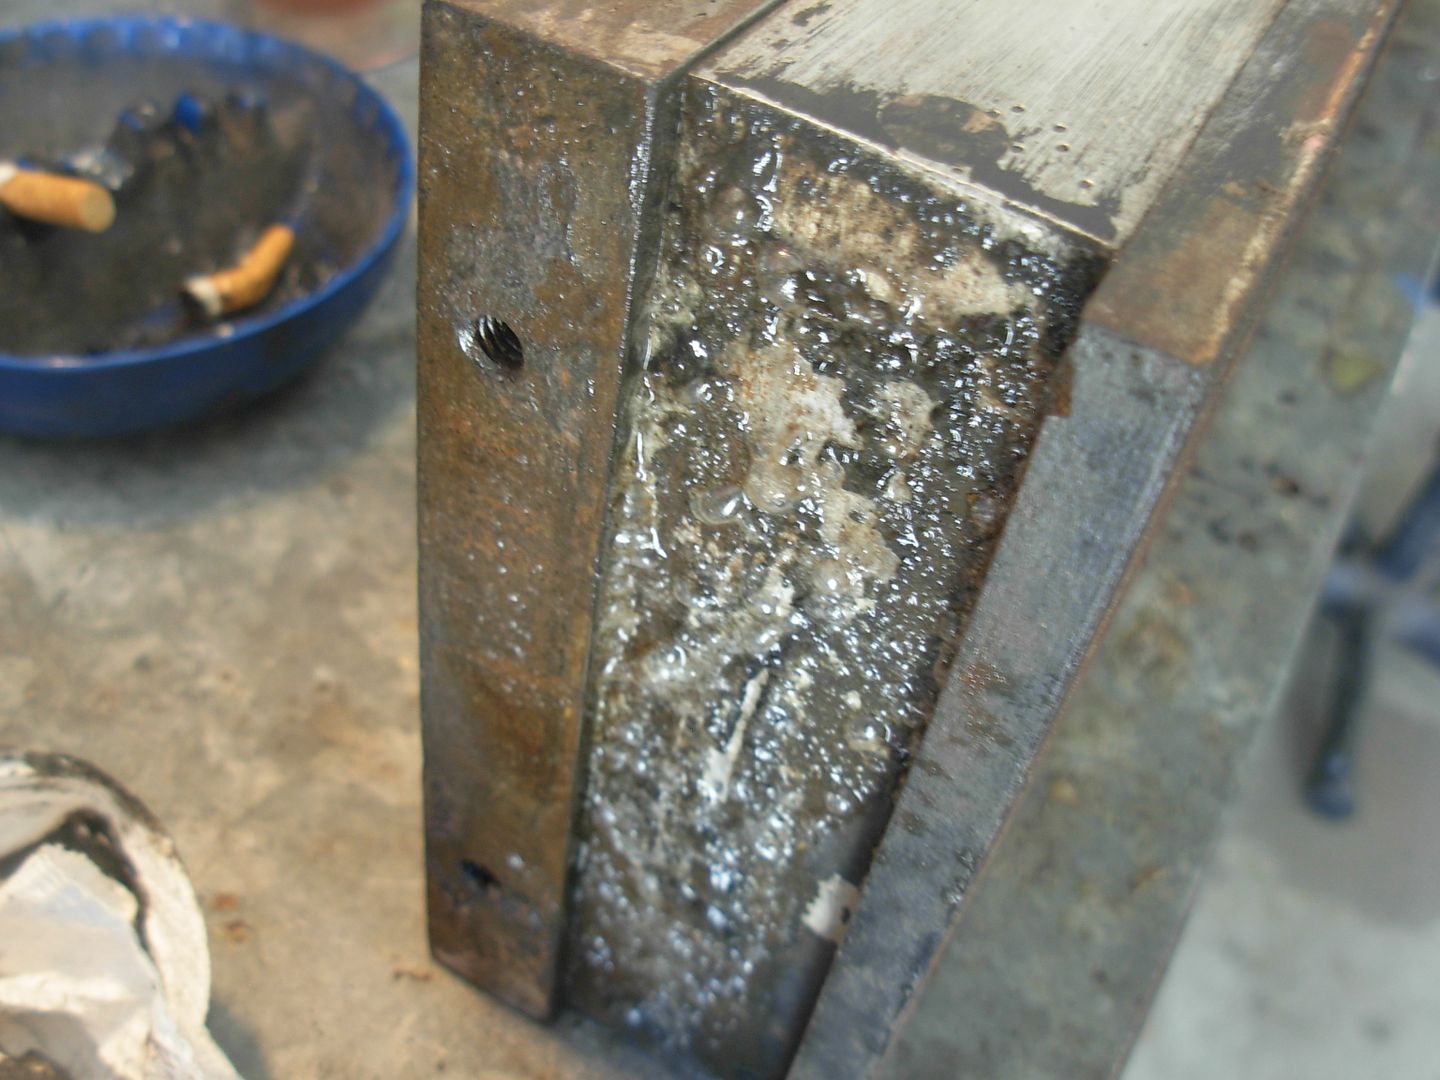
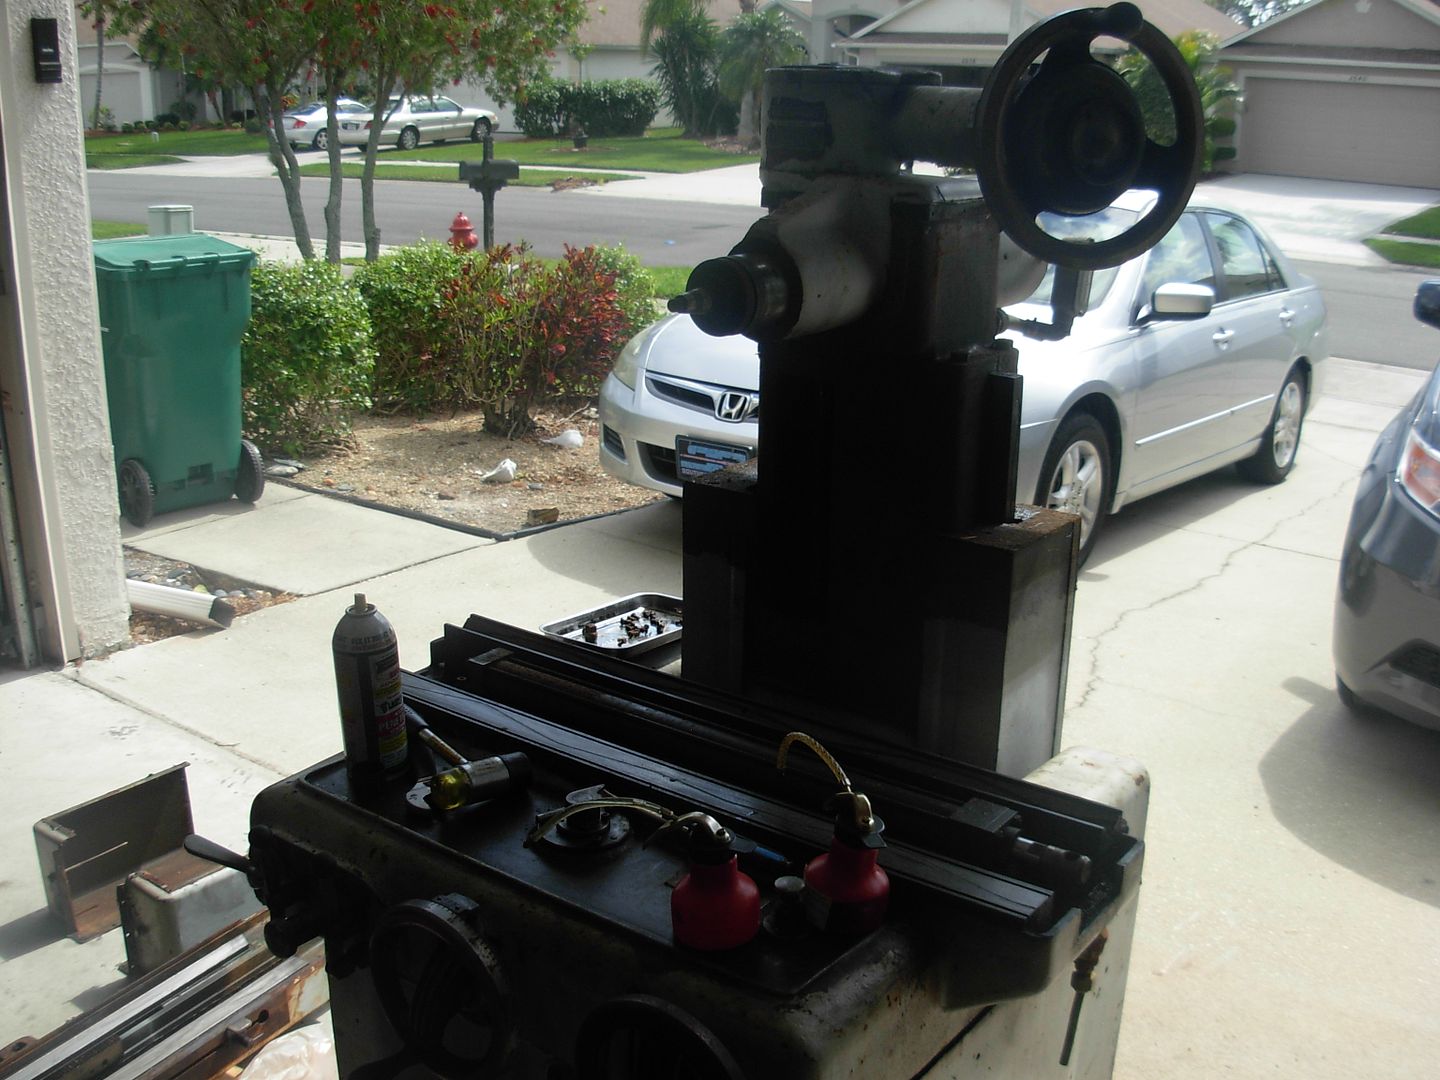
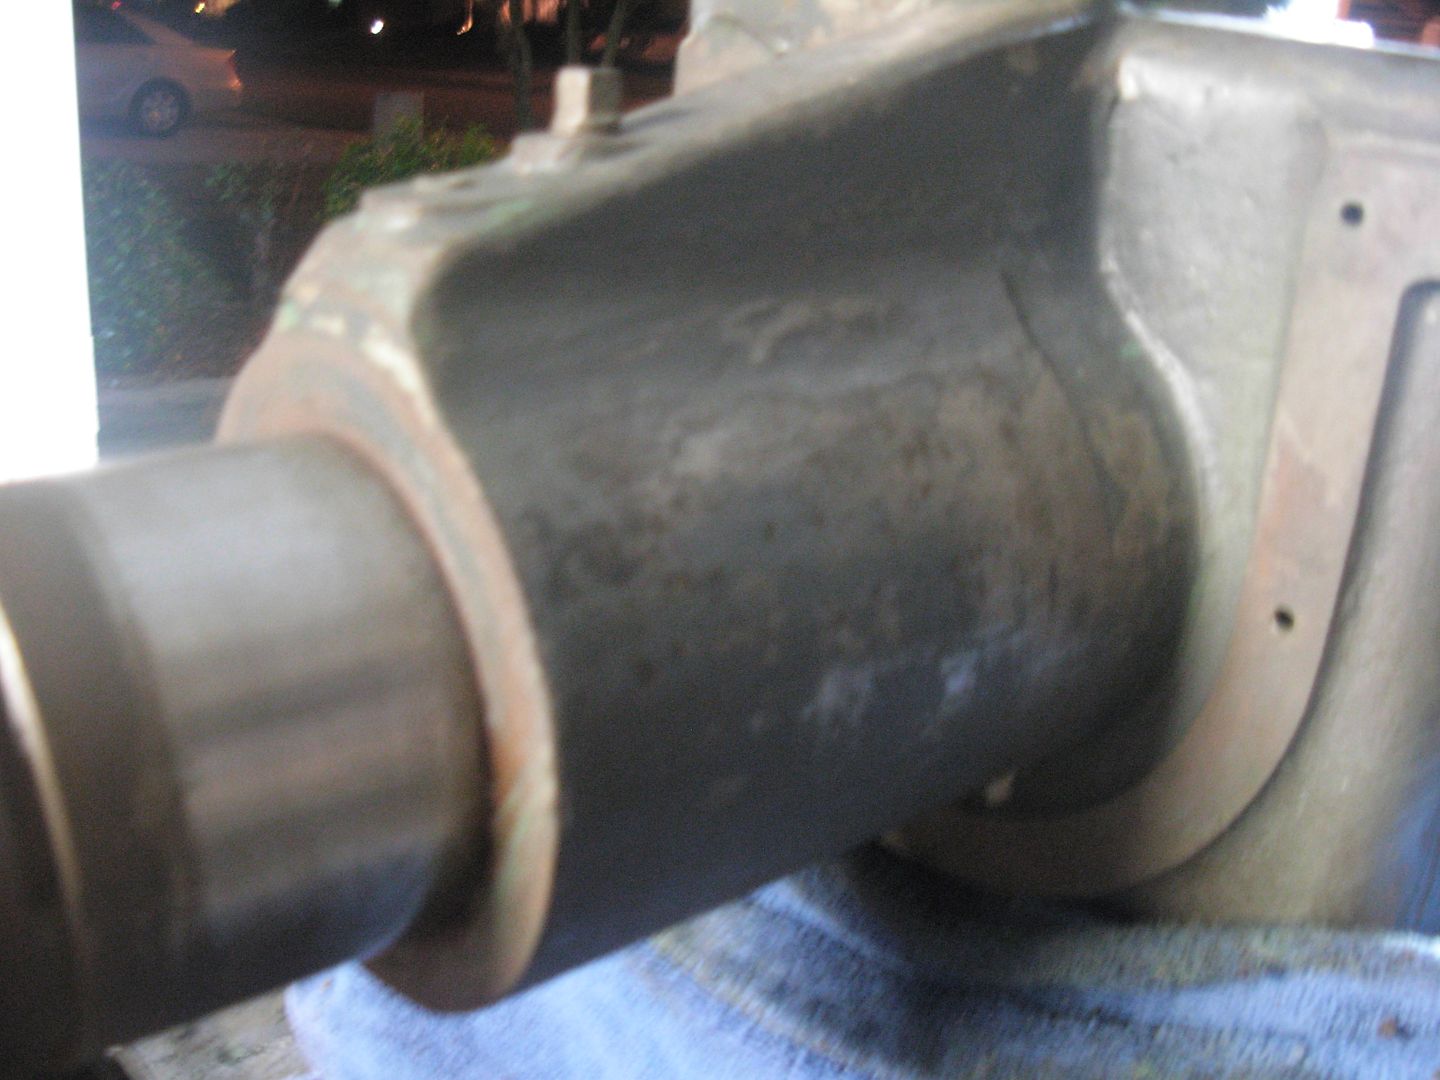
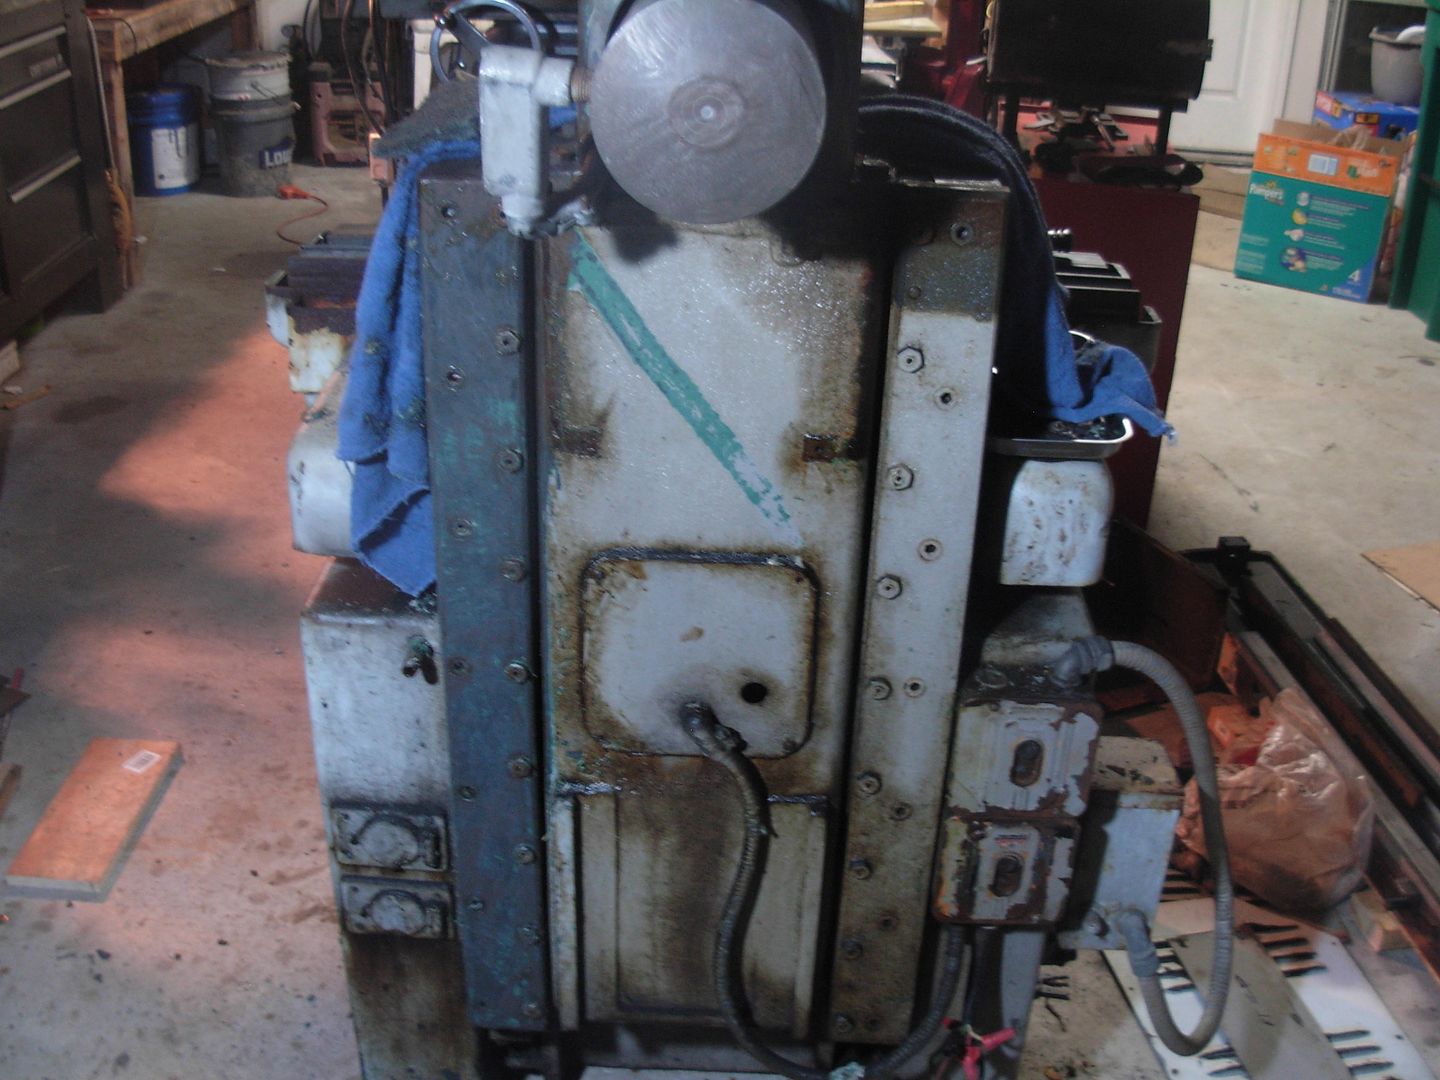
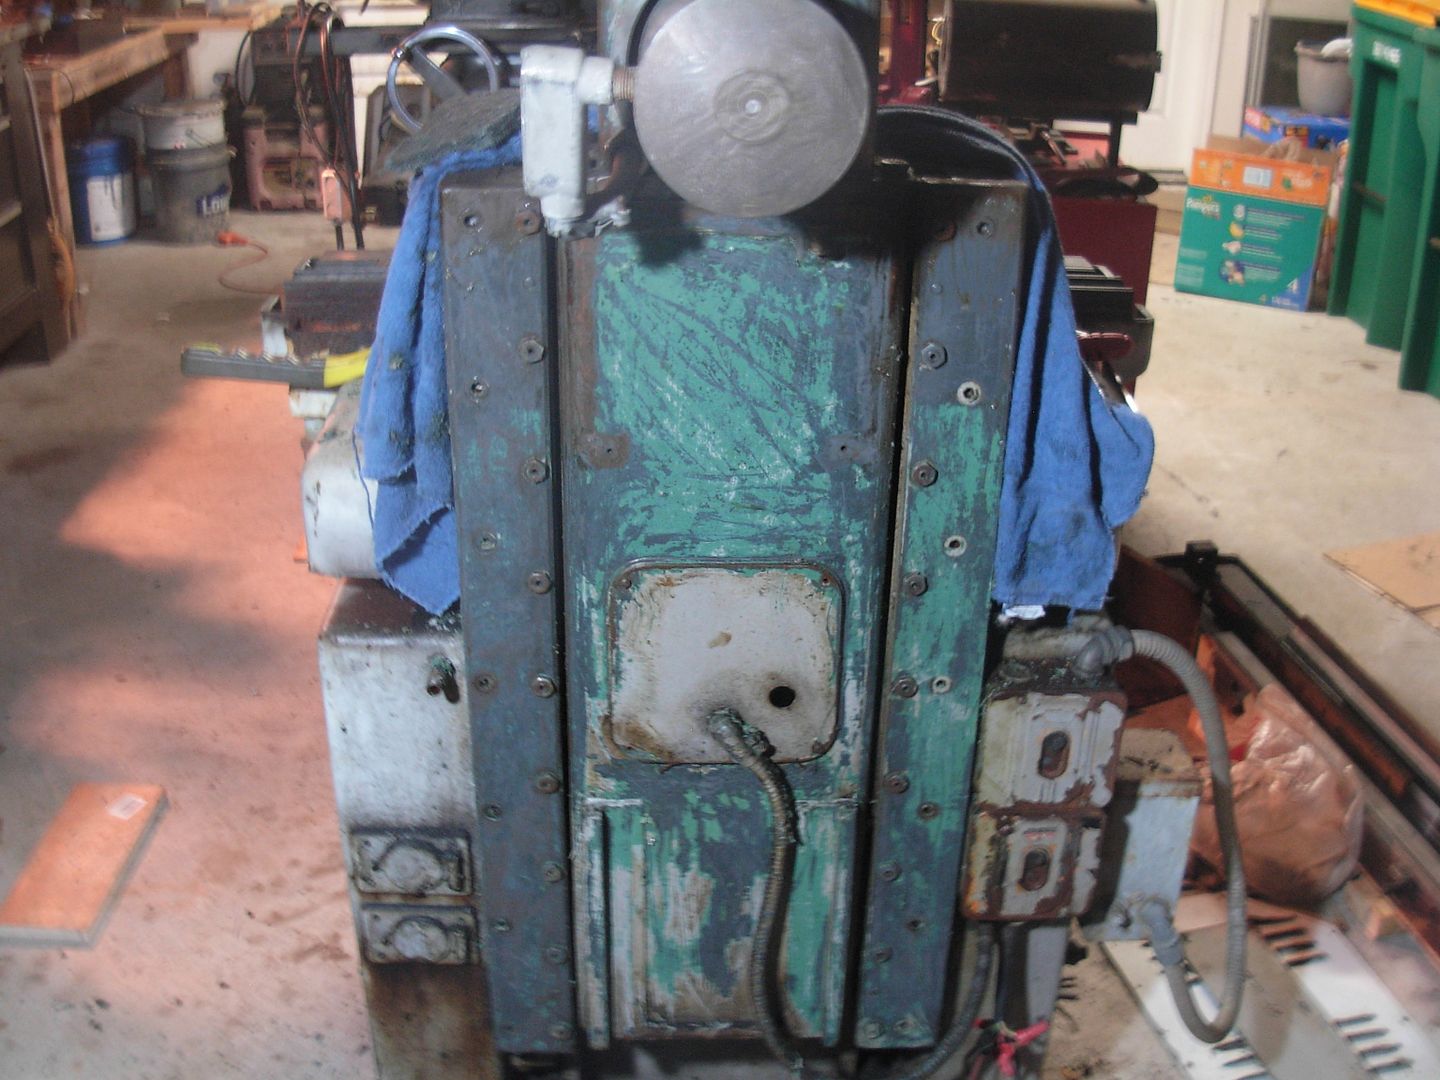
Aside from some MEGA rust on the back of the saddle she doesn't look to bad. The back of the saddle has a troff with a drain on the end for recapturing cool grinding fluid and the drain was plugged full so I'm sure the troff remained full of water for the years she's been sitting. This area is in pretty nast shape but it's only on the casting and not affecting any crucial areas. Wish I had the facilities to strip the casting and sandblast this sucker clean but that's not going to be an option so I'll make do as best as possible.

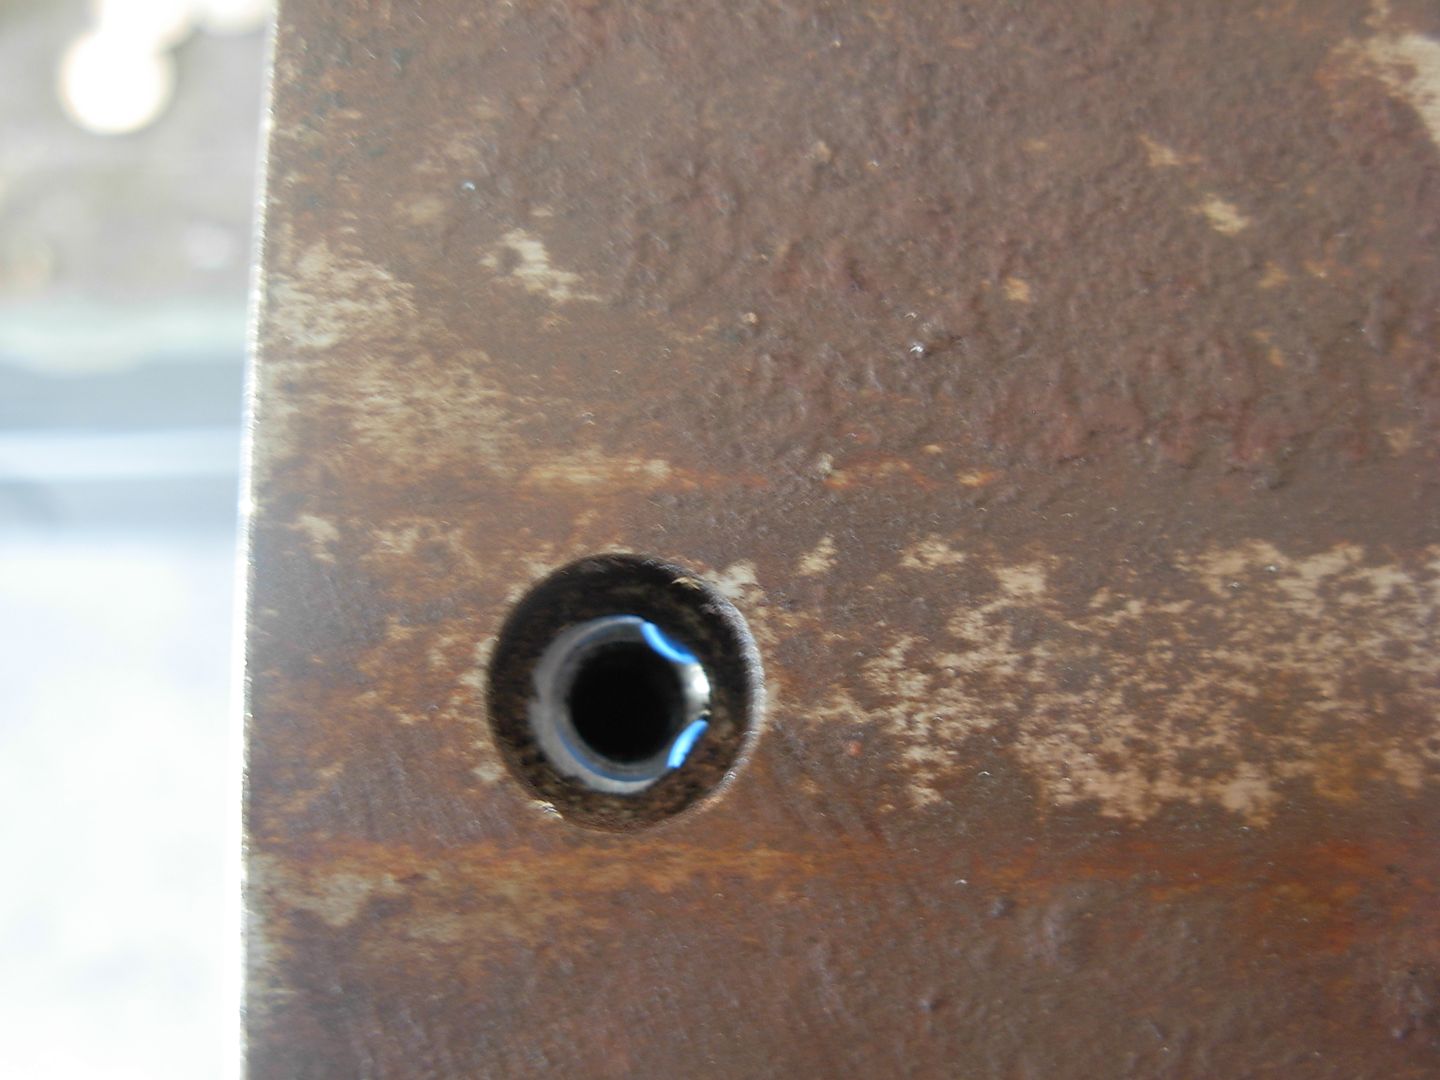
I definately have some work to do on my oiler system. Most likely the metering jets are sludged full so I gotta get those identified and order some new ones. There is also an in-line filter that'll need replacing.

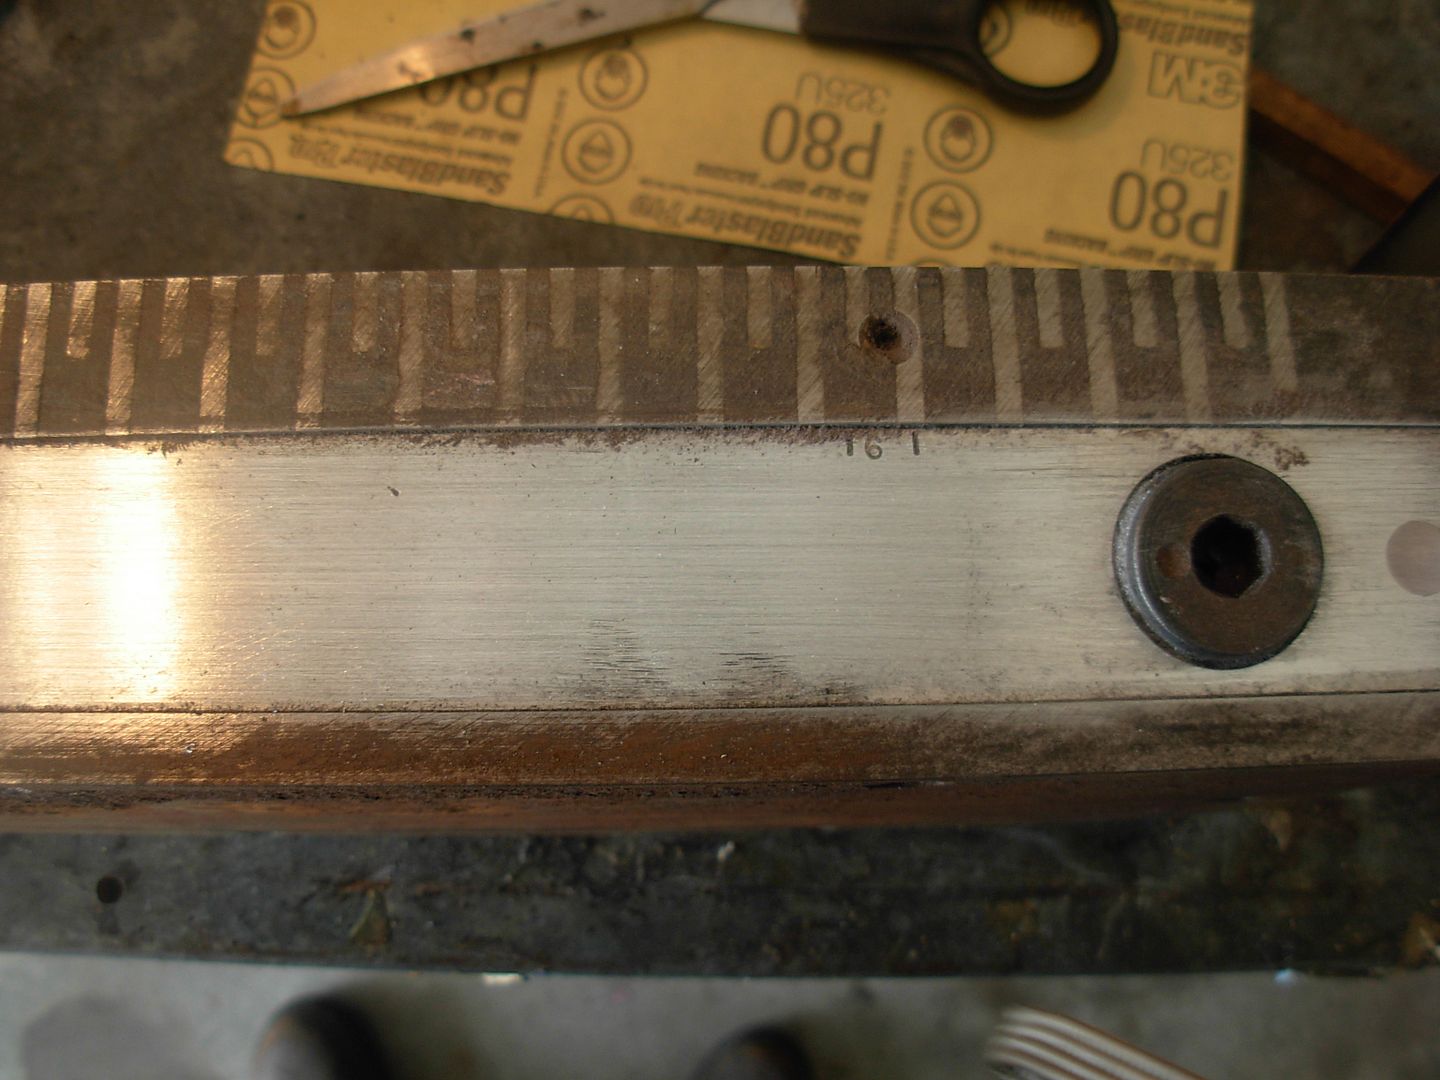
VERY GOOD NEWS on the magnetic chuck. It is a Suburban Tool fine pole with ceramic magnets. Fine pole is important for holding small parts and the ceramic magnets mean I can disassemble the chuck for repair without worrying about the magnets losing their magnetism.

This chuck is still in current production and repair parts can be ordered. I'll be needing a cam kit at a minimum which is $90. That's most likely all I'll need for the repair but I'll take it apart before ordering any parts. If I get this $1524 chuck fixed for $90 I'll be jumping for joy :)

Under all that rust is this MCB-618-FP.
http://www.subtool.com/st/mcb_permanent_magnetic_surface_grinder_chucks.html


From here I'll probably crack into the chuck to diagnose any issues and work at removing rust, stripping paint, and repainting.

Once she's looking good again I'll drain the tank, clean it out, replace filters and metering jets, and flush the hydraulic system.

With new paint and operational mechanics I'll build a belt conversion unit and put her in service.

-Josh
 
I managed to remove the bottom of my chuck last night. The entire works seem to just be gummed up. I sprayed some WD-40 around the perimeter of the magnet stack and got things moving again. That's the good news...

The bad news is that even with the handle working and the cam moving the stack the chuck has almost no magnetism when fully engaged. Several things could be causing the lack of magnetism like wear in the cam or link not moving the stack far enough to fully engage, corrosion between the magnet stack and top plate, or magnets that have lost magnetism. I'll need to remove the top plate and completely clean out the grease and any corrosion to diagnose the issue.

My research tells me that these should be ceramic magnets and shouldn't lose magnetism unless exsposed to heat above 500 degrees but we'll see. Even if they have somehow lost magnetism it can be re-magnitised so I'll keep working at it and see what I can come up with.

Here she is with the bottom of the chuck removed

011_zps95bdd05a.jpg


-Josh
 
Spent some more time working on my chuck tonight.

Got the top plate removed without issues and it was suprisingly clean with the exception of gummed up grease and whatever the sealent on the magnets are. I cleaned that all up and degreased the insides with brake cleaner.

Pulled the cam out and all looks well there. Neither the pins or holes in the cam, link, and stack were wallowed out so a cam kit shouldn't be needed after all.

Reassembled and still extremely weak magnatism in the top plate :( The magnets themselves sure seem to still be magnetic so I decided to hand sand the top plate a bit and Voi-La She WORKS !!!! The top plate is so rusted that parts are just barely making contact and cleaning it did the trick. Once the chuck is mounted and reground smooth she'll be holding like new again I believe :)

I still need to disassemble one more time to seal the top to the body with Permatex gasket maker then add some gear oil for lube and seal up the bottom to finish it off.

Whoooo Hooooooooo :1971_dancing_dog: :clap: :s11779:

012_zps1dfa4228.jpg


-Josh
 
Might sound weird but I am glad you are going through these problems because I get to learn about surface grinders.
 
Josh, this grinder is like a "diamond in the rough"
I think its going to be a grand machine when you're done.
 
I agree Bruce, She's a pretty darned sound machine under a bit of rust. I'm pretty confident the spindle bearings and ways are going to meet my knifemaking needs just fine in their current condition but time will tell. Hopefully she'll be ready for the next 66 years when all is said and done :)

I'll try to get a few more pics than I have been. I don't like to handle the camera too much when covered in grease and grime.

-Josh
 
Josh,
This is a minor point, but worth mentioning for you and others.
you said you used WD-40. This product is NOT a lubricate. it is a Rust remover only.
The WD stands for Water Displacement. and it was batch number 40 that they went with. It pushes the water out of the rust so it will make things move.

The reason for this long winded explanation is that I want you to know this so that you put a real lubricate in this nice machine you are restoring so it works top notch!

Laurence

www.rhinoknives.com
 
Laurence- Thank you for the tip Buddy !

ANY and ALL tips or suggestions will be greatly appreciated friends.

The WD just happened to be closest to my hand at that time, LOL. For most things involving rust I generally prefer PB-Blaster to WD-40 but my blaster can was empty from soaking down rusted bolts.

My aim at this point was just to free things up and get them moving again. This chuck is not going to be air or liquid tight even when final assembled due to the fact that there's no seal around the cam. The cam just rides in a depression in the chucks body.

The lubrication to keep everything moving is going to be 90 weight gear oil and it'll be filled up to the level of the cam hole. There's not a ton of info out there for taking chucks apart and it is really NOT recommended to take these apart. The info I did find several folks recommended the gear oil so that's the route I'm going. The base will be sealed on to keep the gear oil inside.

Now that the machine is indoors and out of the weather I don't anticipate having any issues with longevity and excpect the chuck to operate smoothly from here on out.

If I do run into any trouble in the future at least I'll be able to take it apart again to fix it :)

Thanks again for the tip !

-Josh
 
Spent a little time tinkering with the chuck and took some random pics of the grinder.

This piece is the grinding wheel adapter that holds the stone, or in my case the contact wheel since I'll be belt converting straight away. This had some of the heaviest rust on the machine and I had feared I'd be buying a new adapter as she was rusted together solid. Just FYI these can be purchased brand new from Sopko . I've been researching various methods of rust removal so I figured I had some time to play with this so after 3 days soaking in White Vinegar here she is apart and largely de-rusted. I threw the parts back in the vinegar to finish the rust removal but getting this apart probably saved me some nice coin :)

Here's a link to Sopko if anyone is interested-
http://www.wmsopko.com/sopko_04_to_30.htm

001_zps2b6b828b.jpg


Here is the spindle nose completely stripped down. The adapter shown before has an internal taper that mates to the spindles taper and is held tight with a nut.

002_zpsa11dfd30.jpg


Random shot showing the saddle with the table removed

003_zpsb6705478.jpg


Random shot of the underside of the table

004_zps456abb2a.jpg


Since I got my chuck working I figured I might as well clean it up a bit before my final assembly. The body section of the chuck is aluminum and was quite nasty looking with a bad paint job in black. I used that Easy Off oven cleaner to strip all the paint and gave it a mild hand satin with some 80 grit paper. I wasn't looking for factory fresh restoration just cleaning her up enough to show off her age and scars ;)

005_zps5df3032b.jpg


Spray that Easy Off on and let it sit a few minutes to do it's thing. It softens the paint right up then a mild wire brushing cleans it right up.

006_zps0b31e09e.jpg


The bottom and top of the chuck will eventually get ground clean but the sides of the top and bottom plate are fairly nasty also. Here's a before pic (although I've already taken a couple swipes with my 80 grit)

007_zps7b257ddc.jpg


After a little elbow grease

008_zps7114c773.jpg


There are also 10 tapped holes in the sides of the top plate for mounting fences to the chuck. I got started digging the crud out of these holes and chasing the 1/4-20 threads with a tap. They're cleaning up nicely so I'm nearly ready to final assemble and lube the chuck.

-Josh
 
You're becoming very intimate with this machine. Its nice to know how everything is put together I bet.
 
I'm getting to know it for sure Bruce. Pretty educational and the knowledge should come in handy for future maintanence and repair.

I've final assembled my chuck.

At some point I'll need to get back into this to replace the clip that holds the cam in place. This is the part that wears as the engagement handle is moved back and forth. I figured it wouldn't be bad idea to use Anti-seize on all the bolts. 1st step was to get all the bolt that hold the top plate back in.

009_zps93a2b9ce.jpg


I sprayed the cam mechanism down with some Lithium grease and worked it back and forth a bit hoping to reduce wear on those cam parts

010_zpsc4cbe4f5.jpg


Here I am ready for the final assembly. I've filled the chuck about a 1/4" deep with the gear oil as well as oiled the sides of the magnet pack and filled all the crevices on top of the pack. Keep in mind we're looking at the bottom side here so once flipped over this surface of the magnet pack will be sliding on the bottom plate. Also got my Permatex gasket ready to seal the bottom plate to the body and prevent my gear oil from seeping out. To keep from messing up the gasket I want to set the bottom plate down exactly in place , not slide it on or wiggle it around. To do this I cut the heads of some 1/4-20 bolts to use as allignment studs. Just slide the bottom plate right over these studs and it be in perfect allignment on the bolt holes

011_zpscf823c19.jpg


Allignment studs worked out beautifully !

012_zps2211107c.jpg


Lubed up, sealed up, and bolted back together !

013_zps9cf6351b.jpg


And there she is. A perfectly functioning fine pole ceramic magnetic chuck. The engagement action is smooth as butter now :happy:

014_zps44dc18a3.jpg


Chuck complete for the time being I started fooling with the grinder a bit and removed all the guards that protect the verticle movement from dust. Oilers for the verticle ways are manual oil cups and all clear and functioning :) Oiling things up and cranking her through the verticle movement.

All the way down.

015_zpse9634d06.jpg


All the way up.

016_zps5acff2a0.jpg


-Josh
 
One more pic for today.

This is the grearbox that turns the elevating screw. The horizontal gear is on top of the elevating screw and the verticle gear goes to the handwheel for elevating.

I'm suspecting that this entire box should be full of oil. There is a plug in the cap that covers this pic and there is an oil cup on the handwheel side.

It appears to me that the plug is for bulk filling and the oil cup is for maintaining the oil level. I'm not sure if there's anything inside the handwheel shaft housing to stop the flow of oil into this gearbox but it looks like nothing but roller bearings which allow the oil to flow through to this gearbox.

There is a plackard on the machine stating to fill all oil cups FULL so I'll figure out tomorrow if that oil cup is connected to this gearbox or not.

The movement of the elevating screw is a bit sticky in the extreme high and low but I expect this is just from lack of use and a dry screw and ways. The handwheel turns real easy in the middleground of verticle movement though. Figure I'll run it lock to lock a few times to get everything re-lubricated as it should be.

Fun Fun Fun :)

017_zps260a81c5.jpg


-Josh
 
Spent the evening stripping paint off the DoAll. Started up top working at the 3 layers of paint with the Easy Off cleaner and a scraper.

Takes a bit of elbow grease but I made some good progress getting mostly down to the bare cast iron. The original dark grey paint is some tough stuff though so some of that will be staying and getting painted over. If my stripper and scraper isn't taking it off I figure It'll be ok to sand those areas and prime right over them.

001_zps25177251.jpg


002_zpsa970d7a1.jpg


Here's a good shot of the original paint. I'll be giving this a good sanding with rough paper before priming

003_zpsc93a3b82.jpg


I got started working on the back side of the machine. The left side has been sprayed and scraped and only has a little green paint left. A second spray and scrape will clean this up easily. The Easy off loosens the white paint right up and sometimes comes off in gooey sheets like a latex based paint.

007_zps3a16cfd7.jpg


The first once over done on the back side. The second trip over it should clean things up nicely.

008_zps5207769e.jpg


I'm not worried about the cover with the flex hose sticking out at this point. I'm going to do the Electrolysis rust removal on pretty much everything that will unbold from the cabinet plus the table and saddle.

I think I've pretty much worked out the logistics of building an electrolysis tank big enough to fit my parts. It should end up roughly 5'6 long, 3' wide and 10" deep and contain roughly 100 gallons of water.

I'll have to run the electrolysis 3 times. Once for the table plus some spare parts. Once for the saddle and some spare parts. And once for the rest of the small parts like dust covers, electrical boxes, switch covers, access panels, and wheel adapter.


I've never done the electrolysis before but it seems pretty straight forward so I'm not anticipating any trouble. I also have it on good authority that the electrolysis will remove all the paint and rust so the parts will just need cleaned and painted after electrolysis.

I'll keep working on stripping paint until the back is clean and then begin working on removing the saddle.

I had picked up a can of Rusty Metal primer but I think I'll return that and get the Self Etching primer that's made for bare metal. Any thoughts on primer choice for priming bare cast iron will be appreciated !

Take care Y'all

-Josh
 
Back
Top