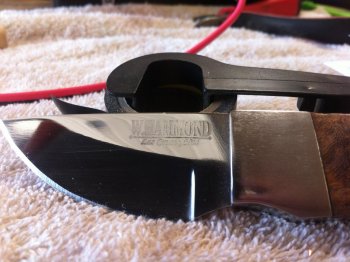
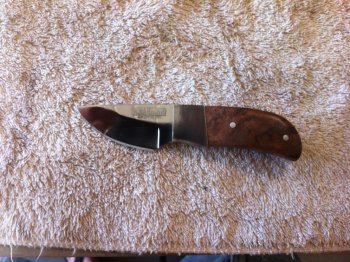
This should be interesting

wmhammond

Well-Known Member
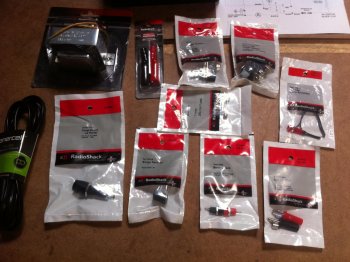
I just got back from visiting 4 different Radio Shack stores. I live in Las Cruces, NM and we have 4 Radio Shack stores here. Why? Well I'm going to try and build Ernie Grospitch"s Etching Power Supply. I have absolutely no experience building electrical gizmos and I can't read Ernie's wiring diagram but I can solder. So, why did I go to 4 Radio Shacks? Took all 4 to complete the parts list. I printed Ernie's parts list and took off. First store had about half of what I needed. Got the fuse, Fuse Holder, Transformer, Rectifier, Banana Plugs, Banana Jacks and the Neon Lamp. First store didn't have either of the switches because they have been discontinued but the guy told me that most of the stores still have some so I went to the next one - no luck, went to the next one - no luck (may have to go to El Paso).

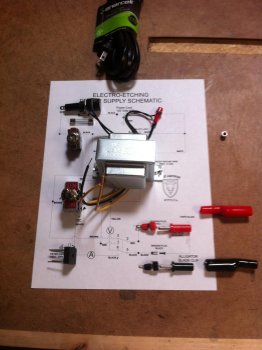
Should stop here and explain why I wanted to have these exact switches. I'm sure a lot of you guys are laughing at me because I could have substituted any switch for these. My common sense tells me that that is logical and correct, however, like I said above, I know absolutely nothing about electrical stuff and when I start something like this, that I know nothing about, I follow the instructions to the letter because I know it won't work the first time and I won't know it those substituted switches are the problem or not. This way, I know it ain't the components, it's the maker. Anyway, went to the last Radio Shack in town and BINGO, they had both switches. In addition I purchased the Alligator Clips, a power cord and a Project Box to put it all in. I now have the exact parts that Ernie listed, Total money spent: $58.79, Total time spent: 2 hours 15 minutes. Here is all the stuff:..............IMG_0754.jpgIMG_0755.jpgIMG_0756.jpg
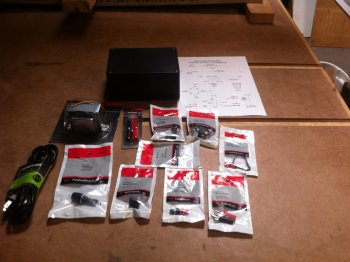
Oh, and by the way, that little chrome thing in the upper right of the third picture is a little part that fell out of one (I don't know which one) of the packages when I opened them. With that little hic-up this project is starting exactly like all my others. More later........
 
When Radio Shack started back in the late 1960's -70's they were a clearing house for left over components from Radio, Tv and other electronic manufactures here in the USA. I can remember going into one and there being open bins of components& wires everywhere.

Things have sure changed! I don't think any of companies still exist.
 
Ernie knows etchers and sell about etching,if he says this will work then it will work.
I hope all goes according to plan.
 
After exactly 2 hours.......

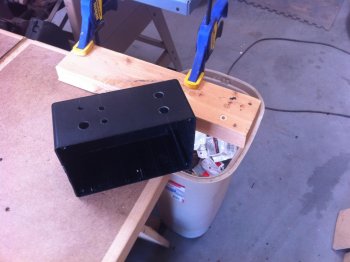
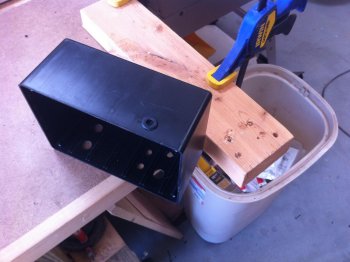
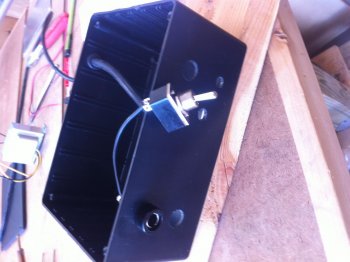
OK, so I'm 2 hours in. The first thing I did was to lay out the front of my panel box and drill the holes for each of the controlsView attachment 48475 and one for the power cord with grommetView attachment 48476

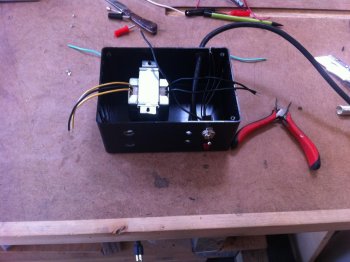
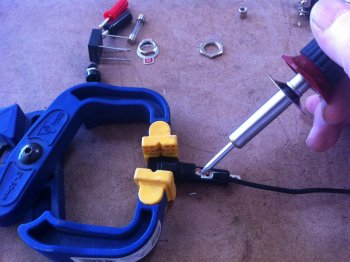
Next I begin to solder the components in place according to the electrical diagram that I can't readView attachment 48478

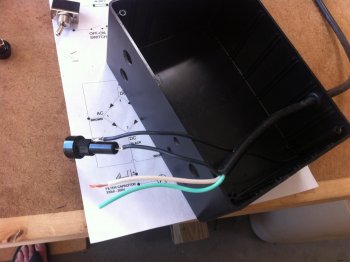
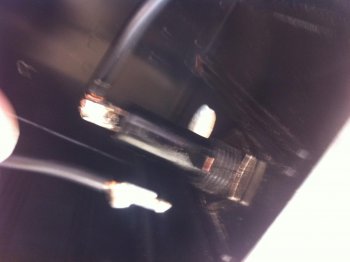
and immediately f---ed Up. I soldered the fuse holder in place before I put it through the hole in the cabinet. Had to cut it off, put it through the hole and re-solder.View attachment 48479

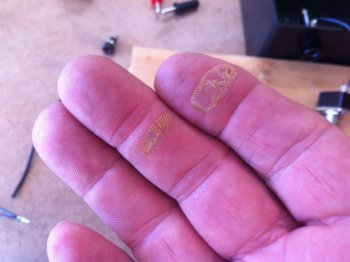
Then I effed up again by grabbing the wrong end of the soldering ironView attachment 48480

Then I effed up again by soldering to short of a lead so my switch couldn't reach it's hole - at this point this is becoming a little tediousView attachment 48481

Then, as if to add insult to injury the contact at the first lead that I soldered broke off because I had to re-do it a couple of times early on (first FU)View attachment 48482

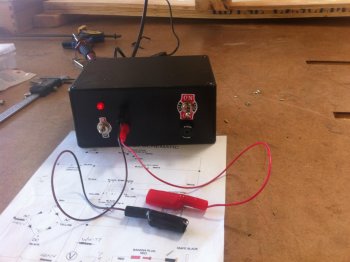
Time for a deep breath. I've put it down and I'm on my way back to Radio Shack to purchase another fuse holder, have lunch and try to settle down - you can't make this stuff up. Here is what it looks like nowIMG_0767.jpg
 
5 1/2 hours in it's finished and when I turn it on the light lights and no sparks or blown breakers. After I got back from Radio Shack things calmed down a little but boy was I confused. I got everything back to the point where it was time to install the rectifier and A/DC switch. I couldn't figure it out so I called Ernie. He straightened me out in about 2 seconds. I told you I couldn't read the diagram and I had the ACDC switch and the Rectifier reversed. Ernie got me right and I finished pretty easily. As to whether it works or not, we'll save that for tomorrow. It's time for a cocktail out here in New Mexico and boy does that cold glass feel good on my burned fingers. thanks for reading

Wallace
 
If you are like me you will want to test it out on something very nice. Irreplaceable is even better, lol.
 
Nice man, I have thought about making one after your read I'm not so sure :eek: I know nothing about electronics and have never soldered anything but copper pipe. But yours looks good let us know how it works
 
That looks like a project I could turn a couple hundred dollars down the drain! That's why I bought mine! Knowing you can screw one up and thinking you "might", are two very different things, when it comes to making electrical things like that, I have the knowledge that I would make a lot of the "F" thingys you referred to so often!
Yours looks fantastic, and if you didn't have any smoke, flames, or blown fuses, YOU DONE GOOD! But do start off on some scrap steel! Not on a knife you poured your heart and soul into! And remember that new stencils need to be broken in! Some folks may not agree with me but I have made a lot of stencils and the second time I etched with a new stencil was always better than the first! So give new stencils a few practice shots, but be careful with the power of the unit, it may be the stronger kind that I can't recall the volt, Amps or whatever it's measured by, if it is stronger, just make a lot of short touches until you get the feel for how long it takes without burning up the stencil too!

I do have a question about Ernie's design, what is the voltage range of the etching (power basically). The reason I ask, mine is the lower voltage that is made commercially, which is much safer easier on stencils and sometimes seems to have a little difficulty with a deep etch, which on some knives is OK depending on the location and the thickness of the stock, the shallower etch that only goes about 3 thousandths deep is plenty deep most of the time, but me being the big Ole Burly MAN that I am, want MORE POWER! I may be asking the question in the wrong terms, I ain't no electrician either or is it neither? Anyway, since you got the plans and all I thought it may be on them, possibly, or some of you other Dogs might know, the right terms about what I mean, I know Bob Warner's etcher is the stronger one, rough on stencils, but that's not that big of a deal to me, I make my own, one of the other benefits of buying my unit from a manufacturer, that KNOWS THESE THINGS BACKWARD AND FORWARD! I am very happy with mine but there are times I would love to have the extra power, like etching the relieved area around the pivot of a folder, instead of milling it,a strong etcher would be a very economical solution to that problem!
Thanks, Rex
 
That's an excellent job. I made one very similar, not Ernie's plans though, and never thought to post it as a WIP.

Ask anyone who has ever soldered and I'll bet every single one will have burned their fingers at some point. I know I have.
 
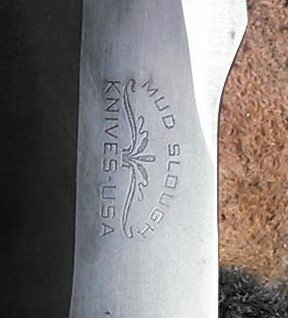
I just built the same one and got my logo's from Ernie last week (BIG THANKS TO ERNIE). It works like a charm!

MUD SLOUGH LOGO.jpg
 
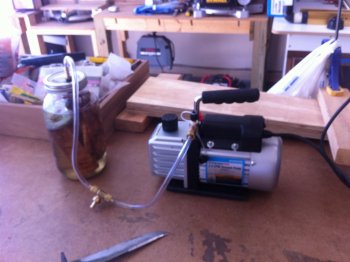
IMG_0769.jpgFirst, a slight diversion. Here is a photo of my vacuum system for stabilizing handle scales. A Vacuum Pump from Harbor Freight ($100) and a Bell Jar and a little tubing and fittings - Works Great!
 
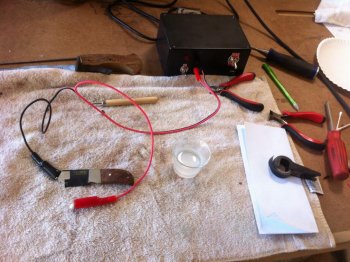
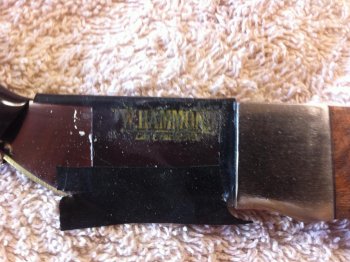
Now for the big announcement: First, I placed Ernies stencil on the knife with electrical tape, then I hooked up my etcher using salt water and a Q-tip I fired it up and started etching

IMG_0770.jpg

Worked with it for about 10 minutes. about half way through I switched from what I think was DC power over to what I think was AC power. It looked like a mess

IMG_0771.jpg

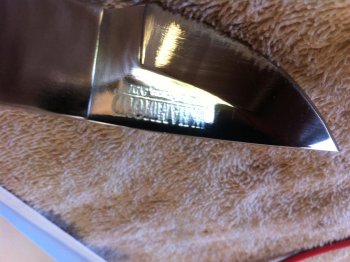
Then I peeled off the stencil and tape and it still looked like a mess but a few seconds on the buffer and WALLA! I did it!!!!!!!

IMG_0772.jpgIMG_0773.jpgIMG_0774.jpg

Thanks for sharing this with me

Wallace
 
I think you have your AC/DC switch around. The DC etches, then the AC darkens the etched steel. Unless the buffer removed the darkened steel, then they are switched.

My etching setup isn't neat and fancy like yours. I have a 19v 3.42Amp DC power supply from a laptop and a 9V 1Amp AC power supply on its way from Amazon. I will have to switch between power supplies to darken the etch, but I know the DC unit works awesome and the AC unit should work well, and it all cost a lot less than 58 bucks.

Here's a cellphone pic of a deep etch I did with just the DC unit, the lines in the etch are cracks in the steel and a quench line, note don't use old coil spring for tools you want to use. I'm not sure what the dark spot beside the "D" is. The letters used were 1/4" vinyl stick-ons and I masked it off with electrical tape. I used heavily saturated salt water made with sea salt and cotton makeup pads.
 
Last edited:
The way I was taught to remember which is which on the AC/DC delimina is that the the ""D" is for deep Cut or etch.
Do that one first. Then the "A" is for after.

I just bought mine! LOL Fun thread, thanks.
 
Best WIP thread this month...
failures are the best teachers...
nice job.
t
 
PS, I LOL at grabbing the hot end of the soldering iron cause that is EXACTLY what I would do, probably twice..
(is that wrong?)
 
I do have a question about the AC power source, does it matter which lead goes on the knife and which goes on the pad? With DC, the positive goes on the knife and the negative on the pad, but what about AC?
 
Back
Top