blancefitz
Well-Known Member
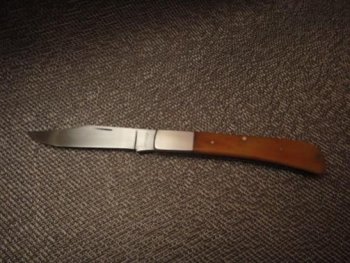
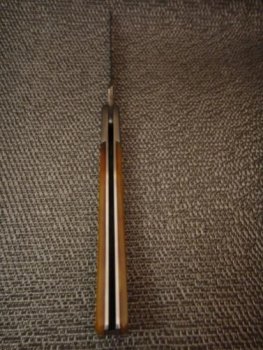
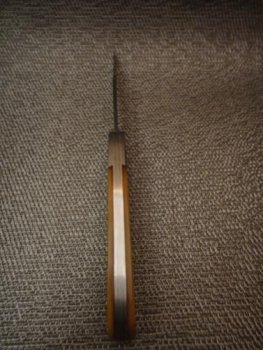
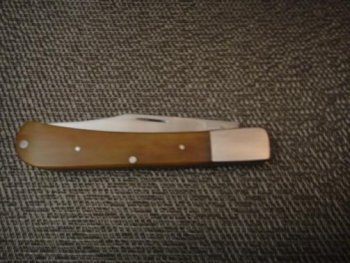
This one is long and lean. She gave me a little more trouble than the last one. I got too close to the edge when I was spot welding one of the bolsters and it made a little divot in the liner that shows on the spine. The part that really had me worried was after peening it together, I sanded down the bolsters to 400 grit and the pin was not showing at all. I opened and closed it a time or two and when I looked down, the pin was really showing. The scratch pattern on the pin was going 90 degrees to the scratch pattern on the bolsters! The pin had spun. I had to go back and take a small pointed punch and go all around the line of the pin and really get the metal to merge together and then sand it down again. Luckily, they needed thinning out anyway. I can't really explain the pin turning. It opens and closes really slick, so the pin didn't swell in the middle and bind or anything. On the list this weekend is to build a light box and get better at taking photos and put together #4. It is ready to go and I plan to put G10 scales on it, so maybe I won't have to hold my breath peening those pins.
Blade = L6
Dovetail bolsters and pins = 410SS
Jeweled liners = 410SS
Scales = Smooth Amber Bone
OAL = 7 9/16"
Closed = 4 1/8"
Blade = 3 3/8"


Blade = L6
Dovetail bolsters and pins = 410SS
Jeweled liners = 410SS
Scales = Smooth Amber Bone
OAL = 7 9/16"
Closed = 4 1/8"
Blade = 3 3/8"


