
You are using an out of date browser. It may not display this or other websites correctly.
You should upgrade or use an alternative browser.
You should upgrade or use an alternative browser.
New knife pictures, throughout the process.
- Thread starter Pedro G.
- Start date
Alright now for the last post of the process before the final product!
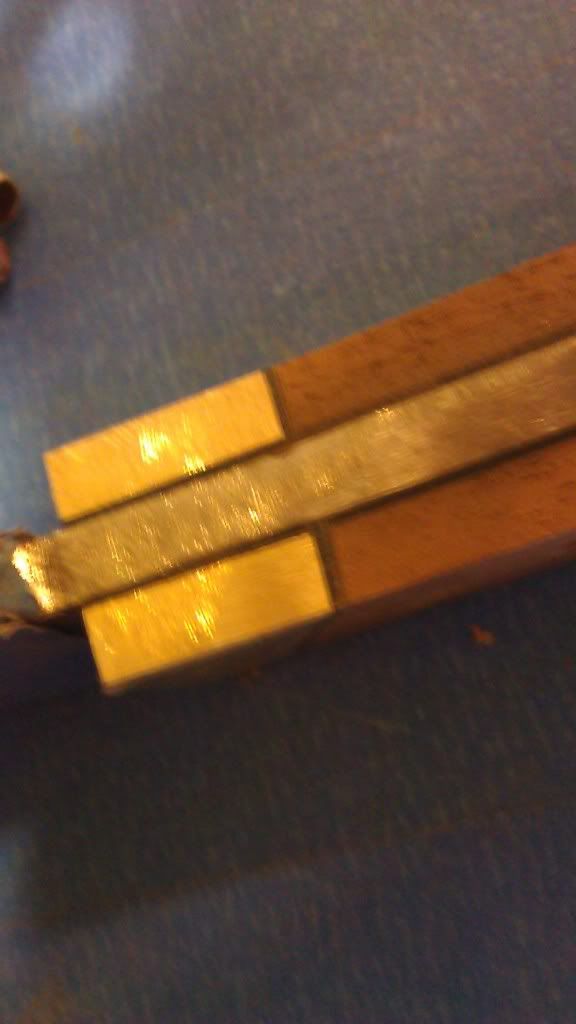
In this picture I took a locking flat clamp from Harbor freight (3-4$) and I epoxied one slab onto the tang making sure it left extra material on all the sides.
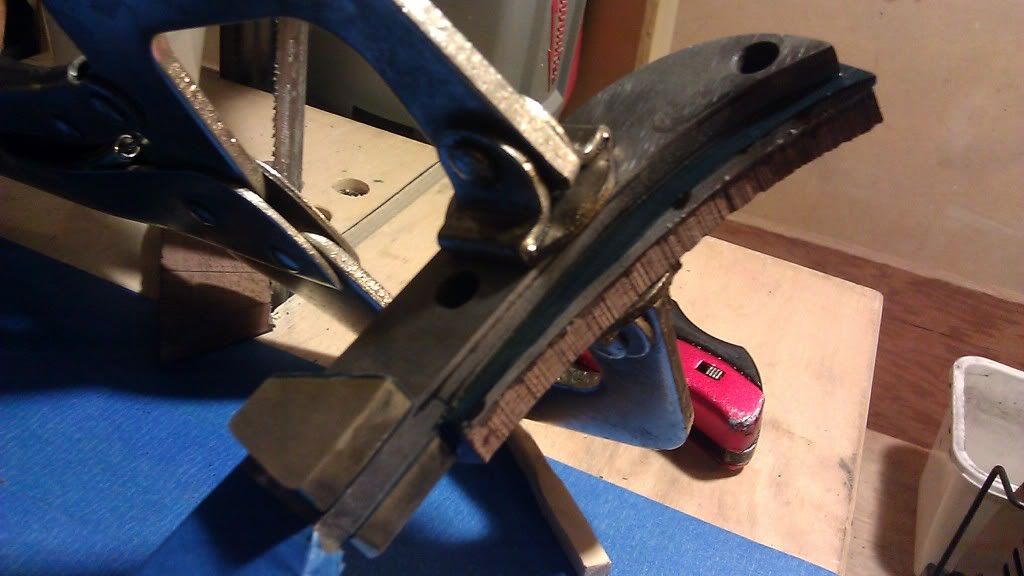
After that side dried I drilled holes into it using my knives tang holes as a guide and then epoxied the second slab. By the way, I'm using 30 minute epoxy.
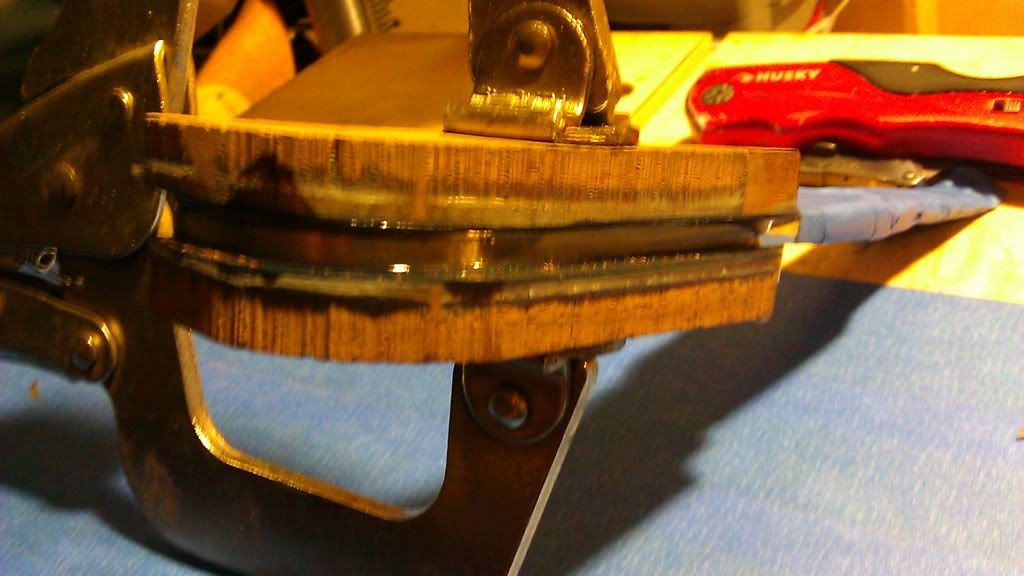
Now I drilled into the second slab using the first slab+tang as a guide.
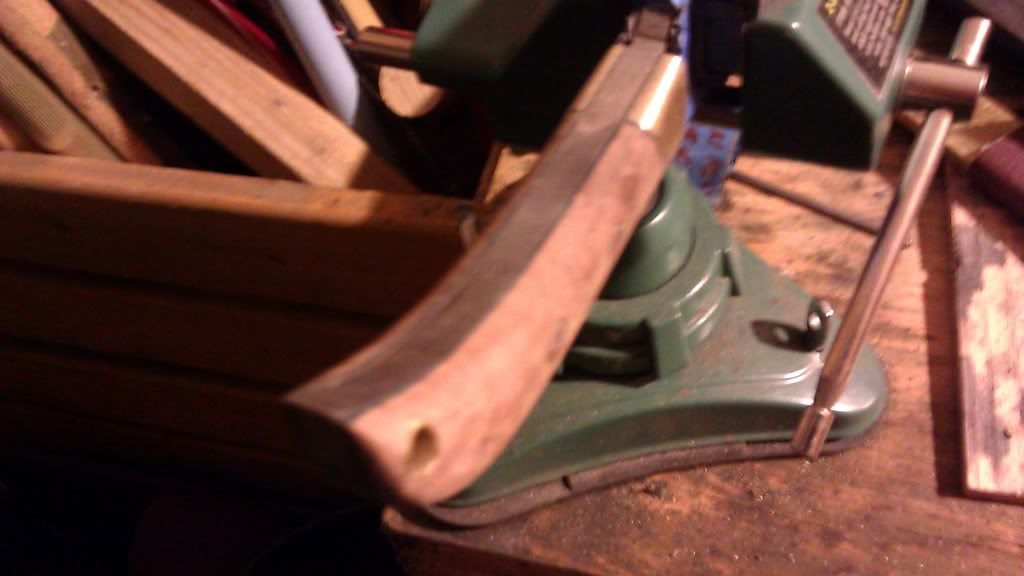
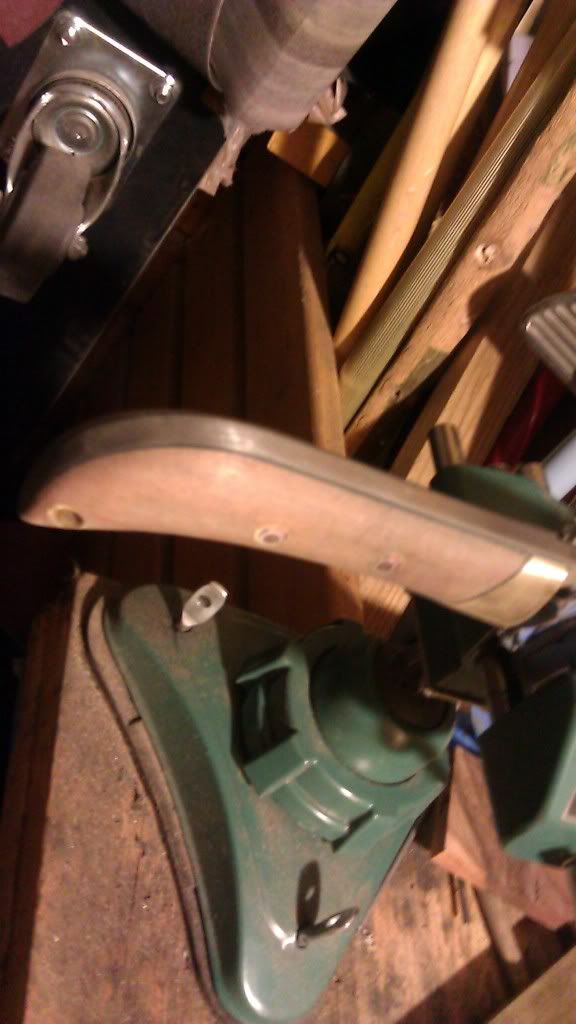
Here I was using my grinder to sand off the wood from the back but I got carried away and didn't notice I had it on an angle and I ended up eating more than I should (The indents). Oops!
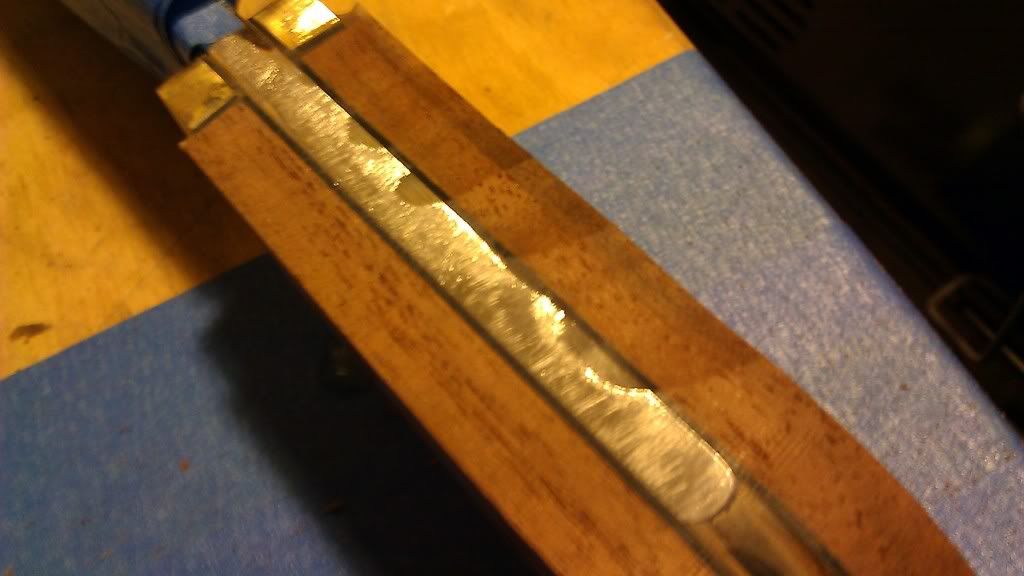
Here I started grinding the sides lightly to not make my last mistake again. I alternated between filing and grinding just to make sure. By the way to make sure the epoxy was hard enough to hold the handle together without the pins while doing this I added a drop of epoxy on some tape next to the hardening slabs. So once the drop hardened I would know when it was tough enough. It would normally take about an hour or so to get to a working toughness.
At this point the handle is taking more shape. Here I took somewhat of needle files to remove material more carefully.
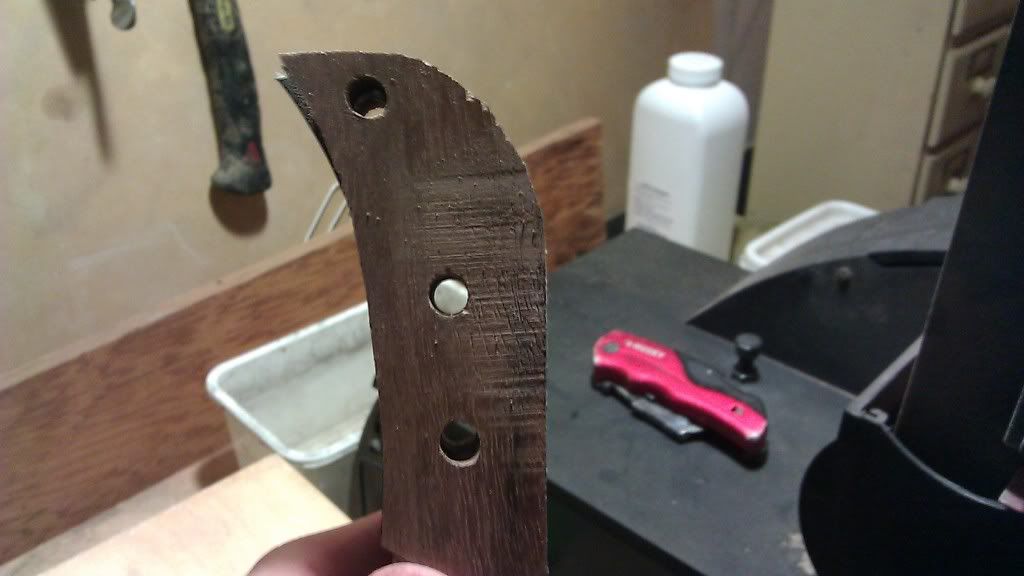
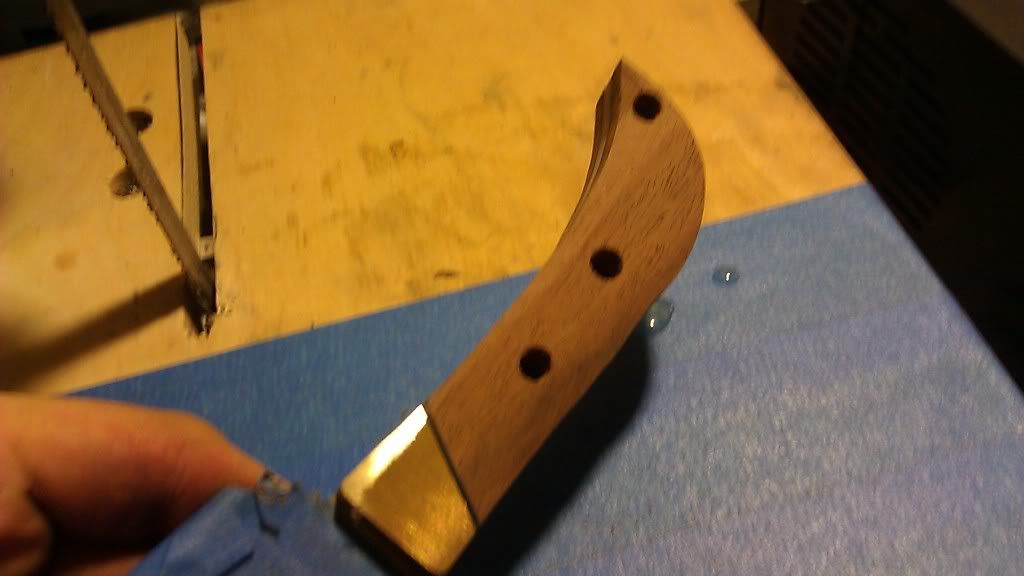
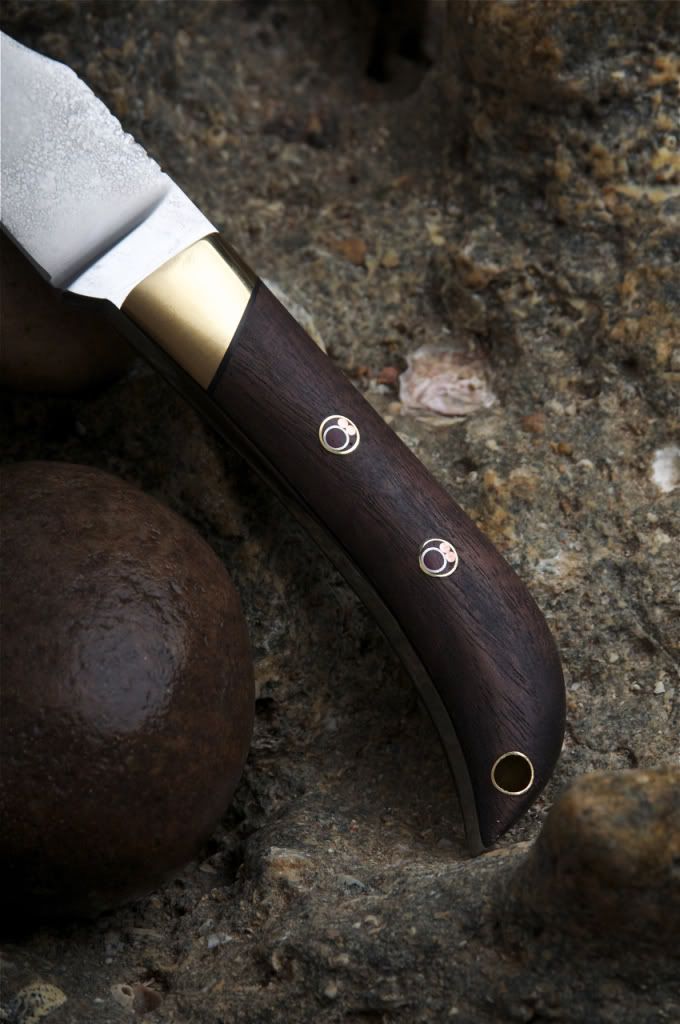
This is the area of the handle I had to cut off. It actually looks nicer this way when it comes down to the liner material intersecting the brass and the wood. Right after this I went ahead and put in the pins. I used some mosaic pins I made from brass, aluminum, and copper wire and tubes and some epoxy mixed with red acrylic paint. I also put some left over brass tube in the back for a laniard hole.
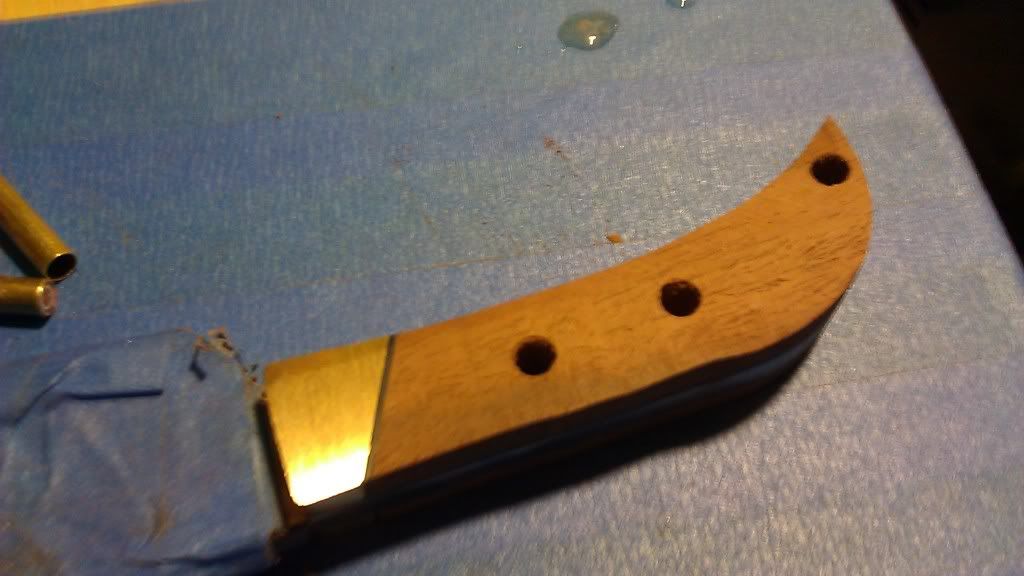
Here I was a good ways into the hand sanding process. I took it from 220 grit and moved up to 2000 grit in this pattern. 220,500,1000,1200,1500,2000.
I tried to get all the scratches out and made sure everything was nice and smooth.
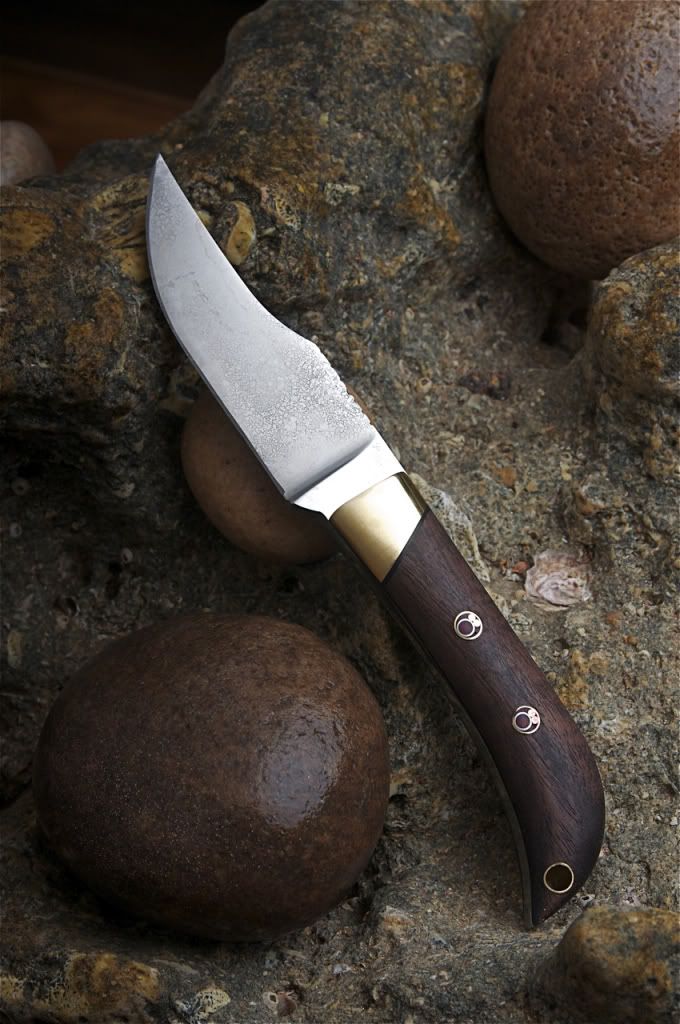
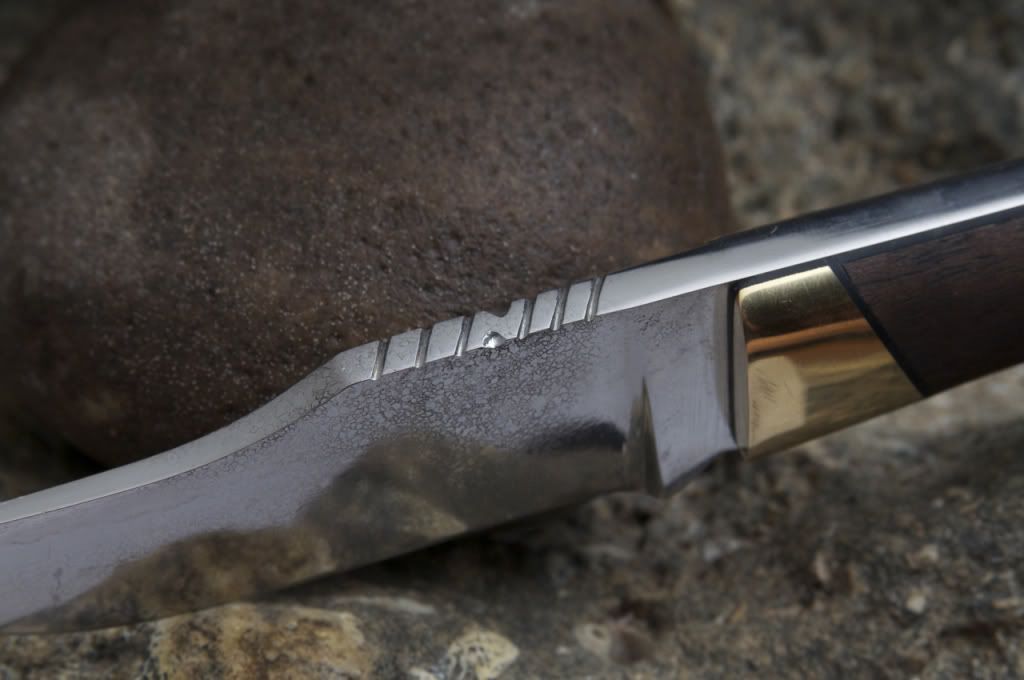
This picture pretty much shows the final shape of the handle. I also sharpened it at this stage. (I finally understand how much a nice straight bevel contributes to the edge!) It is a very comfortable fit in the hand (well at least my hand ). Now I just had to buff with white rouge (if i'm spelling it right) and I applied Feed N Wax as a finish.
The knife is finished. I just need to take some nice pictures before posting it. I will have them up sometime later today!
-Pedro G.
In this picture I took a locking flat clamp from Harbor freight (3-4$) and I epoxied one slab onto the tang making sure it left extra material on all the sides.
After that side dried I drilled holes into it using my knives tang holes as a guide and then epoxied the second slab. By the way, I'm using 30 minute epoxy.
Now I drilled into the second slab using the first slab+tang as a guide.
Here I was using my grinder to sand off the wood from the back but I got carried away and didn't notice I had it on an angle and I ended up eating more than I should (The indents). Oops!
Here I started grinding the sides lightly to not make my last mistake again. I alternated between filing and grinding just to make sure. By the way to make sure the epoxy was hard enough to hold the handle together without the pins while doing this I added a drop of epoxy on some tape next to the hardening slabs. So once the drop hardened I would know when it was tough enough. It would normally take about an hour or so to get to a working toughness.
At this point the handle is taking more shape. Here I took somewhat of needle files to remove material more carefully.
This is the area of the handle I had to cut off. It actually looks nicer this way when it comes down to the liner material intersecting the brass and the wood. Right after this I went ahead and put in the pins. I used some mosaic pins I made from brass, aluminum, and copper wire and tubes and some epoxy mixed with red acrylic paint. I also put some left over brass tube in the back for a laniard hole.
Here I was a good ways into the hand sanding process. I took it from 220 grit and moved up to 2000 grit in this pattern. 220,500,1000,1200,1500,2000.
I tried to get all the scratches out and made sure everything was nice and smooth.
This picture pretty much shows the final shape of the handle. I also sharpened it at this stage. (I finally understand how much a nice straight bevel contributes to the edge!) It is a very comfortable fit in the hand (well at least my hand
). Now I just had to buff with white rouge (if i'm spelling it right) and I applied Feed N Wax as a finish.
The knife is finished. I just need to take some nice pictures before posting it. I will have them up sometime later today!
-Pedro G.
Last edited:
Alright well afters all said and done the knife was finished! It came out better than I imagined that's for sure. There might be some touch ups to do, but anyways, Here are some pictures.
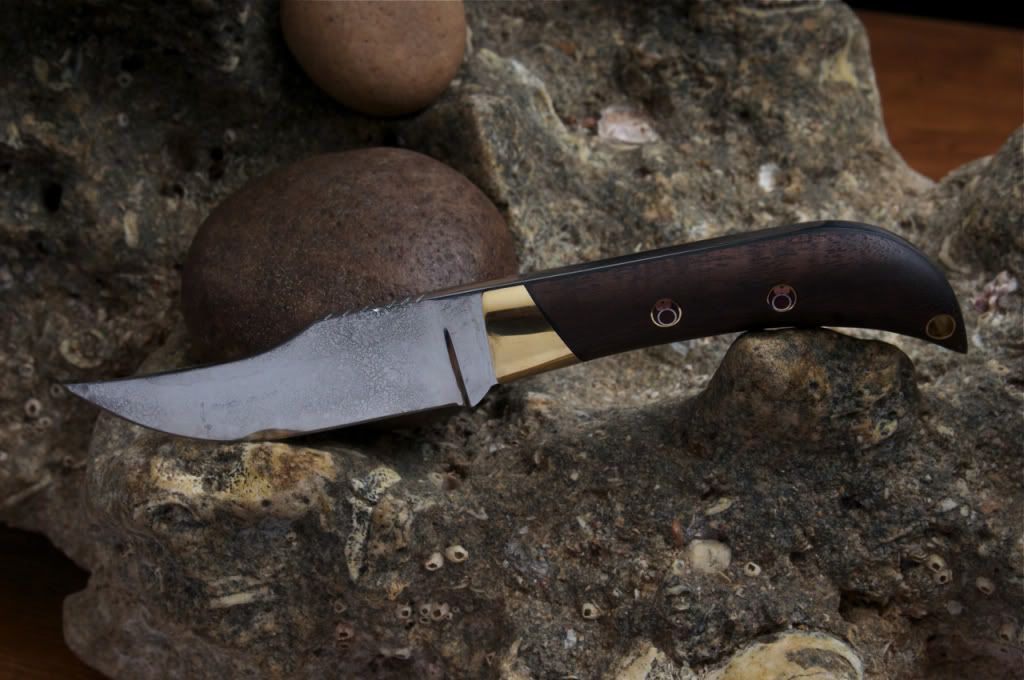
All that's left really is the makers mark (which i'l have to buy an etcher for), and if I can rack up some money by now and new years and I haven't sold it I'll try to make a sheath for it!
Thank you for taking the time to read this thread and I hope it helped anyone. Hopefully someone learns something from this, I sure did! If you have any tips and tricks I would love to hear them! I would also be glad to answer any questions (As long as the answer is somewhere in my brain of course!) Thank you again!
-Pedro G.
All that's left really is the makers mark (which i'l have to buy an etcher for), and if I can rack up some money by now and new years and I haven't sold it I'll try to make a sheath for it!
Thank you for taking the time to read this thread and I hope it helped anyone. Hopefully someone learns something from this, I sure did! If you have any tips and tricks I would love to hear them! I would also be glad to answer any questions (As long as the answer is somewhere in my brain of course!
) Thank you again!-Pedro G.
Last edited:
PetrifiedWood
Well-Known Member
Pedro, it looks fantastic!
For your etcher, all you need is an A/C transformer. If you have a little electronics knowledge you can probably convert an old cell phone charger into an etcher by removing the rectifier out of it.
For your etcher, all you need is an A/C transformer. If you have a little electronics knowledge you can probably convert an old cell phone charger into an etcher by removing the rectifier out of it.
Last edited:
Doug Lester
Well-Known Member
With you working with hand tools having to edge a little toward the fine side may be and advantage. I've hardened blade with a rough edge without warping. Place the blade in your forge edge up and cut you air back to reduce heat. Bring the steel up to a little above non-magnetic and soak for about 5 minutes to disolve the carbon into the austinite and quench.
With a more complex steel you could try marquenching, sometimes call martempering even though it's not a tempering process. Something that you might want to look up and file away for future reference.
Doug
With a more complex steel you could try marquenching, sometimes call martempering even though it's not a tempering process. Something that you might want to look up and file away for future reference.
Doug
Doug Lester
Well-Known Member
Opps, it looks like I didn't see your last post. The surface of the blade may suggest overheating but I'm not sure. Even if the steel has bee overheated, you have done far better than most people with their first knives. The fit and finish on that knife looks excellent in all aspects. Pinning the bolsters looks right on.
Doug
Doug
McClellan Made Blades
Well-Known Member
Out Freaking STANDING Pedro!!!!!
Man I am blown away, I should probably send you more of my materials, so they aren't wasted on my efforts!!!
Great job!!!!! And BTW, do yourself a favor and KEEP this first one, you won't regret it years from now, you will always be able to go back and look and compare it to how your skill level improves. Awesome JOB!!!! Rex
Haha thank you very much Rex ,
Oh no!, haha that's alright, you've given me so much already!
I was thinking that but i'm so absolutely broke and pressed for money I thought selling it might help me (I mean depending on how much its worth). But you might be right, I'll think about it
Thanks again Rex!
-Pedro G.
,Oh no!, haha that's alright, you've given me so much already!
I was thinking that but i'm so absolutely broke and pressed for money I thought selling it might help me (I mean depending on how much its worth). But you might be right, I'll think about it
Thanks again Rex!
-Pedro G.
Last edited:
Keith Willis
Well-Known Member
Great job Pedro!!
now go make another
God bless,Keith
now go make another
God bless,Keith