First try at bolsters

PetrifiedWood

Well-Known Member
I have been very busy lately and it's probably been 2 months since I posted here. I've made a few more knives, but I haven't posted them because they were pretty much the same as I have been building. But a couple of days ago I ventured into new territory and tried pinning some bolsters. The pins are visible, but I know what I did wrong (didn't taper ream the holes deep enough).

Anyhow the knife specs are:

1/8" O1
7 3/4" OAL
3 1/4" blade
Full flat grind
Maple burl scales


IMG_1270.jpg

IMG_1271.jpg

IMG_1272.jpg

IMG_1273.jpg

IMG_1274.jpg

IMG_1275.jpg


Thanks for looking!
 
That's a knife I would be proud to say, I made! Congradulations!

Merry Christmas to you and your Family !
 
Could just be one of those knives :(

Did you clean your pins and holes well?

Might possibly try gently swelling the pin with a punch once its swollen into place.

Regardless, its a great looking knife, I know it sucks on the pins! Mine are a 60/40 bet these days.

God Bless
Mike
 
You said you didn't (didn't taper ream the holes deep enough), did you clean the oxidation off the pins??. Becareful reaming the holes to deep . If you cut the bottom of the hole out you have trouble lining up the bolsters. It looks to me like you didn't peen the pins enough I use a ballpeen hammer and beat it till you can't see the pins anymore. I make my bolsters with 1/4" stock so after I peen the heck out of the pins I have plenty of bolsters to clean them up. If you have any more trouble PM me.

PS: I do like the knife looks good.
 
Last edited:
good job ont he fit with the first try. I would have rounded the front of the bolster some more so there is an arc from edge to spine (just my personal taste for that type of bolster). I like them straight when they are very small and the handle narrows before a large curved drop down to the edge, which is a common form for a lot of hunting knives. Otherwise, I like big, round, um, bolsters...
Also, curve them a little across the sides.
Still, I am not criticizing - I have the same issues and I do these a lot. I just posted pics of a knife in the neotribal forum that thas pins of steel going through wrought iron guard. I made the mistake of drilling through everything from two directions. This opened the holes up too much, and I wasn't able to get the pins peened in a way that they could not be seen. i actually gave up.

nice one,
Kevin
 
Thanks for all the advice!

To answer some questions, I had the pins all peened down to the point where they were almost invisible, but that was before I ground down the bolsters to their final shape and thickness. So the tapered part of the holes was ground off (that's what I mean by not reaming them deep enough). Alternatively I could try gluing them to the tang and then shaping them before reaming and pinning, but if they came unglued while shaping it would be pretty bad.

Also I cleaned the pins with 320 grit sandpaper before installing them (I'd read a few of the threads here to get my bearings before attempting this). I think overall it is a combination of 3 factors.

1. Holes were tapered too shallow.

2. I need to shape the bolster close to final dimensions before reaming and pinning.

3. I could have smacked them a little harder to swell them deeper in the holes.

I was able to tighten one of the pins that was loose after shaping the bolsters by peening it a bit more and then grinding the marred surface down again. Anyhow it's a learning process. :)
 
You have only one right answer, number #3 . I'v tried to take bolsters off my knives and gringing them away didn't work. If you peen the hard enough it will swell the pin down in the hole tight enough you'll not see the pins if you grind the bolster away.. I use a heavy ballpeen hammer and I really pound them ( I MEAN POUND THEM), you have to be careful not to hit the edge of the bolster and goof up the bolsters. I only slighty taper ream my holes just to clean them up in the top half of the hole. And you NOT see any of my pins, if I do the bolsters would come off and I'd do them over. I'v heard engravers talk about knifemakers bolsters falling off when they were engraving , just not peened enough. Try it on a piece ot scrap.

Number #2 if you shape the bolster before you pin them you'll not get all the peen marks out of the bolsters or have them thinner than you want them.

number #1 If you taper to the bottem of the bolster holes they will not line up after you peen them on.

Just try it on a piece of scrap.
 
Last edited:
I agree with the guys, you didn't peen them quite enough. It has absolutely nothing to do with weather you tapered the holes or not. I NEVER TAPER MY HOLES and you can never see my pins!!!. I feel it just adds more area that the pin has to grow to fill and disappear. I have put one on and messed up on the peening ( hit the dove tail) and I had to drill it off, because beating it off would have ruined the knife. Another thing I do is use number drill bits and not fractional drill bits. Clean the holes and the rod with some kind of solvent. Using the same kind of material such as, if you use 360 brass use 360 rod stock, 416 SS use 416 rid stock. Most importantly.....You have to peen it like it stole your dog. Lightly at first then as your pins start to swell and your bolsters start getting tight against your tang, when they get flush, then you start adding the harder licks and then when you think you have peened it enough hit it a few more times.
 
Thanks Max, you added some things that I forgot to add. And I use 1/8" pins.
 
Last edited:
I use 1/8" pins because I think the ballpeen hammer has more end to beat on to swell the pin. You don't have a problem with the 3/32 so I guess we are both doing good. hee
hee
 
Here is a hint I learned from video Making a Damascus Blade A to Z with Mike Norris (who evidently makes some killer stainless damascus stock to sell to other knife folks).

Superglue the bolsters together and shape the fronts at the same time. Grind a nice radius along the front and then shape that with a bevel that crosses from the front of the bolster to the exposed side. Just a little decorative bevel, the same on each side. Having them glued together means you can shape them exactly the same. Then, heat them with a propane torch. The superglue will melt and release when it gets to be 150F. You can just knock 'em apart really carefully with a piece of wod or something. You can do the back surface of the bolsters while they are glued with a file, a sander/grinder, or a mill if you want to leave them with 90 deg. angles. If you want to have your handle slabs fit in under the bolsters to help lock the slabs in, then a work rest and a contact wheel or a mill with angle blocks are the way to go (after breaking them apart, obviously).

One good thing, if the tang is not perfectly flat, say for instance you are a moron and you have one plane for the tapering of the handle meeting another plane for the distal tapering of the blade. Say, being not too bright, you have these two plains meeting under your bolsters. Well, if you do this (I have, a couple of times) and you have over-sized and soft bolster material (copper, nickel silver, and wrought iron are perfect for this). You can beat the heck out of the bolsters while peening, and this will close any gaps around the tang. If the bolsters stick out past the blade blank in all directions prior to shaping, then peen and hammer the bejesus out of the sides that stick over. This will close all gaps around the handle, even if you were like me (I hope you aren't).

take care,
kc
 
How much pin do you leave on either side of you bolster before you start peening? I leave about 1/8" sticking out of each side.

Professor, if you are having to beat the bolster to get it to fit, you are skipping a few steps on your way to a good finish. If it is not flat, it won't go together!!!

I will do the same as Art, if its messed up or the peen didn't come out right......drill it off and start over!!!!
 
I leave a 1/8" also. Max, I looked at your video and we do bolsters and handles about the same way.
 
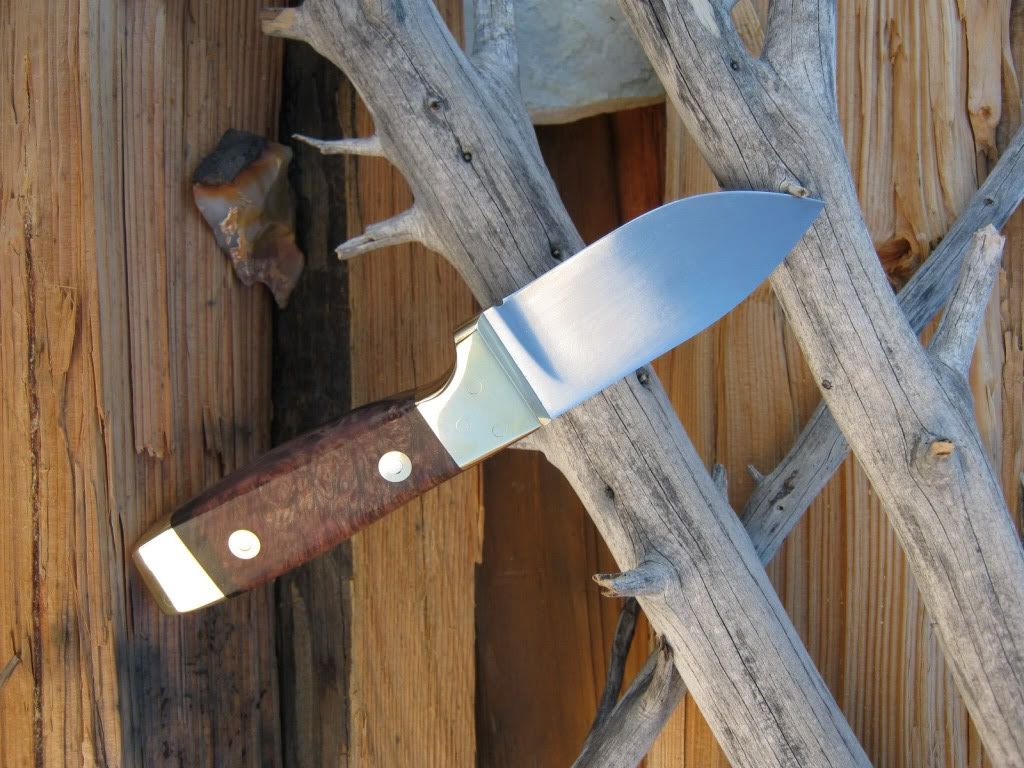
I was using 1/8" pins and I left about 1/16" extra on either side of the bolsters. I chamfered the end of the pins (I read that helps).

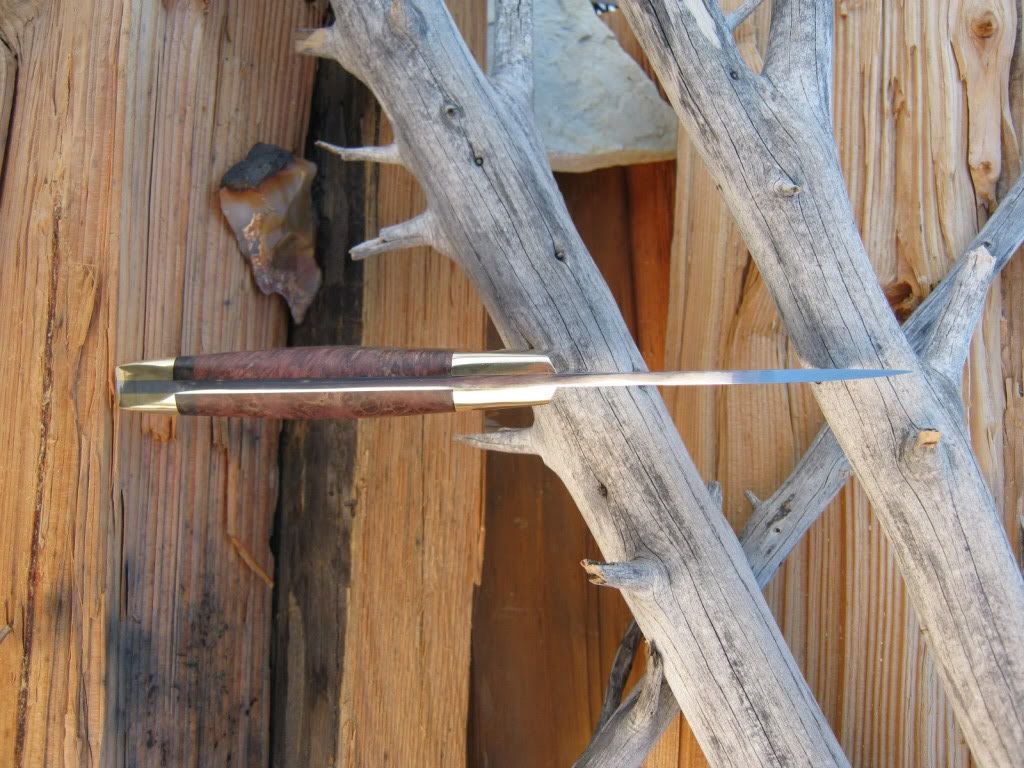
Lots of things to consider here. I originally bought a couple of tiny ball peen hammers, a 4 and 8 oz. But I think this is one of those rare occasions where one really does need a bigger hammer. :)

I'm going to go ahead and order a bigger hammer and give them a more thorough beating next time. I have been using C360 brass for both the pins and the bolster material.

The good thing is that the bolsters did conform to the tang pretty good when I started. I have a slightly uneven surface under the bolster. I sandblasted the tang for better glue adhesion and masked it where the bolsters would go, but this doesn't seem to be visible after finishing.

I cleaned the pins using 320 grit paper and chucking the pins in a drill.

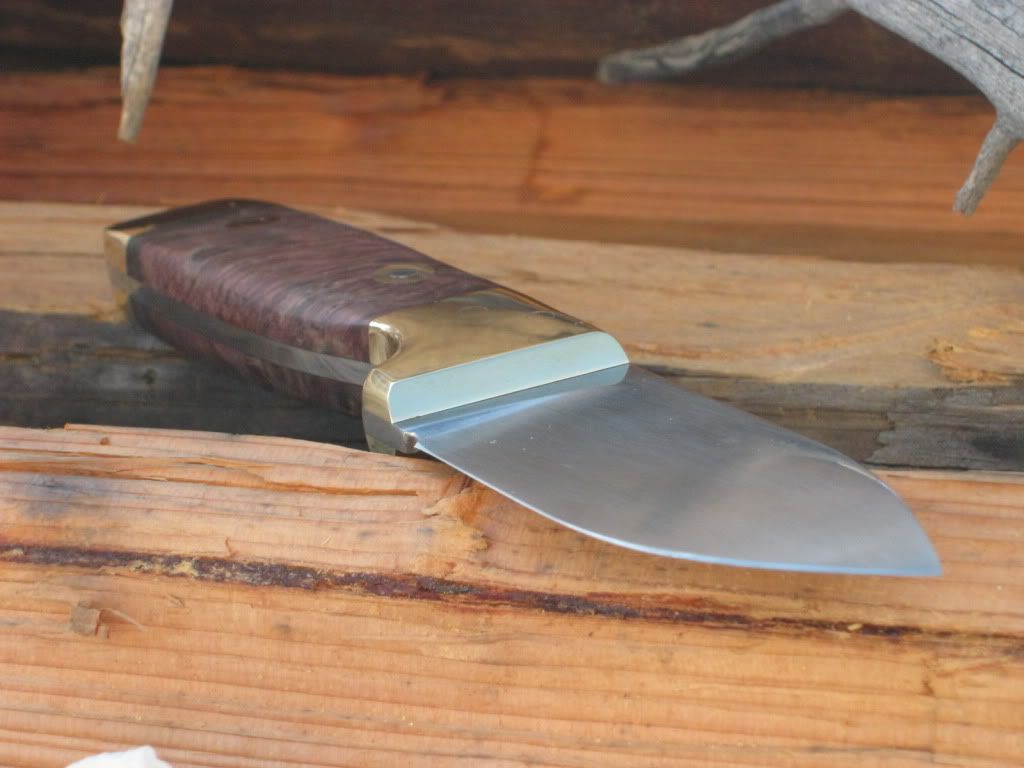
To make the bolsters themselves, I first drilled the tang with 3 holes before heat treating. I cut two pieces of brass from a 1 1/4"X1/4" brass bar. I "lapped" them by hand on a piece of 120 grit sandpaper on the flat surface of my spindle sander table to clean the surfaces that will touch the tang and true them up in case they weren't perfectly flat.

I then used the superglue trick to stick them together so I could bevel and polish the front edge. I just used a drop and was able to knock them apart easily without heating them. I cleaned up the residue by lapping them again before the next step.

After that I took the knife blade and superglued one of the bolsters on and used the tang holes as a guide for my drill press to drill the holes in the bolster. After drilling those holes I glued the opposite side bolster on and then flipped the blade over and drilled back through those holes. So I now have two bolsters with holes aligned to the tang and glued in place. Then I used vide grips to clamp the bolsters onto the tang with a little more force, and inserted the pins and peened them.

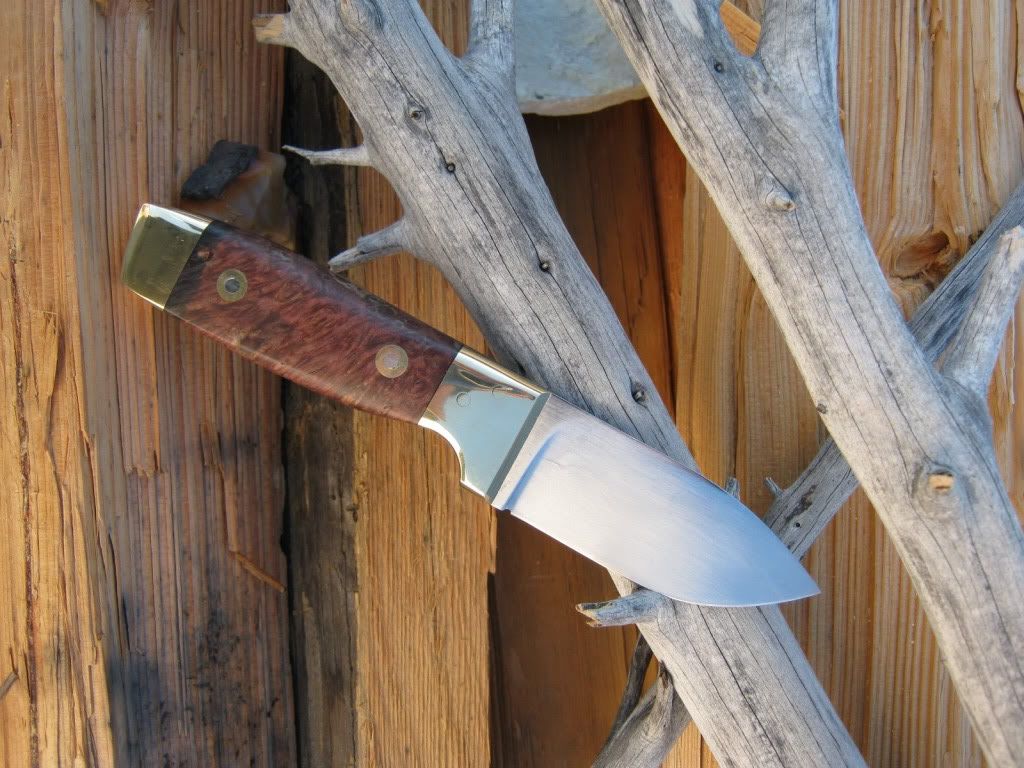
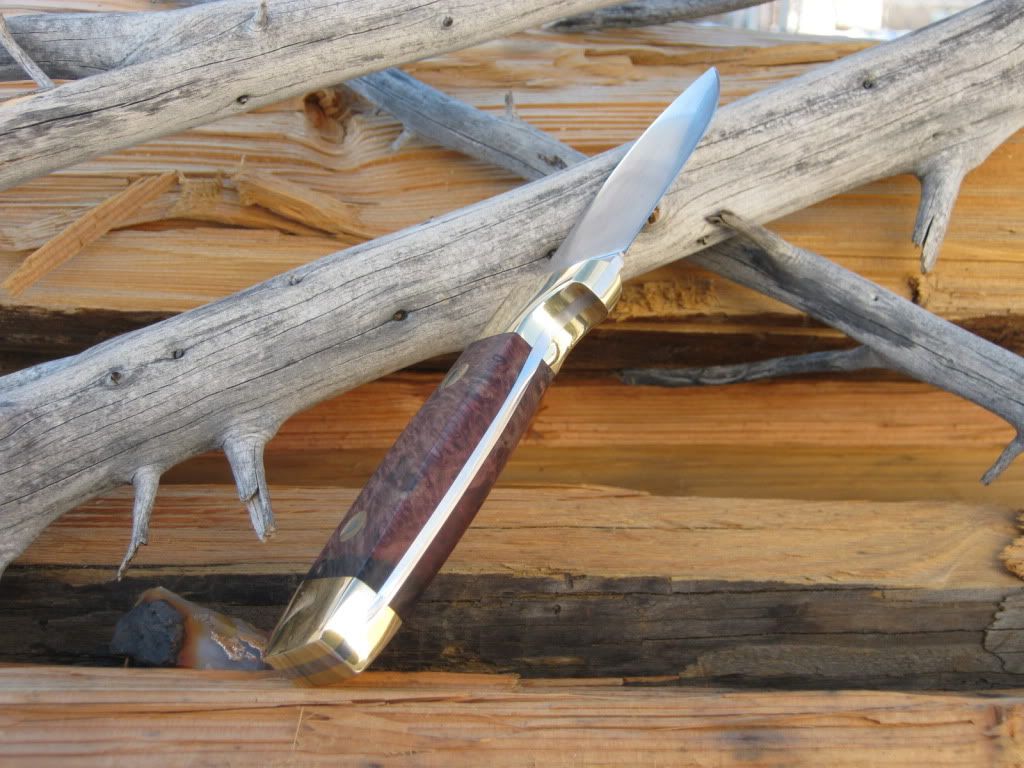
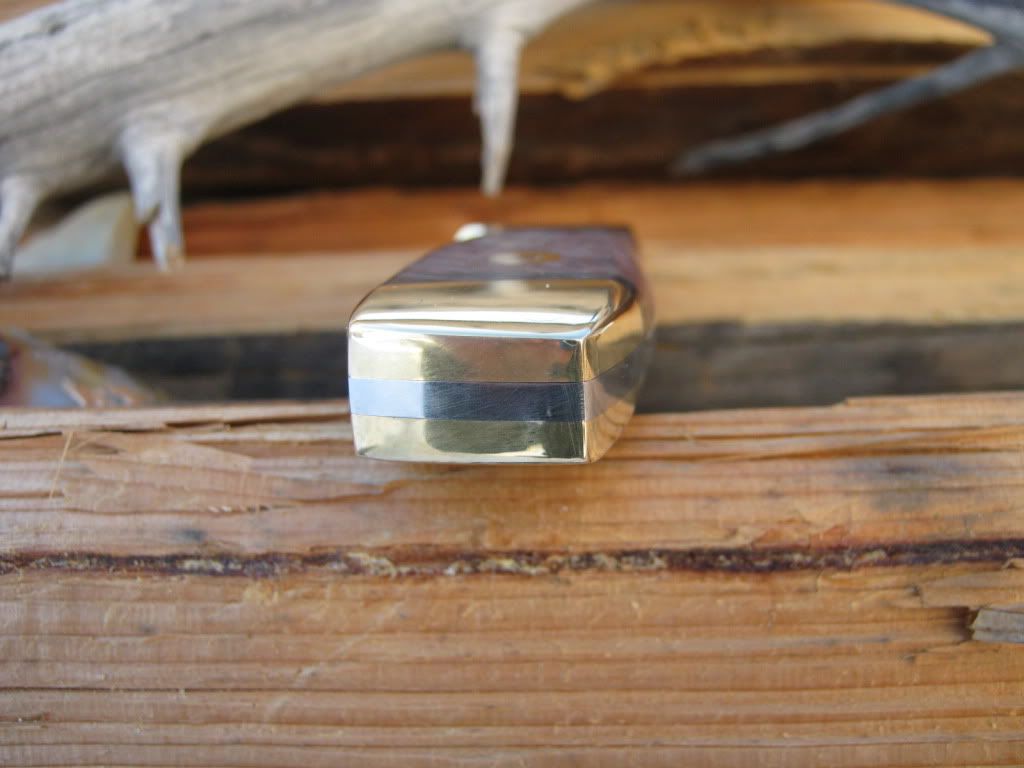
Then I glued the scales in place and attached the loveless bolts, followed by the brass pommel "bolsters" at the back. (I'm not sure of the technical name for them.)

I did it in this order because mounting the back bolsters first would have required more care in fitting the scales. This way the back bolsters can be butted up against the scales rather than having to trim the scales to fit between the front and back.

Anyhow, I have a lot of new things to consider and I really appreciate all of your help and insight. I think my second attempt at this will look much better!
 
Back
Top