
cardoso5fr
Well-Known Member
To Begin you need a blade, (here a blade i did 2 years ago in a strong file.You need piece of G10 (here green/black) 8mm thick.
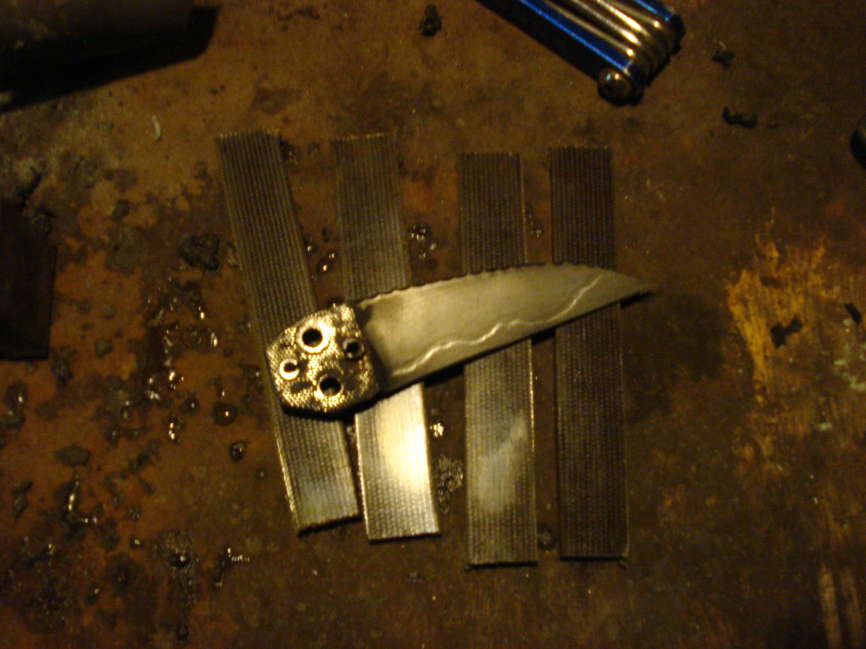
You draw to 8 mm to the side and punch to 8mm from the left. (1,6cm width for each handle piece)

I drilled pivot to 3mm

I counterbored the pivot hole for the screw head
I drilled the pivot hole to 4,8 mm
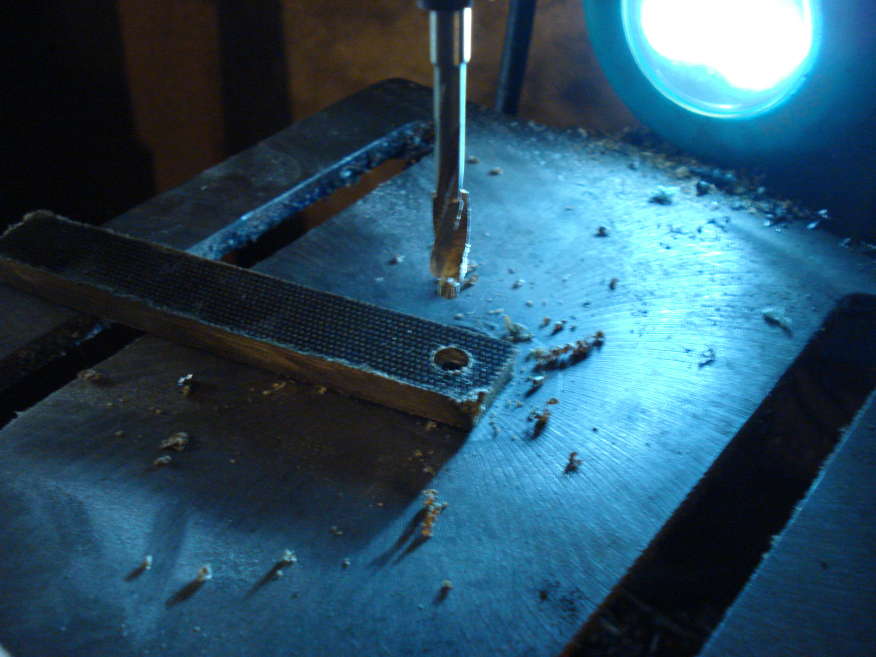
I reamed the hole with a 4,99 carbide reamer

The pivot place are ready

I put the blade to the handle piece and i draw a line under the blade in order to punch the future spot for the spacer

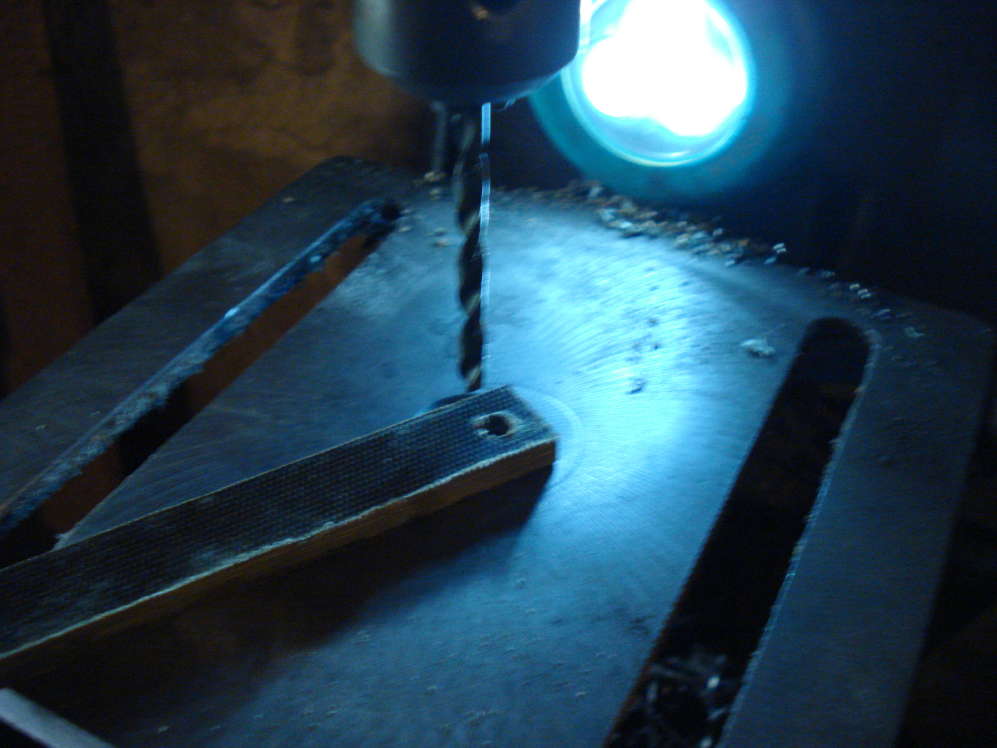
I drilled to 3mm

Drilled
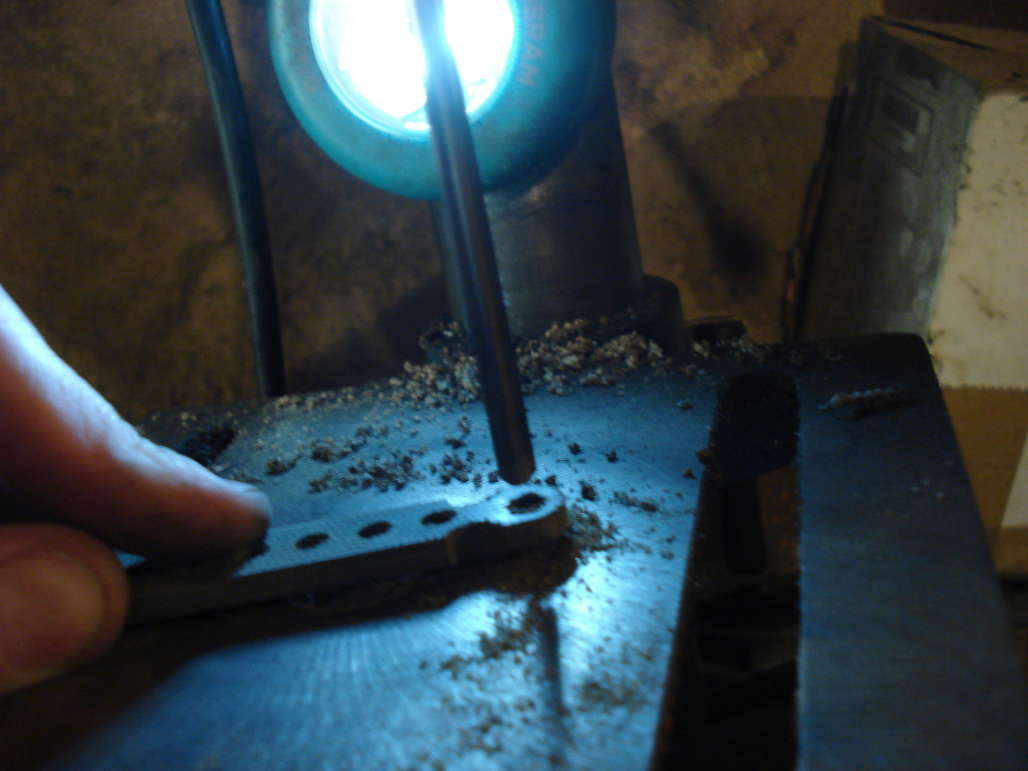
I draw a line and punched the spot for the handle hole. But as always i won't drilled the hole straight on the line. That is a part of my style

I drilled to 3mm and after to 5 mm. I drilled through the two piece of the same handle in the same time

I countersinked the heel hole and every hole on the handle. The Drill press is set up in order to not mill too much deep.
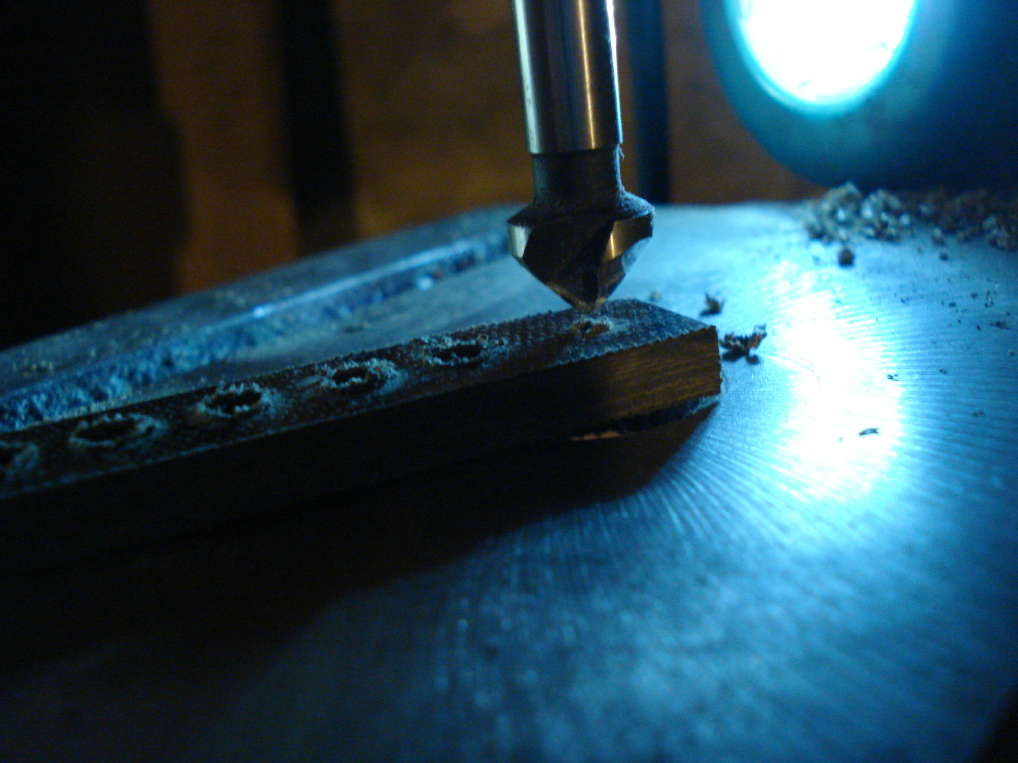
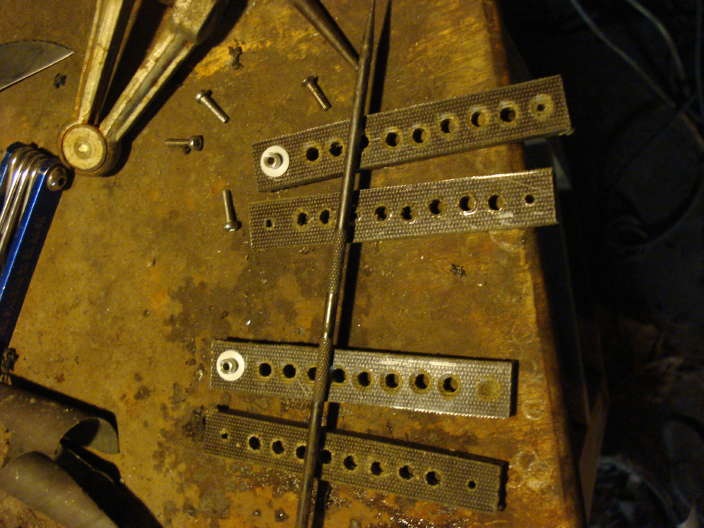
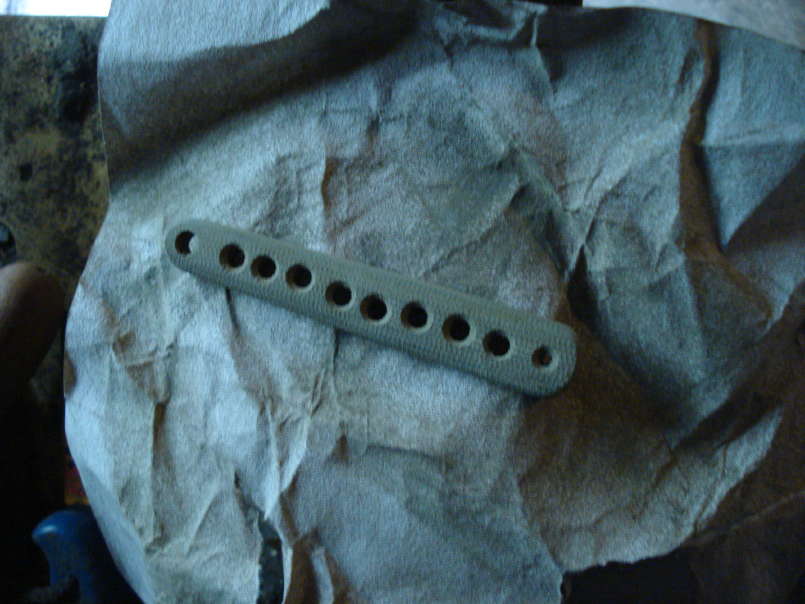
Everything is holed and countersinked and not on a straights line, i'm a real pro in that hardcore style

I put the ertalite whasher around the pivot and draw a line around in order to not grind away too much material
I make the handle shape with a 40 belt grit

I put the handle and the pivot on the blade, i check where the tang pin are in contact with the handle
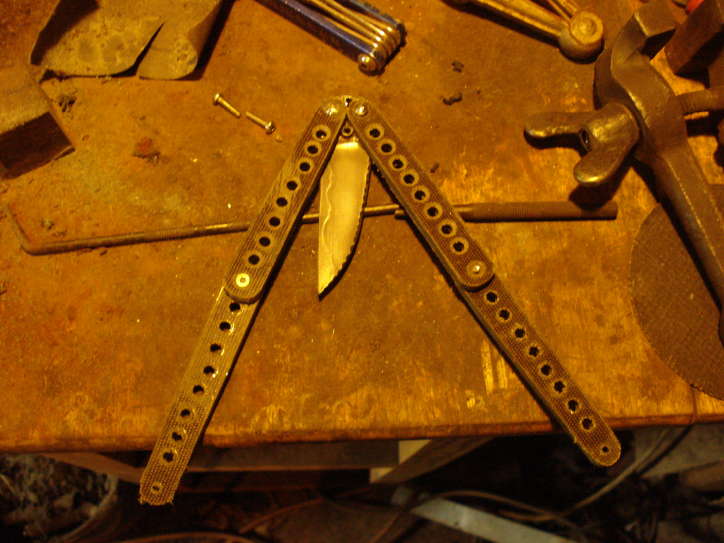
On the free belt i rounded the top of the handle

I continue in free hand style

I cleaned the rounded shape with sand paper grit 150 to the hand
I put the abrasive sheath on a hard surface in order to clean the flat side of the handle.
I joined the two piece of each handle together and i continued to cleaned and rounded everything with sandpaper.
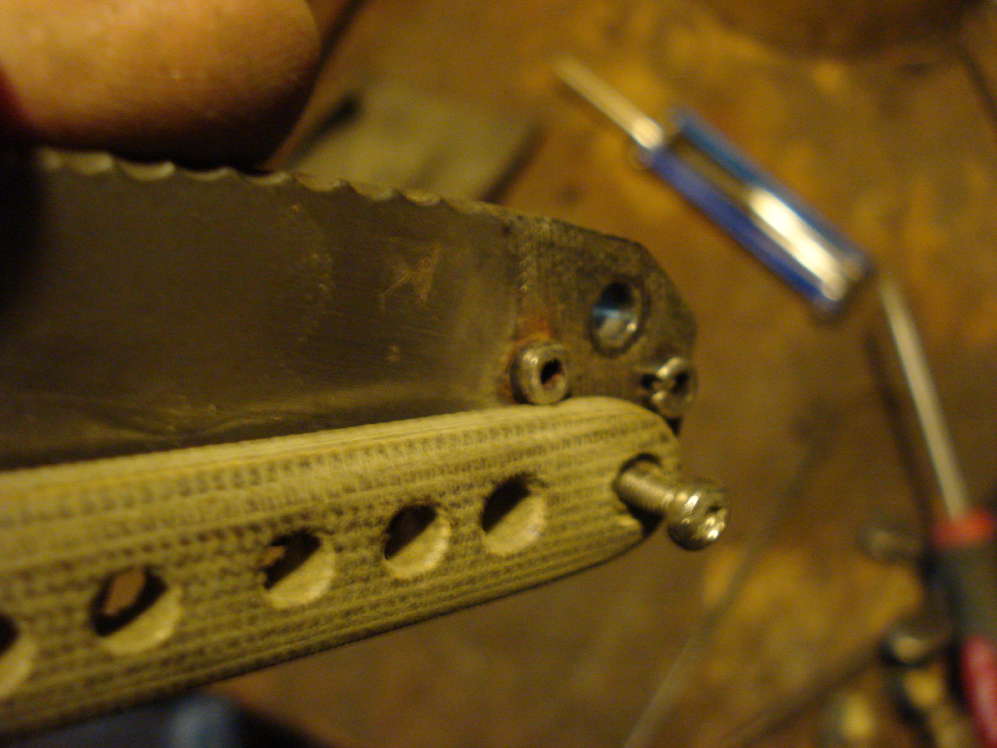
I filed the tang cup in the G10 that is quite long, man can use a carbide rotary burr but that is really fast to put away too much material

To marked the point where i have to begin to file, i pressed the handle (on the pivot) to the tang pin.
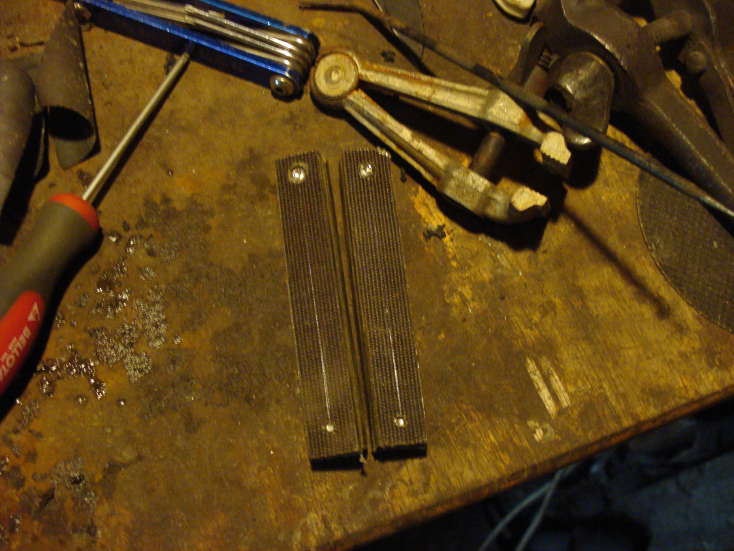
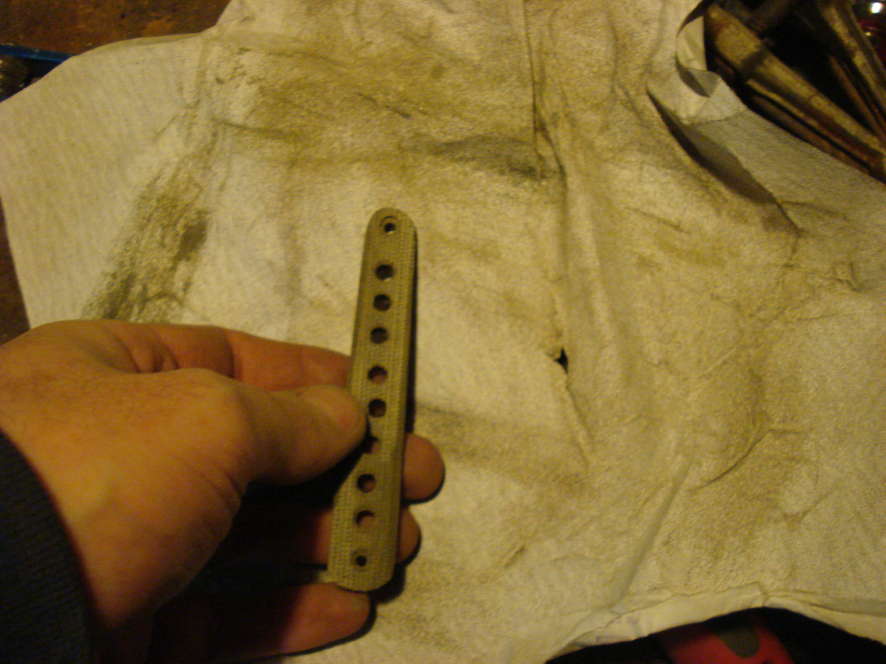
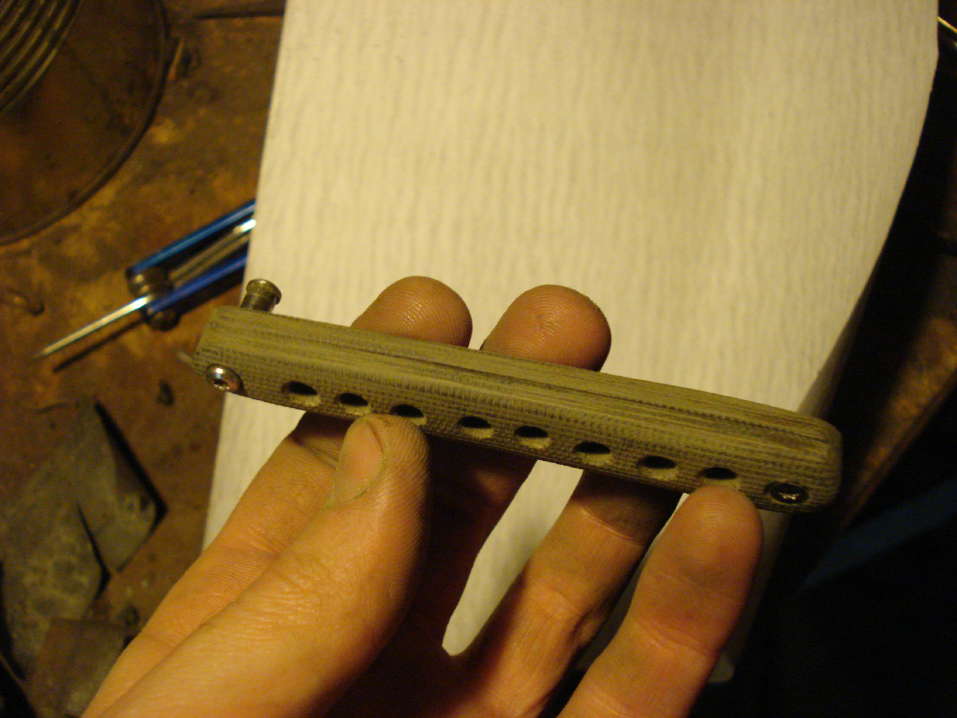
One handle is ready
In order to obtain a perfect flip and rotation I decreased slightly the width of the handle and of the head

Some completion need to be done


I take the measurement of the space between the two handle when they are together on the blade with the washer

1 8mm stainless steel spacer that i filed to obtain the good size

I cleaned the file work with sand paper (150) around the file)
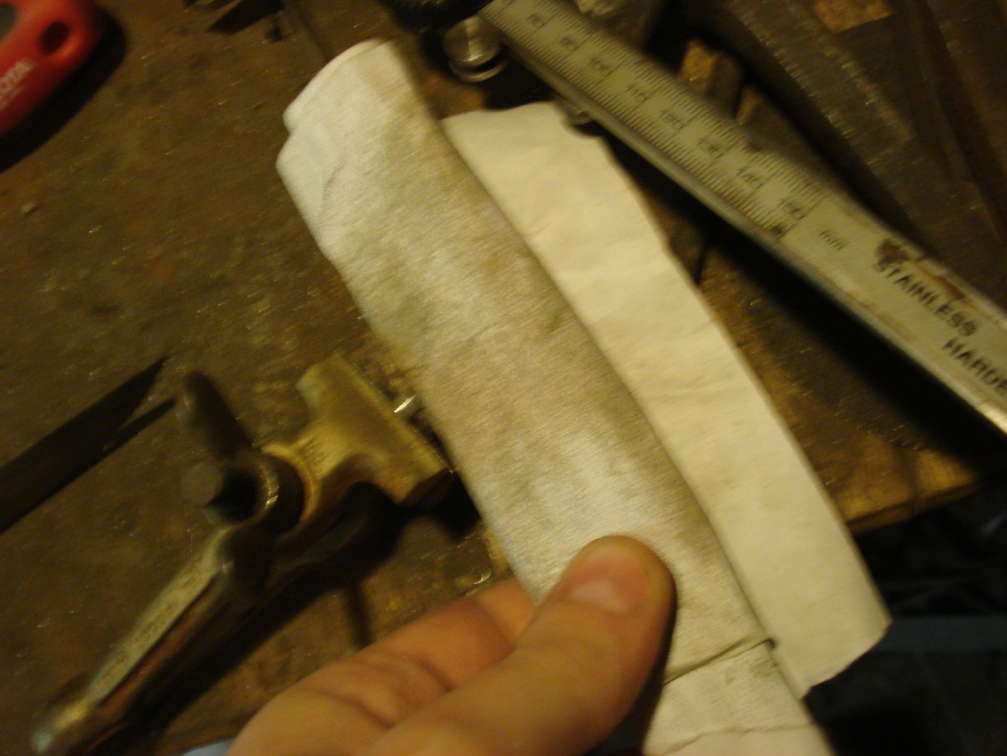
I check the size of the spacer

I decreased the size of the various screw (my tool is a nice piece of carbon steel drilled of the various size i need to take pivot, screw....)

Finally i decided to counterbored the head of the pivot in the second handle, that's why i drilled to 4,8mm and reamed to 4,99 the second side of the handle.
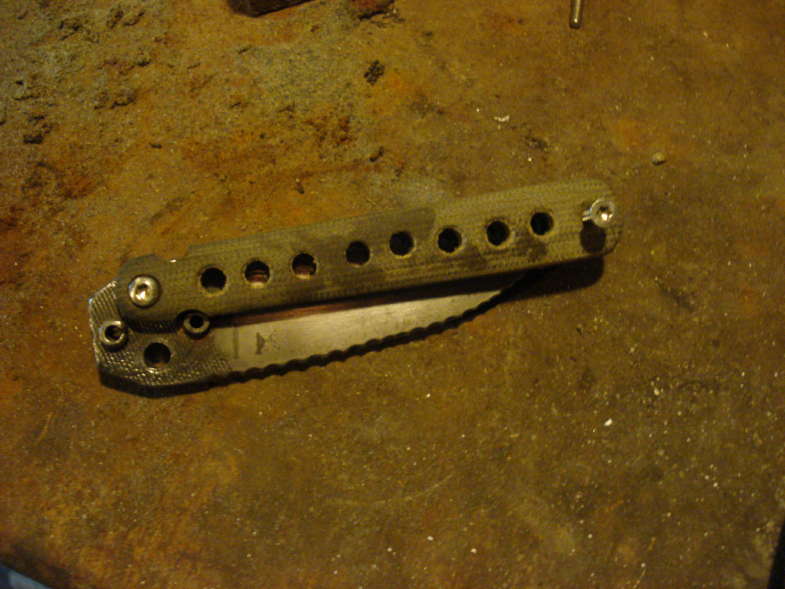
I assembled it and cleaned everything with 280 sand paper

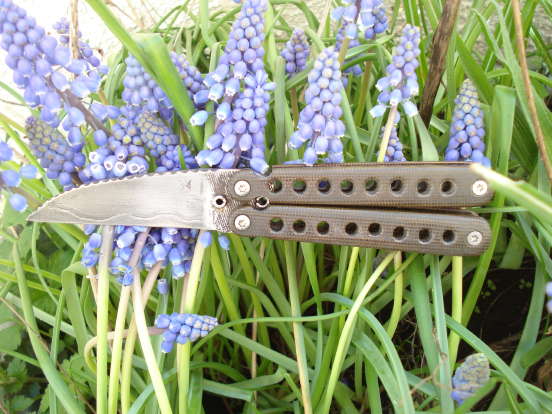
Polishing work on buffer

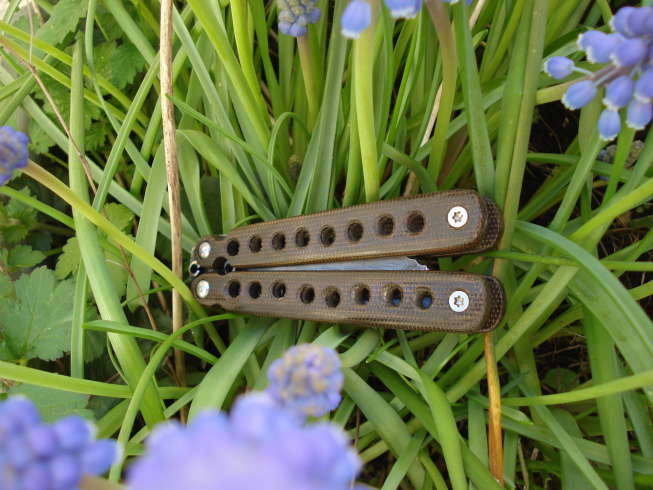
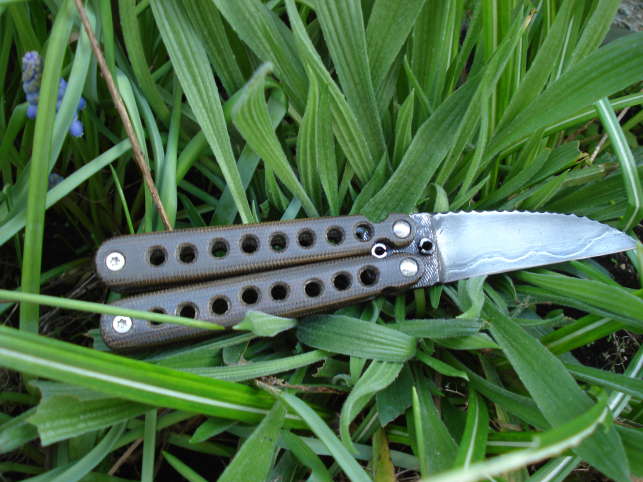
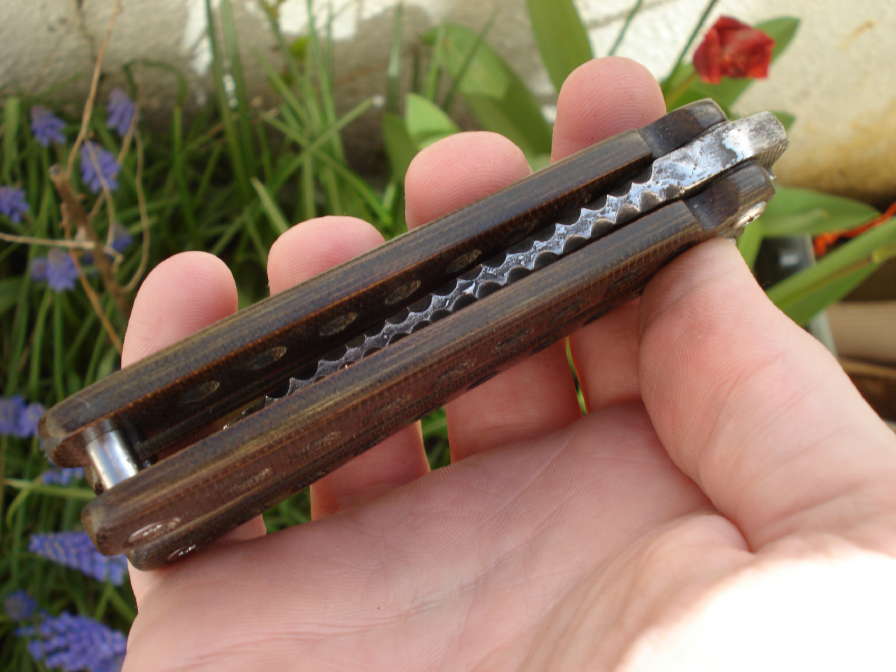
That is finished

10 cm closed
35 mm width to the widest , 23 mm to the pivot.
Thickness 17 mm
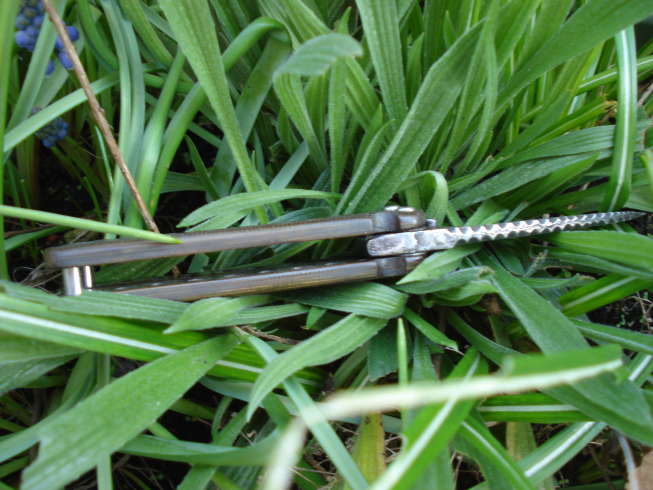
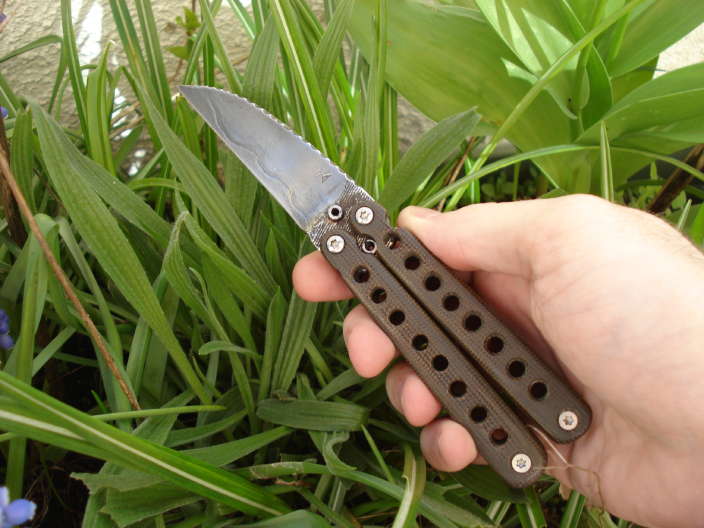
17,5 cm long, 7 cm sharp
Bltade hickness, 6mm to the pivot and 1 mm to the blade point
80 g
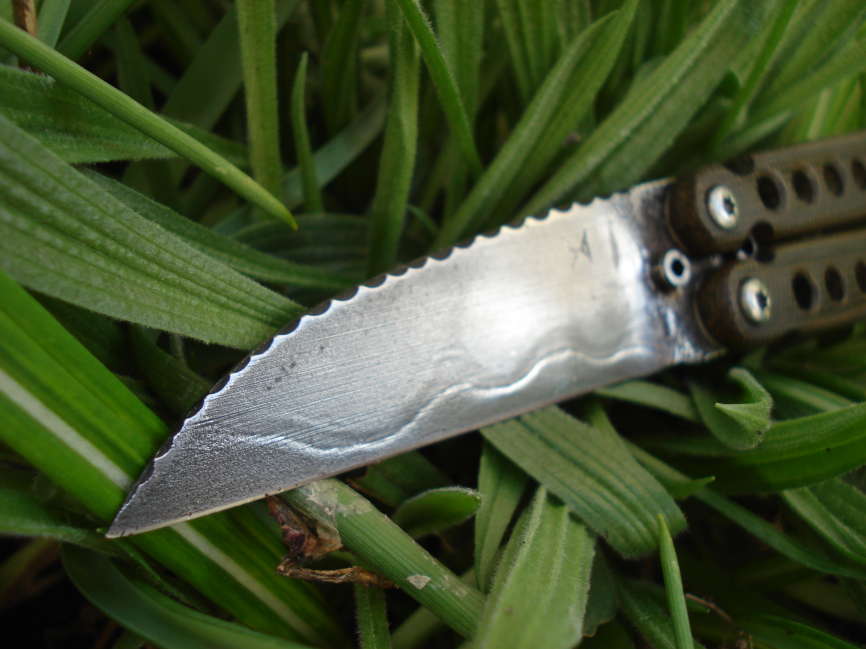
The blade is grinded in a strong file, nice hamon and strong etching work
G10 handle


You draw to 8 mm to the side and punch to 8mm from the left. (1,6cm width for each handle piece)
I drilled pivot to 3mm
I counterbored the pivot hole for the screw head
I drilled the pivot hole to 4,8 mm
I reamed the hole with a 4,99 carbide reamer
The pivot place are ready
I put the blade to the handle piece and i draw a line under the blade in order to punch the future spot for the spacer
I drilled to 3mm
Drilled
I draw a line and punched the spot for the handle hole. But as always i won't drilled the hole straight on the line. That is a part of my style
I drilled to 3mm and after to 5 mm. I drilled through the two piece of the same handle in the same time
I countersinked the heel hole and every hole on the handle. The Drill press is set up in order to not mill too much deep.
Everything is holed and countersinked and not on a straights line, i'm a real pro in that hardcore style
I put the ertalite whasher around the pivot and draw a line around in order to not grind away too much material
I make the handle shape with a 40 belt grit
I put the handle and the pivot on the blade, i check where the tang pin are in contact with the handle
On the free belt i rounded the top of the handle
I continue in free hand style
I cleaned the rounded shape with sand paper grit 150 to the hand
I put the abrasive sheath on a hard surface in order to clean the flat side of the handle.
I joined the two piece of each handle together and i continued to cleaned and rounded everything with sandpaper.
I filed the tang cup in the G10 that is quite long, man can use a carbide rotary burr but that is really fast to put away too much material
To marked the point where i have to begin to file, i pressed the handle (on the pivot) to the tang pin.
One handle is ready
In order to obtain a perfect flip and rotation I decreased slightly the width of the handle and of the head
Some completion need to be done
I take the measurement of the space between the two handle when they are together on the blade with the washer
1 8mm stainless steel spacer that i filed to obtain the good size
I cleaned the file work with sand paper (150) around the file)
I check the size of the spacer
I decreased the size of the various screw (my tool is a nice piece of carbon steel drilled of the various size i need to take pivot, screw....)
Finally i decided to counterbored the head of the pivot in the second handle, that's why i drilled to 4,8mm and reamed to 4,99 the second side of the handle.
I assembled it and cleaned everything with 280 sand paper
Polishing work on buffer
That is finished
10 cm closed
35 mm width to the widest , 23 mm to the pivot.
Thickness 17 mm
17,5 cm long, 7 cm sharp
Bltade hickness, 6mm to the pivot and 1 mm to the blade point
80 g
The blade is grinded in a strong file, nice hamon and strong etching work
G10 handle
Last edited: