Mini Feather Pattern WIP (hopefully)

Bruce Bump

Forum Owner-Moderator
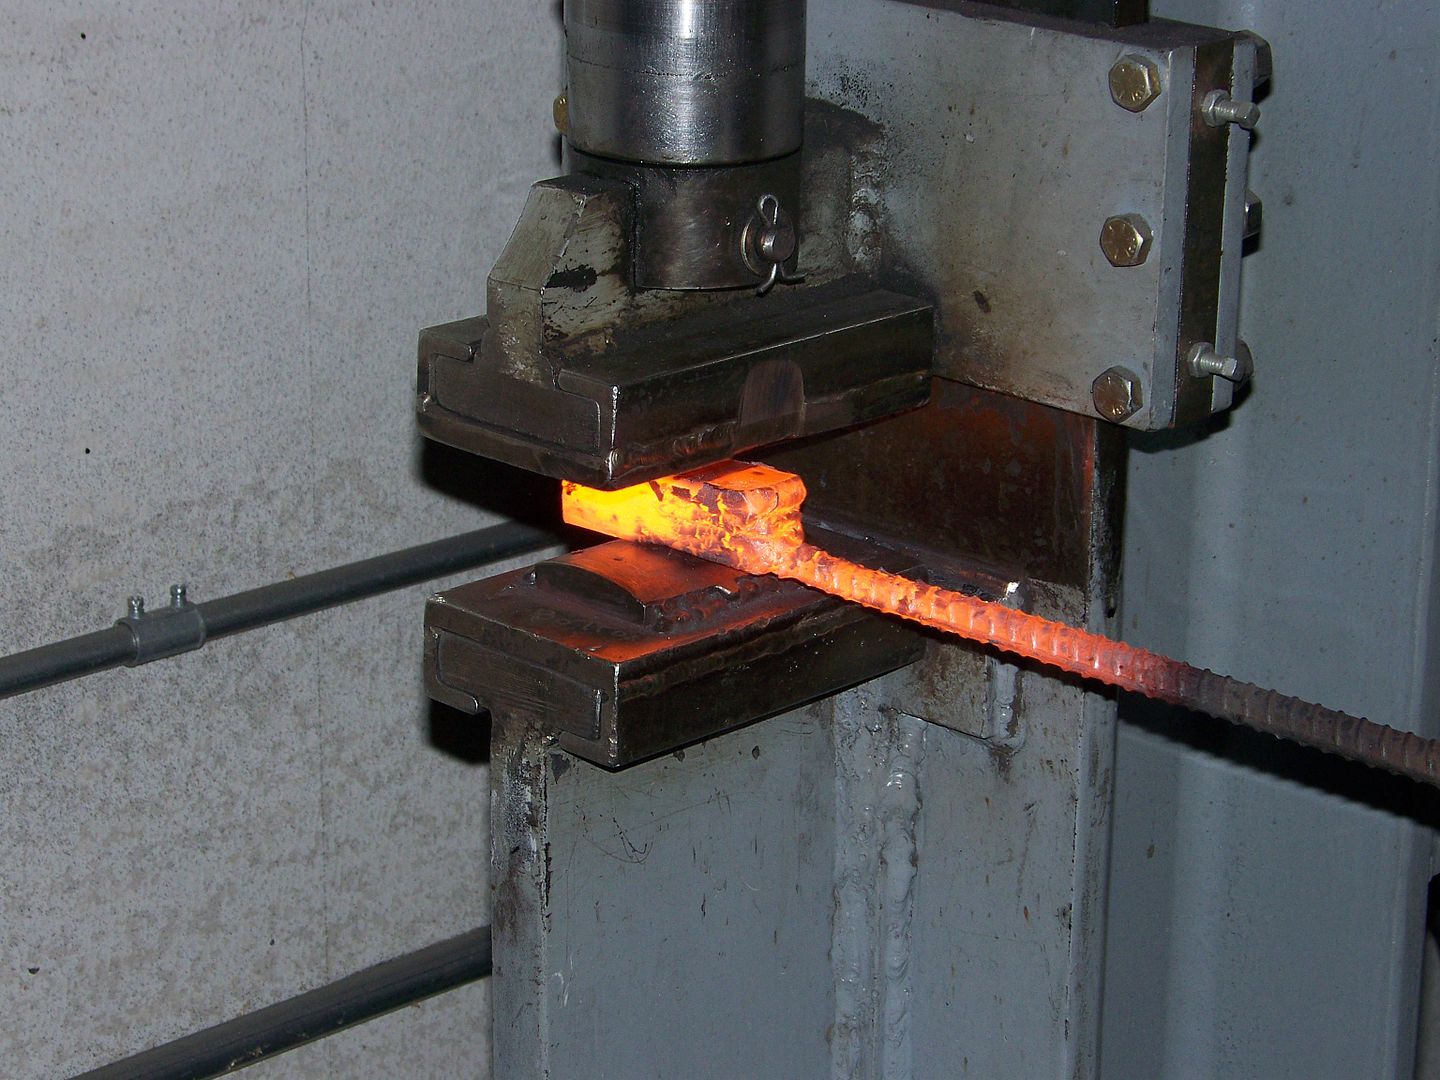
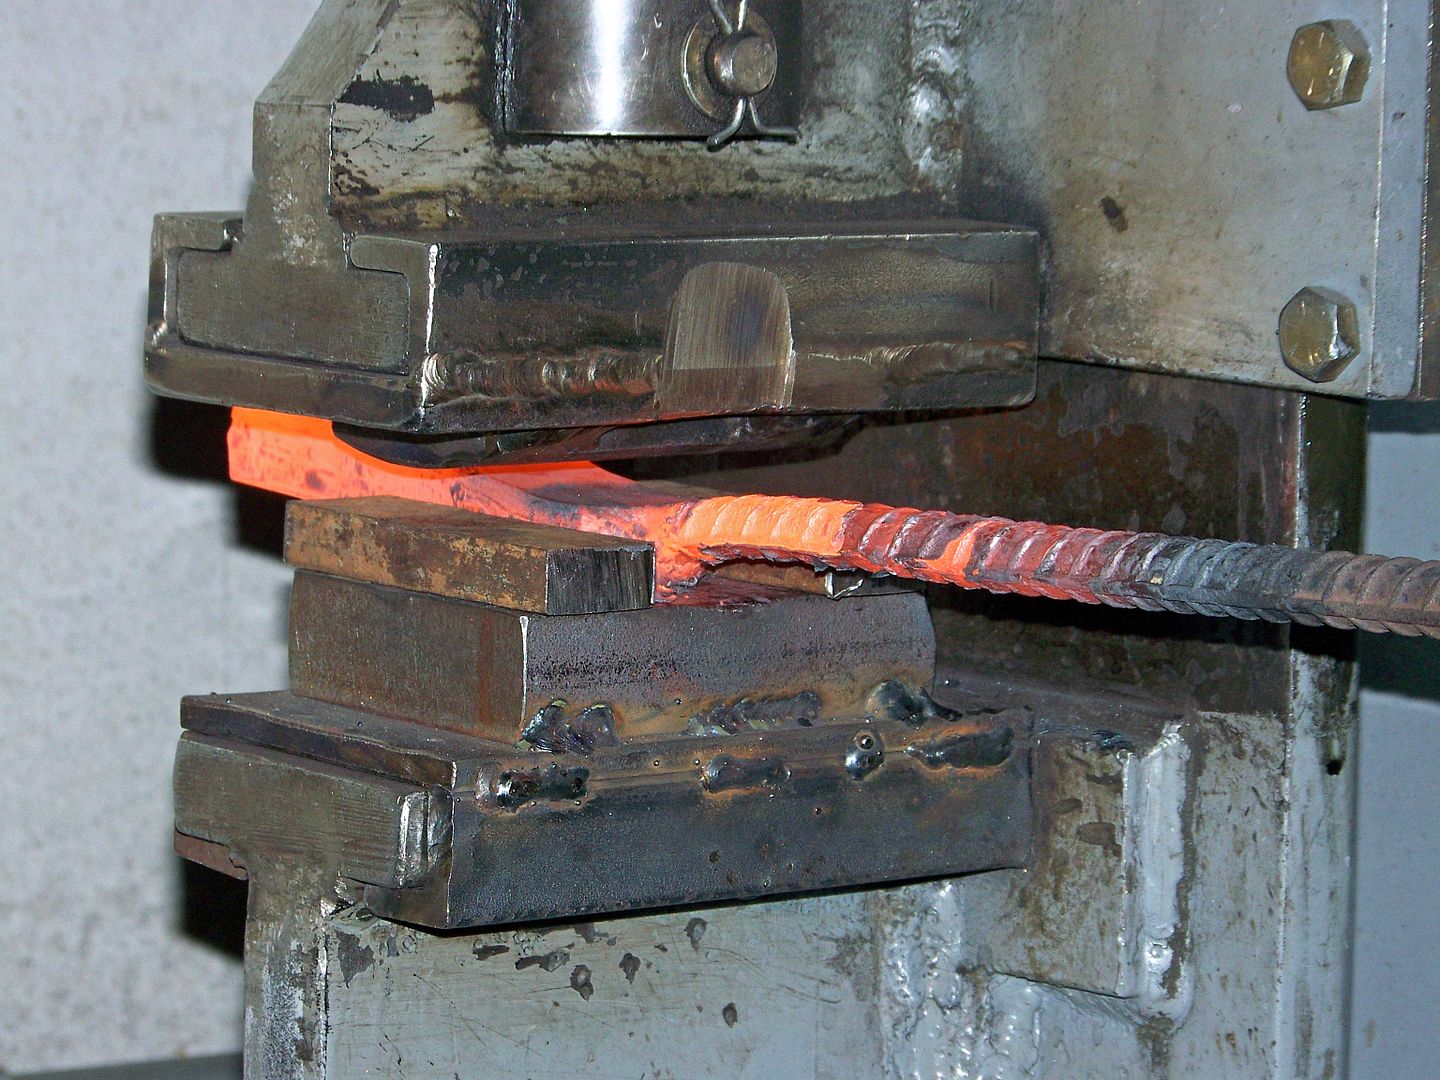
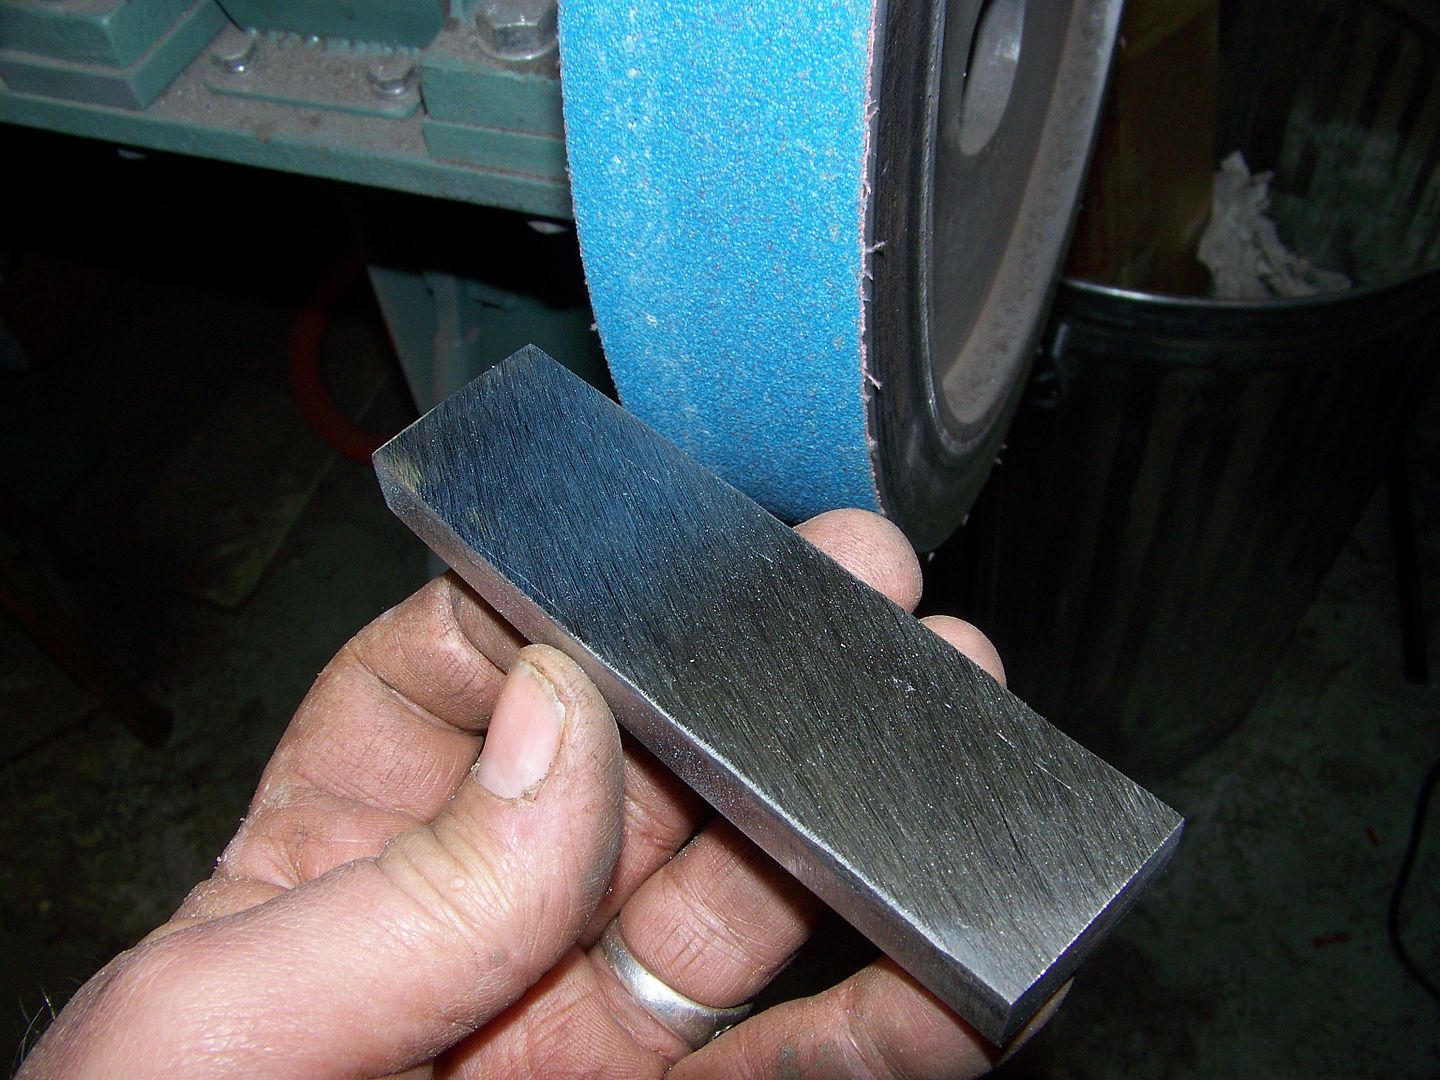
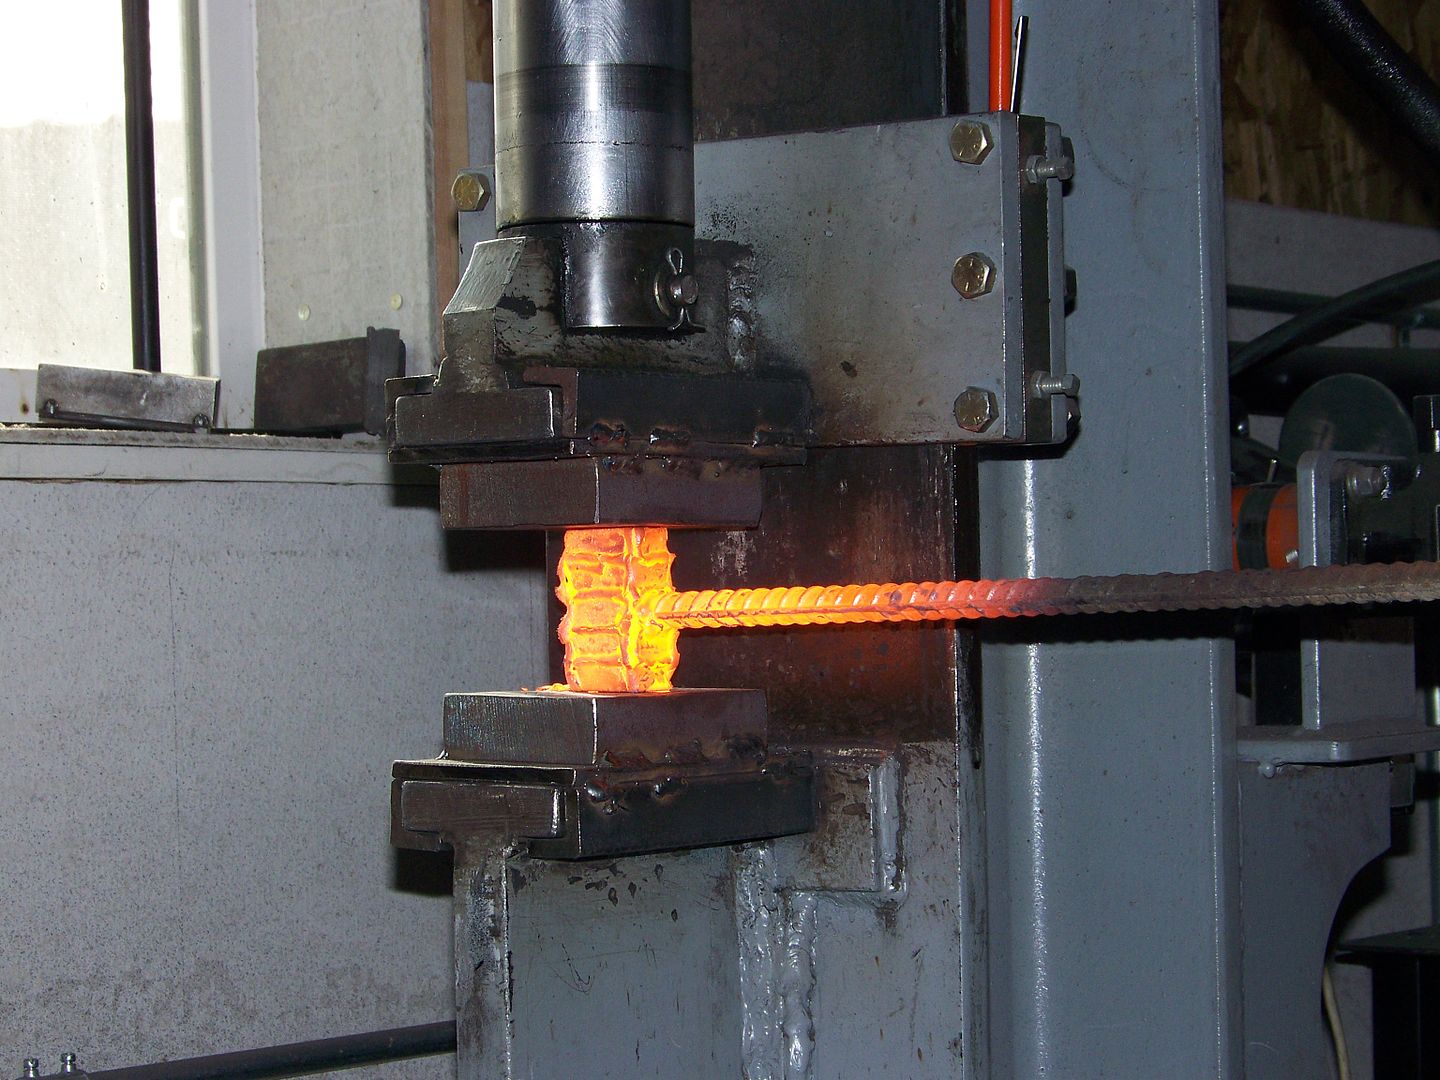
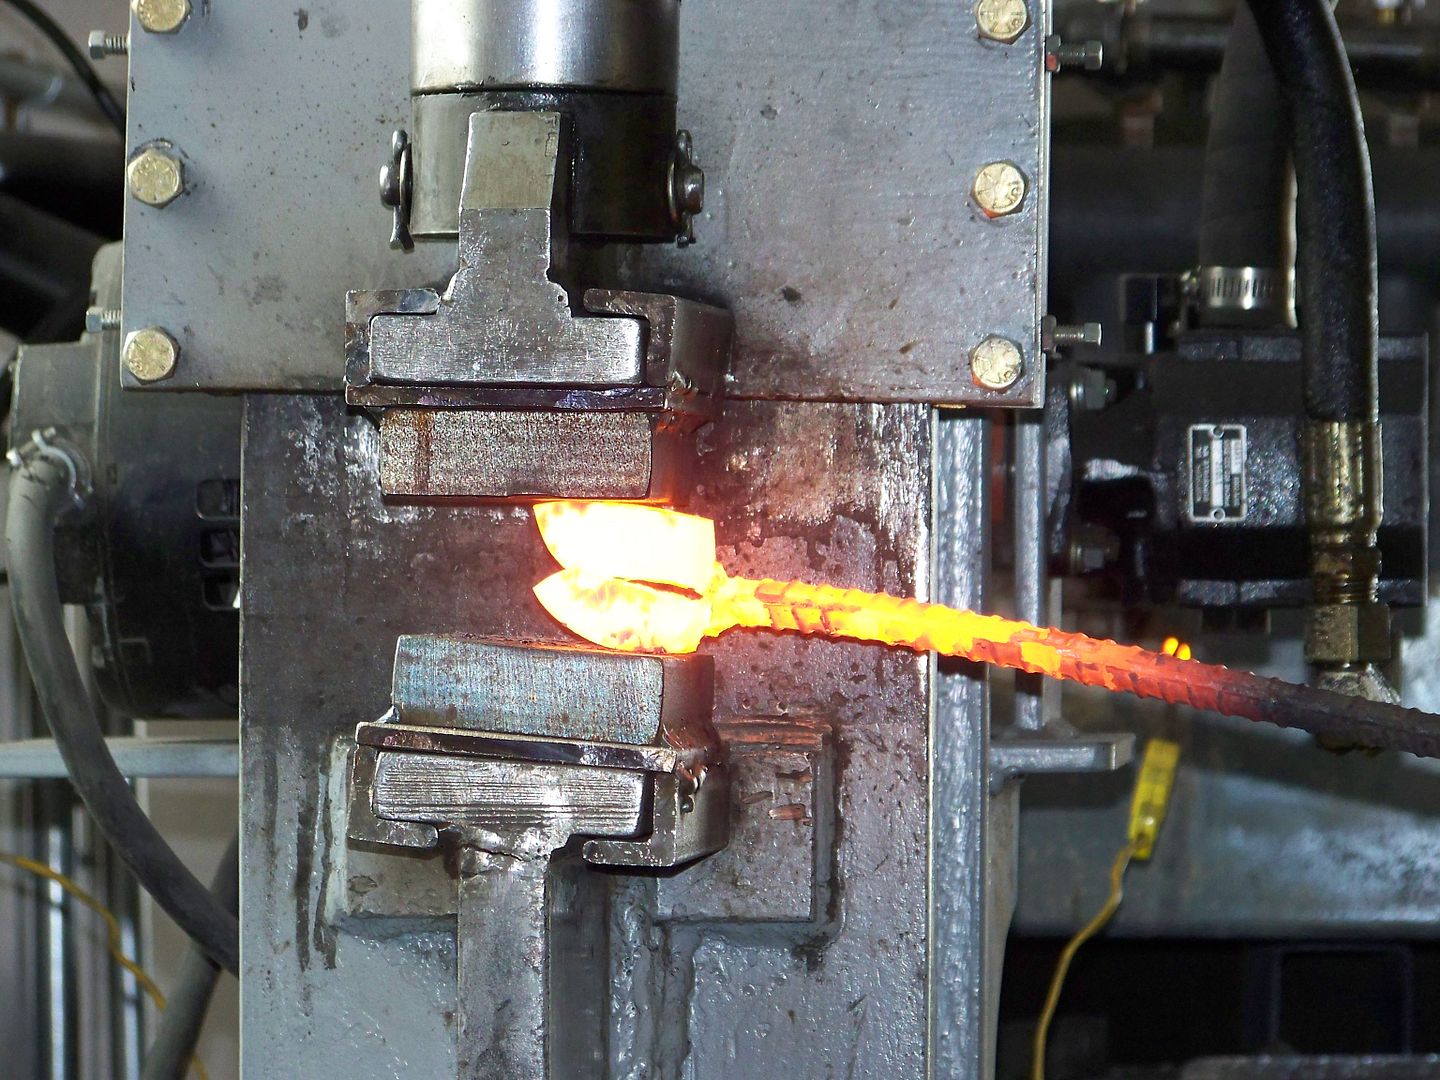
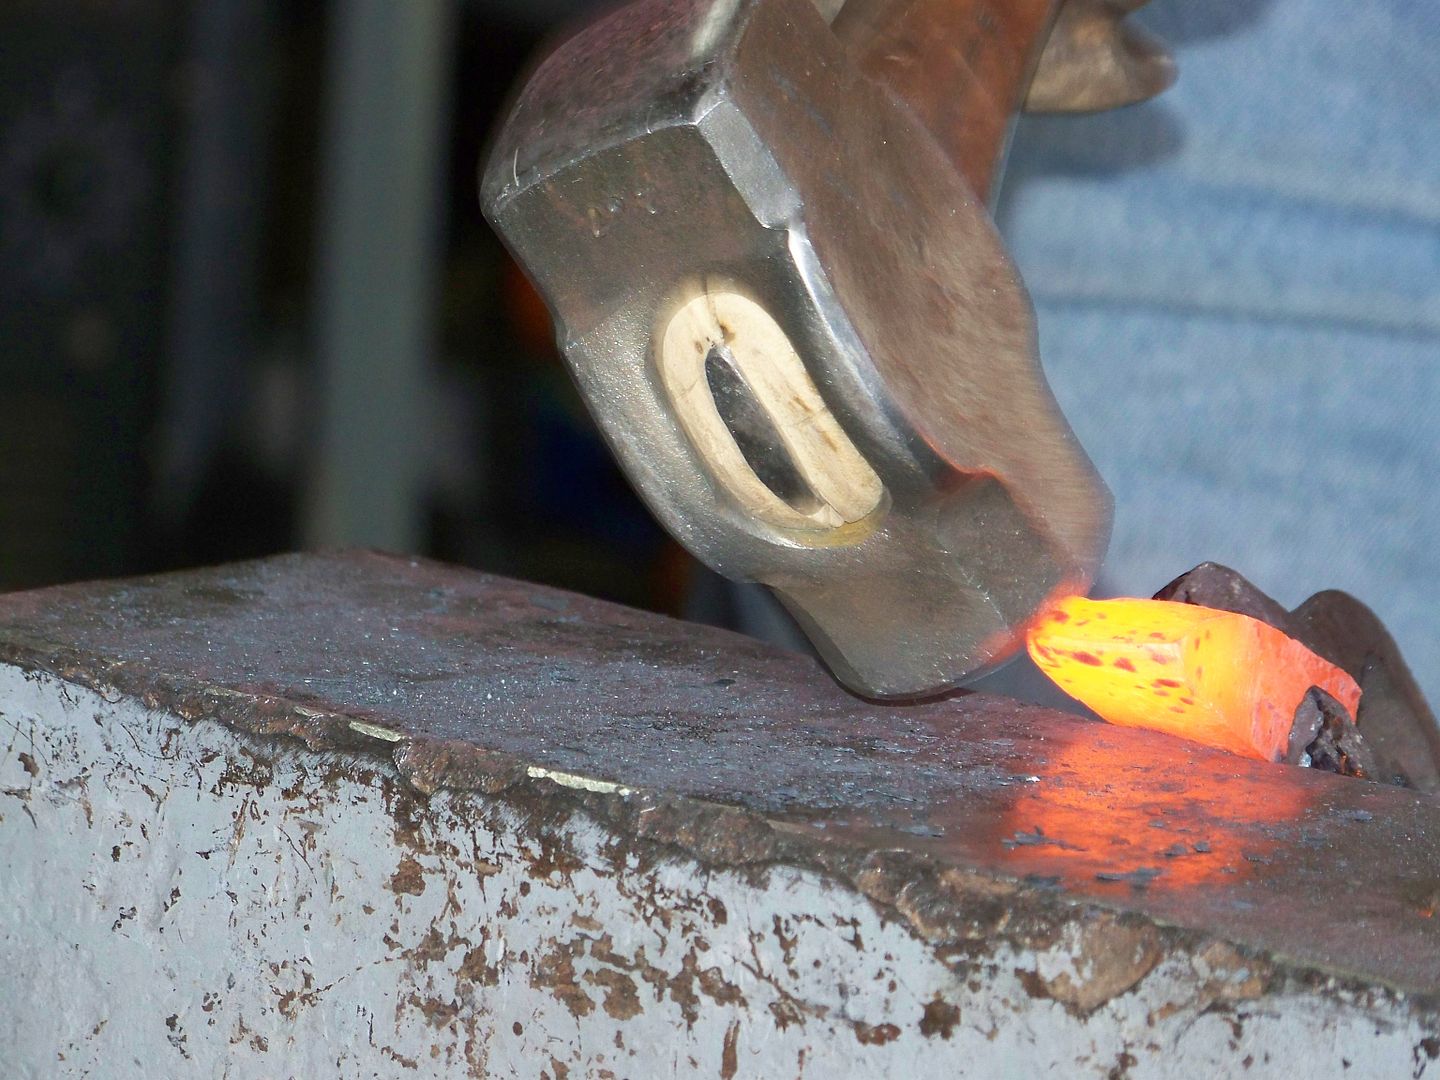
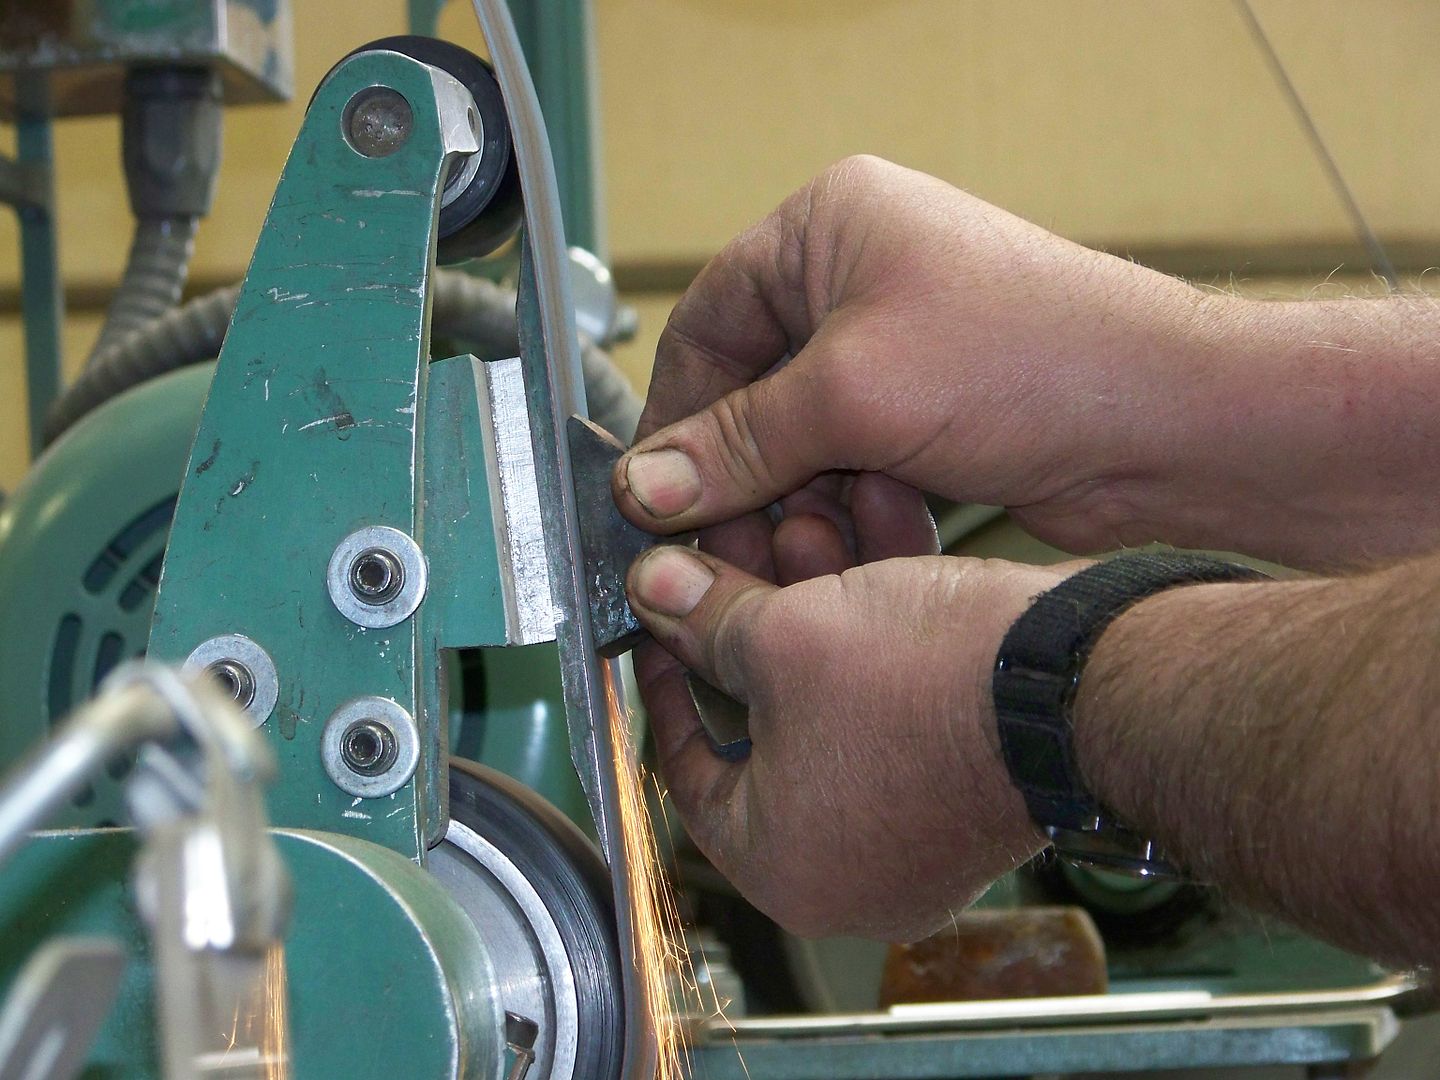
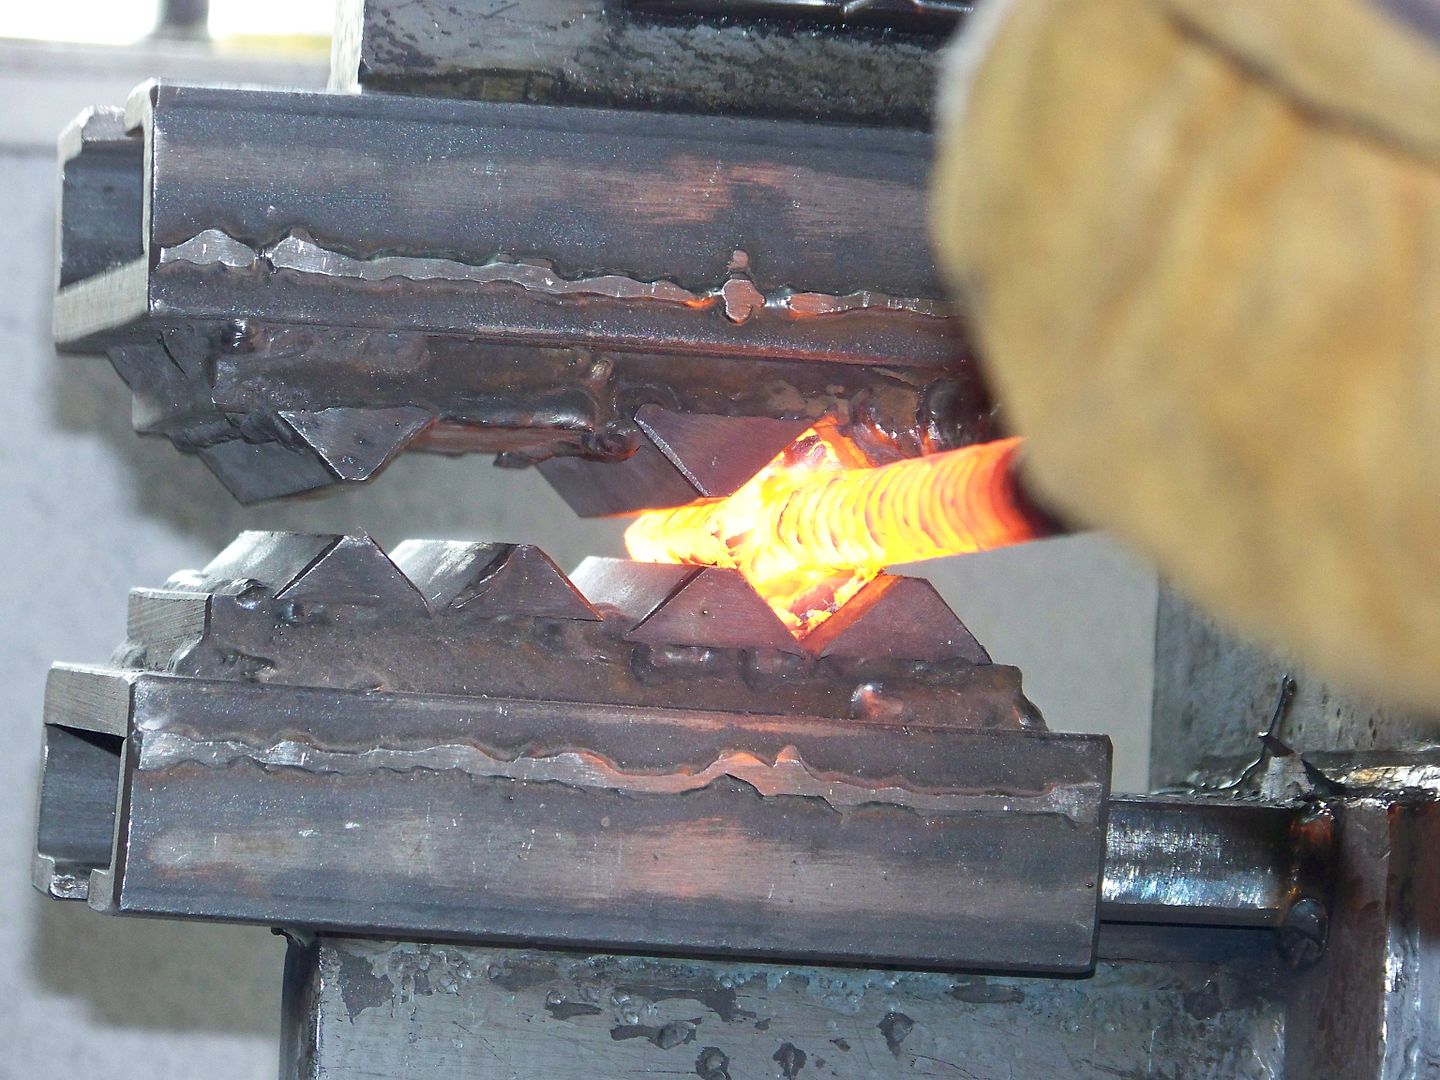
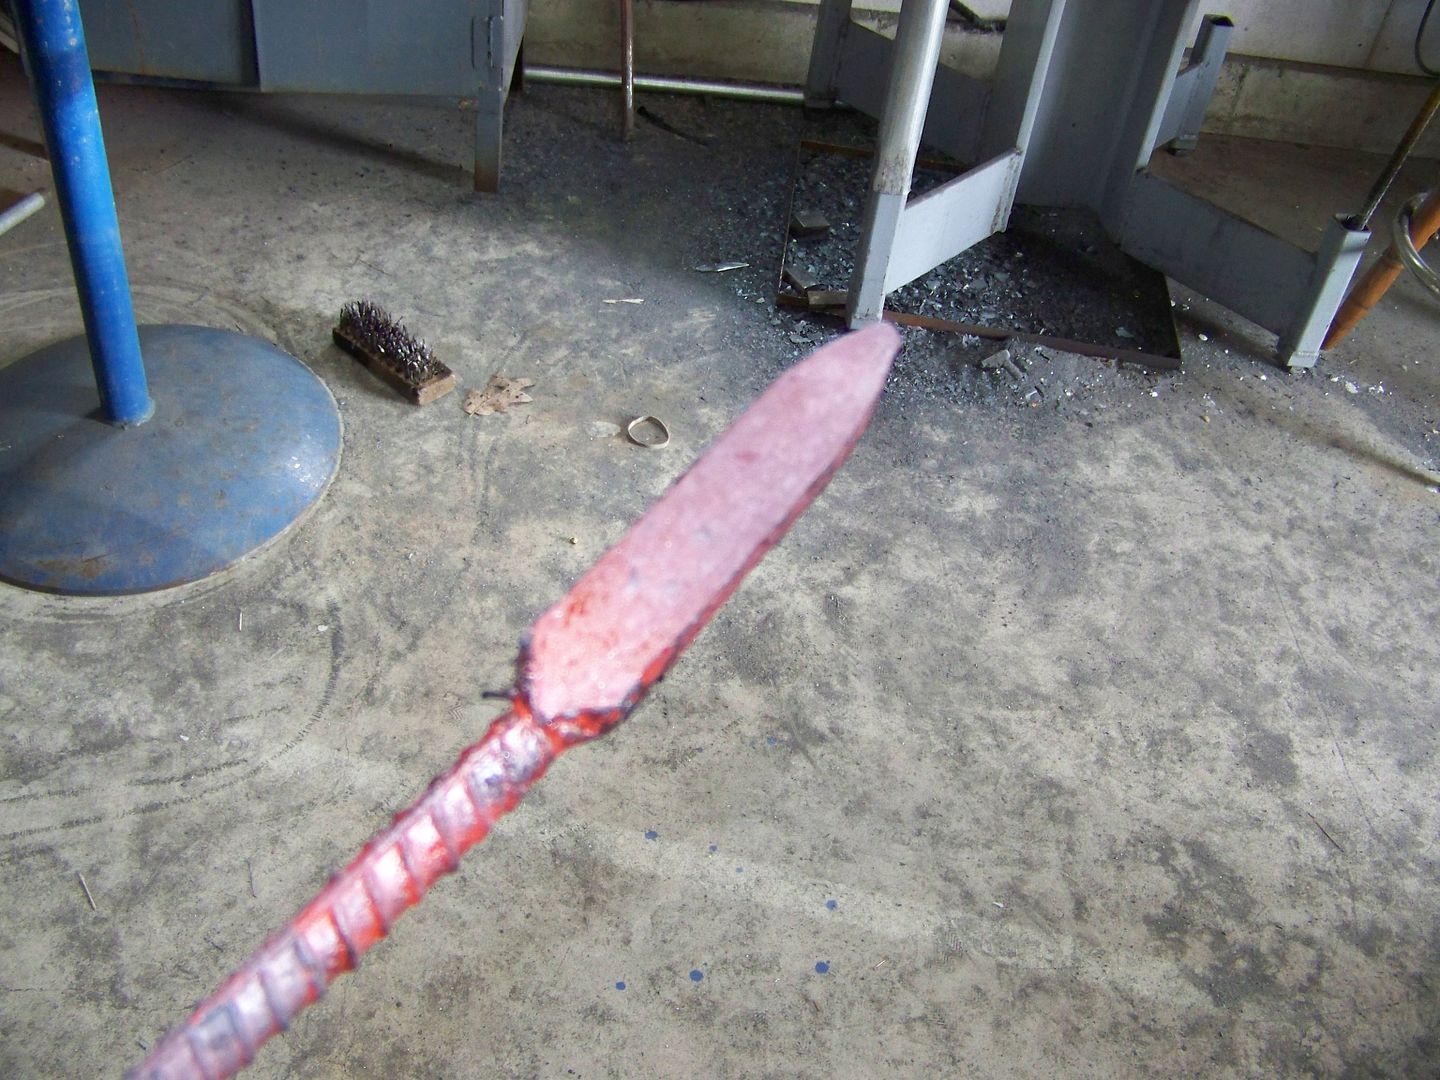
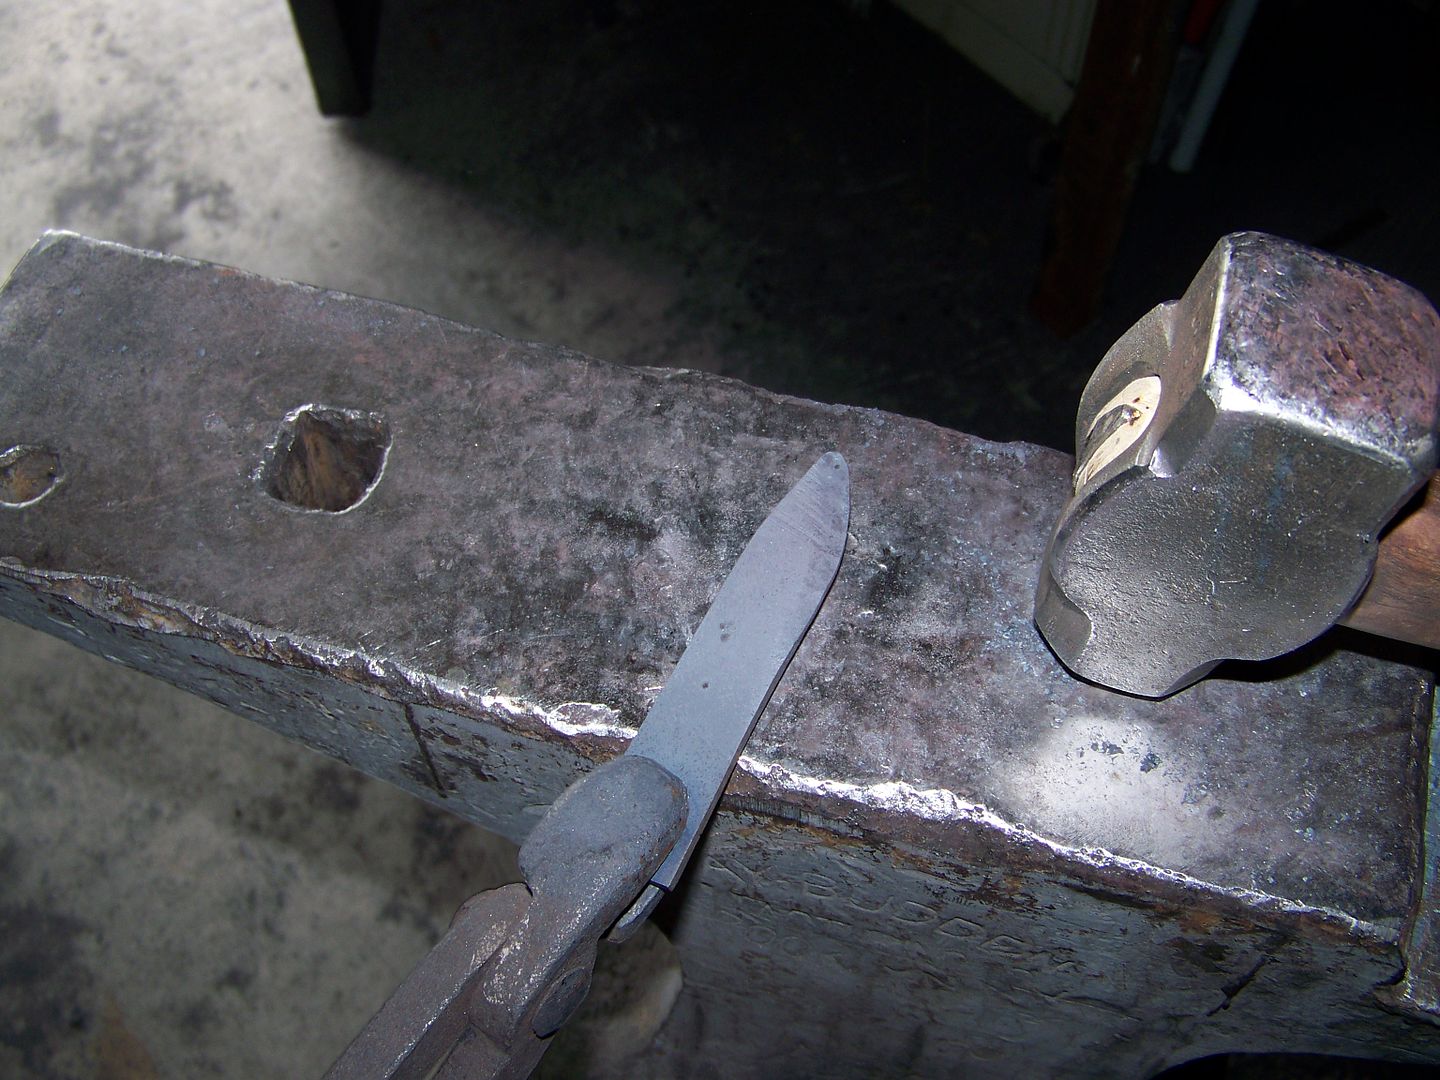
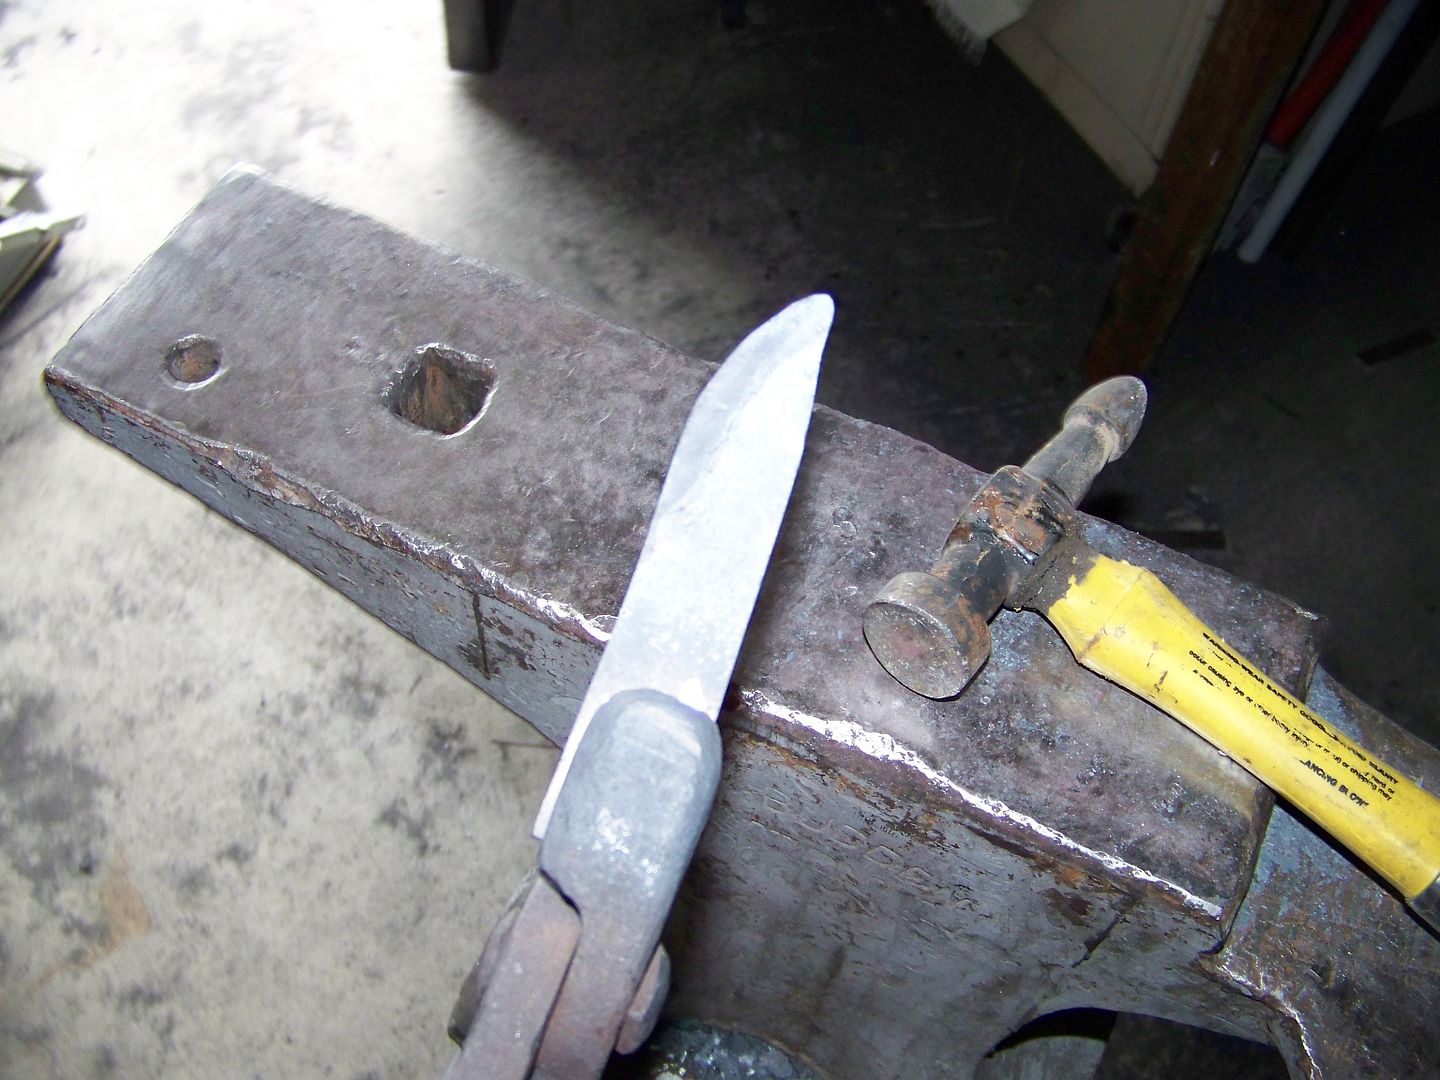
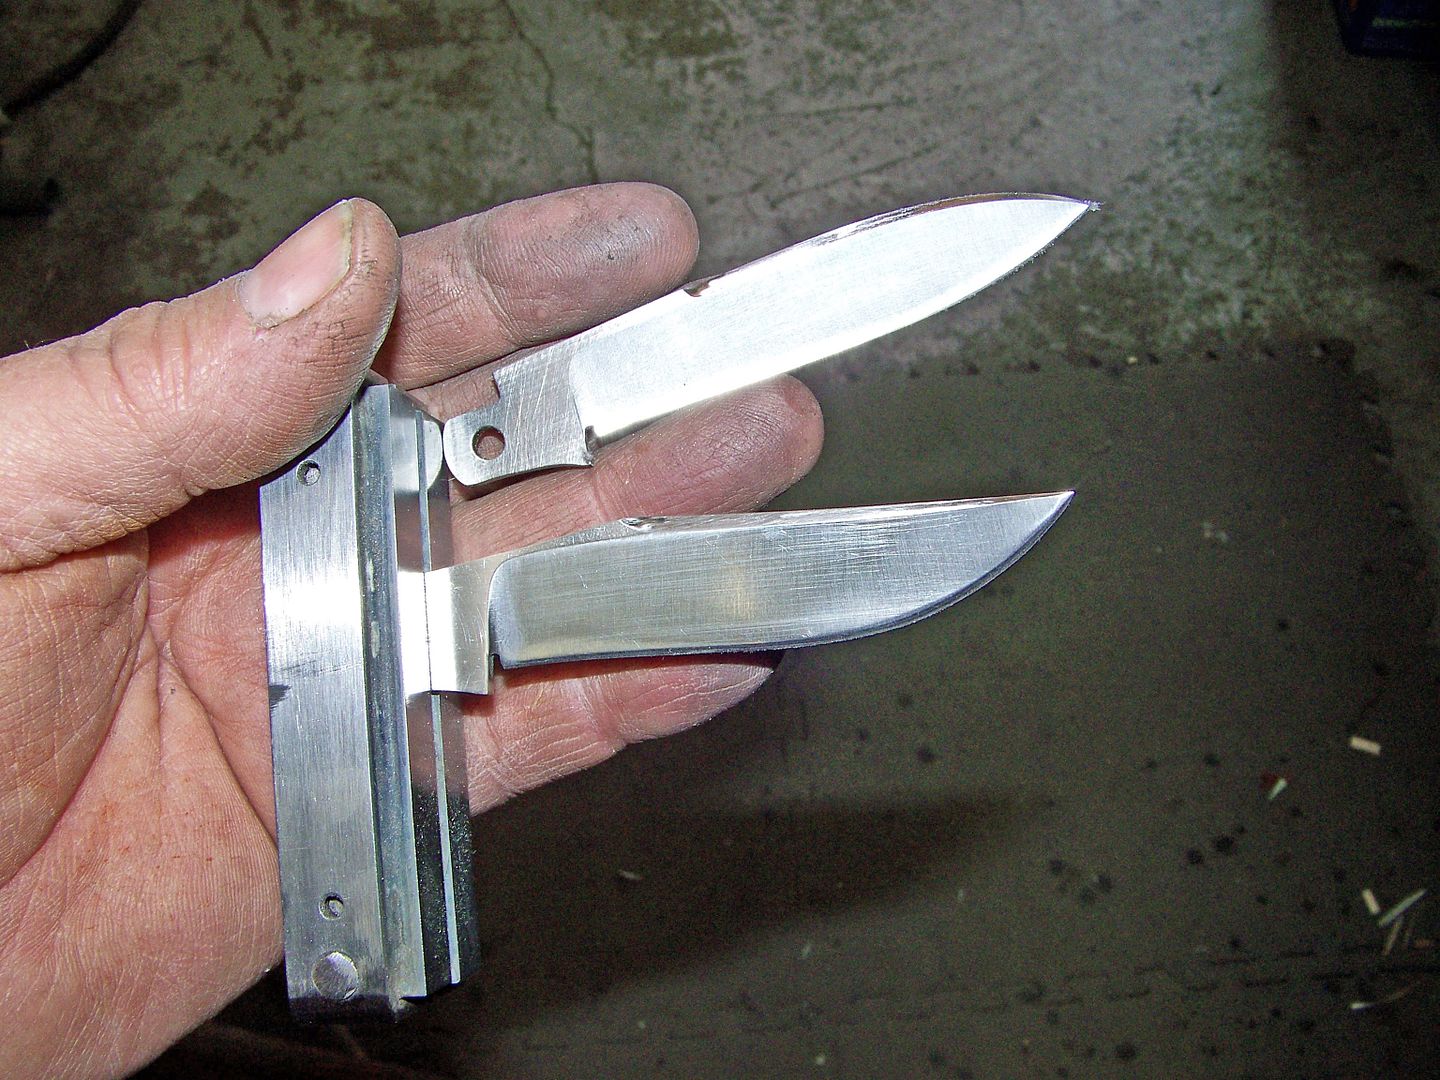
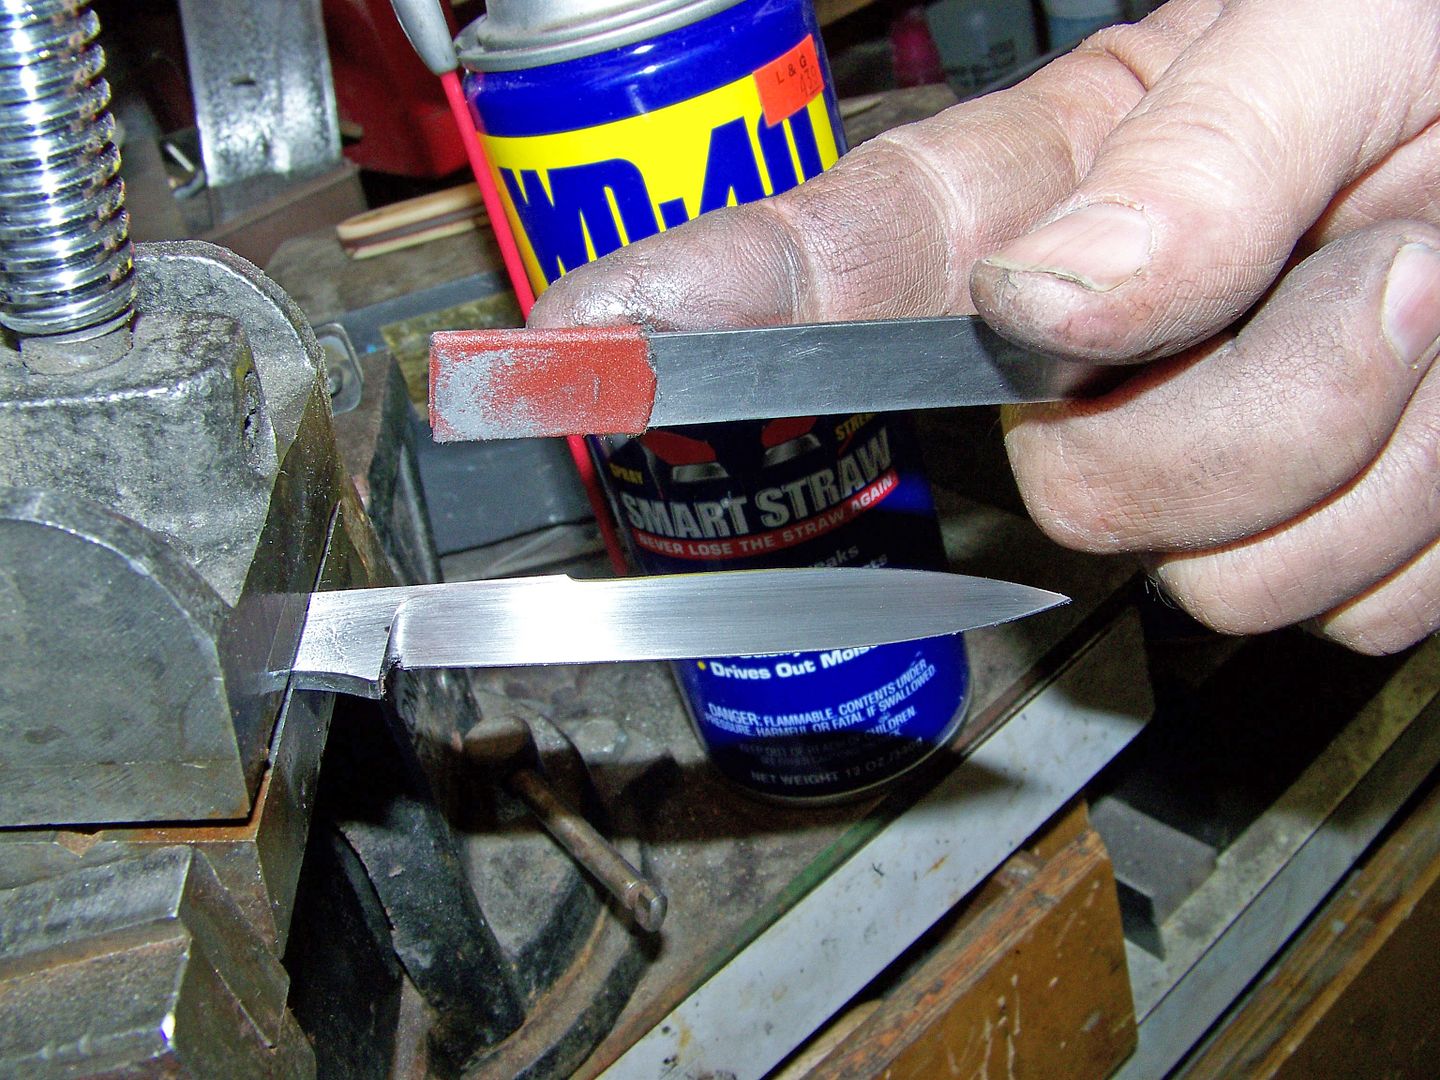
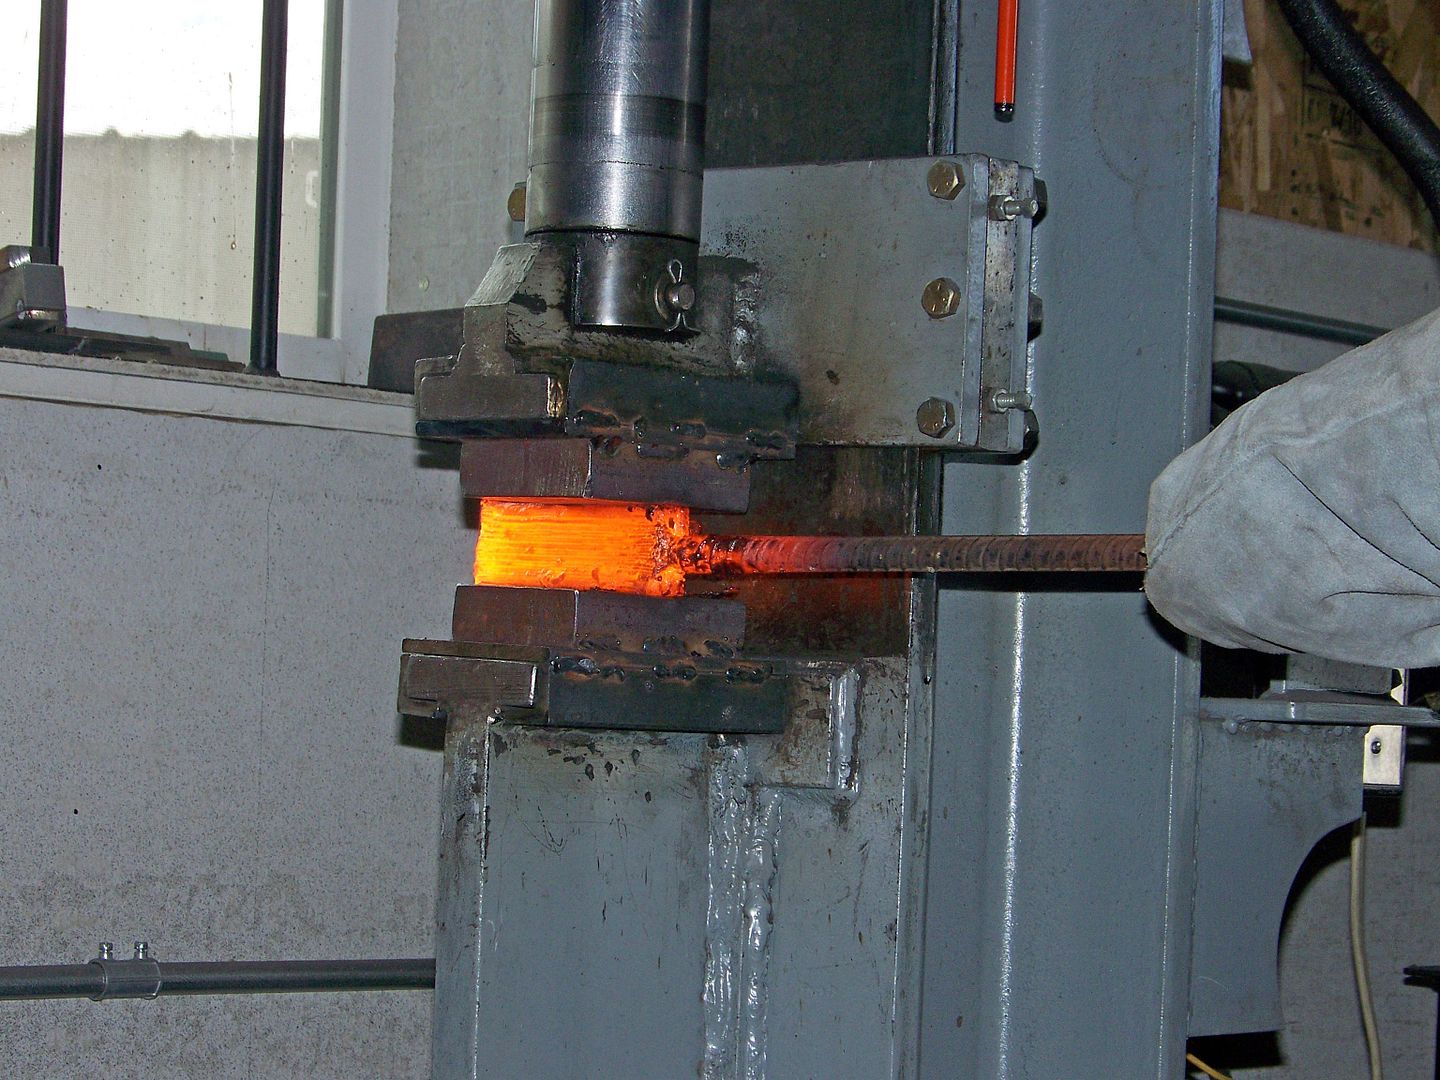
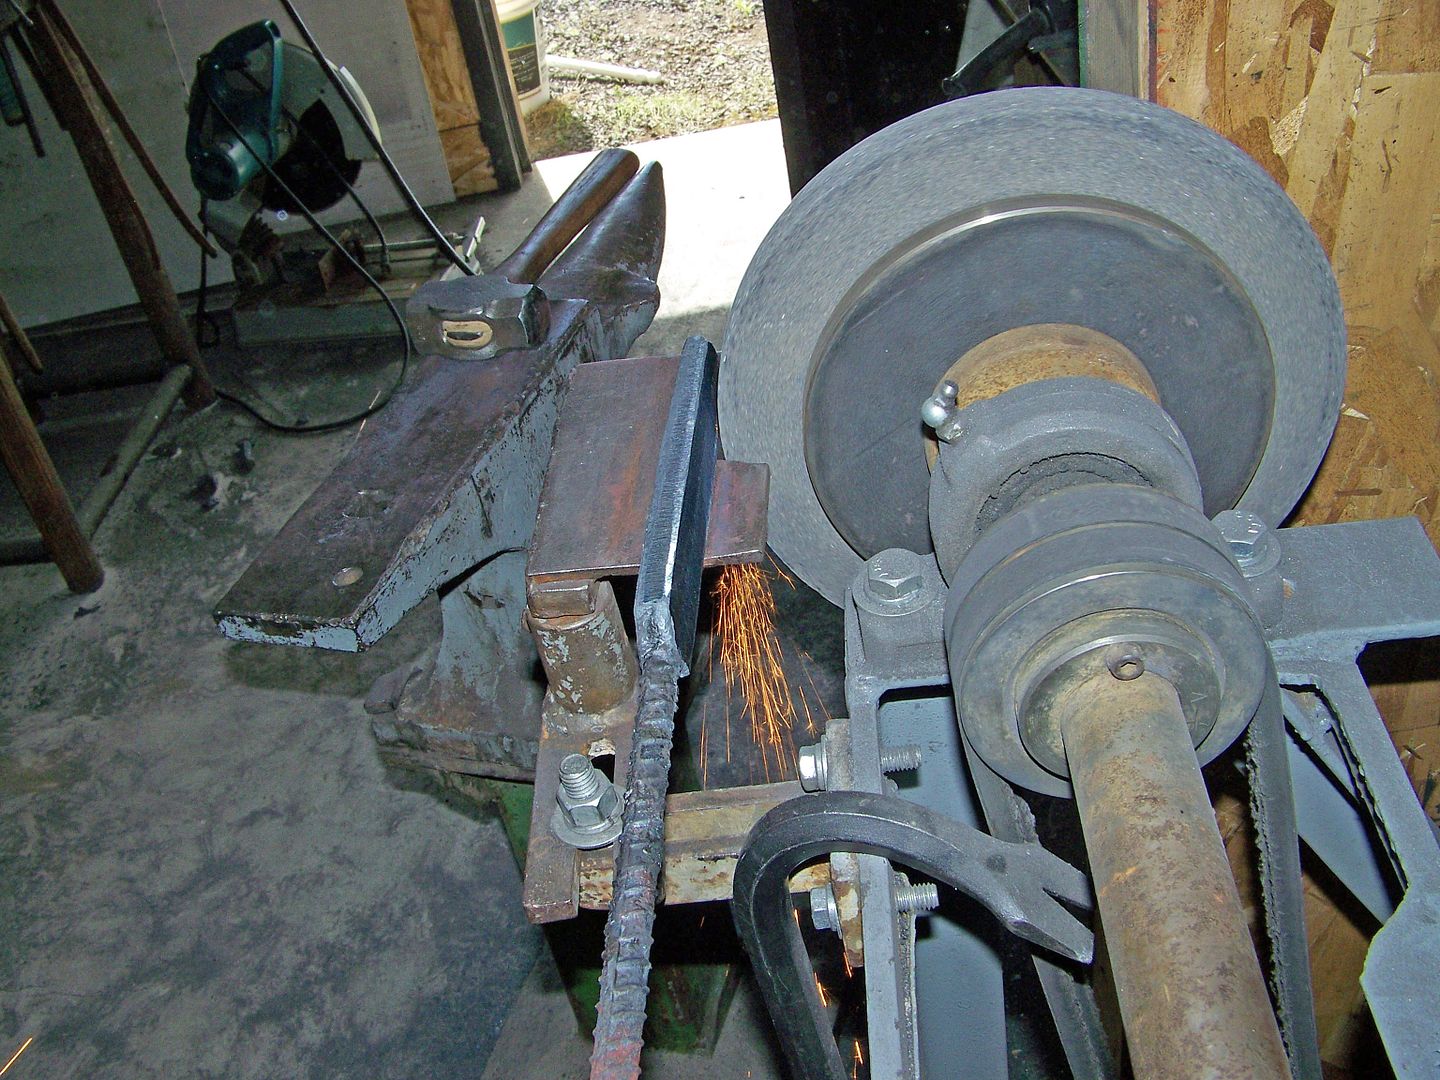
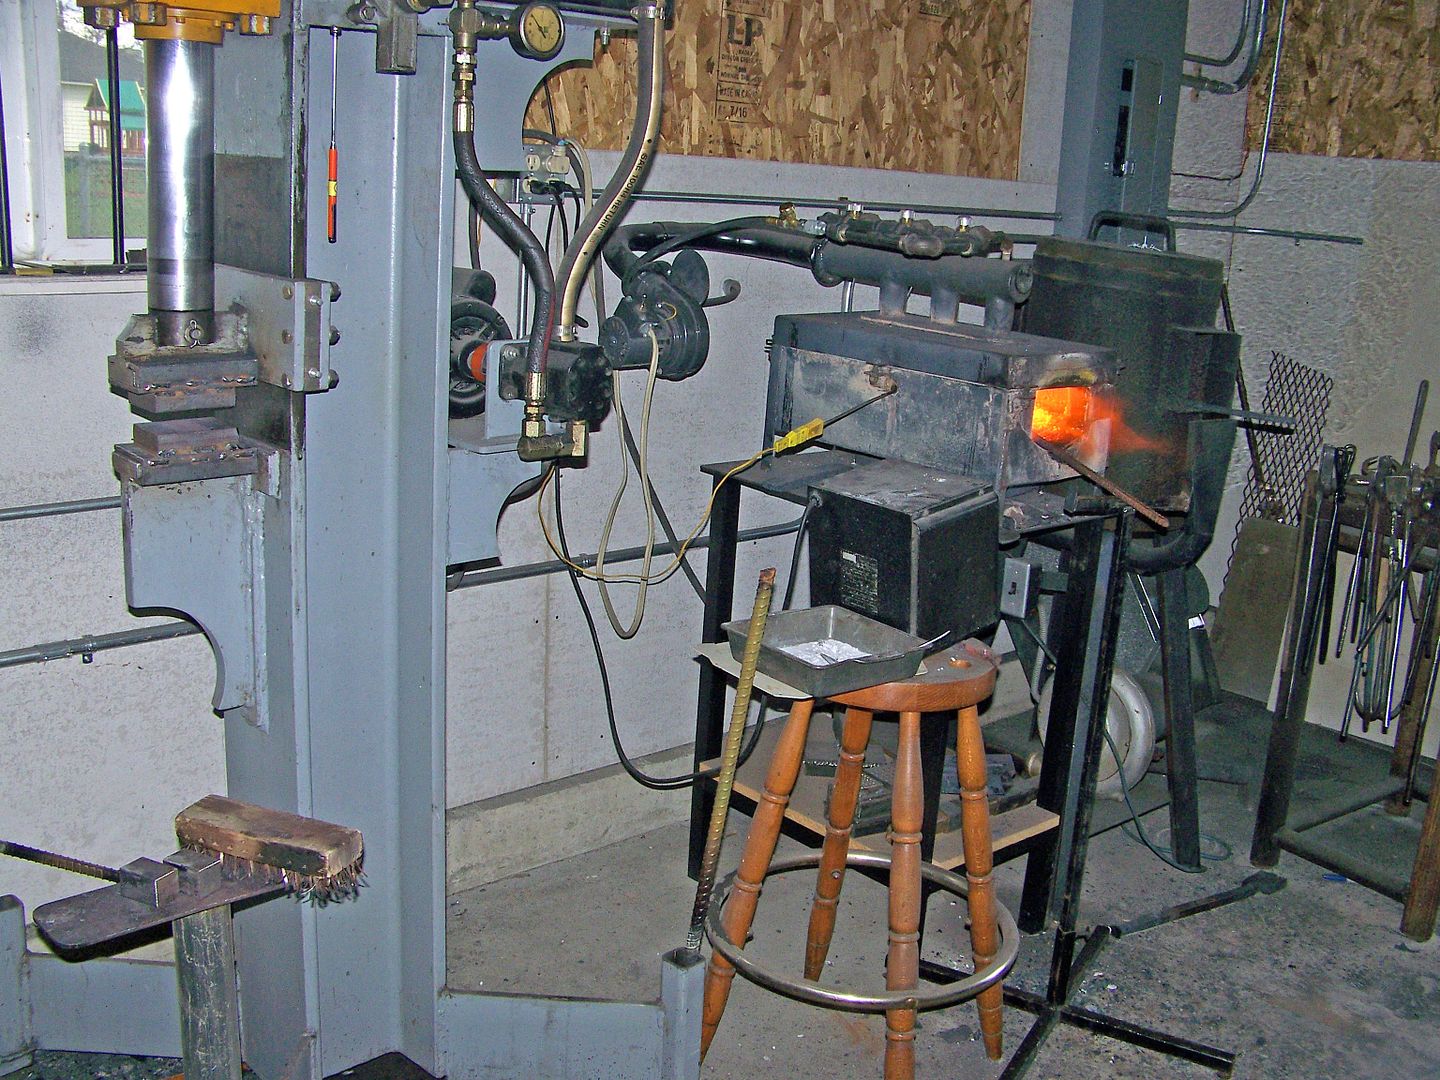
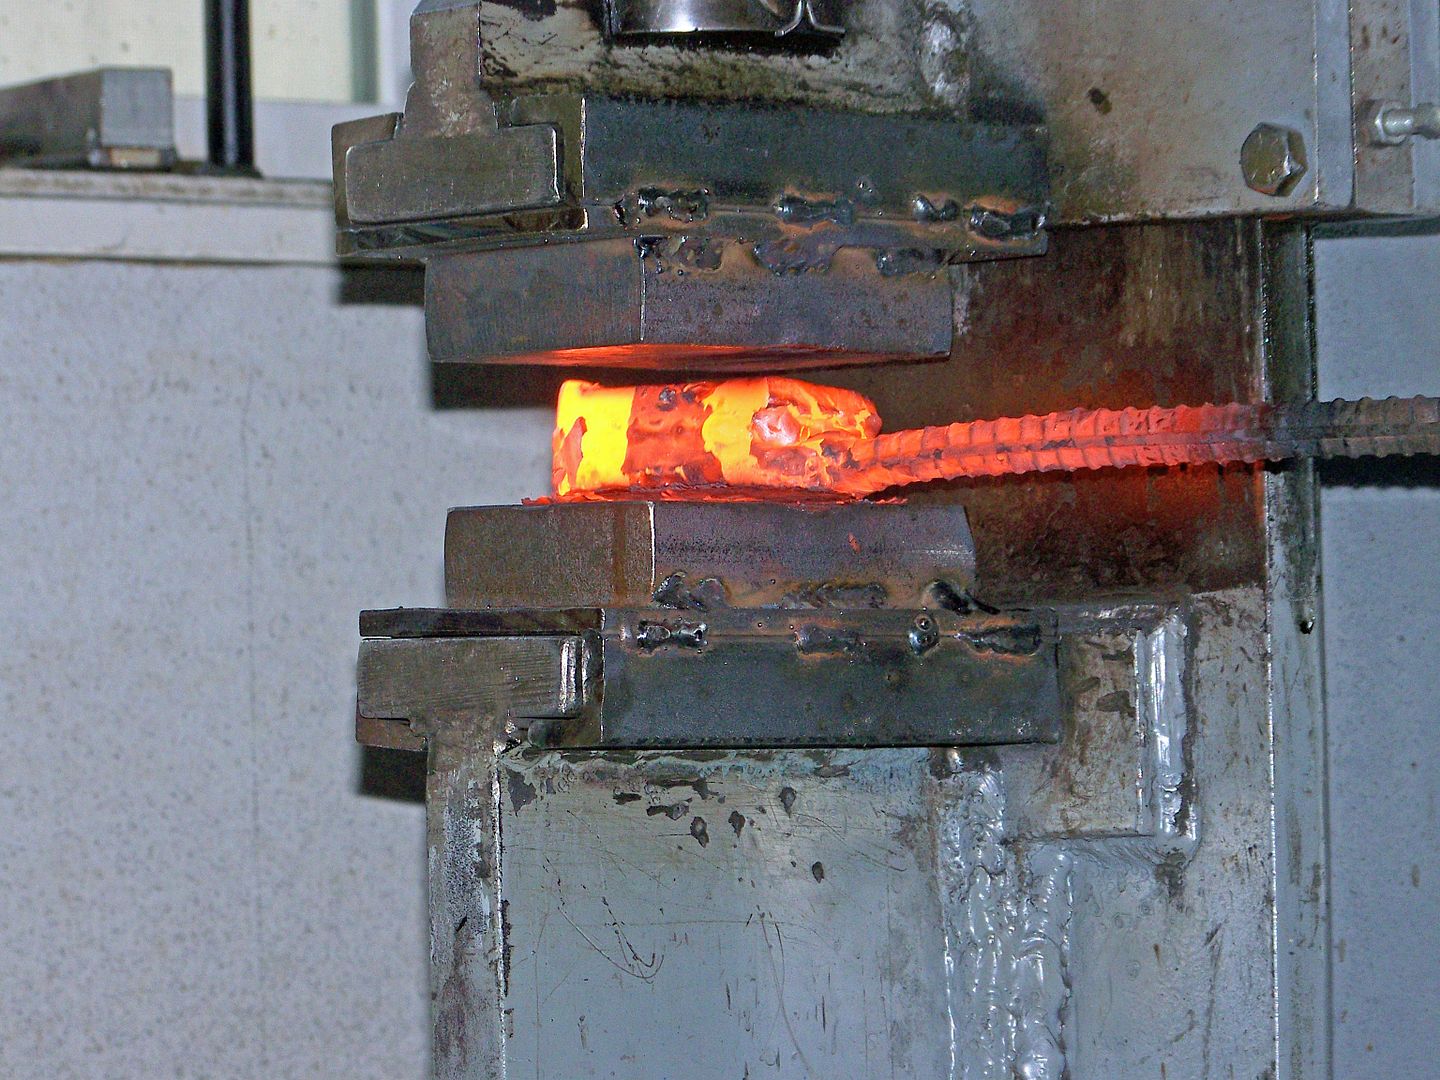
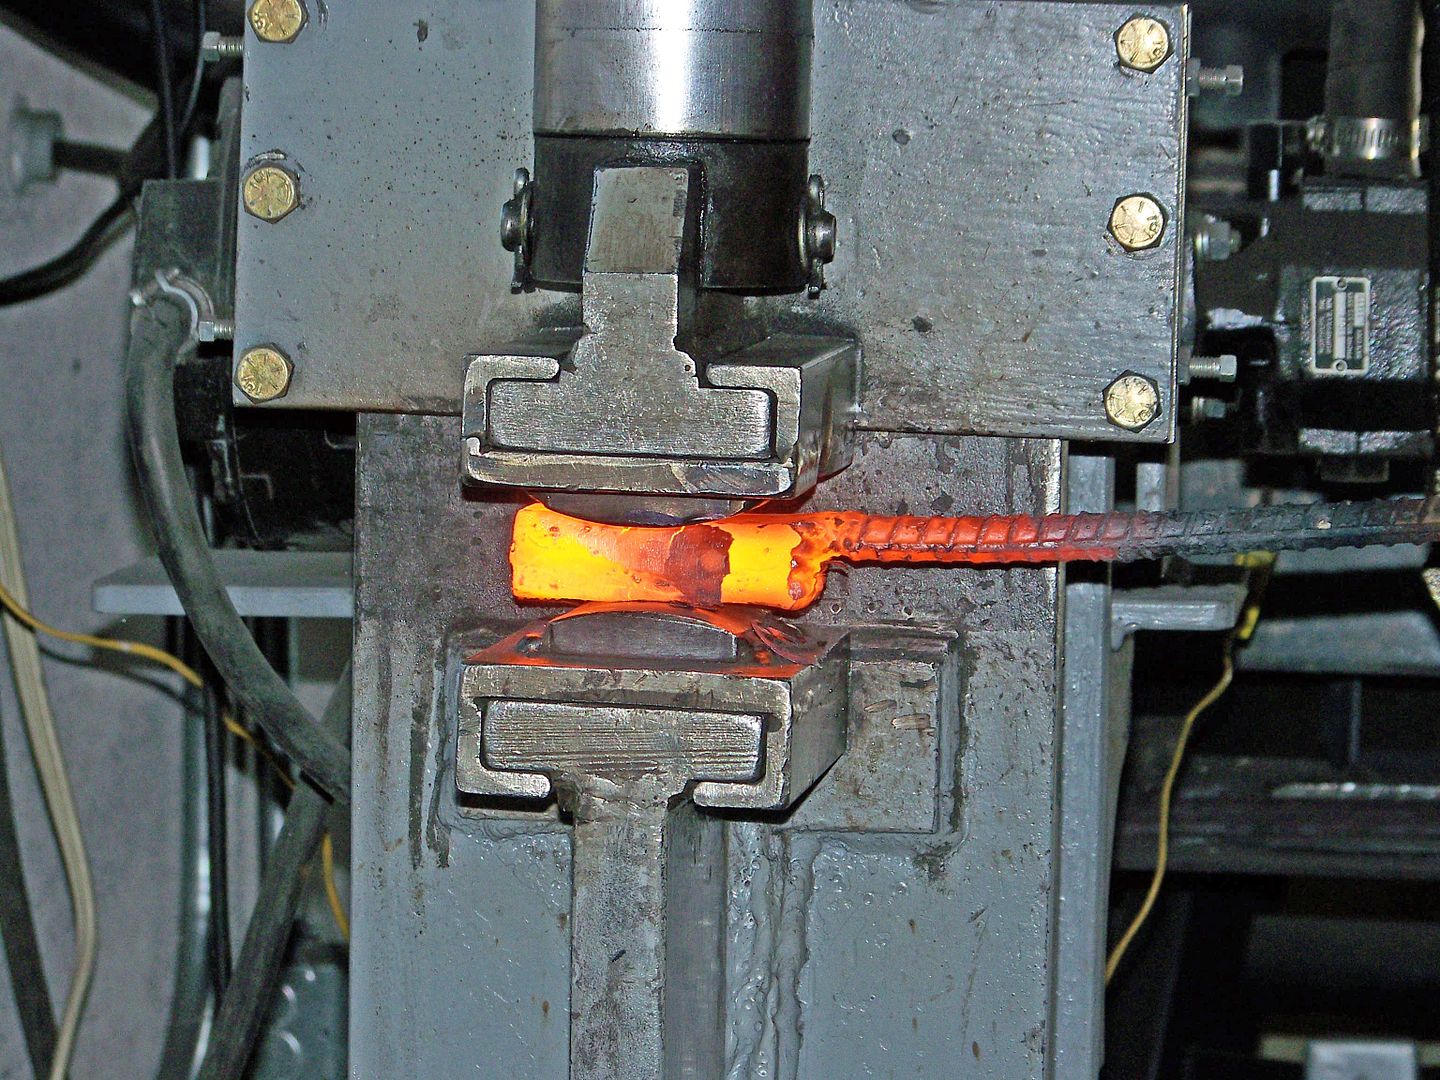
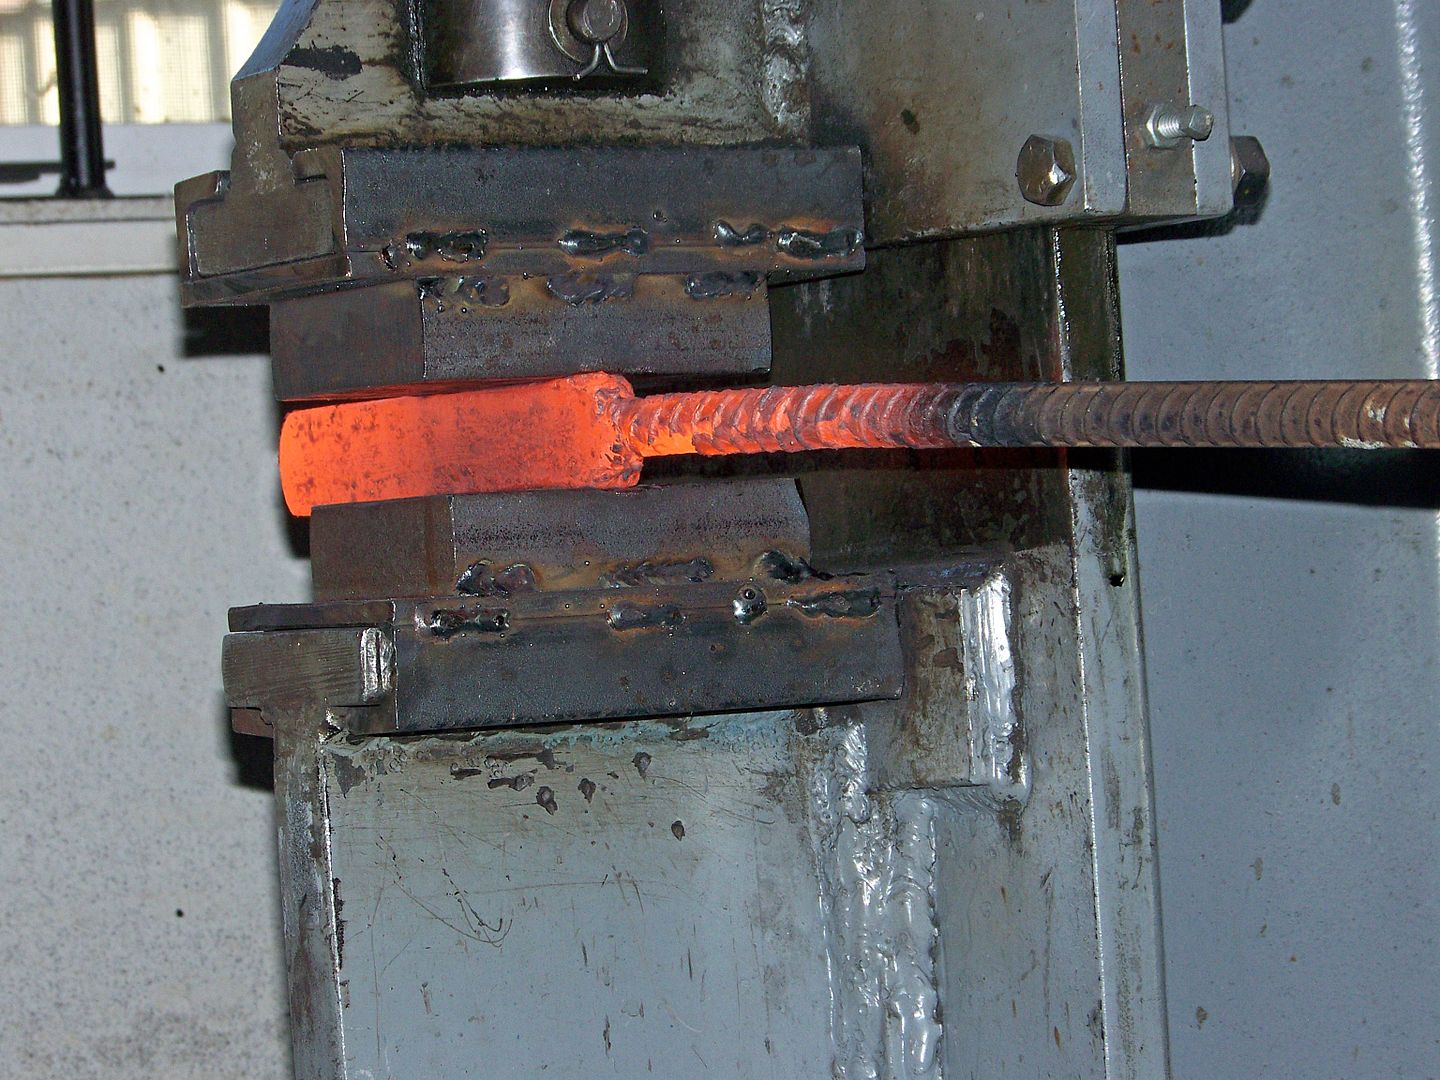
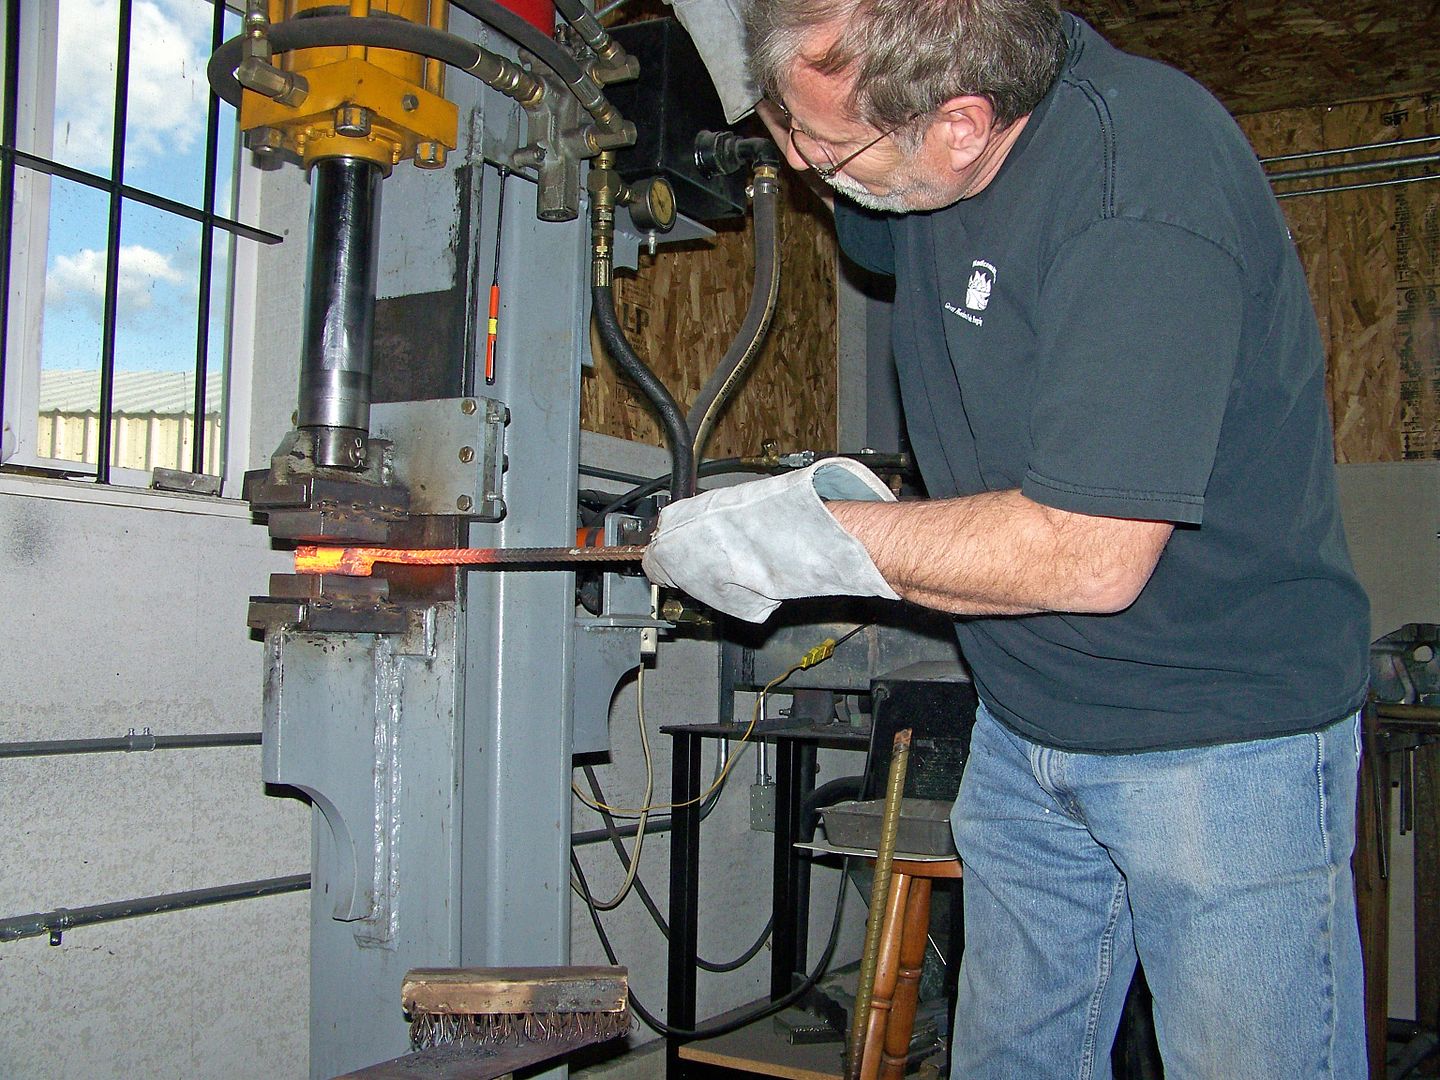
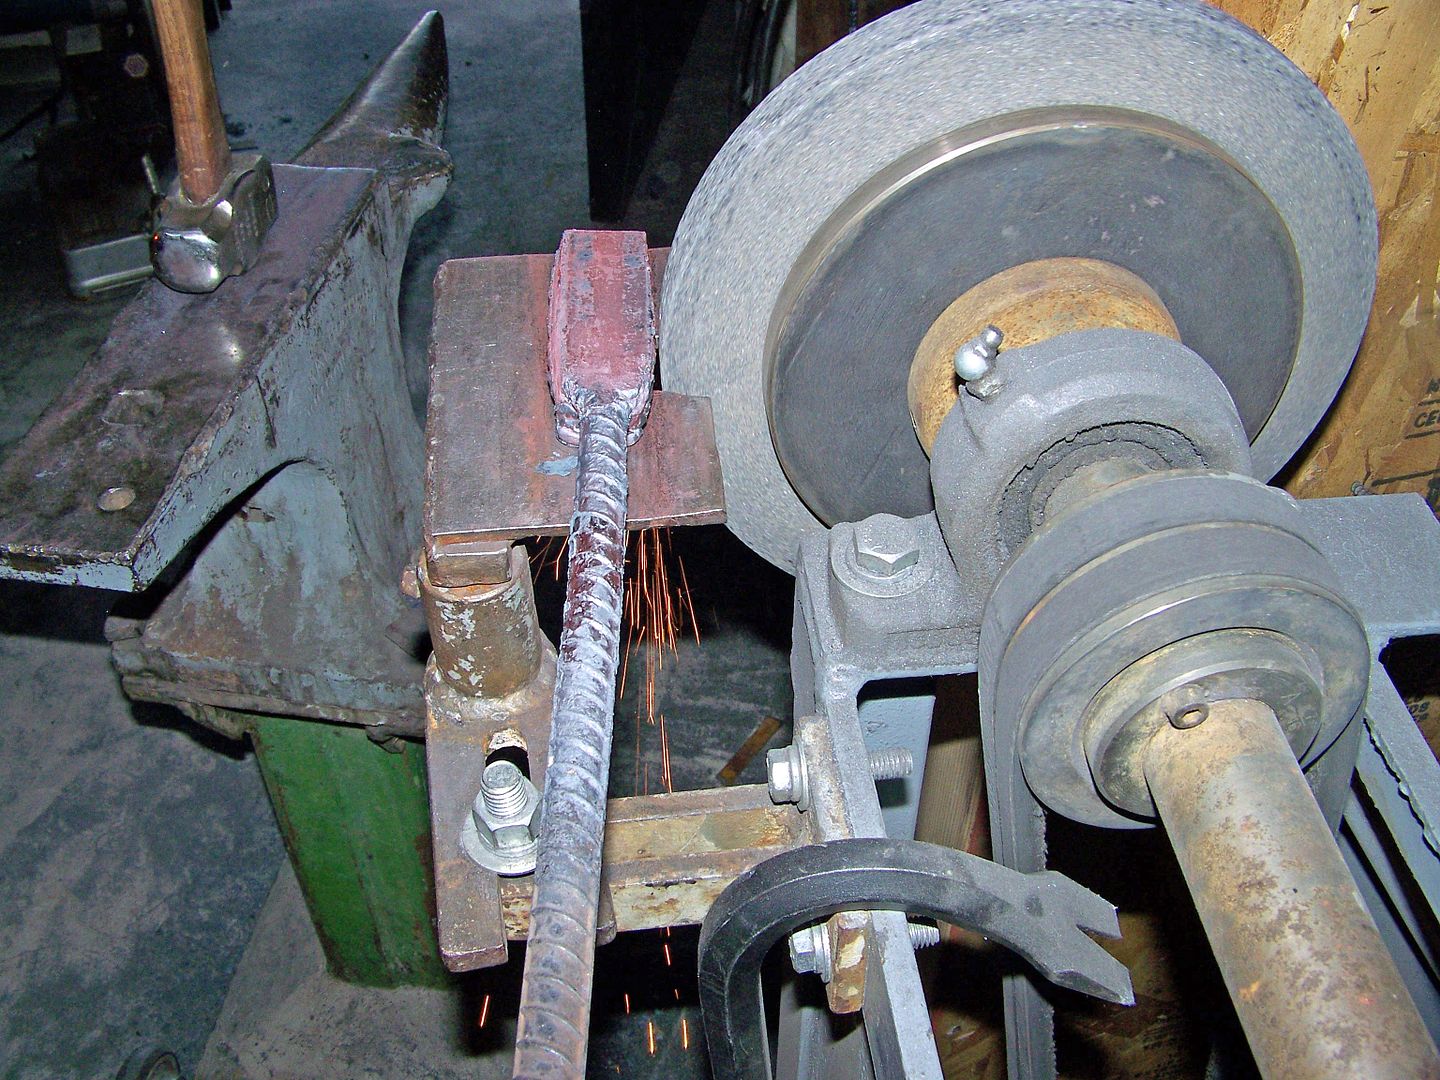
I do hope this works but I cant see why it wont. This billet is small because the knife blades will be small although a big billet can be drawn out to miniture but this little billet is going really fast because it only takes a couple minutes to draw out and grind off the scale, cut in half and reweld. This series of pictures took place in just a couple hours today.

It should be easier to follow than the last "W" pattern.

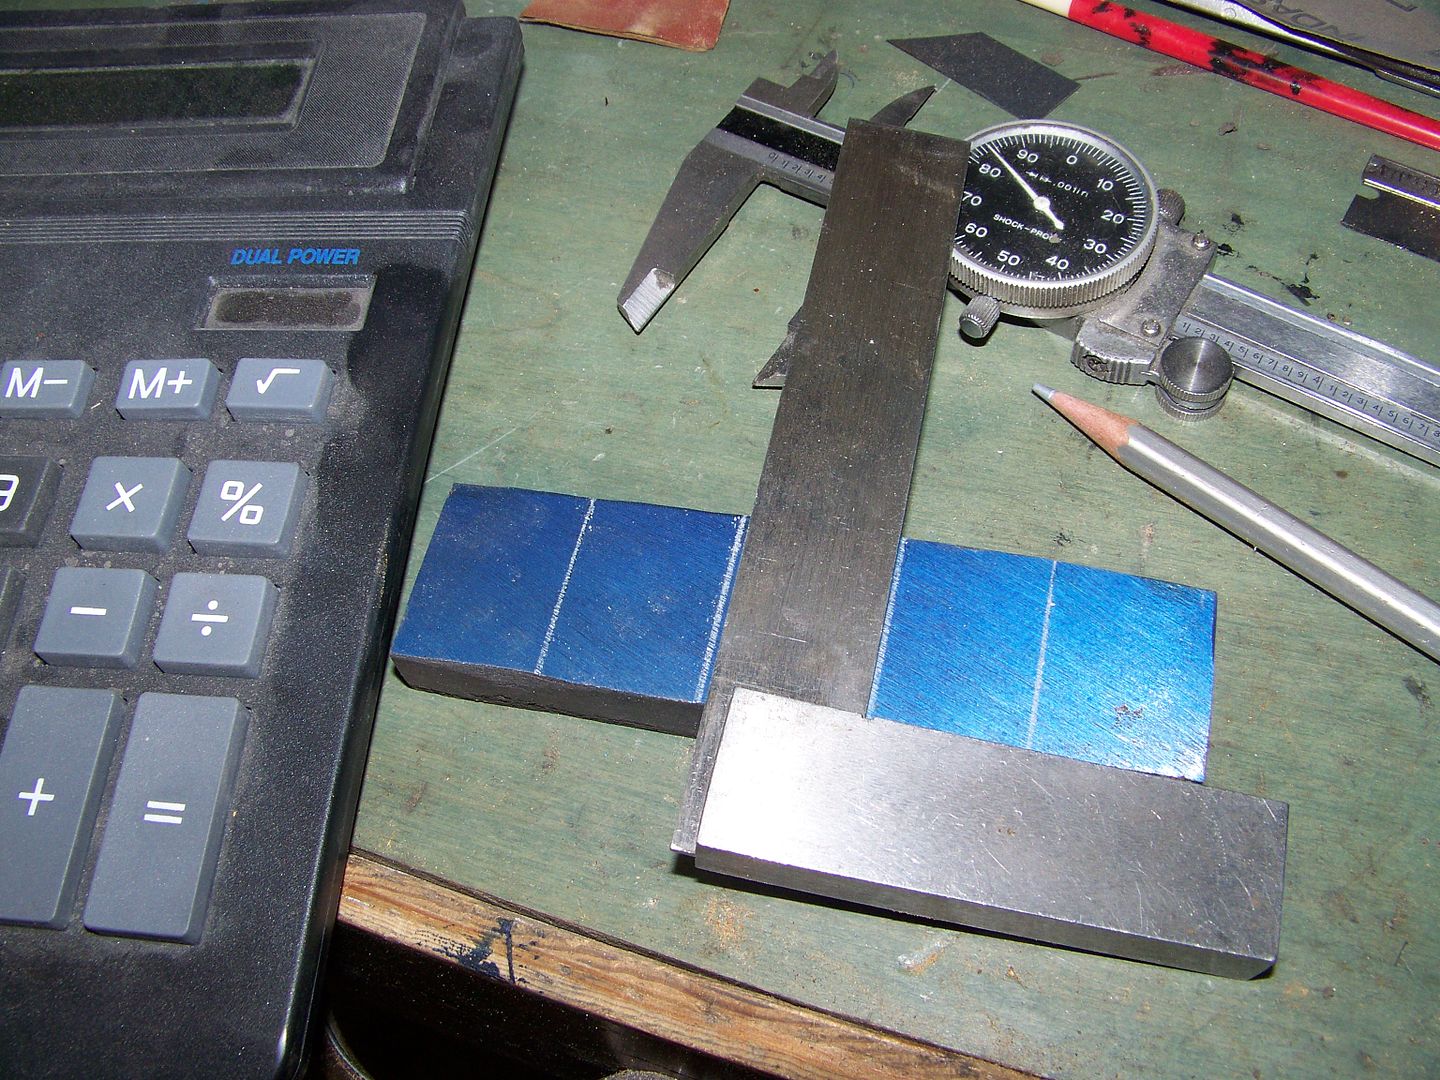
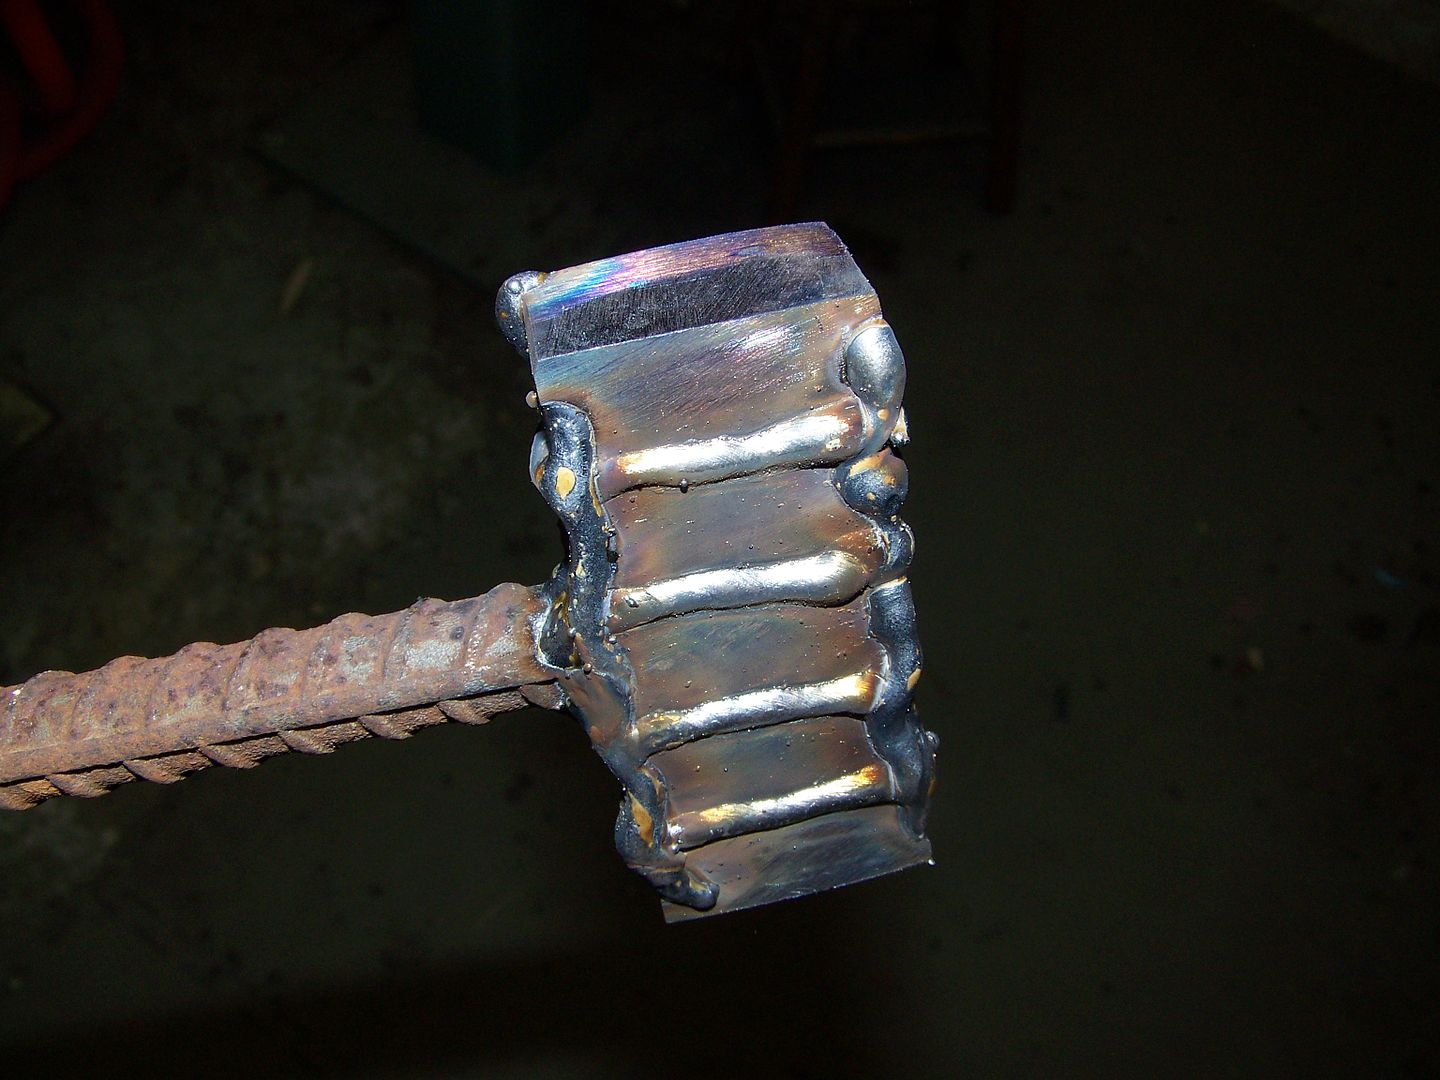
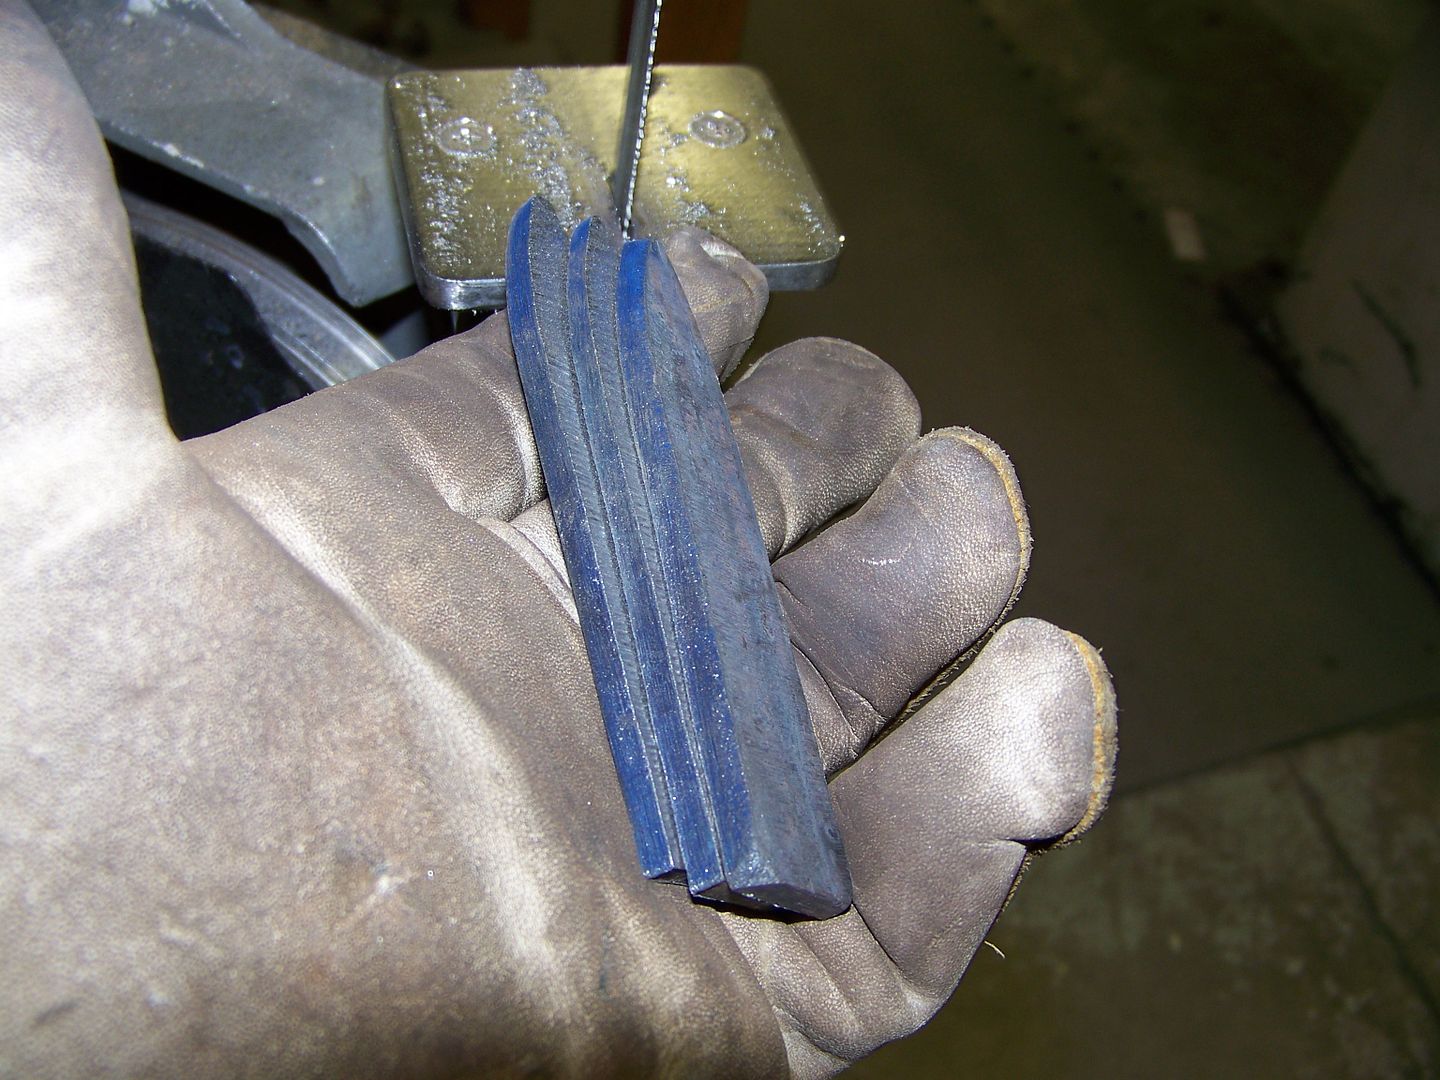
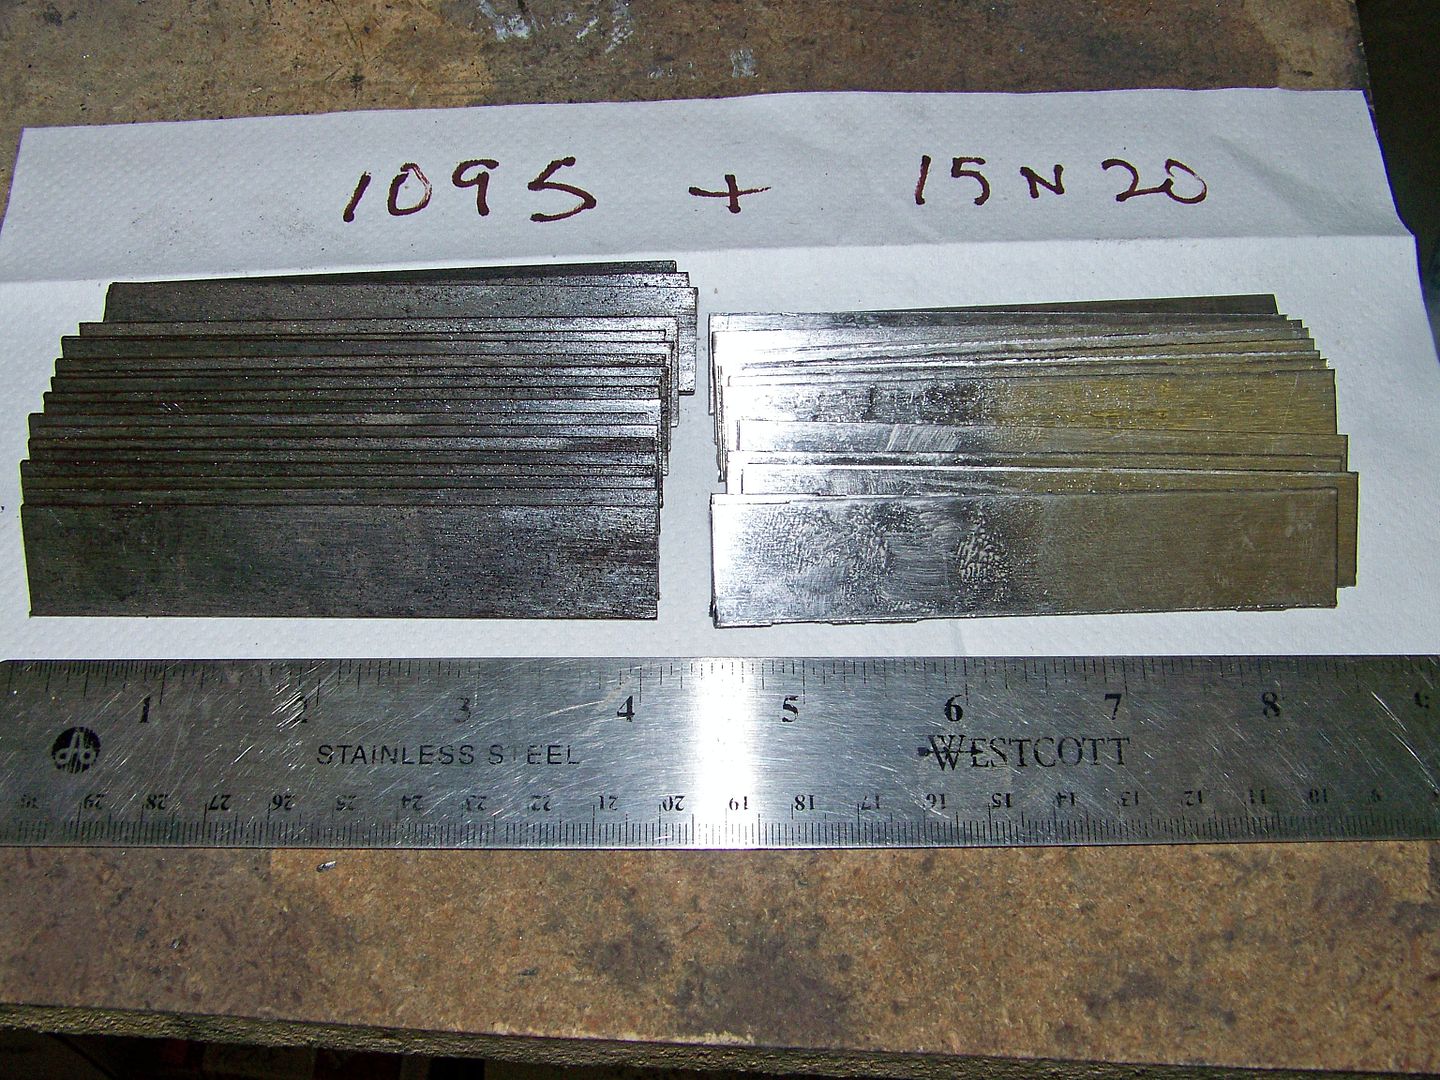
I started with .058" x .750" x 4" 15n20 and .063" thick 1095 spring steel.
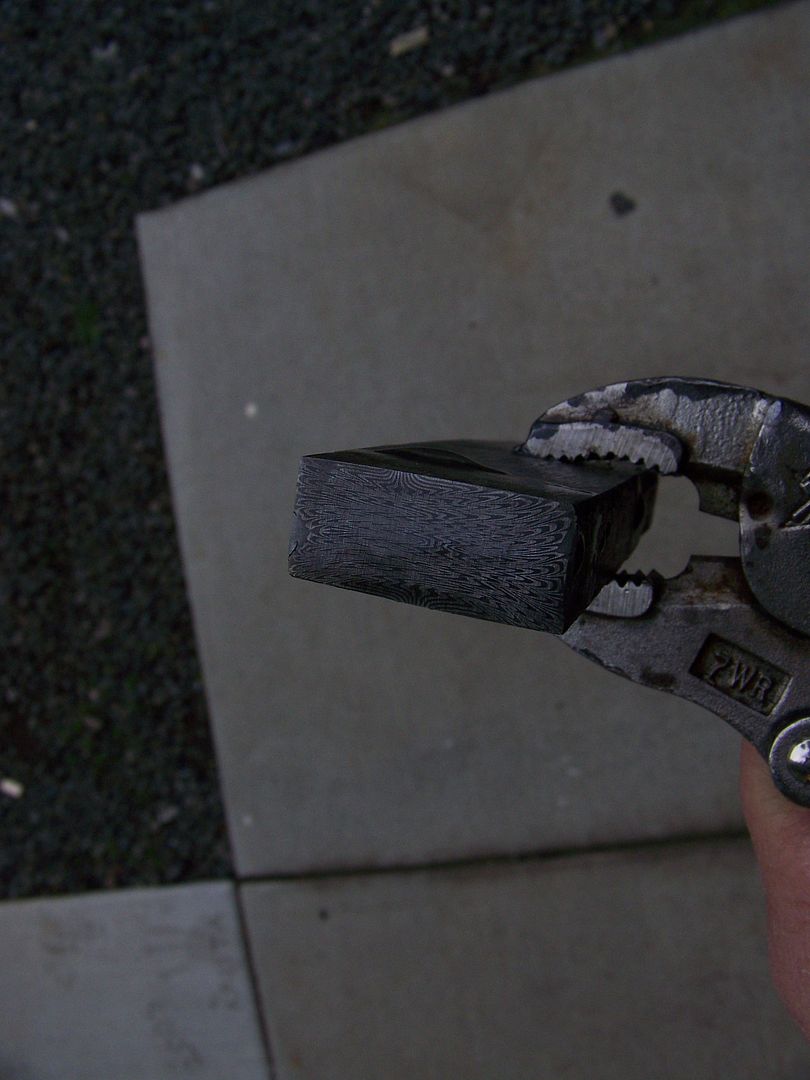
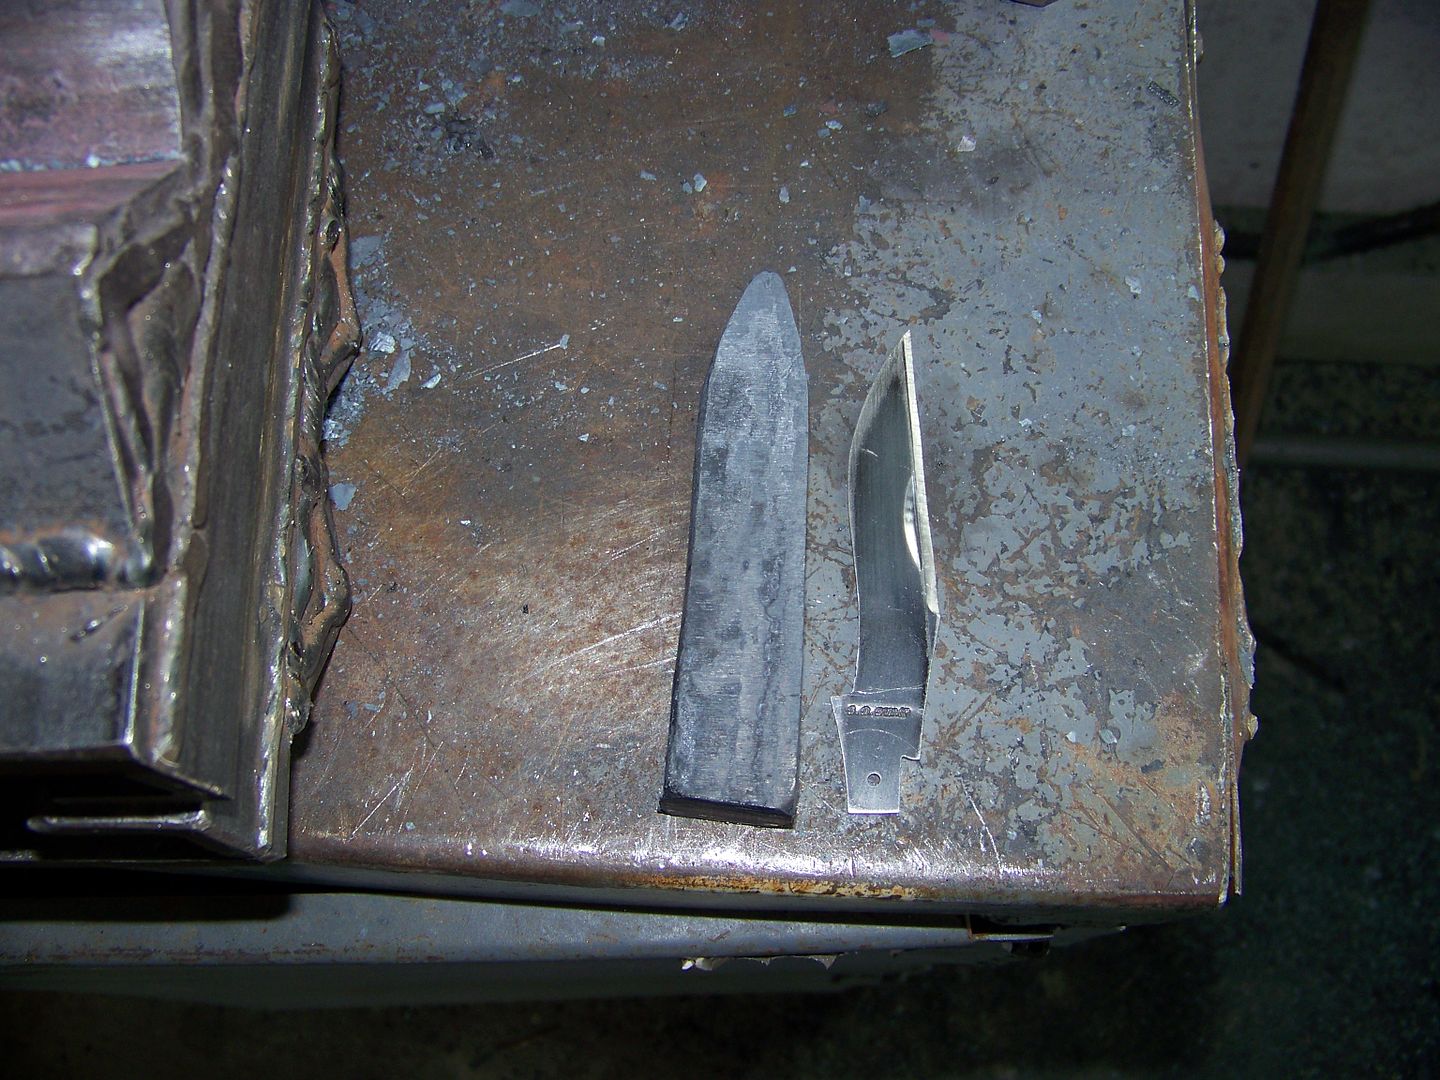
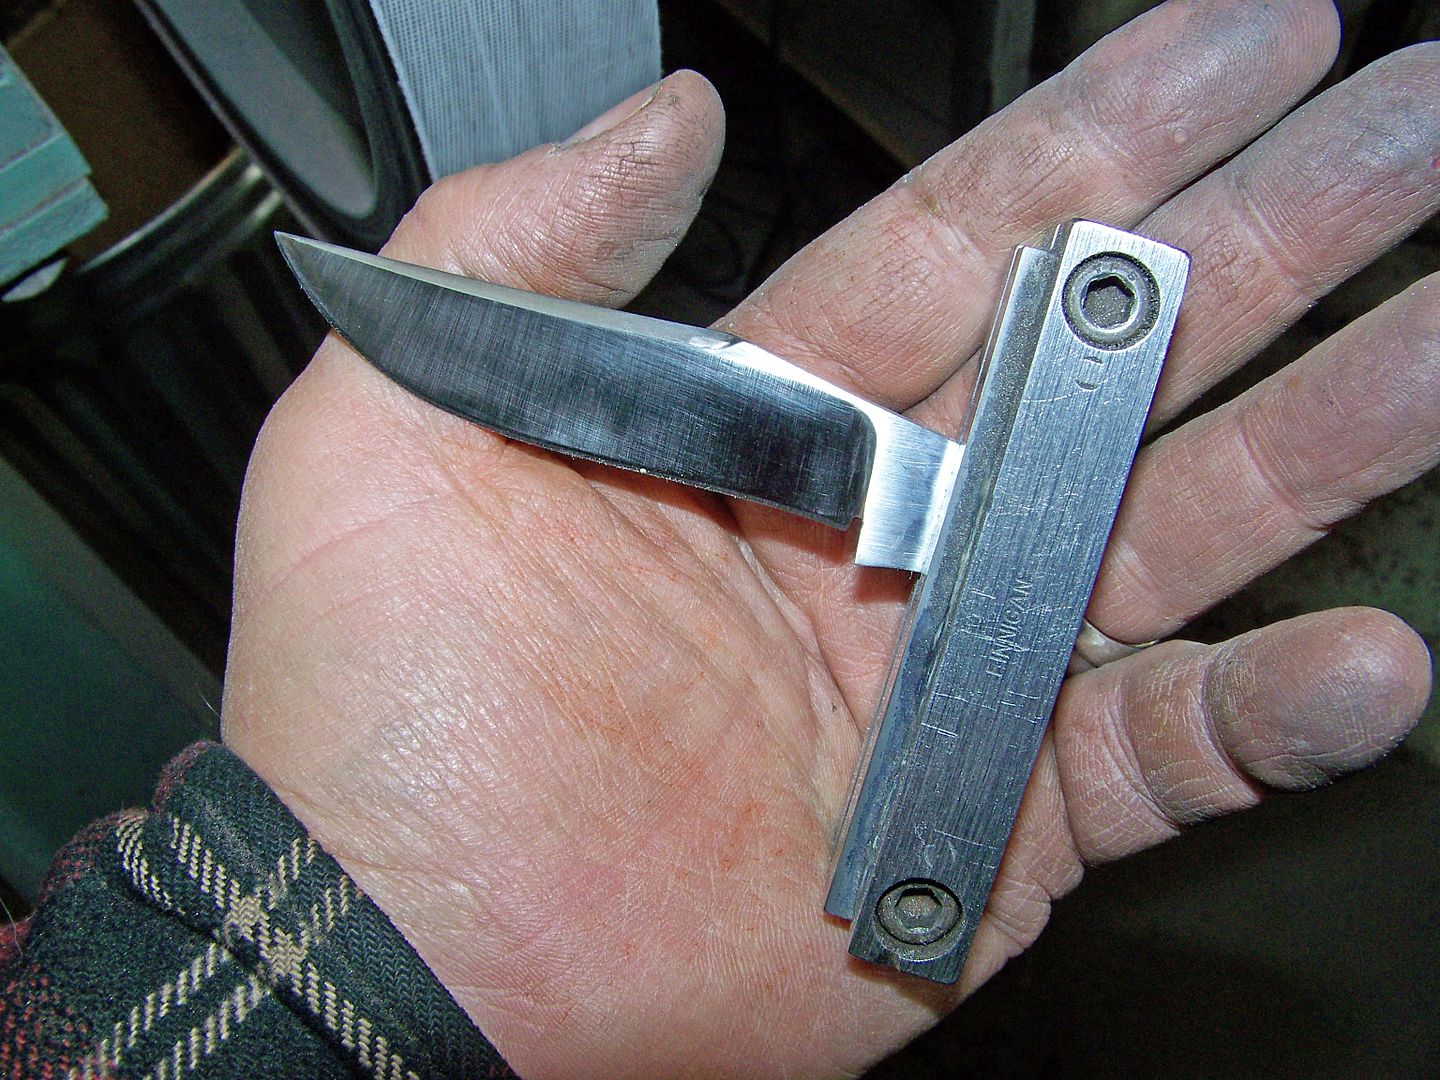
I stacked them alternately about 27 or so total. The cutest little billet I've ever seen.


101_6037_edited.jpg


101_6038_edited.jpg


101_6041_edited.jpg


101_6042_edited.jpg


101_6044_edited.jpg


101_6046_edited.jpg


101_6048_edited.jpg


101_6049_edited.jpg


101_6070_edited.jpg


101_6050_edited.jpg


101_6054_edited.jpg


101_6055_edited.jpg


101_6056_edited.jpg


101_6057_edited.jpg


101_6059_edited.jpg


101_6061_edited.jpg


101_6063_edited.jpg


101_6064_edited.jpg


101_6066_edited.jpg


101_6067_edited.jpg


101_6069_edited.jpg


101_6072_edited.jpg


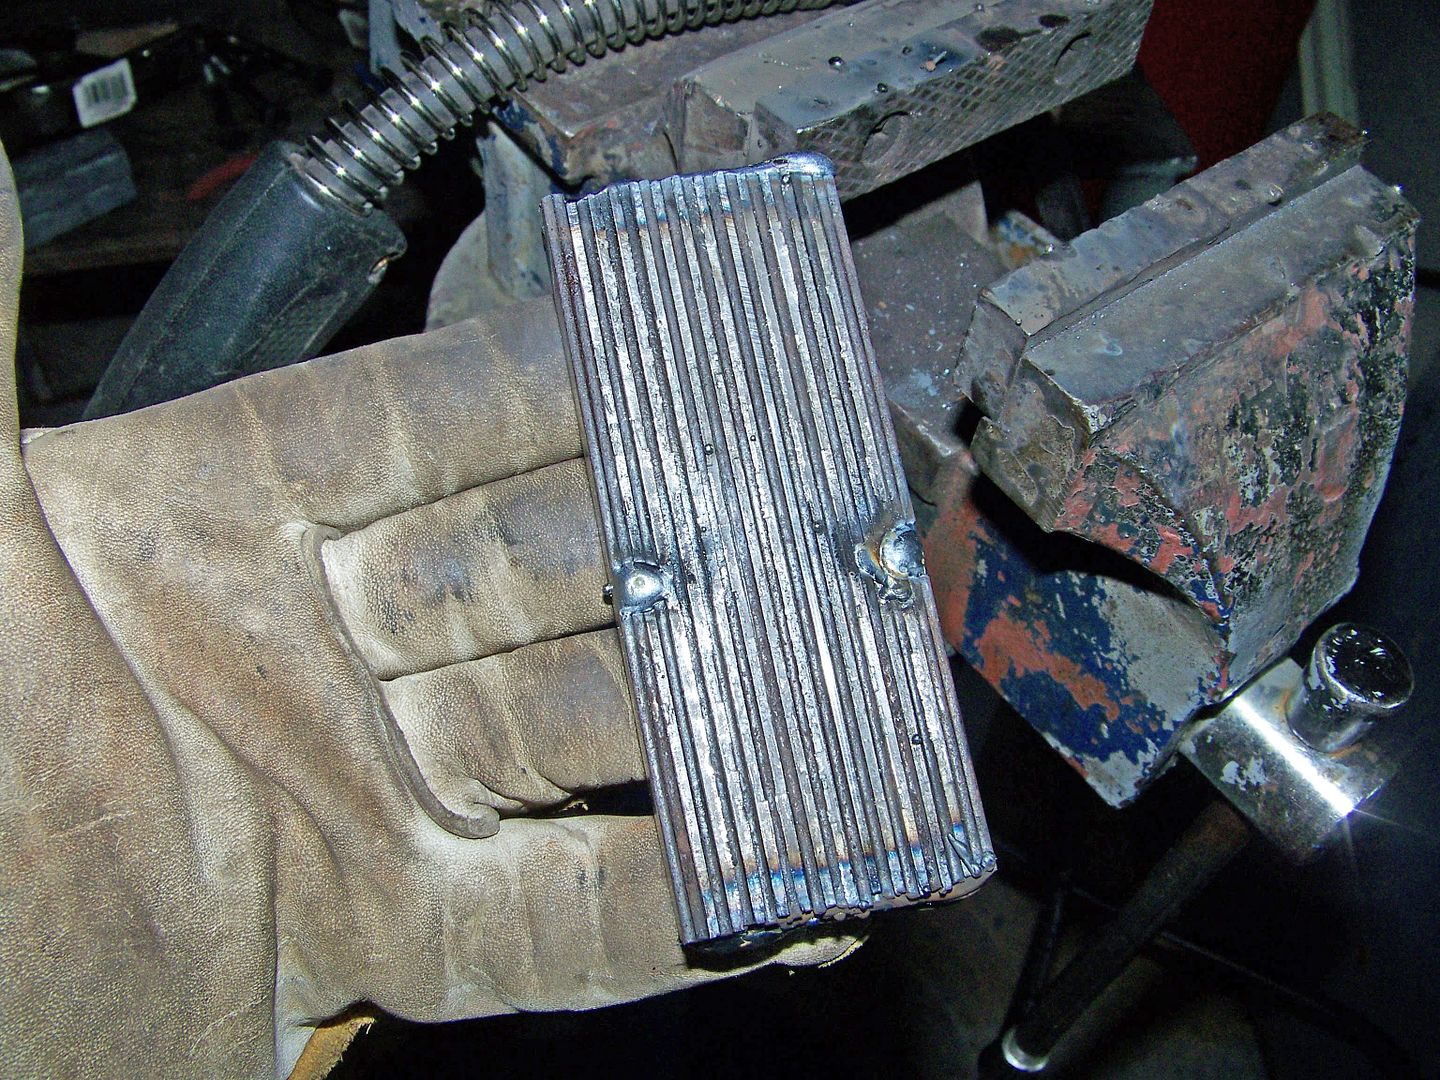
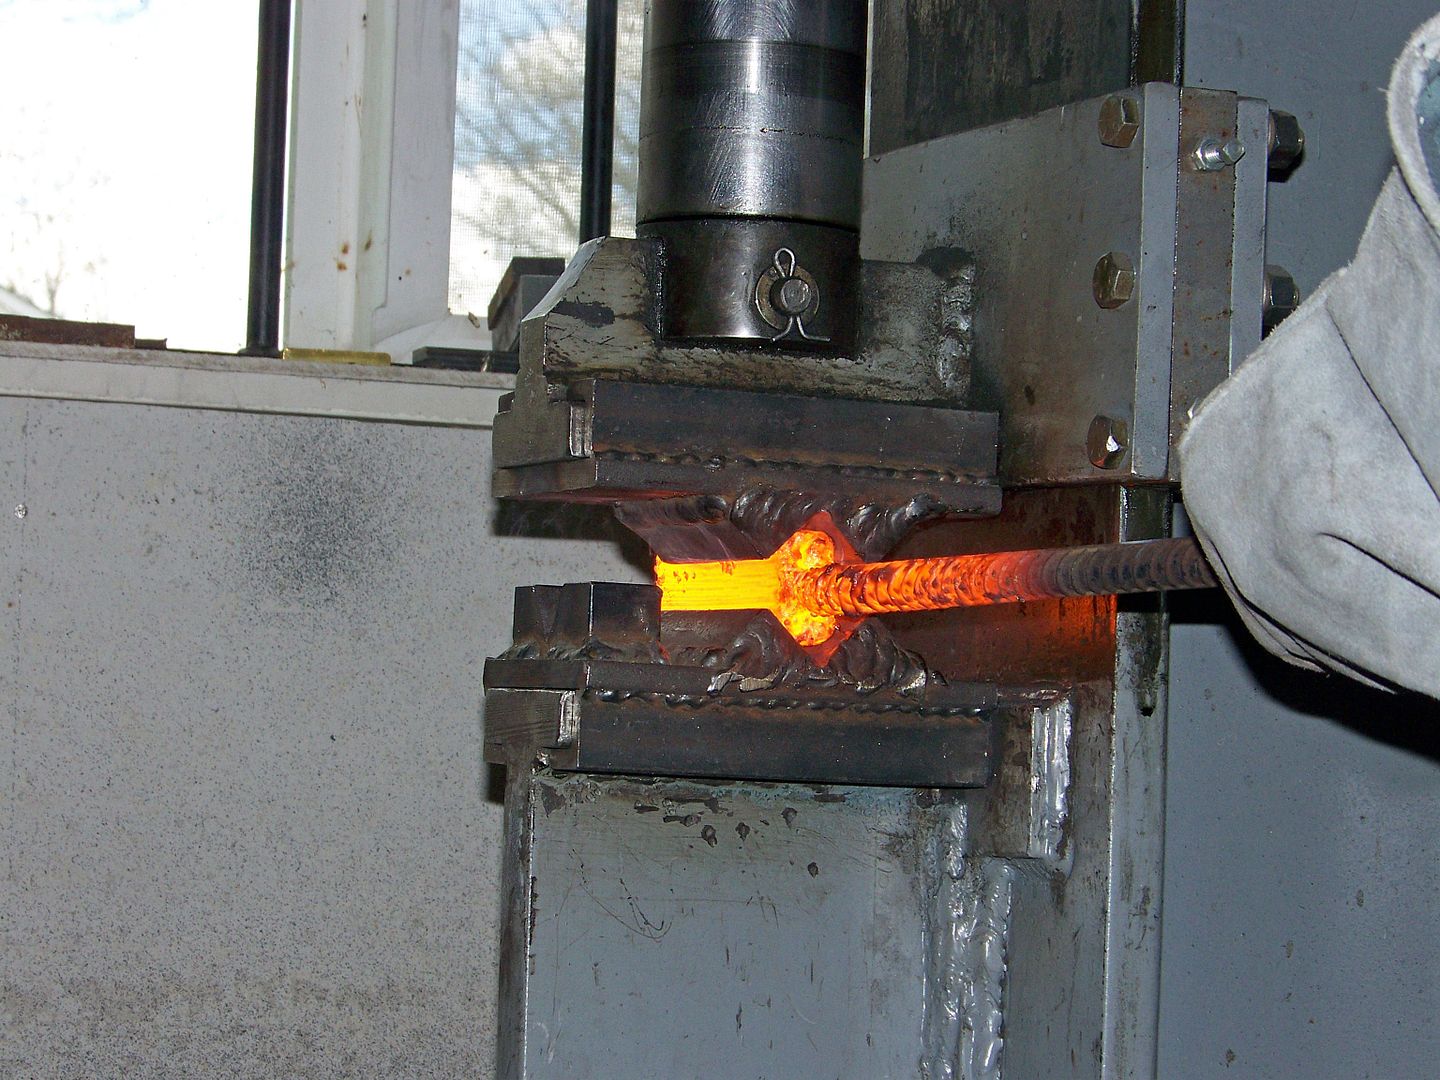
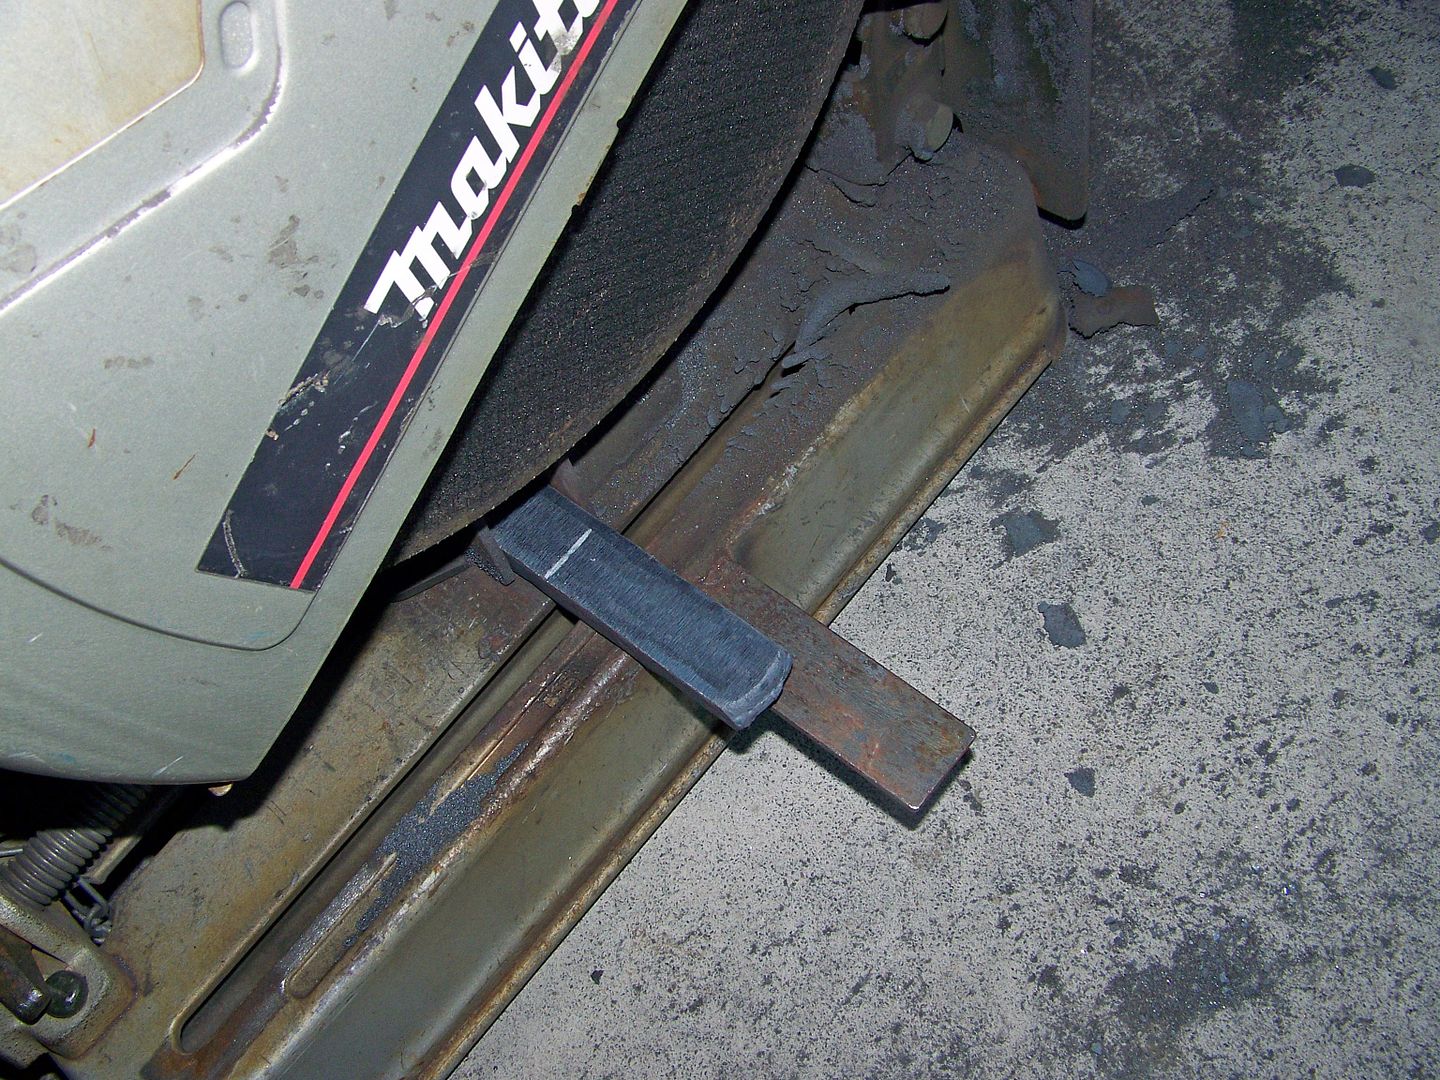
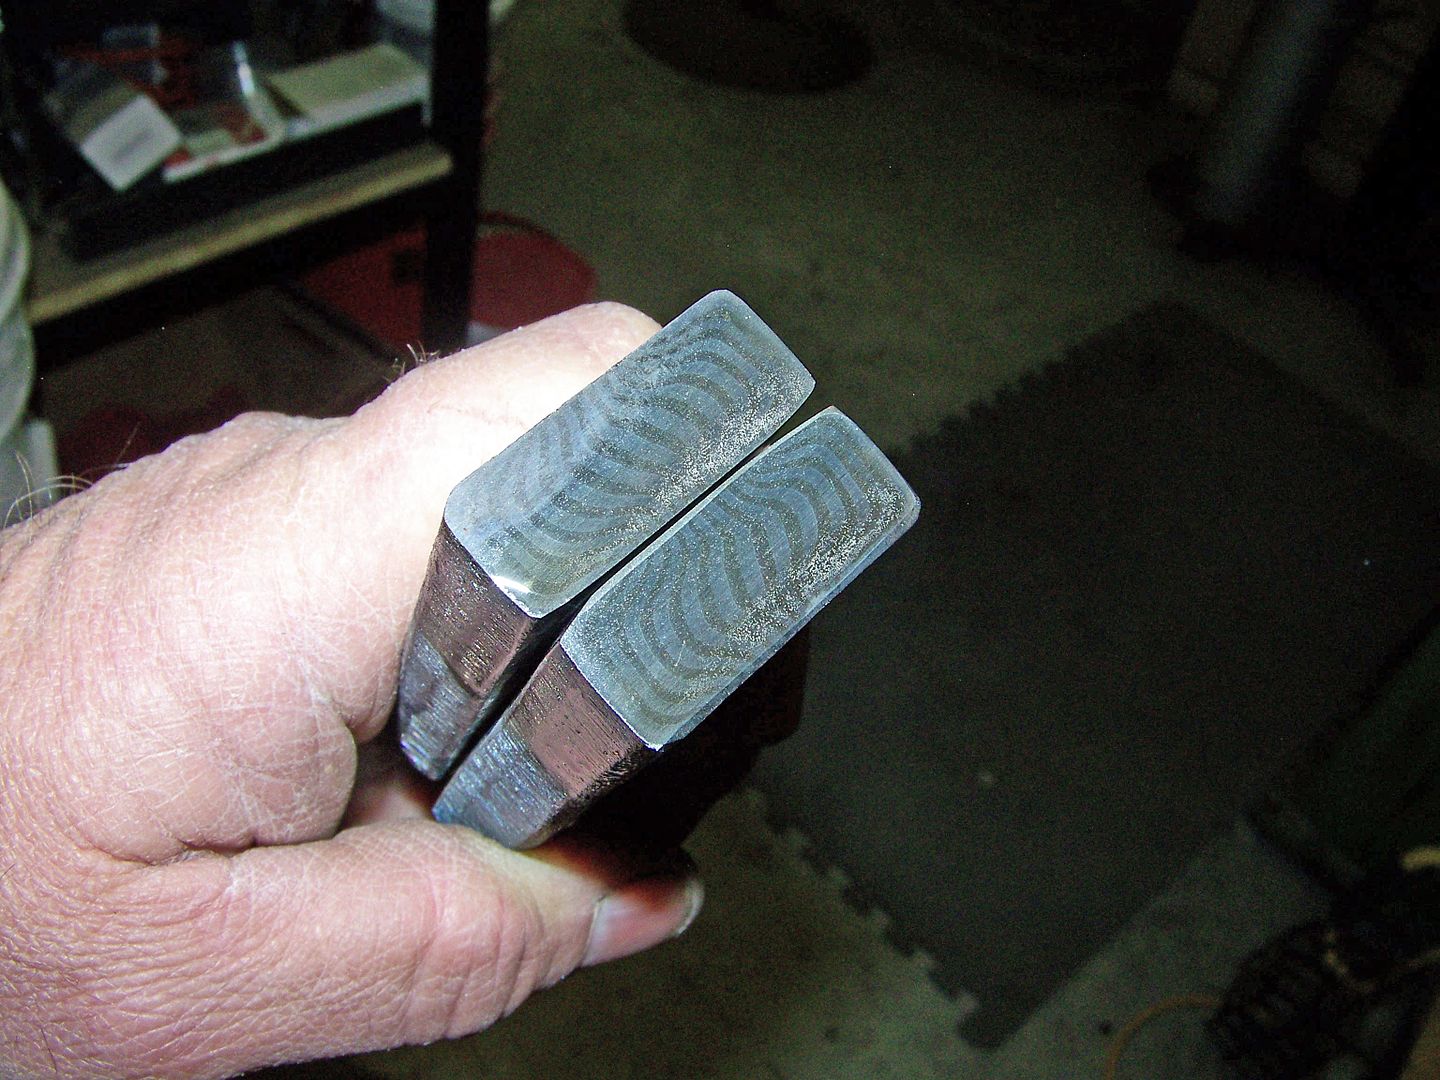
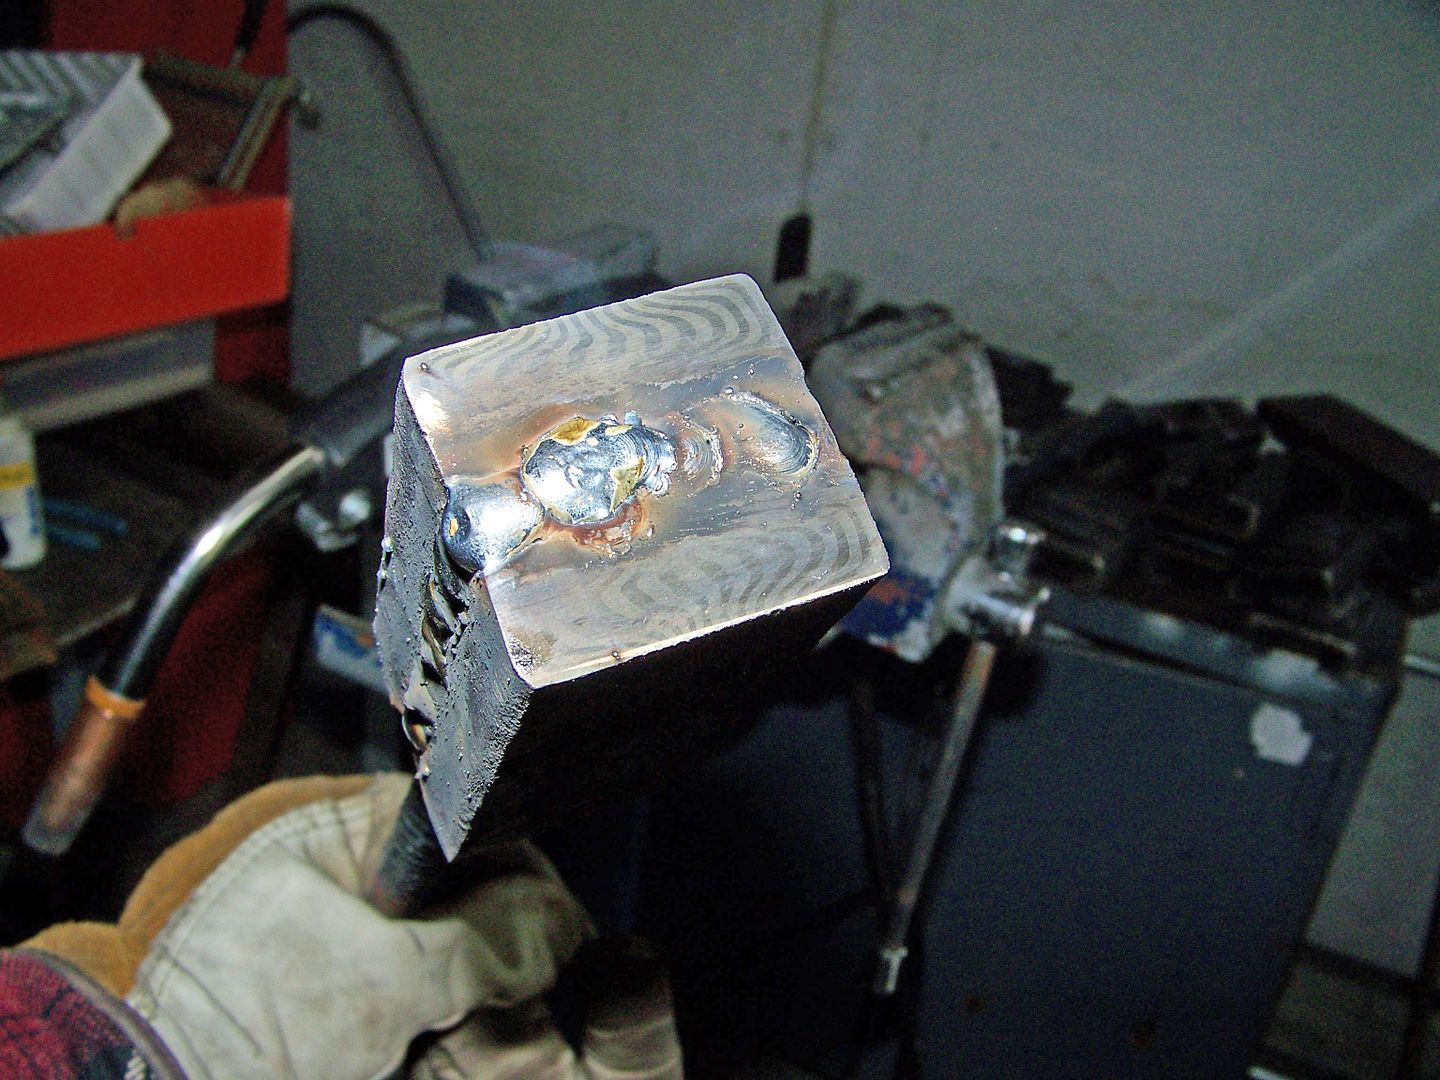
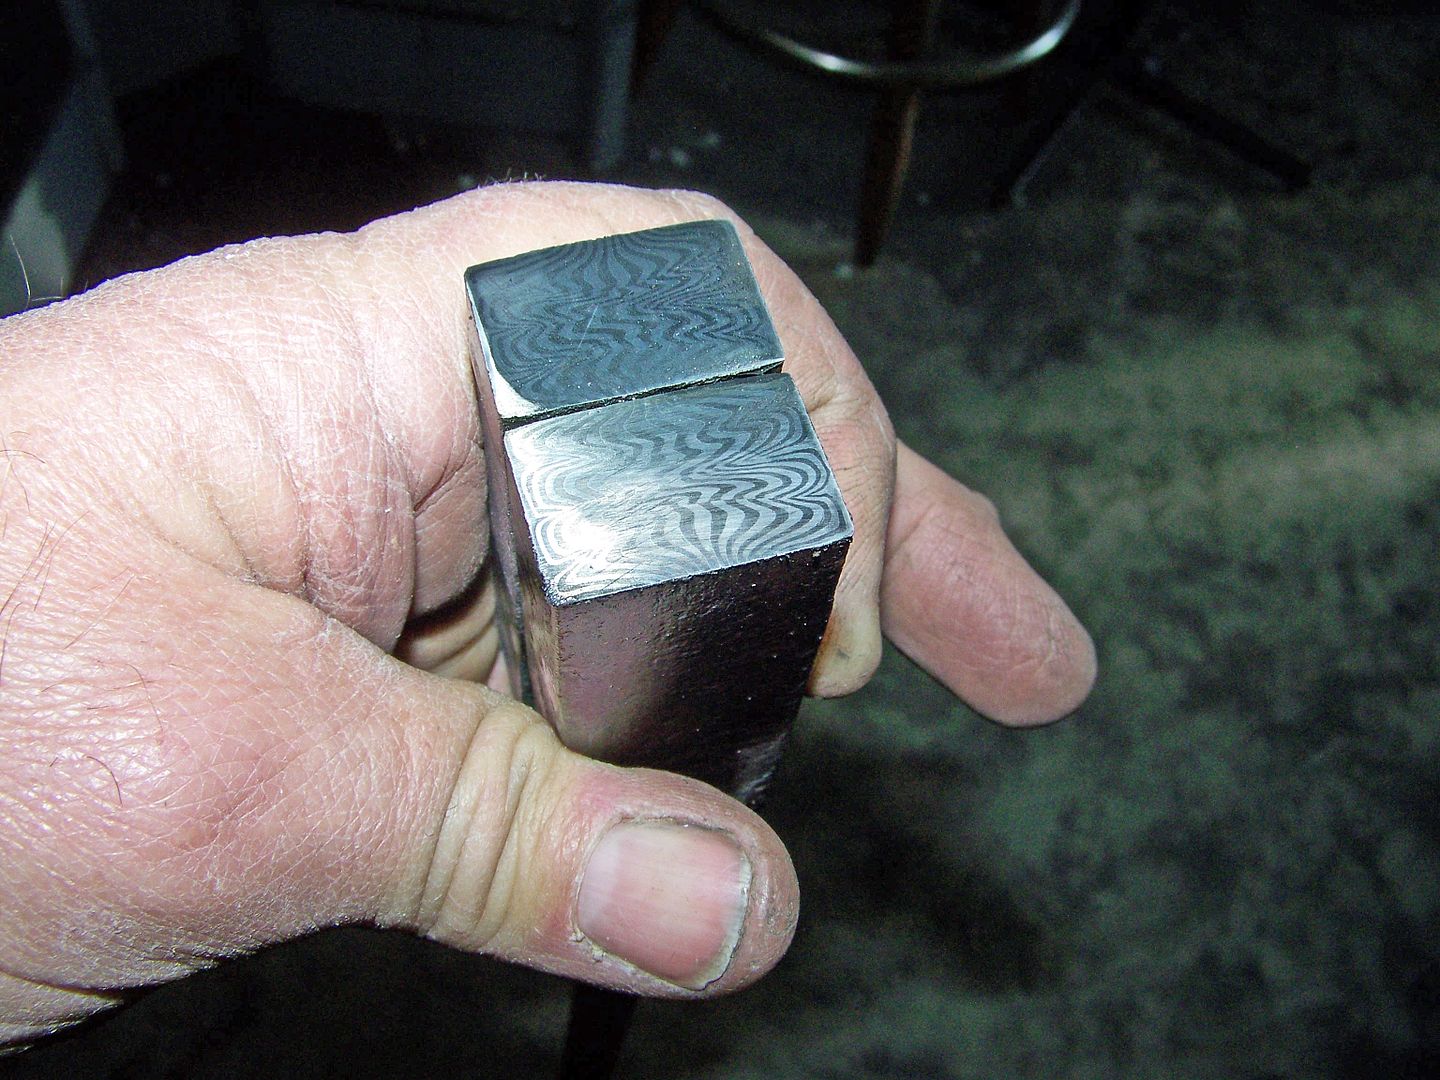
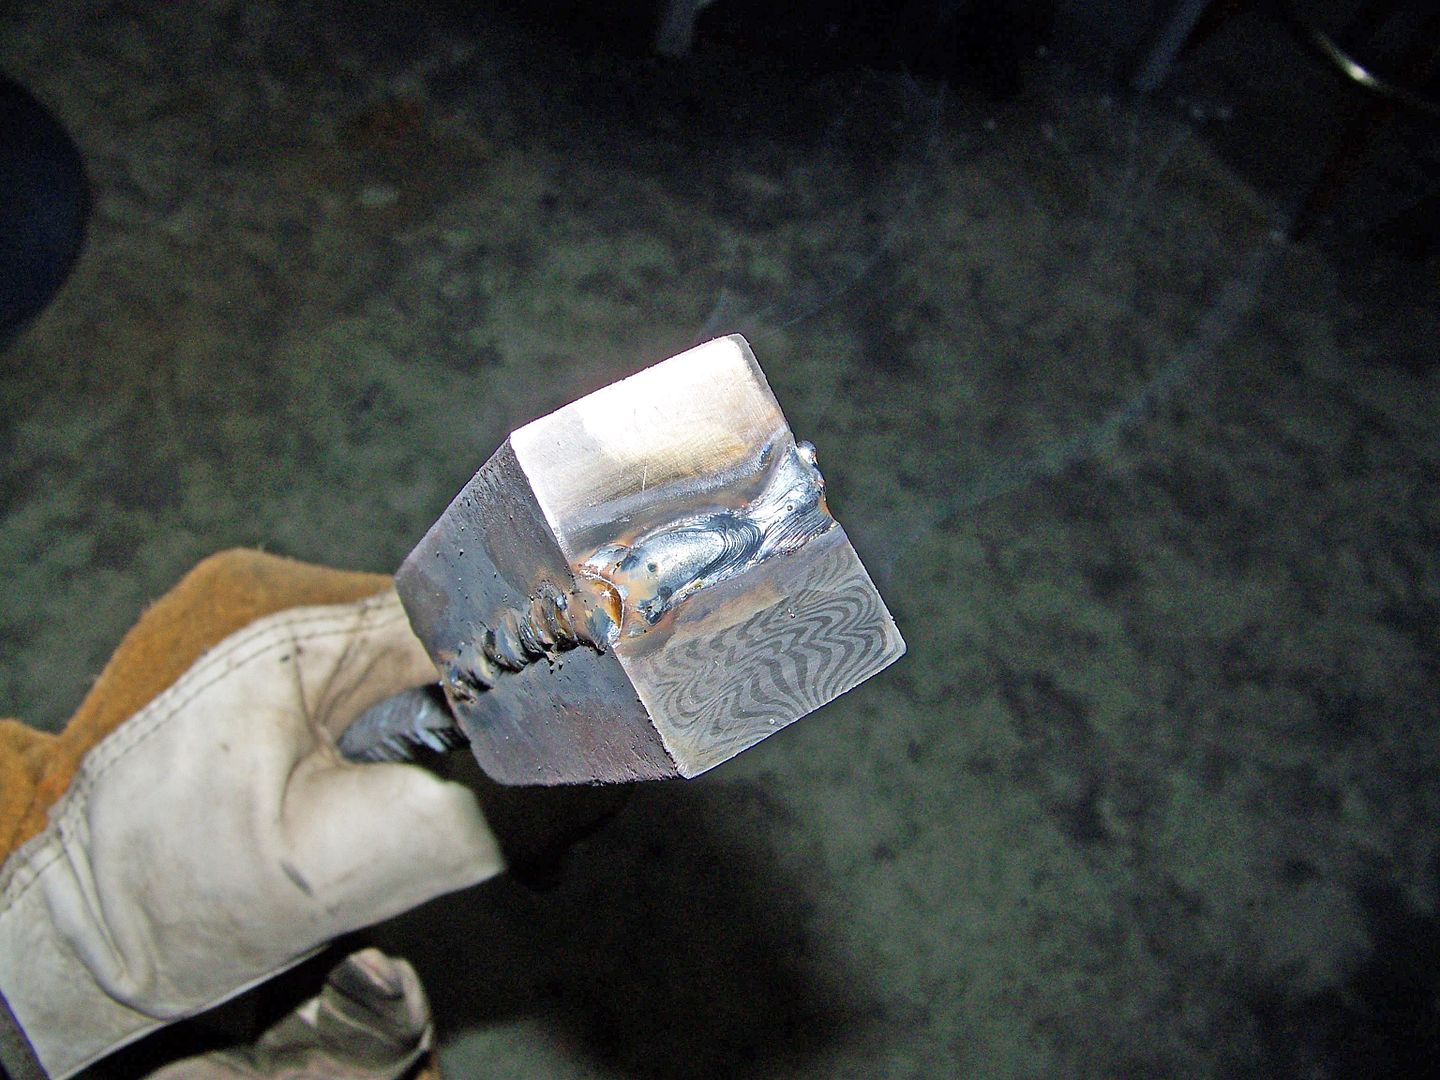
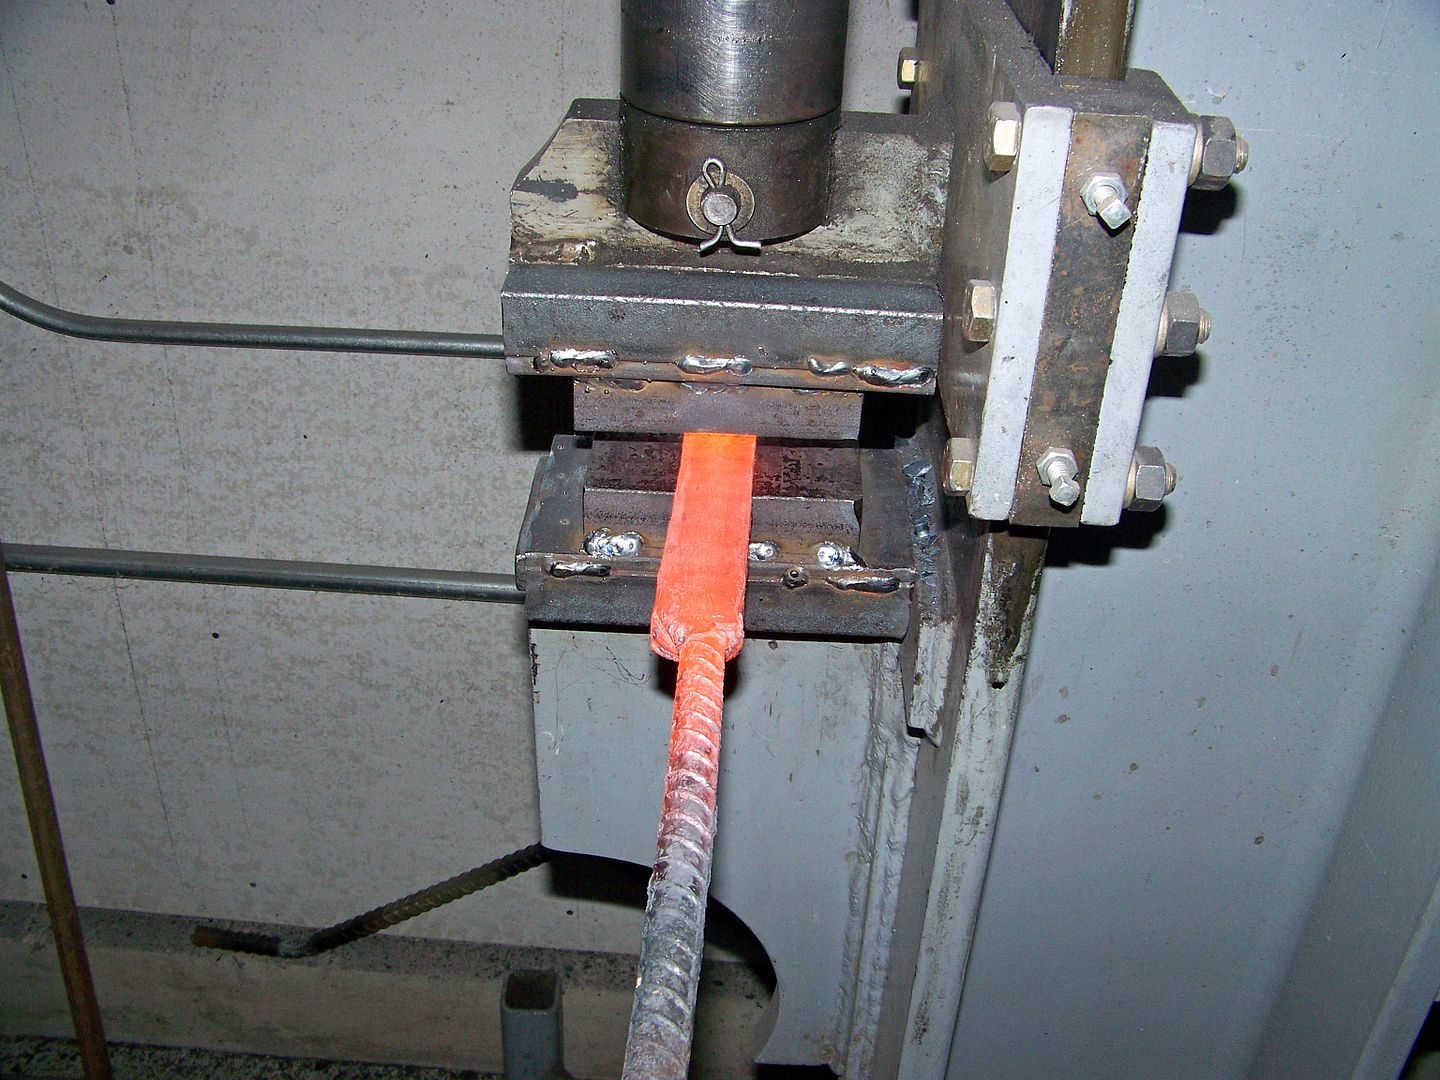
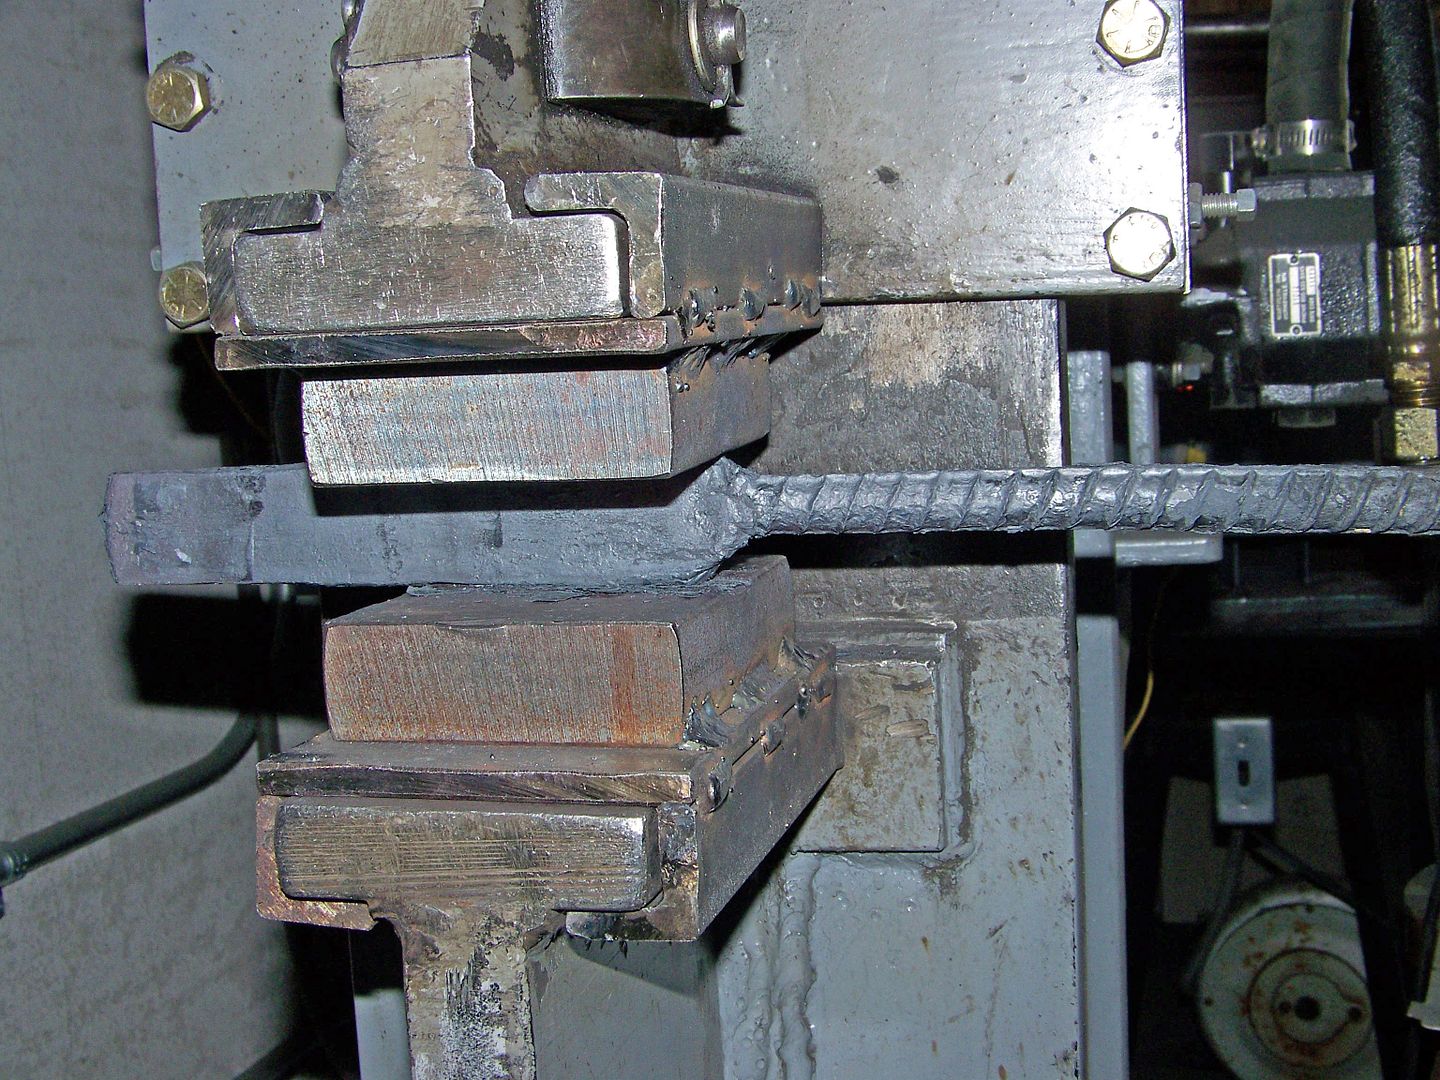
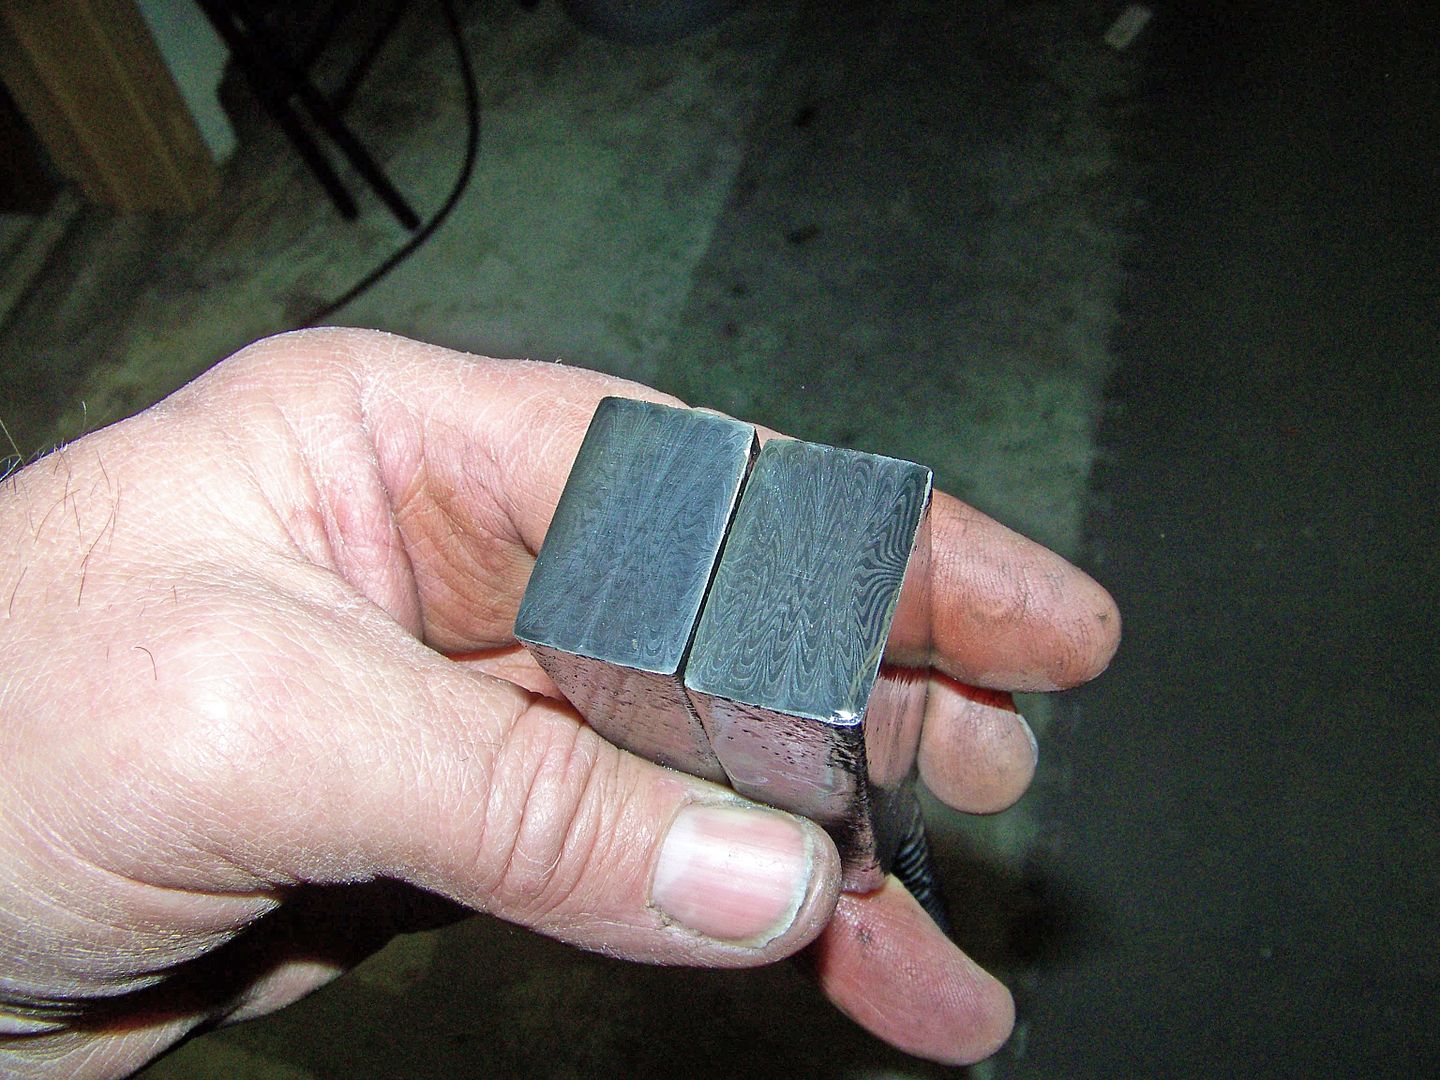
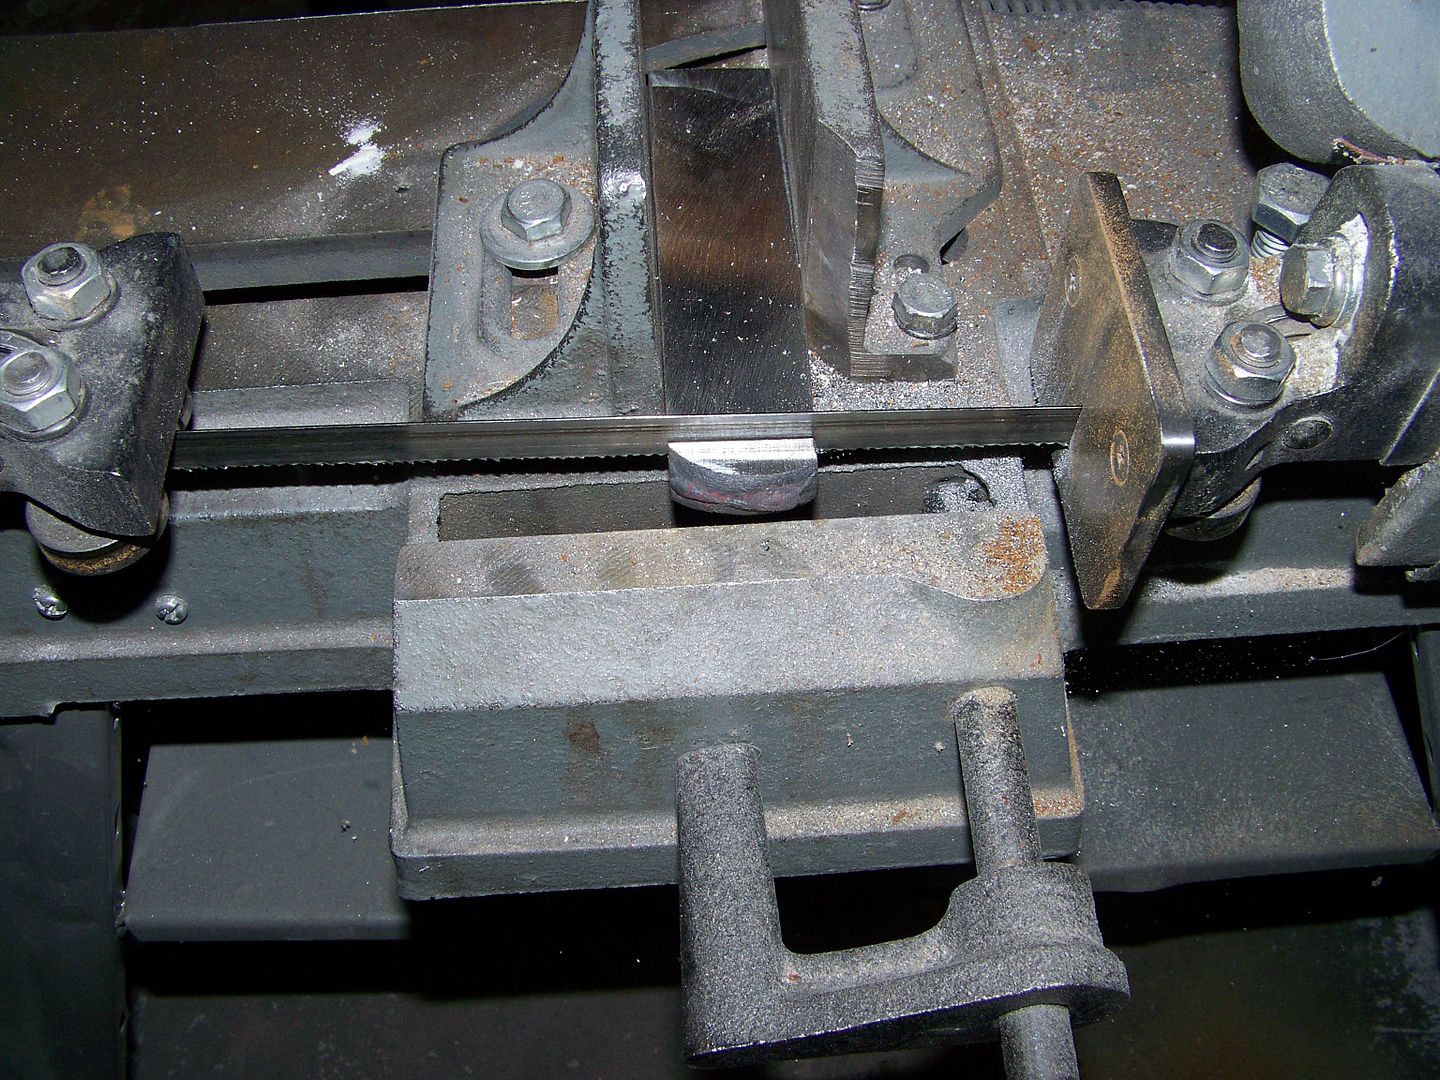
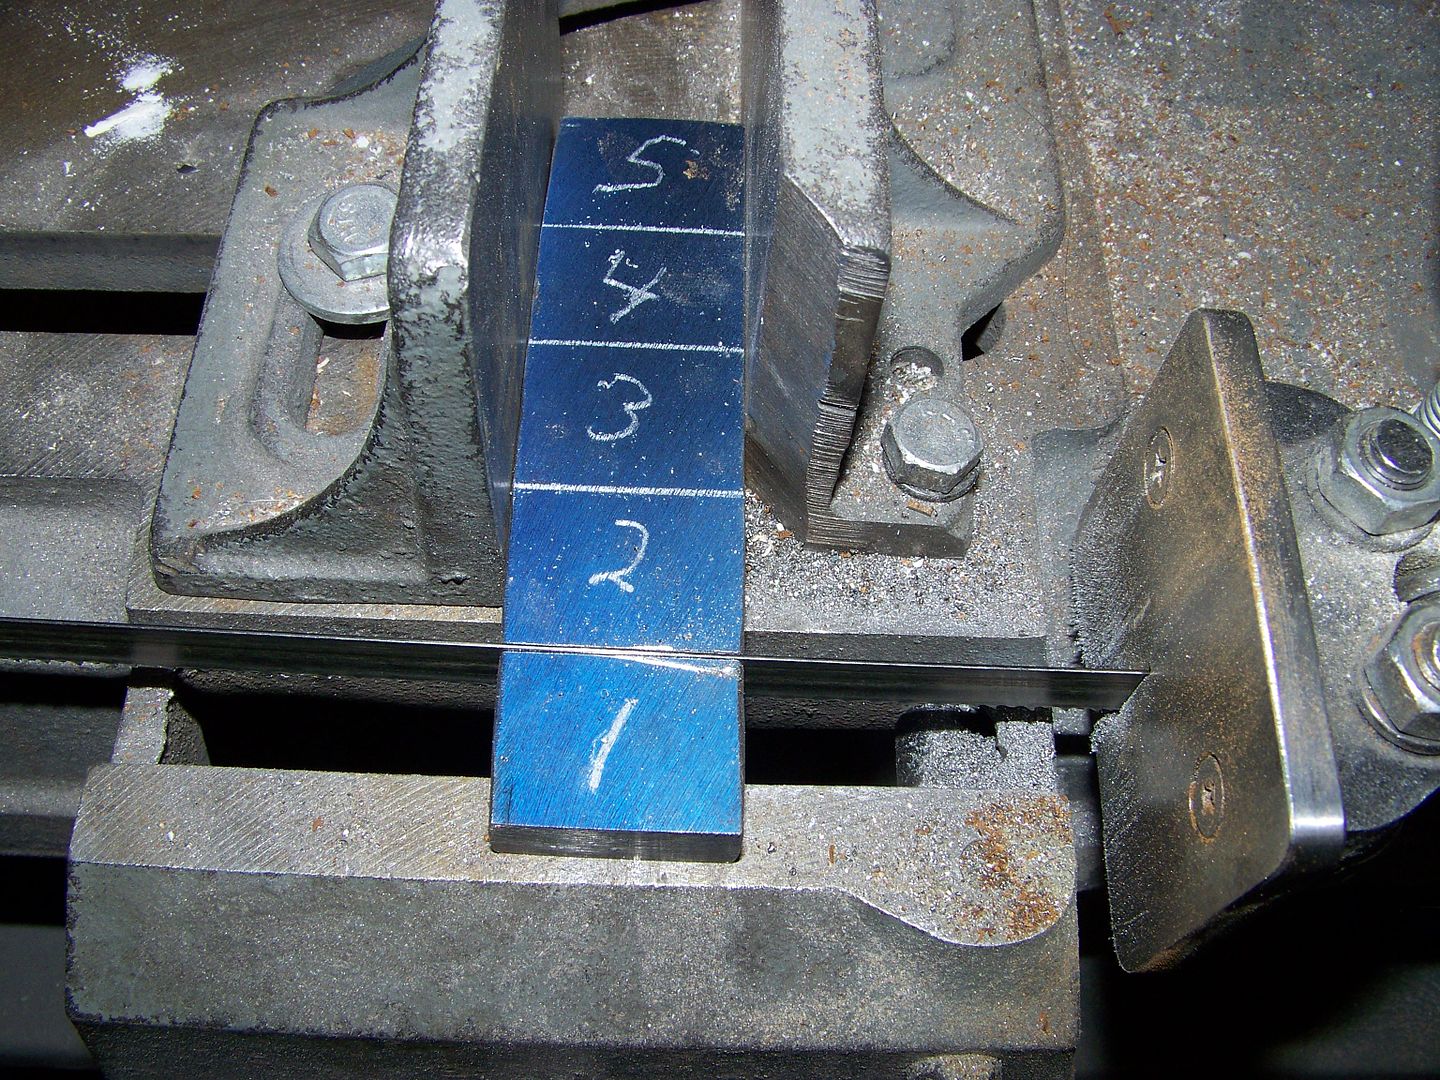
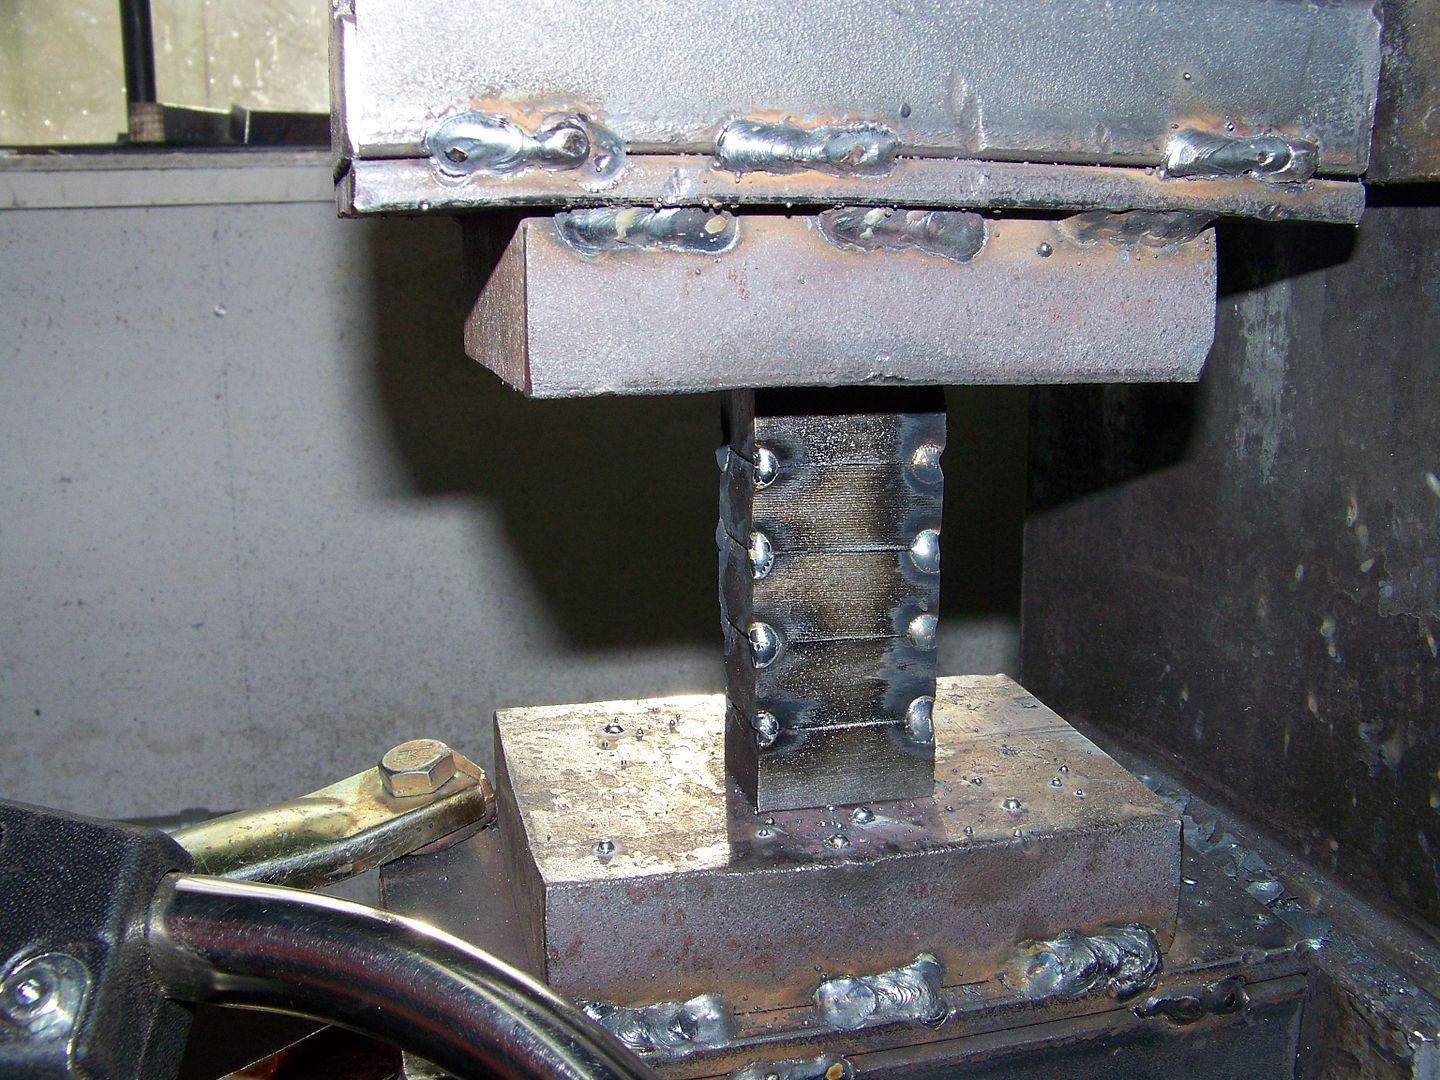
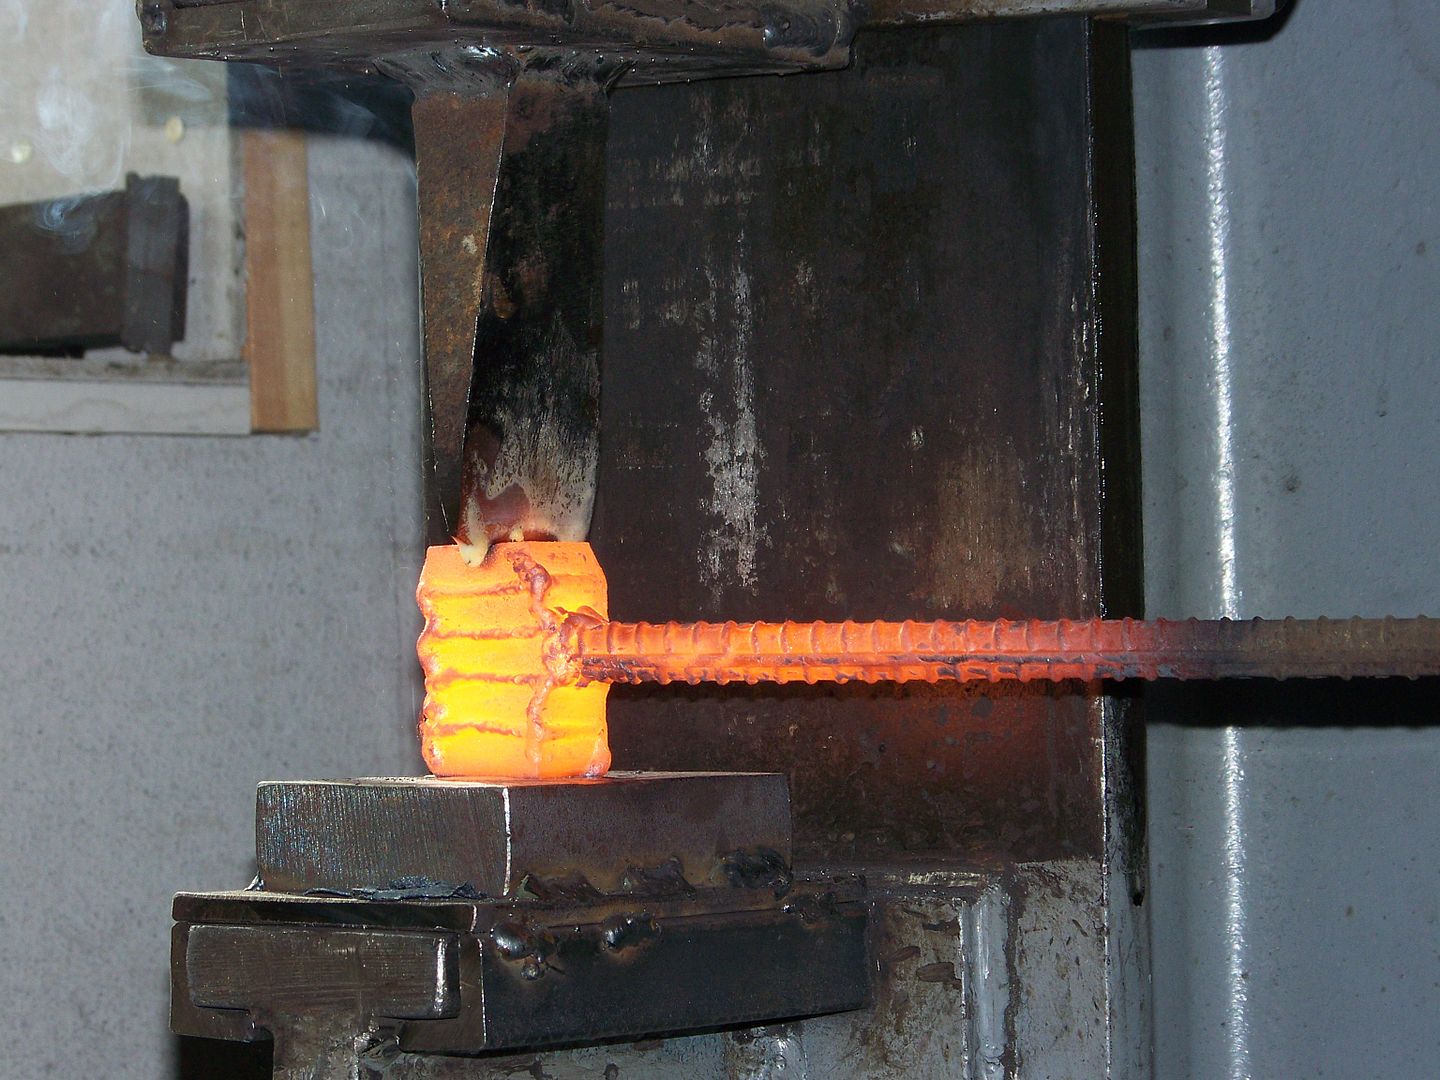
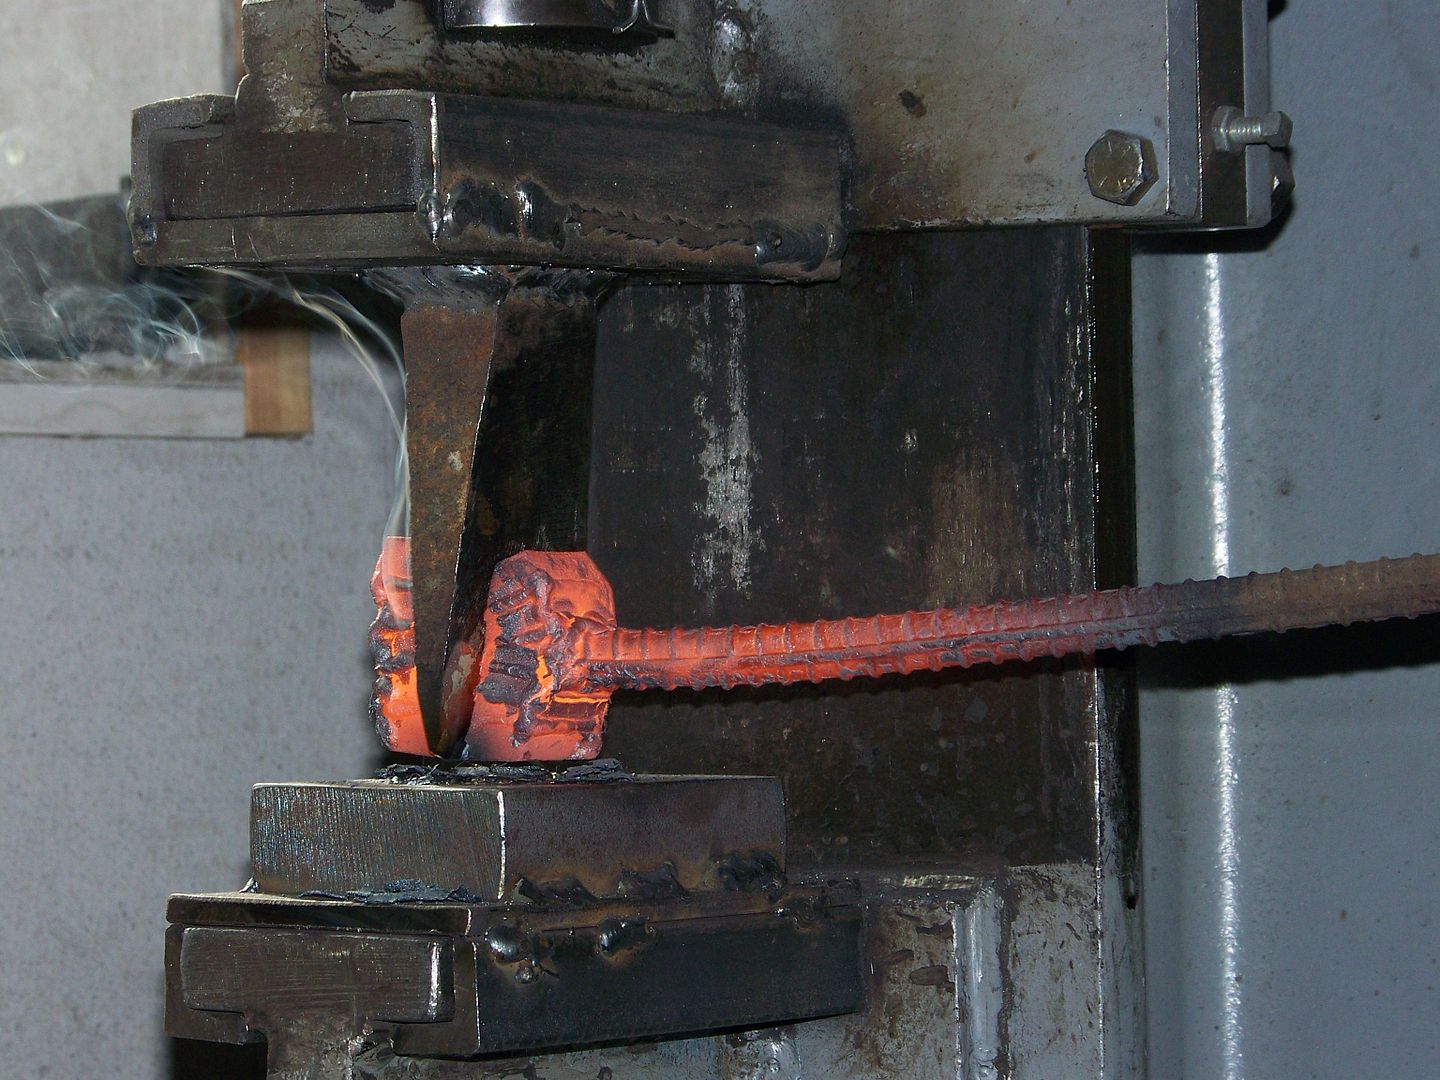
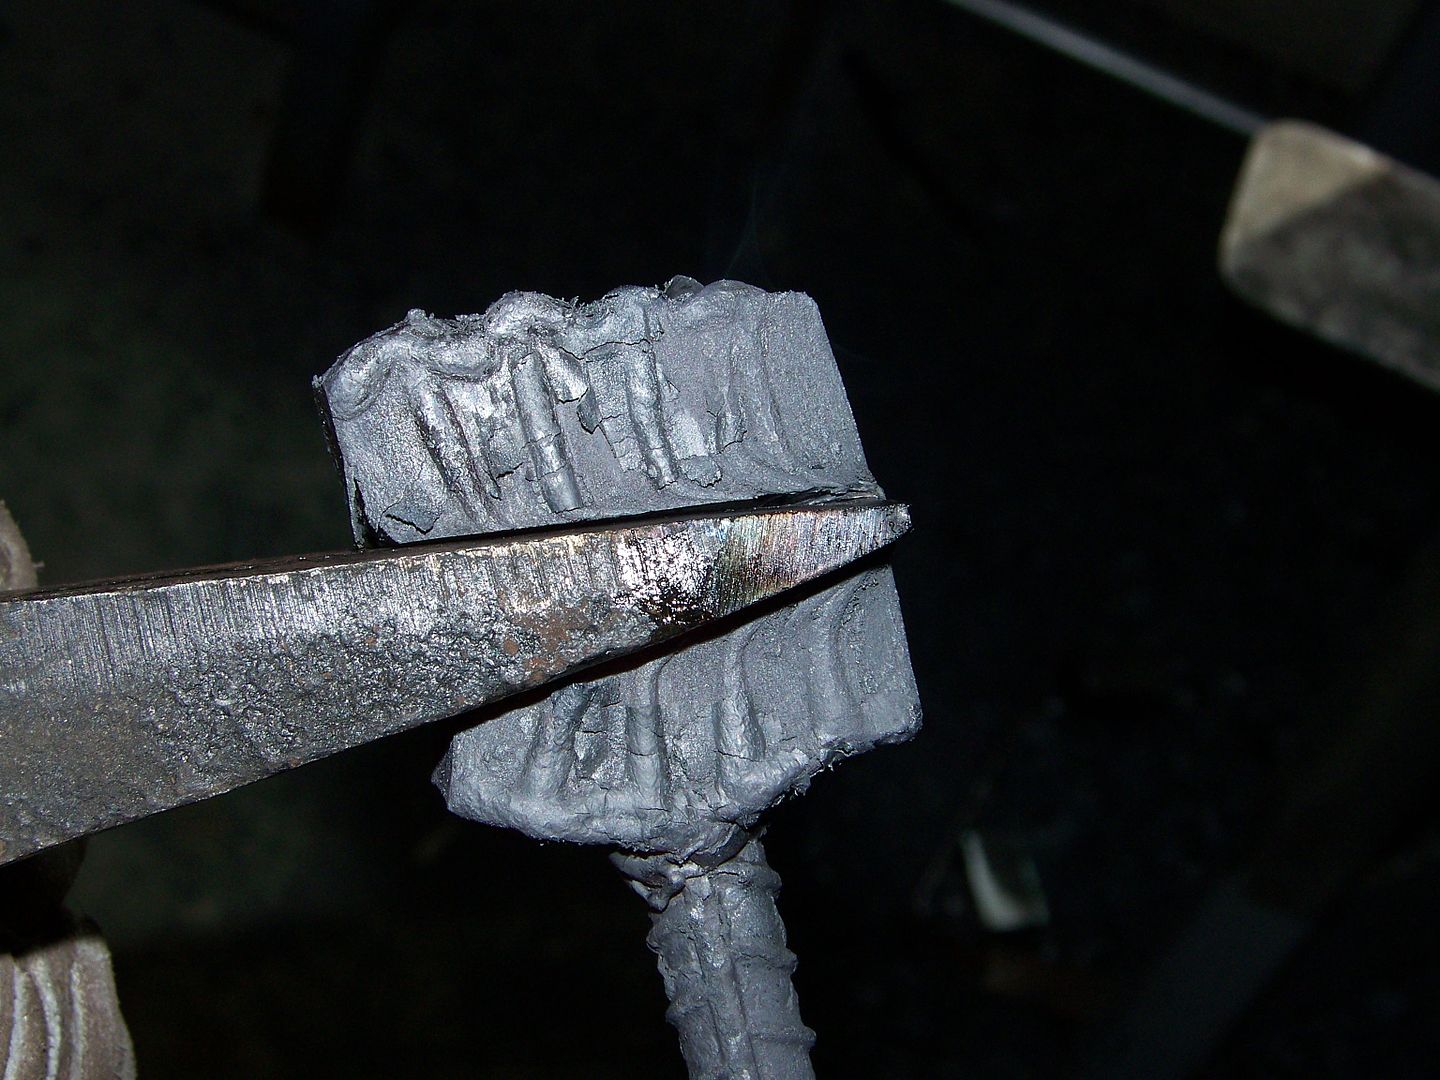
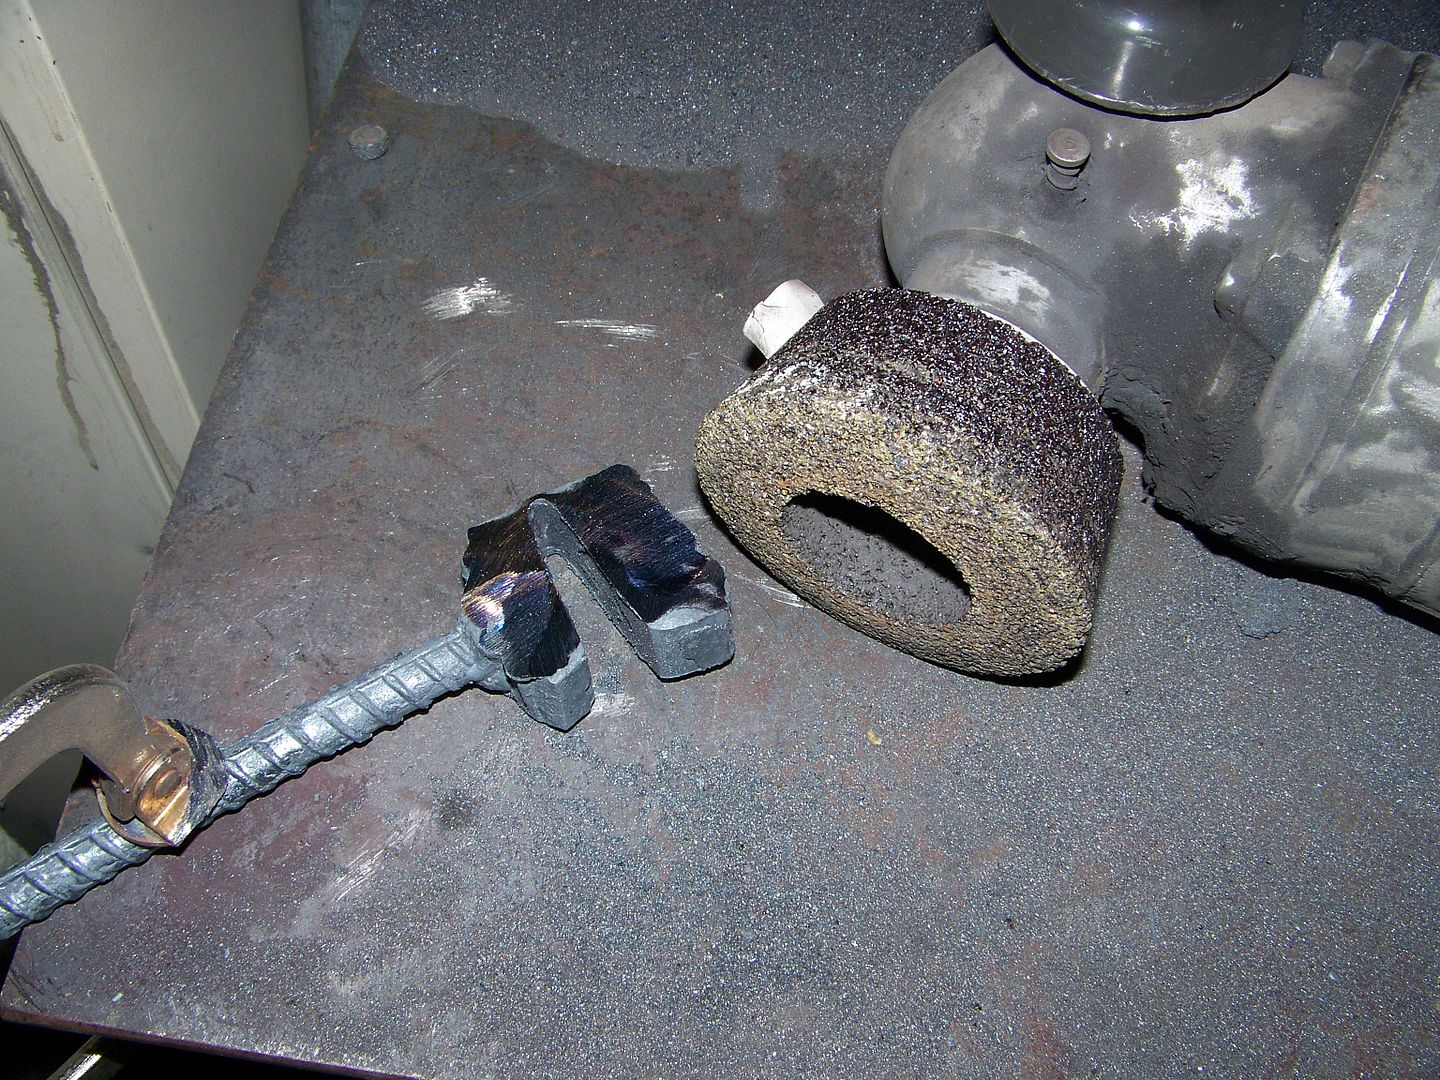
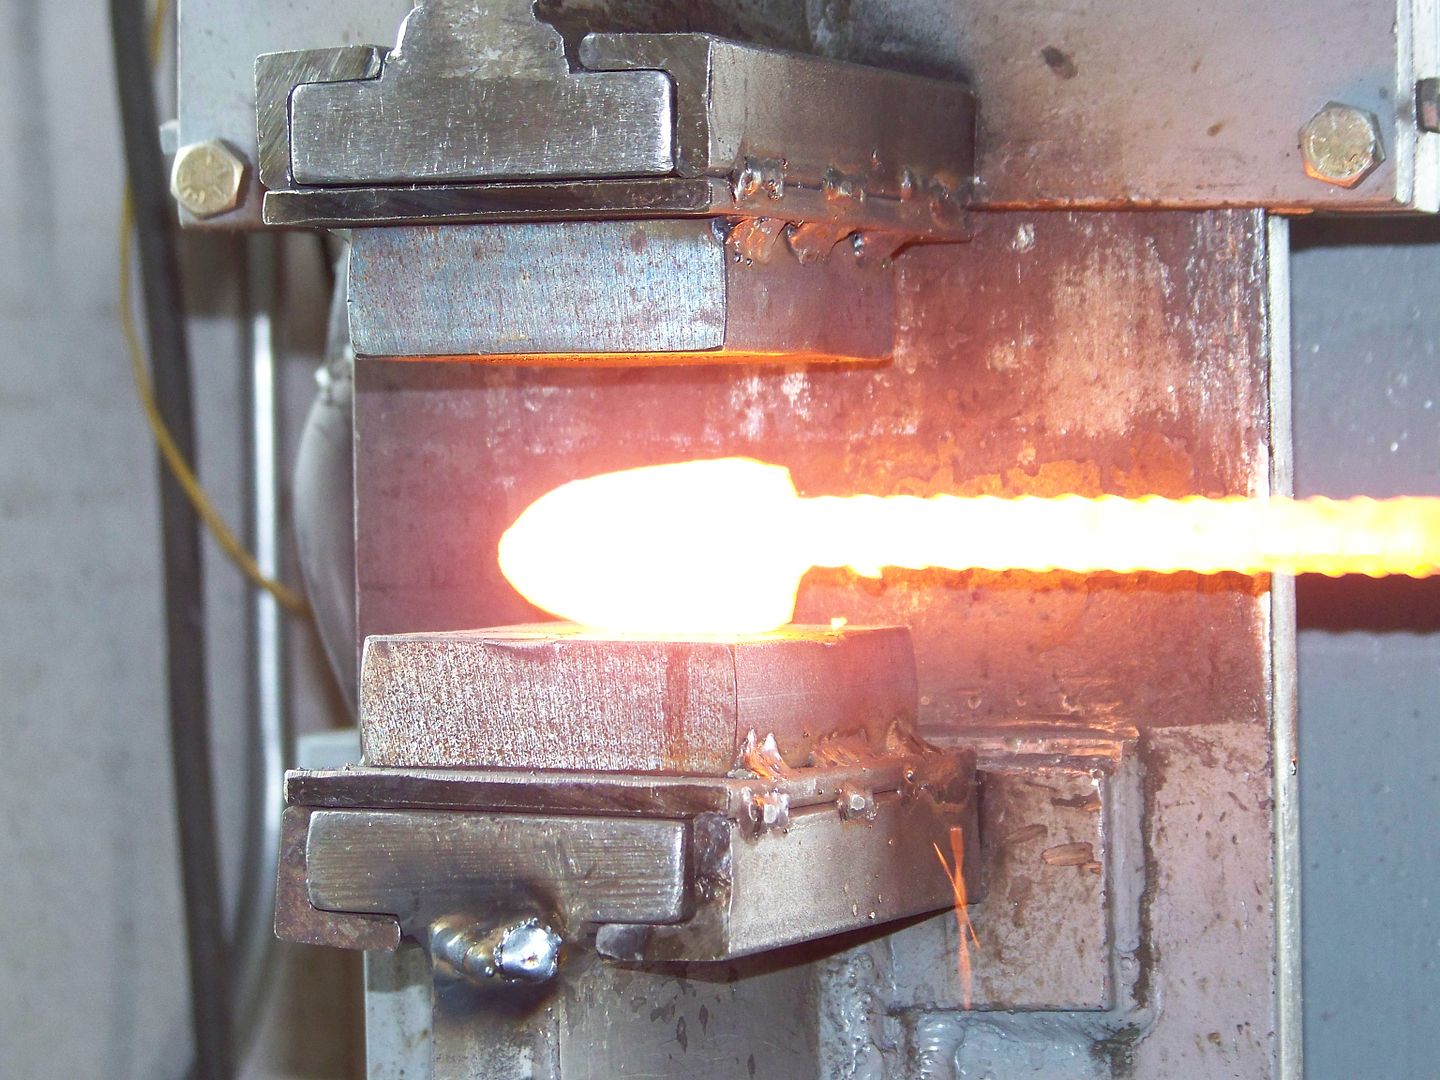
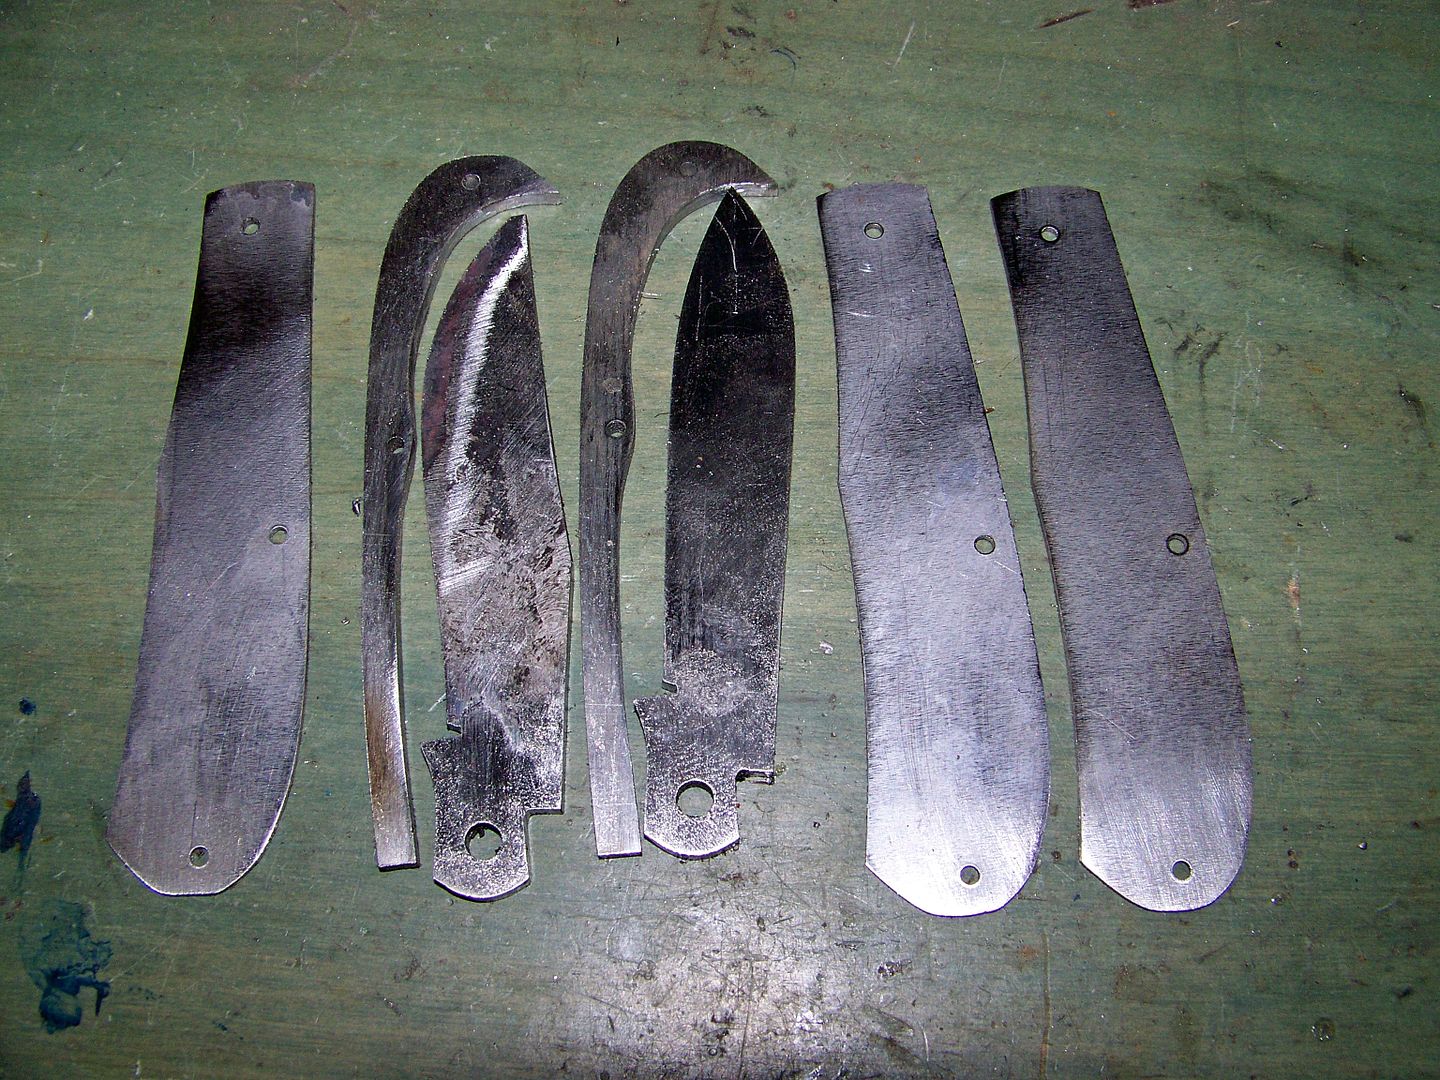
We are at 16 layers at this stage. One more fold will get me to 32 and then I will cut it up into equal sized squares and stack them up. Thanks for looking, come back tomorrow to see if it works out.
 
Last edited:
Another one added and a WIP still active, let me get a towel to wipe the drool!!! Bonus, I'm the first one to bathe in the genius!!!:D:D:D

I'm not worthy!!! I'm not worthy!!!

Jeff
 
Another one added and a WIP still active, let me get a towel to wipe the drool!!! Bonus, I'm the first one to bathe in the genius!!!:D:D:D

I'm not worthy!!! I'm not worthy!!!

Jeff

Hi Jeff! Hey have a beer for me at Indian Georges this weekend. 2thumbs
ps, watch that guy and dont touch his bikes. :D
 
I am now at 16 layers and the feathers are very small and nicely formed. I drew it out and ground off both sides and am ready to cut it up into squares and stack them up and forge weld the stack. After that it will get hot cut right down the middle and re-welded back together, drawn out, tapered, normalized, annealed, scale ground off clean, and sliced like bread. There should be several small folder blades in this billet.

101_6074.jpg


101_6081_edited.jpg
 
Back to it. I cut the bar into 5 equal lengths and stacked them up, mig welded the seams closed and reinforced the corners with mig weld. Into the forge and forge welded them at 2300 deg f. I used a hot chisel and cut them in half and cleaned up the inside to join the two back together. I decided to remove some of the inside and reflatten the two bars before welding them back together. This should give me more feathers at the tip of the blade. we shall see if that worked later.

101_6113.jpg


101_6115.jpg


101_6117.jpg


101_6121.jpg


101_6123.jpg


101_6126.jpg


101_6130.jpg


101_6131.jpg


101_6134.jpg


101_6135.jpg


101_6136.jpg


101_6138.jpg


101_6140.jpg


101_6144.jpg


101_6145.jpg


101_6146.jpg


101_6148.jpg


101_6150.jpg


Back in the fire at welding temp and squeezed the two back together and draw them out into a blade length and suffered some minor delam on the corners. Not bad but I dont think it would have happened if I had thought to mig weld the 4 corners to re-inforce them when drawing it out. It seems to be a common problem with my feathers. They really delam bad with a too dull of a chisel but this one was sharper than I've ever used before but got dull towards the end of the cut. It is pretty burnt round now from cutting welding heat steel. Oh I didnt tell you but I sprayed it with Pam anti-stick and it didnt weld itself inside the cut.

The bad thing is this is a mini billet and I cant afford to lose very much of it. One thing we need to remember is there is allot of waste from cutting the ends off each time we re-weld when building the layer count up so start bigger than you think it needs to be. I just want a small billet for a couple folder blades here and it looks like I may be able to just get that. Next time I'm adding a few more pieces to make the billet just a tad bigger.

I went through 3 normalizing cycles and put it in the annealing oven but first I ground away and etched one side in hopes to see the pattern. It looks great but unfortuneatly I couldnt get a good picture of it. Take my word though, it is nice and small, uniform and a miniture feather pattern. I think I can re-forge the blades after I cut them out so the shape of the feather follows the upsweep of the blade instead of just stock removal. More on that when the time comes.

101_6152.jpg


101_6153.jpg


101_6156.jpg


101_6158.jpg


101_6160.jpg
 
Last edited:
Still watching with anticipation. I learn so much watching your WIPs and it makes me want to hurry up and get my shop set back up and get on with making knives again. It has been TOO LONG!
Thanks for showing, Bruce.

Larry
 
Ohh, I need some of that for my first folder:p


Awesome wip Bruce, with all the pics you take I still cannot figure out how you get any work done1!:D:rolleyes:
 
Well after cutting it up I only got 3 blade sized pieces. Actually 2 blades and one piece big enough for another blade or maybe bolsters.
Anyway I had to forge one again and shape it as the clip point blade in my 2 blade trapper. The second blade was fine the way it was. I cut out all the parts today and ground the tangs on both blades and heat treated them. The springs are A2 high carbon steel and will get heat treated tomorrow is all goes right.

I'm excited to finish this slippie as its my first 2 blade damascus trapper.

100_6246.jpg


100_6250.jpg


100_6254.jpg


100_6255.jpg


100_6257.jpg


100_6258.jpg


100_6259.jpg


100_6261_edited.jpg
 
Last edited:
Nice, i like forging to shape :) Do you have any idea what are you going to use as bolsters/scales on this knife? I might sound like my typical myself, but some ivory would be lovely ;););) ....

Ondrej
 
I made some progress on the slip joint with mini feather blades. Here are the blades heat treated, ground and rubbed out almost enough enough to etch. I have the liners relieved and have stainless bolsters and caps soldered on and have stag scales fit to them.

Another day or so this back pocket slippie will be finished. This one will go to the CKCA banquet and mini show at Blade this year. It will be for sale there, please stop and check it out.


100_6264_edited.jpg


100_6265_edited.jpg


100_6266_edited.jpg
 
Back
Top