Fiddleback Layered Handles

Fiddleback

Well-Known Member
On another forum I was asked me to run down how I make my handles. So here it is. First I choose two woods that I think would contrast nicely together. Then I go to my tablesaw.

mtut47-vi.jpg


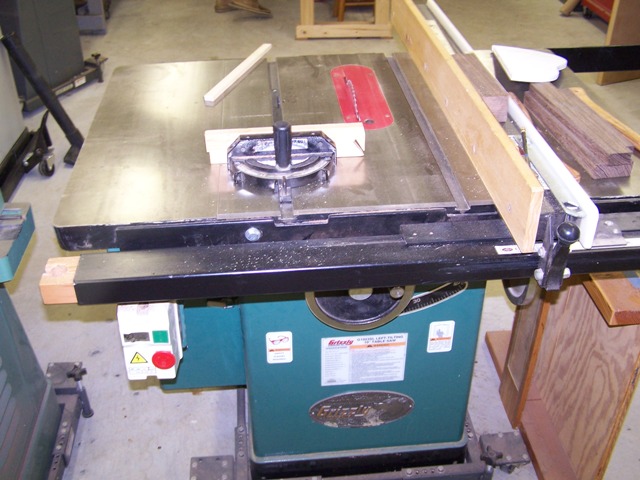
I rip the liner wood ~1/8" thick, and the outter wood 1/4" thick for a 3/8" thick scale. Usually my tablesaw does a fine job, and I can go right to glueup, but if there is doubt I go to plate glass and sandpaper.

mtut48-vi.jpg


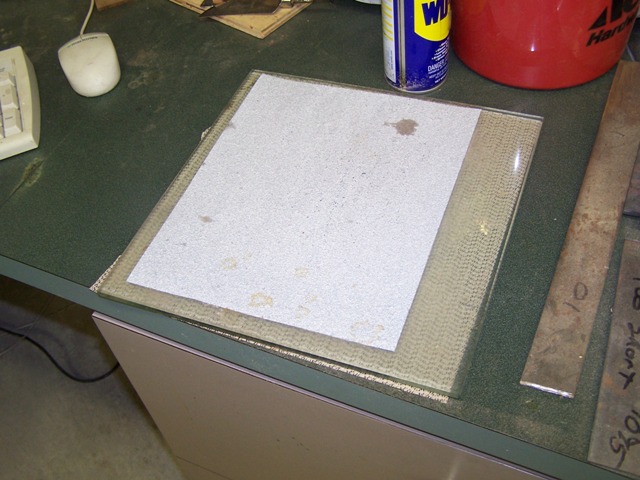
I use spray adhesive to glue 60 grit paper to the glass, and a no skid cabinet liner thingie to make sure it doesn't slide around on me. Make sure you sand as little as possible here. You want to avoid making the faces un-paralell. Use a circular or figure 8 motion, so that your sanding pattern is swirley. Once the surfaces are lapped, check for fit by holding the two pieces of wood together and trying to see light between them.

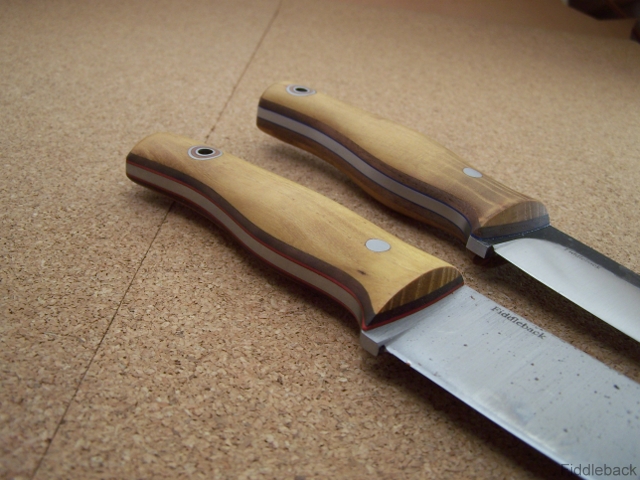
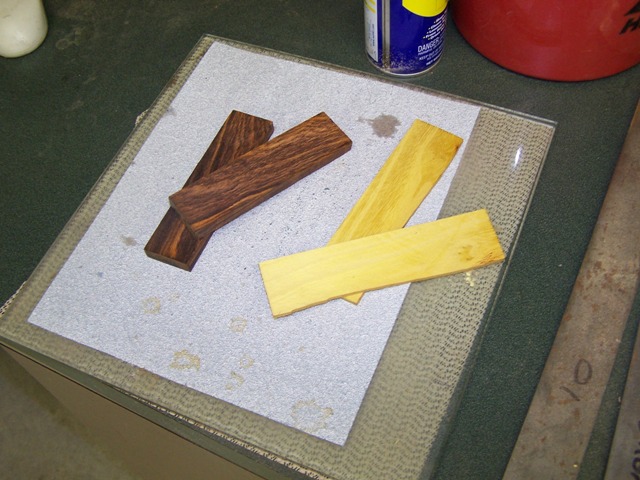
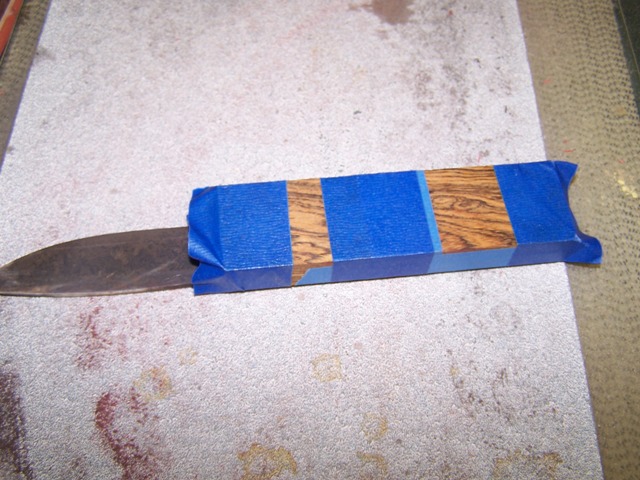
1/4" thick Cocobolo, and 1/8" thick Osage.

mtut50-vi.jpg


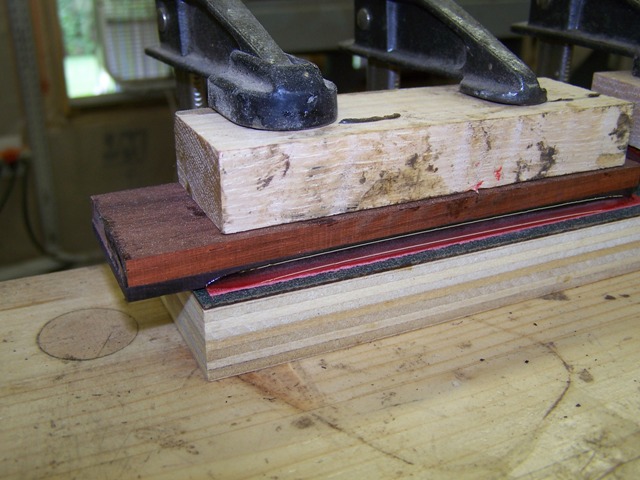
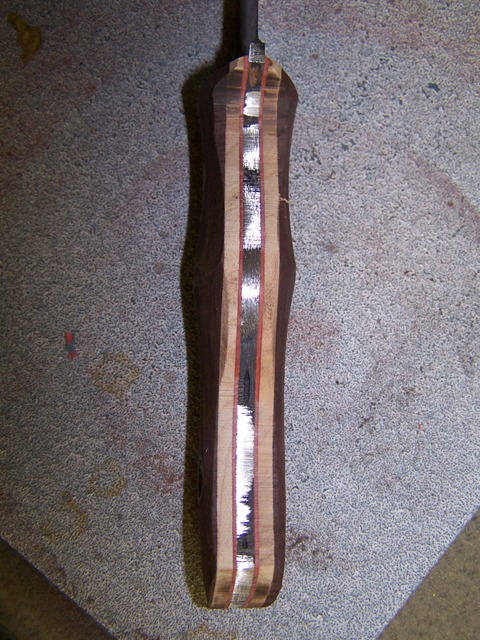
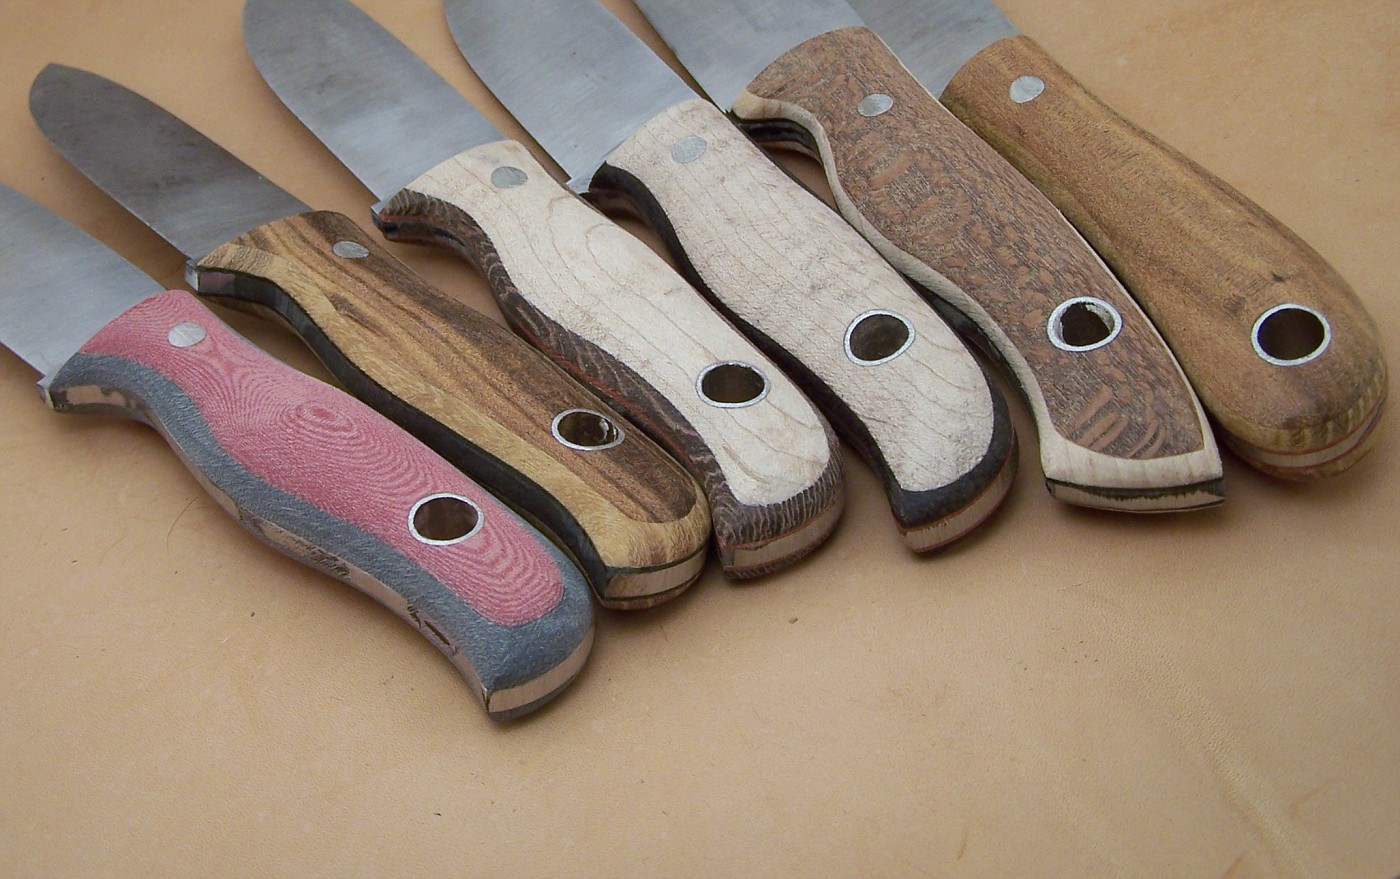
Don't try to glue it up all at once. I use epoxy between the wood layers, and superglue for the wood to vulcanized fibre liner. The superglue soaks into the fiber liner better, and gives a much better bond. This pic is of a stackup.

mtut52-vi.jpg


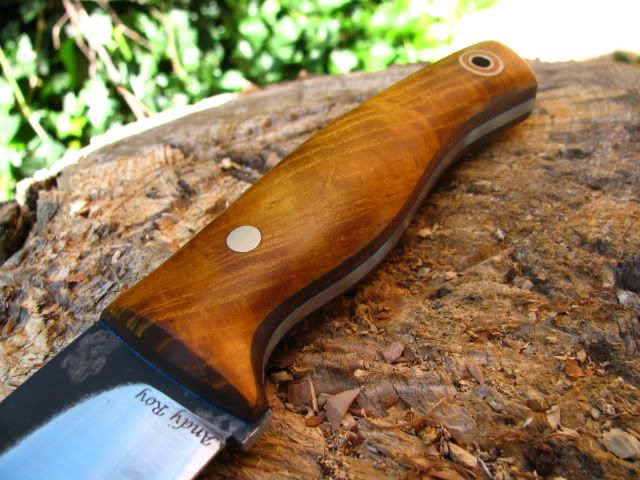
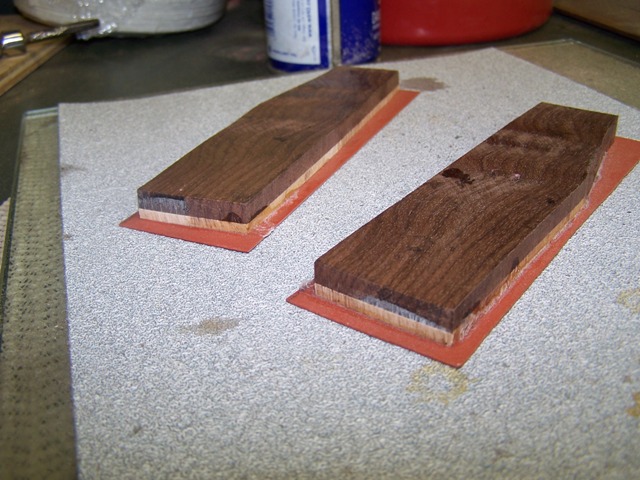
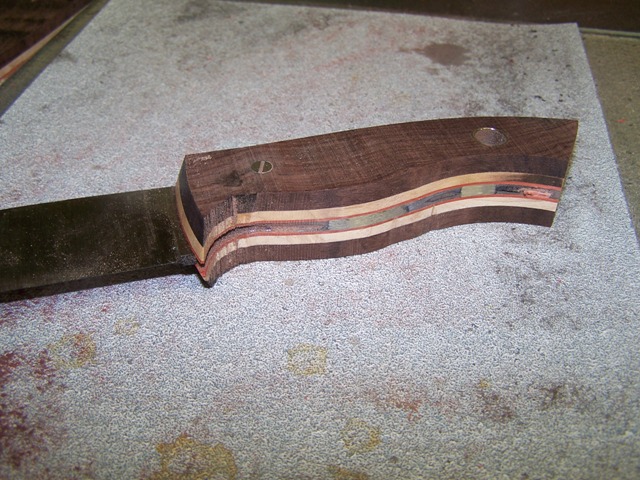
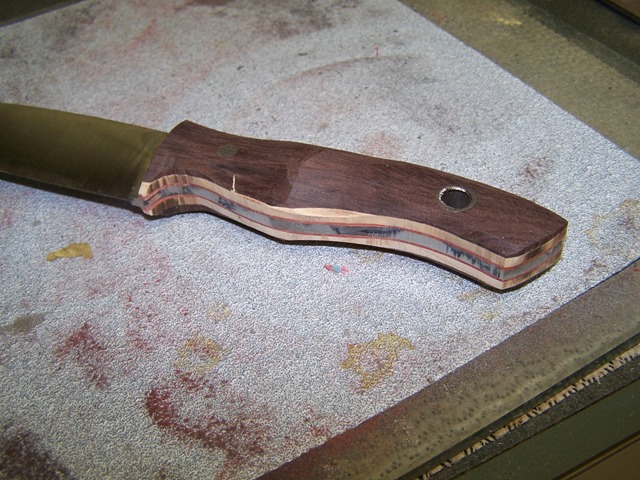
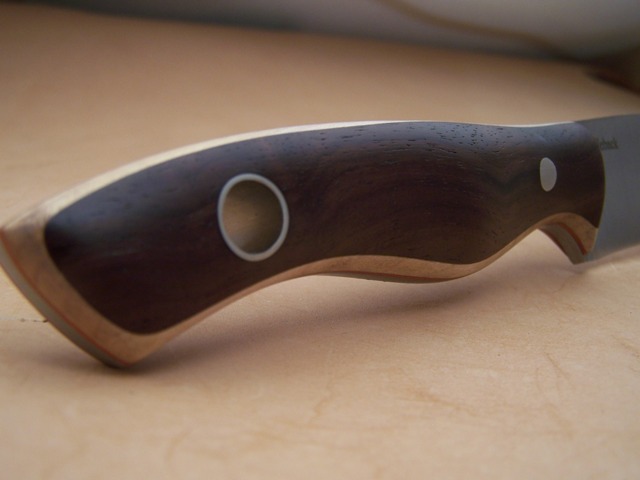
Rosewood over Maple with brick red fibre liner.

mtut53-vi.jpg


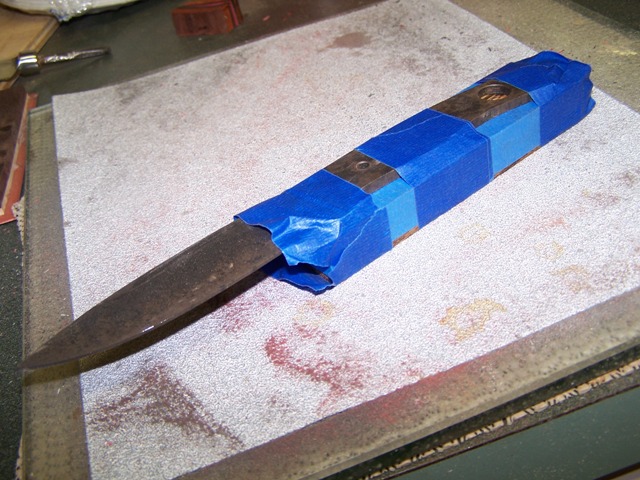
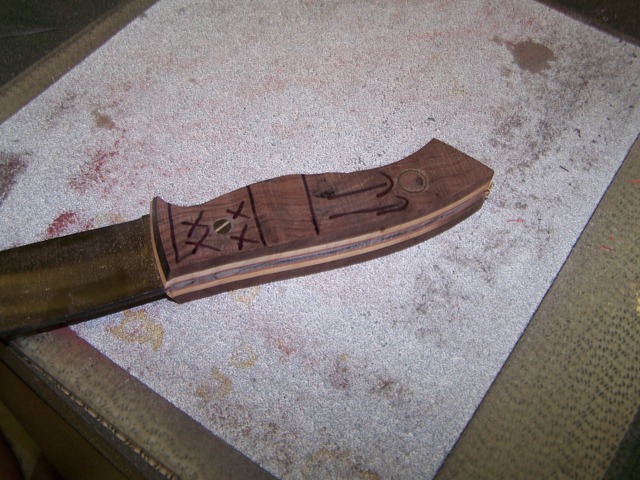
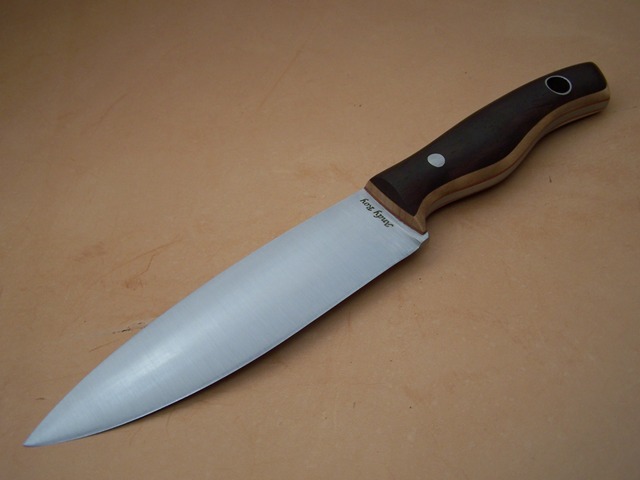
Thats as far as I got today. I burned myself with a red hot blade yesterday, and couldn't do any real work today. More tomorrow, but from here you pretty much treat the block as normal scale material.

Questions and comments welcome.
 
OK. To continue. We have the woods face jointed, and the liners glued on. Now I trim all the excess off so that the scales are a basic match for one another. Then I tape them together, and tape the knife blade to them. This allows me to drill the pin and lanyard holes through both scales at once. CATUION!!! This only works if you have flat square and paralell stock.

ht57-vi.jpg


Notice on the bottom of the stack that the tape is distributed on both ends and the middle. This keeps whole stackup flat on the drill table.

ht56-vi.jpg


Once its drilled, Its time for glueup. This knife has been cleaned up just a little.

ht58-vi.jpg


I use my 10" contact wheel to hog off some of the wood, and give me a head start on filing. This pic shows the wood I want to remove.

ht59-vi.jpg


And this one is after the grinder. Now its time for files.

ht61-vi.jpg


ht62-vi.jpg
 
This pic shows some knives after the filing. The filing is the critical step in my process, and files are maybe my favorite tools.

mawip53-vi.jpg


Then I start sanding. I start with 60 grit, move to 80, clean up the spine and tang metal with a 220 belt, and finally finish grits give me this:

ht73-vi.jpg


Thats East Indian Rosewood over Hard Maple that I finished this weekend on this knife.

ira68-vi.jpg


At this point I can decide whether or not to turn that lanyard tube into a bullseye tube by glueing in a fiberglass tube then another SS tube.
 
Another thought came to mind. IMHO, its not proper to plain saw your wood. Most hardwoods have visible rays that are only uncovered, and made visable when you quarter saw it. Osage Orange, for example can look like plywood (plain sawn) or it can really look spectacular. Always quarter saw.

JMHO.

Edited to add that quartersawn wood is also more stable. Isn't that nice.
 
Plain sawing and quarter sawing are two methods used to harvest planks from logs. Plain sawing is the most efficient, but the grain doesn't look as good, and the wood is not as stable. Quartersawing wastes some wood, but the resultant board is more stable, and more beautiful (opinion, of course).

http://www.allwoodwork.com/article/woodwork/plainorquartersawn.htm

You can easily tell if you have a quartersawn piece for your knife/and or which way to cut a piece of wood to get your scales. Look at the end grain. Quartersawn boards have the growth rings coming out the face of the board or scale. Plain sawn boards have growth rings running paralell-ish (circular) to the face of the board or scale.

Almost all hardwoods have rays. Its a part of the structure of the wood. White Oak has really dramatic rays, and is famously used quartersawn in Mission style furniture.

This is a link to a pic of quartersawn white oak.

http://www.launstein.com/collection/images/Sample13-lrg.jpg

You can see the growth rings in both of these Osage over Walnut handles is perpendicular to the blade steel.

kismet2103_0927-vi.jpg


And here you can see some of the rays this technique showed off. This is an average piece of Osage. They all have this stuff if you quartersaw it.

FiddlebackHunter004.jpg
 
I second what you say about quartersawing... most of the time. In a lot of cases, it's prettier, with way more color contrasts in the grain vs wood, but sometimes the regular sawn has more colors, when it's at an edge between sapwood and heartwood.

Anyways, for normal pieces of wood, quarter sawn usually looks better. And even though quarter sawn is much more stable (and much less prone to shrinkage issues while drying) I've cracked some wood before from using nails (not in knives) and it splits quarter sawn easier than plain sawn, but a simple fix to that is to drill a small pilot hole first, so if you peen the pins hard in knife handles, I would imagine it could crack if done uncorrectly.

By the way, great tutorial. I have some wood that's too thin to use as a knife handle easily, and this will be a great fix.
 
Correct me if I'm wrong here but, with quartersawing, do you wind up with end grain showing?

Like so?
 
Last edited:
I have always loved your handle work Andy!

Way beyond my skill, down the road I will give it a try!

Awesome work.

Chris
 
I have used Andy's idea after seeing it on another site and I was real happy how it turned out. Thanks Andy.

Larry
 
Back
Top