Nickel Silver sheath WIP

Mark Behnke

Well-Known Member
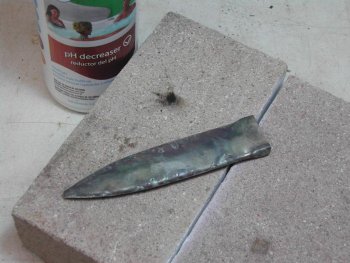
I did a copper sheath following Bruce Bumps tutorial, copper because I had it on hand.

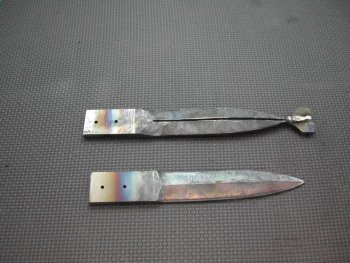
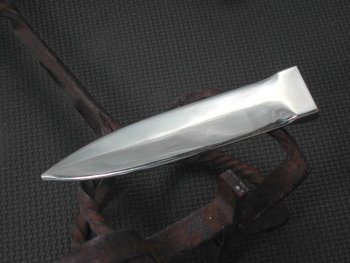
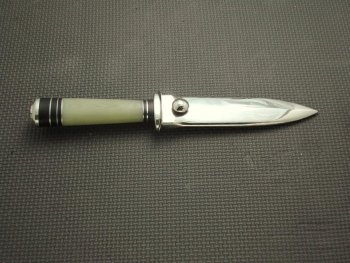
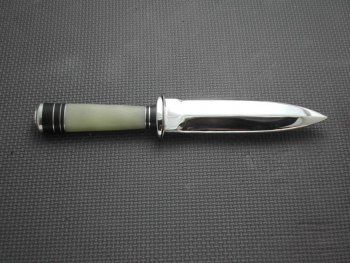
This one is in .040 NS. I have .040 and .025, the copper one was in .032
advantages of thicker stock is more room for error in fit up and more to work with in finishing.
Cons, harder to form.

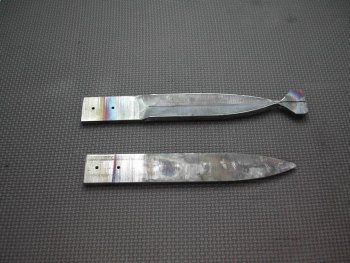
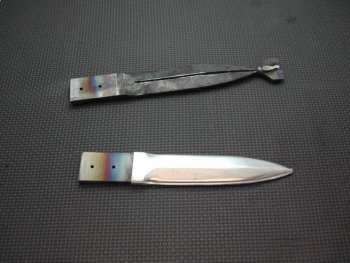
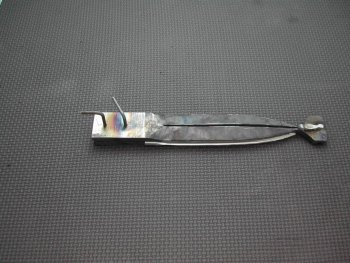
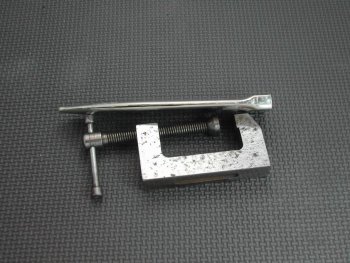
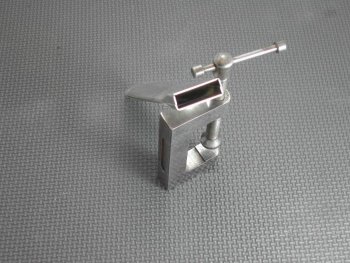
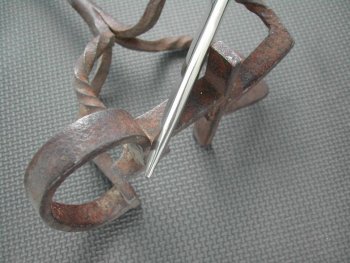
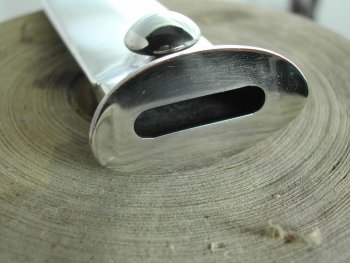
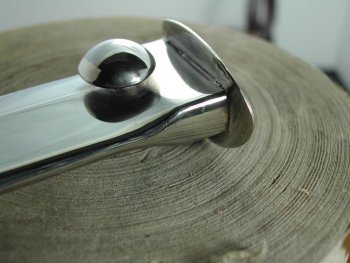
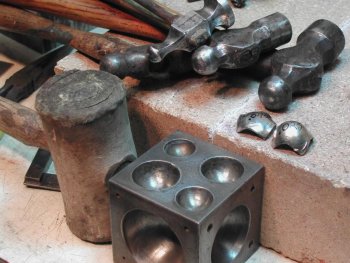
Here's some pics of the the form I made and my progress so far.
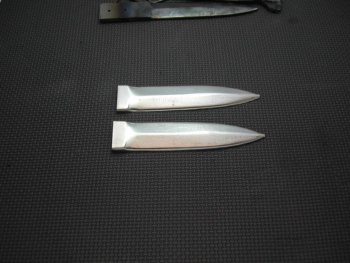
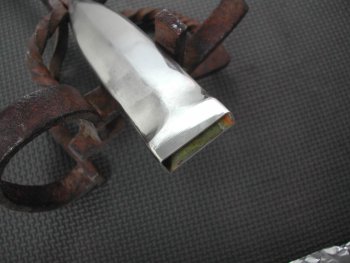
Fit up is very bad on the sides, need to hand sand flat to close the gap.
 

Attachments

  • NS sheath 001.jpg
    NS sheath 001.jpg
    96.2 KB · Views: 103
  • NS sheath 002.jpg
    NS sheath 002.jpg
    96.1 KB · Views: 93
  • NS sheath 003.jpg
    NS sheath 003.jpg
    95.2 KB · Views: 94
  • NS sheath 004.jpg
    NS sheath 004.jpg
    95.6 KB · Views: 94
  • NS sheath 005.jpg
    NS sheath 005.jpg
    92.1 KB · Views: 92
Some more pics
 

Attachments

  • NS sheath 008.jpg
    NS sheath 008.jpg
    94.6 KB · Views: 64
  • NS sheath 010.jpg
    NS sheath 010.jpg
    95.9 KB · Views: 64
  • NS sheath 011.jpg
    NS sheath 011.jpg
    95.2 KB · Views: 61
Thanks Iceman
I hand sanded 'till flat, clamped, fluxed and soldered w/med solder.
Pickled in the pool product, same as "sparx 2" only cheaper.
Cleaned up with X30 and buffed.
Need to go back and do a better job of finishing before the next steps:

The ball tip and throat.
Thanks for looking
 

Attachments

  • NS sheath solder 003.jpg
    NS sheath solder 003.jpg
    95.7 KB · Views: 55
  • NS sheath solder 006.jpg
    NS sheath solder 006.jpg
    96.1 KB · Views: 53
  • NS sheath solder 008.jpg
    NS sheath solder 008.jpg
    87 KB · Views: 54
  • NS sheath solder 011.jpg
    NS sheath solder 011.jpg
    90 KB · Views: 50
  • NS sheath solder 013.jpg
    NS sheath solder 013.jpg
    82.8 KB · Views: 54
Sweet! Really makes me want to get back into silver smithing, I did a lot back in college. Studied under a well known silver smith in the day. I love the stuff, expensive as it is it just calls to me.
 
Mark thanks for the play by play action. How often do you anneal the sides as you are forming them? Exellent info it's going to be a nice sheath!

Cheers Bob
 
Thanks Bob
I just used a ball peen and worked it down no need to anneal. At the tip I used a punch, it's a little harder to roll the edge at the tip ( I think BB used a wooden block to hammer down the edges)

I made my NS blank about 3/16 bigger than the pattern, better to have too much, it sands down easy. Making good patterns and tight fit up are key, I sanded the two halves flat till no light could be seen between them.

Thanks again Mark a person can never have to much info when trying something new.

Bob
 
I polished and found that one side didn't take the solder in places, so I re-soldered but still have some spots I'm not happy with. The joint under the top plate didn't flow out like I would have liked.

I learned that fit up is critical, although I had a, no light joint, on the halves, but not the top plate. Don't cut corners on fit up.

I studied soldering over the weekend and learned a lot that will help on the next one.

polish and buff were hard to get right also,need to do more research and practice there.

Thanks for looking, and feel free to comment, I can use all the help I can get.
 

Attachments

  • NS sheath 004.jpg
    NS sheath 004.jpg
    95.2 KB · Views: 40
  • NS sheath 003.jpg
    NS sheath 003.jpg
    94.9 KB · Views: 38
  • NS sheath 007.jpg
    NS sheath 007.jpg
    91.8 KB · Views: 41
  • NS sheath 009.jpg
    NS sheath 009.jpg
    89.8 KB · Views: 38
  • sheath  and barbs booth 016.jpg
    sheath and barbs booth 016.jpg
    96 KB · Views: 41
Mark,

Great stuff !

I recently did a silver throat and toe for a curly maple sheath and the soldering nearly whupped me, LOL

That was my first attempt at soldering and I feel your pain. It seems to get easier as you go. I don't know if it makes a difference but I used high temp (1400) silver brazing on the side seams after a failed attempt at doing the whole thing with low temp solder.

Yours is looking GREAT !

-Josh
 
Thanks again for the info i think you did a bang up job on it considering it was your first go at n.s. !

Bob
 
Back
Top