Take Down Knife WIP.....

Billy Helton

Well-Known Member
This Is my first wip so bear with me.

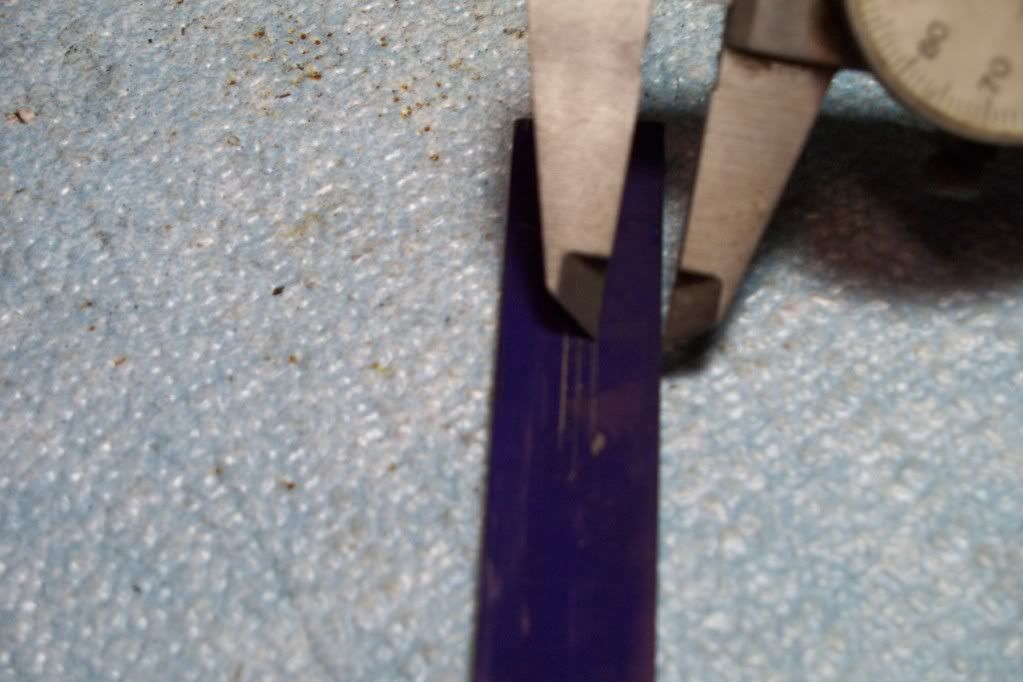
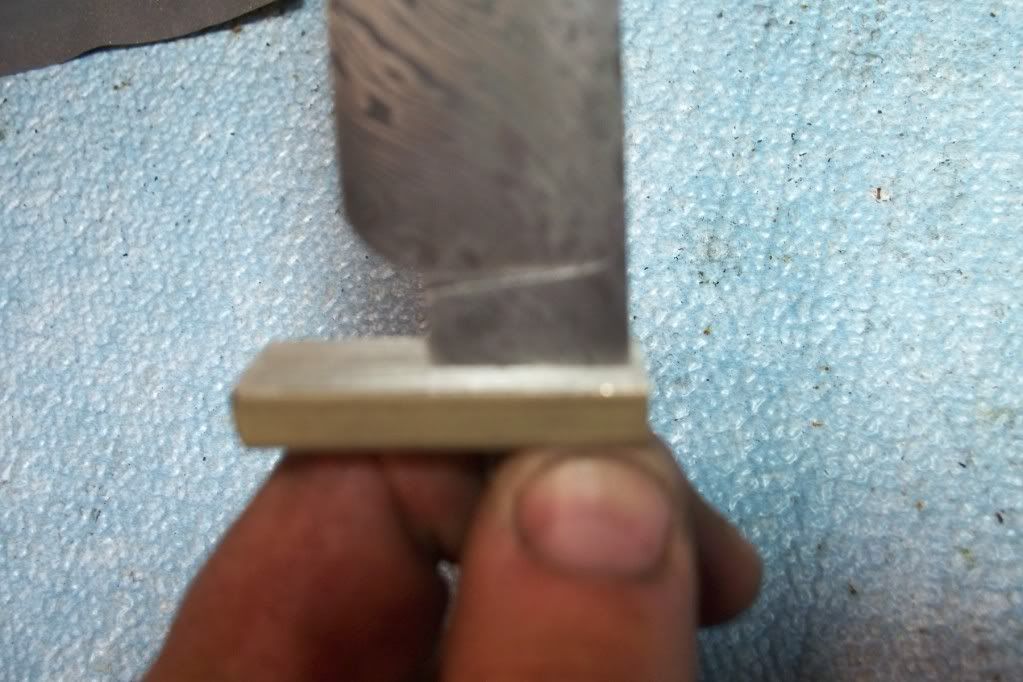
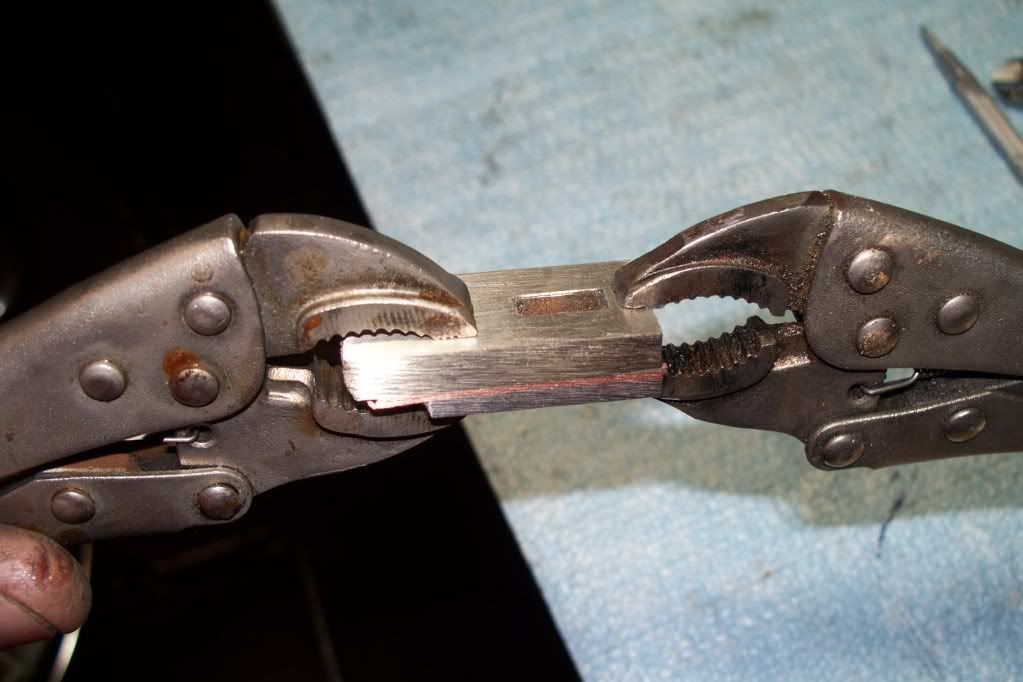
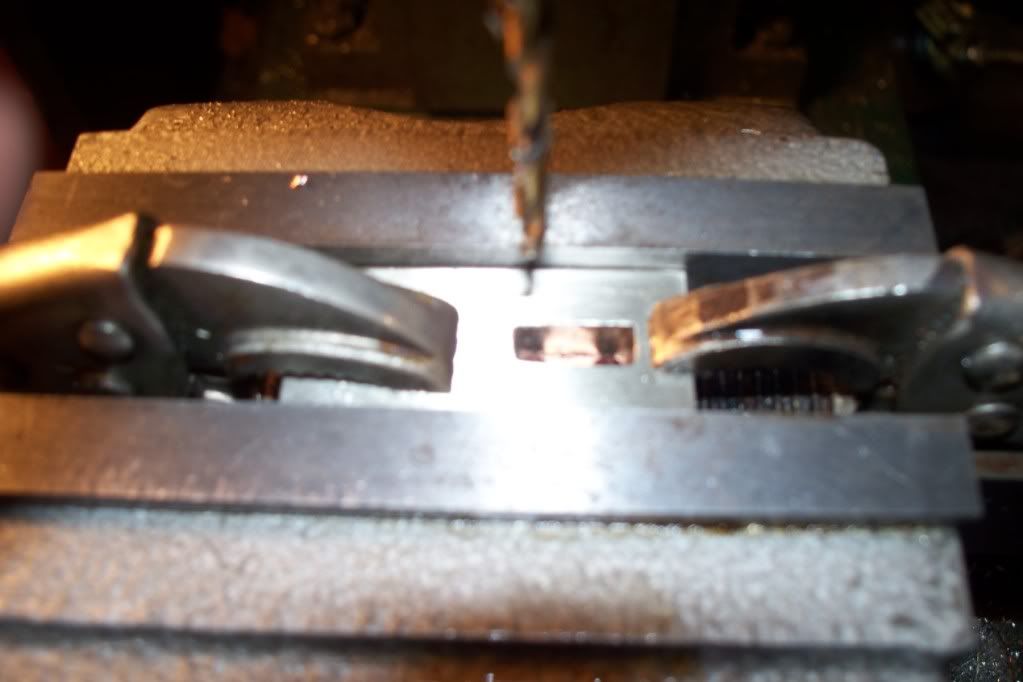
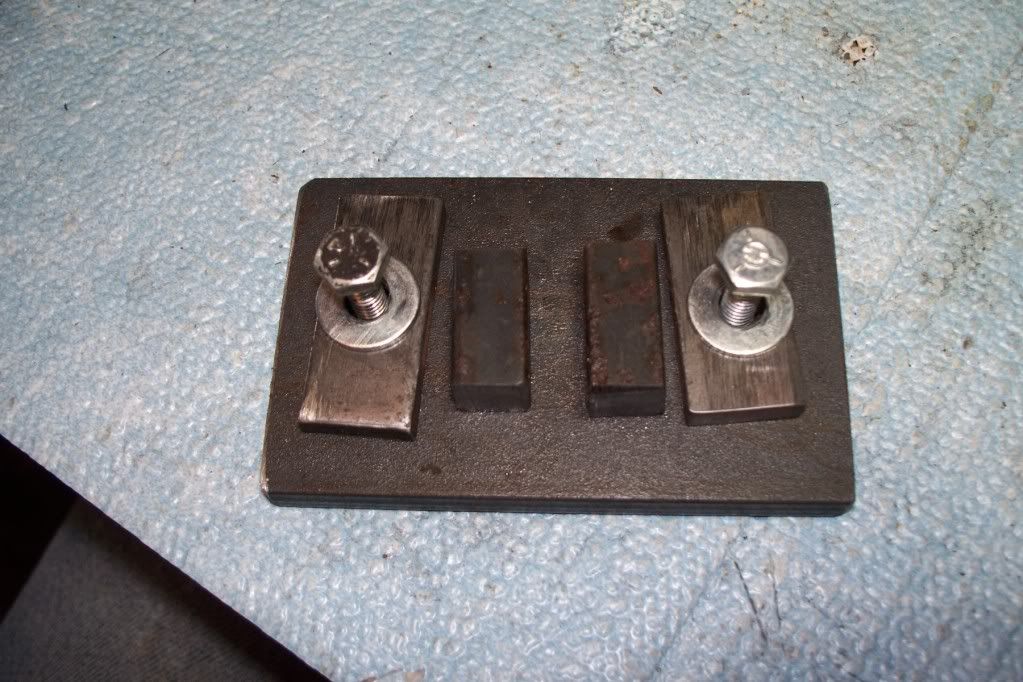
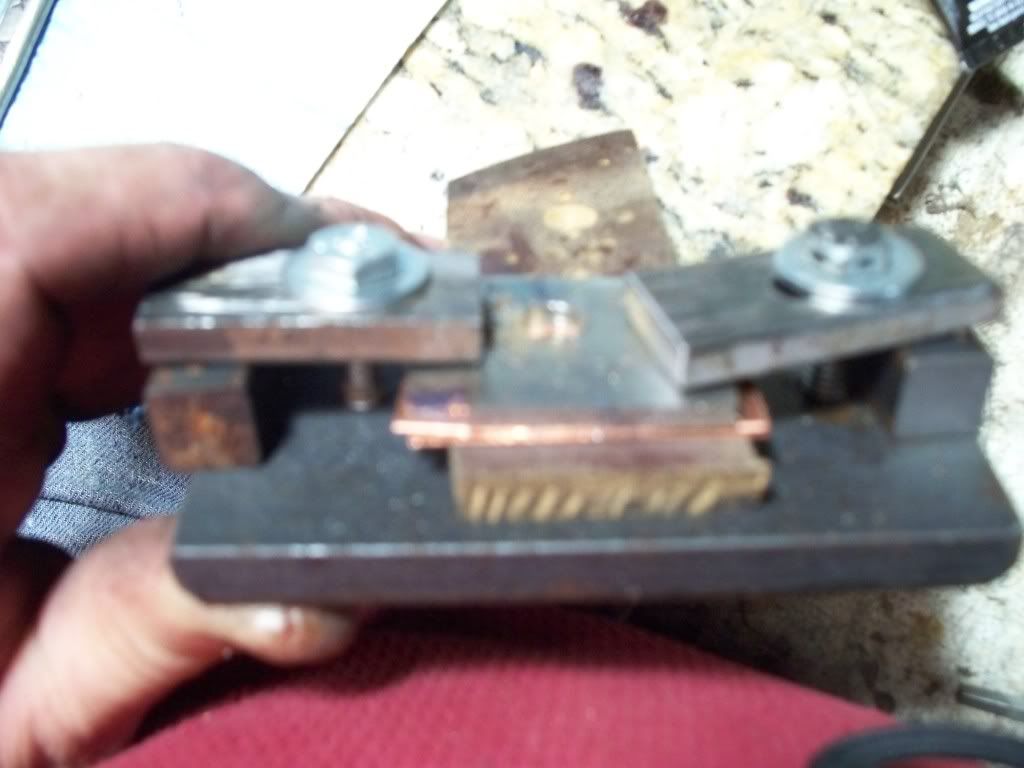
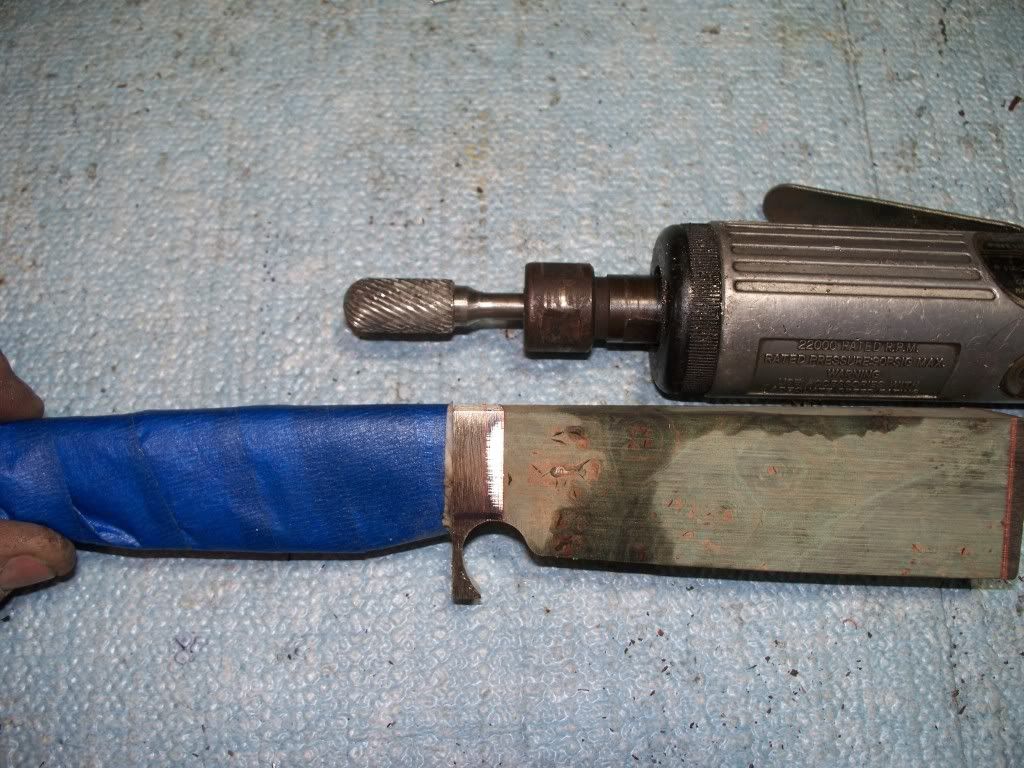
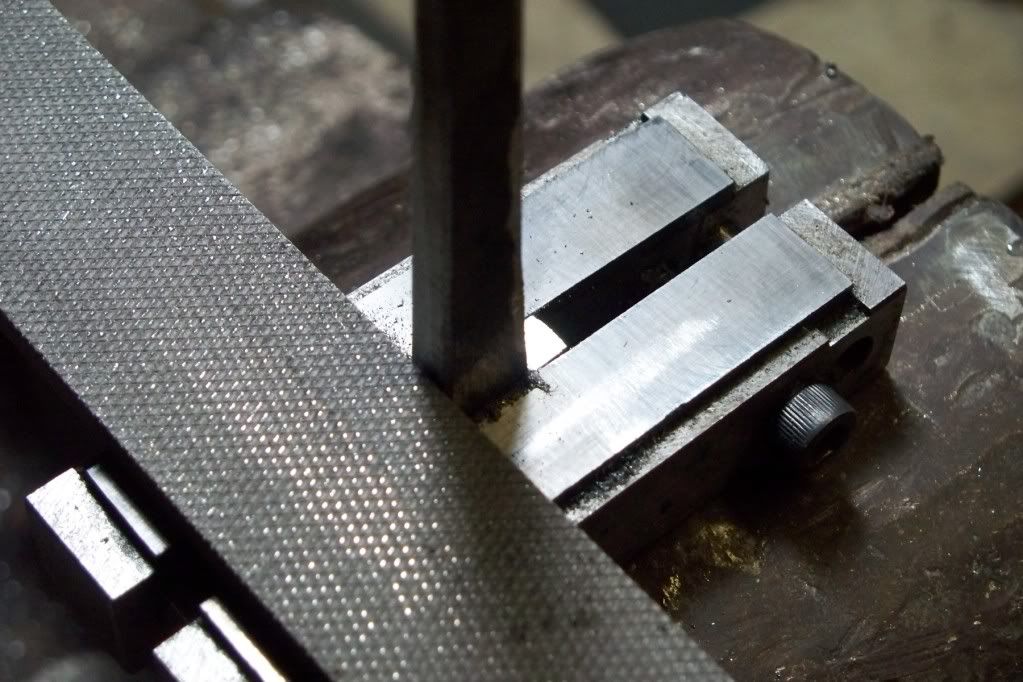
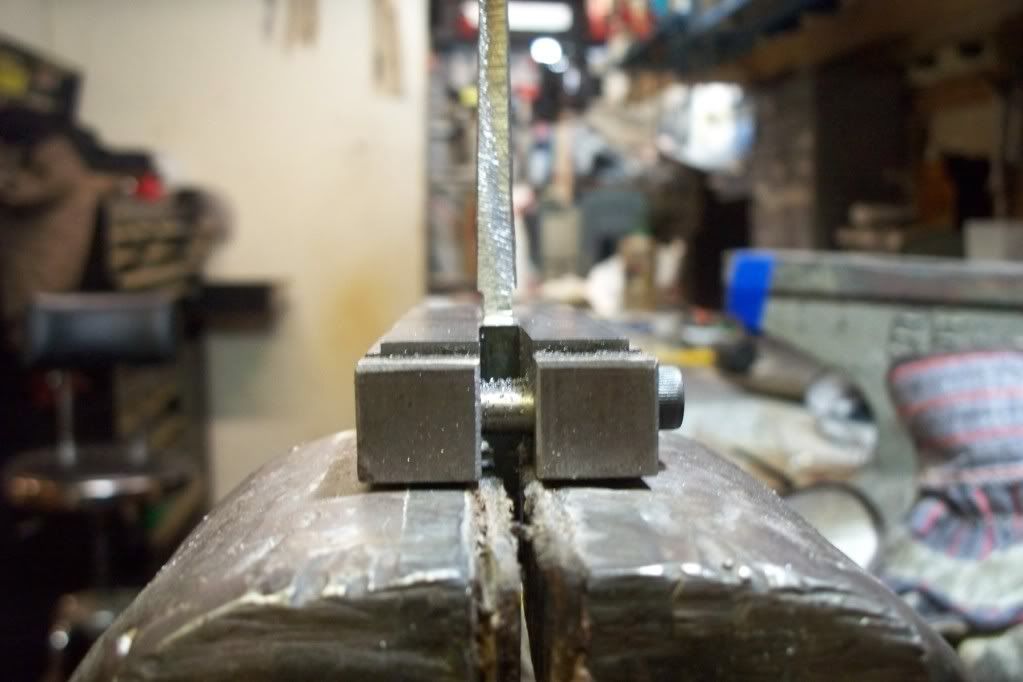
The first thing is to file the tang using a file guard.This needs to be a good flat surface all the way around your tang.You wont be soldering or using any thing to hold the finger guard so time spent here goes a long way
100_0530.jpg


100_0532.jpg

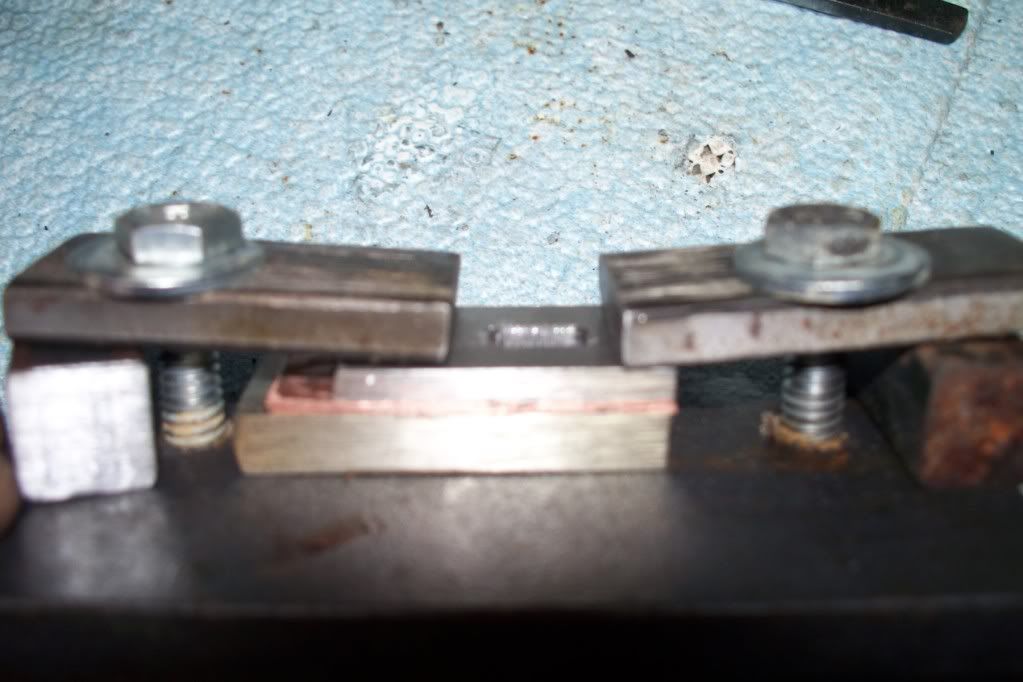
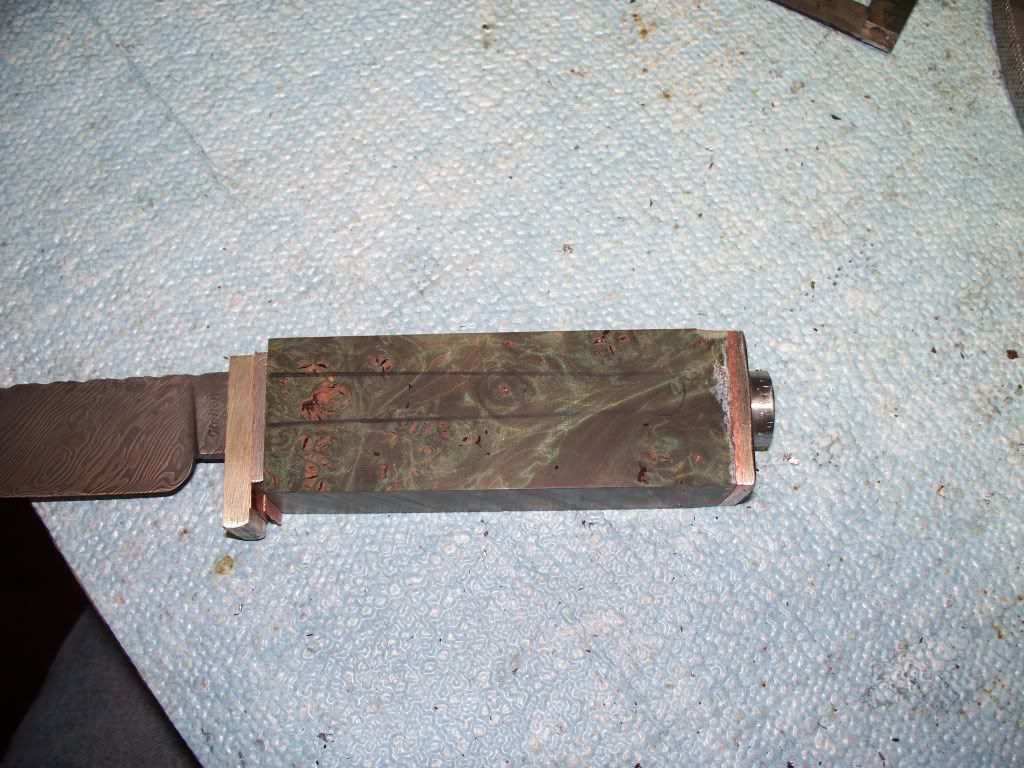
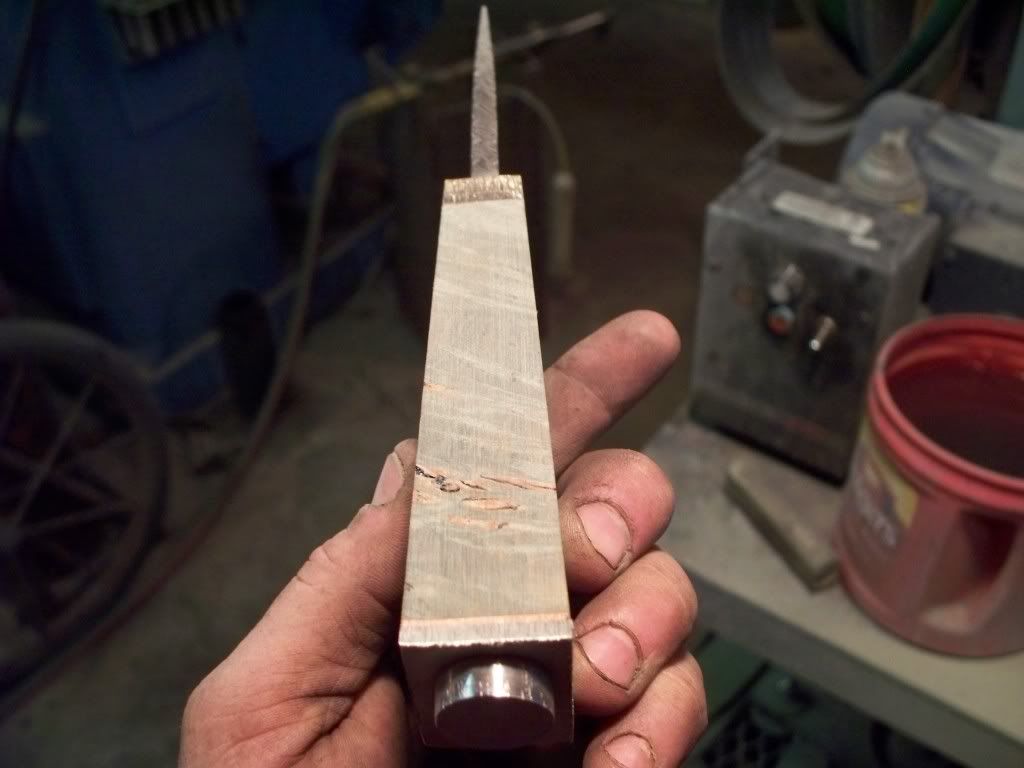
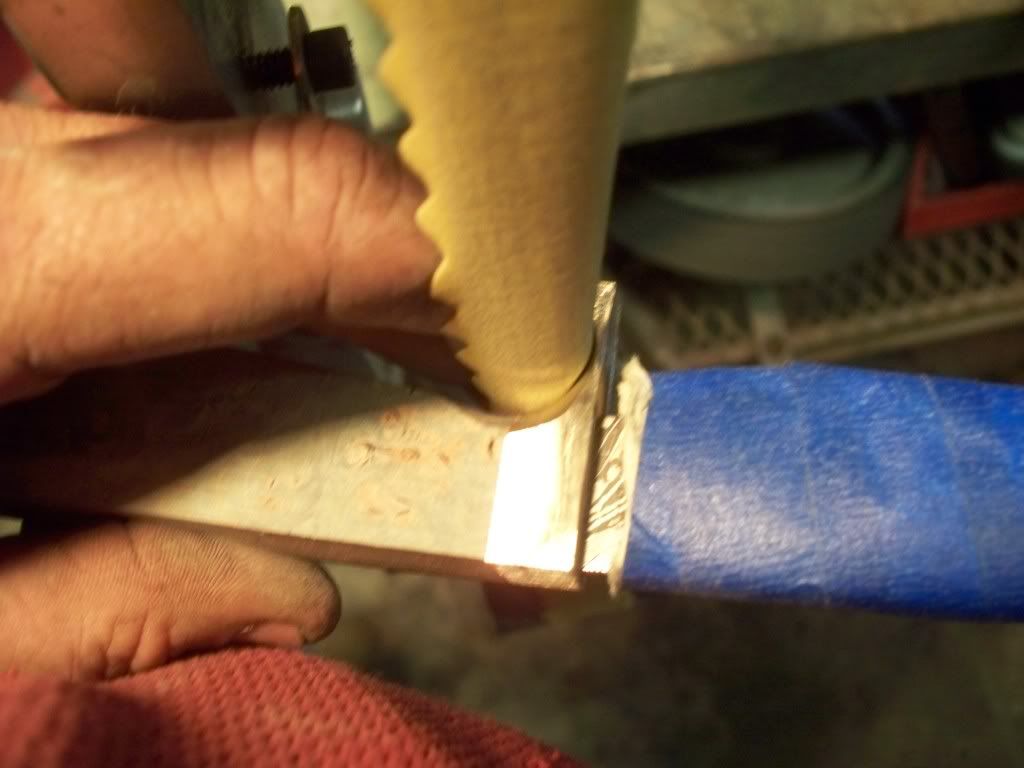
This is how the side of the tang should look. The filing on the side helps to not see any gaps. I will taper the rest of the tang next.
 
Last edited:
100_0534.jpg


I use calipers to mark the center of the finger guard. This makes it easy I have .750 wide guard so .375 is center. My tang is .180 thick at the ricoso, so I come in to .285 and mark both sides. Works for me:confused:
100_0535.jpg

I drill two holes on at each end im using 1/8 mill.
100_0536.jpg

I mill out the slot to where the slot is about .178 I leave a couple thousands to file fit to the tang.
 
100_0537.jpg


This is the guard with the corners squared

100_0538.jpg

Here is the fit on the tang, you shouldnt have any movement on the guard. You want to be able to take the guard off but if there is to much movement the guard can move to a different place every time you tighten the tang nut up. I useley leave the guard where i have to just barely tap on the guard to seat it on the tang. woops picture a bit blurrie sorry
 
100_0539.jpg


Next I put the spacer pices that im going to use together. I use super glue to hold them together. Im using two pices of ..040 copper and 1/8 stainless. You want to put the thinner pices in the middle or they will cause you problams. Glue them to the guard making sure that you have plenty materal hanging off each side.

100_0540.jpg


After the glue sets I grind the sides and top flat to match the guard I didnt get a picture but I use vice grips to hold the parts together and try to keep it cool or the glue will let loose,
100_0541.jpg

Here you can see through the milled slot that now I have to mill the spacers out.
 
Last edited:
100_0542.jpg


Ok now I clamp them in the vice grips again and go to the mill.
100_0543.jpg


I turn the guard up so I can see where to mill at then mill the spacers to match the guard slot
 
100_0547.jpg

Ok thas is the jig that I use to drill the locator pins that go through the spacers and into the handle so that every time i take it apart and reasemble it it will be in the exact same place.
100_0544.jpg

I clamp the guard and the spacers into the jig. They should still be glued together
100_0545.jpg


Now I set the drill depth to go in to the guard almost to the bottom. Make shure you are drilling a straight hole If it is off you will fight the spacers the rest of the build.Also I set the hole away from the tang slot around 1/8 . If you get to close to the slot hole when you drill out the handle material you will run into trouble with the hole in your handle material being to close to the edge of the hole you drilled out.
100_0546.jpg

Here the locator pins are installed I leave them A little long to get started.


r
 
Well thats it for a bit got to go take more pictures and finish up, Hope I can get the rest finished today.

Lator Gator

Billy:D
 
Billy, I really appreciate you showing this. I have marveled at take downs for a long time and it's great to see how one is actually built.

Carey
 
Well here we go again.
100_0549.jpg

100_0550.jpg


After the locater pin are installed time to take it apart.A little heat to the parts and off they come.

I mark them in the order they come off with a center punch as you can see in these two pictures
100_0558.jpg


Time to drill the holes for the tang

100_0559.jpg

Here are the tools I use to finish the tang slot. Try not to get to crazey with the front hole because you still need to have room to drill your locator pins.

100_0562.jpg

100_0563.jpg


I put short pins in for the locator pins and put a point on them. i will push the block onto the pins and this leaves a indent so you know where to drill the locator holes.
 
100_0568.jpg


Here I brazed the 10/24 bolt onto the tang and now I am tempering the joint, I do this twice. I have welded these on before but You need to temper the welds several times.

100_0569.jpg


I am making the nut for the but cap. Here im taping the hole

100_0570.jpg


Turning the body down to go inside the wood block and thread onto the tang.

100_0571.jpg

I super glue all the pices to the but cap and clamp in the drilling jig and drill the center hole

100_0573.jpg

This is all the parts put toghter and ready to rough it out.

100_0576.jpg

Here it is roughed out and now im ready to takle the finger guard.

100_0578.jpg

I use a die grinder and a carbide rougher bit.This works good for me and it takes about five minutes to get it done.

100_0581.jpg

This is the guard roughed in with the die grinder.

100_0587.jpg

Now I go to the scaloped belts they are awsome for this part. All that is left to do know is finish shaping your handle the way you want it.

100_0590.jpg

100_0591.jpg

Here is the finished knife.
 
Last edited:
Very nice! Thanks for documenting this build. Learned a couple of tricks that I will be using on my future builds.
 
Thank you guys I know that some one will get some use out of this, I enjoy showing people what others have shown me and thanks to those that taught me.2thumbs
 
Very nice build, thanks for showing us.

For the short time I've been with this site I sure have learned a lot from guys like you.

Larry
 
Back
Top