
K R Johnson
Well-Known Member
As I was getting ready to inlay this shield it occurred to me I might show my method.
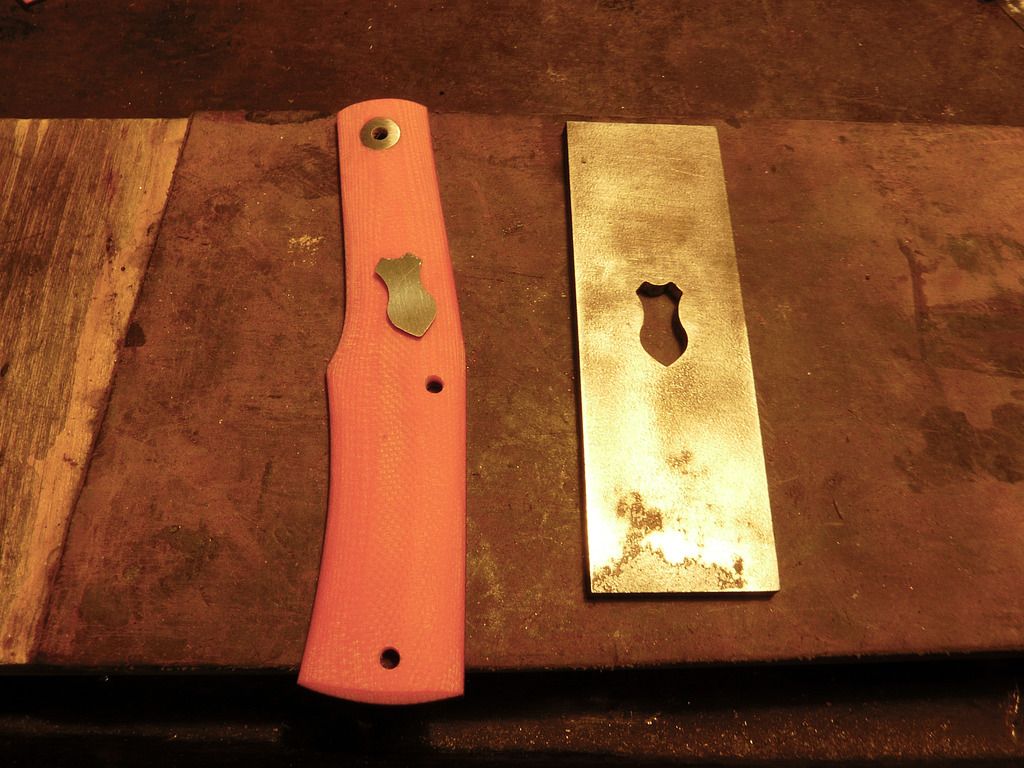
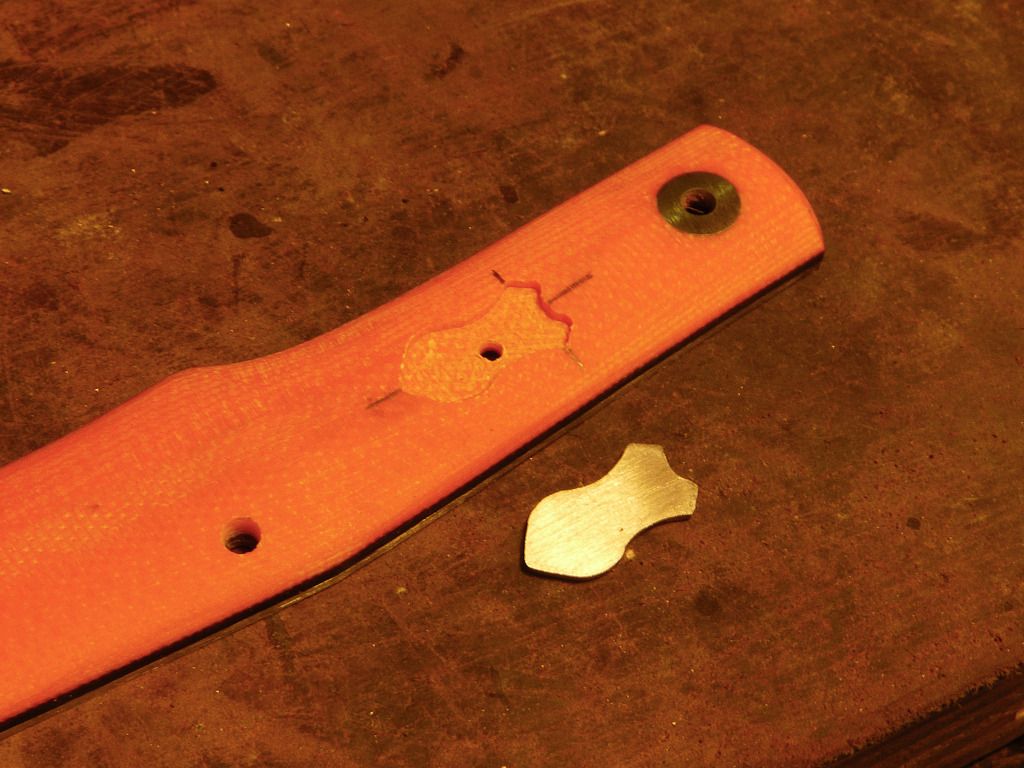
I draw a center line on the scale, then a line across that so I have some references when I clamp the template on the scale. If I'm using bone or stag, I use masking tape and draw the lines on that.
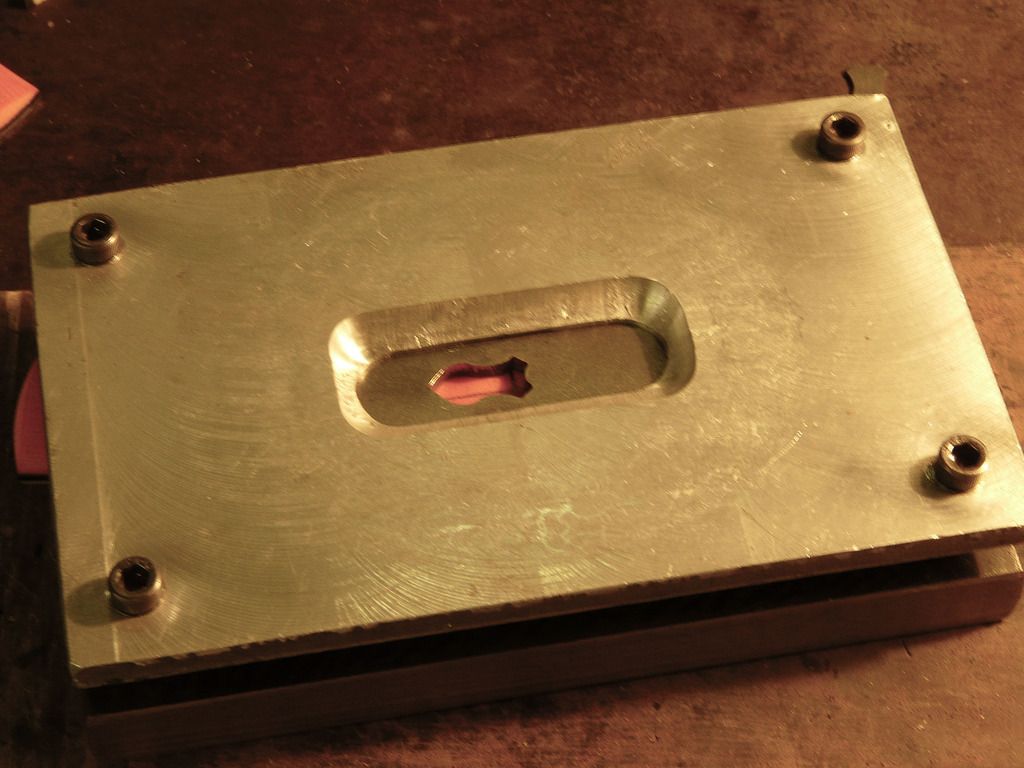
Then I clamp the template on the scale with my shop made clamping fixture. There are better ones available from USA Knifemaker but this one works.
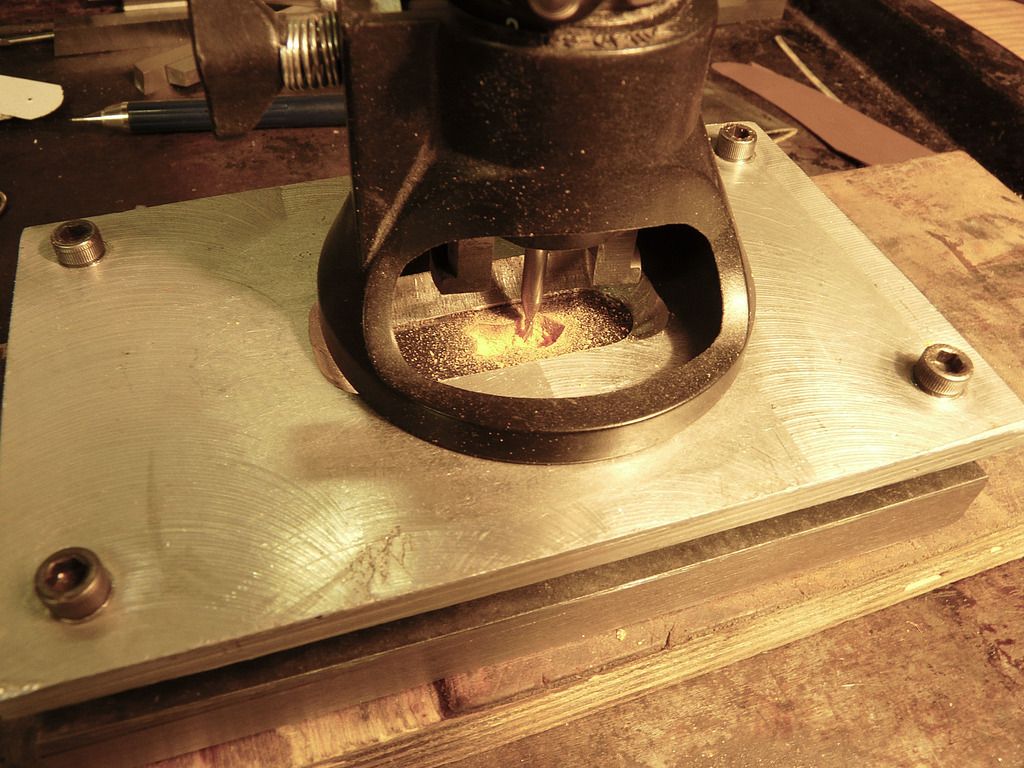
Next I set up my Dremel as a router with a 1/16" HSS cutter and since the shield is .040 thick, I use .040 shims under the base and set the cutter so it just rests on the scale.
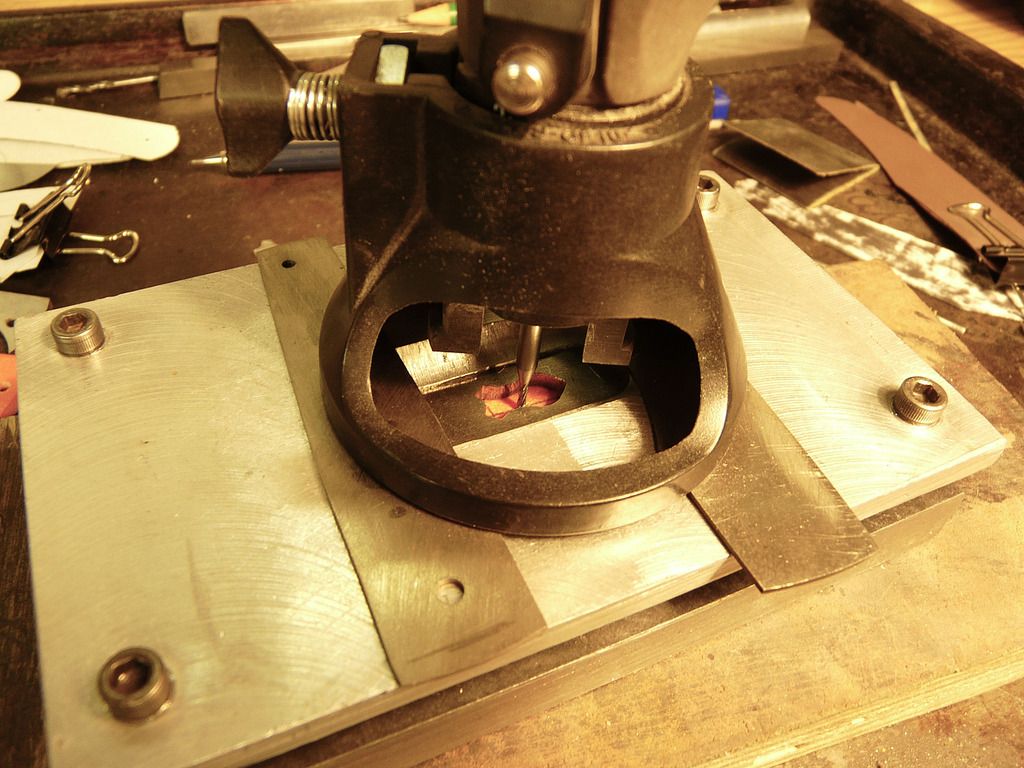
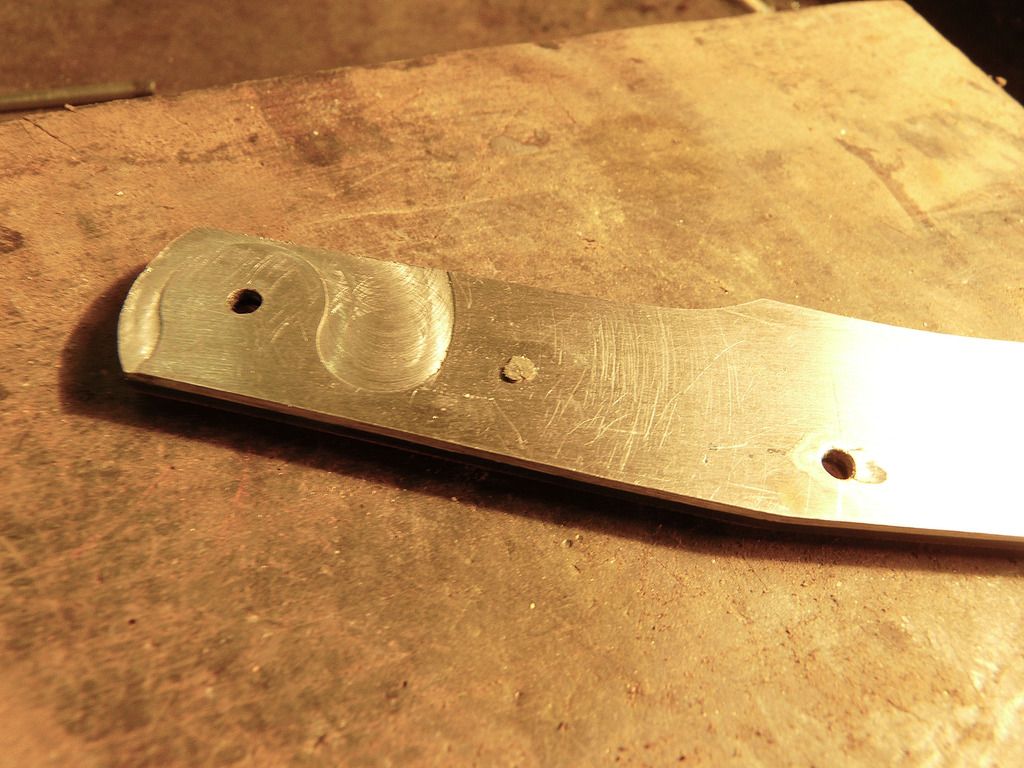
Take out the shims and cut out the pocket for the shield. The template is hardened so the cutter won't bite into it. Instead of a Dremel, this can be done with a milling machne.
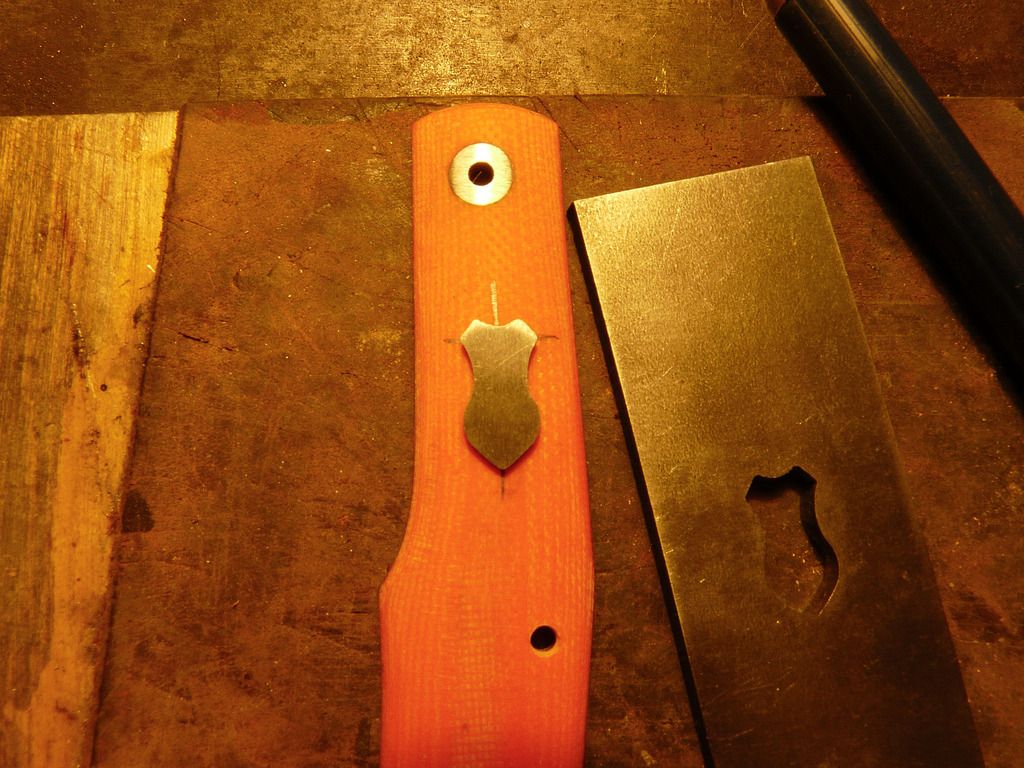
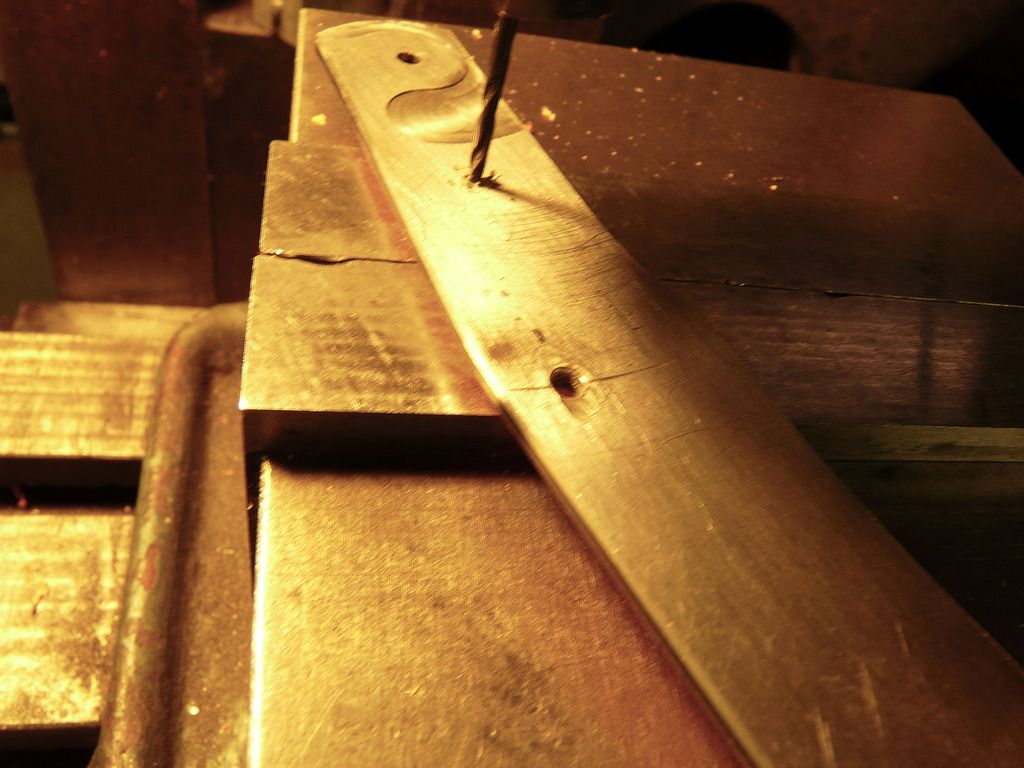
Next I drill a #52 hole all the way through the scale and liner to pin on the shield.
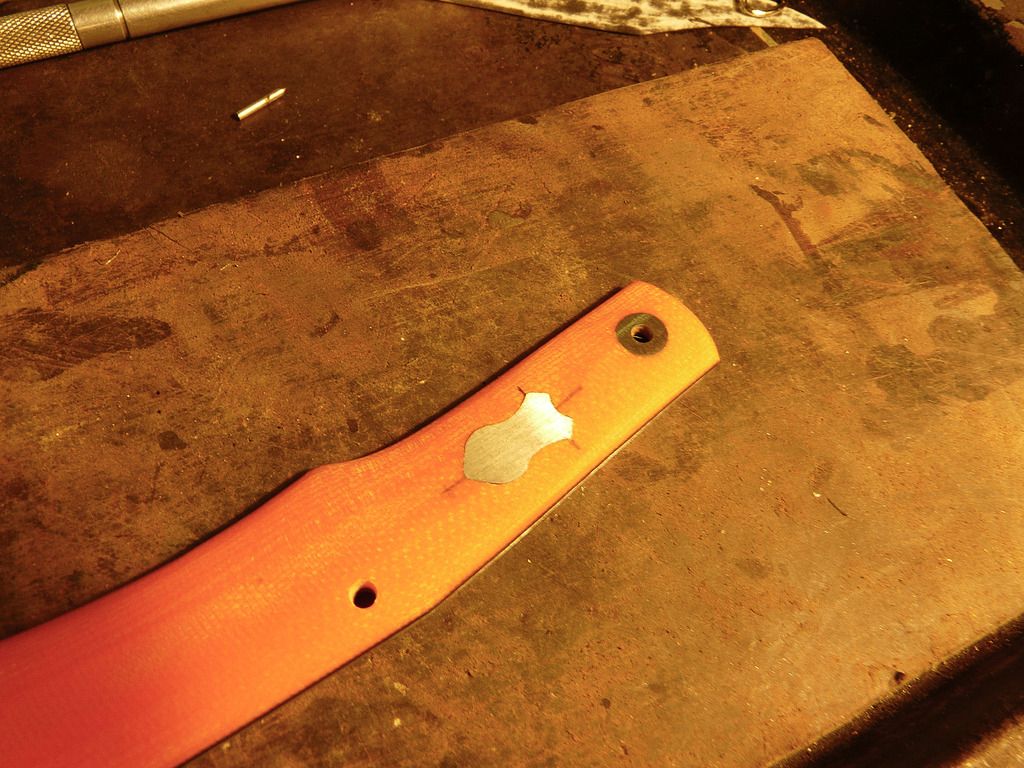
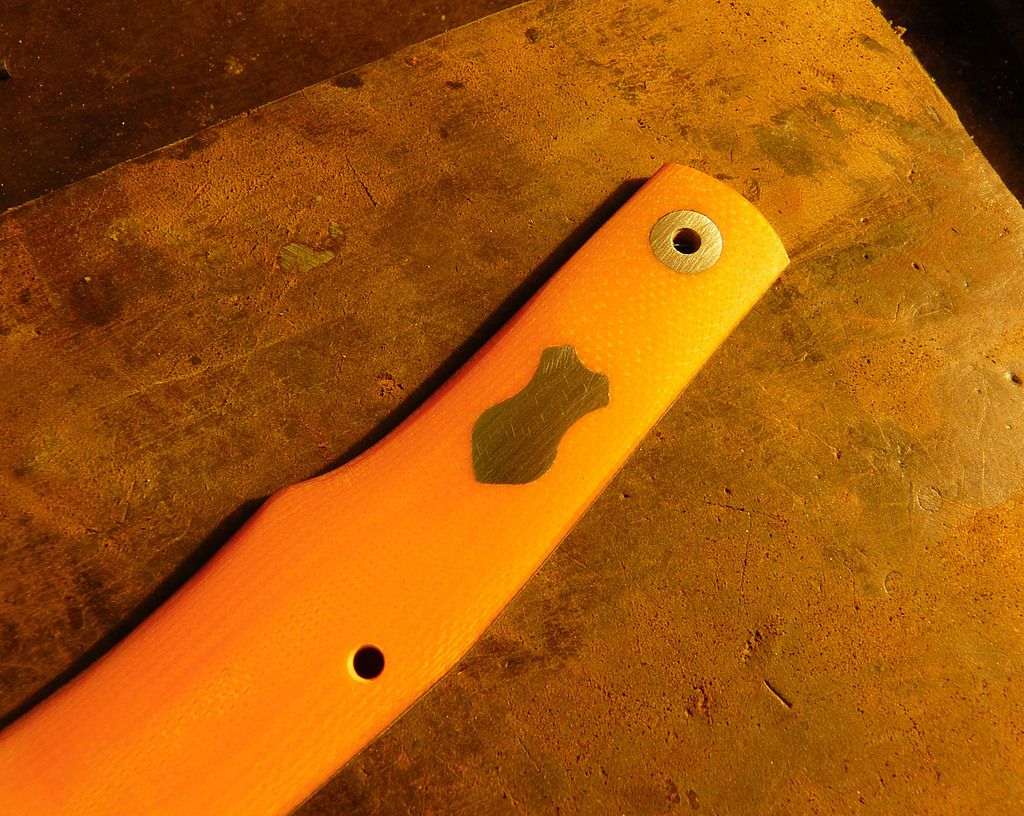
The shield in place after a little careful fitting.
Next I set up a stop on the milling machine so I can drill .020 into the .040 shield through the scale and liner.
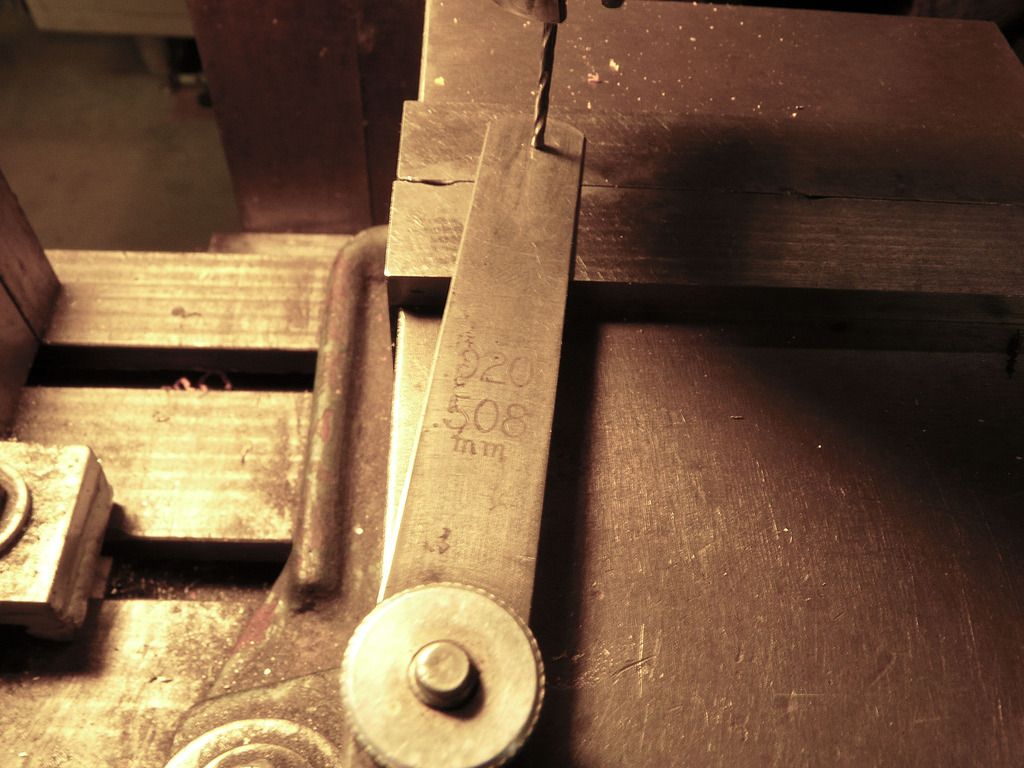
The shield is in the pocket on the bottom side and I forgot to take a photo of it but only the tip of the drill cuts into it.
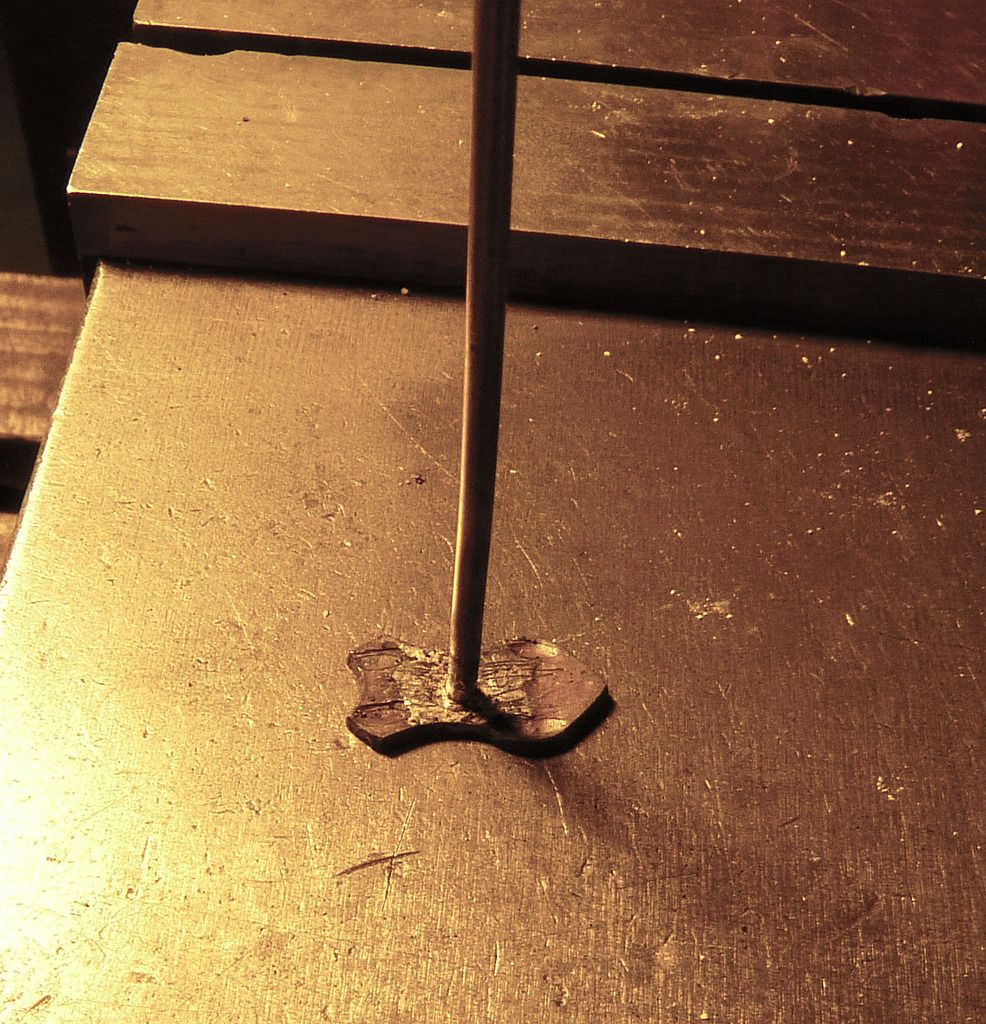
Time to solder a piece of pin stock into the depression on the back side of the shield. This is nickel silver, stainless works too. I use a dab of all in one flux/silver solder, the shield is resting on a piece of soft firebrick, the pin is held in the mill chuck.
The solder melts at 1205F so I turn down the lights and heat to dark red.
http://www.riogrande.com/Product/Silver-Paste-Solder-560-Extra-Easy/103099

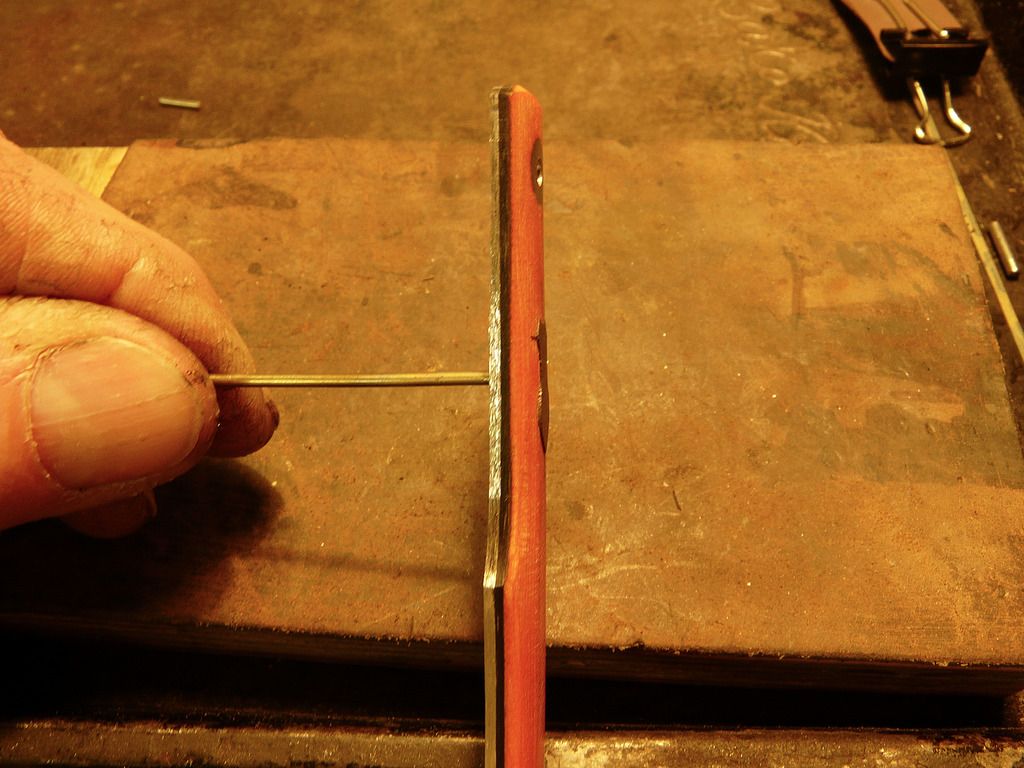
Scrape off any excess flux, straighten the pin and it's ready to install.
Cut off the excess pin and pein in place
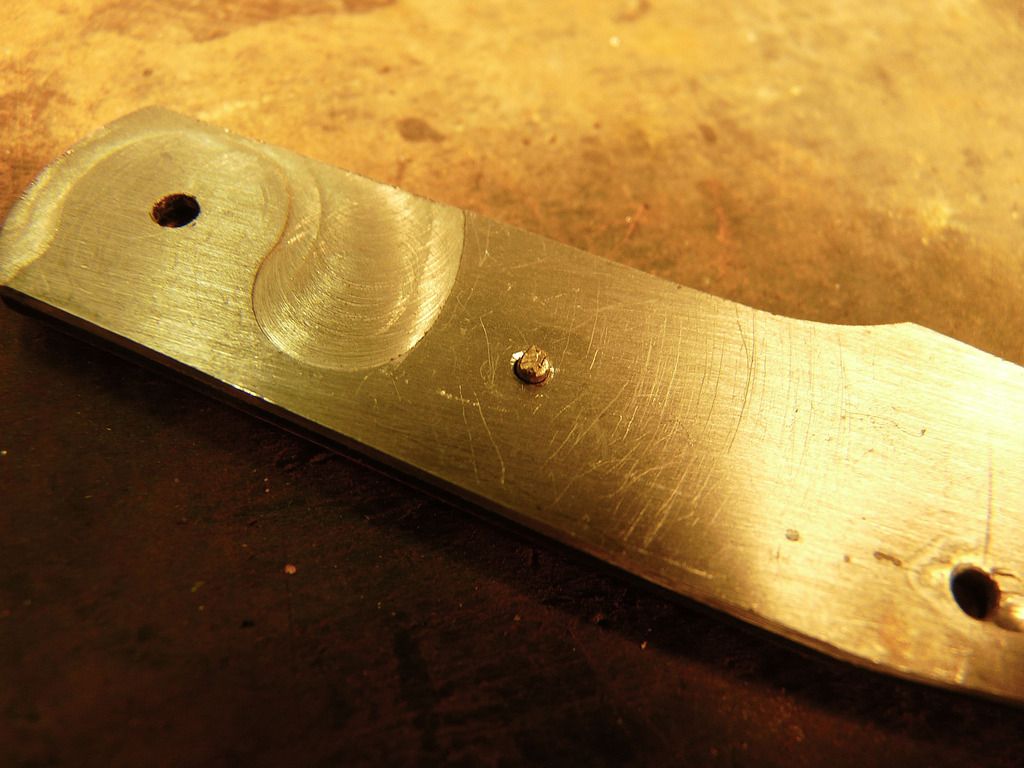
And sand flush. I did chamfer the hole before installing.

I applied thin super glue around the edge of the shield to fill anything that might need filling and after it dried I ground the shield down flush with the scale. Using this method there can never be a pin showing in the shield like you sometimes see on old knives. I learned this from David Taber who learned it from Enrique Pena. Thanks for looking, I'll be happy to answer questions.
I draw a center line on the scale, then a line across that so I have some references when I clamp the template on the scale. If I'm using bone or stag, I use masking tape and draw the lines on that.
Then I clamp the template on the scale with my shop made clamping fixture. There are better ones available from USA Knifemaker but this one works.
Next I set up my Dremel as a router with a 1/16" HSS cutter and since the shield is .040 thick, I use .040 shims under the base and set the cutter so it just rests on the scale.
Take out the shims and cut out the pocket for the shield. The template is hardened so the cutter won't bite into it. Instead of a Dremel, this can be done with a milling machne.
Next I drill a #52 hole all the way through the scale and liner to pin on the shield.
The shield in place after a little careful fitting.
Next I set up a stop on the milling machine so I can drill .020 into the .040 shield through the scale and liner.
The shield is in the pocket on the bottom side and I forgot to take a photo of it but only the tip of the drill cuts into it.
Time to solder a piece of pin stock into the depression on the back side of the shield. This is nickel silver, stainless works too. I use a dab of all in one flux/silver solder, the shield is resting on a piece of soft firebrick, the pin is held in the mill chuck.
The solder melts at 1205F so I turn down the lights and heat to dark red.
http://www.riogrande.com/Product/Silver-Paste-Solder-560-Extra-Easy/103099
Scrape off any excess flux, straighten the pin and it's ready to install.
Cut off the excess pin and pein in place
And sand flush. I did chamfer the hole before installing.
I applied thin super glue around the edge of the shield to fill anything that might need filling and after it dried I ground the shield down flush with the scale. Using this method there can never be a pin showing in the shield like you sometimes see on old knives. I learned this from David Taber who learned it from Enrique Pena. Thanks for looking, I'll be happy to answer questions.
") and I am definitely not investing in a pantomill
and I am definitely not investing in a pantomill